The tiny bead can carry big style. With the right technique, your jewelry looks thoughtful, not store-bought.
1. Stringing With Strong Tension
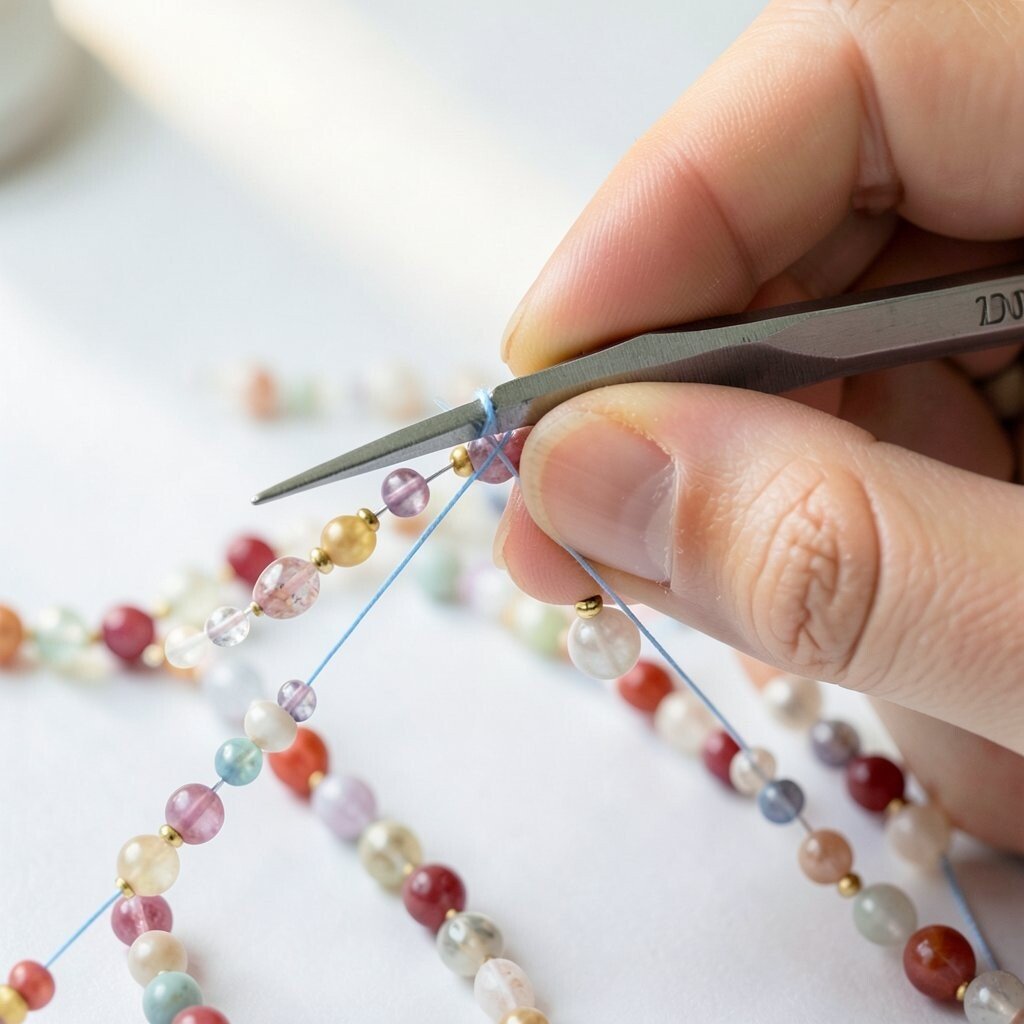
Stringing beads is one of the simplest ways to make jewelry that looks neat and polished. When the tension is even, the beads sit closely and your piece feels smooth on the skin.
Try using a beading thread or strong elastic cord depending on the look you want. Use a needle to guide the thread through each bead without forcing it. Finish with secure knots and a tidy clasp so the strand keeps its shape over time.
2. Wrap-And-Slide Wire Loops

Wire loops around beads create a lovely frame that catches light from every angle. You can make the loop big for a bold look or small for a delicate charm.
Choose a wire gauge that feels sturdy for the beads you pick. Leave a short tail for the loop, then slide the bead into place before closing the wire. This technique is unique because each loop can be slightly different, giving your jewelry a handmade personality.
If you want a modern vibe, use flat or faceted beads and keep the loops minimal. For cost control, buy wire in bulk spools and use only small lengths per bead. Finish with small jump rings that match your clasp hardware so everything looks cohesive.
3. Beaded Stitching With Simple Loom Patterns

Loom-style beading turns tiny beads into a firm, fabric-like strip. It looks great as a bracelet, earring panel, or strap for a bigger design.
Keep your rows even by counting beads and pressing the work flat as you go. A loose tension makes gaps, while tight tension can warp the pattern. If you like a tidy look, use the same bead size throughout for a smooth surface.
Personalize your piece by changing bead colors mid-row to form waves, stripes, or tiny symbols. Choose seed beads in matte finishes for a calm, earthy feel, or go for shiny beads for a bright pop. This method can be cost-friendly because you can plan out how many beads you need before you start.
For today’s style, try mixing micro-beads with slightly larger accent beads so the design has depth. Add a clasp or turn it into a cuff by folding the strip into shape. When you stitch carefully, the edges stay crisp and the jewelry looks “finished” even if it’s small.
4. Peyote Stitch For Scalable Shapes

Peyote stitch creates a texture that fans out like little scales. The beadwork looks rich, and it holds its form well for earrings and bracelets.
Use a comfortable needle threading method and keep each bead snug to the next. Count your steps carefully at the start, then let the rhythm carry you forward. To personalize, swap one bead color per row to make a hidden pattern that shows when the light hits.
This technique shines for uniqueness because you can design color gradients that look hand-dyed. Try using darker tones near the edges and brighter tones in the center for a “glow” effect. You can also mix finishes like opaque, transparent, and metallic for a custom look without buying new components.
Cost-wise, peyote is a good choice when you want a lot of impact from a modest amount of beads. Use smaller seed beads to stretch your budget, then save a few larger focal beads for the final accent. For current trends, pair peyote textures with minimalist metal hardware for a clean, modern contrast.
5. Right-Angle Weaving For Modern Geometry

Right-angle weaving builds crisp corners that make jewelry look architectural. Each seam looks intentional, and your finished piece stands out with a geometric vibe.
Start with a solid base of thread or wire, then add beads in steps that lock into place. Keep the tension consistent so the angles stay sharp and the shape holds. This technique is especially unique when you use two or three colors and let the pattern create a rhythm across the piece.
To make it wearable, choose a design that flatters your neck or wrist, like a pendant panel or a cuff-like bracelet. Consider adding small spacer beads near the ends to keep the piece from twisting. If you want to keep costs low, use inexpensive seed beads for the bulk and reserve premium beads for the focal sections.
6. Netting For Lightweight Texture
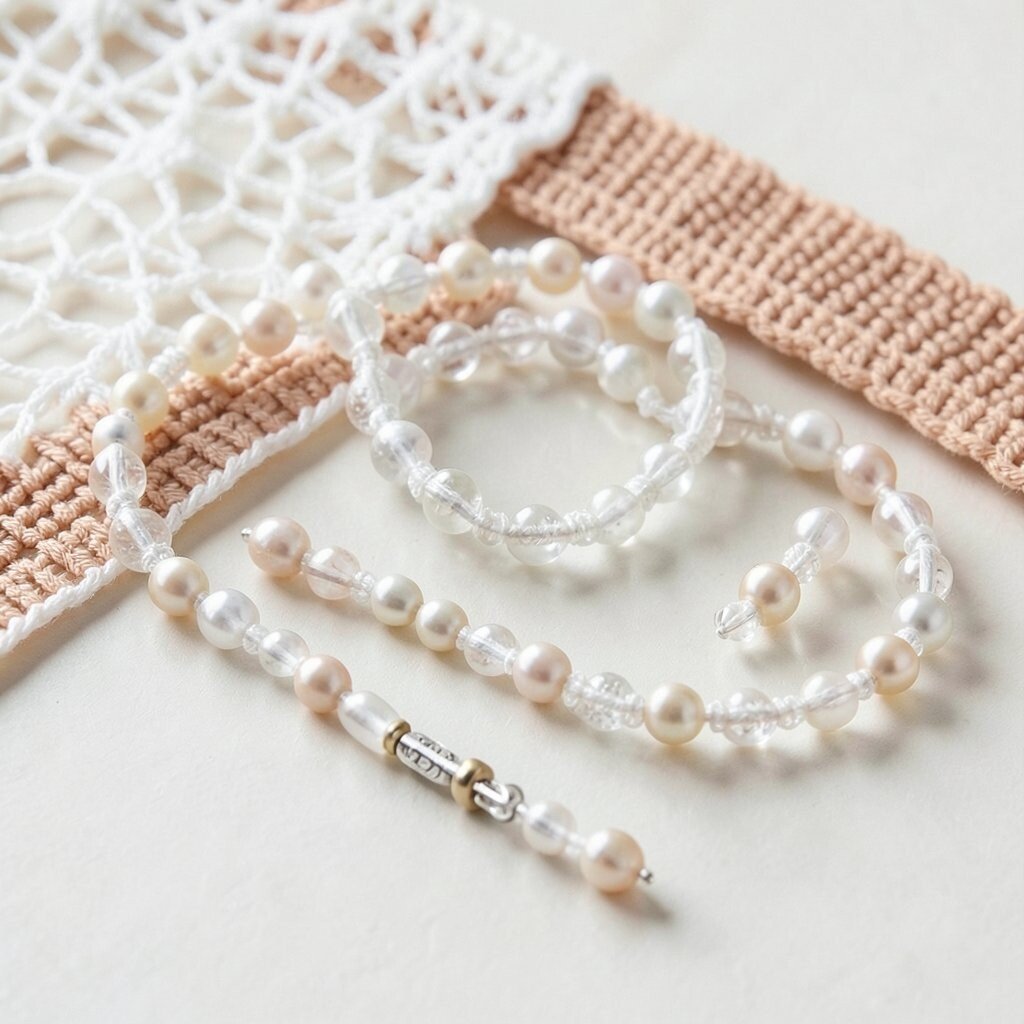
Bead netting creates a delicate lattice that feels airy but still looks detailed. It’s a great technique when you want earrings that swing lightly and catch light without being heavy.
Use a fine thread and work in a tight grid so the net stays even. Attach a backing thread if needed so the structure holds its shape around a center bead or charm. Choose bead sizes that match so the net has a balanced look from every side.
For personalization, add tiny beads along the edges like a border, or use a color shift in the middle for a “sunburst” effect. This method is unique because it looks different in motion, so your jewelry changes with every step. It can also be budget-friendly since the net uses small beads that go a long way.
7. Ladder Stitch For Quick Bands
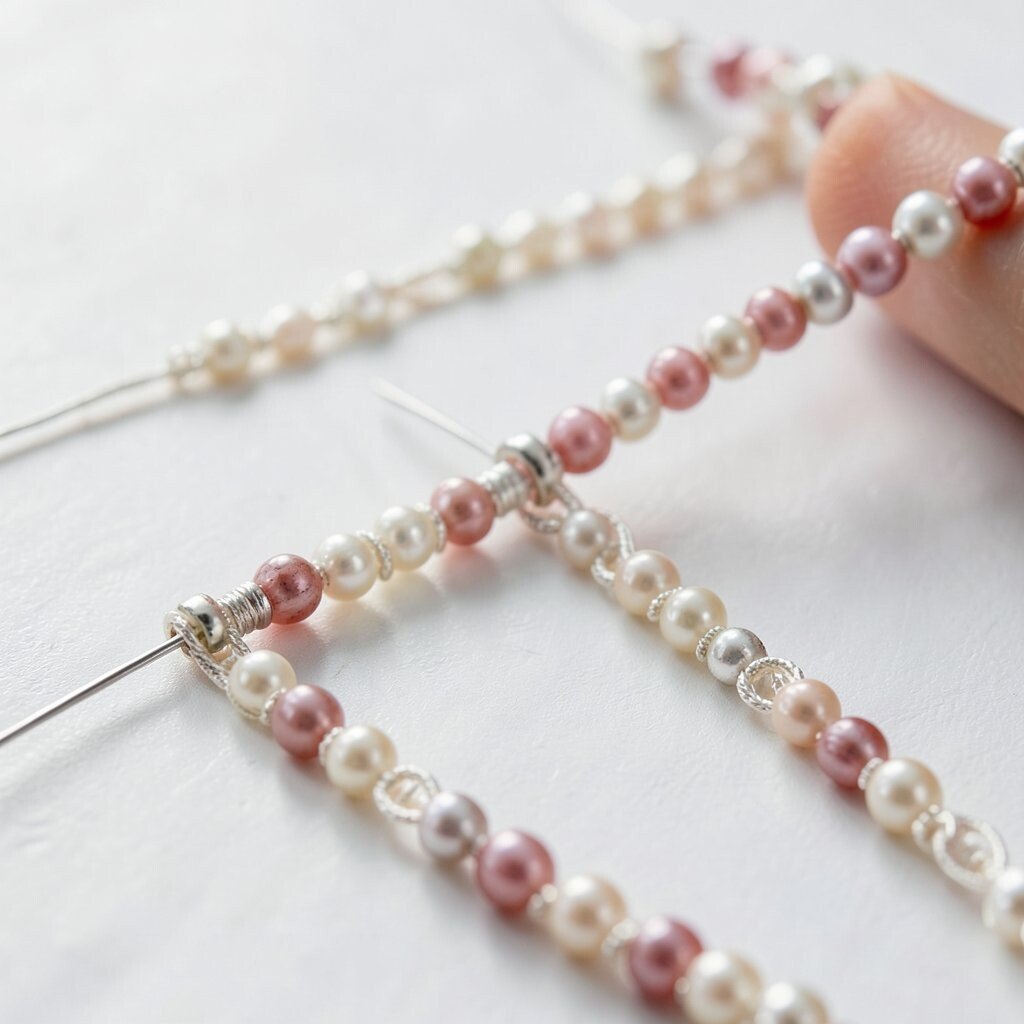
Ladder stitch is like making a stretchy fabric with bead rungs. You’ll love how fast it works for rings, bracelets, and strap-like necklaces.
Lay out your beads in a simple sequence and keep each rung evenly spaced. When you maintain steady tension, the band looks smooth and professional. The benefit is that you can create a clean line that sits comfortably against your body.
Personalize your ladder band by alternating bead colors for a checker look or by using metallic beads at intervals for sparkle. For a trendy style, combine a ladder band with a slim chain at the neckline so the texture stays the main focus. Keep cost in mind by using standard seed beads for the ladder and adding a single premium accent bead at the center.
If you plan to wear it often, finish the ends with sturdy findings so the band won’t unravel. You can also make matching sets by using the same bead palette across earrings and bracelets.
8. Brick Stitch For Bold Edges
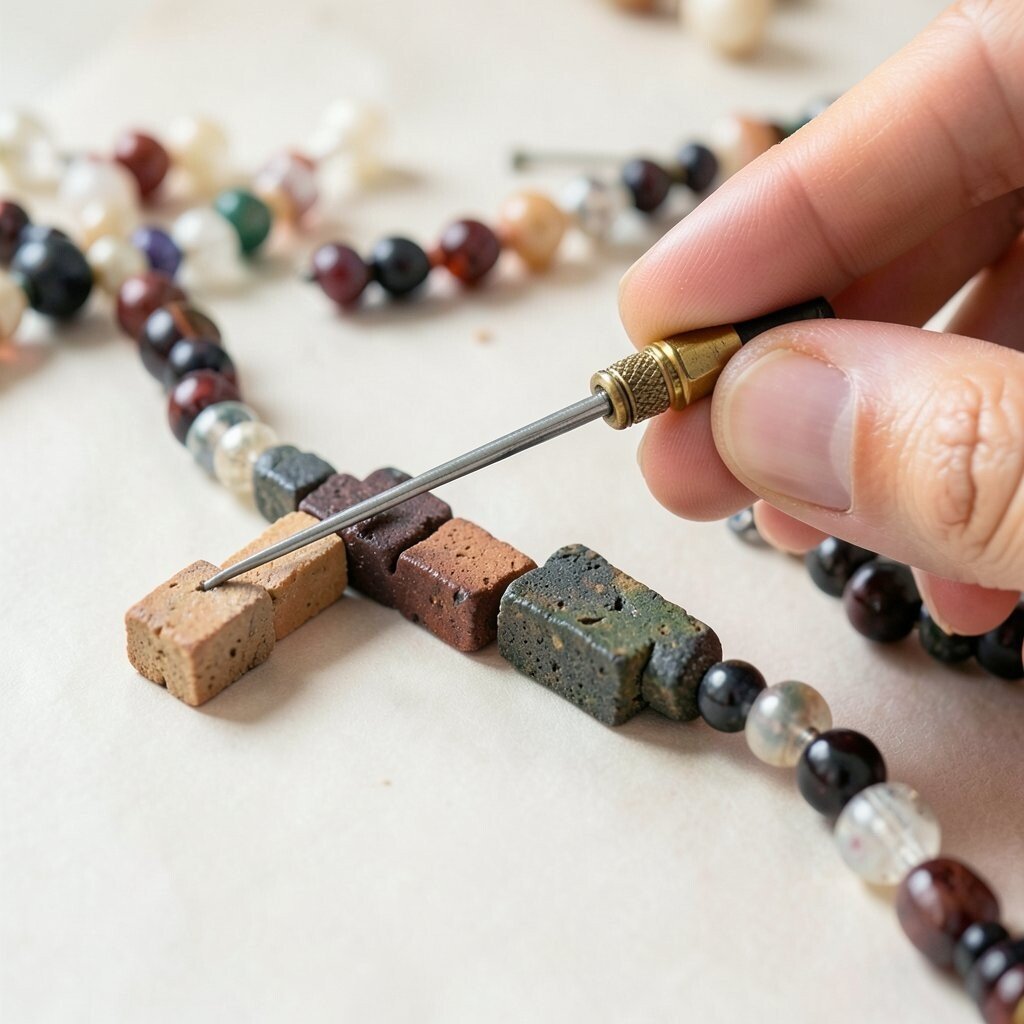
Brick stitch makes a strong, bumpy surface that frames beads like little bricks in a wall. It’s perfect for cuffs, pendants, and earring drops with structure.
Work row by row and line up each new bead so it nests against the previous one. This gives you a tight, durable surface that feels great to wear. If you want crisp edges, use a clean bead count for every row and trim carefully at the end.
Uniqueness comes from how you set the boundary beads, such as using a darker shade around the outer edge. Personalize by adding a focal color block in the center, then build outward like a picture. For cost considerations, brick stitch works well with affordable seed beads because you’ll use them across the whole piece.
To match current trends, try pairing brick textures with minimal closures and sleek hooks. You can also add a small tassel made from thread or micro-beads for a fun, modern twist. When you finish neatly, the piece looks bold without looking messy.
9. Kumihimo-Style Braids With Bead Strands
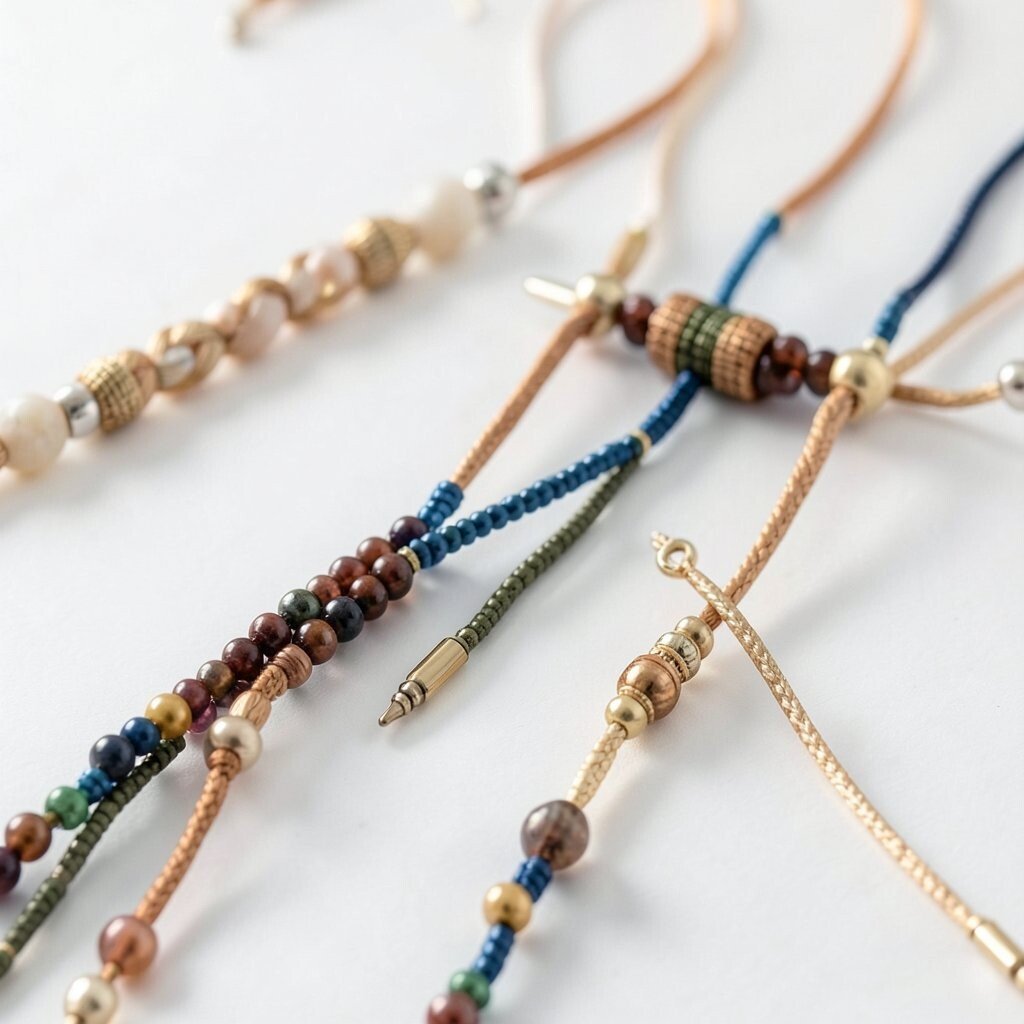
Beaded braids have a lively, flowing look that feels traditional yet trendy. Even a simple braid can feel special because the pattern moves with you.
Use multiple cords and guide them through a steady rhythm while adding beads at intervals. Keep your bead spacing consistent by counting or using pre-planned sections. The benefit is that braids distribute weight, so long necklaces feel comfortable.
For uniqueness, mix bead sizes inside the braid so some beads feel like stars and others feel like tiny grains. Personalize the colors by matching your bead palette to your favorite outfit shades. If you want to stay within budget, choose smaller beads for the braid body and use a few larger beads as separators.
10. Bead Embroidery On Fabric Backing
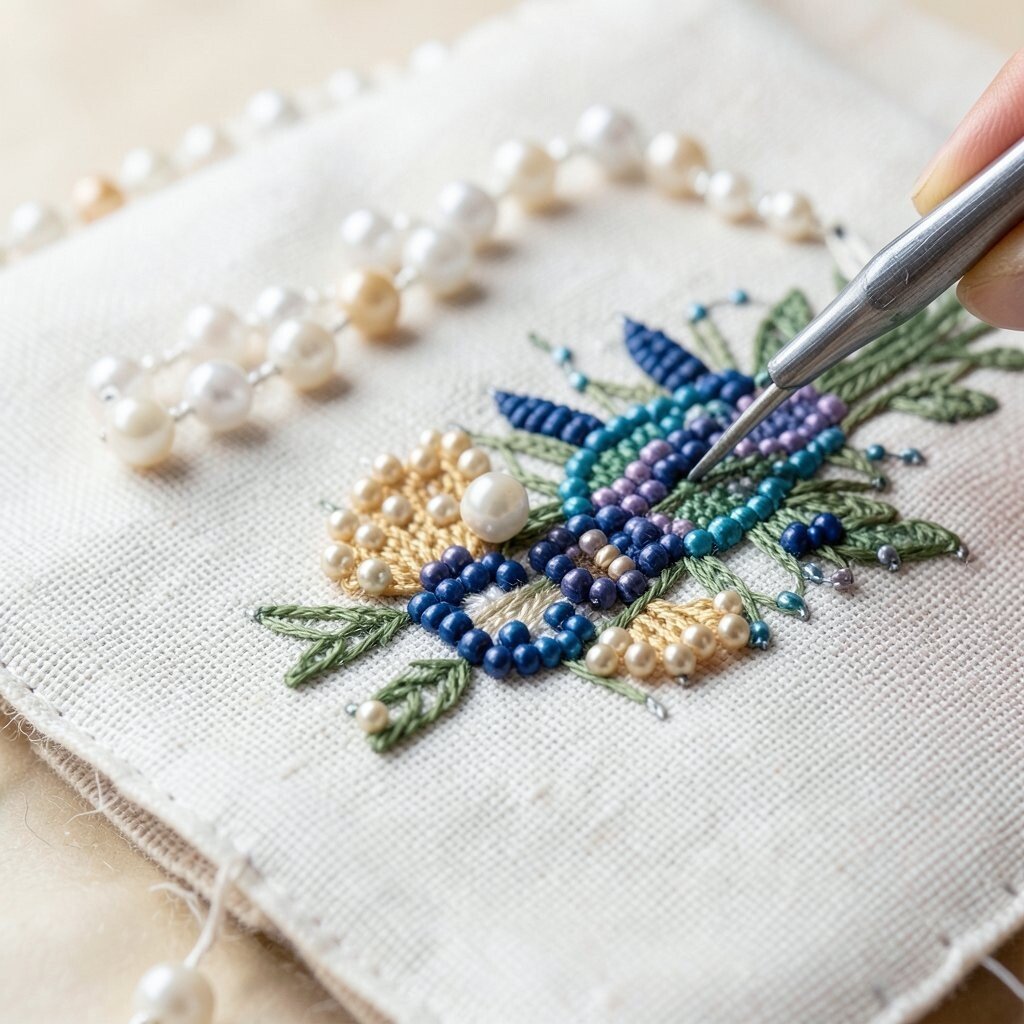
Bead embroidery turns cloth into a glowing surface for pendants, cuffs, and even small statement earrings. You can shape designs by stitching beads onto a base with graceful curves.
Trace a simple outline, then fill it with beads using neat, overlapping stitches. Keep your thread pulled snug, but not so tight that it puckers. This technique shines when you want custom shapes that are hard to do with flat beadwork alone.
Personalization is almost unlimited because you can add beads in clusters, build a border, or mirror a pattern from one side to the other. For a modern trend, try using a monochrome color scheme with mixed finishes so the texture becomes the design. Cost-wise, embroidery can be controlled by using inexpensive beads for the background and spending more on a few sparkle beads for highlights.
To make it wearable, finish the back with a fabric layer and attach a bail or ear wire securely. When your edges look clean, the whole piece looks intentional and high-end.
11. Creating Wire-Wrapped Drops With Hinges
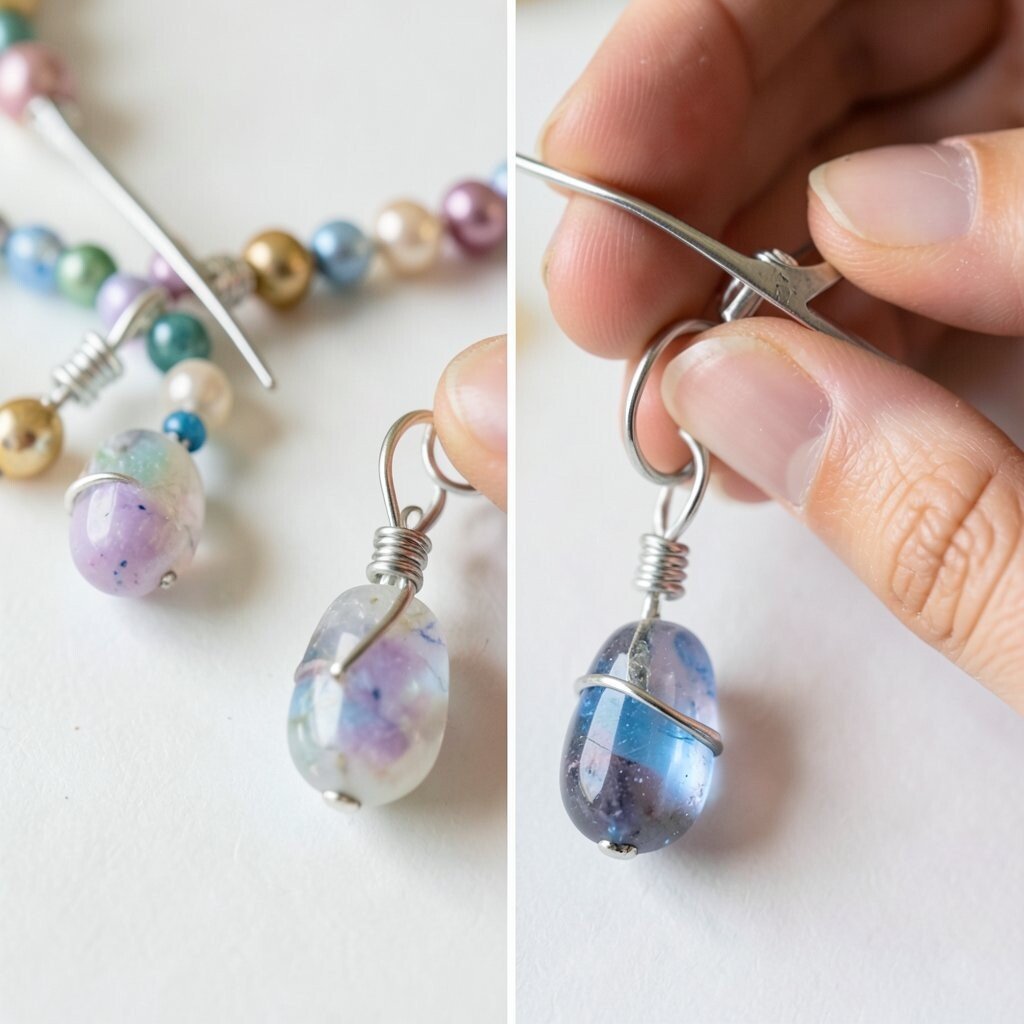
Wire-wrapped drops feel elegant because they sway and show off each bead. A small hinge lets the beads move freely, which looks lively in real life.
Wrap wire around your bead selection, then leave a flexible connection point so the drop can swing. Smooth sharp ends with gentle pressure so everything feels safe to handle. This technique is unique because the movement becomes part of the design.
To personalize, use a gradient of bead sizes, starting tiny near the top and larger near the bottom for a natural waterfall effect. Choose metal color based on your wardrobe, like warm tones for cozy outfits or cool tones for crisp looks. For cost considerations, buy a small spool of wire and you’ll be able to make many drops from it.
For a current style, pair bead drops with simple studs or hoop bases so the drop is the star. If you like a high-gloss finish, use crystal-like beads and keep the wire minimal so light can reach the beads easily.
12. Hollow Bead Centers With Layered Surrounds
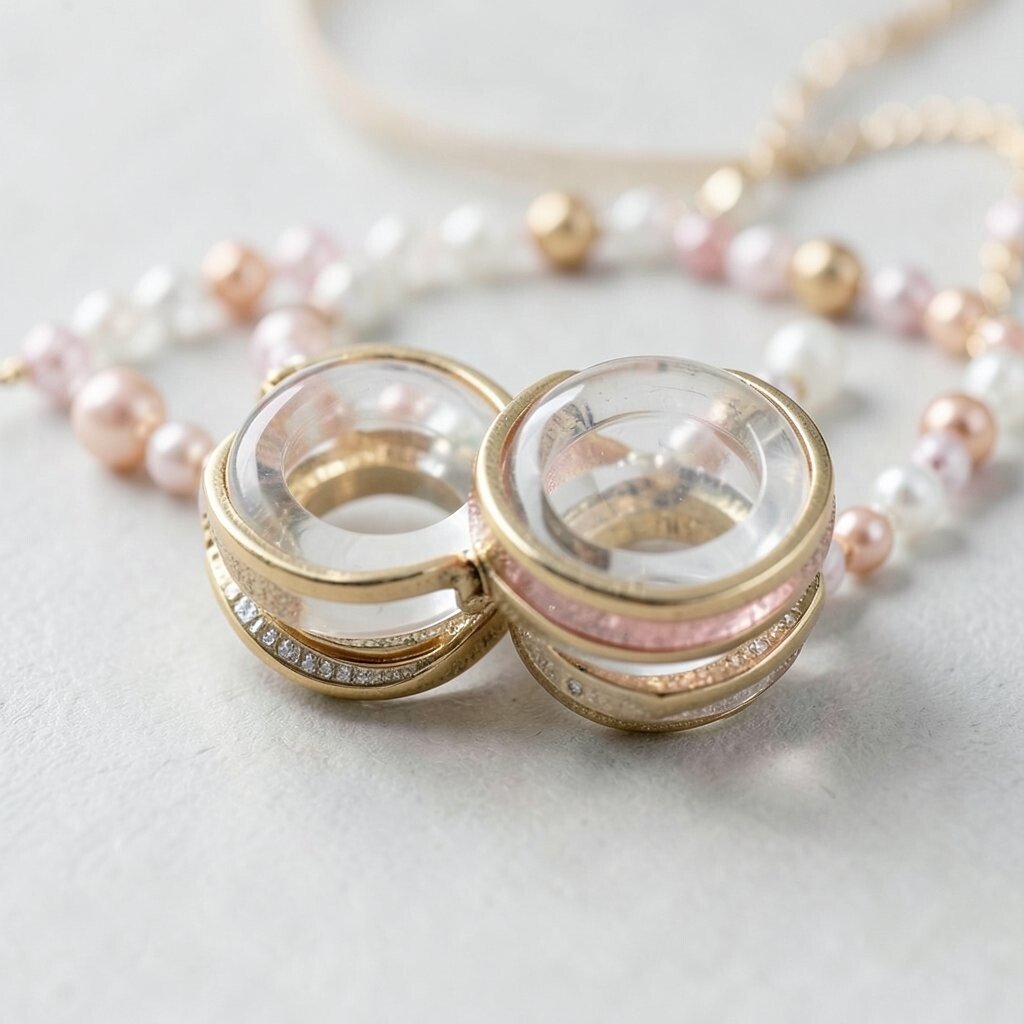
Hollow beads can become the center of a piece that looks bold without extra bulk. When you layer surrounding beads, the focal bead looks even brighter and more dimensional.
Plan a ring or cage around the hollow bead using seed beads or small round beads that fit neatly. Keep the surrounding structure evenly spaced so the hollow bead sits centered and stable. The benefit is that hollow beads often catch light through their openings, creating a unique sparkle effect.
Personalize by choosing hollow beads in colors like smoky gray, opal tones, or deep amber, then frame them with complementary metallic beads. If you want an up-to-date look, combine the hollow focal with geometric borders like squared-off bead clusters. Cost-wise, you can save money by using fewer premium hollow beads and filling the rest with affordable seed beads.
13. Mixing Chain And Bead Dangles

Chain-and-bead designs balance movement with shine. The chain adds a modern flow, while beads give warmth and color to the piece.
Attach beads to jump rings or small head pins so each bead moves slightly on its own. Keep the bead weight balanced across the chain so the necklace or bracelet hangs evenly. This technique is unique because the styling can swing from casual to dressed up with a simple change of bead palette.
For personalization, choose a repeating bead pattern that matches the rhythm of the chain links. You can also add larger dangles at the center and smaller ones near the ends for a classic focal point. Cost considerations are easy here since you can use one nice bead set for the center and keep the rest budget-friendly.
For current trends, try using minimalist chain with a few chunky beads rather than a fully beaded necklace. That “less but better” look is popular because it feels clean and intentional.
14. Resin-Coated Bead Finishes For A Smooth Gloss

Resin-coated beads create a glossy, candy-like finish that stands out. They also add a protective layer that helps the beads look crisp over time.
Clean your beads well before coating, then apply a thin, even layer so the surface stays smooth. Let it cure fully according to the product instructions you choose. The benefit is that your beads look vibrant, especially if you work with matte or transparent beads.
Uniqueness comes from experimenting with clear versus tinted resin and mixing pigments for subtle color shifts. Personalize by adding tiny metallic flakes for a soft shimmer that looks different at different angles. Cost can be managed by coating only your focal beads and using regular beads for the rest of the piece.
For trends, people are leaning into glossy, high-contrast looks paired with simple metal findings. If you want a modern edge, keep the design minimal and let the coated beads do the talking.
15. Bead Weaving Into Charms And Keychains
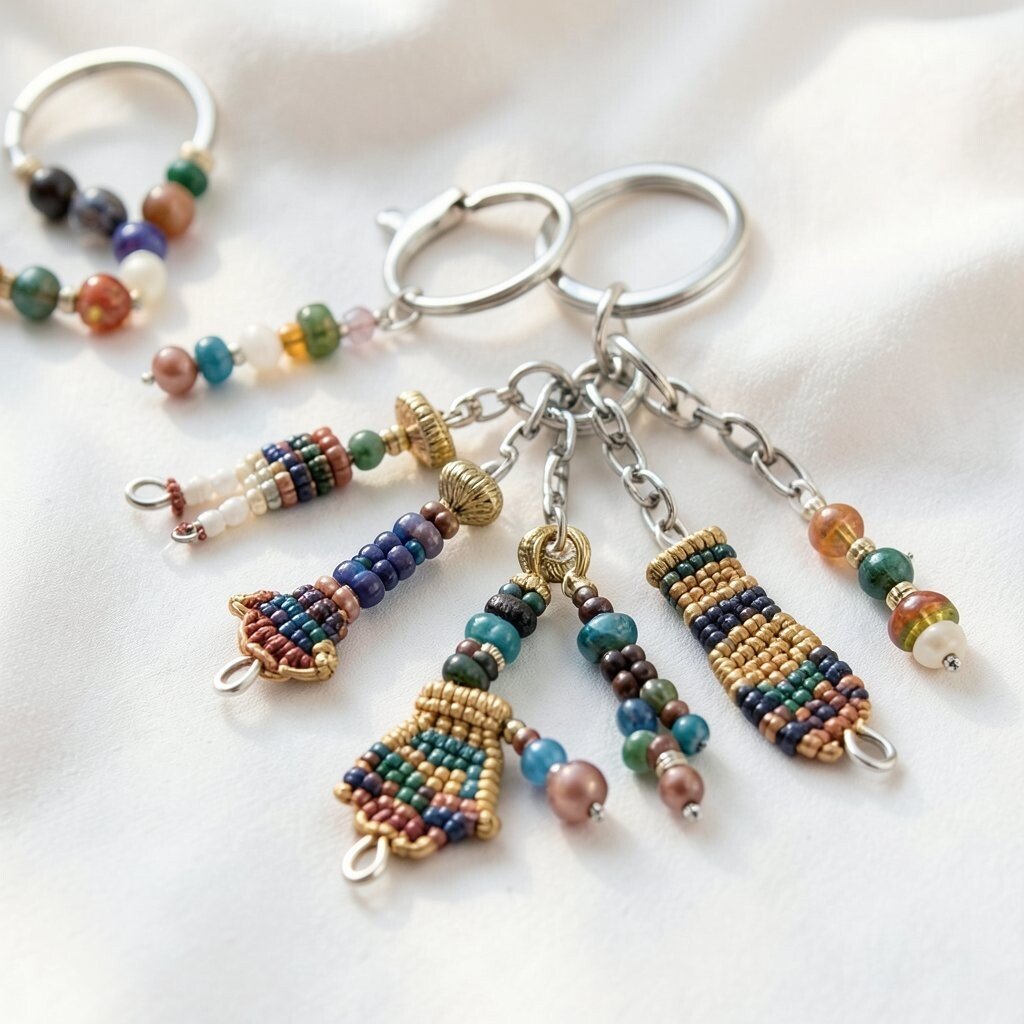
Beaded charms are small projects that still feel meaningful. You can turn them into keychains, bag charms, zipper pulls, or even mini earrings.
Use a sturdy loop or ring at the top, then weave beads around a core so the charm holds its shape. Choose a design that won’t snag too easily, like a flat panel or a tight net. This technique is unique because it turns everyday items into personal accessories with your color story.
Personalize by matching the charm to your main jewelry pieces, like using the same bead colors and finishes. For practical tips, keep the charm lightweight by using smaller beads and adding only one or two larger accents. Cost considerations are also friendly because charms use fewer beads than bracelets and necklaces.
For current trends, try charm clusters on bags or backpacks and pair them with simple jewelry sets for a coordinated look. When you make charms with care, the details make people ask where your accessories come from.