Your photos can look flat when the backdrop fights your subject. A few smart changes can make your setup feel like a mini studio.
1. Layered Fabric Curtains for Instant Depth
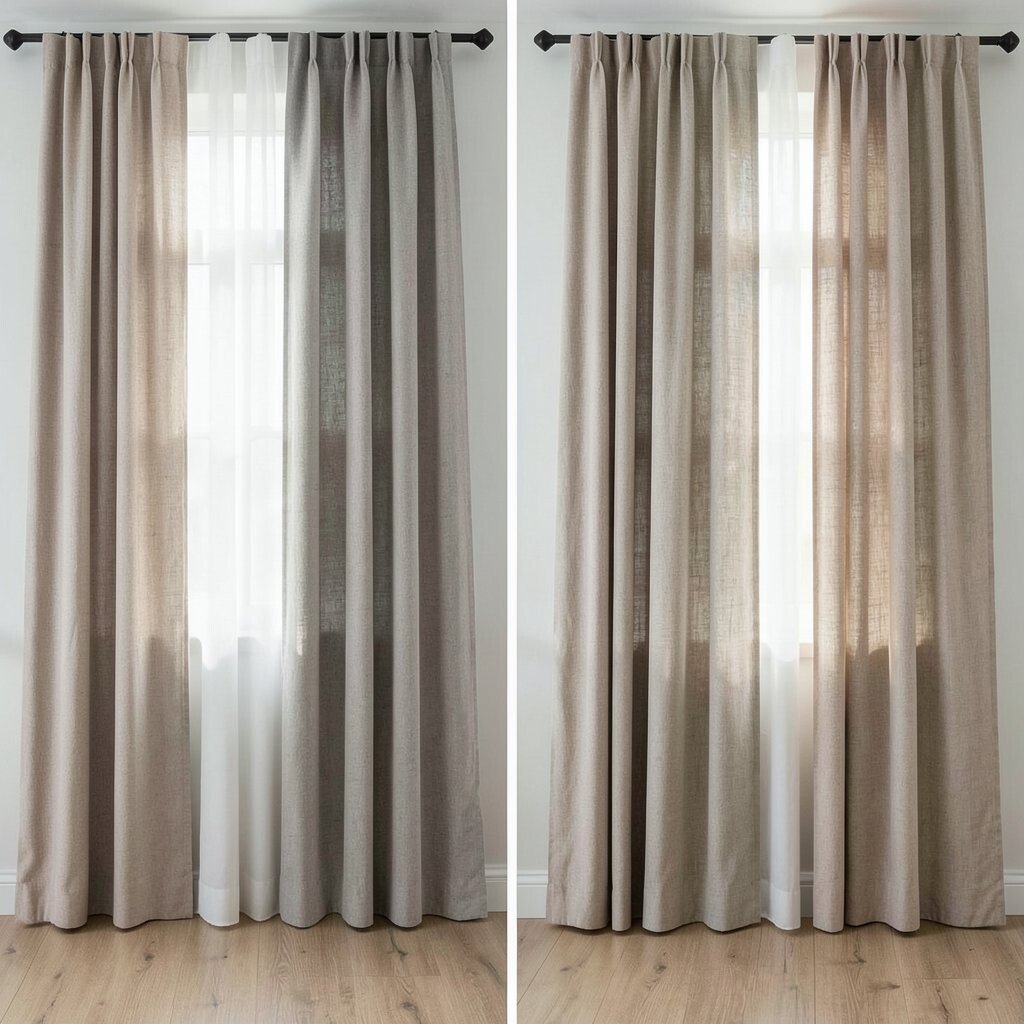
Hang a lightweight curtain panel behind your subject and let it fall in soft folds. In the “before” photo, the background can look like a flat sheet, but in the “after” photo, the texture adds gentle depth that makes faces pop.
Choose colors that match your skin tone and outfit so the scene feels calm instead of loud. For practical setup, use a tension rod or a simple backdrop stand so the fabric stays wrinkle-free. Steam or lightly mist the cloth, then keep it slightly wider than your frame so edges don’t distract.
2. DIY Seamless Paper Backdrop With a Clean Sweep
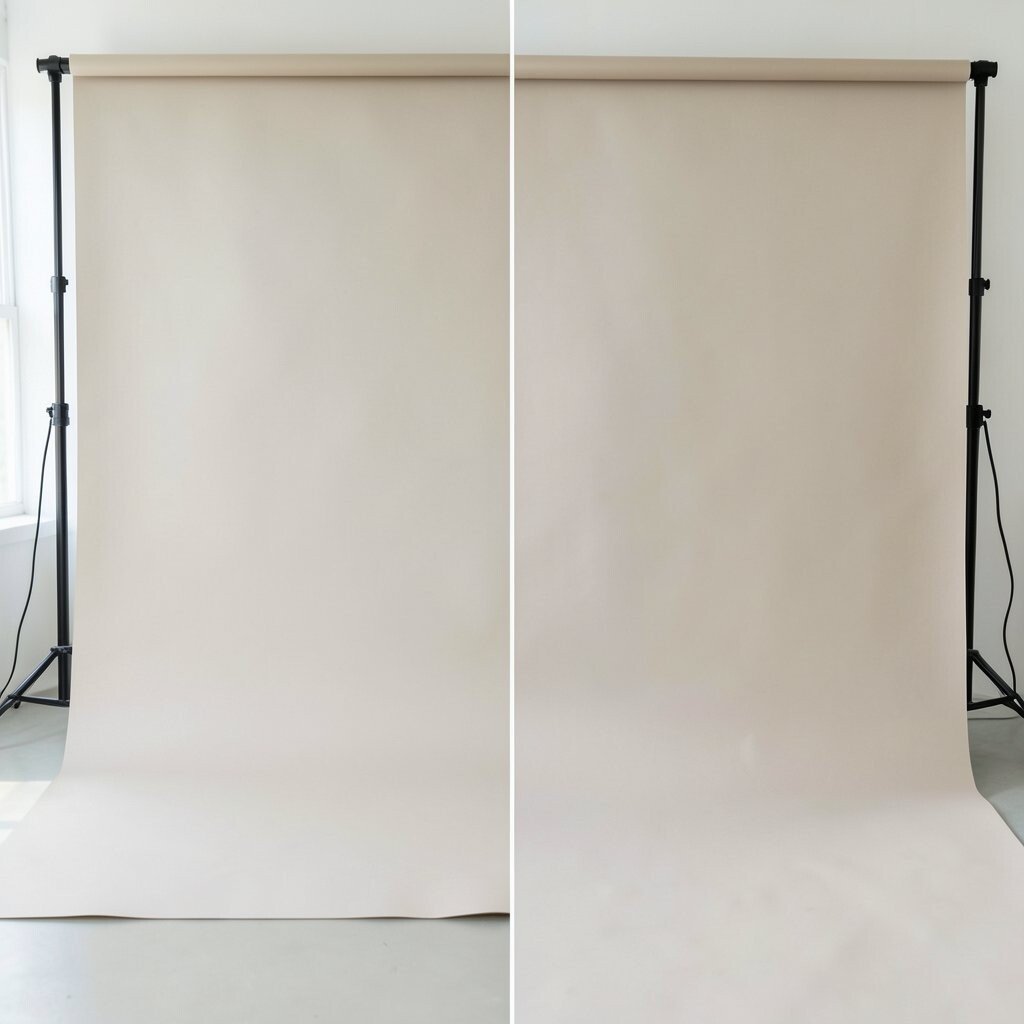
Roll out a roll of seamless paper and curve it smoothly from wall to floor so it never shows a hard corner. In your “before” shot, you might see a visible seam or a corner shadow, while the “after” image looks polished and bright.
Pick paper in light neutrals for portraits, or try muted pastels for lifestyle photos. Keep the paper taut and secure it with clips, then use a small piece of tape to reduce curling at the edge.
If you shoot outside or in a small room, go for thinner paper and support it with a sturdy stand. You can also switch colors fast for different moods, which is a budget-friendly way to get variety.
3. Window Light Backdrop Using the Room Itself
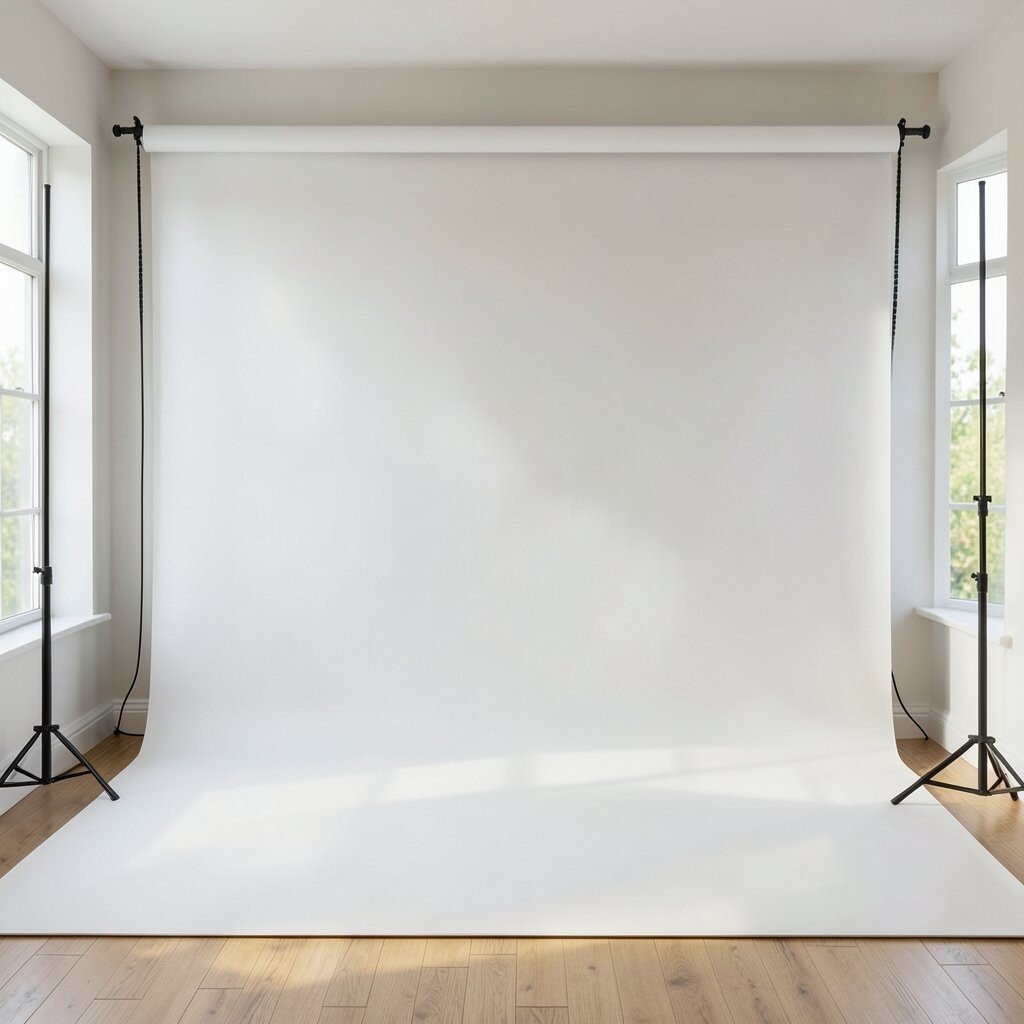
Place your subject near a window so the light becomes the backdrop, not just the lighting. In the “before” image, everything can look evenly lit but less interesting, while the “after” image gains warm gradients that feel natural.
Try using sheer curtains to soften the light and reduce harsh shadows. If the light is too bright, angle your subject slightly off-center so the background fades more smoothly.
For practical tips, keep your backdrop area clutter-free and use blinds, sheer fabric, or a reflector to shape the brightness. This setup is often low-cost because your room already provides the scene.
To personalize, match your fabric tone to the time of day, like golden hues for late afternoon portraits. If you want a trend-forward look, pair window light with a clean background and simple wardrobe colors for an editorial feel.
4. Textured Wall Paint or Removable Wallpaper
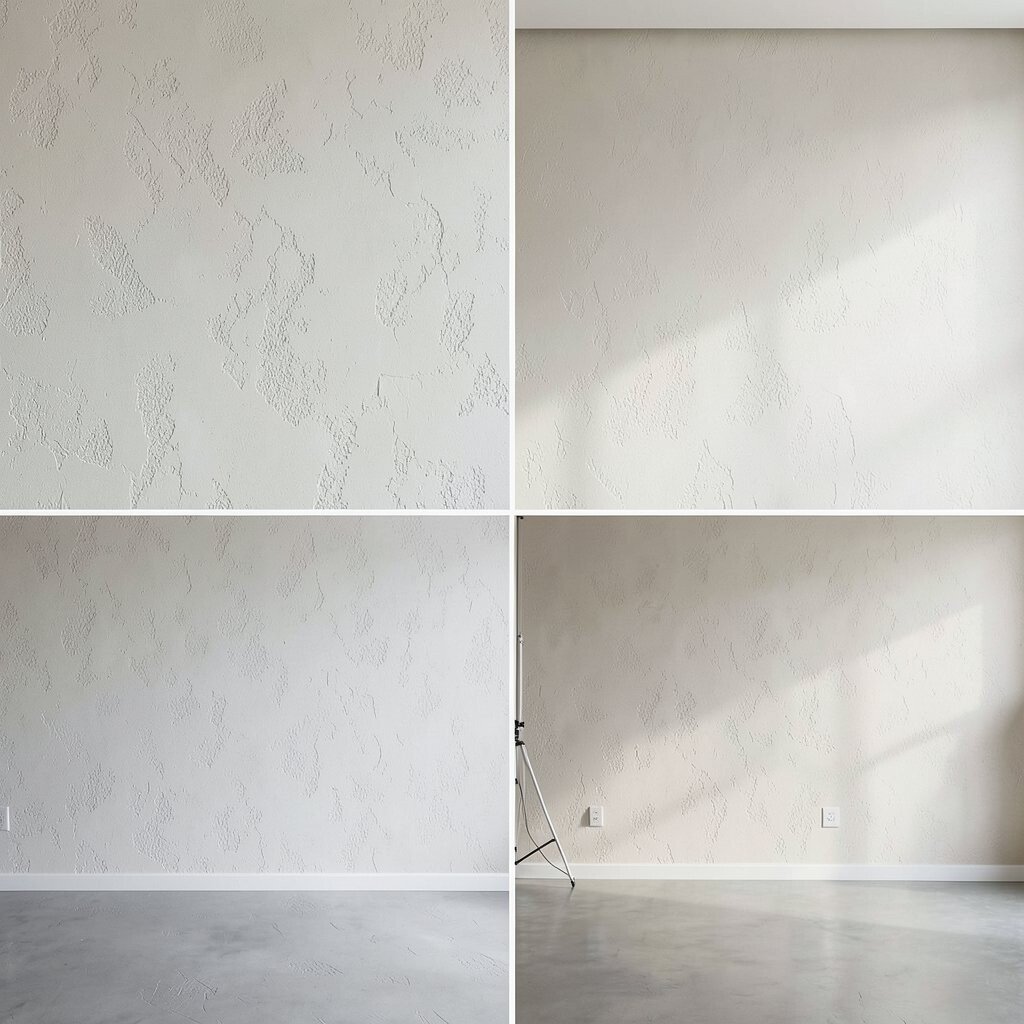
If you can, use a textured paint technique or removable wallpaper for your background surface. In “before” photos the wall can look plain and forgettable, but “after” photos gain character through subtle texture and shadows.
Pick a finish that fits your style, like soft matte for portraits or slightly more visible texture for fashion-style shots. Apply carefully, then test with your camera because texture can look different in daylight versus indoor light.
5. Mirror Mosaic Backdrop for Sparkly Highlights

Create a playful backdrop by arranging small mirror tiles or reflective pieces on a frame. In the “before” photo, the background may feel flat, but in the “after” shot, sparkly highlights add energy without needing fancy props.
Keep the mosaic at a safe distance from the lights so reflections don’t cause glare in your lens. Use spacers between tiles so grout lines or gaps stay even and tidy, which helps the background look intentional.
For cost planning, try thrifted mirrors or small decorative mosaic kits that are cheaper than full panels. To personalize, choose a color theme like silver for cool looks, or tinted pieces for warmer vibes.
6. Natural Plant Wall With Simple Framing
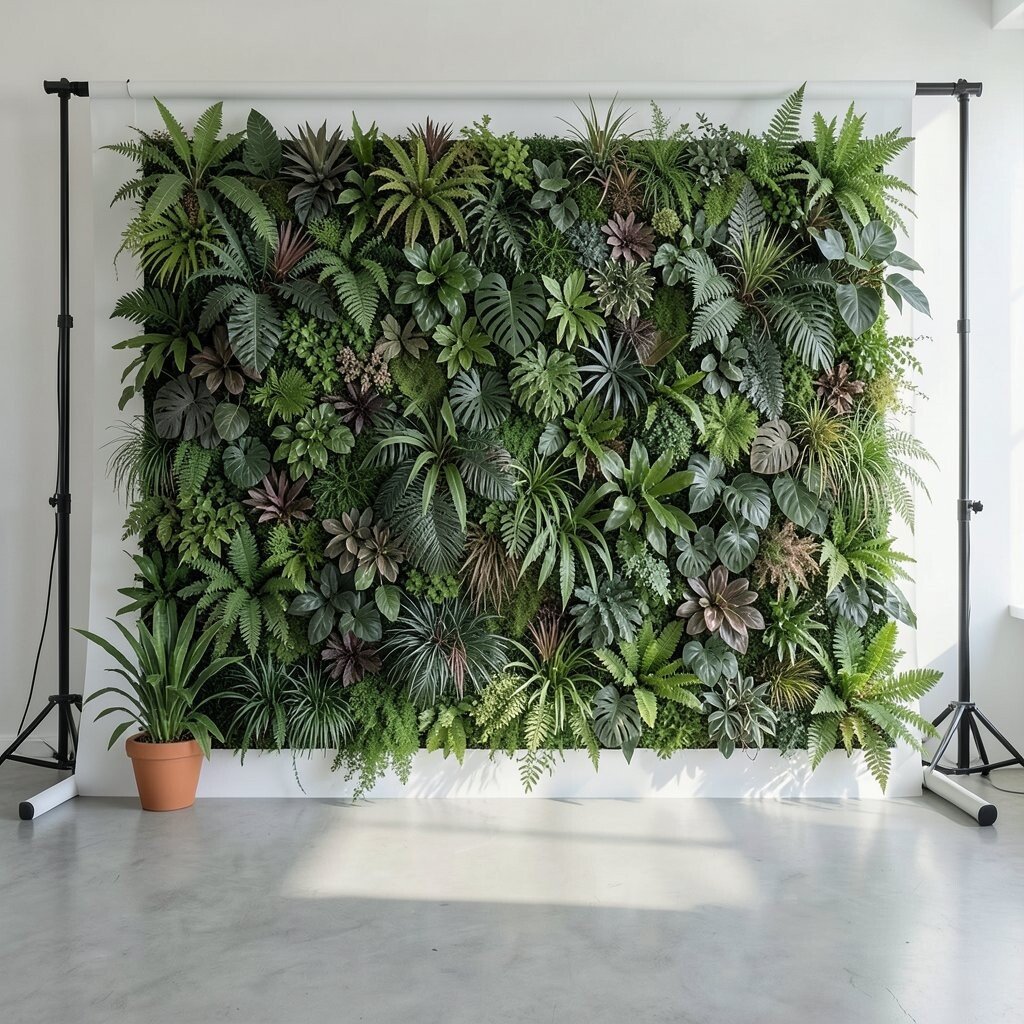
Build a mini plant wall using artificial vines or easy-care faux greenery around a rectangular frame. In “before” images, backgrounds can feel sterile, but “after” images feel alive with soft green shapes behind the subject.
For a practical approach, use a backing sheet or dark cloth first, then layer plants for depth. Vary plant sizes and mix leaf densities so the wall doesn’t look like a flat sticker sheet.
If you want real greenery sometimes, pick hardy plants and mist them lightly, but plan for uneven growth. A trend that’s still popular is bringing nature into portraits, especially for cozy brand shots and lifestyle sessions.
7. Stenciled Cardboard or Foam Board Patterns
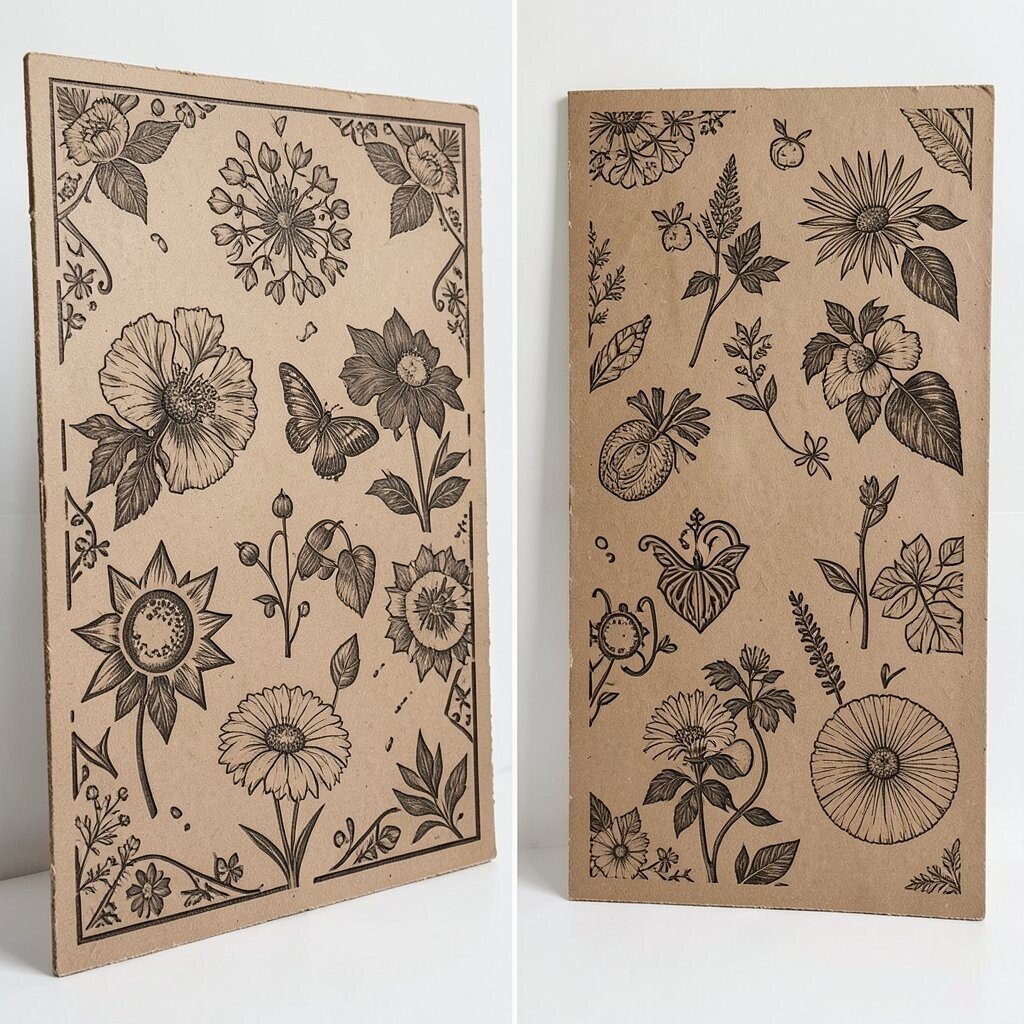
Use stencil patterns on foam board or thick cardboard and place it behind your subject. In the “before” look, the background may be plain, but the “after” version shows crisp shapes that guide the eye toward your face.
Pick patterns with big shapes for easier framing, like dots, arches, or gentle geometric lines. For practical tips, seal the board with matte spray so it doesn’t bounce light too much.
Cost can stay low because foam board is affordable and stencils are easy to reuse. Personalize by blending your brand colors or adding a signature pattern corner so your photos feel instantly recognizable.
Try aligning the pattern so it sits mostly behind the shoulders, leaving space around the head for clarity. This is a fun way to create uniqueness without building a complicated set.
8. Floating Fabric Backdrop With a Soft Hanging Edge

Hang a long fabric panel that extends slightly past your subject and drapes loosely from above. In “before” photos, the background can feel tight and cramped, while “after” portraits show a calm floaty edge that looks elegant.
Use a lightweight fabric like chiffon, satin, or a soft cotton blend so it catches light with gentle movement. For practical setup, clip the top to a beam or stand and use a couple of small weights at the bottom corners.
9. Backdrop With a Photo-Printed Scene Behind You

Use a printed vinyl or fabric scene, like a city street, simple clouds, or a sunset gradient, positioned behind the subject. The “before” image might look like you’re stuck in a room, but the “after” shot feels like you stepped somewhere new.
For practical tips, choose a print that has a soft blur or painterly style so it doesn’t look overly sharp behind real faces. Match your lighting color, such as warming your lights slightly for golden prints, so the scene feels consistent.
Cost varies, but you can save money by printing only one panel in a smaller size and upgrading later. To personalize, add your own text or a subtle logo near the bottom so your brand always shows up in a nice way.
10. Chalkboard or Whiteboard Background for Messaging and Mood

Write a short phrase or draw a simple design on a chalkboard or whiteboard and place it behind your subject. In “before” photos, backgrounds may look generic, but “after” images gain a playful message that feels intentional.
Keep the writing large and simple so it stays readable, even with portrait framing. For practical setup, use a cloth to wipe smudges and do a quick test photo before your session.
If you want a trend-friendly look, try minimal line art or soft gradients made with chalk shading. This backdrop can be inexpensive, and the biggest cost is usually your time spent making the design look clean.
11. Crooked Geometry Backdrop for a Modern Editorial Twist

Create a modern look using angled panels, like foam boards cut into diagonal shapes, placed behind your subject. In the “before” photo, your background may feel too symmetrical, while “after” images look bold and editorial with dynamic lines.
Choose strong color pairs, like cream and charcoal, or muted earth tones for a calmer mood. For practical tips, secure panels firmly so they don’t wobble, and avoid placing bright colors too close to the face.
To personalize, layer shapes of different sizes and angles so your set looks like your own design, not a copied template. If you’re budget-minded, repurpose old poster boards or cardboard and cover them with paint or contact paper.
12. Before-After Color Gels With a Simple Backdrop
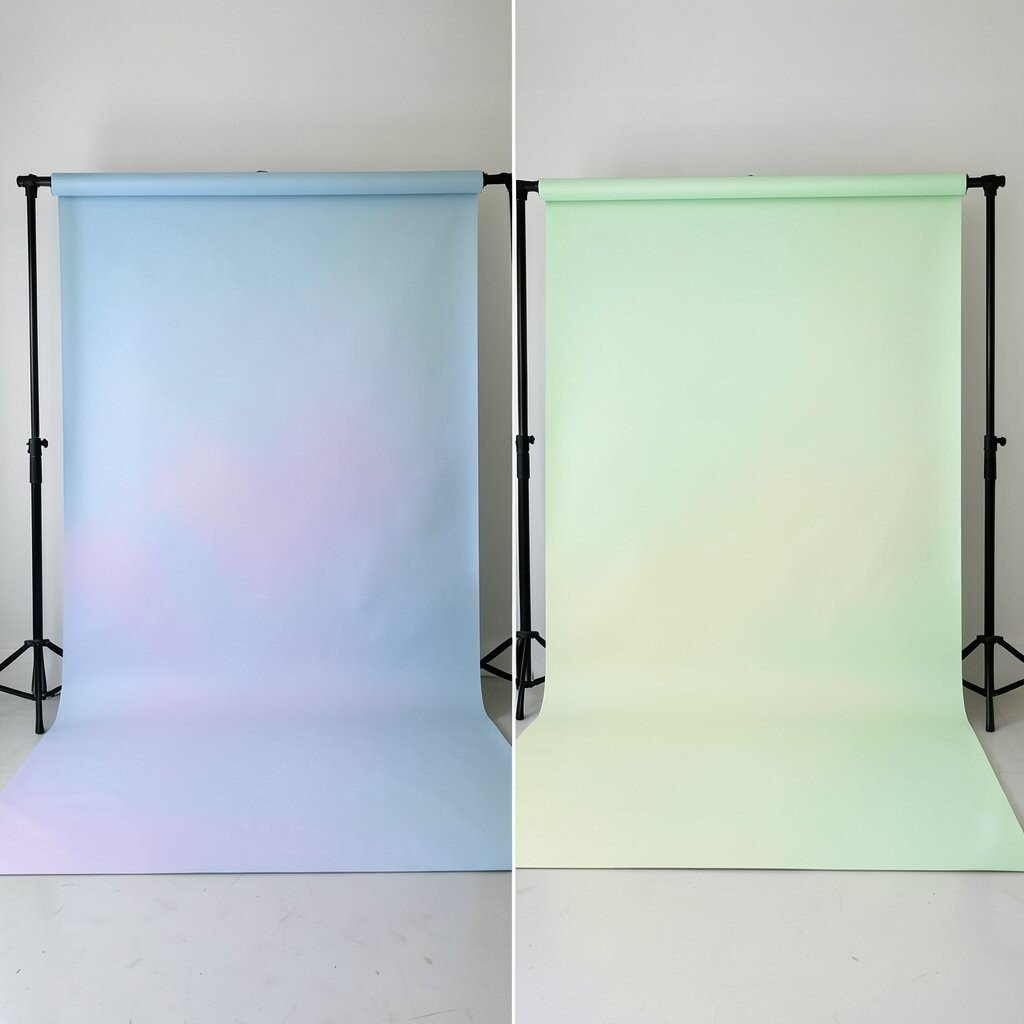
Start with a plain wall or neutral backdrop, then add colored lighting using gels or colored film over your lights. In “before” images the space can look flat, but in “after” photos the background takes on a rich tint that adds mood without adding clutter.
For practical tips, use one color family at a time so the scene stays cohesive, like cool blue for a night vibe or warm amber for a cozy feel. Keep your subject properly exposed by adjusting brightness rather than blasting color intensity.
Cost can stay reasonable because gels are often reusable, and you can buy a small starter set. A current trend is using colored background light while keeping the subject lighting neutral, which makes the photo feel sleek and modern.
Personalize your style by matching the gel color to the outfit or to your brand colors, then take a few test shots to see how the tint affects skin tones. When you find a winning pairing, note it for next time so your setup becomes faster and easier.