
Your hair can look like soft art with just a few gentle touches. Small pins placed thoughtfully can make everything feel polished and special.
Use these ideas to get that airy, delicate look without feeling overdone. You can match them to your mood, your outfit, and the time you have.
1. Feather-Light Crown Pins for Soft Volume
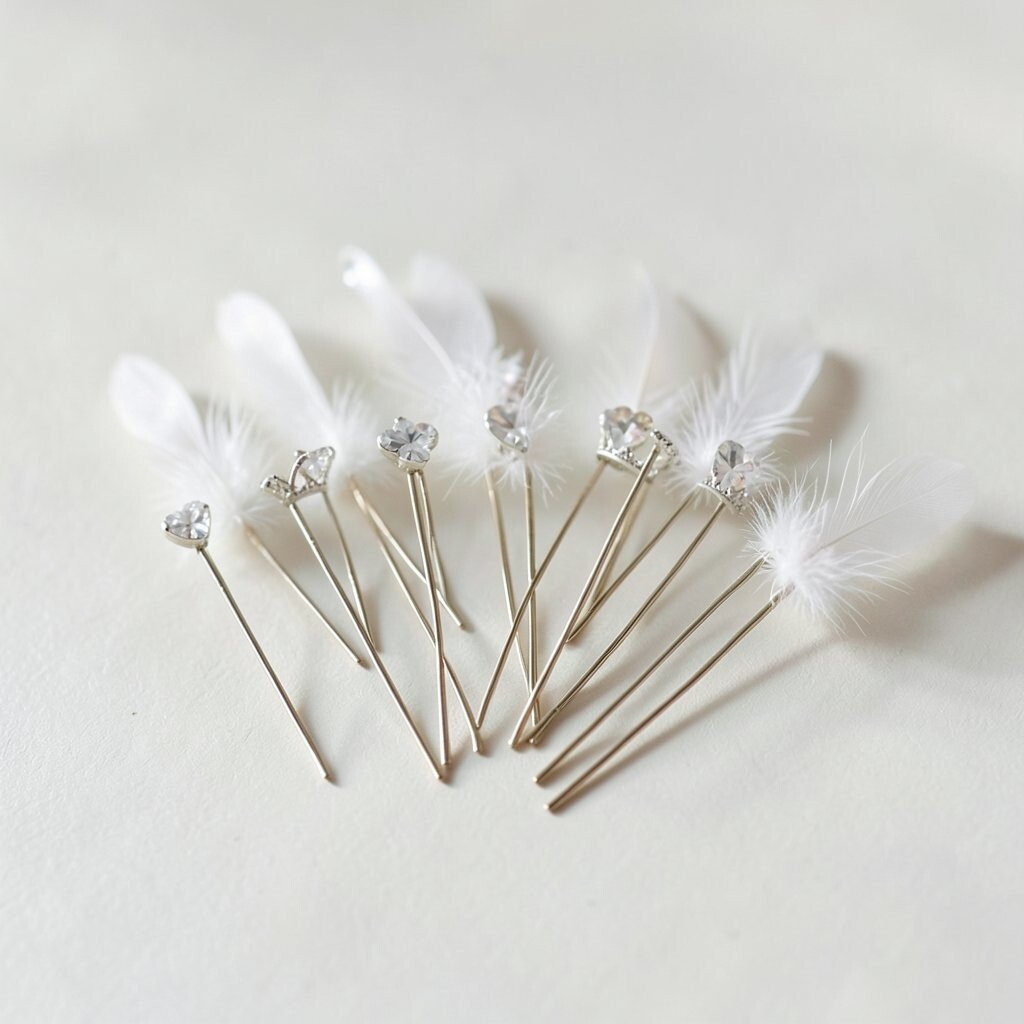
Picture a loose halo made of tiny hairpins, with each one catching the light like a sparkle. The top of your head feels lifted while the rest stays relaxed and natural.
Start with slightly damp hair, then blow-dry your roots for gentle volume. Part your hair where you normally do, and place a first pin near the crown to anchor the look.
Work in a small arc from left to right, spacing pins about one pin-length apart. Choose pins with thin gold or pearl-like details so the shine looks delicate instead of heavy.
2. Side-Swept Pin Cluster at the Brow Line
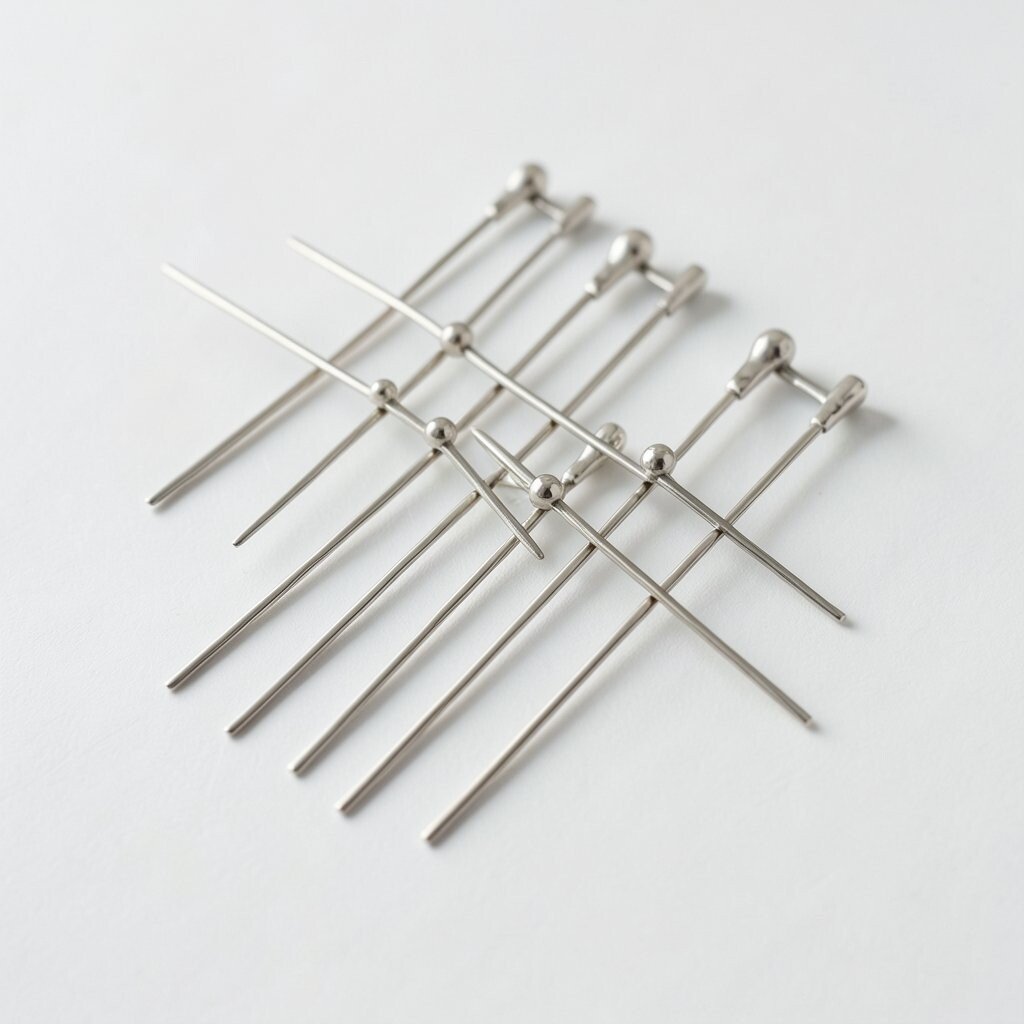
Imagine your hair swept softly to one side, with a tiny cluster sitting near your brow like a curated accessory. It’s romantic, flattering, and perfect for photos because it frames your face.
Pin a small section behind your ear, then add two more hairpins slightly above and below the first. Keep the cluster tight enough to feel intentional, but not so tight that your scalp shows.
If you want extra hold, lightly mist the hair with a light styling spray before pinning. This arrangement works beautifully with bangs, and it can also calm down flyaways along the hairline.
For personalization, match the pin color to your earrings so everything looks like it belongs together. You can also choose a slightly curved pin shape to follow your natural head contour.
3. Mini Crisscross Pins Across a Sleek Bun
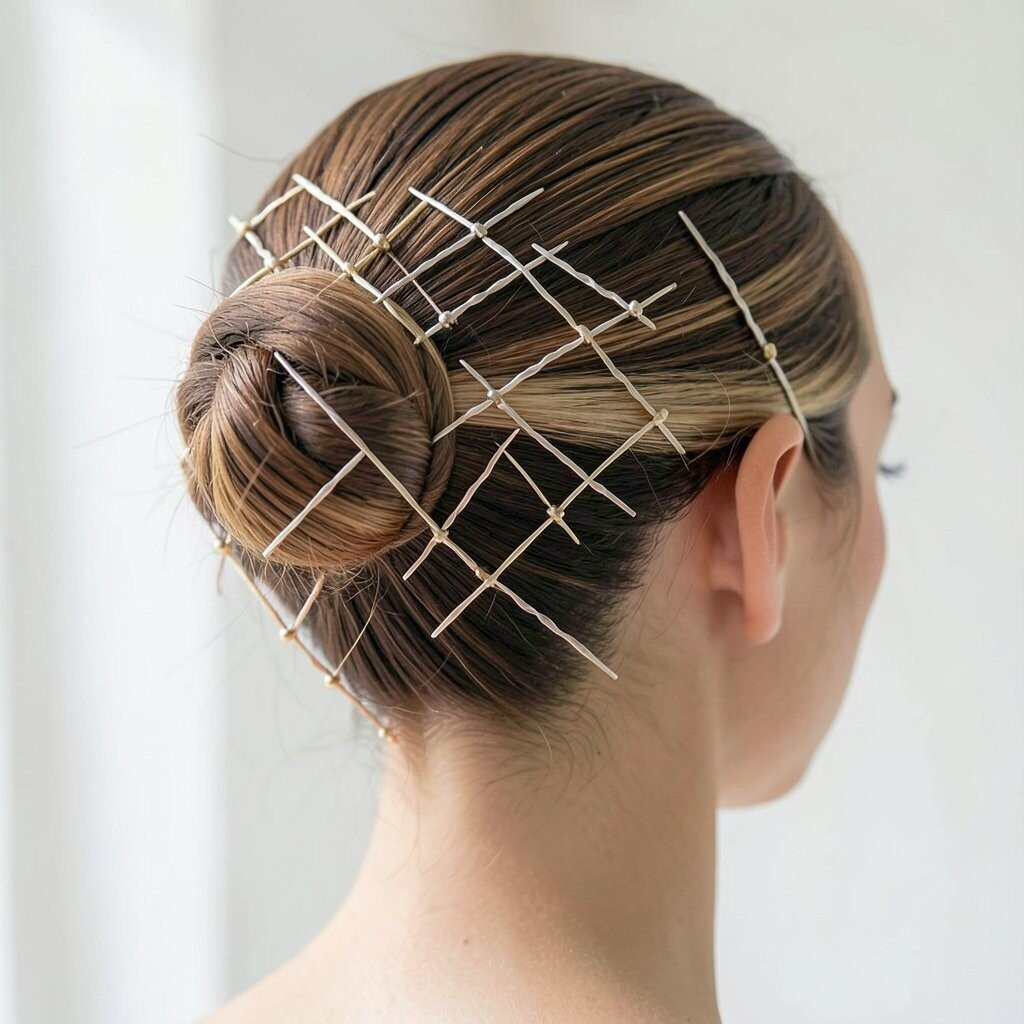
A neat bun is lovely, and a crisscross pattern adds that elegant, “how did you do that?” feeling. When the pins cross, the bun looks more secure and visually interesting.
Gather hair into a smooth bun, then slide two pins in at slight angles to form an X shape. Place them close to the bun’s outer edge so they show clearly.
For extra grace, use slim hairpins in muted tones like rose, champagne, or soft silver. If your bun feels bulky, use smaller pins and fewer of them so the look stays delicate.
To keep the sleek style from slipping, use a light hair gel at the base before pinning. This is a great option for workdays, date nights, and events where you want neat hair without a heavy hairpiece.
4. Back-Comb Tease With Single Pin Accent
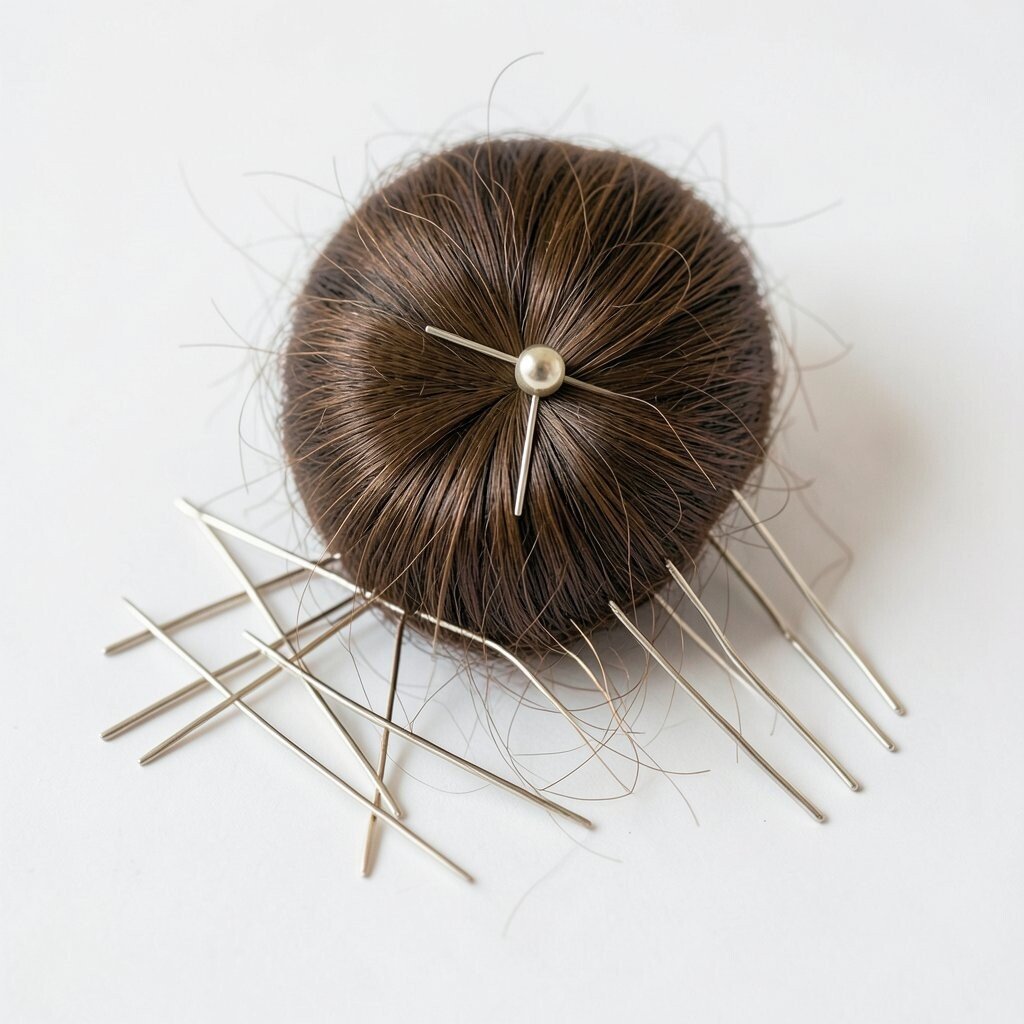
Think of a style that looks effortless but has just enough detail to stand out. A simple teasing job plus one well-placed hairpin can make your hair look styled even when you’re running late.
Tease only the crown area, smoothing the top layer gently so it stays polished. Insert one decorative pin horizontally across the teased section for a subtle focal point.
Look for pins with small beads or tiny crystal tips to catch light when you move. This gives you the trend of “less but better” styling, which is popular in everyday street looks right now.
5. Pearl Drop Pin Line on a Low Ponytail
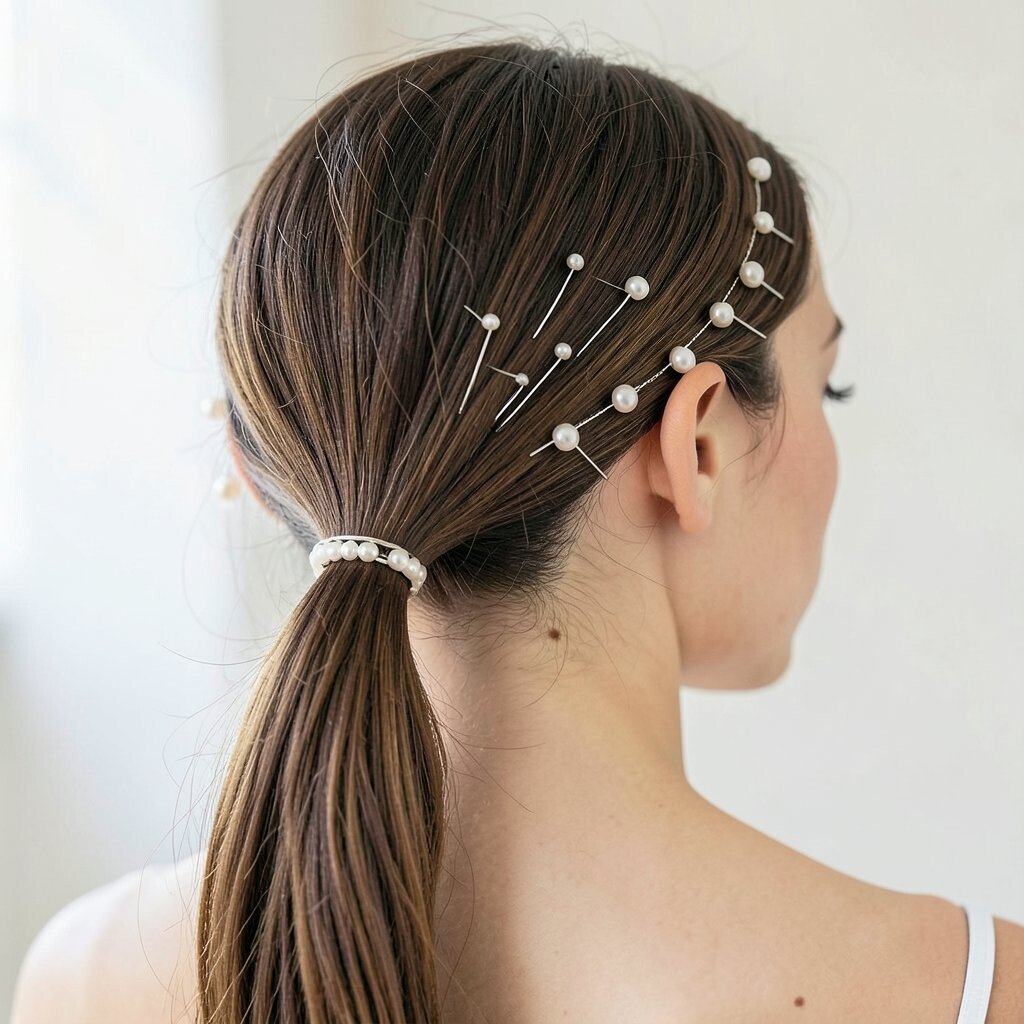
Your low ponytail can look dressed up in seconds with a line of delicate pins. The pearls or bead tips create a soft trail that looks romantic from every angle.
Create a low ponytail and wrap a small strand around the band if you like. Then slide pins vertically along the top of the ponytail, spacing them evenly like tiny raindrops.
Choose a color that matches your hair shade, such as warm gold for golden tones or silver for cool browns. If you’re worried about cost, look for multipacks of small pins and use only the best-looking ones for the visible line.
6. Twisted Half-Up With a Tiny Spiral Pin
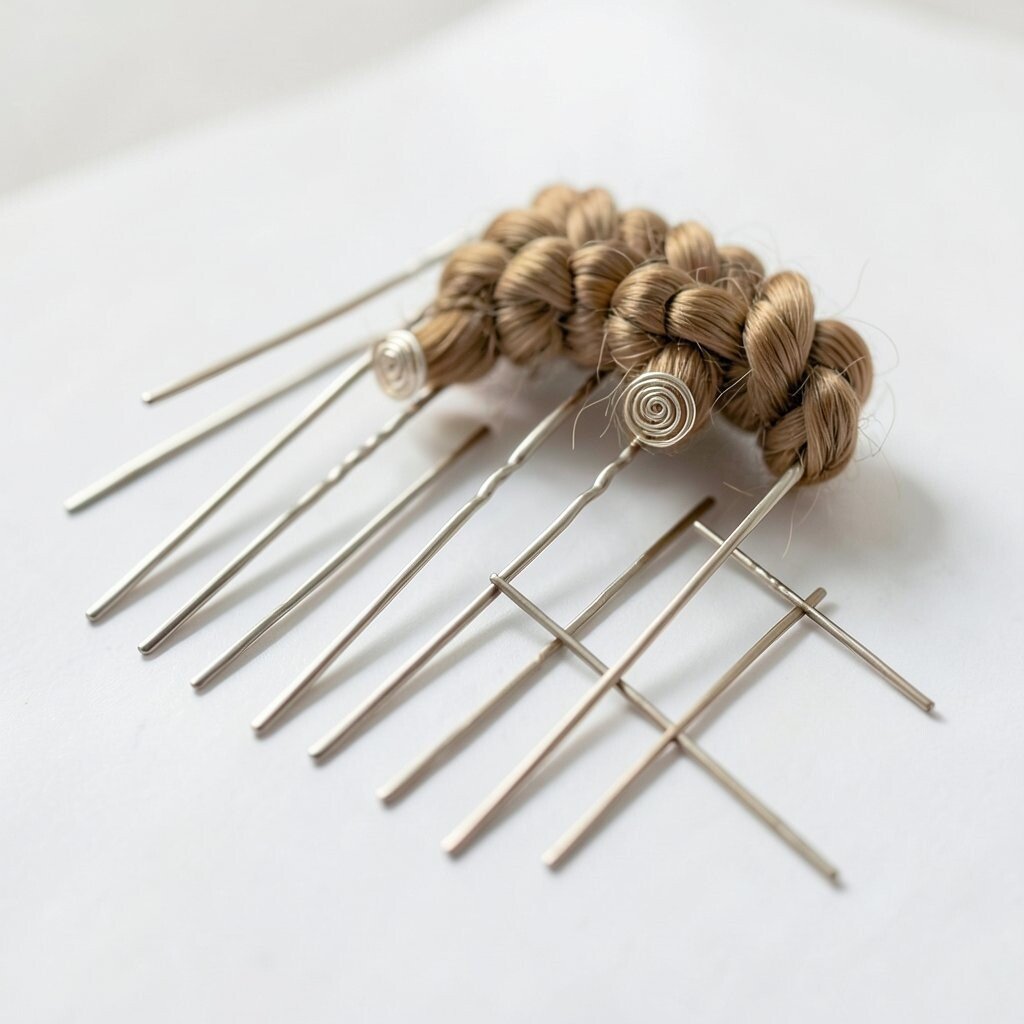
Picture a half-up style where the twist looks clean, and the pin adds a playful spiral detail. This arrangement feels soft and modern, especially on shoulder-length hair.
Take two small sections from the front, twist them back, and secure them lightly. Place a spiral-shaped or curved hairpin across the twist so it holds while also showing a cute accent.
For practical comfort, keep the pin close to the scalp and avoid pushing it too deep. If your hair is fine, add a tiny bit of texture spray before twisting so it grabs better.
7. Vertical Pin Ribbons on Loose Waves
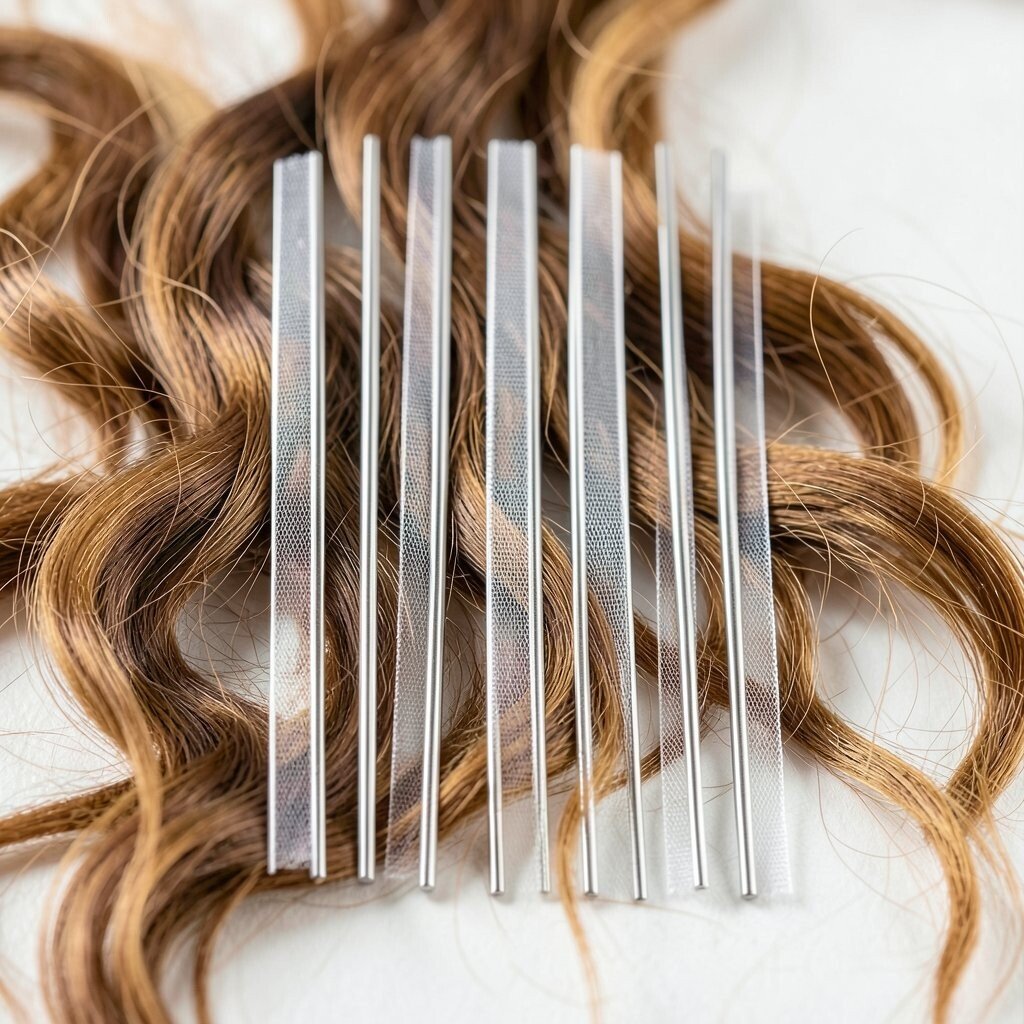
Loose waves look even prettier when you add vertical ribbons of hairpins. Think of thin lines of shine that guide the eye down your hair.
After curling or waving, clip small sections at the sides and slide pins in vertically to hold them. Space the pins like gentle stripes, and keep them visible so the pattern feels intentional.
To personalize, choose pin tops that match your outfit pattern, like matte black for minimal outfits or pearl for light colors. This arrangement is trending because it looks artsy while still easy enough for everyday life.
If you want extra hold, use hairspray lightly on the pinned areas only, then let it set before touching. You’ll get that “my hair is naturally styled” effect without stiffness.
8. Ear-Frame Pin Arc With Loose Ends
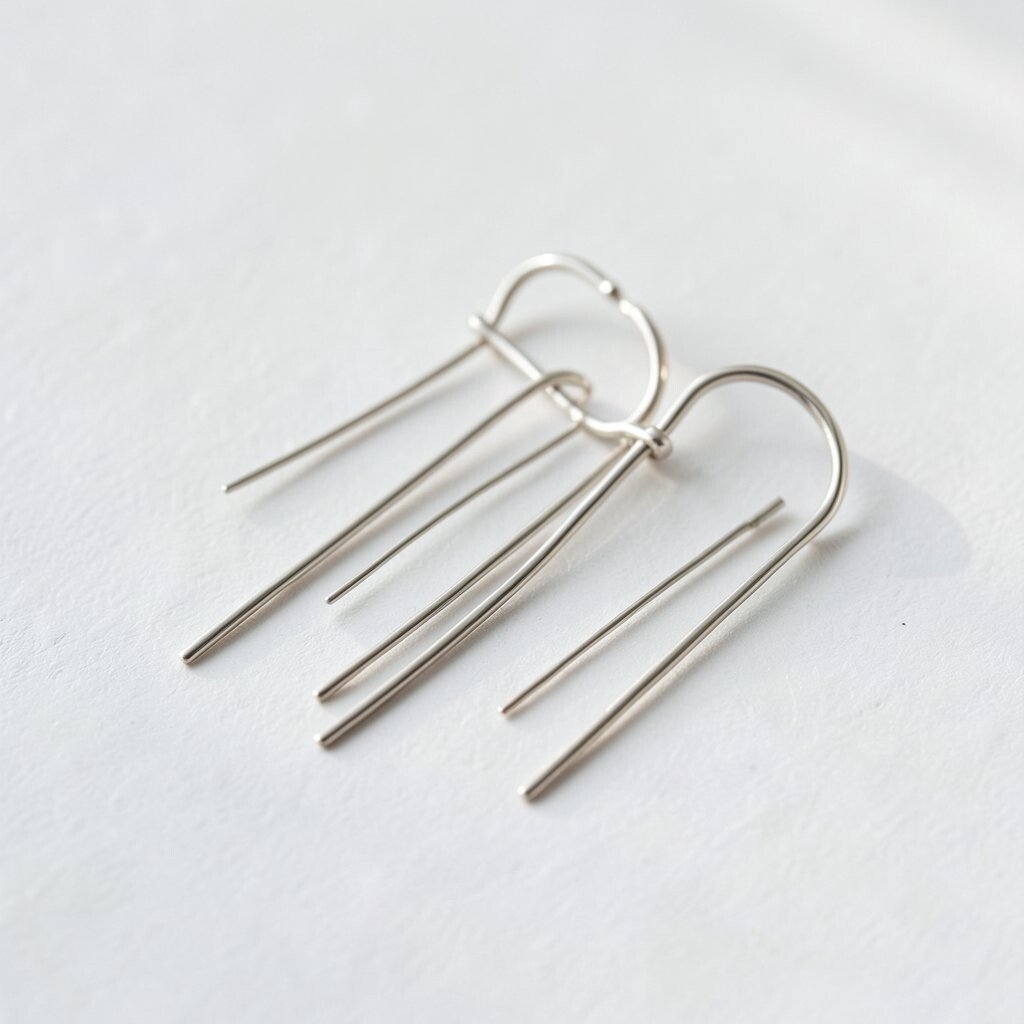
This look is all about framing your face with a graceful arc. The hairpin sits like a delicate eyebrow, while your ends stay airy and free.
Part your hair as usual, then lift a small section near the ear. Slide a hairpin in an arc so it anchors the section and creates a clean, curved line.
Try mixing two pin finishes, like one pearl-tipped pin plus one thin gold pin, for a personalized sparkle. If your hair is thick, use slightly longer pins so the arc holds without slipping.
9. Horizontal Pin Row on a Sleek Side Part
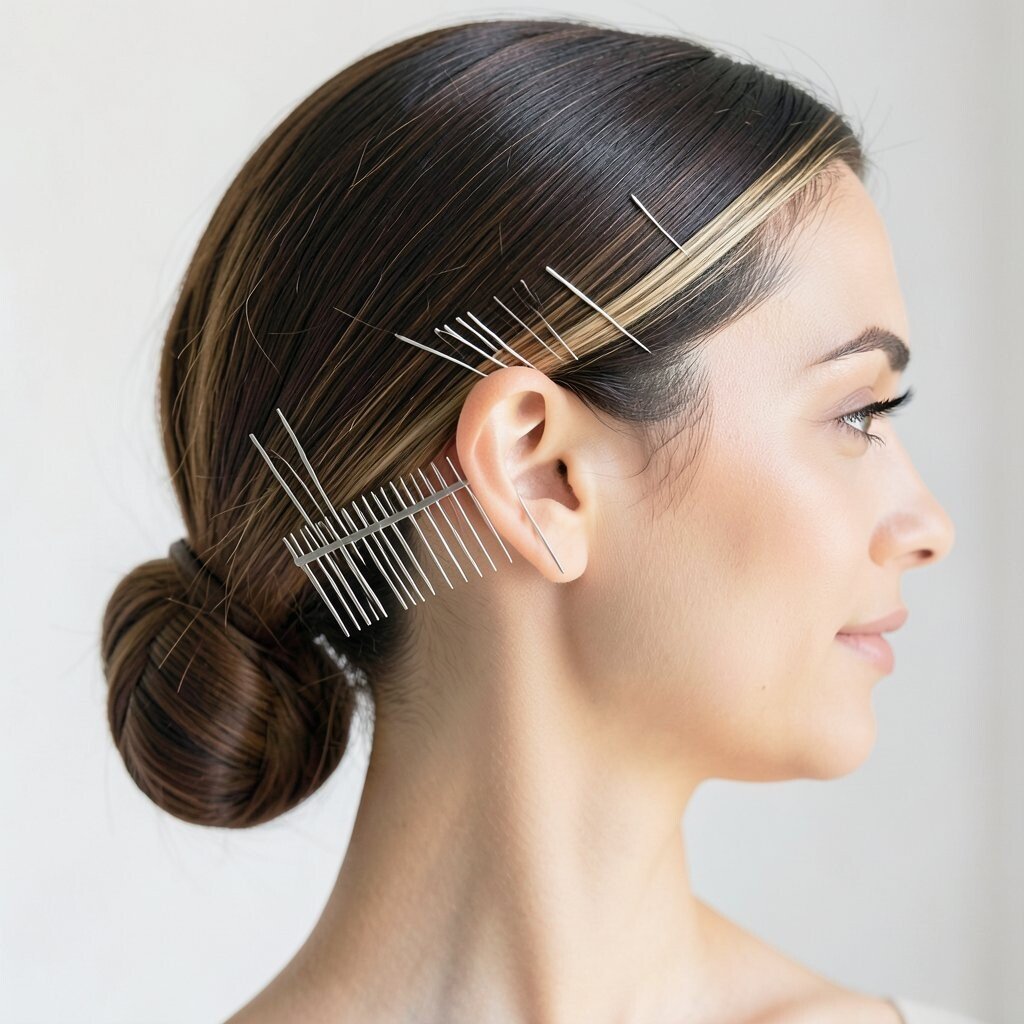
A horizontal row of pins can make your hair look neatly styled without needing a full clip. When the pins line up across a side part, the whole look feels sharp and polished.
Make a deep or medium side part, then smooth the top with a little cream or gel. Slide pins in a straight line along the part, keeping the tips hidden and the decorative ends facing outward.
Use thin pins so the row looks delicate, not bulky. This works well for events where you want your hair to stay sleek, like weddings, interviews, or dinner parties.
If you’re budget-conscious, buy simple pin sets and rotate them with your favorite one as the “hero” pin. You can also add one tiny pin higher up for an asymmetrical twist.
10. Diamond-Shape Pins on a Low Twist
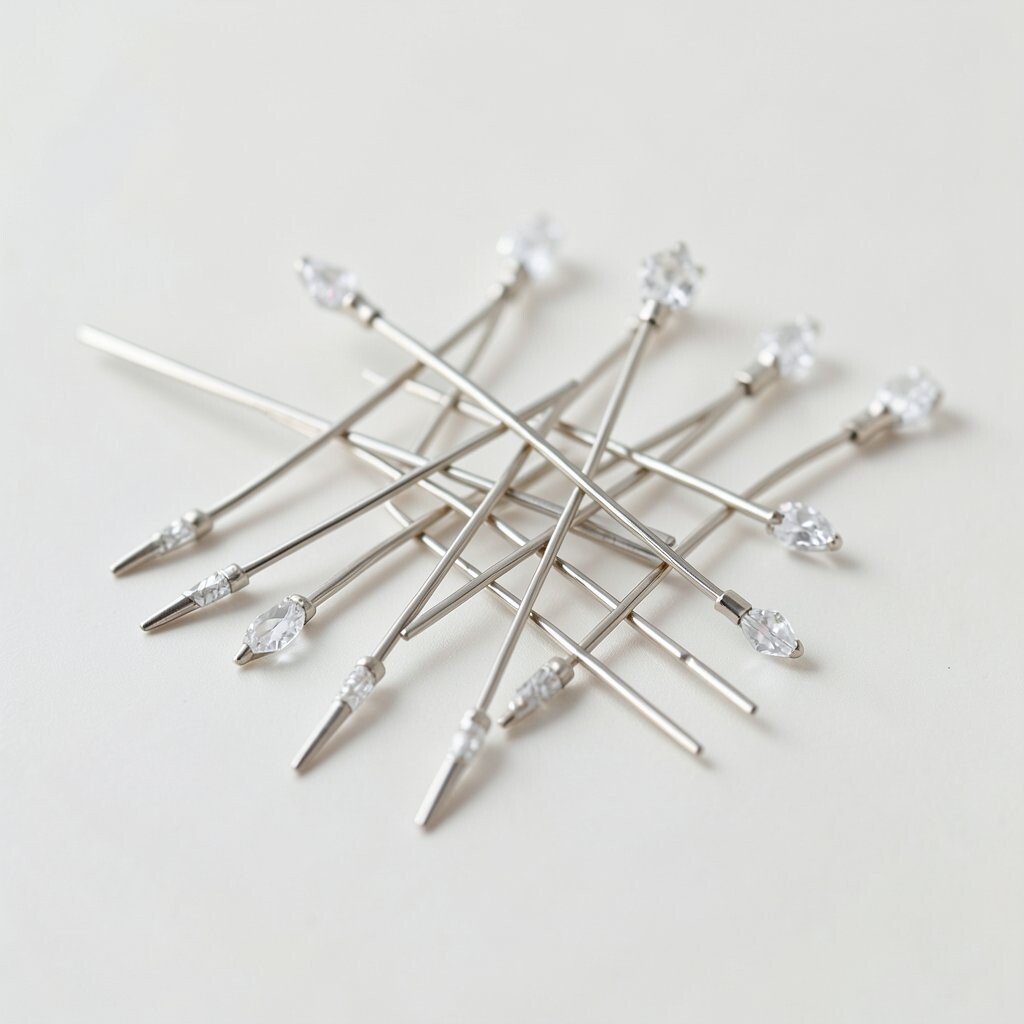
Imagine a low twist that has small diamond accents, like tiny jewelry placed on the hair. This arrangement feels unique and adds texture even when your hair is simple.
Create a low twist by twisting the length toward the back, then secure it lightly with a hidden elastic. Place hairpins in a diamond pattern, crossing them slightly so they catch light from different angles.
To keep it comfy, secure the diamond pattern at the base of the twist where it feels steadier. If your hair is slippery, add a small amount of dry shampoo at the roots so the twist grips.
For personalization, use two pin colors and alternate them through the diamond. This gives a subtle layered look that still feels delicate and classy.
11. Garden-Style Pins With Floral Tips
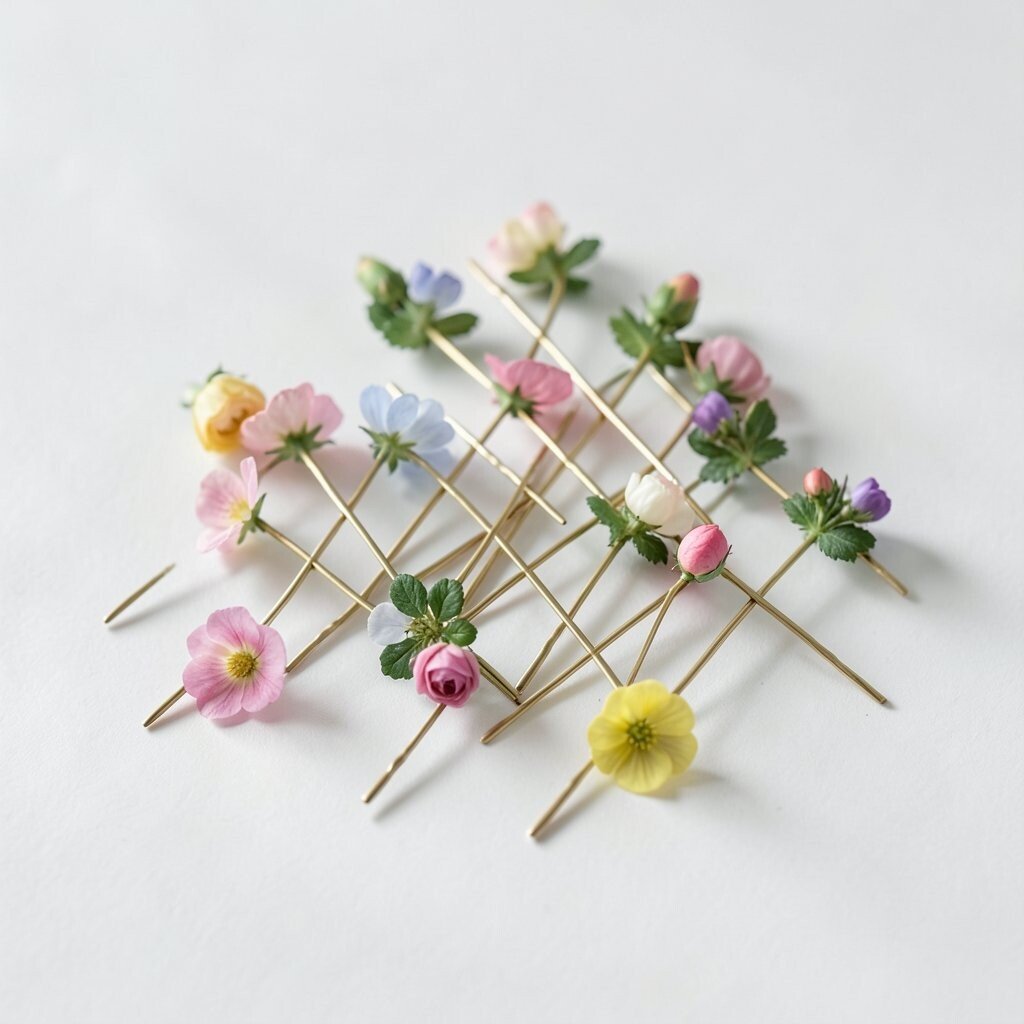
Floral hairpins make your hairstyle look like it belongs in a summer garden scene. Even a simple updo can feel fresh and light when the pin tips look like tiny blossoms.
Start with a low bun or simple gathered hair, then place one floral-tipped pin slightly off center. Add two more pins around it, keeping them spaced so the flowers don’t overlap.
Choose flower designs that match your outfit vibe, like small daisies for casual days or soft rosebuds for elegant looks. If you’re careful with placement, you can make affordable pins look high-end because the spacing does the work.
12. Waterfall Pin Setup Along the Back
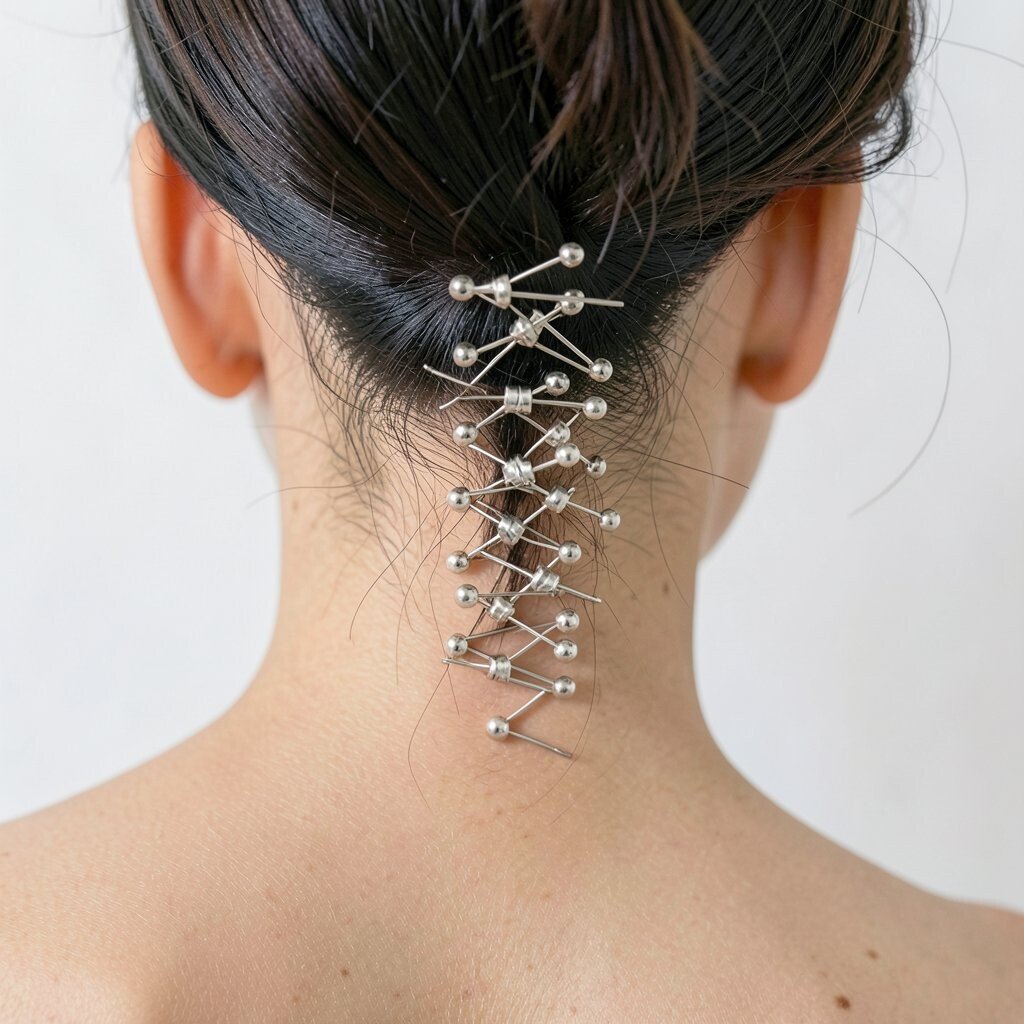
A waterfall-style pin arrangement can turn a half-up look into something dramatic and delicate. The pins guide strands across the back like flowing ribbons.
Secure the top sections lightly, then let small pieces fall in layers while you add pins underneath. Place pins to hold each falling strand, keeping them hidden so the effect looks natural.
This arrangement is great for medium to long hair because the layers give you room to place pins without clutter. For personalization, match pin metal to your hair accessories, like choosing rose gold if your bag hardware is rose gold.
13. Clipless Updo With Loop Pins at the Nape
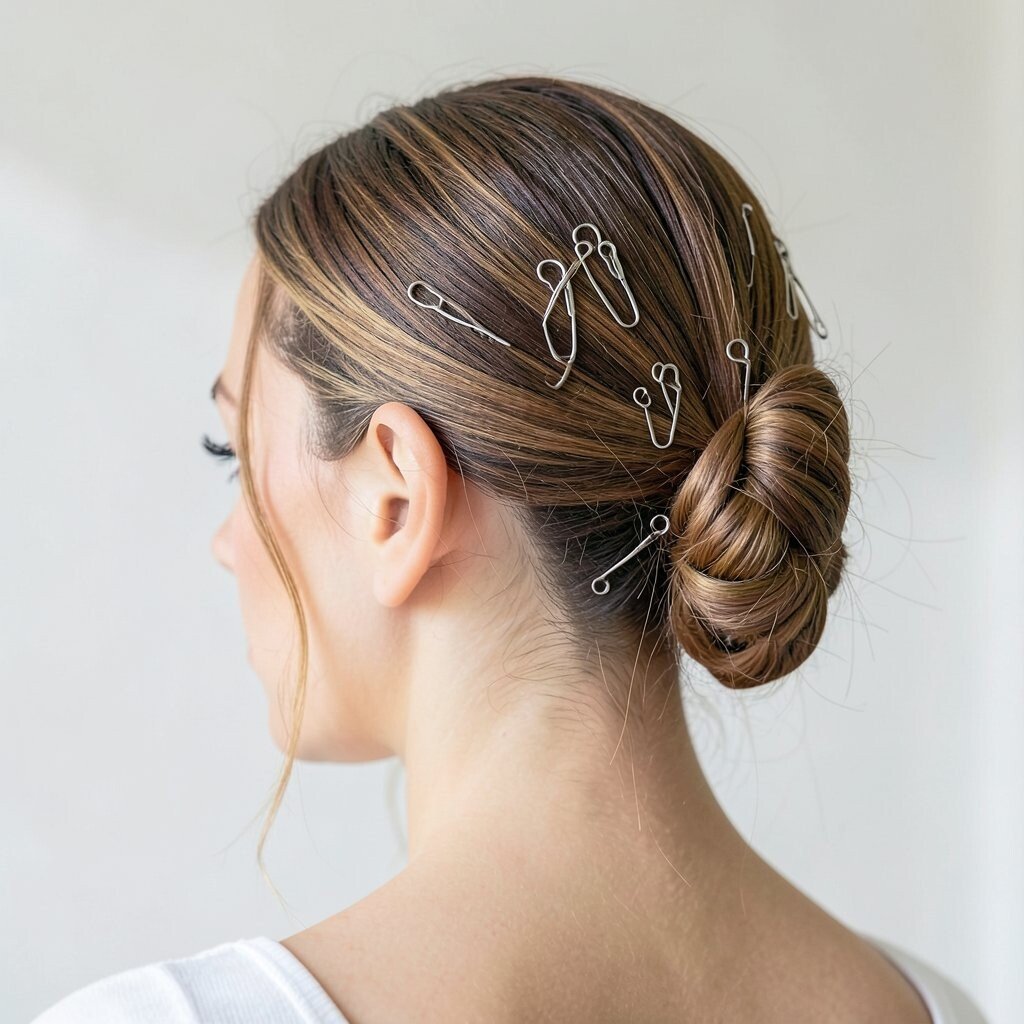
Some styles look complicated, but loop pins can make them feel surprisingly easy. When pins sit near the nape in a loop shape, your updo looks secure and delicate.
Twist your hair upward into a loose updo, then add loop hairpins at the nape area to anchor it. The loops should hold the shape while still letting your hair look soft rather than stiff.
Use a light smoothing product so flyaways tuck in neatly around the pinned zone. If you have thick hair, consider slightly more pins near the base for comfort and lasting hold.
For cost savings, you can buy a small pack of loop pins and use them only at the nape, where they matter most. You’ll get a strong style foundation without spending on a large set.
14. Bow-Like Two Pin Accent on a Low Side Knot
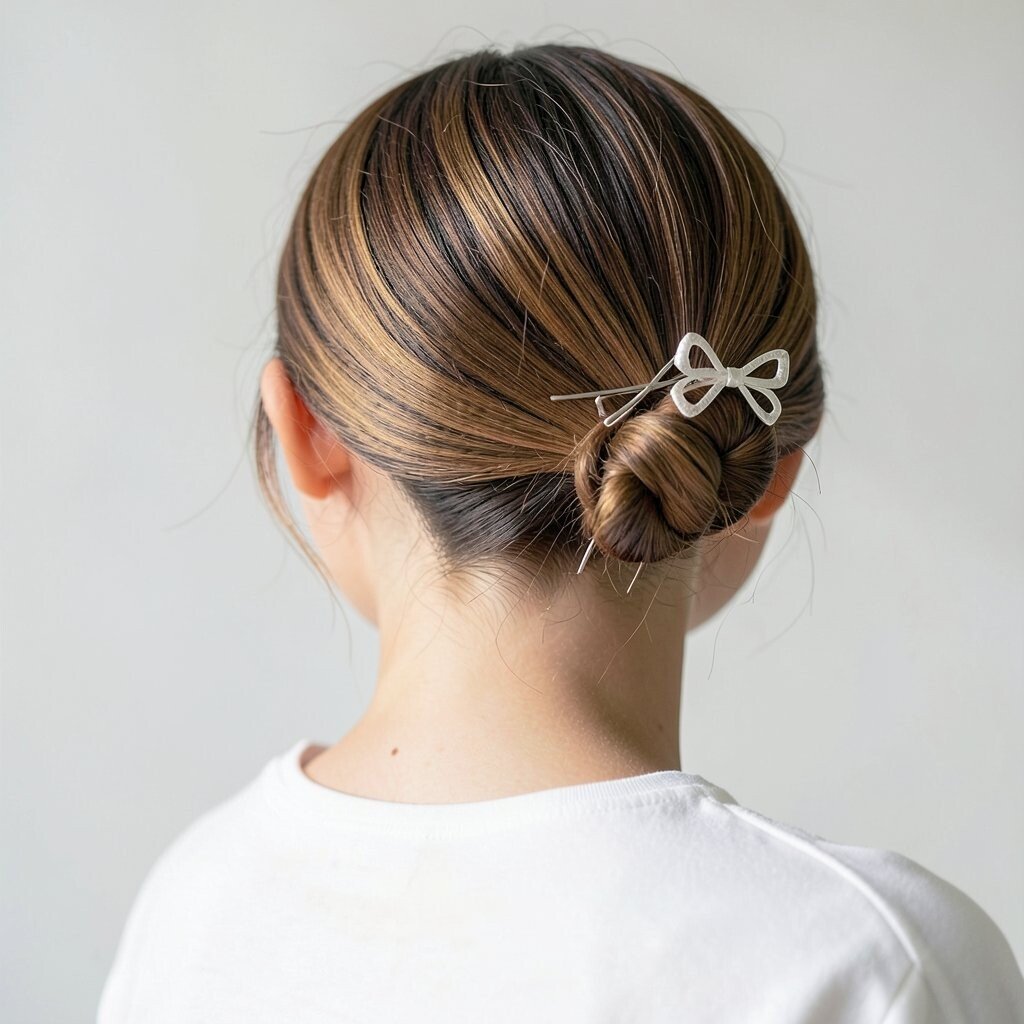
A low side knot can look playful when you add two pins shaped like a tiny bow. The trick is placing them so they feel balanced and visible, not accidental.
Create the side knot, then slide two decorative pins into the knot area so they face outward like bow tails. Keep the pin angles symmetrical on both sides, even if your hair part is slightly off.
Choose pins with matte finishes for a modern look or glossy tips for a dressier vibe. This is a fun trend-friendly style because it looks cute without needing an actual bow accessory.
To personalize, use pins with a color that appears in your outfit, like a hint of blue in your scarf or a touch of gold in your jewelry. With a light mist of hairspray, the knot stays put while the pins keep their shape.
15. Braided Crown With Minimal Pin Pearls
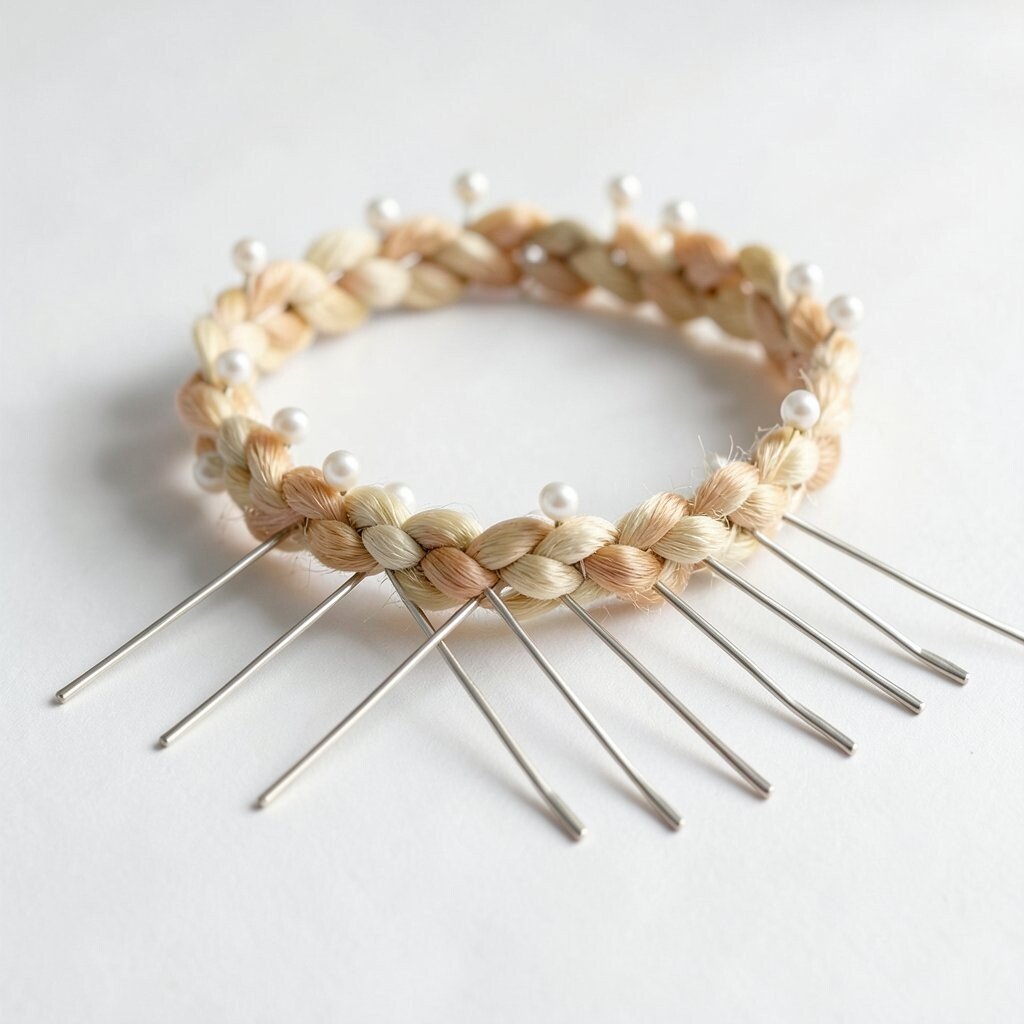
A braided crown instantly looks delicate and detailed, and minimal pearl pins make it feel even more special. The pearls act like tiny markers where the braid catches light.
Braid your hair around the head like a crown braid, then secure the ends with an elastic. Insert pearl-tipped pins along the braid at a few key points rather than everywhere, so the look stays airy.
This arrangement is unique because it balances softness with structure. If you’re aiming for practical, quick styling, prepare by brushing thoroughly and using a light styling cream before braiding.
For cost considerations, you can use a small number of pearl pins as accents and keep the rest of the pins plain. That way your hairstyle looks intentionally styled while still staying budget-friendly.