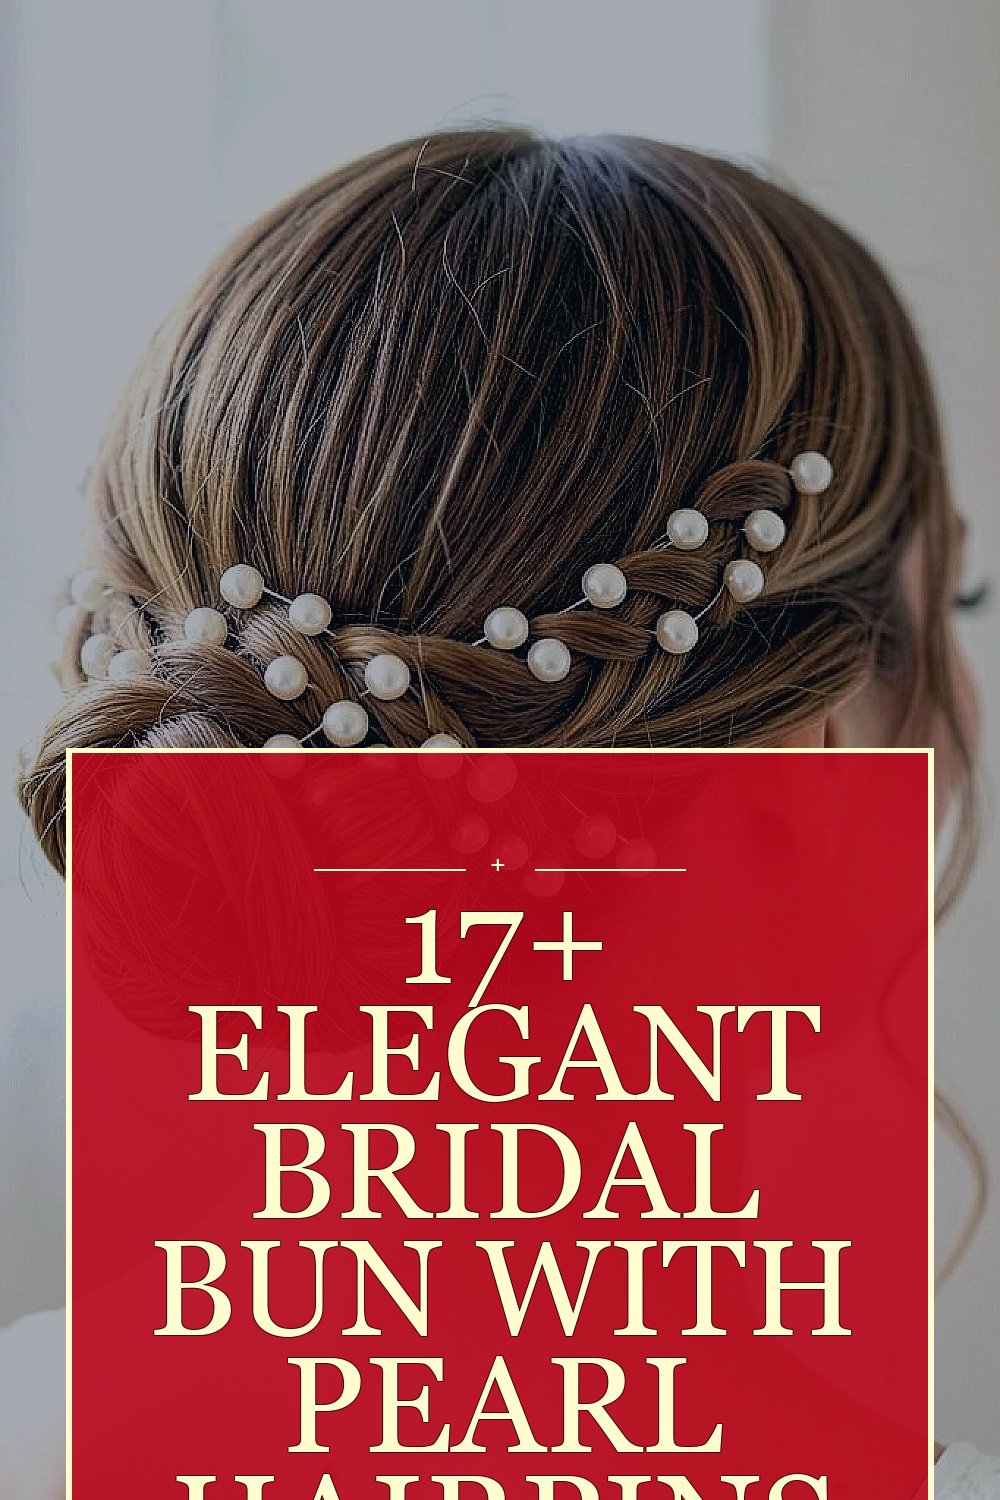
The right bun can make a bridal look feel instantly polished. Pearl hairpins add a soft glow that photographs beautifully.
When you style your hair with intention, you get a hairstyle that feels romantic, secure, and unmistakably yours.
1. Classic Low Bun With Scattered Pearl Pins
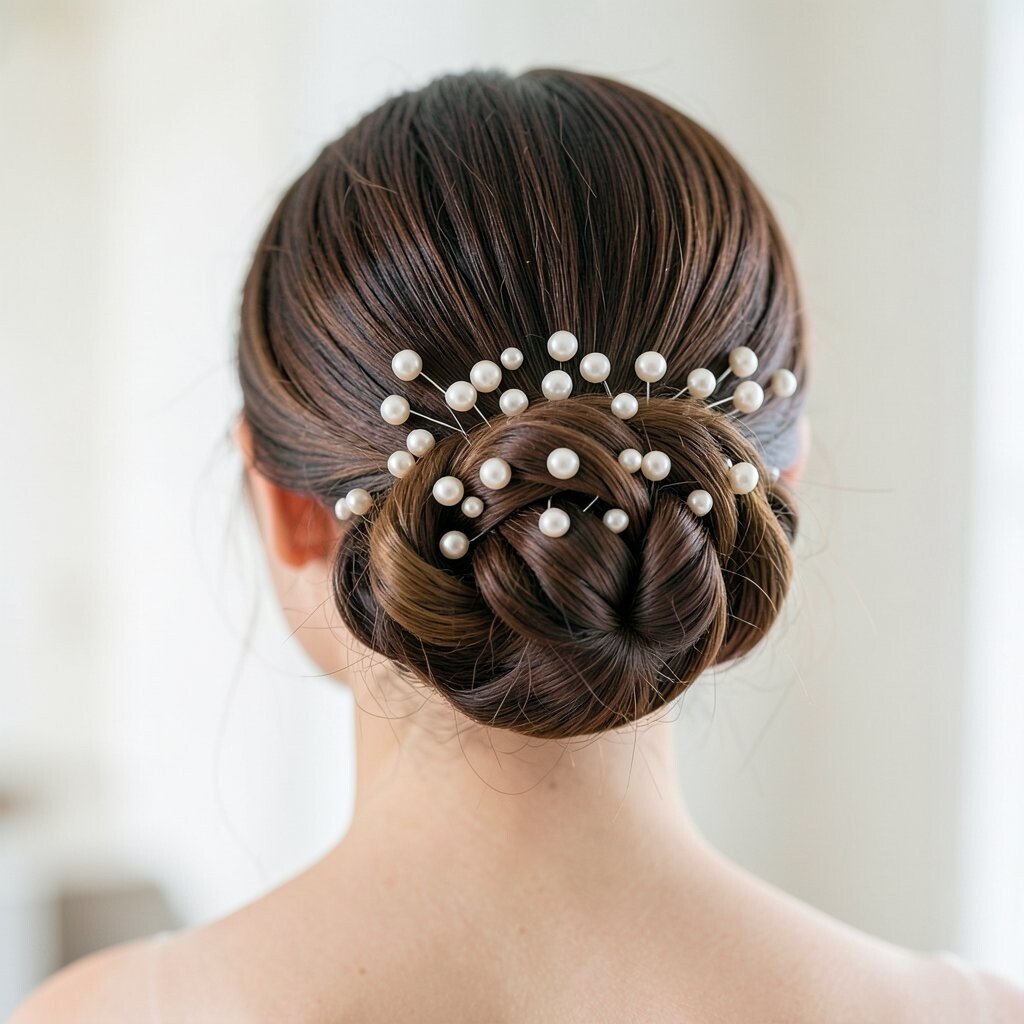
Picture a smooth low bun resting at the nape, with a clean, tidy shape that looks timeless. Tiny pearl hairpins dot the bun in a gentle, uneven pattern that feels natural rather than overly perfect.
This style looks great for weddings with both formal and relaxed vibes. It also helps keep flyaways in place, so your hair stays neat through photos, hugs, and dancing. Choose pins with a small pearl size for an airy feel, and add a light side part to frame your face.
2. Sleek Ballet Bun With a Pearl Headband Accent
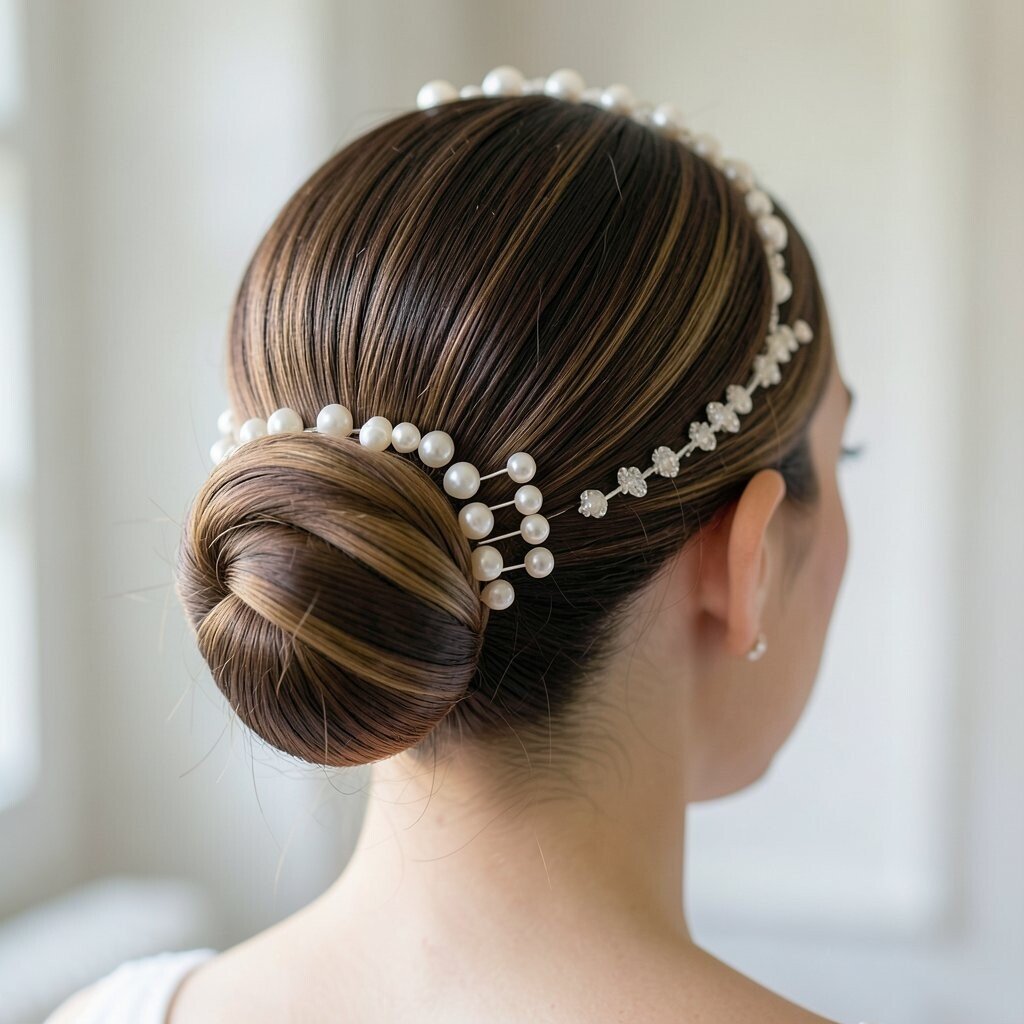
A sleek ballet bun is all about smooth lines and elegant control. Add pearl hairpins along a narrow arc where a headband would sit, so the pearls catch light every time you turn your head.
This look feels modern but still bridal, especially with a satin robe-style dress or a fitted bodice. For practical wear, secure the base with extra bobby pins and lightly mist the surface so it won’t puff up in humidity. If you want personalization, match the pin metal to your earrings, like silver with cool-toned jewelry or gold with warm-toned accessories.
3. Loose Romantic Bun With Pearls Woven Through
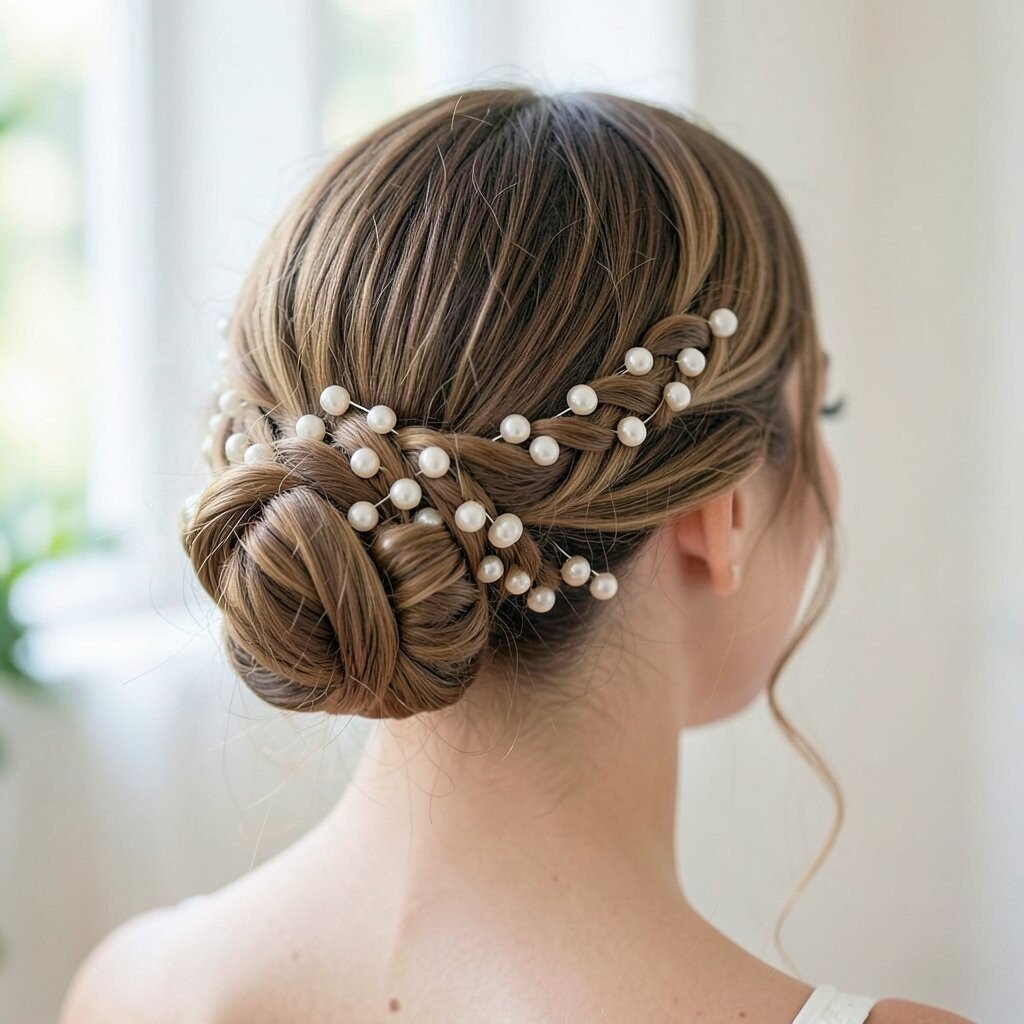
Think soft texture and movement, like your hair is gently swirling rather than staying rigid. Place pearl hairpins through the bun so they peek out from different angles, creating a “woven” sparkle.
This design brings a cozy bridal feel that works well with lace, chiffon, or flowing skirts. It also hides securing pins by covering them with hair strands and pearl shine. For uniqueness, leave a few face-framing pieces slightly curled, then pin the pearls near the crown for a lifted look that feels flattering.
If you’re concerned about hold, use a flexible styling gel before pinning, then set with a light hairspray. Cost-wise, you can use fewer pearls by clustering them near the front, which still looks intentional. Stick to one pearl color, like classic white or soft cream, to keep the overall effect calm and elegant.
4. Twisted Side Bun With Pearl Cluster at the Front
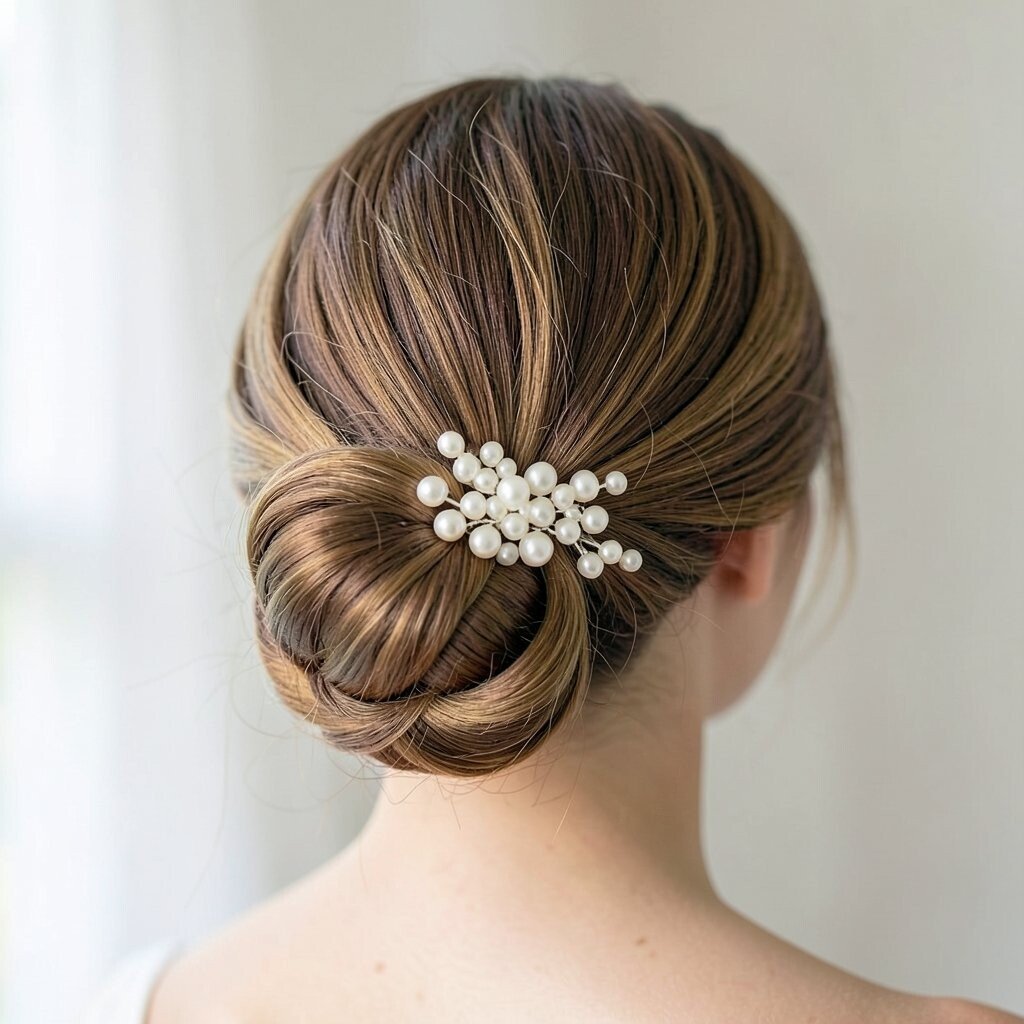
A twisted side bun gives you that elegant “extra” without requiring a dramatic shape. Gather hair into a low side twist, then anchor a small cluster of pearl hairpins at the point where the bun begins.
This style is great for photos because the front pearl cluster draws the eye to your cheekbones. For practical comfort, keep the bun slightly off-center so it doesn’t press against one side of your head. If you want personalization, add one longer pearl pin higher up so it creates a subtle vertical highlight, which looks especially nice with a veil.
5. High Bun With Pearls Like a Crown
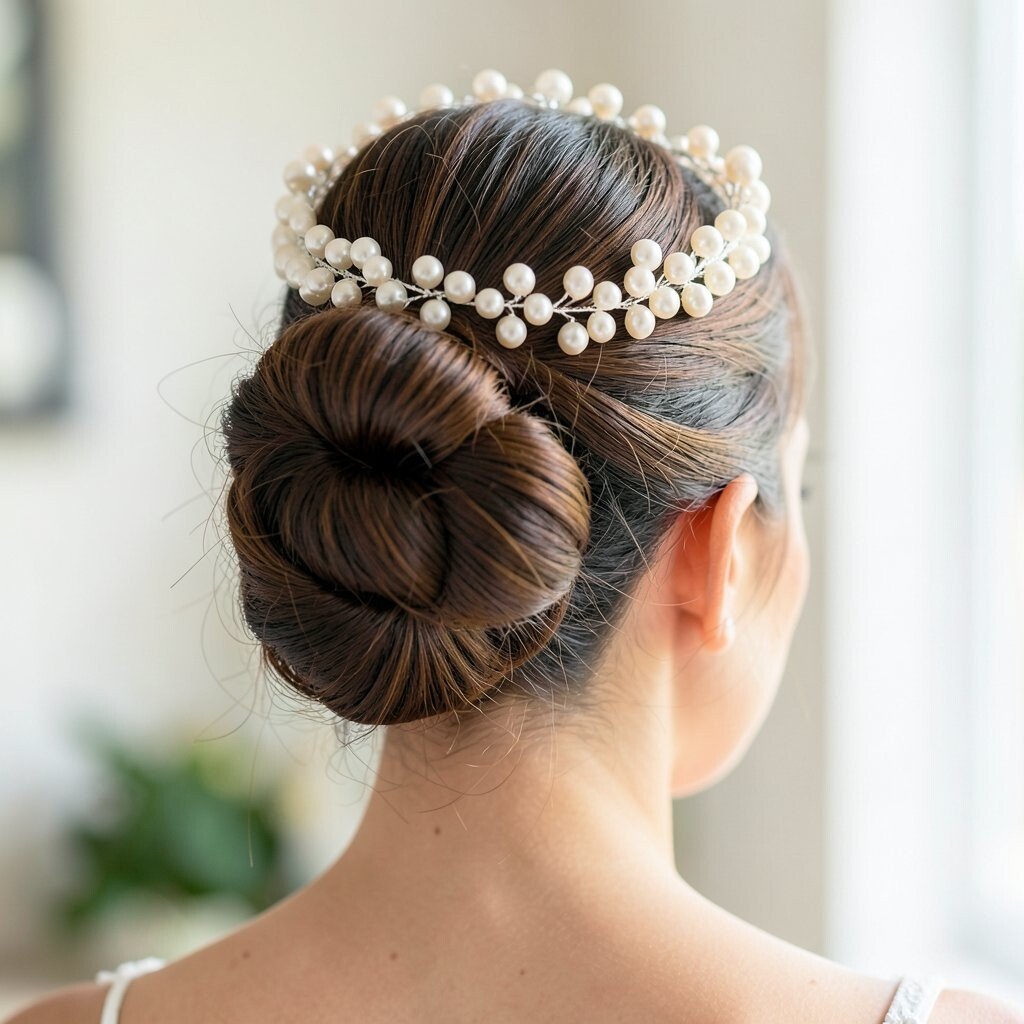
A high bun can feel bold and regal, especially when styled with a soft lift at the crown. Place pearl hairpins in a crown-like arc, so they frame your forehead and shimmer with every smile.
The benefit of a high bun is that it opens up your neck and shoulders, which pairs beautifully with off-the-shoulder dresses. Keep the hairstyle secure by using an elastic base and smoothing flyaways with a damp brush. For a current trend, many brides are mixing shiny pearls with matte hair texture, so try a slightly brushed finish instead of an ultra-glossy one.
To control cost, buy a small pack of pearl pins and reuse a few across the top, focusing on the most visible areas. You can also choose faux pearls that look close to the real ones at a much friendlier price.
6. Vintage Finger-Wave Bun With Pearl Pin Highlights
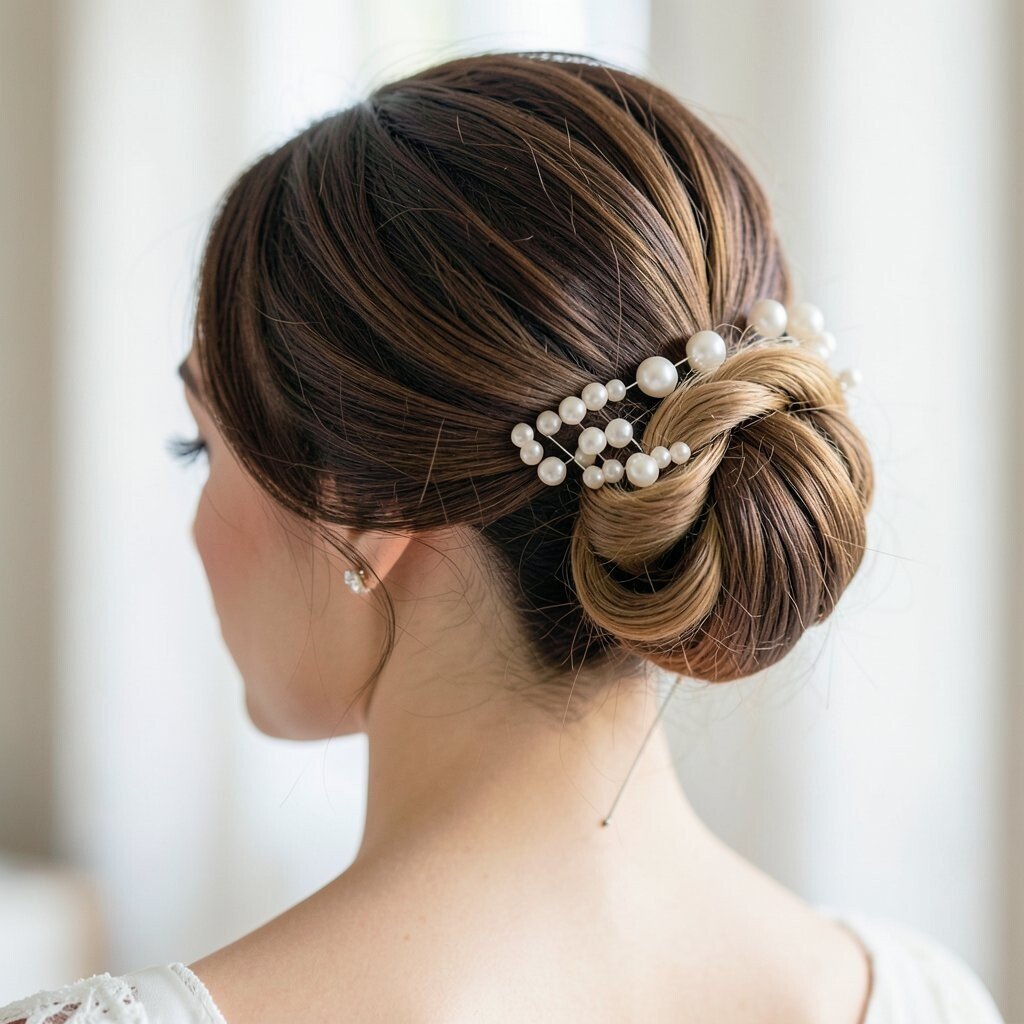
Imagine vintage elegance with gentle finger-wave texture near the front. Sweep the hair into a bun and let pearl pins act like sparkling punctuation along the wave line.
This hairstyle feels unique because the pearls don’t simply sit on top, they accent the shape. The benefit is that you get both structure and softness, which works beautifully for weddings with vintage-inspired details. Use a heat-protectant spray if you curl and then set the waves with a light setting spray for a firm but touchable hold.
7. Messy Textured Bun With Pearl Sprinkles
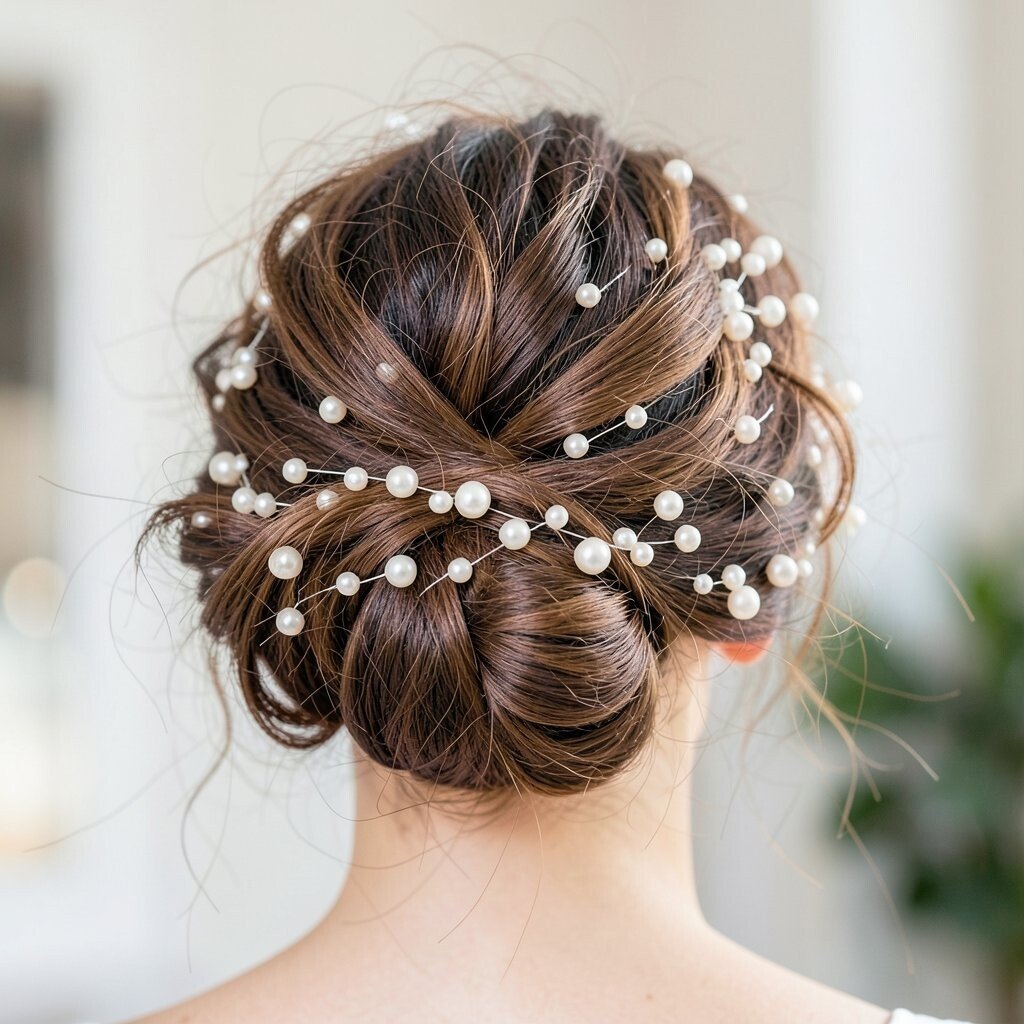
A messy textured bun looks effortlessly romantic, like you spent time on it but never tried too hard. Add pearl hairpins scattered through the bun so you get small bright moments instead of one heavy focal point.
This approach is perfect when you want comfort and movement because textured hair naturally feels airy. To keep it practical, pin the bun firmly at the base and then only “loosen” the outer pieces after it’s stable. If you’re personalizing, mix one or two slightly larger pearls among smaller ones for a more styled, less uniform sparkle.
8. Sleek Low Bun With Pearls on a Diagonal Line
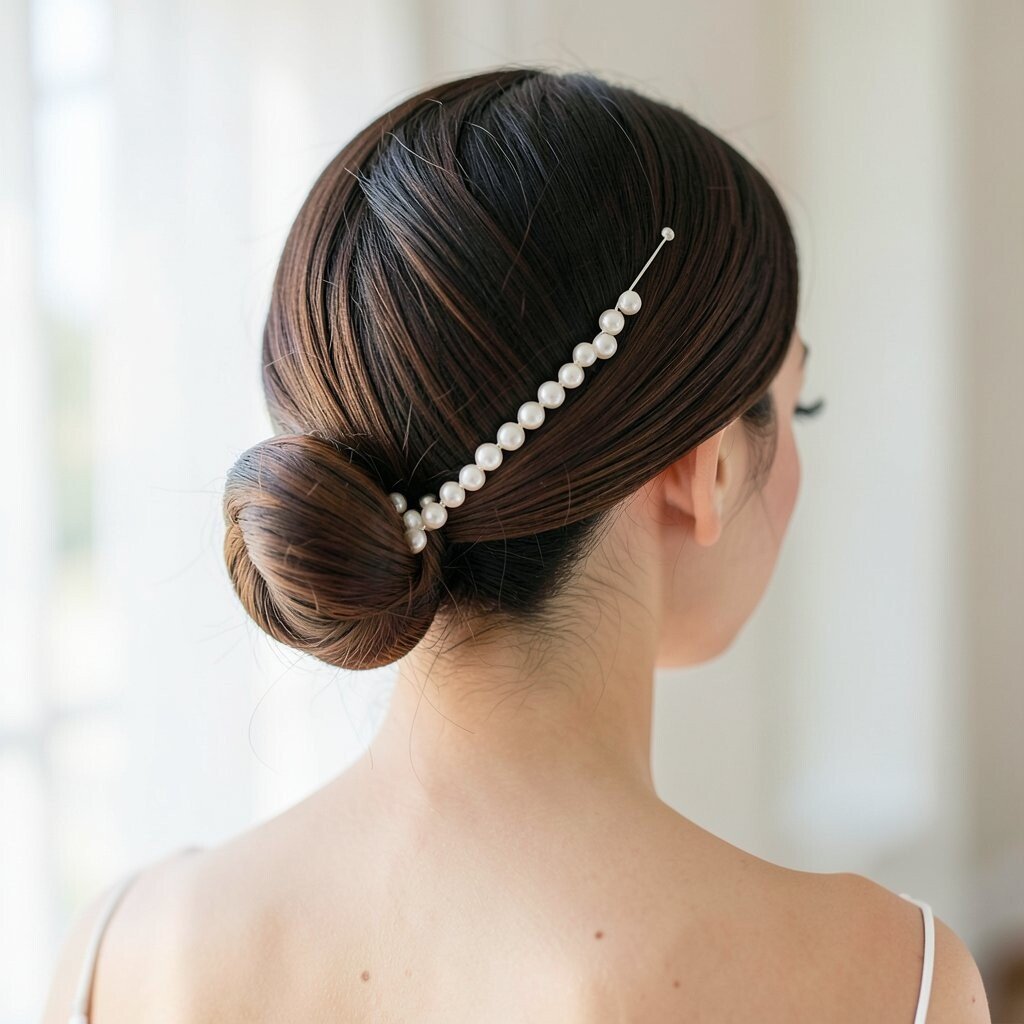
This bun is polished and smooth, with pearls placed diagonally across the side. The slanted arrangement gives a flowing look that can also visually lengthen your hairstyle.
The benefit is that the pearls add a design element without needing extra accessories. For practical tips, insert pins at an angle so they grip into the bun and don’t slide out during the ceremony. If you wear a veil, place the diagonal line where the veil will not tug, usually slightly below where the veil rests.
9. Braided Bun With Pearl Hairpin Ladder
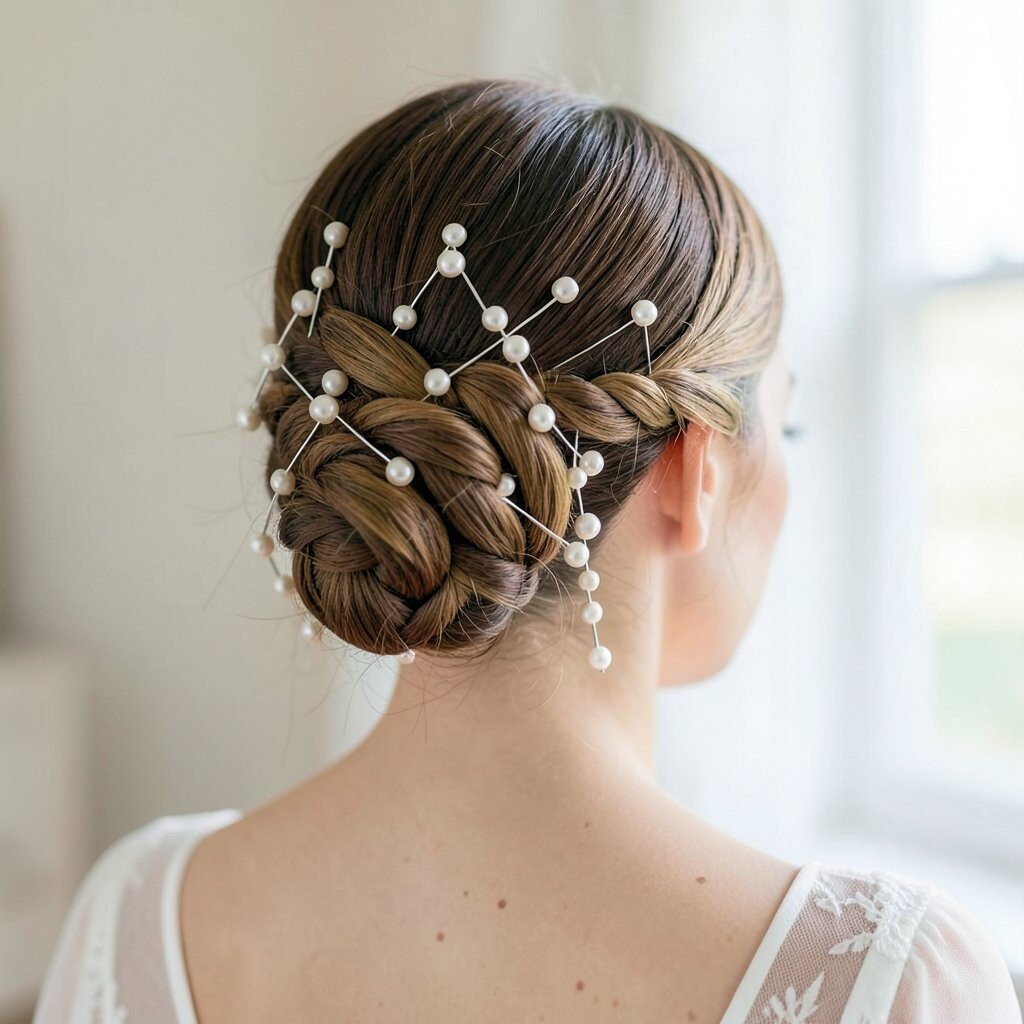
A braided bun feels detailed and romantic, especially when the braid is wrapped around the base. Thread pearl hairpins so they line up like a ladder along the braid, creating neat sparkle that looks carefully planned.
This is a great choice for uniqueness because braids already have built-in pattern, and pearls make that pattern bridal. The benefit is extra hold, since braiding adds structure and reduces the need for too many pins. Personalize by choosing a braid style that matches your dress texture, like a tighter braid for structured fabrics or a looser braid for airy layers.
10. Waterfall Bun With Pearl Pins at the Falls
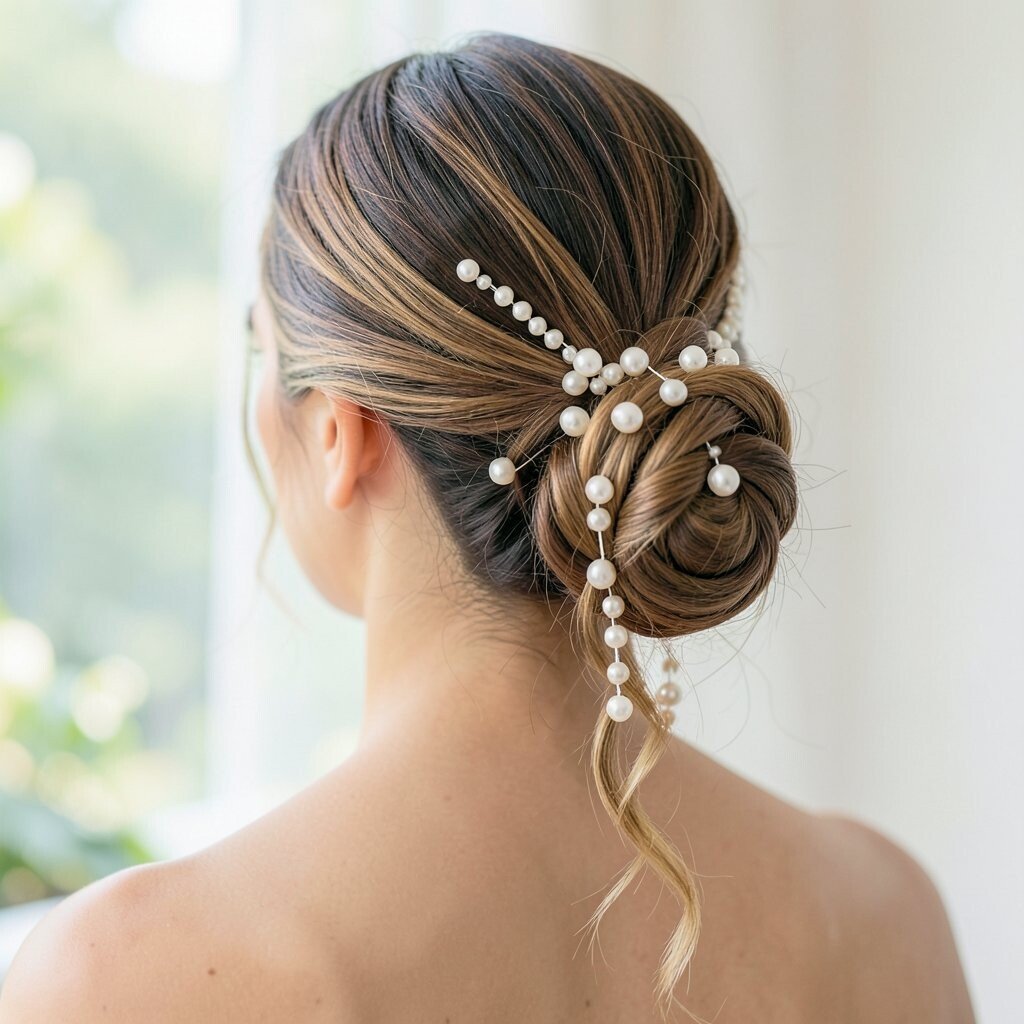
A waterfall bun creates the illusion of flowing sections, even when your hair is tied up. Pin pearls at the spots where the waterfall effect shows, so the shimmer looks like it’s tumbling down.
This style feels magical for brides who want something delicate, not heavy. For practical hold, secure the waterfall sections close to the scalp so they stay visible without falling flat. Consider using smaller pearl pins so they don’t overpower the flowing sections, and keep the sparkle concentrated in the front for the best effect in photos.
You can keep cost reasonable by using a few pins with multiple pearls on each, instead of buying many separate single-pearl pins. It’s also easy to personalize by adding one pearl pin closer to the center if you want symmetry.
11. Bob-Length Friendly Bun With Pearl Pins
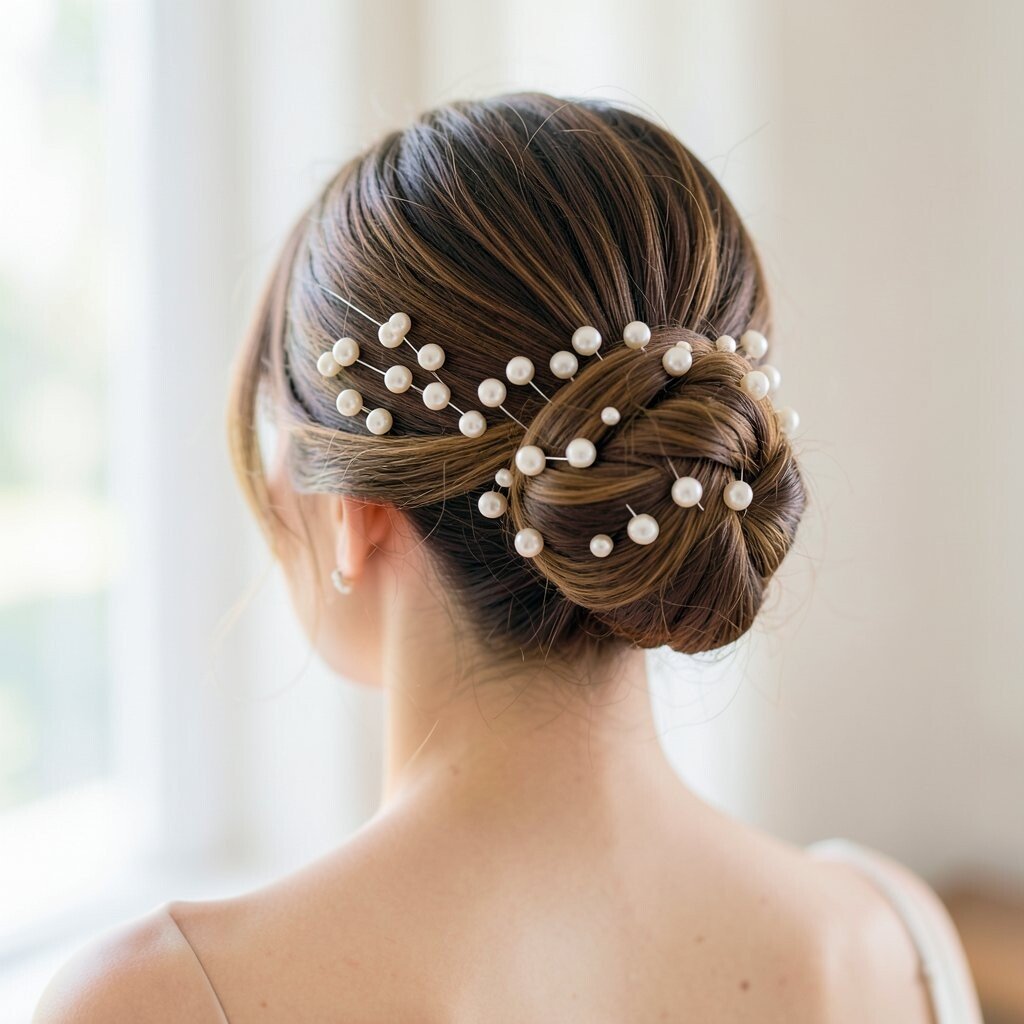
If your hair is short, you can still enjoy a bridal bun look by creating a compact roll at the back. Use pearl hairpins to add height and lift, guiding the eye upward so the style feels full.
This works especially well when you want a clean, polished look without needing long hair. For practical tips, use a strong hold styling cream and add volume at the crown with gentle backcombing. Personalize by choosing pearl pins with a slightly wider spacing to avoid crowding short strands.
To handle cost, consider reusing pins you already own by pairing them with a simple bun kit or bobby pins you can find easily. You’ll get a high-end result without buying a whole new set.
12. Low Bun With Pearl Pins and a Center Part Glow
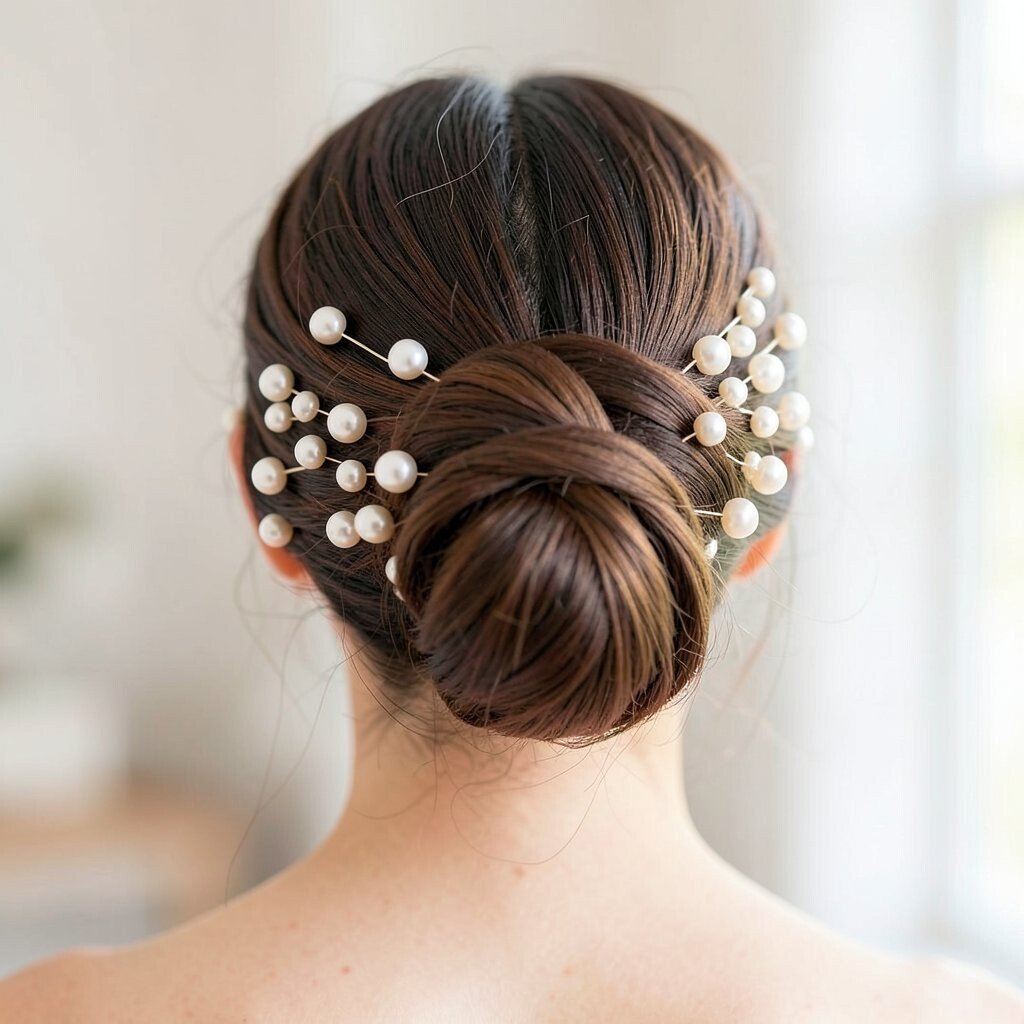
A low bun with a center part looks soft, balanced, and flattering for many face shapes. Add pearl hairpins near the part so the pearls appear to glow along the top edge of the bun.
This hairstyle benefits brides who want a calm, elegant look that still feels special. It’s practical because the center part helps keep strands organized, which reduces the need for constant touch-ups. For personalization, try a slight wave in the front so the pearls sit on textured hair instead of plain, straight strands.
13. Fishtail Bun With Pearl Emphasis Points
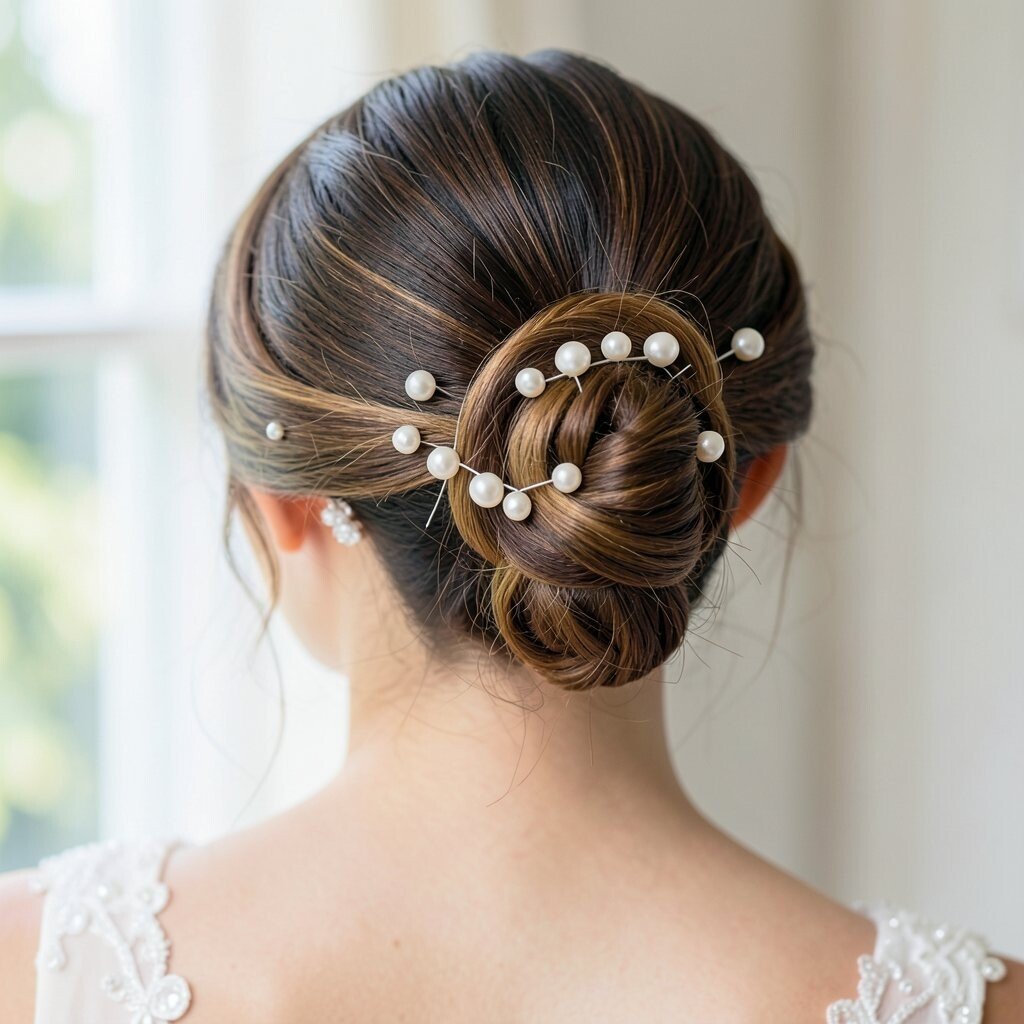
A fishtail bun adds a distinctive weaving pattern that looks fancy in a simple way. Place pearl hairpins at key points along the fishtail, like at the top curve and the side fold.
This design stands out because it combines a strong braid pattern with delicate pearl shine. The benefit is that you can use fewer pins while still getting a “designed” look, since the braid texture does a lot of the visual work. If you want uniqueness, keep the fishtail visible by wrapping the bun loosely instead of tightly, then position the pearls to highlight that shape.
For cost considerations, choose pins with the pearls already secured on a sturdy base so you don’t have to replace parts later. Faux pearls can look just as elegant for most wedding lighting, especially if you match them to your overall jewelry tone.
14. Braided Crown Bun With Pearl Stud Spacing
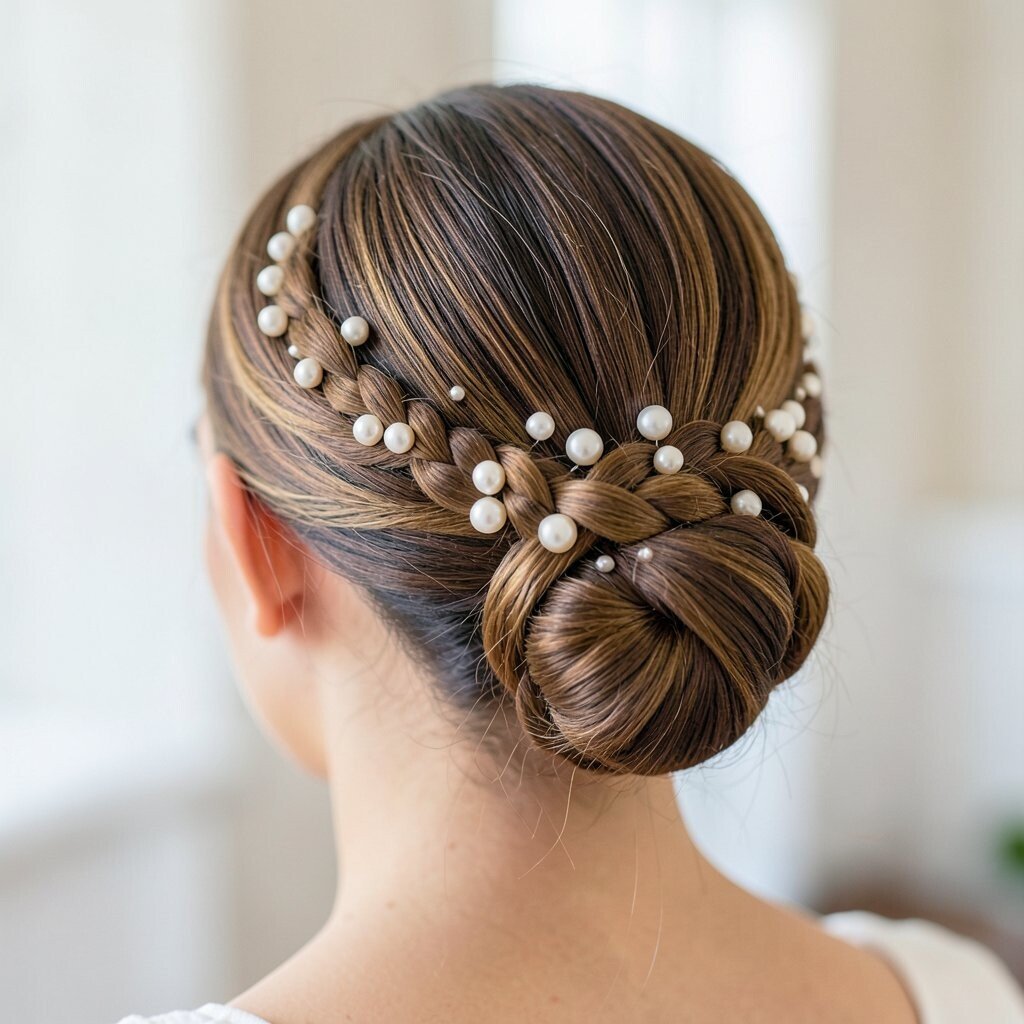
A braided crown bun feels like a soft halo, wrapping around your head before it turns into a bun. Use pearl hairpins as spaced “studs” around the crown so the sparkle looks evenly distributed.
This style is a current favorite because it feels romantic while still being practical for long wear. To keep it from feeling too perfect, leave the braid slightly airy and allow a few wisps to float near the temple. Personalize by choosing pearl pins in two shades, like white pearls with a hint of cream, for a gentle depth that looks natural.
15. Side-Swept Bun With Pearl Drop Effect
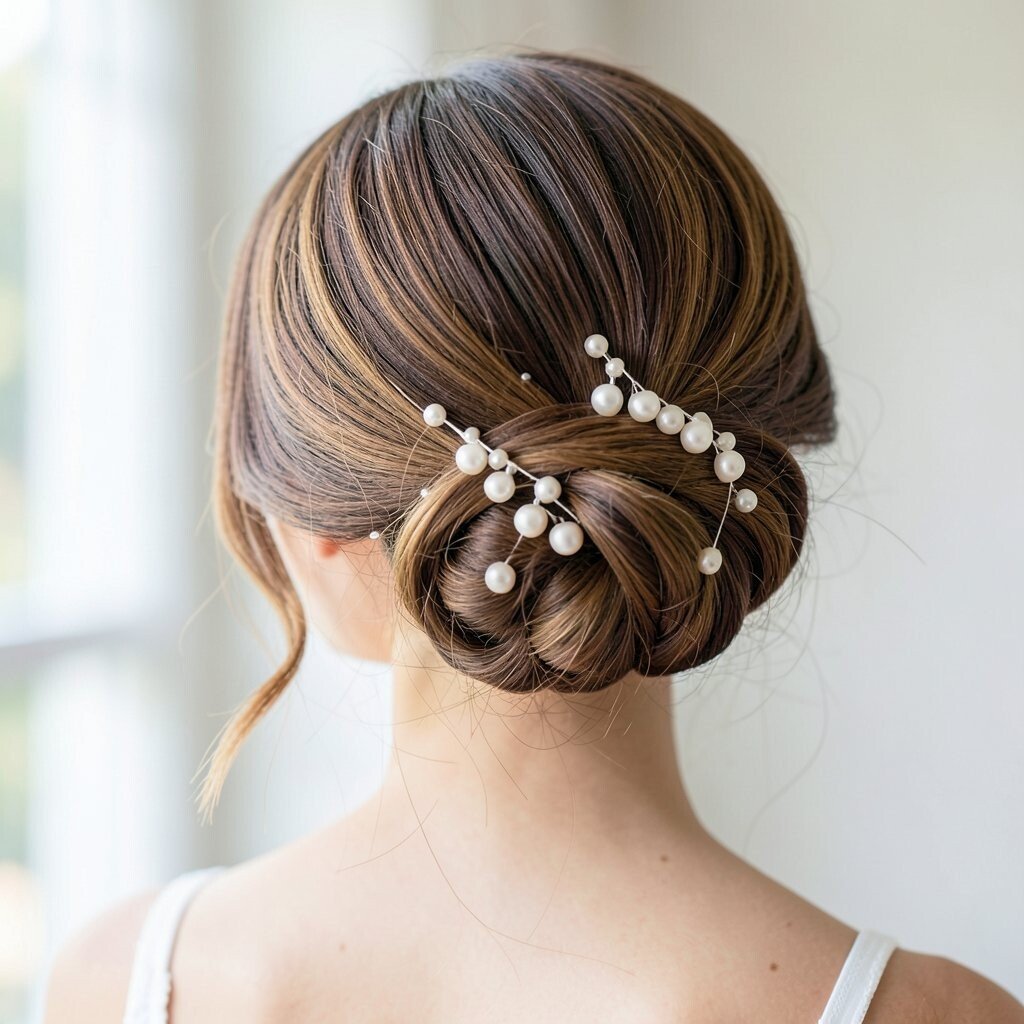
A side-swept bun starts with hair moved to one side, then rolled into a compact style. Add pearl hairpins in a way that creates a drop effect, with pearls slightly higher and then tapering downward along the bun edge.
This gives you a graceful, flowing look that pairs well with long earrings and delicate veils. For practical tips, secure the bun with pins hidden under the roll and reinforce the side-swept section near the ear so it doesn’t loosen. If you want to personalize, match the pearl placement to your necklace, like keeping the brightest pearls near where the necklace’s sparkle would be.
16. Half-Up Bun With Pearl Pins on the Front Seam
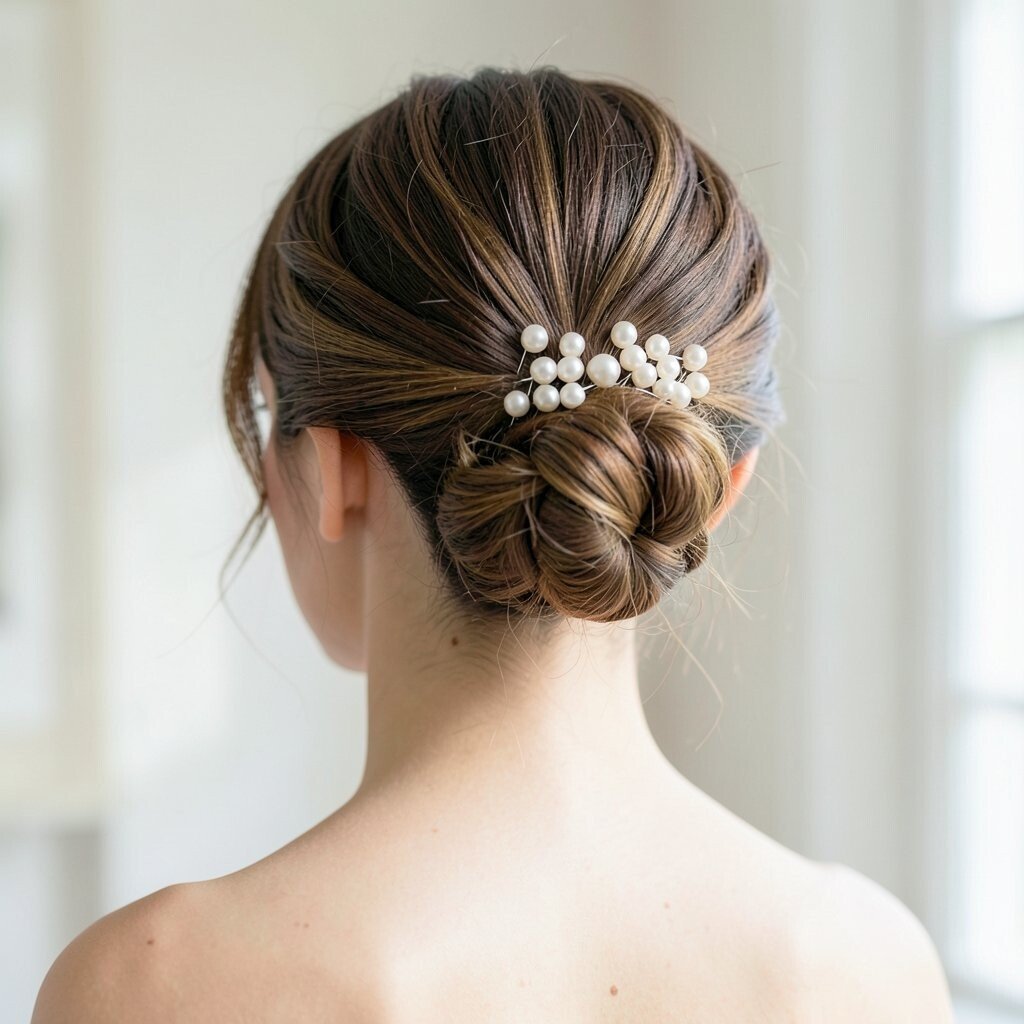
A half-up bun combines the best of both worlds: you get an open, face-framing top with a bun detail at the back. Use pearl hairpins along the seam where the half-up section meets the bun so it looks seamless and intentional.
This is a great option for brides who want versatility because you can wear the front pieces straight for a sleek look or curled for extra romance. The benefit is that the hairstyle remains flattering even if your veil shifts, since the pearls already sit in a controlled area. For personalization, add small pearl pins only on one side if you want asymmetry that still feels elegant.
To manage cost, focus pearls on the visible seam and skip adding extra pins all around the bun. You’ll save money while keeping the most important sparkle where guests will notice it.
17. High-Volume Bun With Pearl Pin Swirl
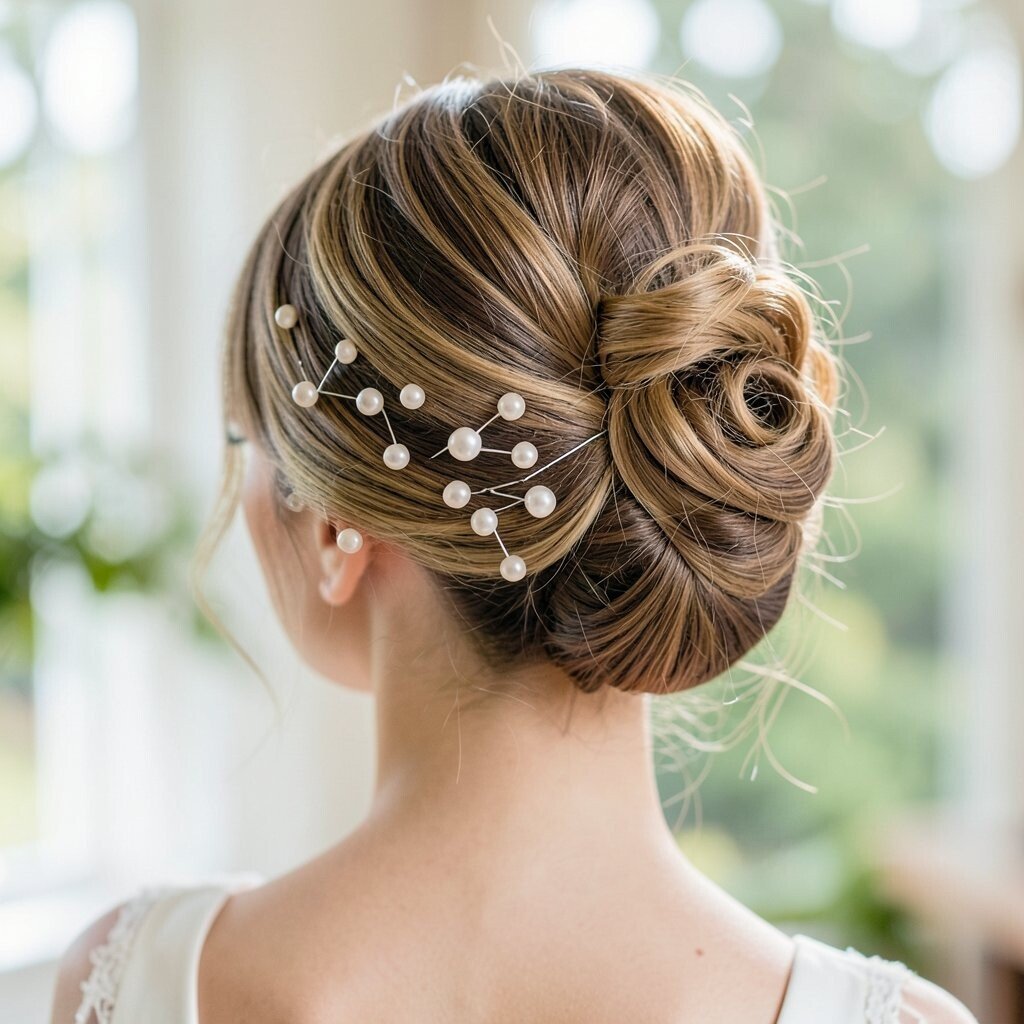
A high-volume bun looks dramatic and bridal, especially with soft teasing at the crown. Add pearl hairpins in a swirl pattern so the sparkle follows the shape of the bun rather than sitting randomly.
This hairstyle benefits you when you want height and lift, since it balances longer silhouettes and draws attention upward. For practical tips, use a donut-style bun base if you need extra fullness, then pin over it with pearl hairpins to cover the base smoothly. Personalize by selecting pearls that match your bridal palette, like classic white for timeless elegance or warm ivory for a cozy vintage tone.
18. Floral-Inspired Bun With Pearl Hairpins Like Tiny Petals
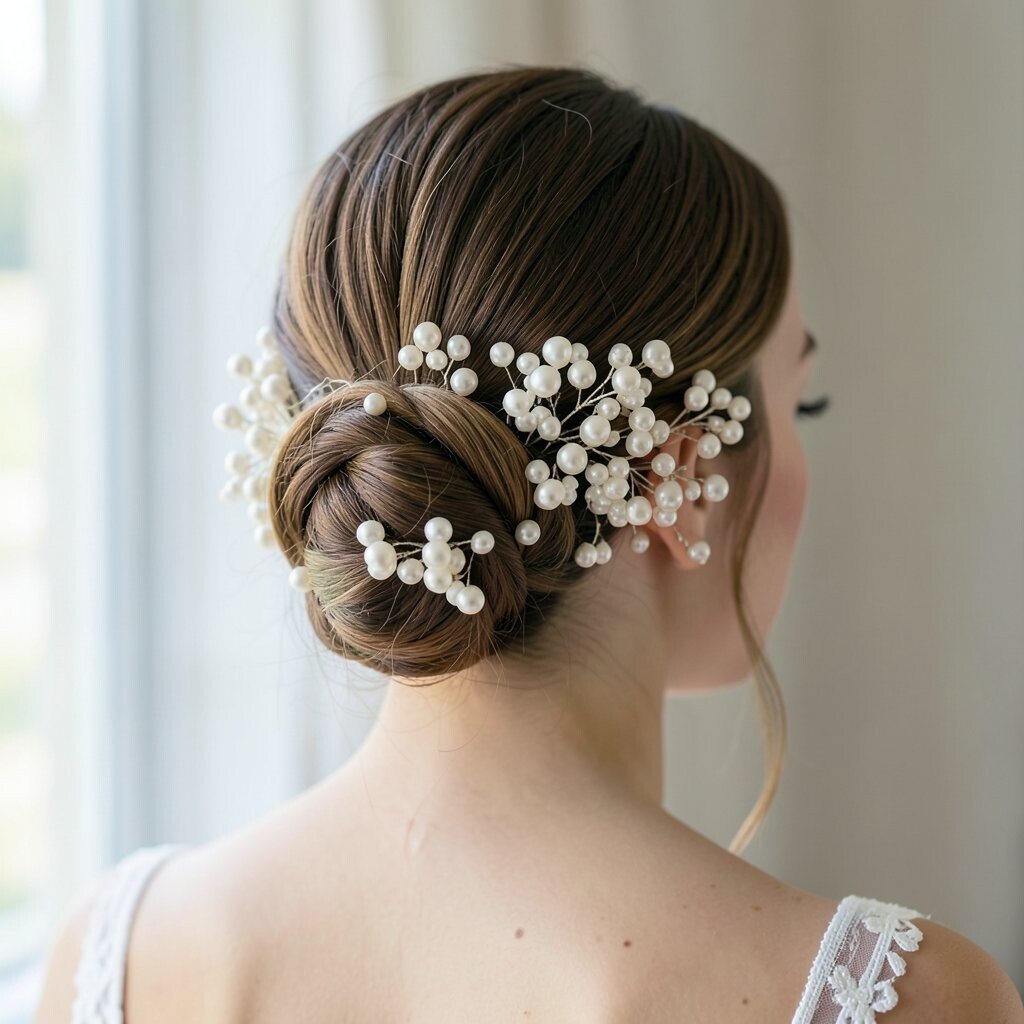
A floral-inspired bun looks like your hair is blooming, with soft loops and pinned sections that resemble petals. Place pearl hairpins where petals would meet, so the pearls act like tiny centers that brighten the whole look.
This style is uniquely romantic because it blends artistry with everyday bridal wearability. The benefit is that the bun shape naturally hides pins, so the hairstyle stays tidy even when you move. For personalization, coordinate the pearl pins with any hair flowers you plan to wear, and keep the spacing consistent for a cohesive final look.
Cost considerations are easy here because you can use just a handful of pearl hairpins to create the “petal centers,” while relying on pinned hair texture for the rest. Choose a comfortable pin length and test the weight before the big day so your head feels at ease from the ceremony through the last dance.