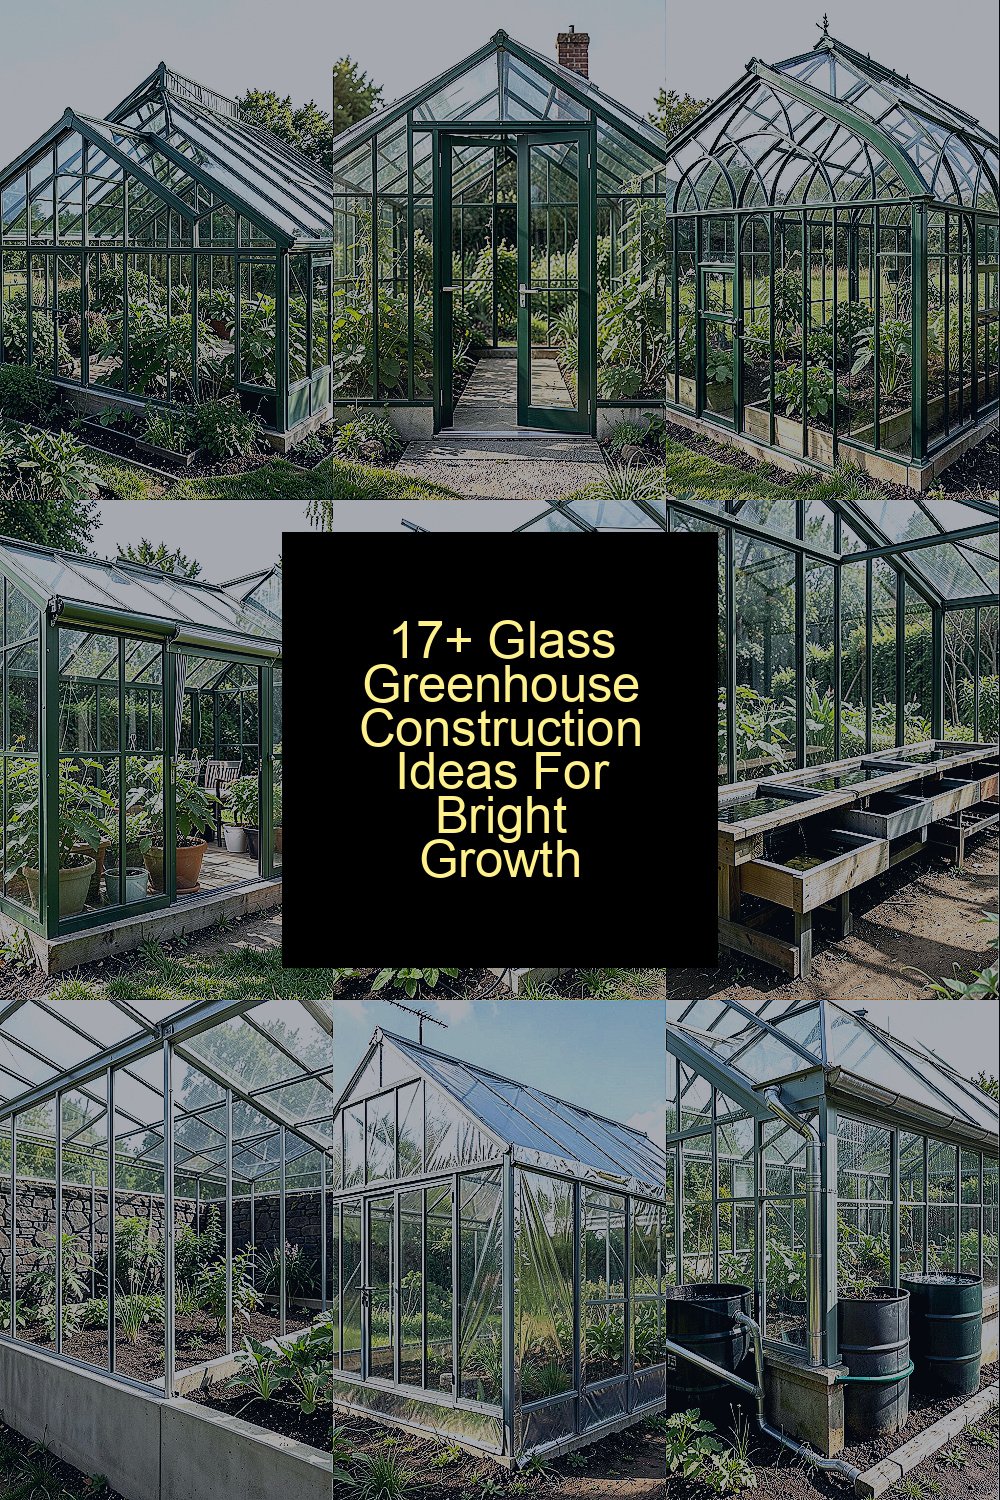
A glass greenhouse can turn a cloudy corner into a steady growing room. With the right build, it starts feeling like sunlight you can carry home.
Below are construction ideas that look great, work well, and fit different budgets and styles.
1. Clear-Span Glass Roof With Tight Ridge Vent

A clear-span roof gives you long, uninterrupted light across the beds. A tight ridge vent helps warm air rise and exit so plants don’t cook under glass.
For a bright, even spread of sun, keep roof framing straight and spaced so panels align cleanly. Seal every joint with weatherproof glazing tape and check drainage paths so water doesn’t pool on the ridge.
2. Dual-Door Entry With a Mini Airlock
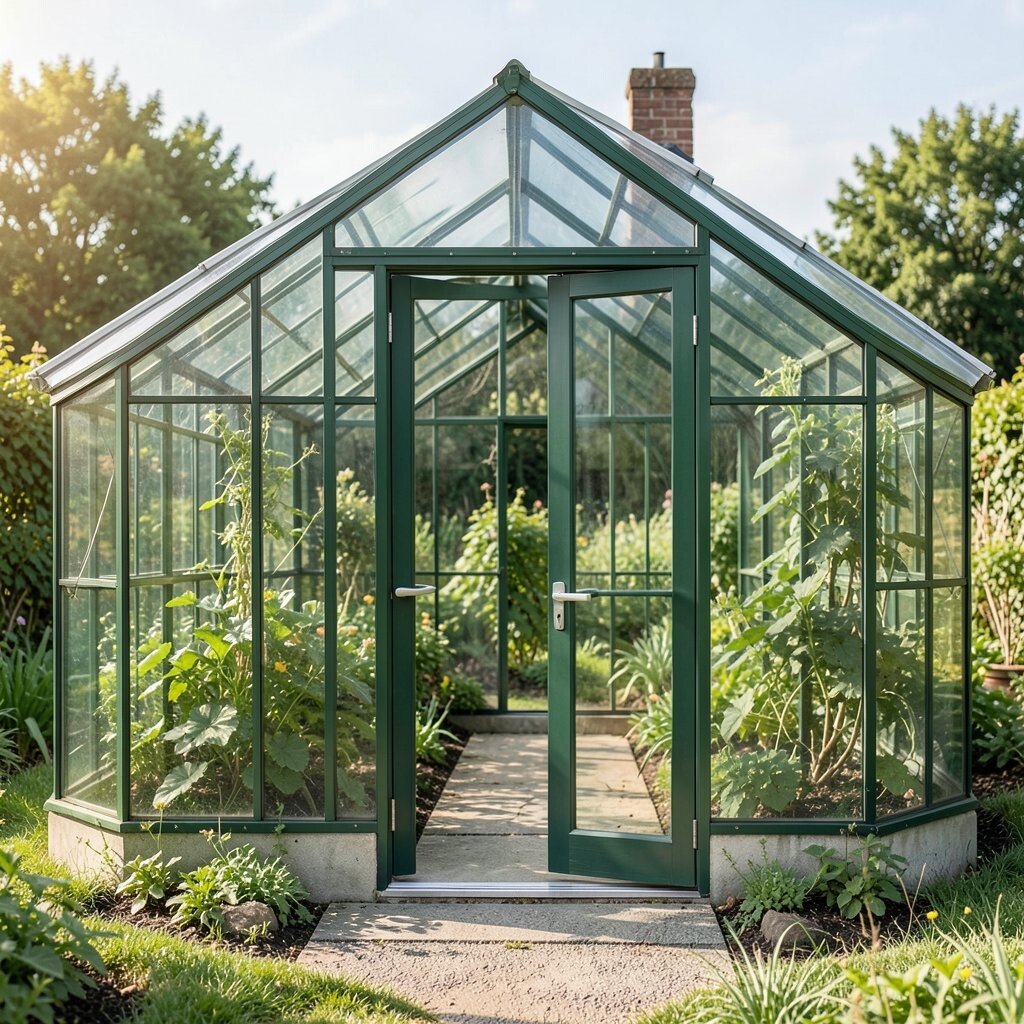
Two doors create a small airlock space that calms drafts when you enter or exit. You’ll notice less temperature swing around the entrance during chilly mornings.
Place the inner door so it opens inward and doesn’t block carts. Use a simple latch system and install a brush seal along the edges to cut heat loss.
To personalize the entry, add a bench for gloves and watering tools, and hang a small tool rack beside the inner door. If you’re watching costs, prioritize strong hinges and quality seals since they pay off every season.
3. Gothic Arch Frame for Extra Headroom

A gothic arch shape looks elegant and helps rain slide off smoothly. The curved sides also give more vertical space for taller plants.
Use galvanized steel or aluminum for the frame so it resists rust and keeps its shape. Fit glazing so edges meet evenly, and plan for safe roof access during cleaning.
If you like a modern look, choose darker frame tones and clear glass panels for a crisp contrast. For practical comfort, make sure the walkway width lets you move without squeezing hoses or trays.
4. Retractable Side Panels for Summer Venting
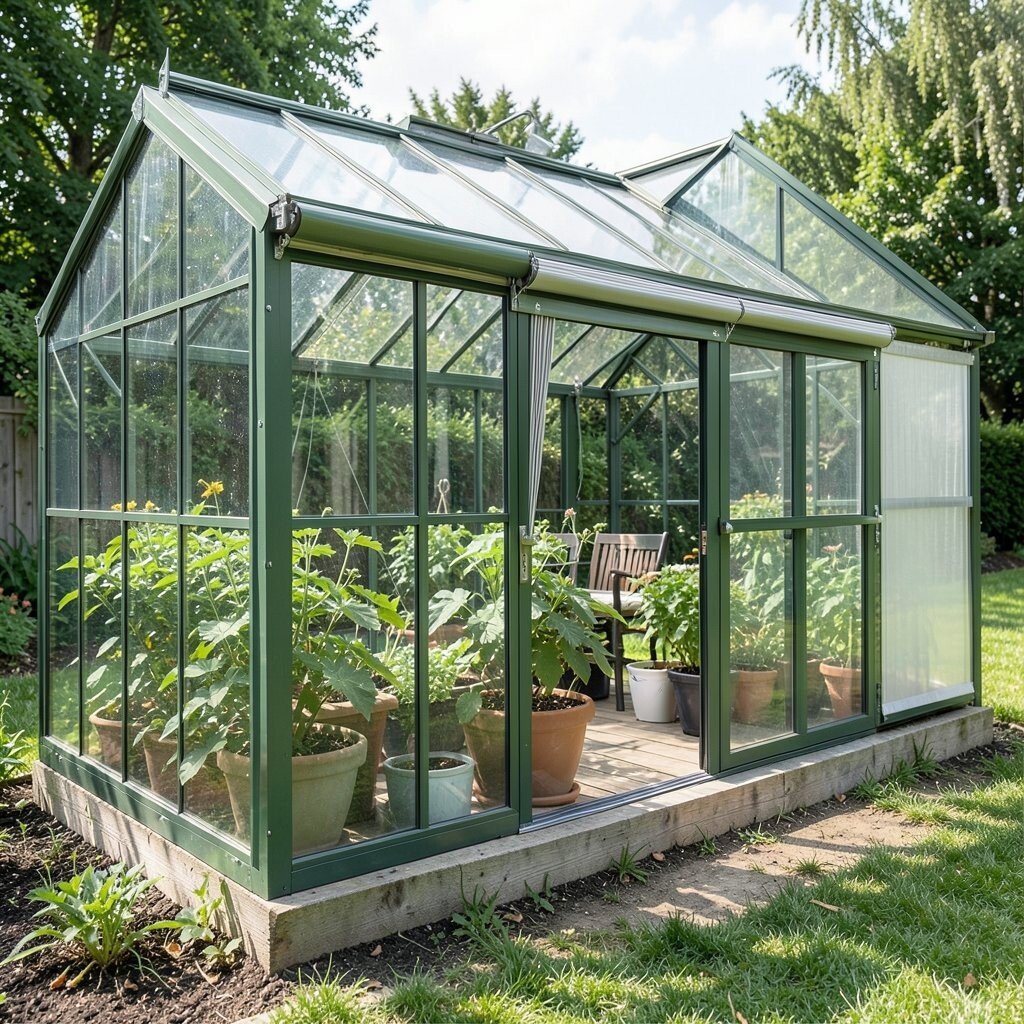
Retractable side panels let you “open” the greenhouse fast when days warm up. They also let you control airflow without relying only on roof vents.
Choose tracks that drain well and use corrosion-resistant hardware. When you design the opening, leave room to slide panels without hitting raised beds or staging racks.
5. Hybrid Glass and Polycarbonate Panels for Budget Balance

Mixing glass with polycarbonate can save money while still keeping strong light inside. You also get extra impact resistance on the lower walls where tools and wind can be rough.
Put clearer glass on the upper sections where light matters most, and use polycarbonate for side panels that take frequent hits. Select UV-stabilized polycarbonate so it doesn’t fade quickly.
This blend also makes repairs easier, because you can swap one material section at a time. If you want a cleaner look, keep panel lines aligned so the different surfaces still read as one tidy wall.
6. Elevated Bench System With Built-In Water Trays

Raised benches keep plants off cold ground and make watering more efficient. Built-in water trays catch runoff, which helps keep floors cleaner and reduces mildew risk.
Use treated wood with a sealant rated for outdoor moisture, or go with metal benches that won’t rot. Add a slight slope to trays so excess water flows to a drain point you can manage.
For personalization, paint bench fronts a cheerful color that matches your home or garden theme. When thinking cost, budget for good waterproof liner materials, because they matter more than you’d expect over time.
7. Thermal Mass Wall With Dark Stone Behind the Beds
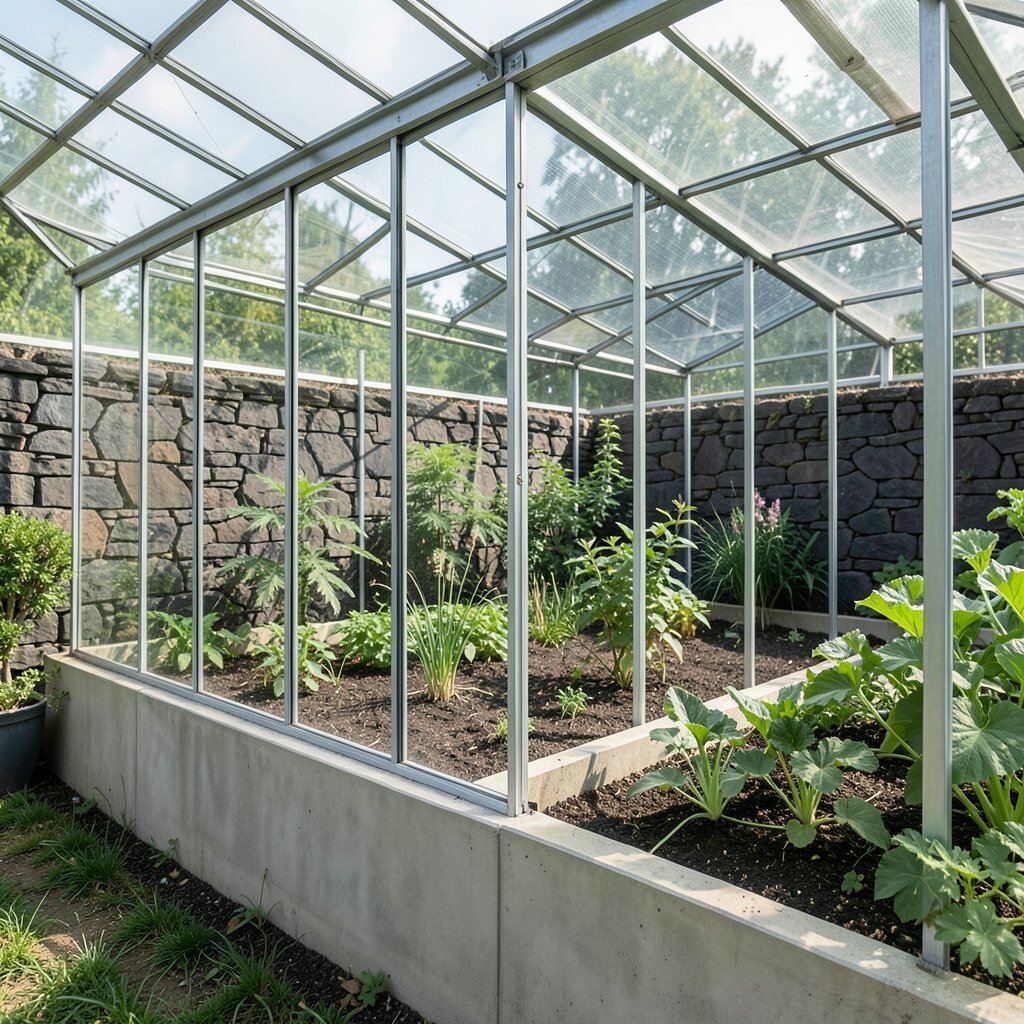
A thermal mass wall can help smooth day-to-night swings by storing heat. Dark stones or masonry absorb warmth during sunny hours and release it as temperatures drop.
Build the mass wall on the interior north side or behind beds where it won’t shadow seedlings. Seal surfaces to reduce moisture buildup, and make sure the wall stays accessible for cleaning.
To add a natural look, use uniform stones and tuck a drip edge above glazing so water stays off the wall. This idea feels unique because it turns part of your structure into a silent heat helper, not just a backdrop.
8. North-Side Insulation With Reflective Foil Layer

The north side often loses more heat, so adding insulation there can raise comfort for winter growing. A reflective foil layer can bounce some warmth back into the plant zone.
Cover insulation properly so it stays dry and doesn’t sag, and keep it protected behind an interior panel. For practical setup, plan a small access panel so you can check insulation each year.
9. Rainwater-Driven Gutters Connected to Storage Barrels

Healthy gutters catch roof runoff and route it where you want it. When you connect them to storage barrels, you get a simple water system that supports bright growth.
Choose gutters sized for your local rain patterns and add downspout filters to keep debris out. Secure barrels on stable stands and include a spigot so you can fill watering cans easily.
This is a fun personalization point, since you can paint the barrels or match them to your garden style. If you’re cost-conscious, start with one barrel zone and expand later rather than building everything at once.
10. Brick or Stone Stem Wall for Strong Base and Style
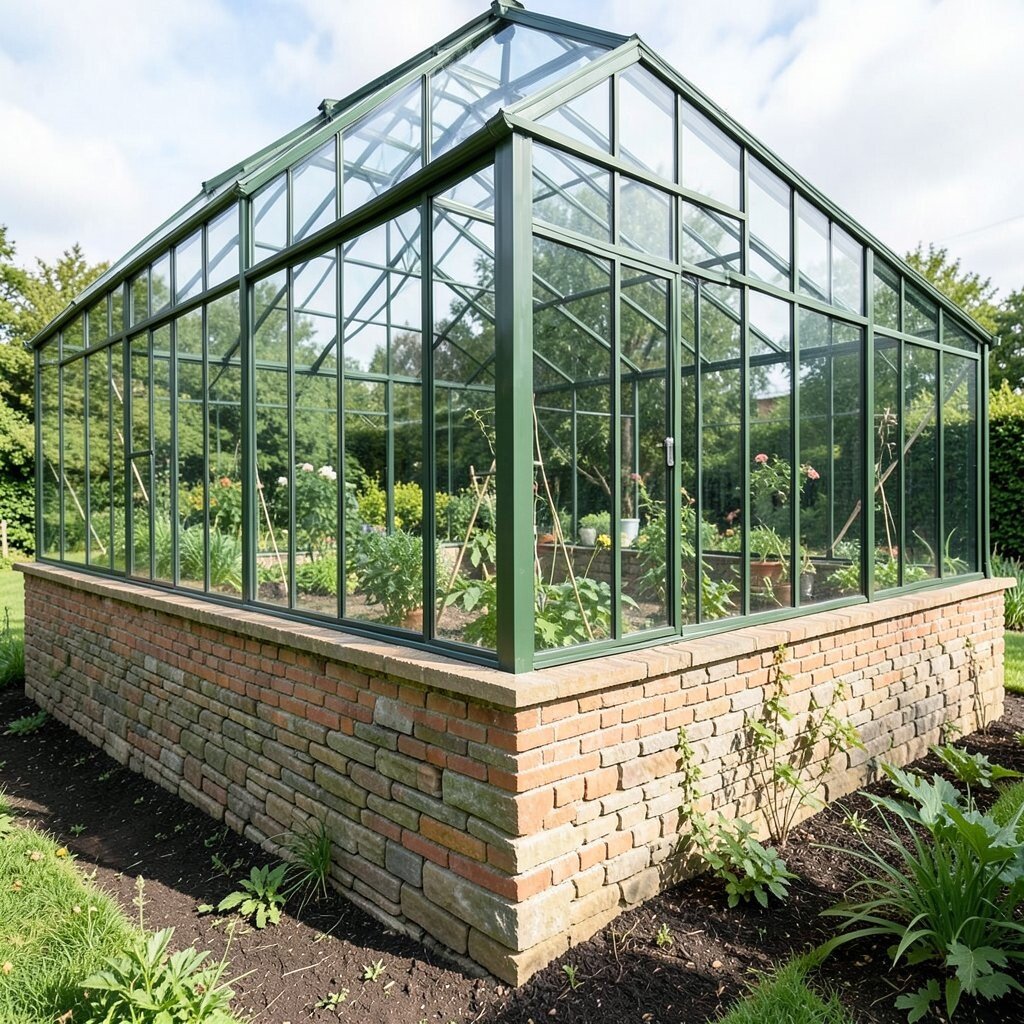
A brick or stone stem wall gives your greenhouse a solid, grounded look. It also helps protect the frame from splashback and improves insulation at the floor line.
Use a damp-proof barrier between the base and metal frame to slow corrosion. For practical tips, keep the wall height consistent so glass panels line up without awkward gaps.
If you love a cottage feel, match brick tones to nearby paths or raised beds. When budgeting, remember that a sturdy base can reduce future repair costs because it keeps the whole structure aligned.
11. Corner Skylights for Extra Sun on Seedling Stations

Corner skylights bring in light from angles that plain roof panels can miss. That extra glow is great for seedling benches where you want fast, healthy growth.
Plan skylights so they open or vent, because trapped heat can stress young plants. Use durable glazing clips and check seals after storms to keep leaks away.
To personalize, place skylights over your favorite propagation area and use the shadow lines to guide where you stage trays. If you want to keep costs steady, design skylights only where you need them most, like near propagation racks.
12. Staged Growing Zones With Removable Divider Panels

Dividers let you separate plants that like different humidity and airflow. You can keep leafy greens calmer while tomatoes enjoy warmer drafts.
Use removable panels made from clear or ventilated materials so light still reaches both sides. Add a simple latch system and make panels easy to pull for cleaning.
This setup feels unique because your greenhouse can change with your season plan. For practical comfort, label rack placements with painter’s tape so the next planting day goes faster.
13. Motorized Roof Vent for Hands-Free Temperature Control

A motorized roof vent helps maintain steady air movement without constant checking. When temperatures rise, the vent opens and warm air escapes before stress hits.
Pair it with a basic thermostat and solar backup if your power can be spotty. Use weatherproof wiring routes and strain relief so cables don’t tug under wind load.
To personalize, mount a small control box where you can reach it safely from the door. For cost, consider starting with one vent on the hottest side of the roof and adding more only when you see consistent need.
14. Glazing Clips Designed for Easy Replacement Panels

Even well-built greenhouses need panel swaps someday, and easy replacement saves time and money. Clips and gasket systems that allow single-pane changes make repairs feel manageable.
Choose hardware that grips firmly and doesn’t crack glass during expansion and cooling. When installing, align panels carefully and leave room for small movement so seals last longer.
This idea is practical and a little reassuring because it treats maintenance as part of the design. If you’re planning future upgrades, keep spare clips and one extra panel style on hand so you aren’t delayed mid-season.
15. Sidewall Bench Along One Long Glass Stretch

A sidewall bench uses space that would otherwise sit empty along the glazing. It also gives plants a stable microclimate where sunlight hits gently through the glass.
Build the bench with a slight slope and waterproof finish so spills don’t linger. Keep the bench height comfortable for working, and ensure you still have access to vents and gutters.
For personalization, add a thin rail for seedling tags and a shelf for small pots. On the cost side, you can reduce material use by designing the bench to match your existing lumber lengths instead of buying extra.
16. Integrated Shade Cloth Tracks for Brightness Management

Bright sunlight is great, but too much can scorch leaves, especially during heat waves. Shade cloth tracks make it simple to lower glare and protect tender growth.
Install tracks near the roof line so the cloth rolls evenly and doesn’t flap in wind. Choose durable mesh that supports airflow so the greenhouse stays fresh, not stuffy.
This is a smart trend because many gardeners now think in terms of light control, not just light amount. Personalize by using a light color mesh that still keeps the interior feeling airy and cheerful.
17. Concrete Floor With Perforated Drainage Channel

A concrete floor is durable and helps with cleaning, which matters when you handle soil trays. A perforated drainage channel gives water a clear path away from beds and benches.
Build slopes toward the drain so runoff doesn’t pool, and use a sealant that resists moisture stains. For practicality, consider removable grate sections so you can flush the channel after storms.
If you want a warmer feel, add rubber mats where you stand and keep the rest easy to sweep. Although concrete can be a bigger cost upfront, it often reduces long-term maintenance and helps keep fungus problems down.
18. Raised Planter Beds Built Into the Structure
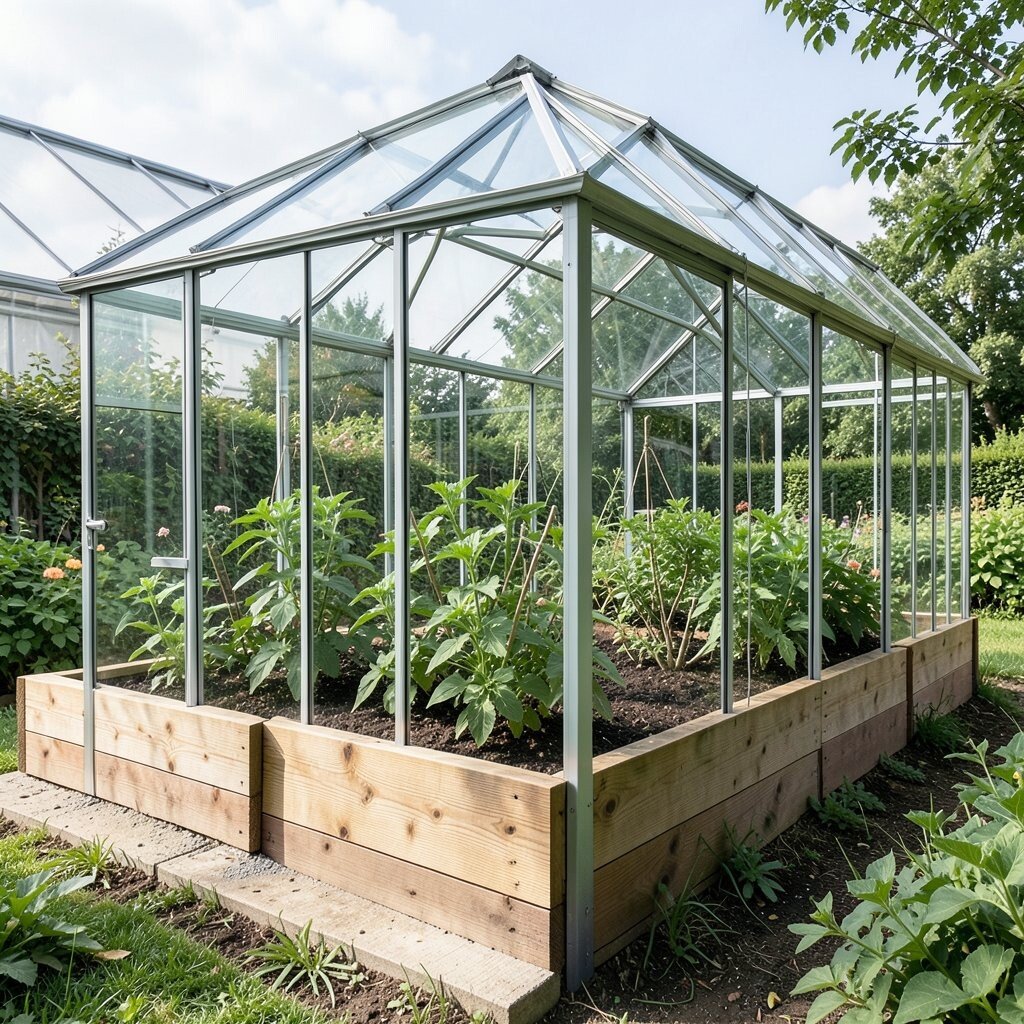
Planter beds built into the greenhouse frame make the whole space feel like a dedicated growing room. When beds are fixed, you avoid shifting soil around and can manage watering more evenly.
Use thick liners and a sturdy edge that won’t bow when filled with wet compost. Add a manageable access door or open panel so you can reach the bed base for repairs.
This design feels unique because your greenhouse isn’t just shelter, it becomes part of your planting rhythm. To personalize, shape bed widths to match your favorite tools and add a trellis line where vines can climb cleanly without crowding the glass.