You can make a photo look polished with the right background. Small choices about texture, color, and light can change everything.
1. Choose a Mood That Matches Your Subject

A backdrop should fit the feeling of your photo, not fight it. When you picture your scene, decide if it should feel cozy, bold, airy, or elegant.
Think about what your subject already gives off through color and shape. A soft fabric backdrop supports portrait calm, while geometric patterns can energize product shots. Choose a mood first, then let the background do its job without stealing attention.
2. Pick Colors That Work in Real Lighting

Start with colors that will still look good outside your head. Bright hues can pop, but they can also create harsh color casts if your lighting is strong.
Use simple color rules that feel natural to you, like pairing warm skin tones with creamy backgrounds or using cool grays behind sleek tech. If you can, test in the same place where you will shoot, because walls and floors reflect light differently.
For a clean look, aim for one main color plus one supporting shade. For a creative look, add a small contrast like a deep accent stripe or a gentle gradient that guides the eye.
3. Build Layers for Depth Without Clutter
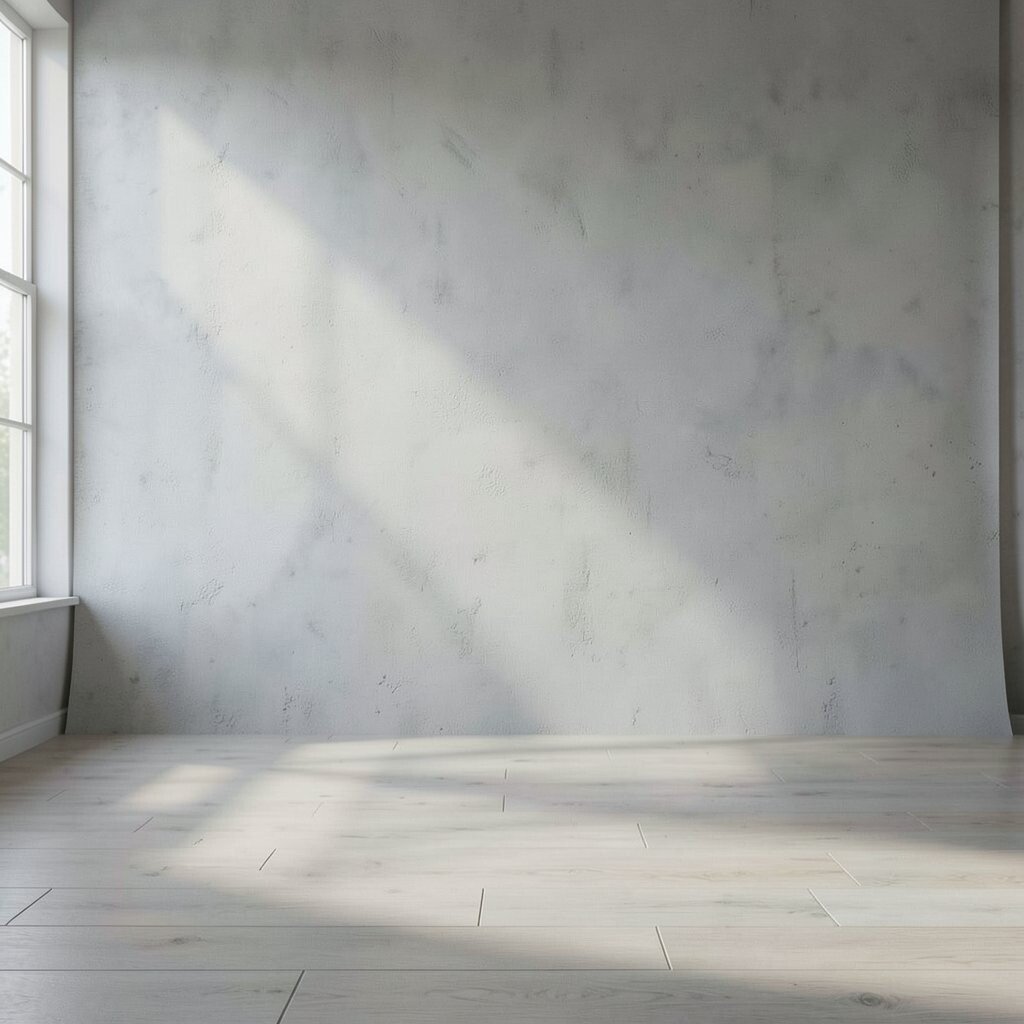
Flat backdrops can make photos look like they are stuck to the page. Layering adds depth so your subject looks like it lives in a real space.
Try a simple three-part feel: a background surface, a mid-layer texture, and small foreground elements. For example, use a smooth backdrop, then place a sheer curtain behind your subject, then add a light prop at the bottom edge.
This creates soft separation even when you keep the setup simple. It also helps your camera focus more confidently, especially in busy scenes.
4. Use Texture to Make the Scene Feel Tactile

Texture turns a background from “there” into “wow” even when nothing is moving. Think about woven fabric, brushed paper, linen-like wraps, wood grain, or subtle paint strokes.
For portraits, light-catching textures like velvet or terry cloth can add warmth. For product photos, smoother textures like fine paper or satin can reduce distracting shadows.
Choose textures that match your subject’s materials, so everything feels connected. A glossy item looks great with a softer, matte background that makes it stand out.
5. Create Depth With Foreground Elements
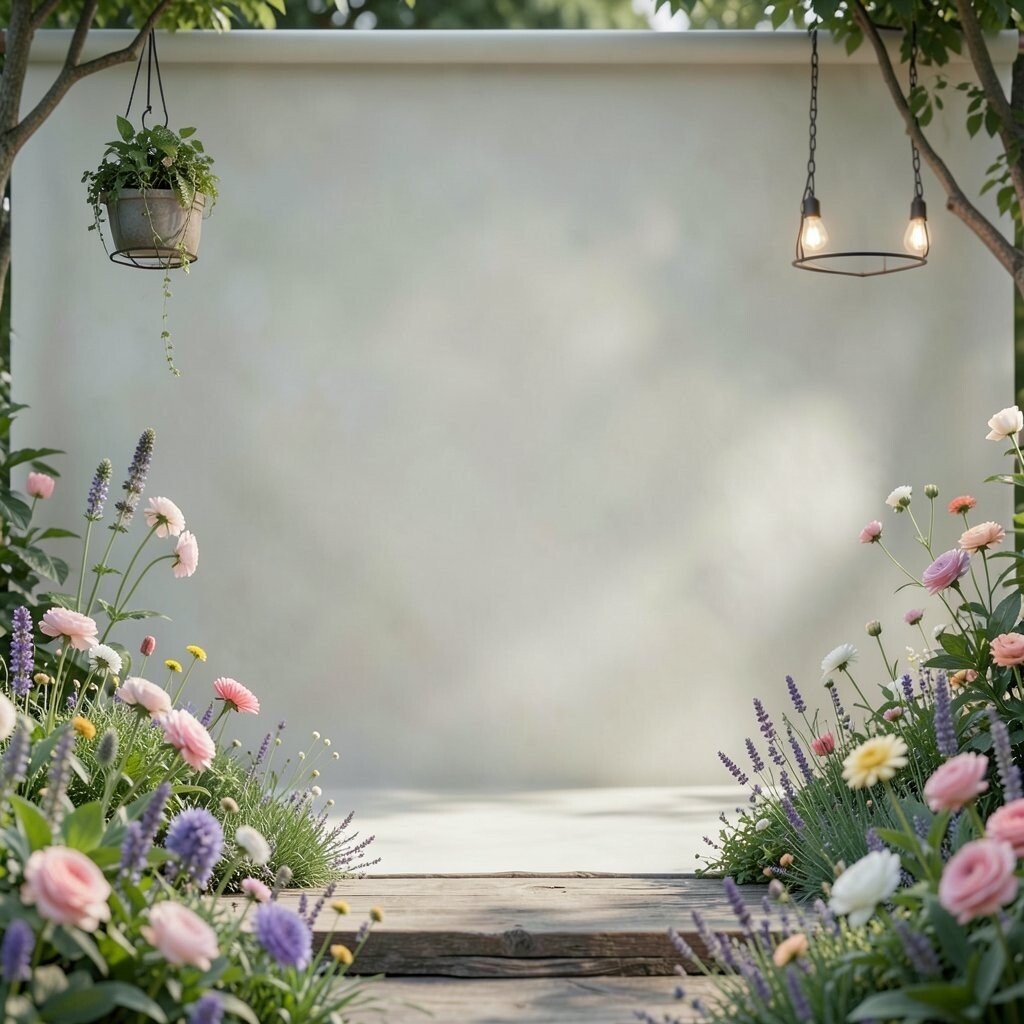
Foreground details can frame your subject and guide the viewer’s eyes. Even small items like dried grass, paper confetti, or a blurred plant leaf can add life.
Keep foreground elements out of the sharpest focus if you want a dreamy look. Place them close to the camera and angle them so they create arcs or lines around your subject.
This trick makes the scene feel bigger and more cinematic. It also lets you personalize the shot without changing your main backdrop.
6. Match Backdrop Size to Your Camera View

A backdrop that is too small can show edges and seams. Measure your space by imagining your camera framing, then give the background enough room to fill it.
If you use a wide lens, the corners of your backdrop matter more. Hanging a sheet too low can also catch in the shot, so hang it higher than you think.
For easy setups, secure fabric or paper so it stays smooth and flat across the whole visible area. This keeps your final image looking intentional instead of improvised.
7. Hang It Correctly to Avoid Wrinkles and Shadows

Wrinkles are the fastest way to turn a great idea into a messy image. Even fabric that looks fine to the eye can cast lines when light hits it.
Use a steamer if you have one, or hang the material for a while so it relaxes. If you are using a canvas or paper, stretch it tightly and tape the edges so it stays even.
Lighting direction matters, too, because side light makes creases pop. Aim your lights so they skim across the surface gently rather than blasting straight across.
8. Control Light With Simple Diffusion
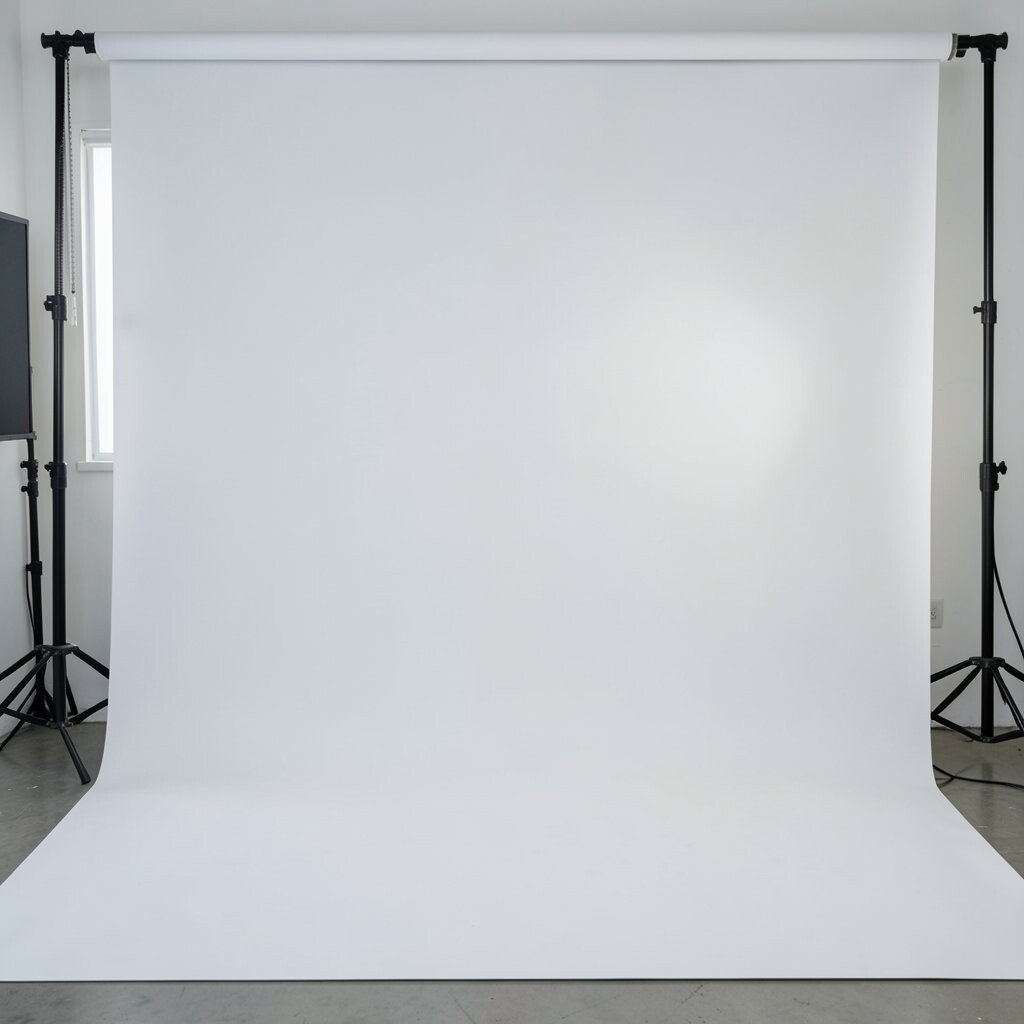
Light is the secret engine behind a beautiful backdrop. If your background looks harsh, the entire photo feels harsh, even if your subject is perfect.
Use diffusion to soften glare and smooth texture. A sheer curtain in front of a light, or a softbox with a diffuser layer, can make the whole scene look more flattering.
Try backlighting for a glowing rim around your subject, then balance with a fill light to keep the background from looking too dark. This helps your backdrop look rich instead of flat.
9. Add a Signature Pattern Without Overdoing It
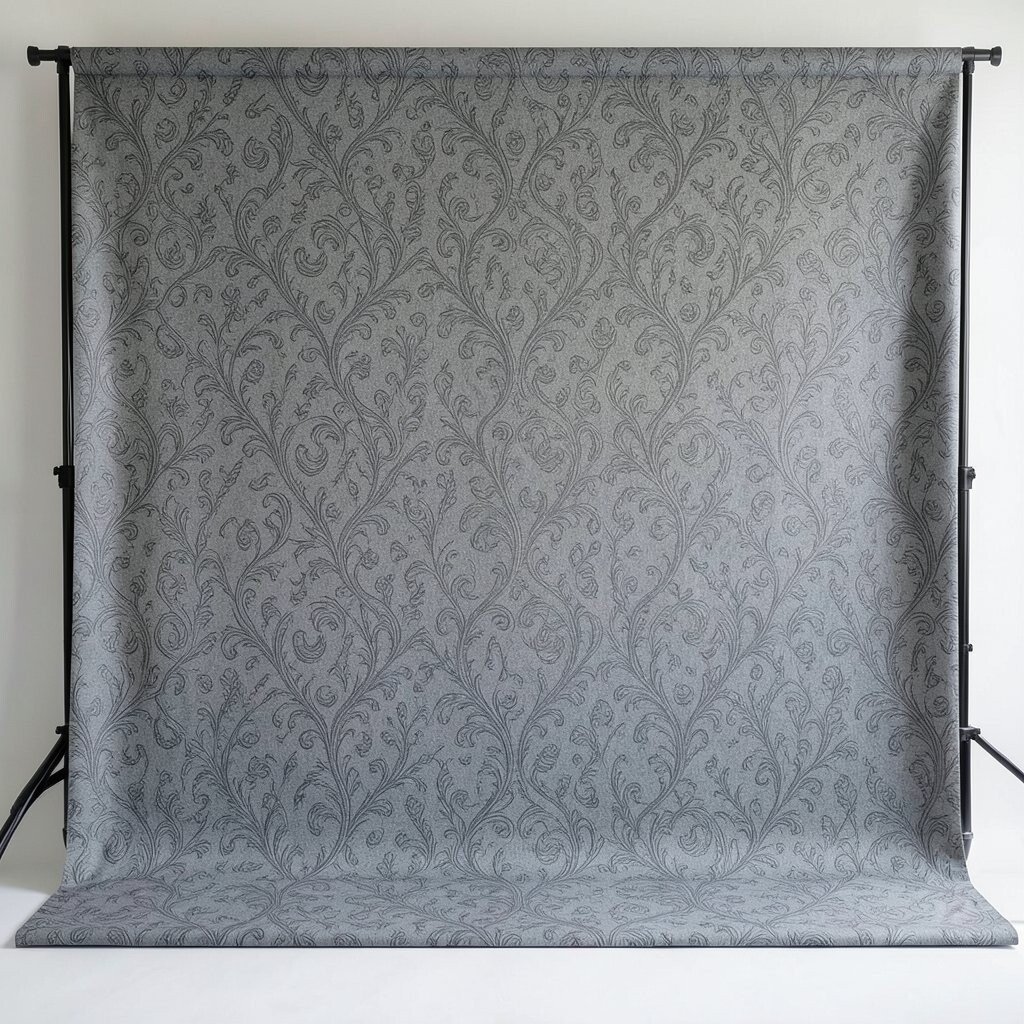
Patterns can make photos instantly recognizable, like a tiny “brand” you carry across shoots. The key is to use pattern scale that matches your subject size.
Small repeating prints look great for close-up portraits, while larger shapes can work for full-body scenes. If you want a modern look, choose clean stripes, subtle dots, or abstract strokes with plenty of negative space.
If you are unsure, use a pattern that is muted or slightly out of focus. Your subject will stay the star, and the background will still feel special.
10. Plan for Clean Edges and Seamless Coverage

Seams and taped lines can ruin the illusion of a seamless background. When you want a studio style look, treat edges like part of the design.
Use wide rolls of paper or large fabric panels when possible, and overlap carefully if you must. Stand far enough away so the seam falls outside the camera frame.
To keep the look smooth, avoid strong wrinkles at the join. A quick retake with slightly different framing can save hours of editing later.
11. Create a Seasonal Look With Easy Materials
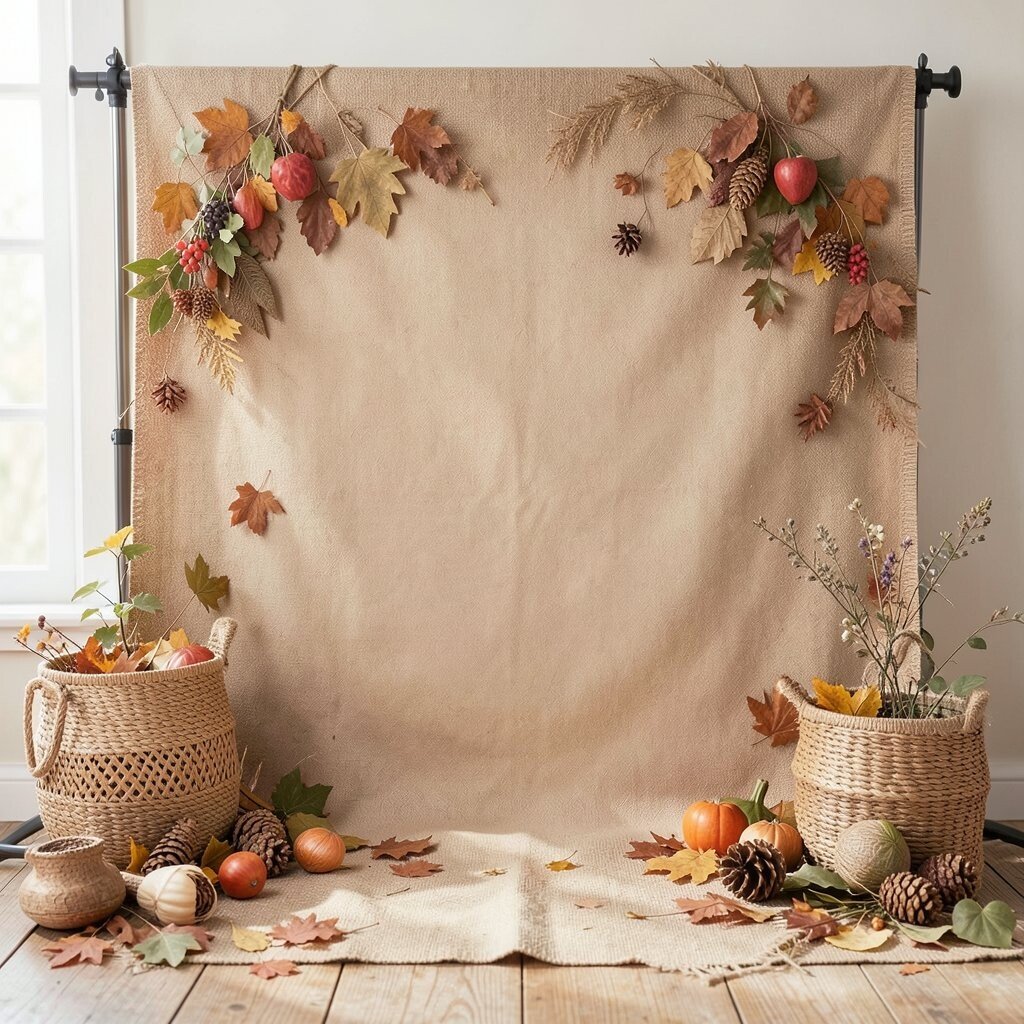
Seasonal backdrops help your photos feel timely without needing expensive gear. Think about warm tones for cooler months or bright accents for lively days.
For cozy vibes, use knit blankets, faux fur throws, or earthy paper textures. For fresh vibes, try light linens, pastel tissue paper, or simple floral arrangements that sit at the edges.
You can also reuse what you already own by matching colors and textures to the moment. This keeps the project personal while staying budget-friendly.
12. Keep It Personal With Props That Tell a Story

A backdrop can be beautiful, but a photo becomes memorable when it feels connected to you. Props add context and personality, like a mug for a cozy morning or a ribbon for a celebration.
Choose props that relate to your subject’s purpose, hobby, or mood. Then position them so they support the scene rather than compete for attention.
Try small personalized touches like handwritten labels on a craft paper roll, a favorite color ribbon, or a handmade banner. When your prop choices feel natural, the whole setup looks more authentic.
13. Budget-Friendly Backdrop Ideas That Still Look Pro

You do not need a big budget to get professional results. Many of the best backdrops come from everyday materials used thoughtfully.
Texture can come from craft paper, brown paper bags, old maps, textured wallpaper scraps, or even a clean wall painted with a satin finish. For a quick elegant look, use a simple backdrop of draped fabric in a solid color.
Shop sales for rolls of background paper or fabric yardage, and consider buying neutral colors so you can reuse them. When you invest once in versatile neutrals, you get lots of different looks without repeated spending.
14. Follow Current Styles While Staying True to Your Taste
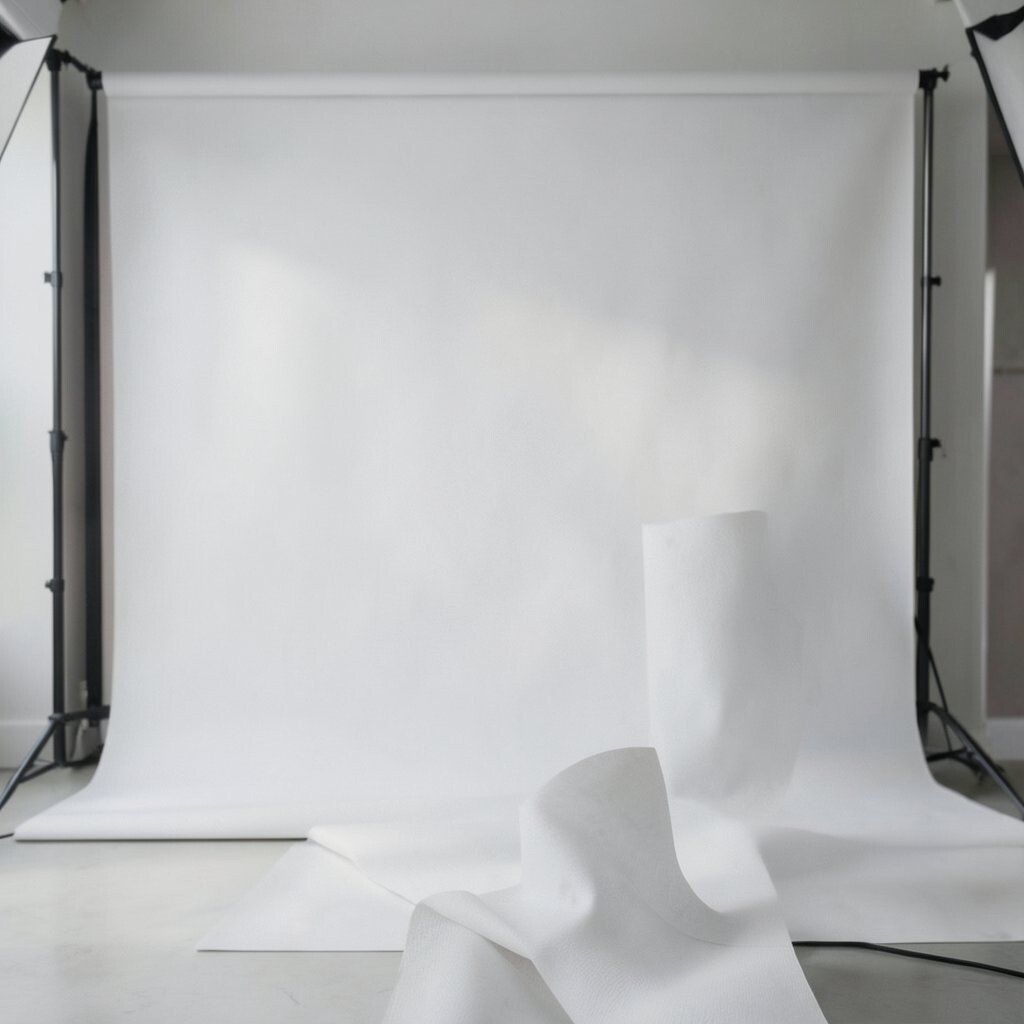
Photo backdrops are trending toward soft color palettes, natural textures, and subtle storytelling. People also love gentle gradients, warm film-like tones, and backgrounds that look lived-in rather than overly perfect.
Choose one trend element and blend it into your own style. For example, keep a natural wood or linen texture, then add a modern color accent like a muted blush or deep olive.
As you build your kit, keep it flexible so you can shift between portrait, product, and lifestyle looks. Your best backdrop is the one you can set up quickly, personalize easily, and enjoy every time you shoot.