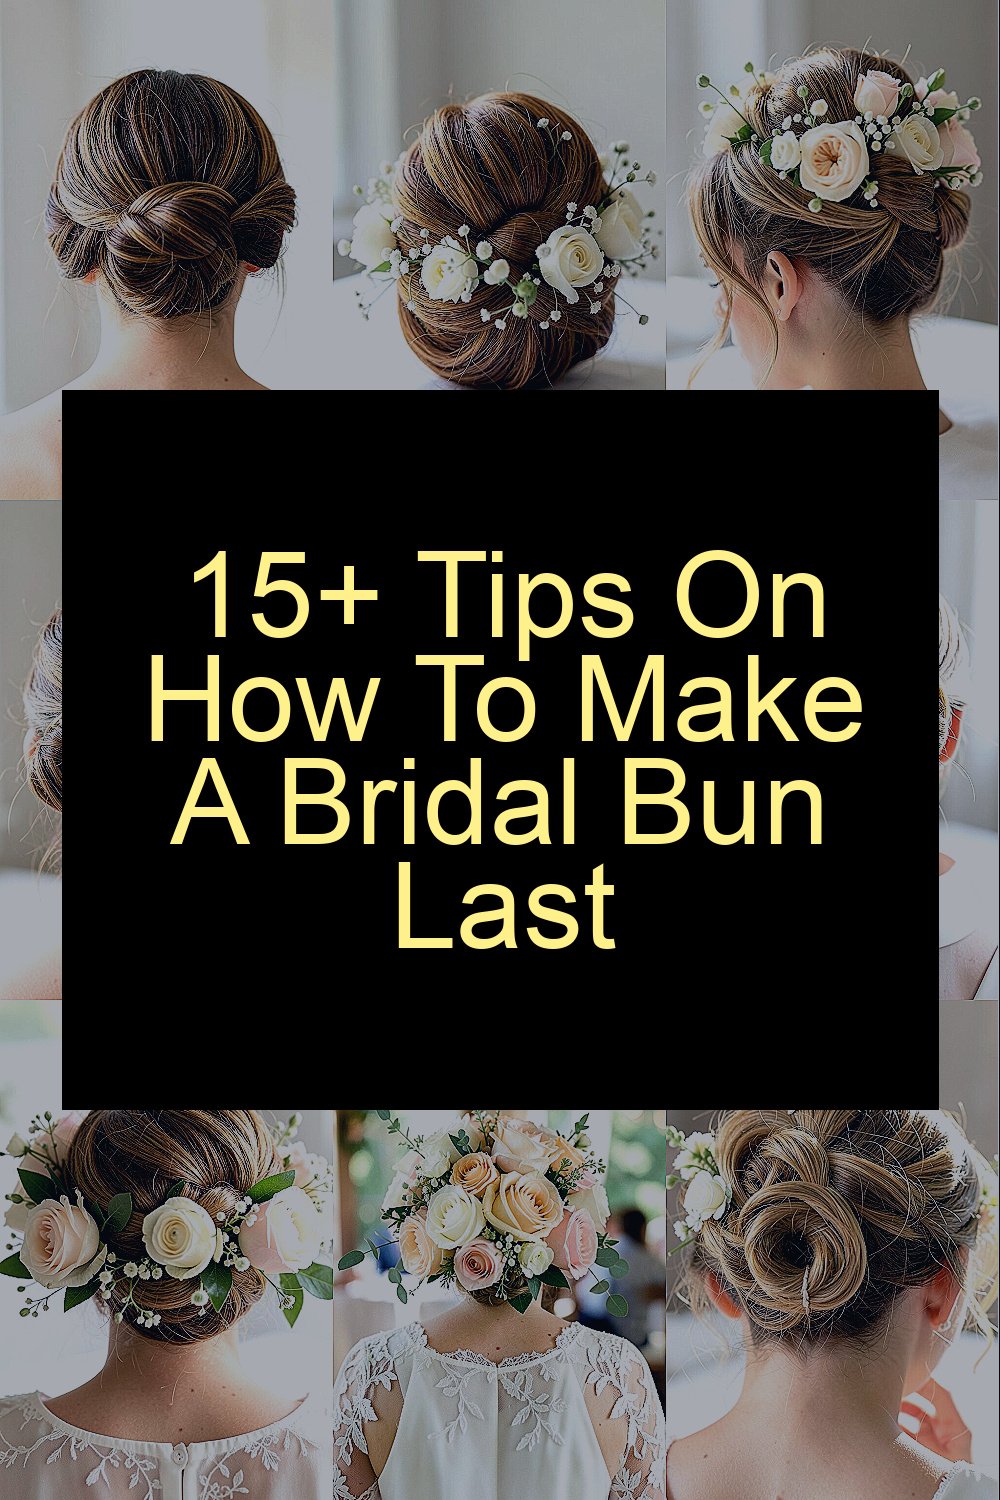
That fresh bridal bun look can be stunning, yet it can also fade fast if you skip the right steps. A long-lasting bun is really about planning, prep, and gentle strength.
Let’s turn your bun into a style that stays put through hugs, photos, and happy dancing.
1. Start With Clean, Not Squeaky Hair
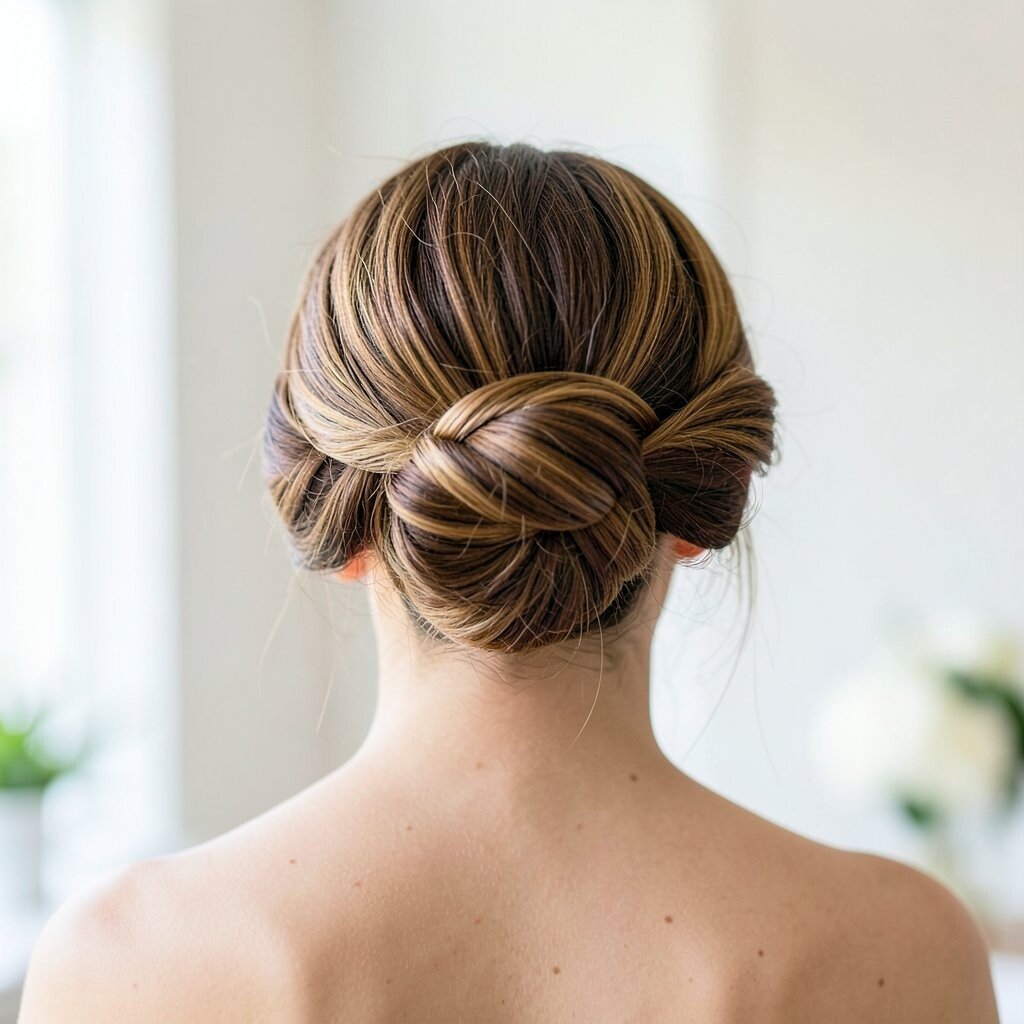
Begin with hair that feels clean but not overly stripped. If your scalp is too dry, your bun may slip because there is less natural grip.
Use a gentle shampoo the day of styling if your hair gets oily quickly, or use it the day before if you need more control. When you blow-dry, focus on getting the roots fully dry first, then lift at the crown so the bun has a solid base. Finish with a light mist of hairspray or texturizing spray so the strands hold tension without looking crunchy.
2. Prep With Heat Like You Mean It

Moisture is the silent bun-breaker, so make sure every section is properly dried and shaped. When your hair is even slightly damp, it can loosen as the day goes on.
Use a smoothing setting at the roots and then create a soft bend at the ends with a brush. This gives the bun a nicer visual shape and makes it less likely to unravel. For extra staying power, cool each section before you touch it so the cuticle settles.
3. Build Volume at the Crown for a Stable Base

A bridal bun should look lifted, not flattened by the time you reach the ceremony. Adding volume at the crown makes the whole updo feel more secure.
Try backcombing very lightly at the top or use a small amount of volumizing mousse before you blow-dry. You can also tease only the underside of sections you won’t see, so the outside stays smooth. The benefit is a bun that feels cushioned and anchored, which helps it last through wind and movement.
If you have fine hair, a tiny foam roller set at the crown can create the perfect lift. Thick hair may need a bit more smoothing on the outer layer so it doesn’t look bulky. Either way, you get a more polished look that still holds tight.
4. Add Texturizing Product Before You Pin

When hair is silky, it slides against itself, which is not ideal for a bridal bun. Texturizing product adds grip so pins bite and stay.
Spray a small amount of texture spray along the mid-lengths and ends, then gently toss the hair so it’s not clumped. This creates a natural, airy look that still stays neat. You’ll love how the bun looks more dimensional in photos because the strands catch light instead of looking flat.
5. Use the Right Pins for Your Hair Type
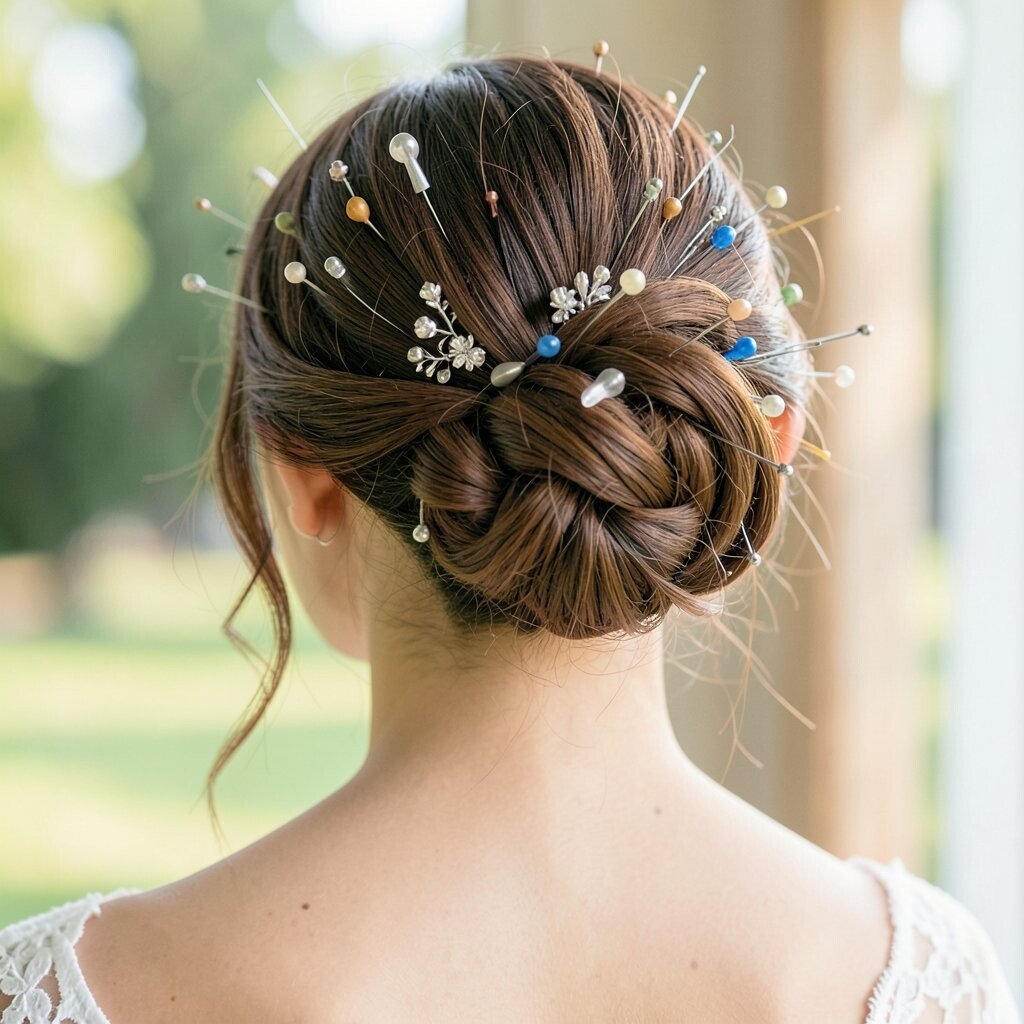
The kind of pins you choose changes everything about staying power. If your pins don’t match your hair thickness, they can slip or bend.
For thinner hair, smaller bobby pins with good grip work well, especially when you place them under layers. For thicker or heavier hair, use stronger U-pins and consider pinning deeper into the bun so the base feels locked. This helps prevent that annoying gradual loosening that happens right after the first big photo moment.
Choose pins that match your hair color or your theme, like matte bronze for warm tones. Then keep them handy so you can adjust without rushing. A neat pin pattern also makes the bun feel extra secure and visually clean.
6. Secure the Base First, Then Shape the Bun
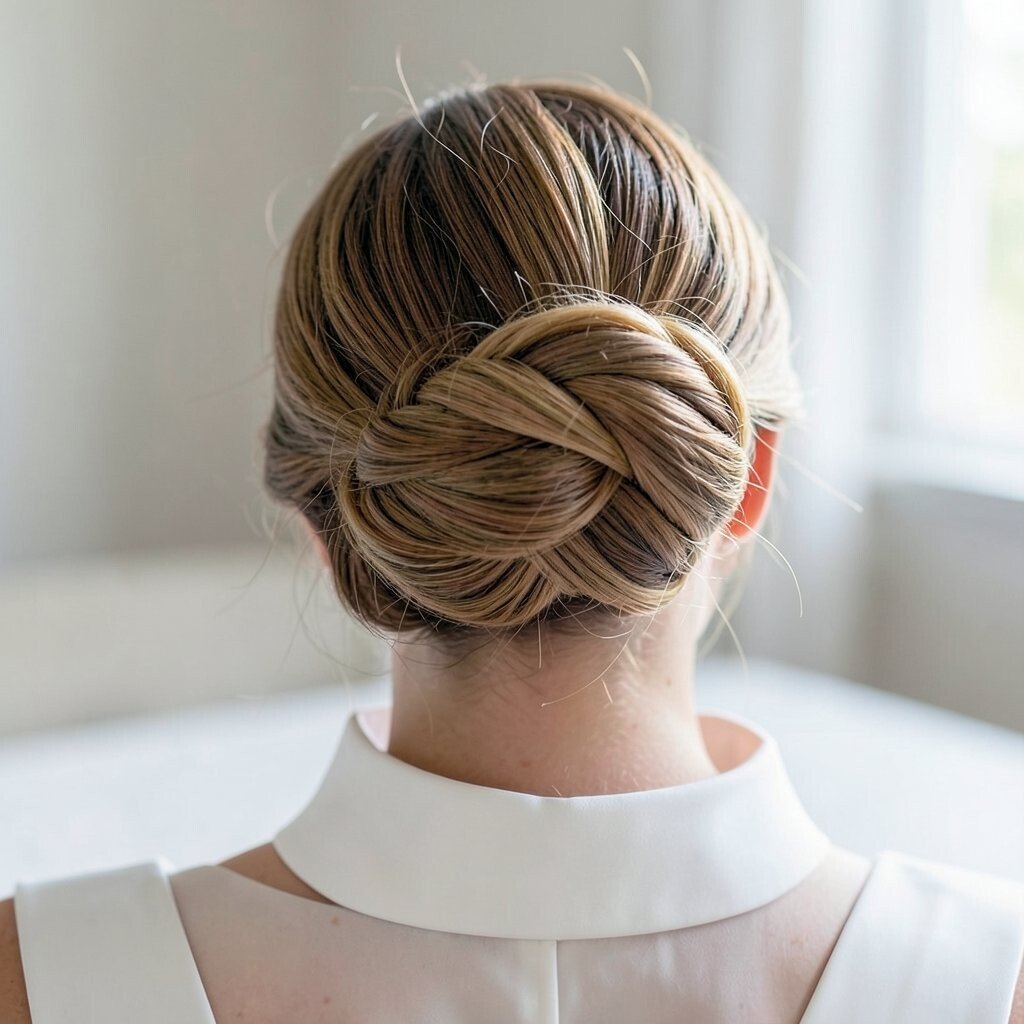
It’s tempting to shape the bun immediately, but rushing the base can lead to gaps and wobble. A strong foundation makes everything look better and last longer.
Gather your hair and tie it into a low or mid ponytail, then wrap the length into the initial bun shape. Pin around the base in small increments, making sure each pin overlaps the one before it. After the base is stable, you can smooth the outer layer and refine the silhouette for a bridal-worthy finish.
7. Loosen the Look With Intention, Not Accident
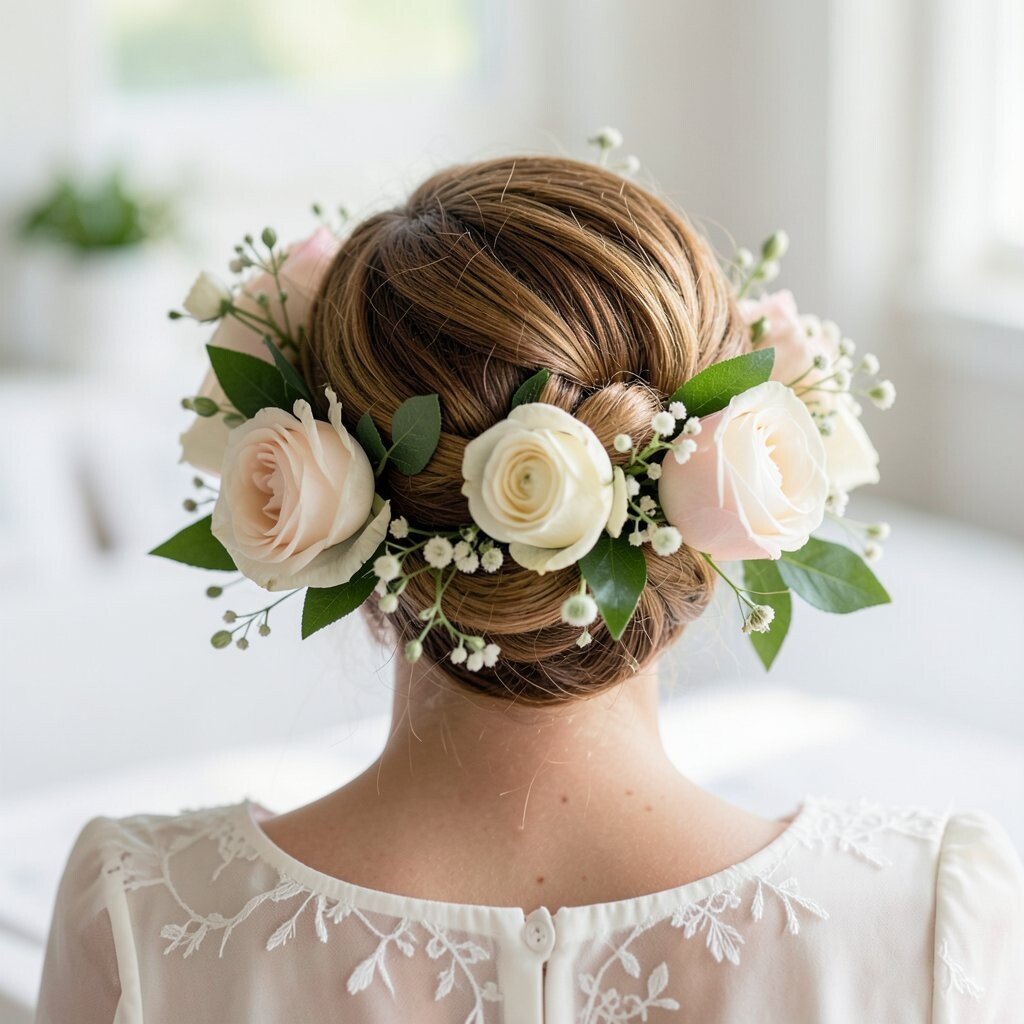
A “perfectly undone” bun is popular right now, and it can still last if you style it on purpose. The trick is to make deliberate softness while keeping the anchor sections tight.
Pull a few strands gently for a romantic frame, but keep the core of the bun firmly pinned. If your hair wants to spring loose, mist the pulled sections lightly before you place them. This style gives you that modern bridal look, while the benefit is reduced frizz and less sliding because the framing pieces are treated, not left to drift.
8. Choose a Placement That Matches Your Ceremony

Your bun placement affects how it feels when you sit, hug, and turn your head. A bun that looks gorgeous on a standing mirror can shift once you move all day.
For formal ceremonies and lots of movement, a secure mid or low bun often stays steadier than a very high one. If you want a higher look for elegance, keep the crown volume and anchor the bun deeper so it doesn’t sag. You can also position the bun slightly off-center for asymmetry, which looks chic and can help balance the weight of extensions or heavy hair.
9. Consider a Donut or Bun Maker for Consistent Hold
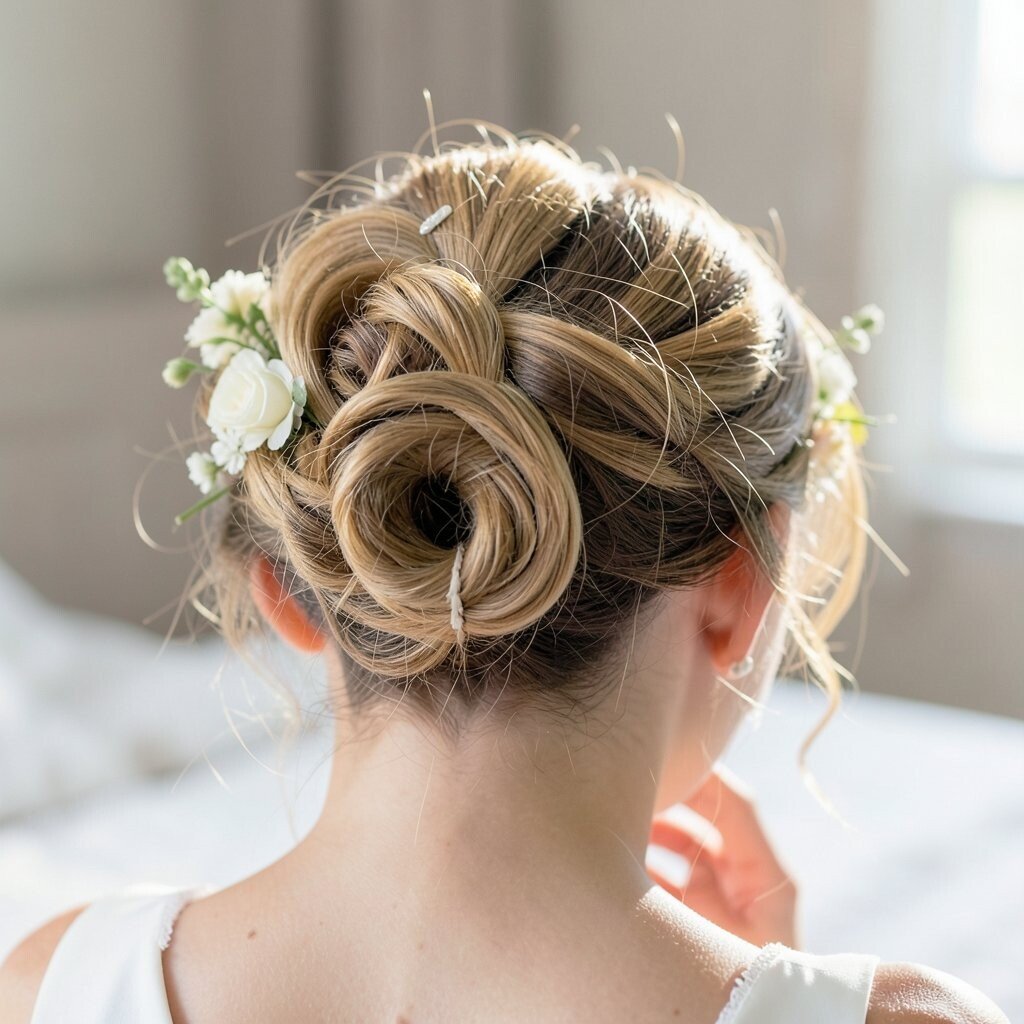
A bun maker helps you get the same shape every time, which is great for bridal stress. It can also reduce tension on your hair, so the bun holds without constantly needing readjustments.
Use a donut in a size that matches your hair volume so the bun looks full without looking fake. Wrap hair smoothly around it and pin close to the inner edge, then cover any visible gaps with a thin layer of hair. This trend-friendly approach keeps the bun polished from start to finish, and it can be a more budget-friendly alternative to frequent salon touch-ups.
10. Wrap Smart With Even Tension

Loose wraps cause unraveling, while too much tension can make hair pop free later. Even tension helps pins sit naturally and prevents the bun from shifting as you sweat or smile.
As you roll the hair into the bun, keep the wrap consistent from one section to the next. Use your fingers to guide the hair so it lays flat, then press the bun gently to help pins catch. This method creates a smooth, bridal finish with fewer stray hairs, and it reduces the need for constant re-pinning during the event.
11. Seal Layers With Hairspray in Stages
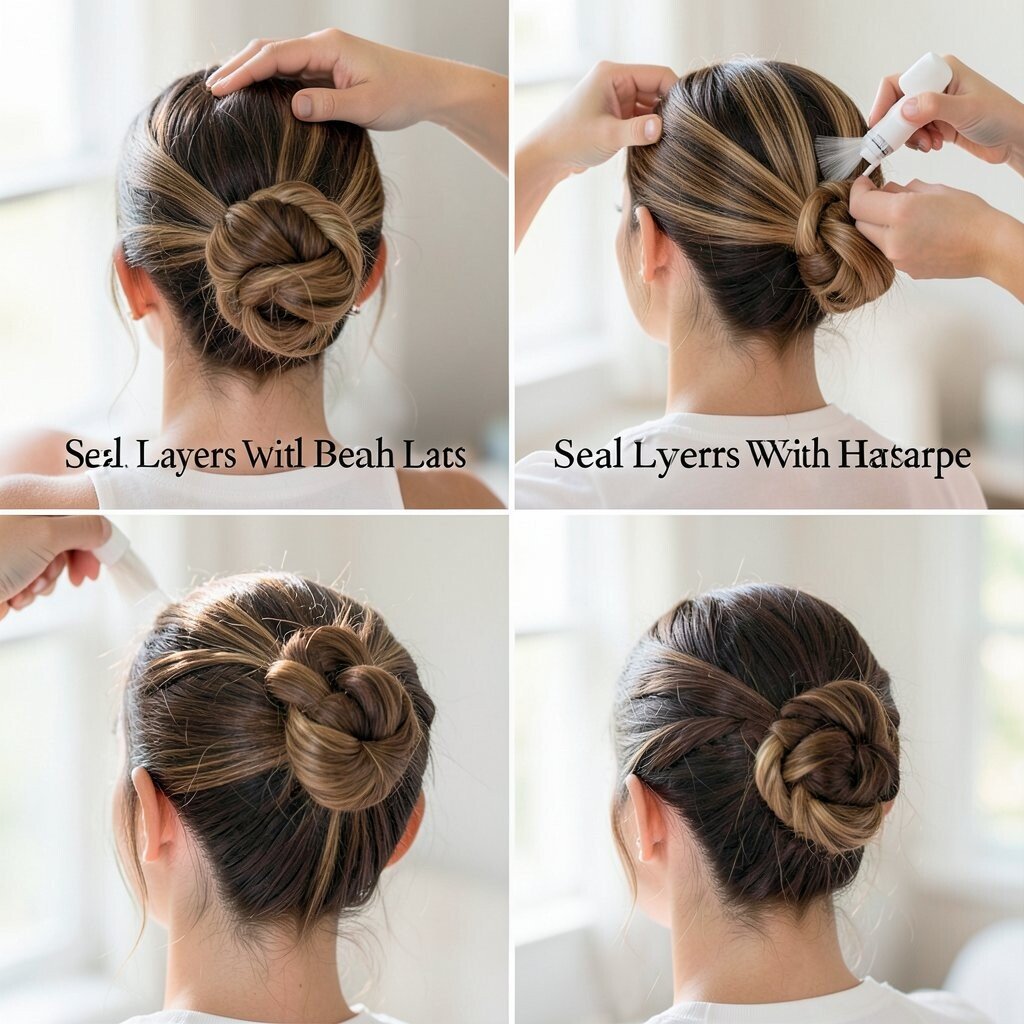
One big spray right at the end can make hair stiff and still not fully secure. Staged sealing helps the bun set gradually and hold better.
After you anchor the base, mist lightly and wait a moment, then pin and mist again. When you smooth the top and sides, apply a final light layer to lock everything in place without making it overly shiny. This creates a softer hold that feels natural to touch and looks great in close-up photos.
12. Add a Headband or Veil-Friendly Grid for Extra Security
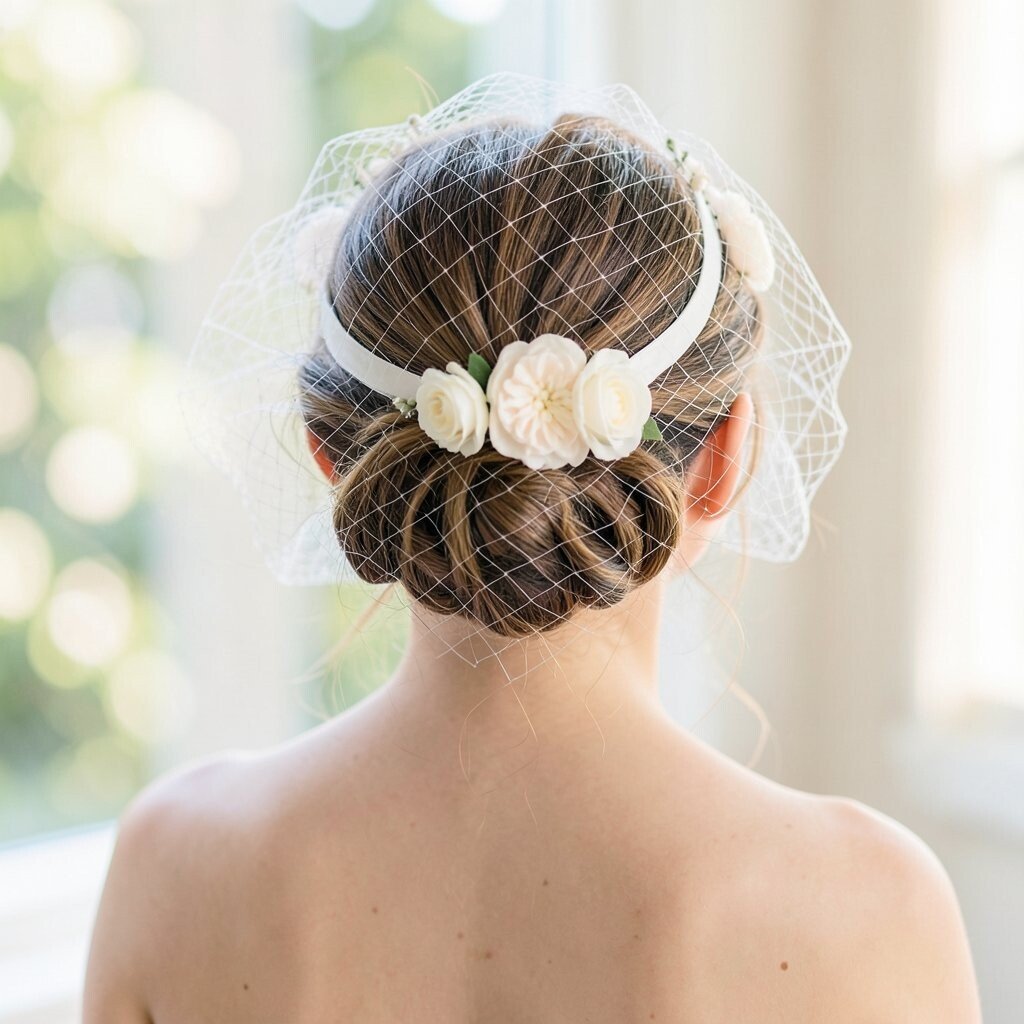
Bridal accessories aren’t just pretty, they can also be practical security tools. A headband or hair comb helps hold the bun and prevents slipping at the crown area.
If you’re wearing a veil, consider where the veil clips will land and plan your bun pins around that spot. A small comb placed strategically can act like a brace, keeping the bun steady during hugs and head turns. This is a smart personalization idea, because you can match the accessory style to your dress while also improving comfort and staying power.
13. Protect the Edges With a Smooth Finish
Loose flyaways around the bun look messy in photos, and they can also signal early loosening. Keeping edges sleek helps the whole bun look intentional and long-lasting.
Use a small amount of anti-frizz cream or edge control on a soft brush, then lightly smooth around the hairline. If your hair is prone to breakage, choose a gentle product and use the smallest amount possible. This gives you a clean bridal silhouette, reduces frizz that grows throughout the day, and keeps the bun looking neat without feeling heavy.
14. Plan for Sweat, Humidity, and Photo Heat

Outdoor weddings and warm venues can make any updo feel like it’s melting, especially around the nape. Heat and humidity loosen the bonds that keep a bun tight.
Bring blotting papers or a small travel towel so you can gently remove moisture from the roots if needed. Carry a mini spray bottle of lightweight hairspray, then mist lightly rather than soaking. You’ll stay comfortable and your bun will keep its shape in candid photos where you don’t realize you’re getting sweaty.
15. Store a Mini Touch-Up Kit for Your Big Day
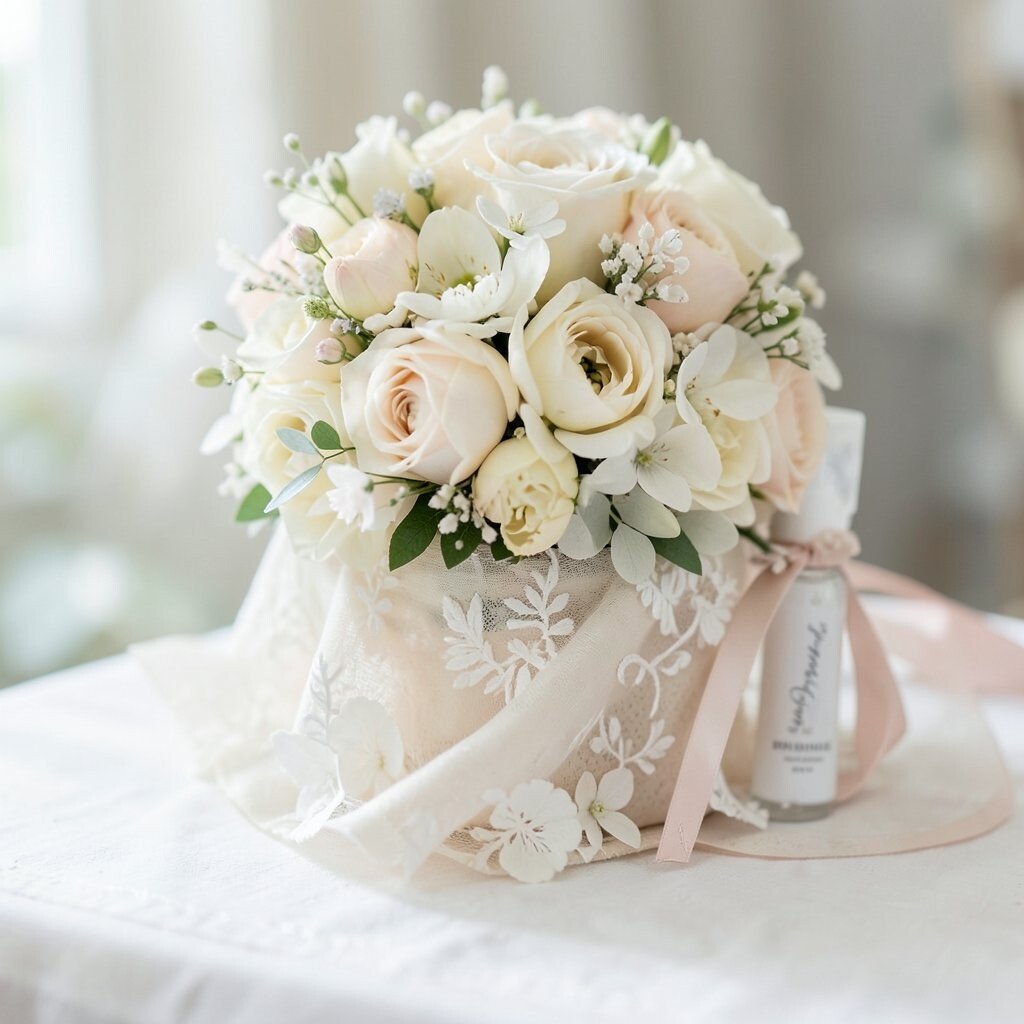
Even the best bun can need a quick fix when you’re juggling schedule changes and busy hands. A mini kit is one of the easiest ways to keep your hair looking fresh all day.
Pack extra pins, a small comb, and a travel-size hairspray so you can handle small slips fast. Consider adding a bobby pin shaped like a little anchor for the base if you know your hair tends to loosen. This keeps you confident for late-night photos and makes it feel less expensive than hiring repeated emergency help.
If you want your bun to look extra bridal, add a sparkle hair spray or hair veil-friendly shine mist that won’t weigh down the style. A quick check after the ceremony, plus one touch-up during dinner, often keeps everything looking picture-ready. The best part is that your bun stays you, just with a polished finish all day.
16. Practice a “Day-of” Style Run Before the Wedding
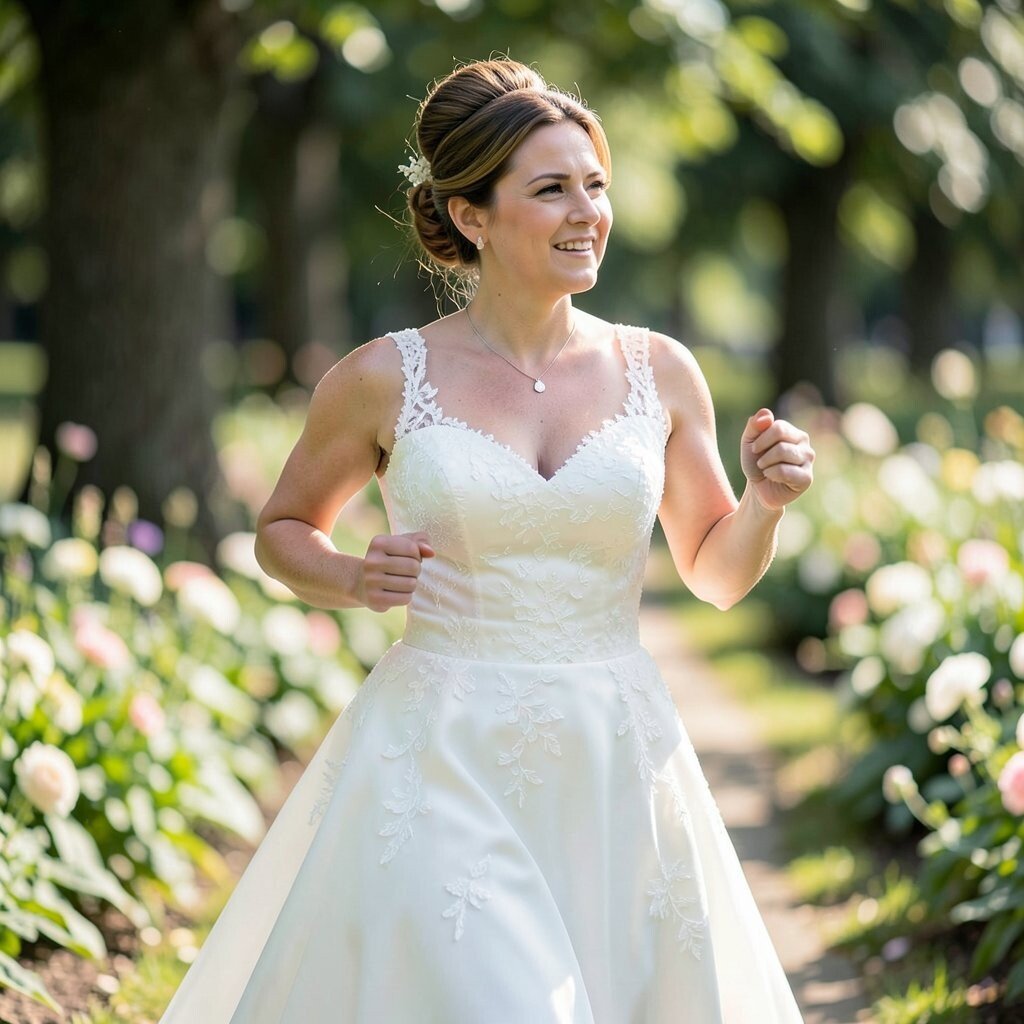
Trying your bun setup ahead of time turns surprise problems into simple fixes. When you practice, you learn which pins feel right and how long each step takes.
Schedule a trial on a similar day of hair washing so your texture matches wedding day. Use your actual accessories like your veil comb or headband so you can see how everything interacts. This current bridal trend of intentional testing helps you personalize the look, get the exact shape you want, and reduce stress when the real day arrives.
During your trial, take photos from multiple angles, including close-ups of the back. Then adjust based on what you see, such as adding more pin coverage at the underside or smoothing the outside layer a bit more. By the time your wedding day comes, you’ll have a bun that feels secure, looks unique, and stays put through every joyful moment.