
The glass walls make every inch feel visible. With a little planning, your greenhouse can feel bigger, calmer, and far more productive.
Instead of fighting the room you have, you can design around plants, light, and movement. You will get more harvest space without crowding, and the whole place will look more inviting every season.
1. Map Your Light Like a Sun Calendar

Start by watching where the sunlight lands from morning to late afternoon. Then sketch those bright zones on paper so you can place tall plants where light is strongest.
When the sun hits the right shelves, plants spread out instead of leaning and shading each other. You also waste less space by avoiding “trial and error” that forces you to reshuffle every week.
2. Use Vertical Planting With a Ladder of Possibilities
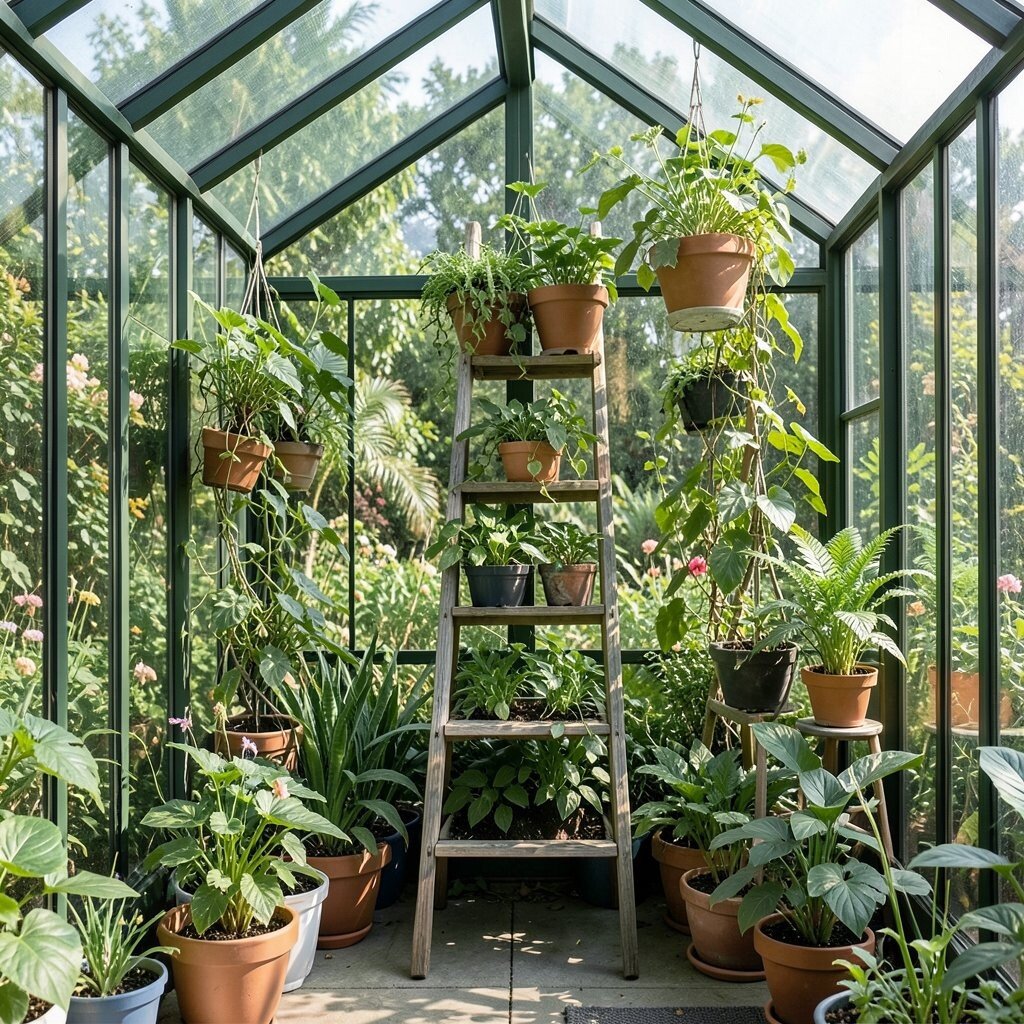
Grow upward using hanging baskets, stacked pots, and simple trellises that match your plant types. A clear line of sight through the glass makes vertical setups feel tidy rather than crowded.
Try training cucumbers or small climbing beans up strings or wire lines so the floor stays open for seedlings and tool space. You’ll get faster airflow around leaves, which helps reduce disease pressure.
For cost, start with one trellis or one hanging rail and expand only if it fits your style. Many gardeners now use adjustable metal racks and lightweight clips because they adapt as plants grow.
3. Build Narrow, Walk-Through Pathways That Still Feel Wide

Measure your typical walk route and keep it consistent with a clear path through the center. Even in tight layouts, a defined walkway makes the greenhouse feel organized and safe.
Place heavier items like soil bags near the sides so you never have to step around them. Better movement means fewer broken pots and less time carrying supplies back and forth.
Choose materials like low-profile edging or compact boards so your path stays clean without stealing extra ground. Personalize the route with markers and small shelves at eye level, so you can find things quickly.
4. Choose Sliding or Folding Storage Instead of Swing-Out Units

Swing doors take up room when you’re moving trays, and they can block your view of plants. Sliding shelves and folding racks keep pathways clear and make the space feel continuous.
Store seed trays, ties, and spare clips in shallow drawers so you can grab items without creating clutter. This also helps you keep the floor open for watering stations and cleanup.
5. Create a Dedicated Seedling “Landing Zone”

Make one small area for trays that need gentle handling, such as seed flats and germination domes. A calm corner with good light prevents seedlings from being bumped while you reach for other plants.
Keep the landing zone close to your watering source so you can move plants quickly. When seedlings stay together, it is easier to rotate trays for even growth.
Many growers now use modular bench inserts and removable trays because it saves time during transplant days. If you want to personalize, add a simple label system with colored tape so you can spot varieties fast.
6. Install Bench Ends That Double as Seating and Storage

Instead of bare bench legs, consider adding closed storage at the bench ends or under the ledge. The glass greenhouse looks clean when your tools hide neatly and your hands have a comfortable place to rest.
This small change helps you work longer without straining and without leaving tools scattered on the floor. It is a smart space win because it turns “dead space” into practical space.
7. Clip Plants to Trellis Lines Early, Not After They Spill

Train young plants when they are still easy to guide. A few gentle clips save you later, because tangled vines take extra floor space to manage.
When stems are guided upward, leaves catch light evenly and you can fit more varieties along the same vertical support. This also gives you better access for pruning and harvesting.
Cost stays reasonable if you reuse sturdy twine, plant ties, or old netting in new sections. Trends in many greenhouse spaces lean toward simple adjustable lines because they adapt to changing plant heights.
8. Use Reflective Surfaces Carefully to Boost Light Without Crowding
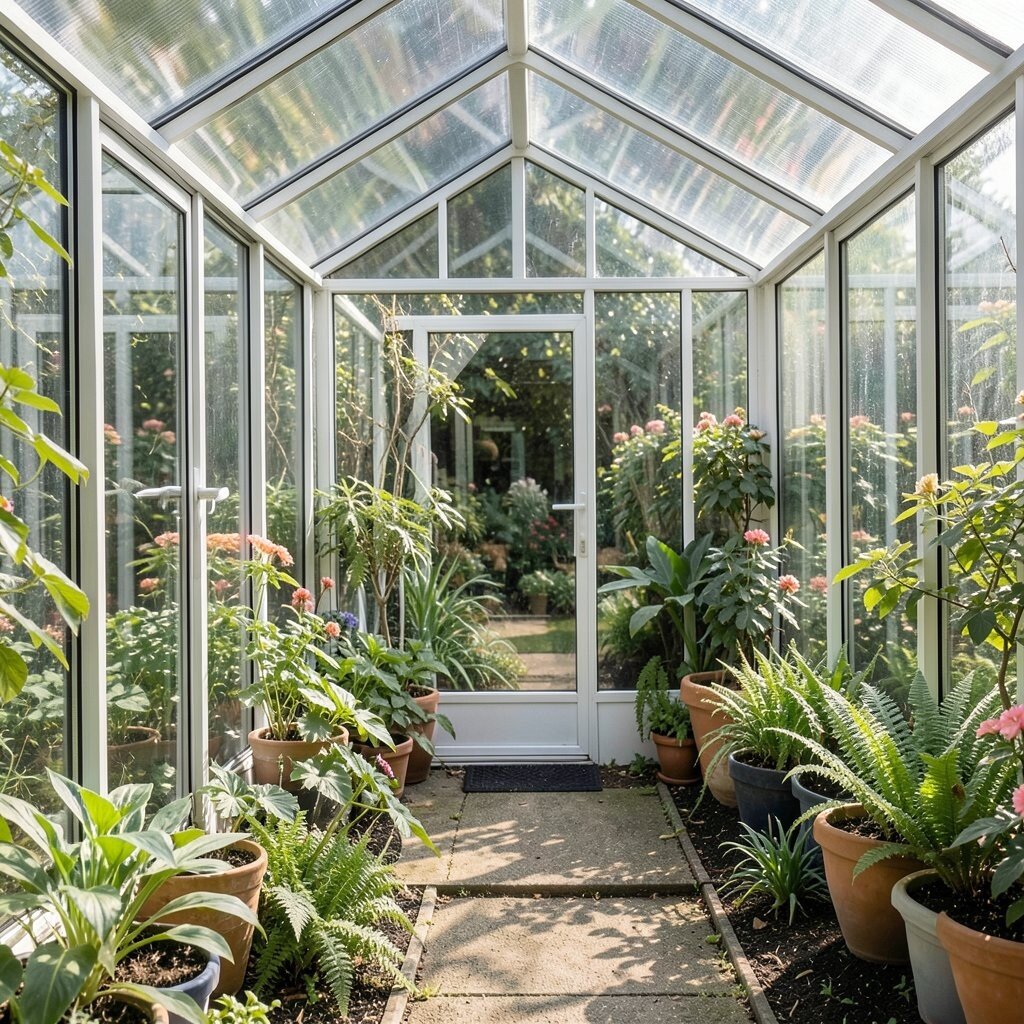
Bright surfaces can help bounce light toward shaded plants, especially inside a glass space. You can place reflective materials on the inside of bench backs or along a wall side where light is limited.
Just keep materials tidy and not overly shiny, so glare does not stress delicate leaves. This method makes the greenhouse feel brighter, which helps you keep plants closer to the light while still staying comfortable.
9. Pick Containers That Stack, Nest, or Share Trays

Choose pots that fit neatly inside each other or containers designed for stacking. When containers align, you use vertical space and you reduce the clutter that happens between watering cycles.
Shared tray systems are also useful, because you can move batches together during chores. That means you spend less time searching and more time caring for plants.
10. Keep a Narrow Tool Wall for Faster Daily Checks

Assign one spot for gloves, pruning snips, ties, and seed packets. A small tool wall keeps everything within reach so you do not wander through the greenhouse with hands full.
When you can check plants quickly, you catch problems sooner and you avoid the space-hogging mess that comes from late fixes. It also makes the greenhouse feel welcoming, like a workspace rather than a storage yard.
11. Use “Zone Shelves” With Different Heights for Different Crops

Plan shelves at varied heights so each crop has a place that matches its needs. For example, set leafy greens on mid-level benches and place taller growers where the glass light is strongest.
This helps you avoid the common squeeze where one fast plant steals room from slower ones. As you rotate crops, you can keep the same shelf structure and simply swap plants in and out.
12. Make Watering Efficient With a Close, Contained Station

Set up a watering area that stays near your main path and uses a small catch tray. Containment keeps wet mess off the floor, which protects walk space and prevents slippery ground.
When watering is organized, you can place plants closer to the station without fear of puddles. A tidy system also helps you measure irrigation habits, which supports healthy growth.
If you want to keep costs down, start with a simple hose guide and a few plastic liners. A lot of current setups favor compact drip lines because they save time and reduce the need to move heavy cans around.
13. Use Removable Covers for Temporary Crowding During Peak Growth

Some weeks are intense, like when seedlings bulk up or when transplants need extra warmth. Removable covers let you group plants for a short time without permanently redesigning your layout.
This gives you flexibility, so you can maximize space during busy moments and then spread plants out later. It also supports seasonal changes, which is a big part of greenhouse success.
14. Choose Plant Spacing Tools That Help You Decide Faster

Instead of guessing, use simple spacing markers or grid layouts for consistent placement. When you know how much room each variety needs, you stop overcrowding and you keep paths clear.
You can personalize spacing by adjusting grids for your favorites, like putting extra room around tomatoes or herbs that need airflow. This saves money too, because fewer plants get stressed and fewer trays go to waste.
15. Rotate Stock Into “Staging Trays” Before You Move Them

When it is time to rearrange, use staging trays to hold plants temporarily. Staging prevents you from setting pots on the floor, which quietly eats up space and makes later cleanups harder.
This method also protects delicate leaves, since you can lift and move without dragging. With a little practice, you can reorganize in minutes rather than turning the greenhouse into a busy mess for hours.
16. Add Small Hanging Herbs for Constant Use and Better Airflow

Herbs like mint, basil, and small lettuces can hang near light sources where airflow is strong. Hanging containers use the greenhouse ceiling space that most people ignore.
You also get practical benefits because harvesting is fast and you do not have to crouch near the floor. If you enjoy personalization, mix textures by adding trailing herbs beside neat upright ones so the glass view stays beautiful.
17. Manage Soil and Compost Storage Like It’s Part of the Layout

Soil bags, potting mix, and compost tools take up real room if they are left in open piles. Store them on the sides in sealed bins or stacked containers with lids to keep the area clean.
When storage is contained, the greenhouse looks calmer and plants appear more spaced even if they are close together. Keeping compost tidy also supports current trends toward cleaner, more controlled growing practices.
For cost, reuse sturdy buckets and label them clearly so you can find what you need quickly. A small system of containers saves both time and money because you waste less product.
18. Keep the Floor Clear With Mat Systems and Liftable Platforms

A simple floor mat plan helps you protect the ground from mud and dampness while giving you traction. When you add liftable platforms for heavy tasks, you avoid dragging tools across wet areas.
Clear floors make the greenhouse feel larger, and they improve safety when you move between benches. You can also personalize by choosing mats in colors that match your greenhouse style, which makes the space feel like yours.
19. Adjust the Setup Each Season With a “One-Bed Change” Rule

Every season brings different plants, different light needs, and different growth speeds. Instead of overhauling the whole greenhouse, change one section at a time so your workflow stays smooth.
This keeps your space optimized because you can learn what fits your crops and your climate. It also helps your budget, since you buy fewer supplies and reuse what already works.
Try pairing new trends with your own habits, like using adjustable shelving hardware and modular trellis parts. When you tailor the greenhouse gradually, the space grows with your experience rather than getting stuck in a layout that only fits one moment.