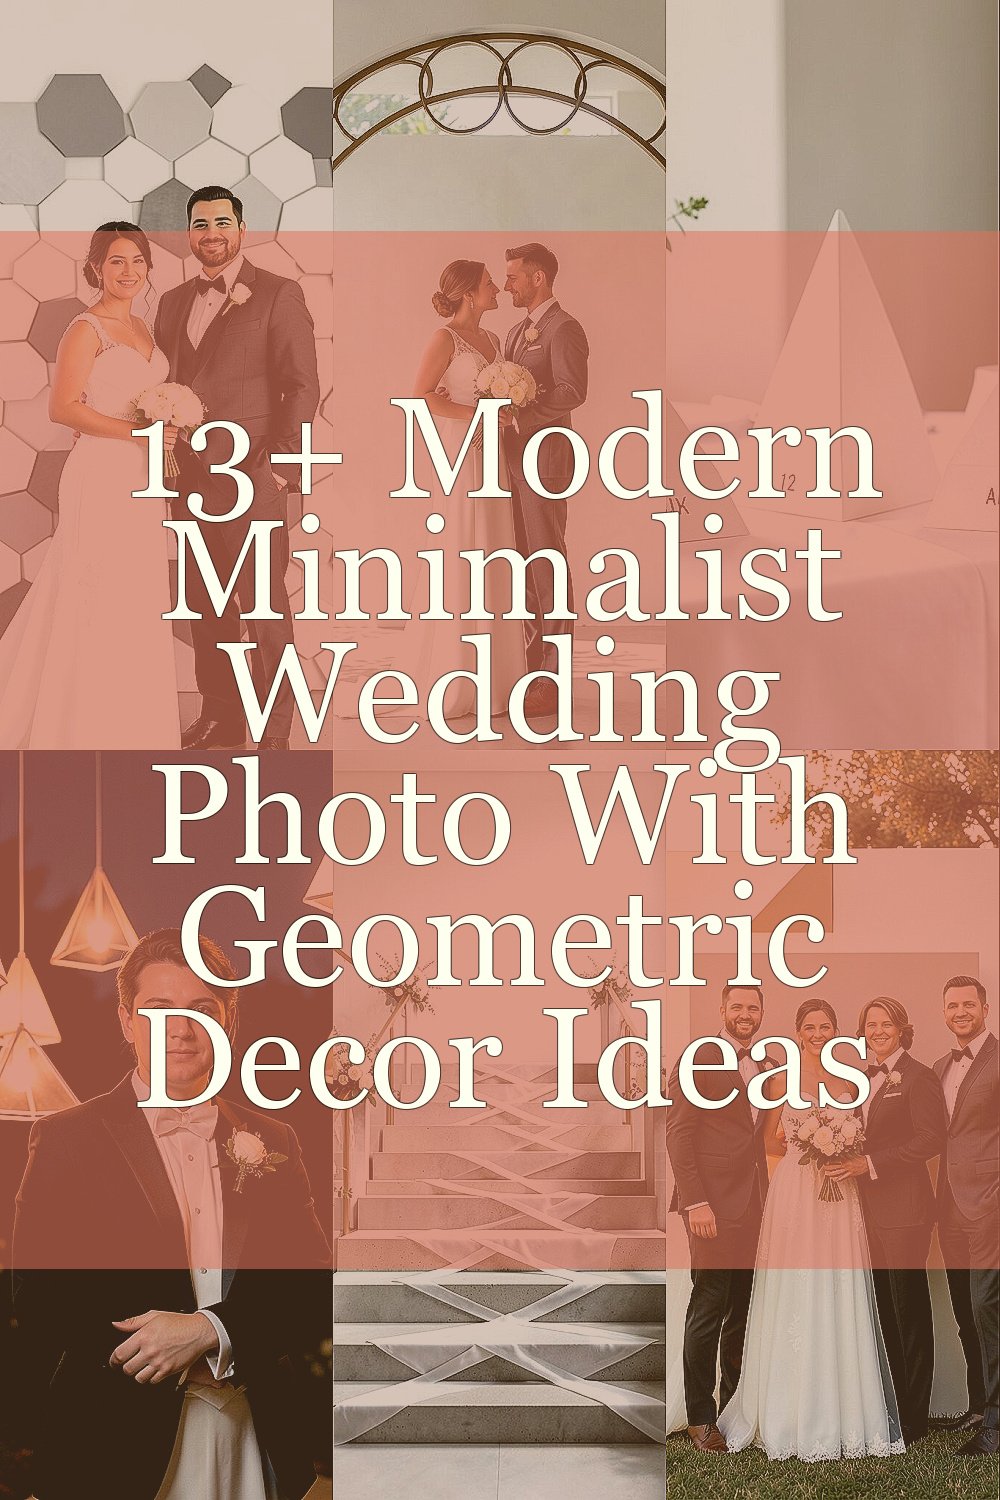
The camera loves clean lines and smart symmetry. When your decor follows a geometric rhythm, every shot feels intentional.
You get a look that stays modern in every season and never feels cluttered. With a few choices, your wedding photos can look crisp, artistic, and easy to recreate.
1. Monochrome Hexagon Backdrop for Couple Portraits

A hexagon backdrop made from matte panels creates a gentle honeycomb pattern behind you. It frames your faces without pulling focus from your expressions.
Choose black, cream, or soft gray so the shape feels modern and calm. For photos, stand centered and keep your angles straight so the symmetry reads clearly.
Use tape or thin frames to mark clean edges, then keep the surface smooth and uncluttered. If you want a personal touch, print your wedding initials in a tiny corner, or add one meaningful date in a minimalist font. This kind of setup often costs less than bulky floral walls because it uses fewer materials and can be reused for another event.
2. Circular Arch Frames With Interlocking Rings

Instead of tall florals, build an arch from lightweight hoops with interlocking rings. The rings create a modern halo effect that makes your couple photos look styled.
When you pose under the circle, the background becomes a soft design rather than a busy scene. This is especially flattering in daylight, because the curves catch light and add depth.
To make it practical, anchor the structure with a weighted base and test it for wobble before the guests arrive. For personalization, swap ring colors to match your palette, or wrap one ring with a strip of fabric that matches your dress tone.
Because the decor is mostly structure, you can keep costs under control and spend more on photography time. Minimal geometric decor is also trending now, since it looks elegant in both candid and posed shots.
If your venue allows, place the arch near a window so the rings outline you against natural light.
3. Geometric Prism Table Numbers With Clean Typography
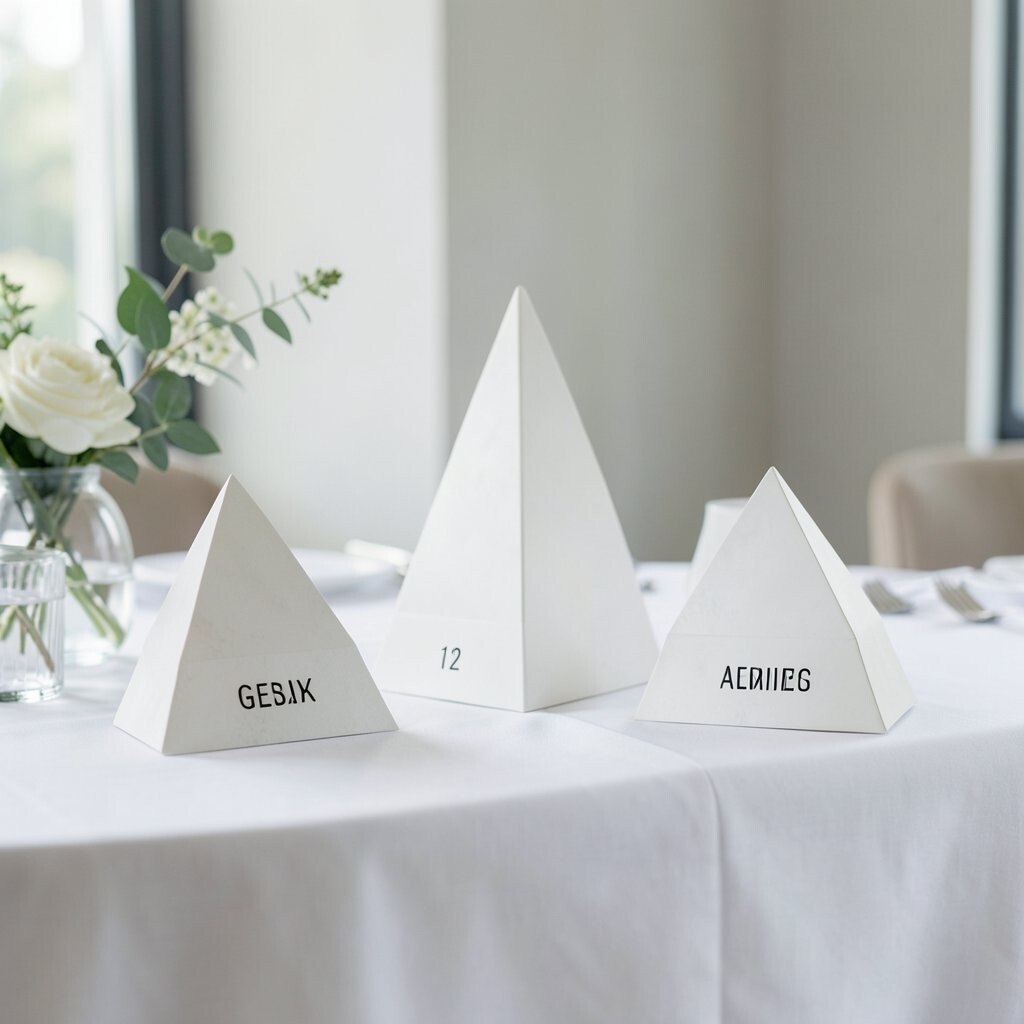
Turn table numbers into small photo moments by using prism-shaped cards with sharp edges. Each number sits in a stand that looks like a tiny crystal, and it shows up beautifully in close-ups.
Use a limited color set like ivory and charcoal, then add one accent shade. The result looks crisp, and your guest photos of place settings will feel coordinated.
To keep it easy, print the numbers on thick paper and mount them on lightweight boards. Laminate them for durability so they don’t curl after the first hour, especially if your space runs humid.
For personalization, use your own wedding story colors or add small icons that match your theme, like a star, leaf, or wave. Minimal design choices tend to be budget-friendly because you’re making fewer, higher-impact items instead of lots of extras. This also helps your photography stay consistent across tables, since the shapes echo in many background blur areas.
4. Floating Triangle Lanterns for Night Portrait Glow

Triangles that hang at different heights can turn your evening portraits into a modern art scene. The shapes look especially striking when lanterns glow behind them.
Pick lanterns with soft warm light so the geometry feels romantic, not harsh. Place them in a staggered layout so the camera sees layers rather than one flat wall.
Use fishing line or thin wire to suspend the lanterns, and keep spacing even for a tidy look. If you’re working with a photographer who loves clean compositions, keep your triangles aligned with the couple’s centerline.
For personalization, choose one triangle lantern with your monogram cutout, or swap the color temperature using bulbs that match your floral vibe. This approach can be cost-effective because you can borrow or rent lighting gear while still achieving a custom look. It’s also a current trend because geometric silhouettes remain stylish even as florals change season to season.
5. Crisscross Diagonal Runner for Ceremony Stairs

A diagonal geometric runner instantly adds movement to your ceremony aisle photos. The repeating lines lead the eye toward you, which makes every walk-in shot feel cinematic.
Choose a fabric with subtle patterning, like a micro-check or diagonal stripe, so it stays minimalist. Keep the edges neat and ironed so the geometry looks sharp in pictures.
For practical setup, secure the runner with strong tape or hidden clips, and test it for slip resistance. If your venue has stairs, measure your steps carefully so the pattern lines up with each landing.
Personalize by matching runner colors to your bridesmaid dresses or your groom’s tie. Since runners are often reusable and relatively affordable, you can invest in better framing or portraits afterward. Minimal lines also photograph well in low light because the contrast stays readable without being too busy.
6. Stepped Square Backdrop for Golden-Hour Group Photos

A stepped square backdrop looks like modern architecture, especially when it’s built from layered boards. It gives your group photos a strong grid structure behind everyone.
Choose three or four “steps” in the same color family so the design stays clean. This helps the photo feel modern while keeping attention on the smiles.
Place your group slightly angled so faces catch light and the steps create a gentle depth effect. For tips, keep spacing consistent between steps and use a matte finish to reduce glare.
If you want personalization, add one thin strip of color at the top step in your accent shade. A layered backdrop can be a cost-smart choice because you can make it yourself with basic materials. Geometric decor that feels architectural is trending for couples who want photos that look like editorial spreads.
7. Minimal Marble-Style Welcome Sign With Grid Border

Your arrival photos usually include the welcome sign, so make it count with a minimalist grid border. A marble-style background paired with a simple square frame looks polished and clean.
Pick a readable font and keep spacing wide so the sign doesn’t look cramped. When you set it at eye level, it becomes a natural photo spot without extra posing.
For personalization, add your route or parking instructions in tiny text, or include a small symbol that matches your wedding stationery. Use foam board or acrylic to keep it sturdy for wind and easy transport.
This can be budget-friendly compared to heavy decor because it’s one high-visibility piece. It’s also a current style move since many couples prefer fewer items that look intentional in pictures.
8. Geometric Place Setting Tiles for Flat-Lay Photography

Flat-lay photos of rings, invitations, and menus look amazing with geometric tiles underneath. Think of small square tiles with subtle lines or patterns that create a clean base.
Lay items carefully so they align with tile edges, like you’re building a tiny design. The geometry keeps your details sharp and makes your ring close-ups look intentional.
Use a neutral tile set and one accent shade so the scene stays modern. For practical tips, wipe tiles before the shoot and store them in a protective bag so they don’t get scuffed.
Personalize by stamping initials on one small card that you set next to the rings. This idea can be surprisingly affordable because tile sheets can be bought in bulk or repurposed from home decor. Minimal geometric backgrounds are popular right now because they keep flat-lay trends looking sleek and brand-like.
9. Step-and-Reopen Wall of Squares for Ceremony Framing

A wall of squares that alternates open and solid panels can frame your ceremony like a stage. When you stand in the center, the empty squares create a window effect around you.
Choose panels in off-white, sand, or soft black so your photos feel calm and modern. The open spaces also help your background stay airy, which is great in busy venues.
For practical setup, keep the panel depth shallow so guests can move comfortably around it. Use lightweight materials and secure them well, then do a quick test photo to check for shadows.
Personalize by adding a thin line across the center panel, such as your wedding date, but keep it minimal. This style is unique because it feels like modern art, not typical event signage. Because it’s mostly panel work rather than lots of flowers, it can fit many budgets while still looking bold on camera.
10. Columnar Border of Thin Rhombus Shapes for Cake Moment
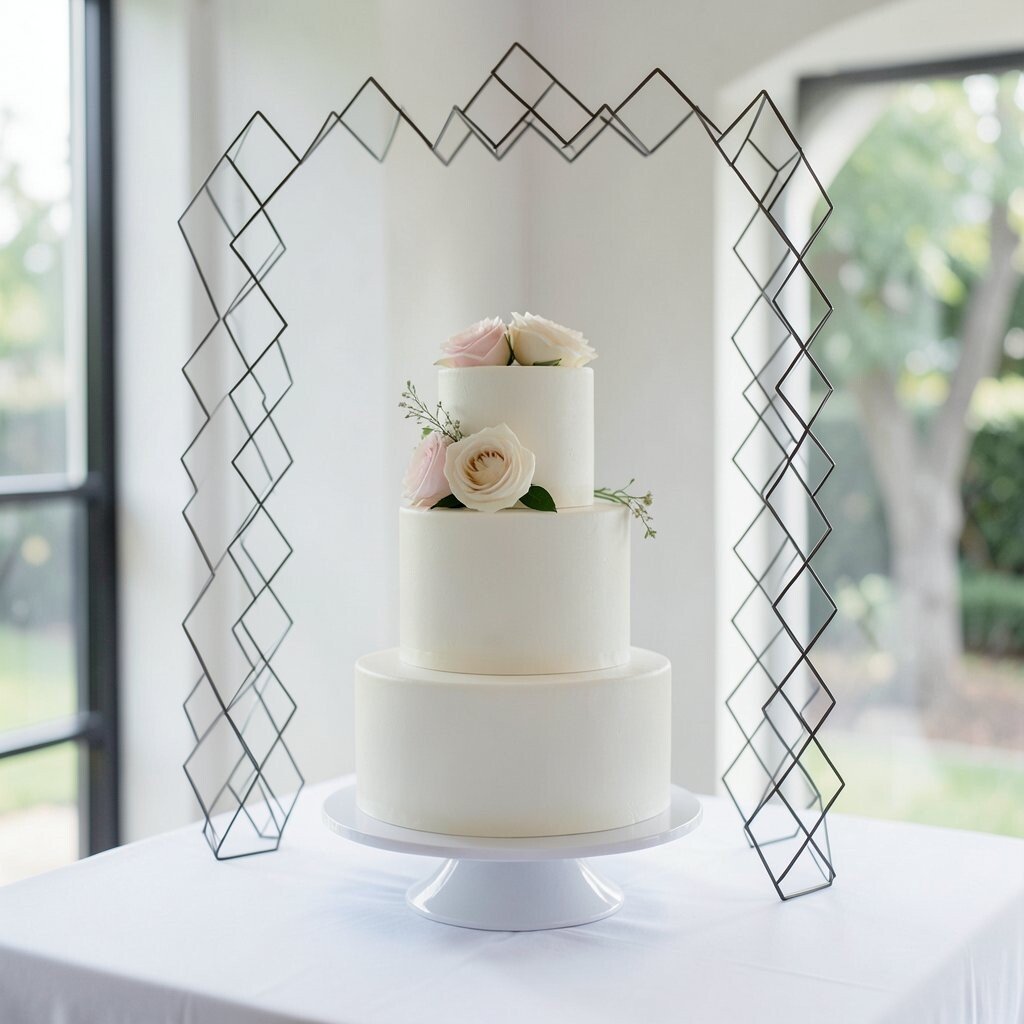
Thin rhombus shapes around your cake area create a tall, elegant border in photos. The pattern reads as geometry without becoming overwhelming.
Use uniform sizes and keep the border at a consistent height so the cake shot looks tidy. This works well for dessert table portraits and candid moments when guests lean in.
Make it practical by using printed fabric or cardstock strips you can wrap around the stand. If your cake table is small, place the border only on two visible sides for an efficient look.
Personalize the rhombus colors to match your custom napkins or the ribbon on your cake server. Cost can stay reasonable because you’re creating a visual frame rather than covering an entire table in decor. This kind of pattern framing feels current, since many modern weddings now focus on clean shapes rather than heavy layering.
11. Minimalist “Shadow Lines” Backdrop Using Light-Color Tape
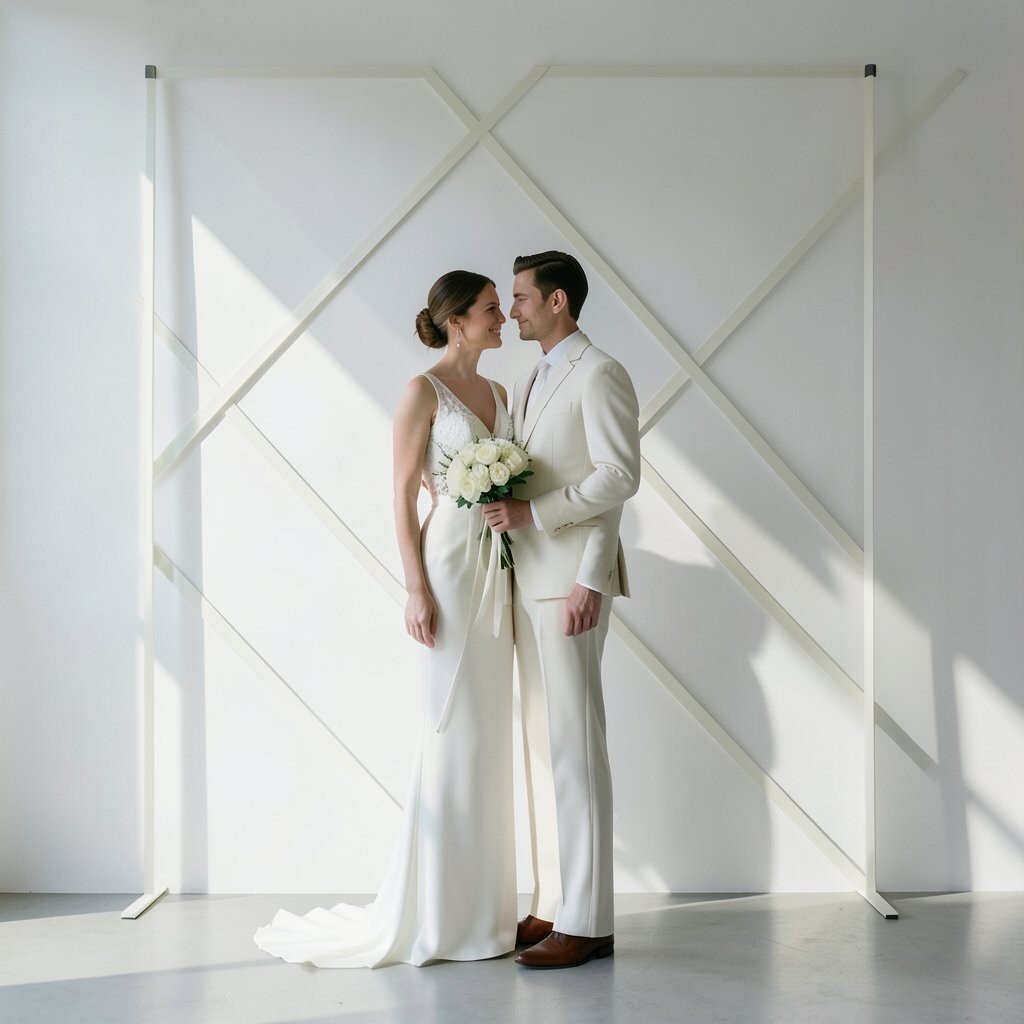
Tape “shadow lines” on a plain wall create a graphic background for your photo booth or portrait corner. The lines look like design accents, and they hold up beautifully in camera blur.
Use painter’s tape to form clean rectangles and angled segments. Keep your tape color close to the wall color so the effect stays subtle and modern.
For best results, light your corner evenly so the geometry shows as crisp lines rather than patchy shadows. Use a matte surface to prevent glare, especially if you shoot with strong flash.
Personalize by adding a single thicker line that points toward where you’ll place the bouquet or ring display. This is a budget-friendly method because tape is inexpensive and the setup takes little time. It’s unique because it turns a simple venue wall into a custom design without building anything permanent.
12. Monogrammed Geometric Foam Letters as Photo Props
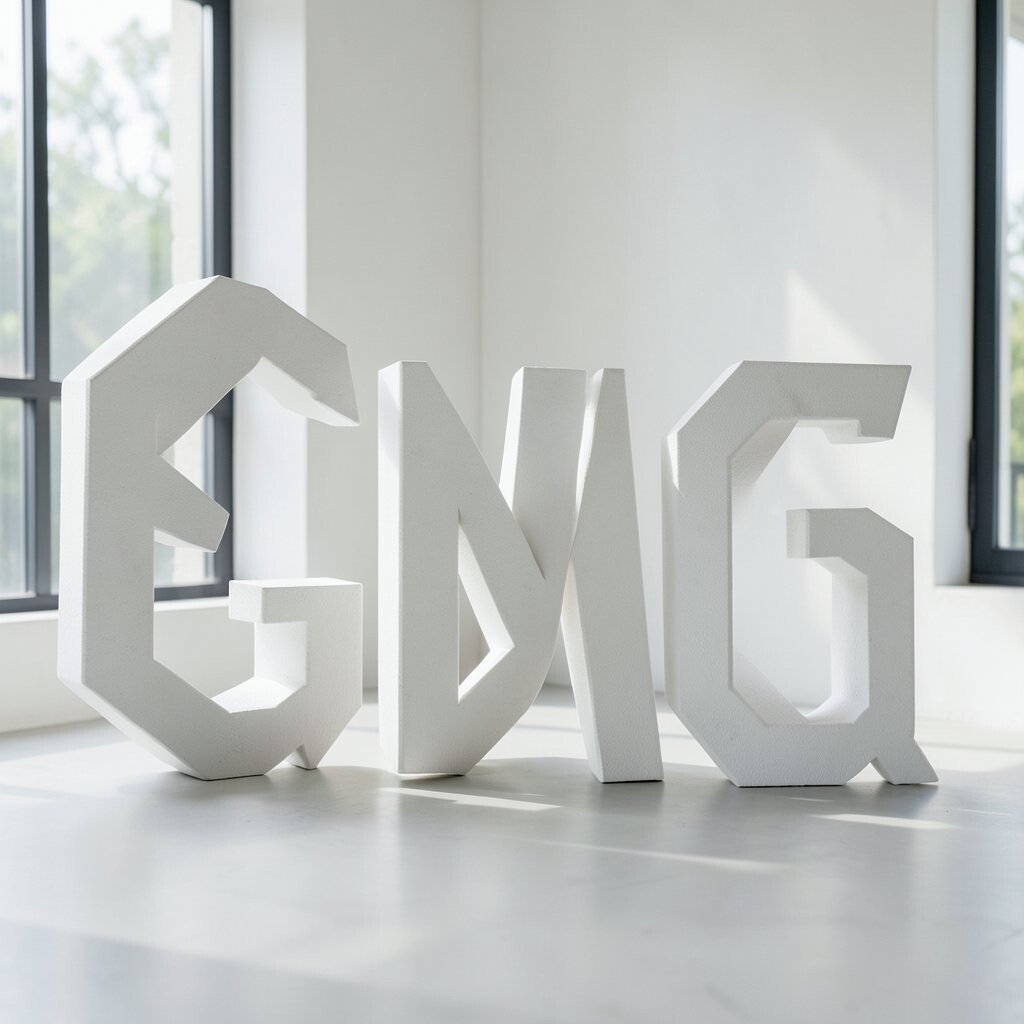
Large monogram letters can be styled with geometric cut patterns for a modern twist. When letters are shaped with triangles or diamond openings, they create interesting light-and-shadow textures.
Place the letters near your seating chart or behind your photographer’s favorite corner. The props help you capture branded, consistent images across the day.
Choose lightweight foam and paint it in your palette, then seal it so it doesn’t scuff. For practical tips, set the base on a stable board so guests and photographers don’t knock it over.
Personalization becomes easy when you match the inner cut pattern to your stationery motif. This can be cost-considerate because foam letters are reusable for future home decor. Geometric monograms are trending because they look stylish in both close-ups and wide group scenes.
13. Angular Florals in Clear Geometric Vases for Still Life
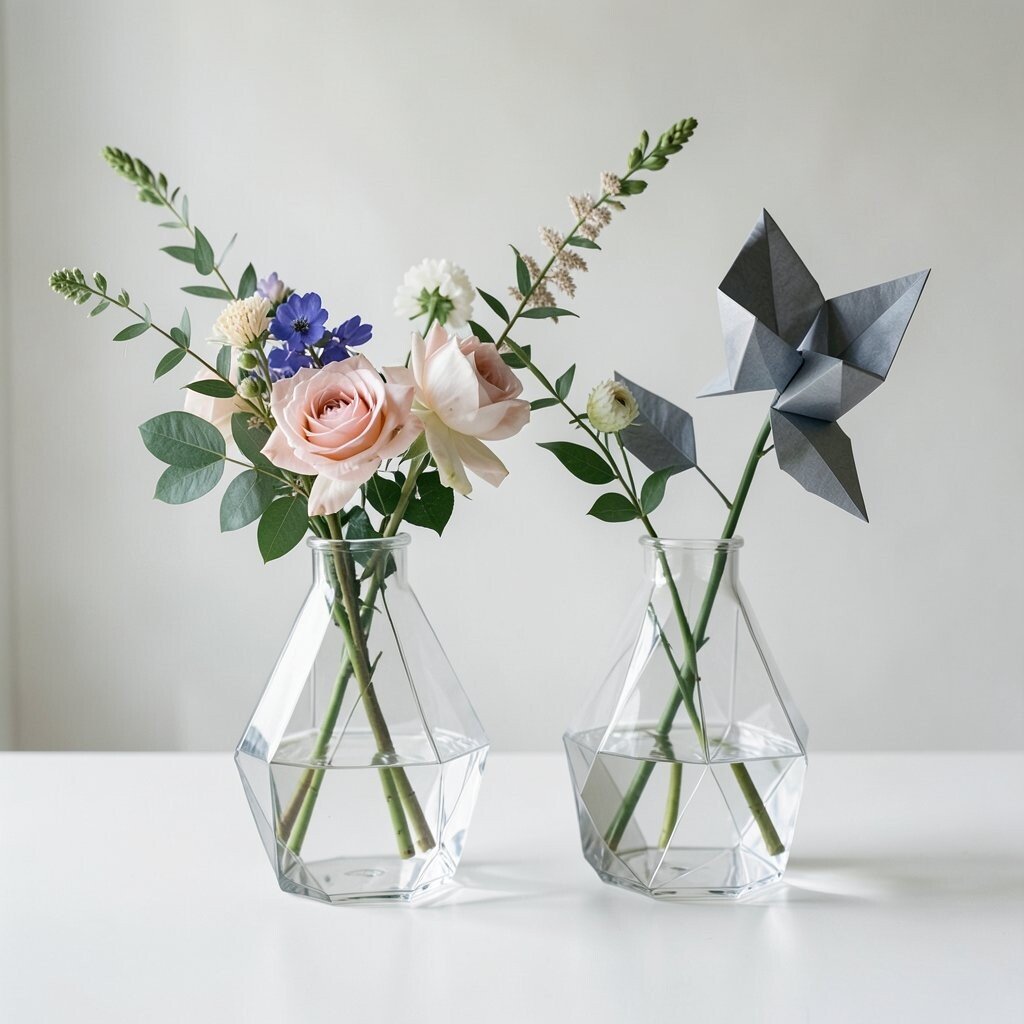
Even minimalist flowers look more modern when they’re arranged in clear geometric vases. Choose vases with facets, sharp angles, or prism-like shapes so the stems create a structured silhouette.
Keep the floral selection simple, like a few bold blooms and clean greenery. The geometry does some of the work, so you don’t need a lot of extra pieces.
For a practical approach, set vases on a tray or mirrored base so the arrangement stays stable and photogenic. Use floral foam only if needed, and keep it hidden to maintain a clean look.
Personalize by adding one accent color stem that matches your wedding outfit details. Cost considerations matter here, because fewer larger stems can be more budget-friendly than lots of small blossoms. This still-life style is popular now because it turns everyday flowers into modern, camera-ready design.
14. Geometric Seating Chart With Floating Square Layers
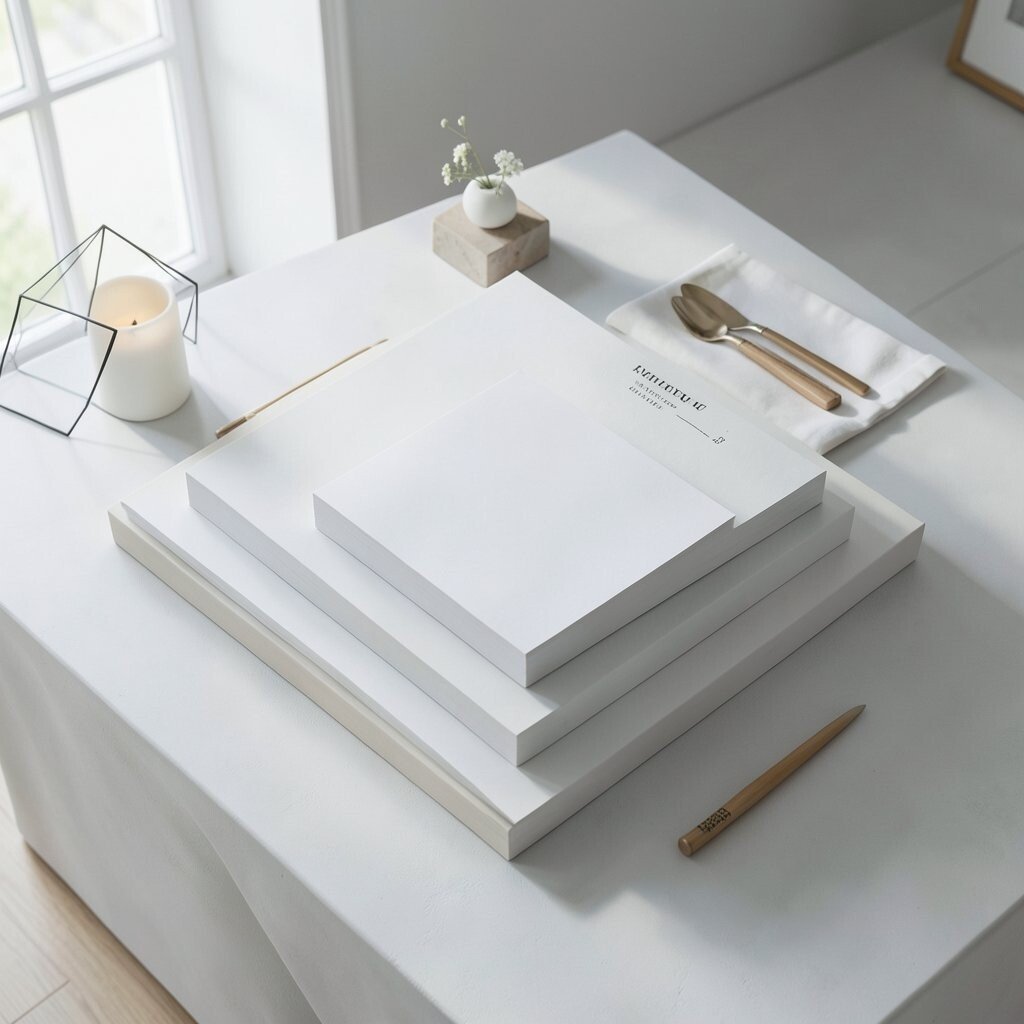
A seating chart with floating square layers makes a strong impression without heavy decor. The layered squares create a sense of depth that looks impressive in wide venue shots and close detail photos.
Use a clean grid layout for names and keep spacing consistent so it feels organized. When the board is centered and lit well, it becomes an easy backdrop for guest pictures.
For practical tips, mount the design on a sturdy board and use spacers so layers don’t sag. If you plan to reuse the pieces, keep layers modular so you can adjust guest information later.
Personalization can be as simple as matching the layer colors to your stationery and using your wedding logo in the corner. This can fit many budgets because it’s a single design statement instead of many separate signs. The unique part is the “floating” effect, which gives your wedding photos a modern editorial vibe.
Finish by placing it near a natural light source, then take a few test shots before the final reveal.