
Great photos start with what sits behind the subject. A simple backdrop can make your image feel more polished in minutes.
1. Layer With Depth Using Fabric
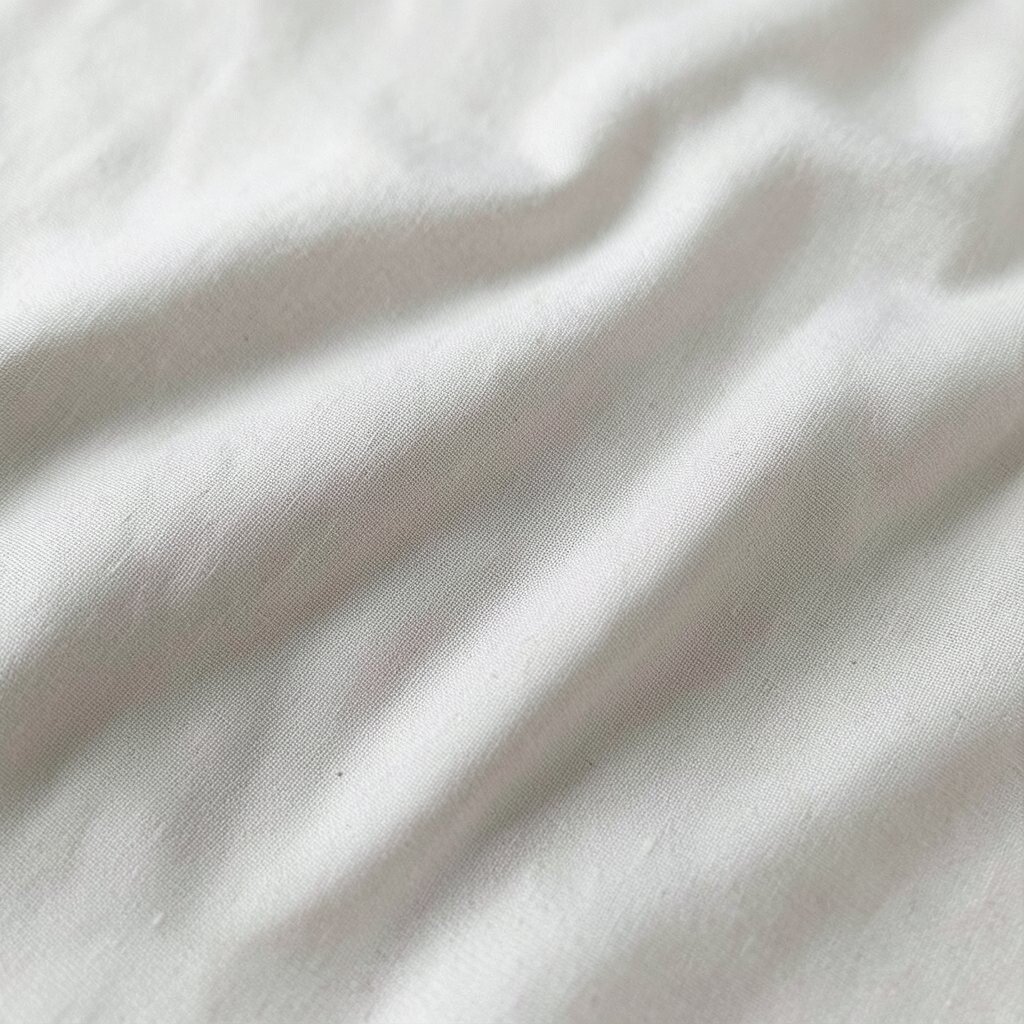
Hang a soft fabric backdrop and let it fall in gentle folds. When light hits those wrinkles, your photo gains texture that looks expensive.
Choose a fabric that matches your mood, like linen for a calm look or velvet for a richer vibe. To keep it from looking flat, drape it slightly off-center and let the edges curve. For quick styling, steam the fabric, then secure the top with clamps or painter’s tape.
2. Add Motion With Crepe Paper Swirls
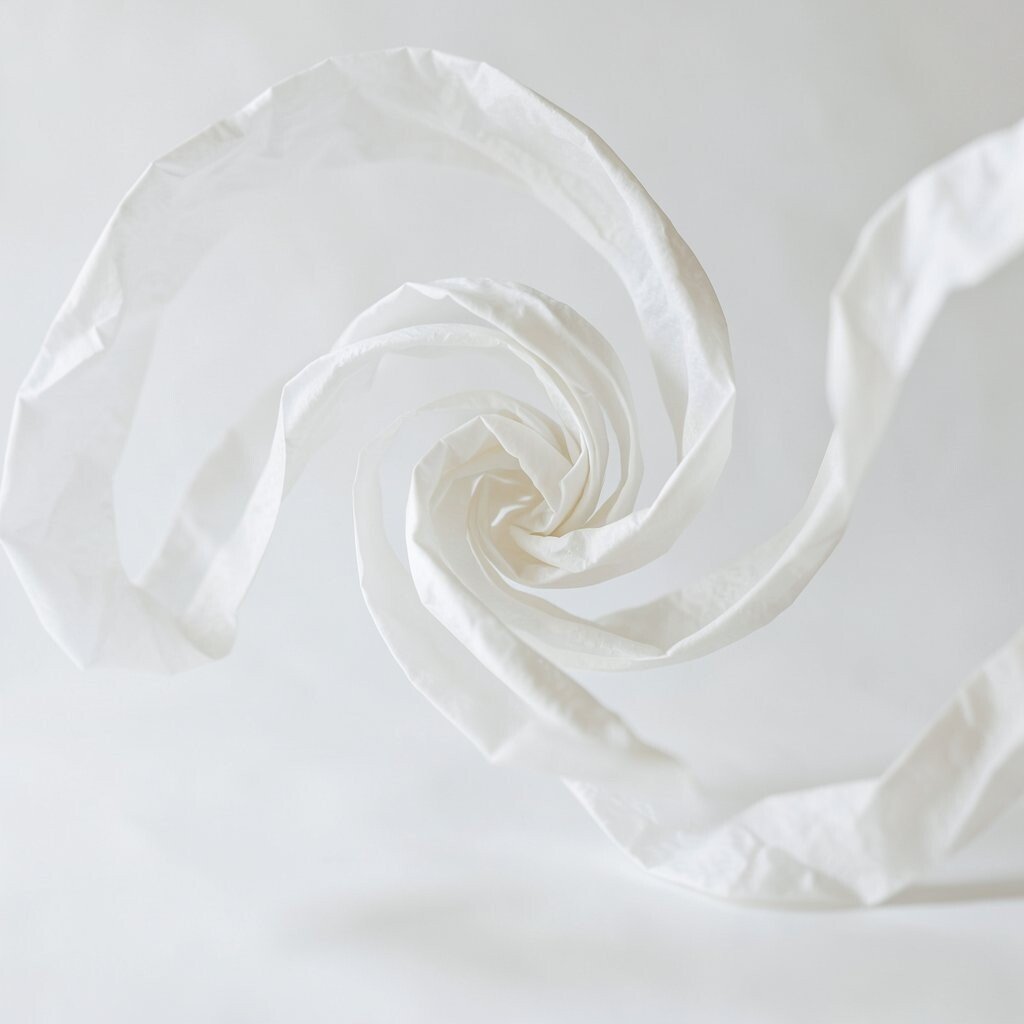
Crepe paper swirls bring playful energy to portraits and product shots. The thin strips catch light and create movement even in a still frame.
Use a single color family for a clean look, or blend two shades for a trendy gradient effect. Tape strands behind your subject so the front stays sharp while the background stays lively. Keep the strips away from faces and eyes, especially with close-up shots.
For personalization, match your paper colors to your outfit or event theme. If you want a more refined look, choose fewer, thicker strips instead of many thin ones. Crepe paper is budget-friendly, and it also rolls up easily for storage.
3. Use a Peel-and-Stick Pattern Wall

A peel-and-stick pattern wall turns your space into a ready-made photo set. Think subtle dots, bold florals, or tiny geometric shapes that frame the subject without clutter.
Apply it to a single section of wall so you can aim your camera consistently. Soft patterns work great for headshots, while high-contrast patterns help products pop. If the pattern is very busy, use a shallow depth of field to keep attention on your main subject.
Many new designs are made for easy removal, which means you can switch backdrops often. For cost planning, look for multi-roll packs that cover more area with less money per square foot. To personalize, pick colors that match your brand palette or your seasonal wardrobe.
4. Create a Glow With Frosted Acrylic or Glass
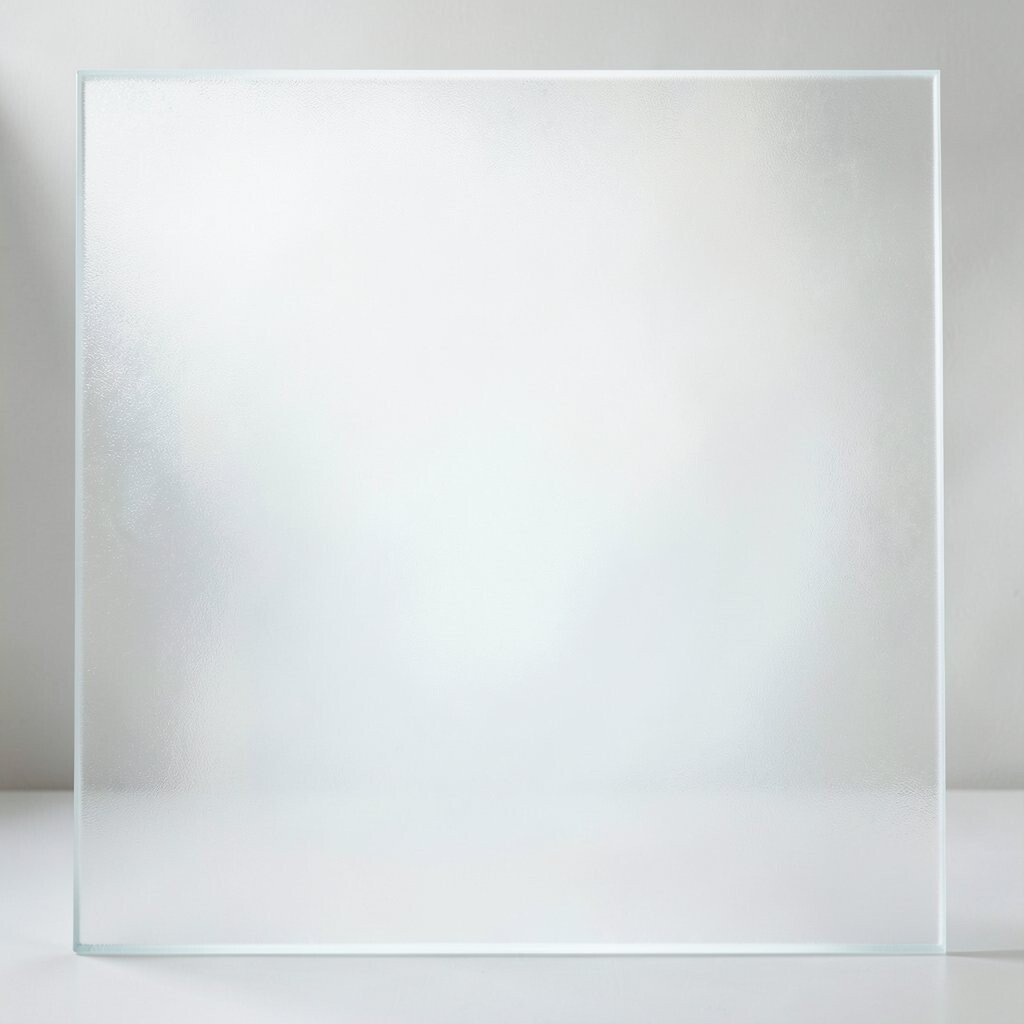
Frosted acrylic or a textured glass panel adds a gentle glow behind your subject. It blurs harsh background distractions while still letting shapes feel clear.
Position the panel a little off the subject and place a light source at an angle. This makes highlights spread softly, which is especially flattering for earrings, makeup, and skincare photos. If you don’t have studio lighting, a window with bright indirect sun can work surprisingly well.
5. Build a Scenic Look With Painted Cardstock**
Painted cardstock gives you a controllable scene without needing a full mural. A simple sky gradient or a gentle brick pattern can make your image feel like it has a story.
Start with thick cardstock so it stands up to handling and light pressure. Use sponge painting for smooth transitions, then add minimal details like a horizon line or soft shapes. Keep your main subject closer to the camera so the backdrop feels distant and natural.
For uniqueness, paint a custom design using your favorite colors, or copy a look from your own home. This method is also budget-friendly because one sheet can make many styles. If you need current trends, try pastel tones and clean, modern shapes that feel airy and fresh.
6. Frame the Scene With Wooden Slats or a Pallet Wall
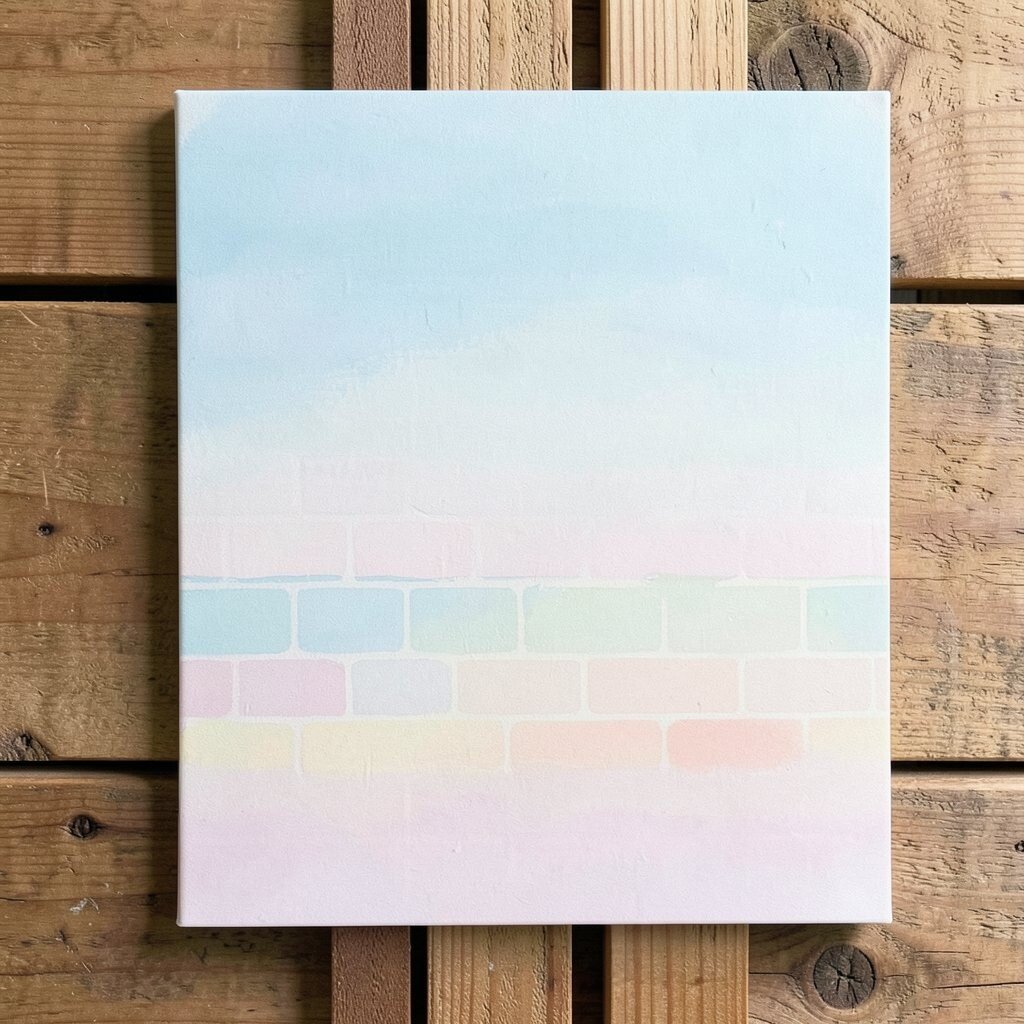
Painted cardstock gives you a controllable scene without needing a full mural. A simple sky gradient or a gentle brick pattern can make your image feel like it has a story.
Start with thick cardstock so it stands up to handling and light pressure. Use sponge painting for smooth transitions, then add minimal details like a horizon line or soft shapes. Keep your main subject closer to the camera so the backdrop feels distant and natural.
For uniqueness, paint a custom design using your favorite colors, or copy a look from your own home. This method is also budget-friendly because one sheet can make many styles. If you need current trends, try pastel tones and clean, modern shapes that feel airy and fresh.
. Frame the Scene With Wooden Slats or a Pallet Wall
Wood slats bring warmth and a handmade feel to photos. The repeating lines guide the eye toward your subject and make backgrounds feel structured.
Use reclaimed wood or affordable slatted panels, then hang or lean them on a sturdy support. Light sanding helps the surface look smooth and reduces distracting scratches. For a practical tip, shoot with your camera parallel to the slats so the lines stay straight and tidy.
To personalize, stain the wood in a tone that matches your wardrobe, like honey for cozy warmth or darker finishes for moody portraits. Budget varies, but smaller sample panels are often cheaper than full pallet walls. A lot of modern styling leans into natural textures, so wood backgrounds still feel very current.
7. Try a Chalkboard Corner for Quick Changes
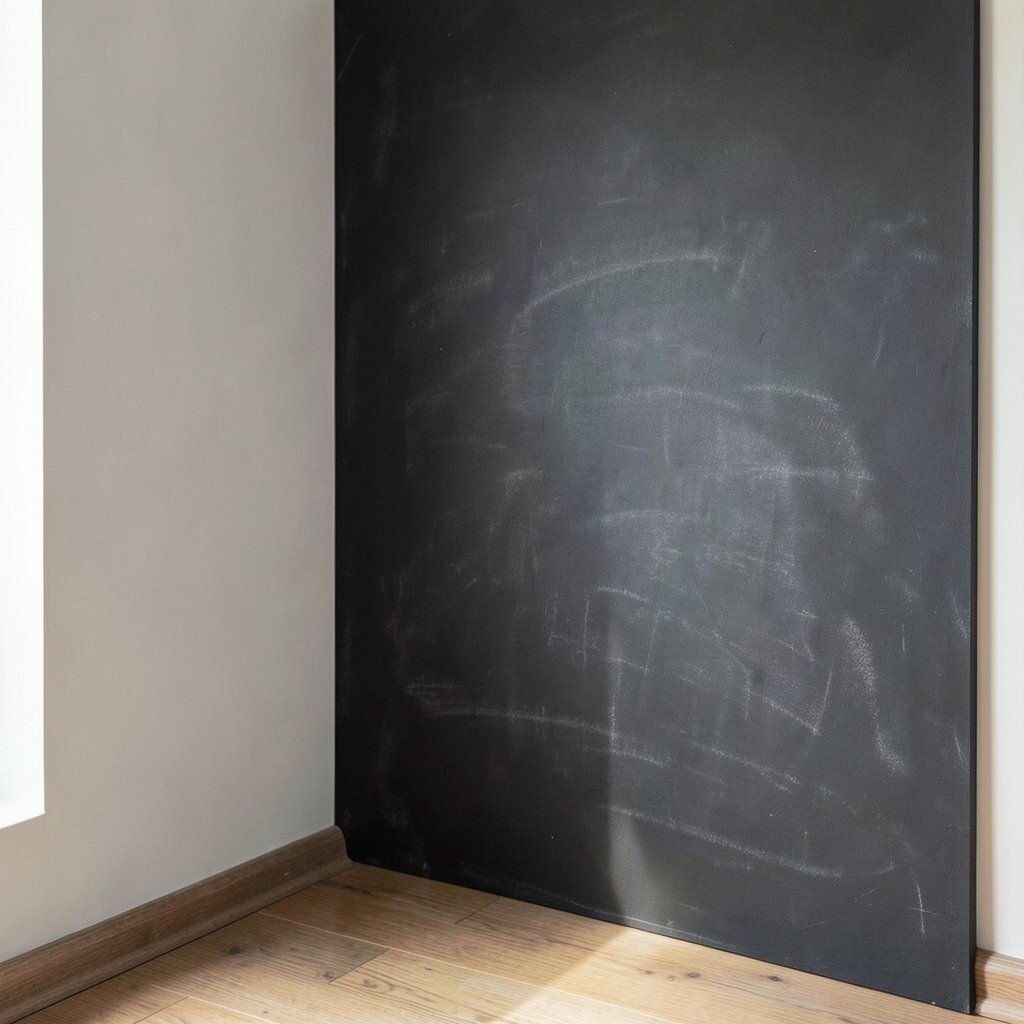
A chalkboard backdrop is perfect when you want a fresh vibe for each session. You can draw simple shapes, write a short message, or sketch a soft border.
Choose matte chalk or chalk markers and keep the writing light so it doesn’t overpower your subject. Frame the chalk area behind your subject’s head or shoulders for a natural halo effect. If you want a clean look, use small accents rather than big, messy drawings.
For personalization, tailor the chalk art to birthdays, seasonal events, or brand themes. It can cost very little since chalk is cheap, but the value is huge because you can reuse the board over and over. A chalkboard corner also fits the trend of customization and “day-to-day” authenticity in social photos.
8. Make a Soft Studio Look With a White Seamless Sweep
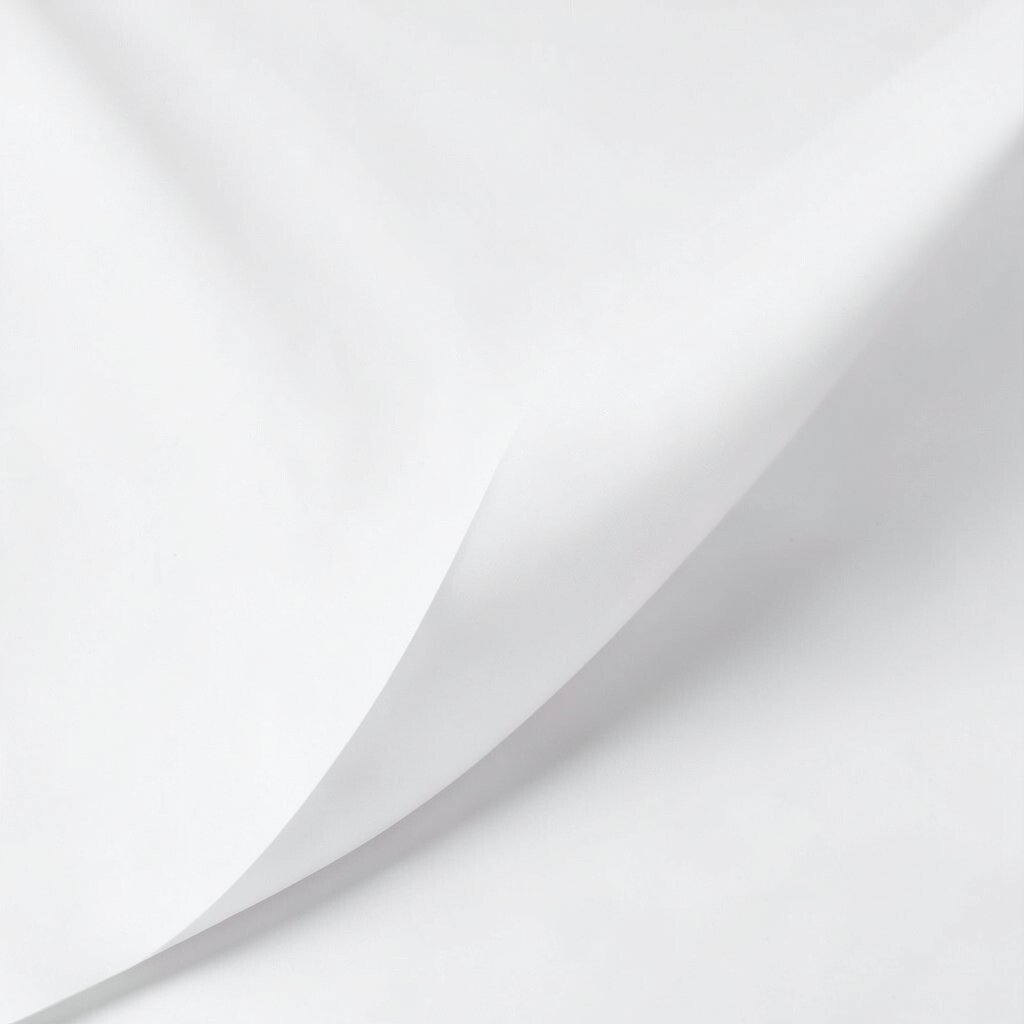
A white seamless sweep gives you a clean, airy background that works for almost any style. It helps reduce shadows and makes skin tones look natural.
Hang fabric paper or a roll of seamless paper and keep it gently curved where the wall meets the floor. The smooth curve prevents a harsh line that can pull attention away. For practical results, turn off overhead lights and use one main light source so the background stays even.
9. Add Interest With a Corkboard Texture Behind Products
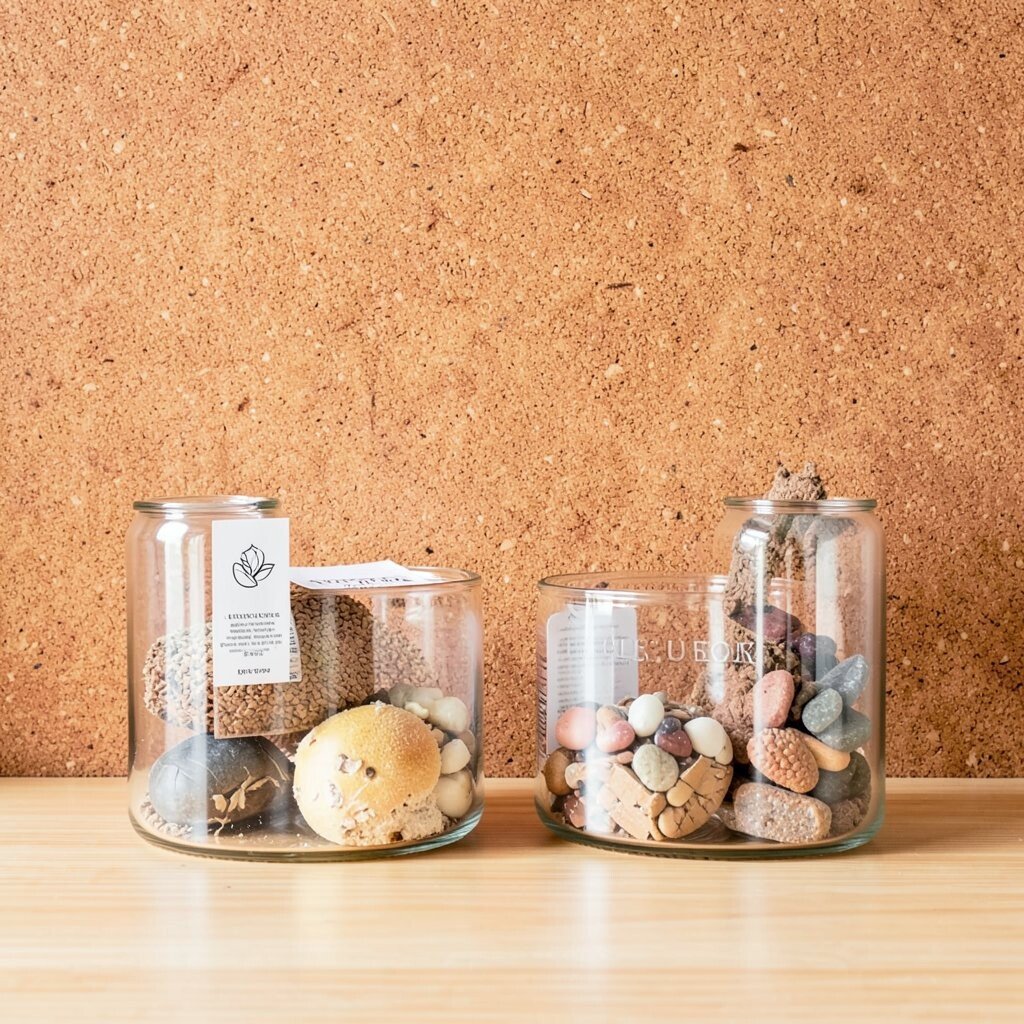
Corkboard texture gives a cozy, natural backdrop that looks great for small items. The subtle speckle pattern adds depth without stealing focus.
Lightly sand or wipe the cork so it looks clean on camera. Place your products slightly forward and angle them so shadows look soft, not sharp. If you’re photographing jewelry or stationery, cork also makes it easy to arrange props like twine or tiny clips.
To personalize, paint the cork in a muted color or add a thin border of fabric. Cork options vary in cost, but even small sheets can cover enough for tabletop shooting. This look fits current trends that favor grounded materials and “warm neutral” aesthetics.
10. Use Color Gels or Paper Filters for Background Hues
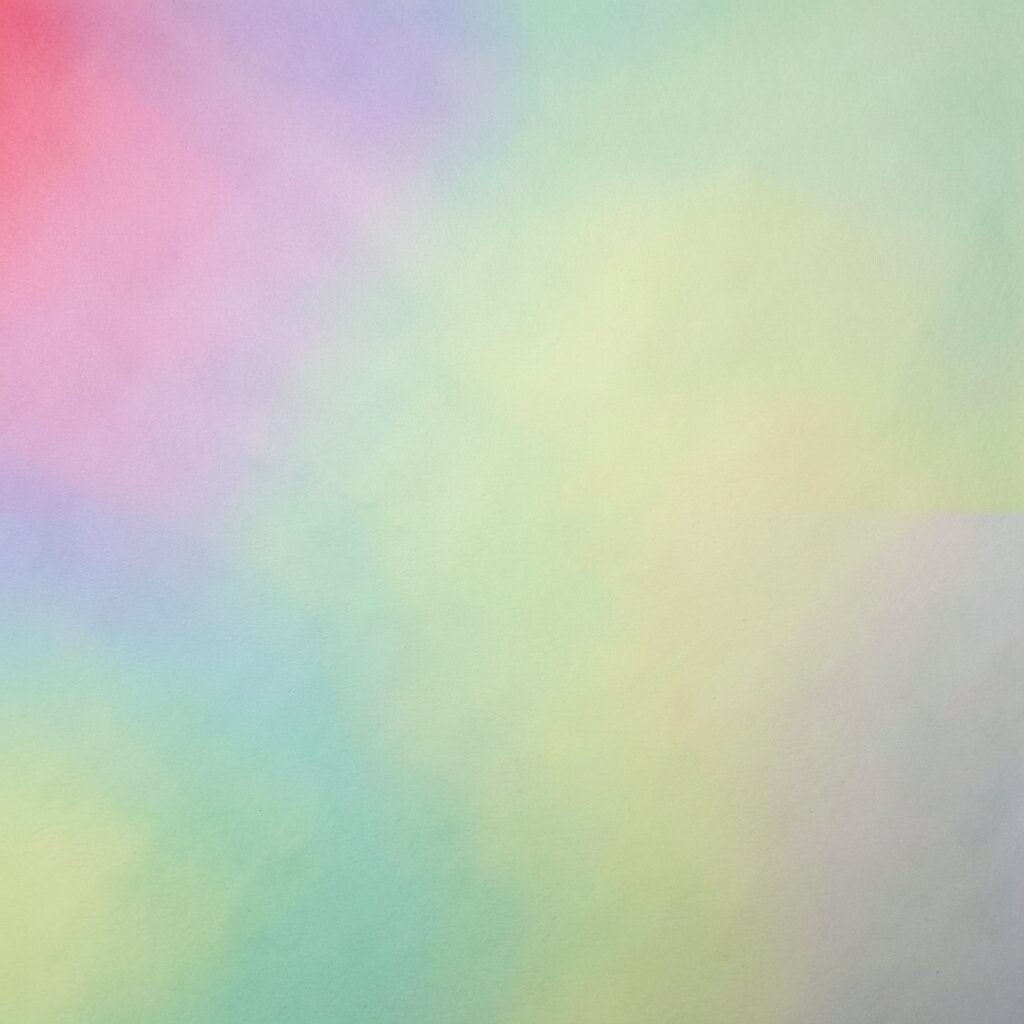
Background color gels can instantly change the mood of your photo. A warm amber, a cool teal, or a soft pink wash can make your scene feel like it has cinematic lighting.
Place the gel over a small light source aimed at the backdrop, then adjust until the subject remains well lit. If you don’t have gels, you can try tinted acetate from craft stores or colored paper placed carefully behind the light. Keep the color subtle for portraits and stronger for product shots where contrast helps details show.
For personalization, match the background hue to your brand colors or the season, like green for spring or deep blue for winter. Cost is usually low for gels, especially if you buy a small starter set. This technique is trending because it gives stylized color without needing a complicated setup.
11. Layer Props for a Story, Not Just a Background
Sometimes the best backdrop enhancement is what you place around your subject. Props help your photo feel purposeful, like it belongs to a real moment.
Choose props that connect to your theme, such as books for a cozy vibe or fresh flowers for a bright, lively look. Keep the props slightly behind the subject and use a wide aperture to soften edges. A practical trick is to limit prop colors to two or three so the scene stays tidy.
To personalize, add small items that reflect your personality, like a favorite mug, a fabric scarf, or a handmade tag. Prop styling can be low cost, because you can often reuse items you already own. The trend toward lifestyle visuals makes this approach especially effective for social media.
12. Upgrade With a Portable Pop-Up Backdrop
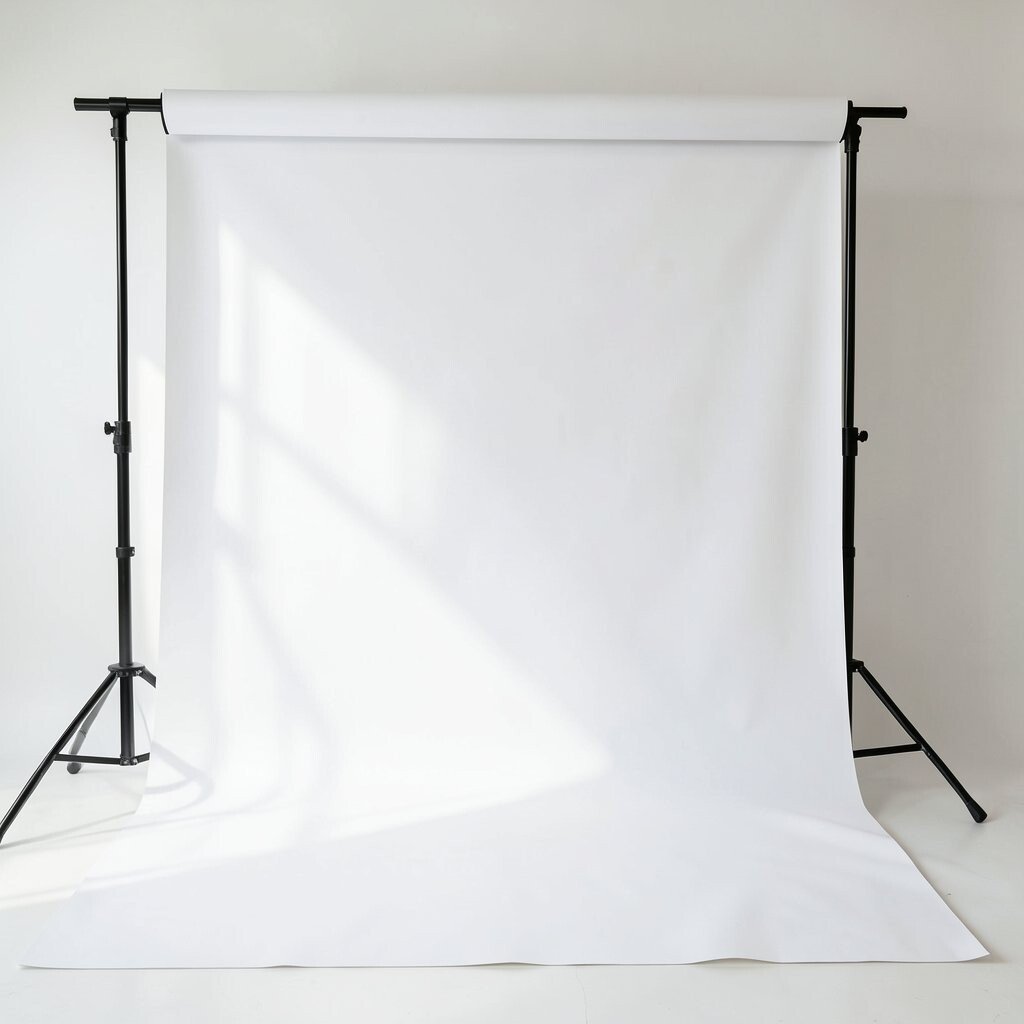
A portable pop-up backdrop makes shooting easier when you’re moving or working in tight spaces. It sets up fast and keeps backgrounds consistent from session to session.
Pick a backdrop material that suits your style, like matte for portraits or lightly textured fabric for products. Smooth backgrounds are great for clean branding, while subtle patterns add personality without extra effort. For practical setup, hang it from a stable stand and keep it taut so it doesn’t wrinkle on camera.
Cost can be higher than DIY options, but the convenience saves time and helps you repeat results. For personalization, choose backdrops that reflect your usual colors, then add small matching props for variety. Current trends favor on-the-go creators, and a portable system fits that modern workflow perfectly.