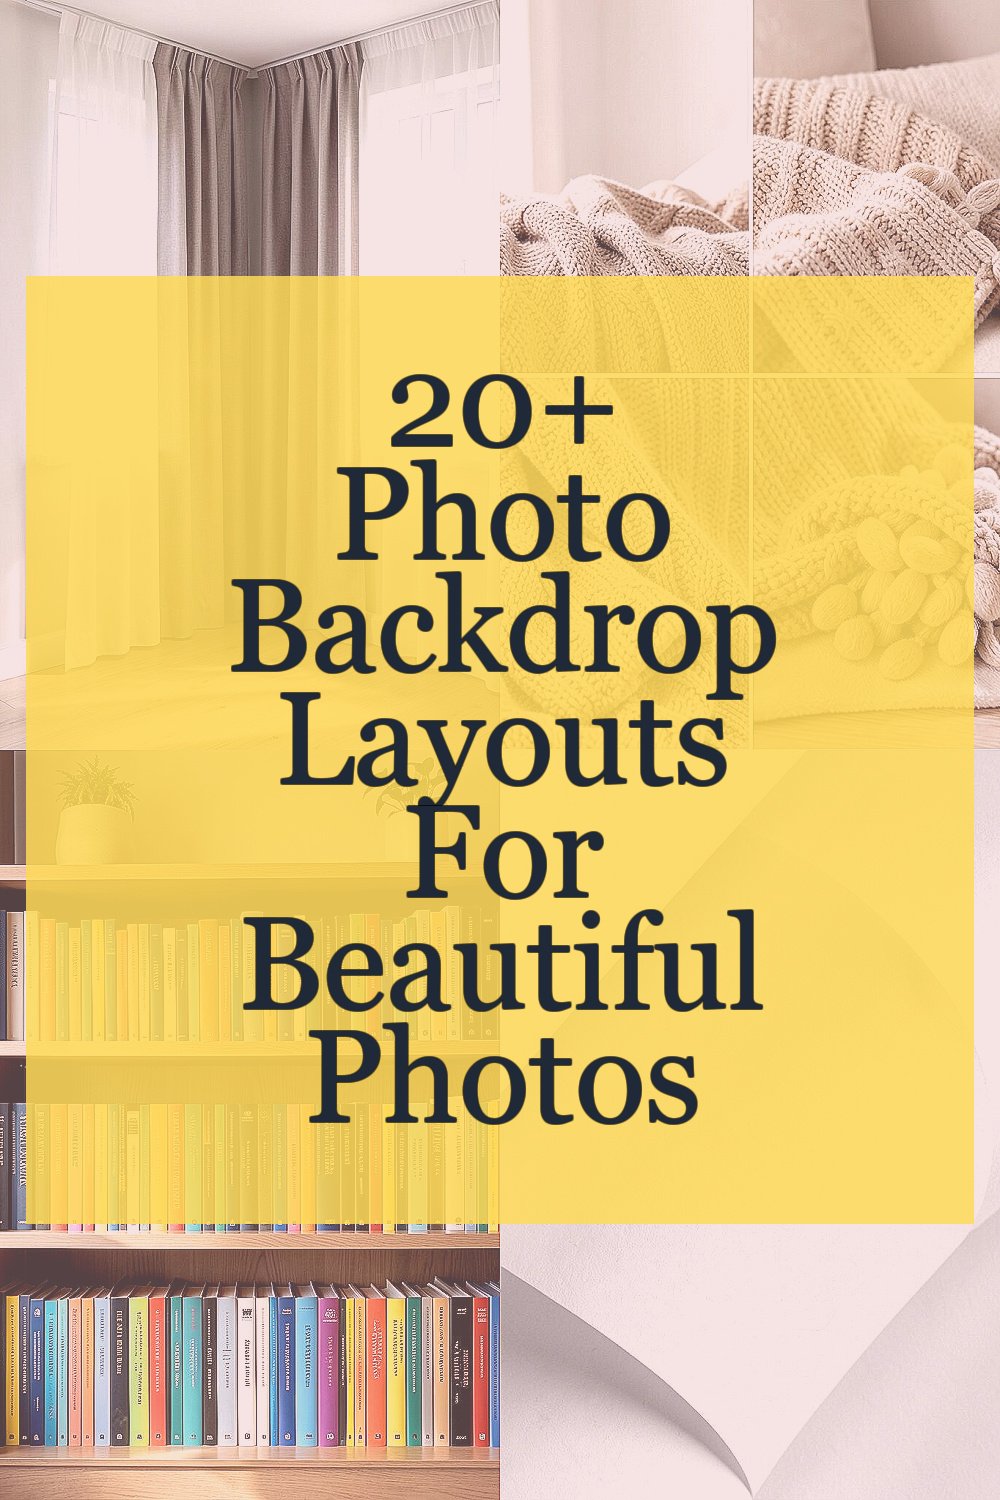
Sometimes the right background turns an ordinary picture into something you want to frame. Good layouts make the whole scene feel clear, comfy, and full of personality.
1. Window Light Curtain Corner

Place a sheer curtain beside a window and let soft light skim across it. You will get airy highlights and gentle shadows that make skin tones look warm without harsh contrast.
Choose a neutral color curtain like off-white, cream, or light gray so your subject stays the star. Keep the camera angled slightly toward the curtain’s folds for texture, then move your subject a little closer to the light source.
2. Cozy Blanket and Throw Pile

Layer a folded blanket with a few matching throws and place them in a small “nest” behind your subject. The photo will feel inviting, like a calm afternoon that you can almost hear.
Use one solid base color and one patterned throw, such as tiny dots or soft stripes. For a practical setup, smooth the main blanket first, then add throws in different heights so the background doesn’t look flat.
When you want personalization, pick fabric that matches the vibe of the day, like a favorite holiday scarf or a knit with your family colors. If you shop smart, thrift stores and discount home sections often have great fabric without big cost.
3. Bookshelf With Color-Grouped Spines
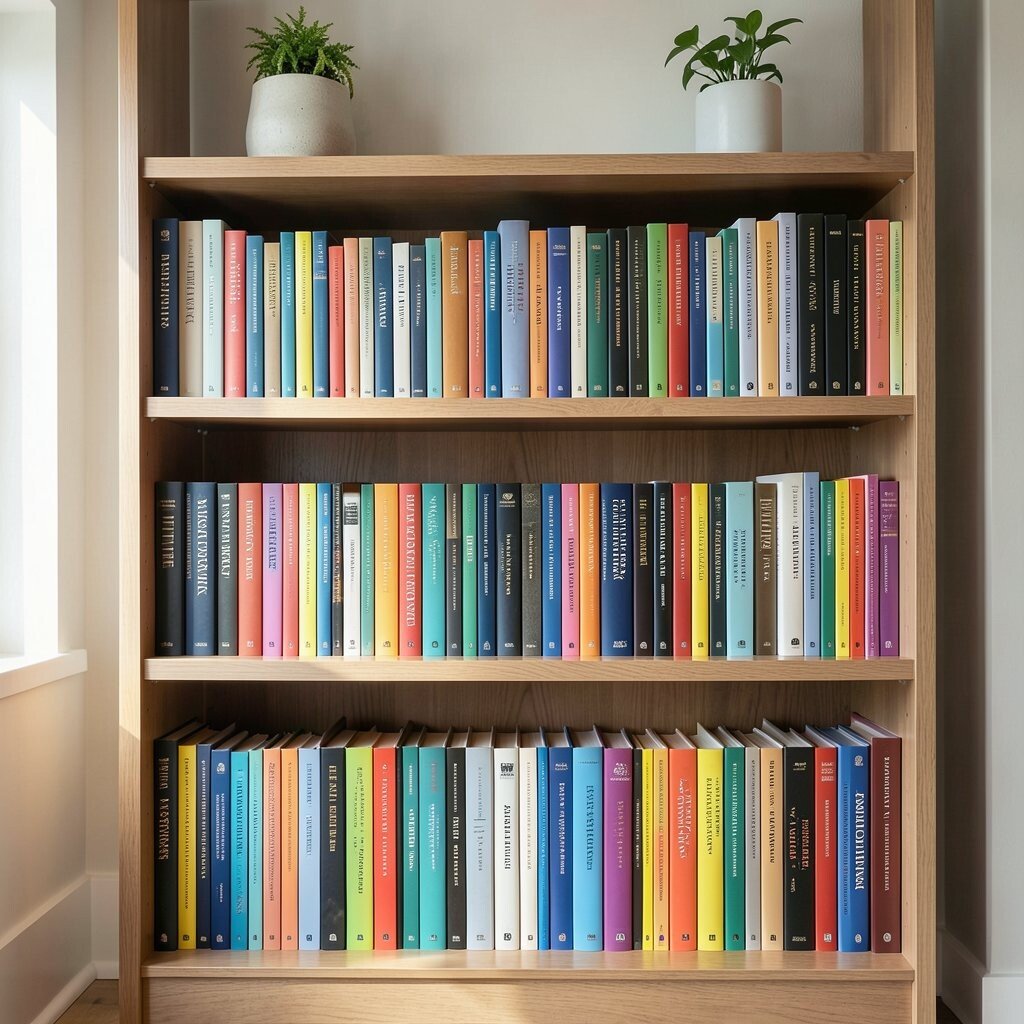
Arrange books so the spines create tidy blocks of color behind the camera. Your photos gain a clean rhythm that feels modern and grown-up.
Mix three to five colors at a time, then leave a small gap where your subject’s head can sit without visual clutter. Keep the titles facing outward and straighten the most noticeable books so the background looks intentional.
To make it feel unique, include one “story prop” like a vintage atlas or a notebook with a bright cover. For budget, borrow books from home for a session and return them afterward, so you get the look without buying a whole library.
If you shoot at a wider aperture, the shelf will blur nicely and let the colors glow instead of shouting.
4. Monochrome Paper Wall With Soft Curves
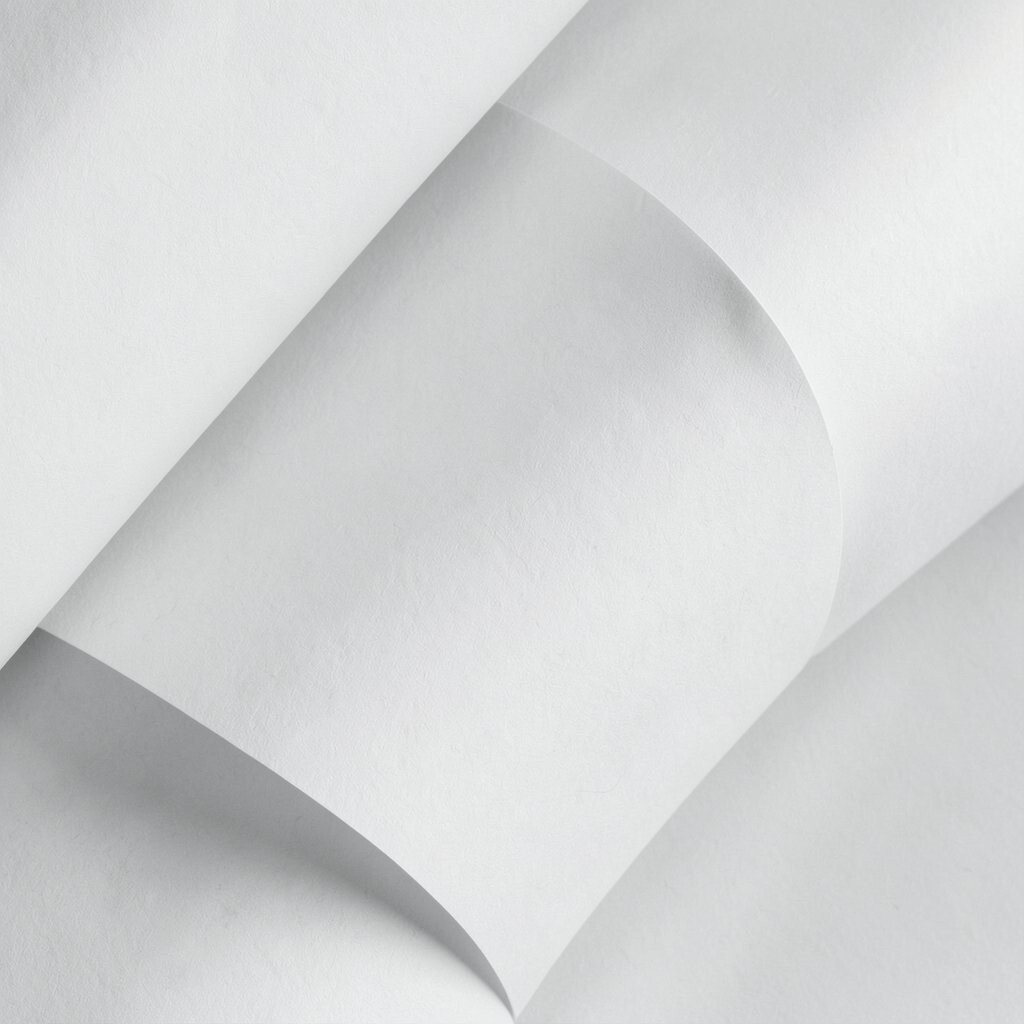
Hang large sheets of matte paper and gently bend them into soft curves. The smooth gradient gives you a calm studio feel even in a small room.
Pick one tone like warm white, charcoal, or dusty blue, then place your subject slightly off-center. Stretch the paper tight enough to avoid wrinkles, and use tape at the top corners so the curve stays clean.
5. Fabric Backdrop With Ombre Drape

Choose fabric panels in shades that fade from dark to light, then overlap them like a curtain. The ombre effect creates depth and makes your subject pop.
Secure the fabric from ceiling to floor, but let the bottom end fall naturally for a relaxed look. When you add personalization, include a small accent ribbon that matches your outfit.
For cost considerations, you can use inexpensive dye-friendly cloth or even layered sheets from a craft store. Current trends show lots of soft gradients, especially for lifestyle portraits and brand photos.
6. Outdoor Garden Frame With Green Arch
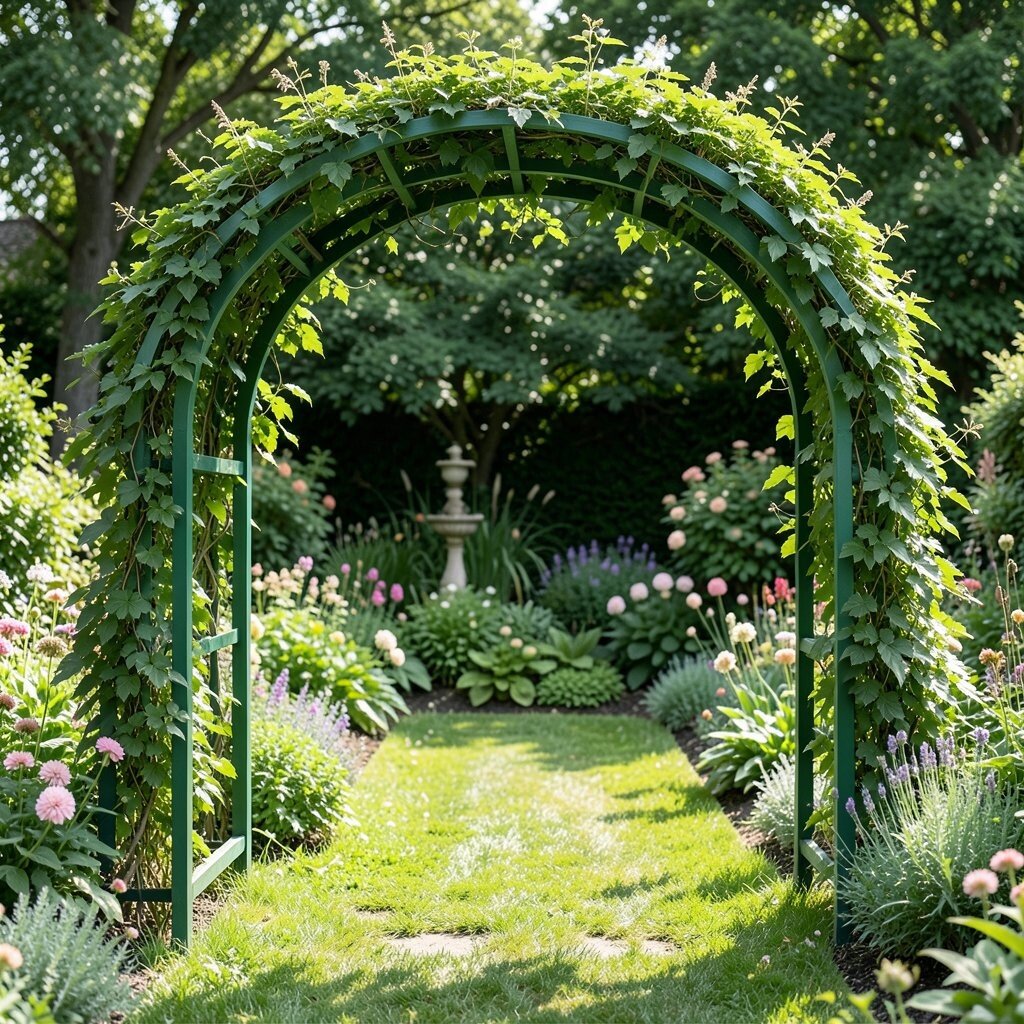
Use an evergreen shrub, tree branches, or a garden arch as a natural frame around your subject. The leaves give a fresh, textured background that feels alive and never boring.
Position your subject so the greenery creates a gentle “U” shape behind them. A practical tip is to shoot during late afternoon when the light is golden and the background turns silky rather than harsh.
If you want uniqueness, tuck in small elements like a single flower sprig or a strip of fabric that matches the season. For budget, nature is the cheapest art supply you can use, and it changes every week anyway.
7. Brick Wall With Color Pop Accent

Stand in front of a brick wall and bring one bold color piece into the scene, like a bright scarf or cushion. The rough texture of brick makes the clean color stand out beautifully.
Keep your background tidy by choosing a section with fewer stains or worn patterns. Move your subject a few steps away so the brick stays visible but your face stays crisp and clear.
To personalize, pick an accent color that matches a hobby, like teal for ocean lovers or red for warm energy. For current trends, this style fits the popular “urban lifestyle” look and pairs well with both casual and editorial outfits.
8. Marble-Look Contact Paper Station

Cover a large board or smooth wall area with marble-look contact paper. This gives you a polished backdrop that works great for portraits, product shots, and styling photos.
Place your subject close enough for the marble veins to frame the face, not distract from it. Use a bright light from the side to highlight the swirls, and wipe the surface first so it doesn’t show dust.
9. Nighttime Neon Sign Glow
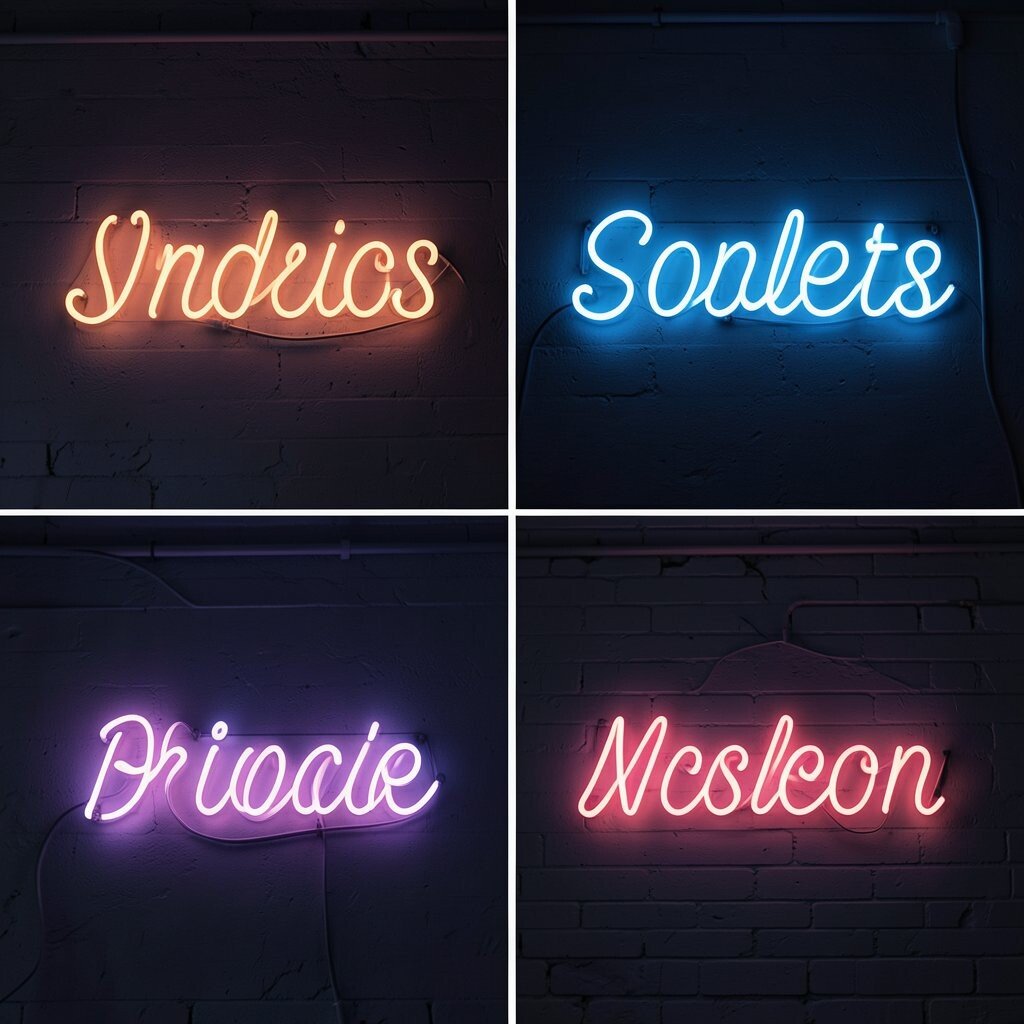
Find a neon sign, LED strip, or reflective light and set it behind your subject. The scene will feel cinematic, with glow that adds energy without needing fancy sets.
To keep things practical, turn off other bright lights so the neon becomes the main color source. Try different angles until the glow sits behind hair and shoulders, creating a soft rim light effect.
For personalization, use colors that match your theme, like pink for fun events or blue for a calm, techy vibe. Cost-wise, small LED strips and battery lights are often affordable, and you can reuse them for many sessions.
10. Minimal Wall With One Oversized Prop
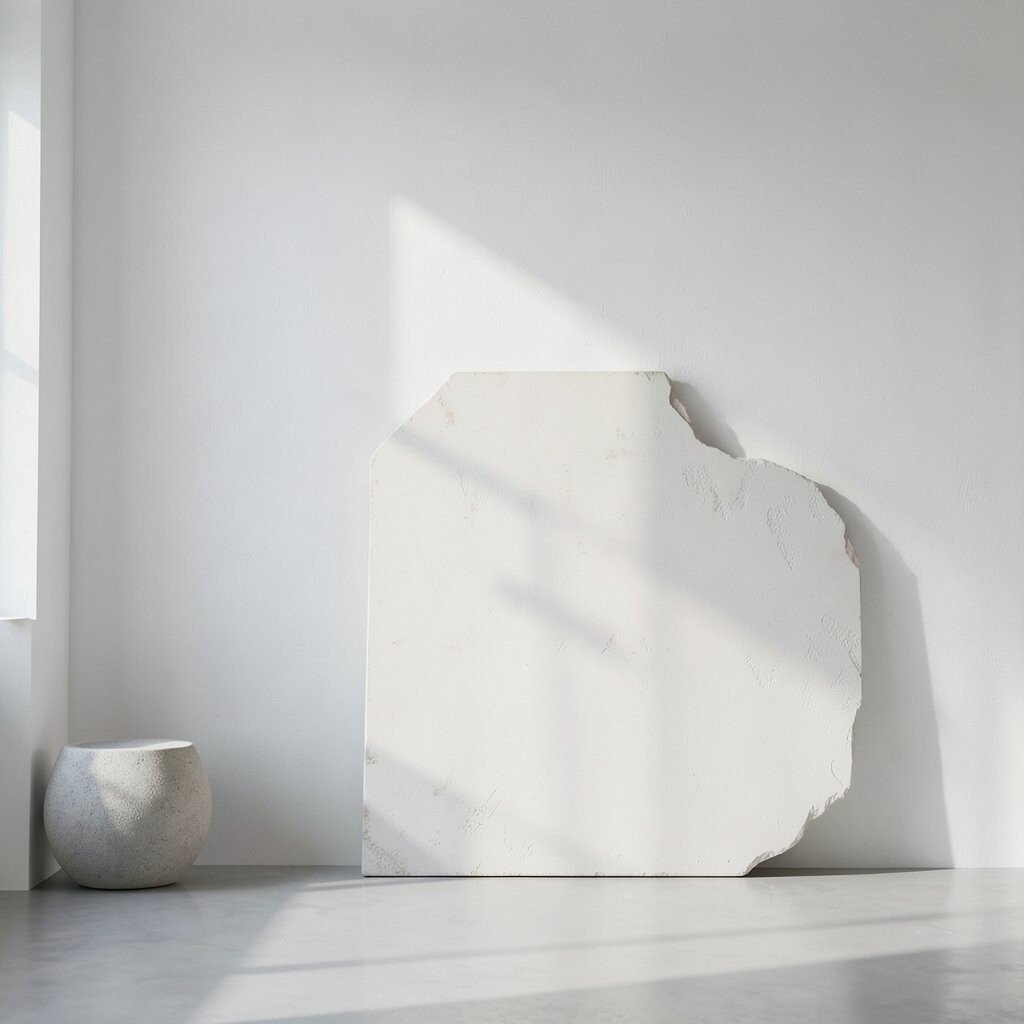
Use a plain wall and add one oversized prop like a big vase, round frame, or tall branch. The simplicity keeps attention on your subject while the prop adds drama.
Choose a prop with a strong silhouette and keep it slightly off to one side. A helpful tip is to adjust the prop height so it reaches near the top third of the frame, balancing the composition.
11. Sunflower Field or Fake Meadow Backdrop

Set up sunflowers outdoors or use a floral wall designed for events and photos. Either way, the background becomes a joyful burst of color that looks great in almost every season.
If you use real flowers, shoot when petals look fresh and not droopy. For uniqueness, let one sunflower head point toward the subject and use it like a visual guide.
For budget, you can rent event decor or buy a single large artificial arrangement to use behind you. Current trends show bold floral textures, and this layout works especially well for cheerful senior photos and engagement portraits.
Try a slightly lower camera angle to make the flowers feel taller and more magical.
12. Starry Night Paper With Hanging “Bokeh” Lights

Create a starry backdrop using black cardstock and light-colored dot accents. Then hang tiny fairy lights behind your subject so they blur into round bokeh spots.
This layout looks dreamy and helps portraits feel story-like. Keep the background dark and choose lighter outfits if you want contrast, then focus on sharpness where your subject’s eyes are.
To personalize, match the “stars” to a theme, like silver for winter birthdays or red and gold for festivals. Cost can stay low because craft paper and string lights are usually cheaper than renting studio backdrops.
13. Neutral Linen With Woven Basket Texture
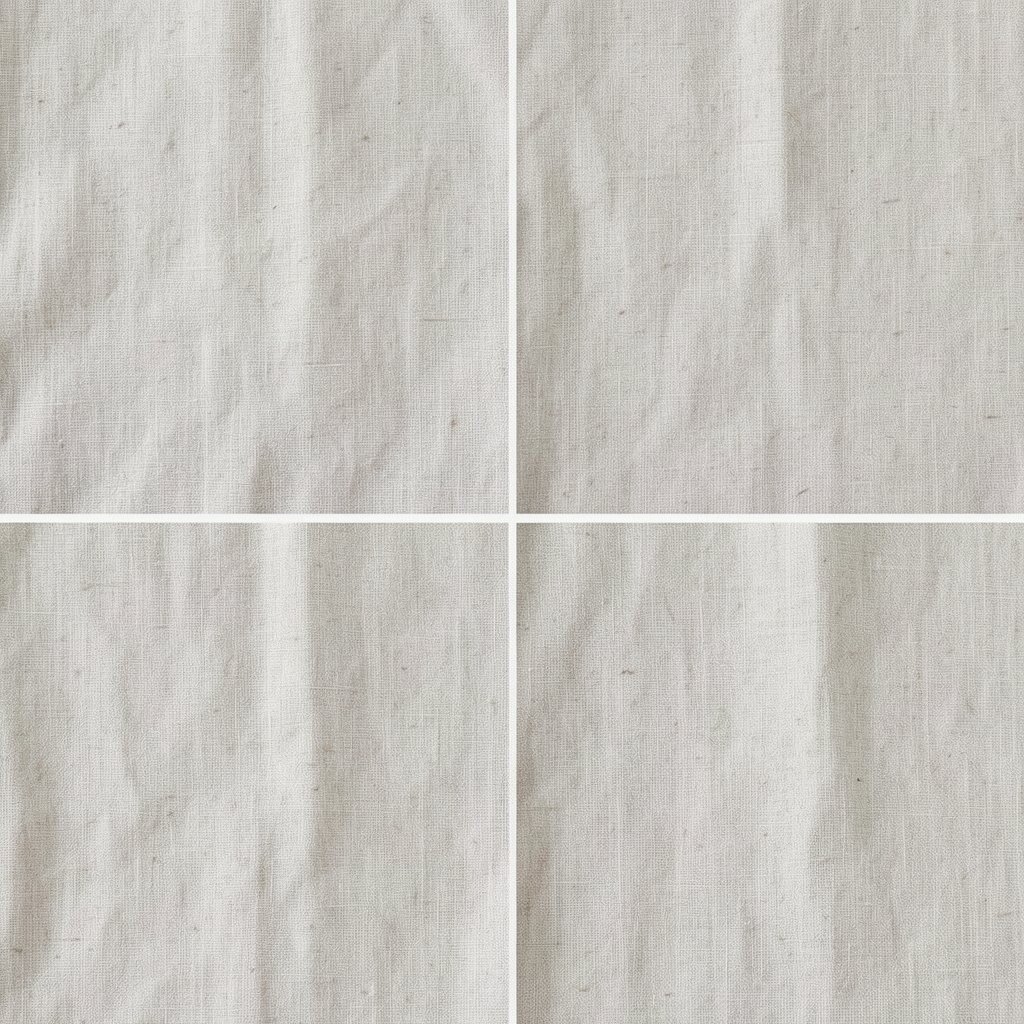
Hang a neutral linen sheet and place woven baskets along the floor or slightly behind your subject. The texture reads warm and natural, like a slow morning market.
Pick baskets in natural tones such as tan, honey, or light brown, and keep the arrangement uncluttered. A practical tip is to secure the sheet so it hangs straight, because wrinkles can steal attention.
When you personalize, add a small plant, dried grasses, or a single linen ribbon to connect the scene. If you want to keep costs down, thrift baskets are often inexpensive, and you can mix different sizes for depth.
14. Striped Wall With Diagonal Leaning Lines
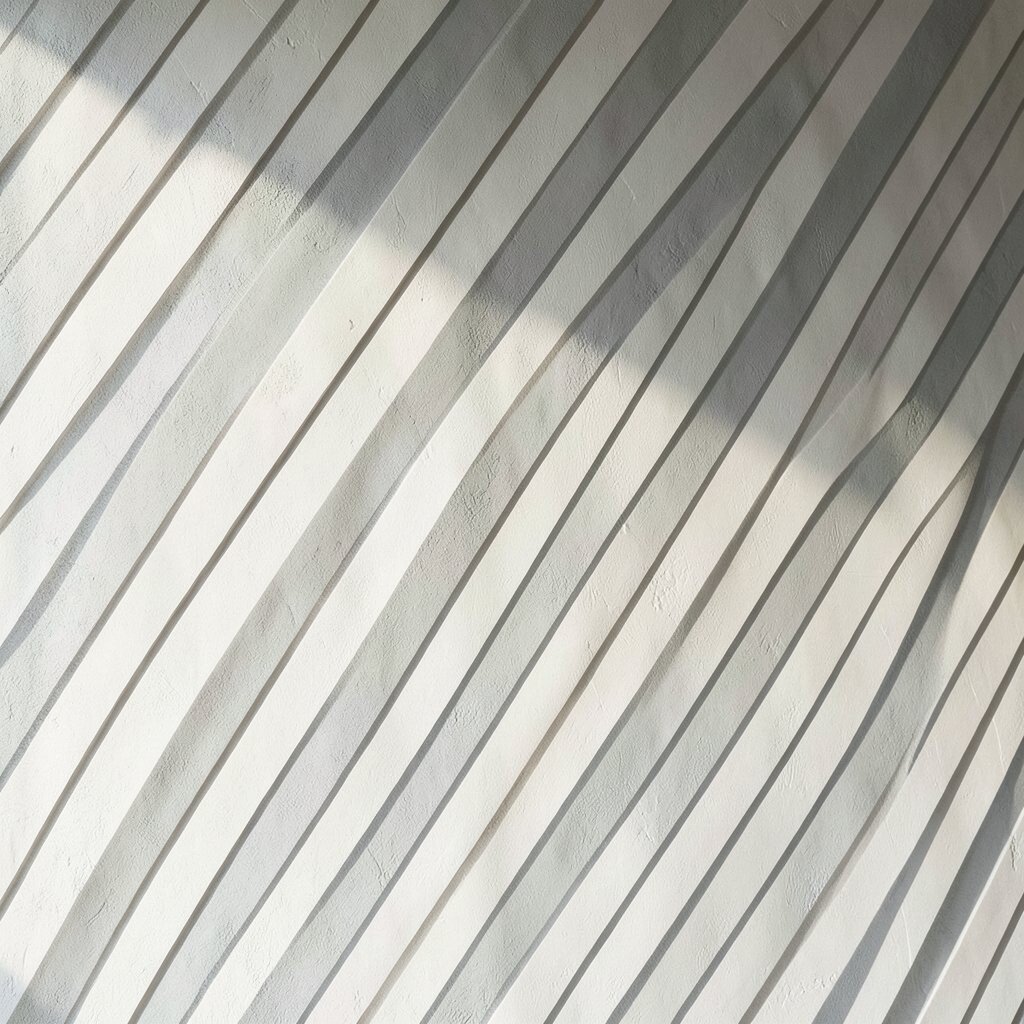
Use a wall with stripes, or hang striped fabric to create parallel lines behind your subject. If you angle the fabric slightly, the lines turn diagonal and add motion.
Diagonal backgrounds often make photos feel more dynamic, especially for fashion and branding. Position your subject so the stripes pass behind shoulders and avoid cutting right through the face area.
15. Water Ripples With Glass or Reflective Surface
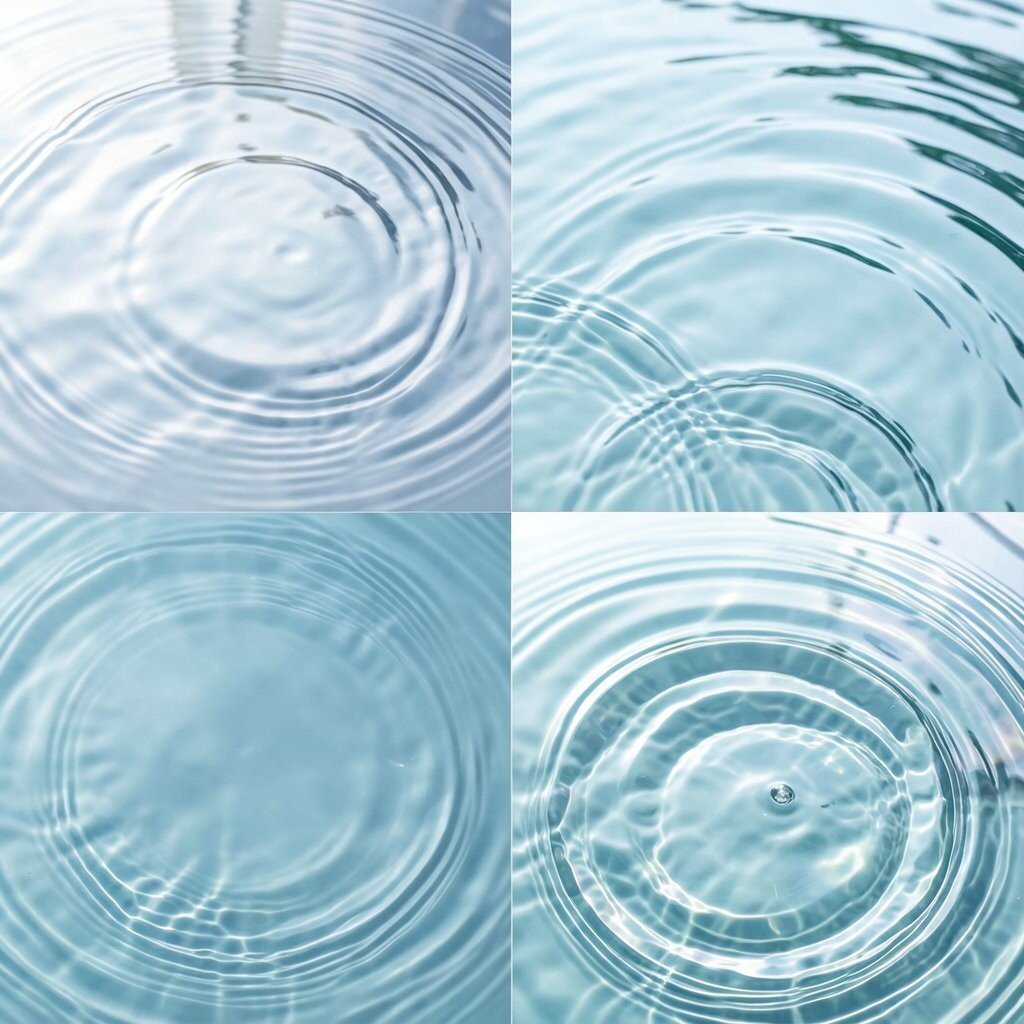
Place a reflective surface like a glass tray or acrylic panel under your subject’s feet or beside them. When you add water droplets or a thin film of water, you get ripples that sparkle and soften the scene.
This layout feels modern and artistic, and it can make even a simple outfit look like a set. For practical results, keep the reflective surface level and clean, then use a towel nearby so you can wipe smudges quickly.
Personalize by choosing the water color effect, like adding a drop of food coloring for a subtle tint. Cost is usually manageable because small trays and cleaning tools are affordable, and you can reuse the setup for different looks.
16. Vintage Curtain With Dusty Rose Tones
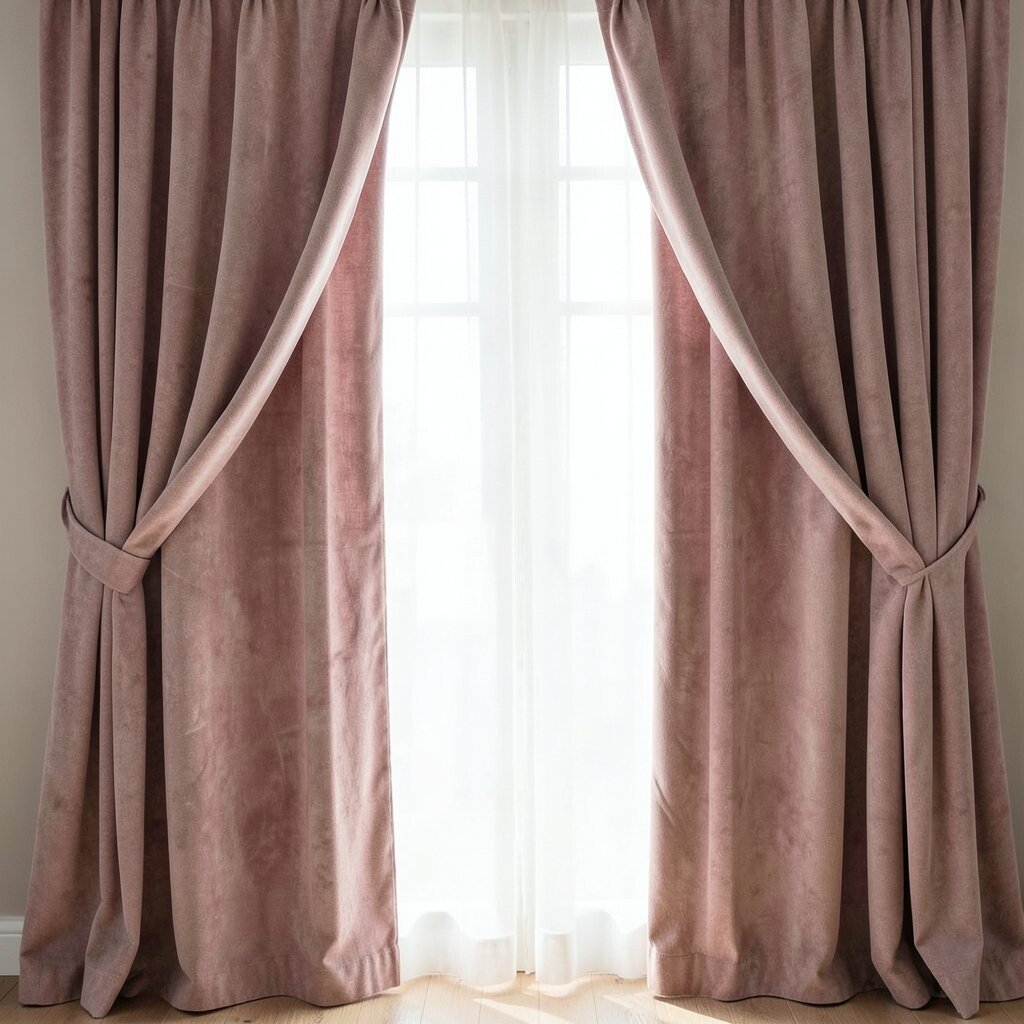
Hang a vintage-style curtain in dusty rose, mauve, or soft beige behind your subject. The fabric looks romantic and gives photos a gentle, timeless mood.
Use a curtain rod if possible, and let the fabric gather naturally so it looks rich instead of flat. A practical tip is to steam or lightly mist the curtain so wrinkles look like texture rather than mess.
To personalize, choose a curtain color that matches a flower bouquet or the accent in your outfit. This style aligns with current trends for warm, film-like portraits, especially when paired with soft makeup and natural light.
17. Chalkboard Wall With Simple Shape Lines

Draw simple shapes or phrases on a chalkboard wall, but keep them small and clean. The matte texture makes your subject look sharper, and the drawings add personality without overcrowding.
Stick to a few big shapes like circles and arrows so the background supports the photo. For a practical setup, use removable chalk tape or white chalk for better contrast, and test a few marks before the session.
Personalize with doodles that matter, like tiny hearts for a couple or a small star for a birthday. Cost considerations are easy here since chalk is inexpensive, and the board can be reused for many themes.
Choose lighting that keeps the chalk readable but not shiny, so it won’t glare through the lens.
18. Kitchen Counter Backdrop With Styled Ingredients
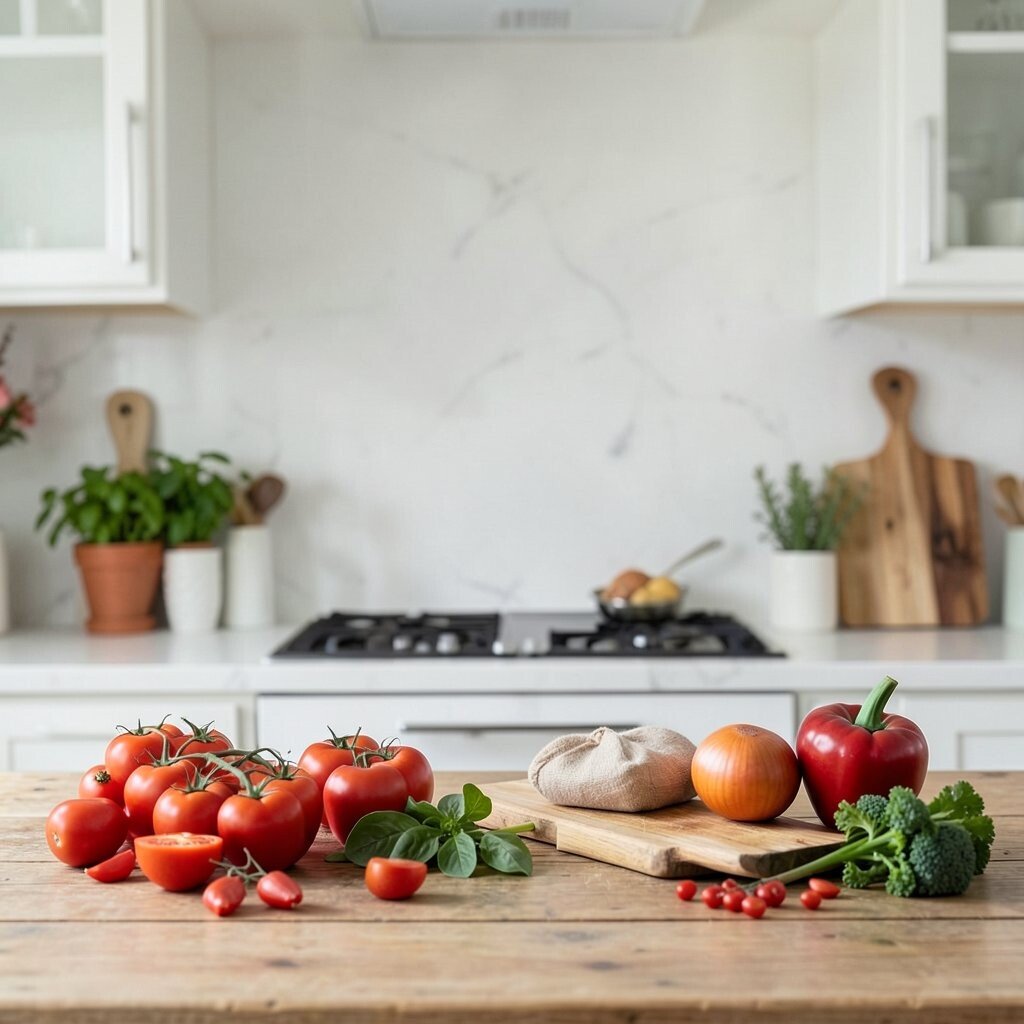
Turn a kitchen counter into a photo backdrop by arranging ingredients like citrus, herbs, and ceramic bowls. The scene feels real and cozy, and it works beautifully for lifestyle shoots.
Keep the layout balanced by grouping items in odd numbers and leaving a little empty space for your subject. A practical tip is to wipe the counter and choose one color theme, like lemons and white ceramics or greens and wood tones.
For uniqueness, include one personal item such as a family recipe card or a favorite mug. Cost can stay low when you use what you already own, and current trends keep leaning toward food and home storytelling backgrounds.
19. Studio Seamless Paper With Bold Color Block

Use a seamless paper roll or a smooth poster board and set one strong color block behind your subject. A bold background helps photos look clean and ready for branding or profile pictures.
Place your subject so the color block covers most of the frame, then use a different color in the outfit to create contrast. When you want personalization, match the block to a brand color or a favorite outfit tone.
Cost considerations are favorable because a few color sheets can cover many sessions. For current trends, bright color blocking is popular in modern product photography and quick social media portraits.
Try a side light to create a gentle shadow that makes the subject look grounded.
20. Coastal Rope and Sail Fabric Corner
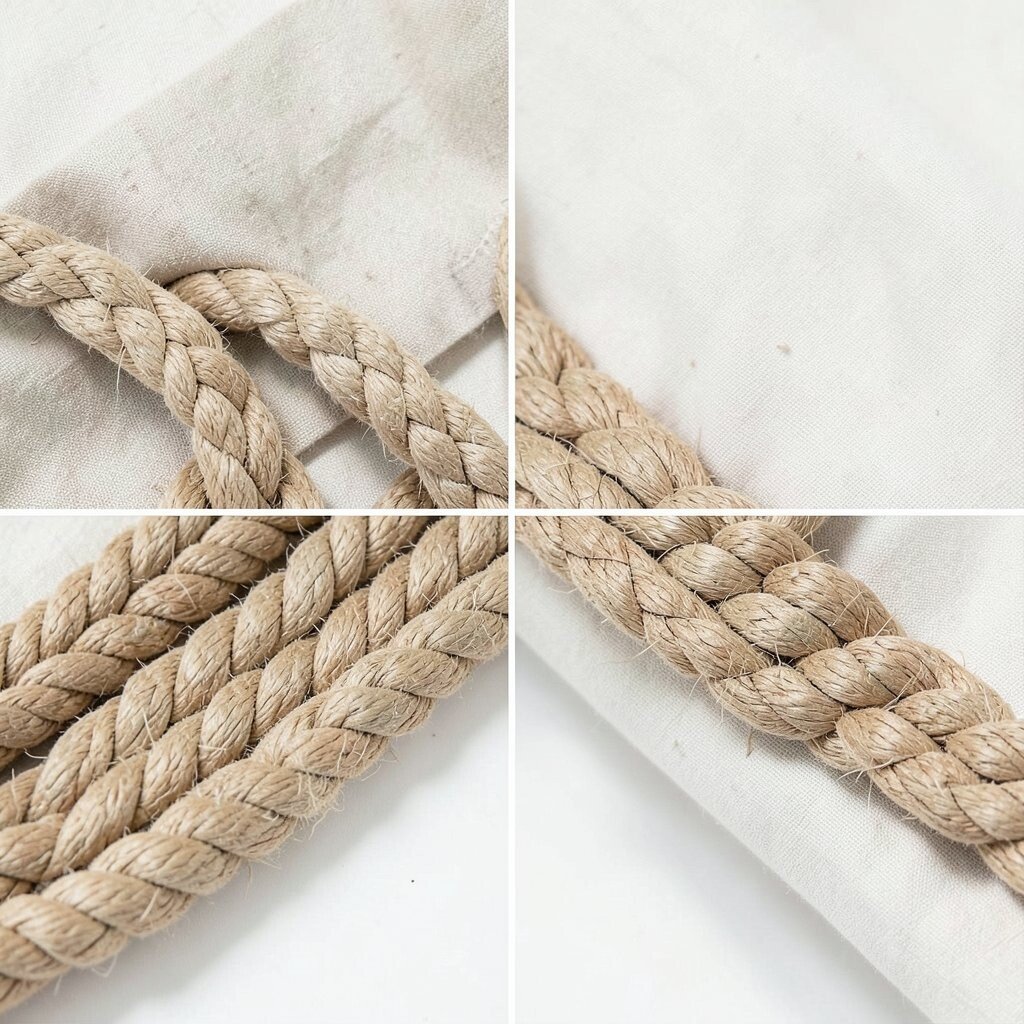
Set up a coastal corner with rope, netting, and light sail fabric behind your subject. The texture makes the photo feel breezy, like salty air and sunlit days.
Hang netting in a way that creates an open pattern, then place rope loops so they look intentional. A practical tip is to keep the color palette mostly natural, like cream, sand, and sea blue, so it stays calm.
Personalize by adding small theme details such as a starfish charm or a soft scarf tied around a prop. Cost is often low when you use craft rope and fabric scraps, and it’s a great way to reuse items for seasonal shoots.
21. Gallery Wall With Mixed Frames and Negative Space
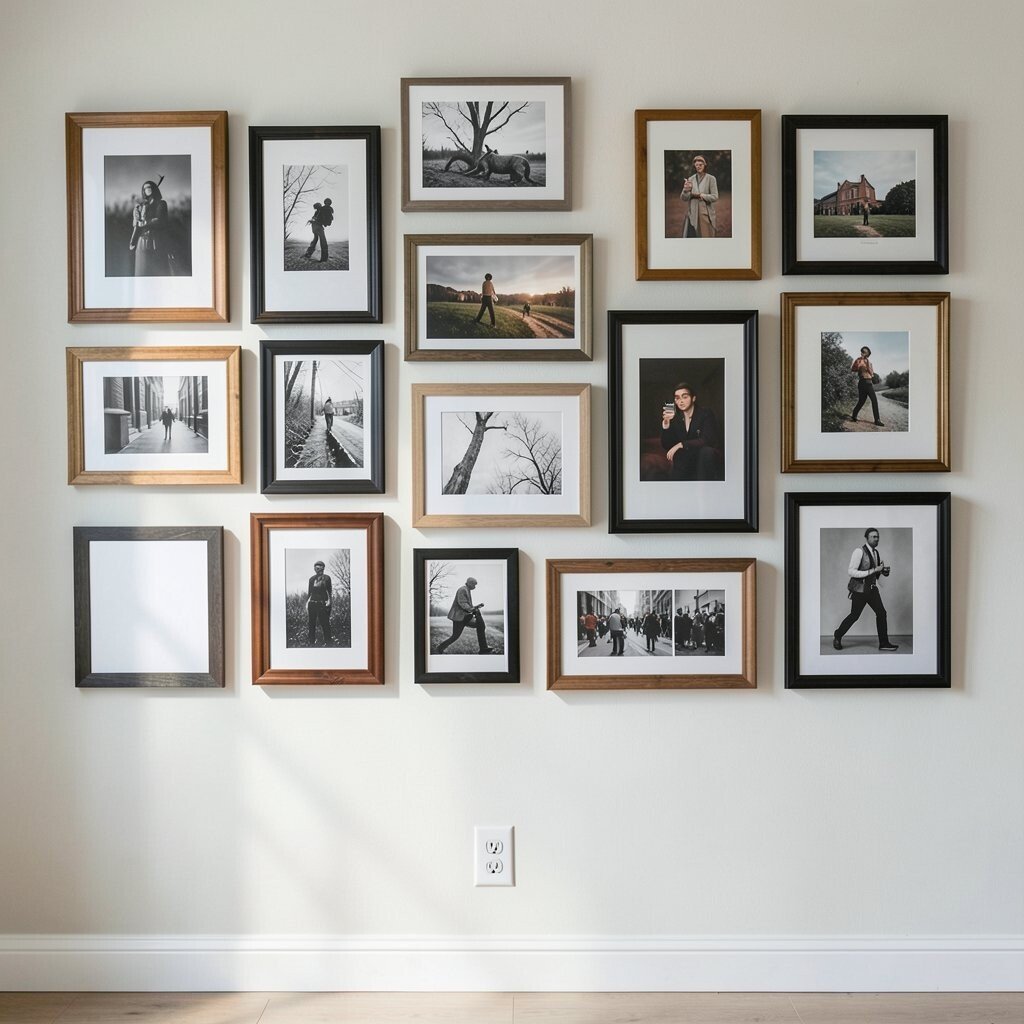
Create a mini gallery wall using mixed frames but leave some breathing room between them. The background becomes artistic, and your subject feels like the main artwork.
Choose frames in similar finishes like black, wood, or gold so the mix looks curated instead of chaotic. A practical tip is to plan the layout on the floor first, then transfer it to the wall with light pencil marks.
For uniqueness, include one frame with a meaningful photo, ticket, or card that connects to the person being photographed. Cost considerations can be friendly since you can thrift frames, repaint them, and swap prints for each session.
When you want a trendy look, add a few oversized frames mixed with smaller ones so the composition feels modern and balanced.