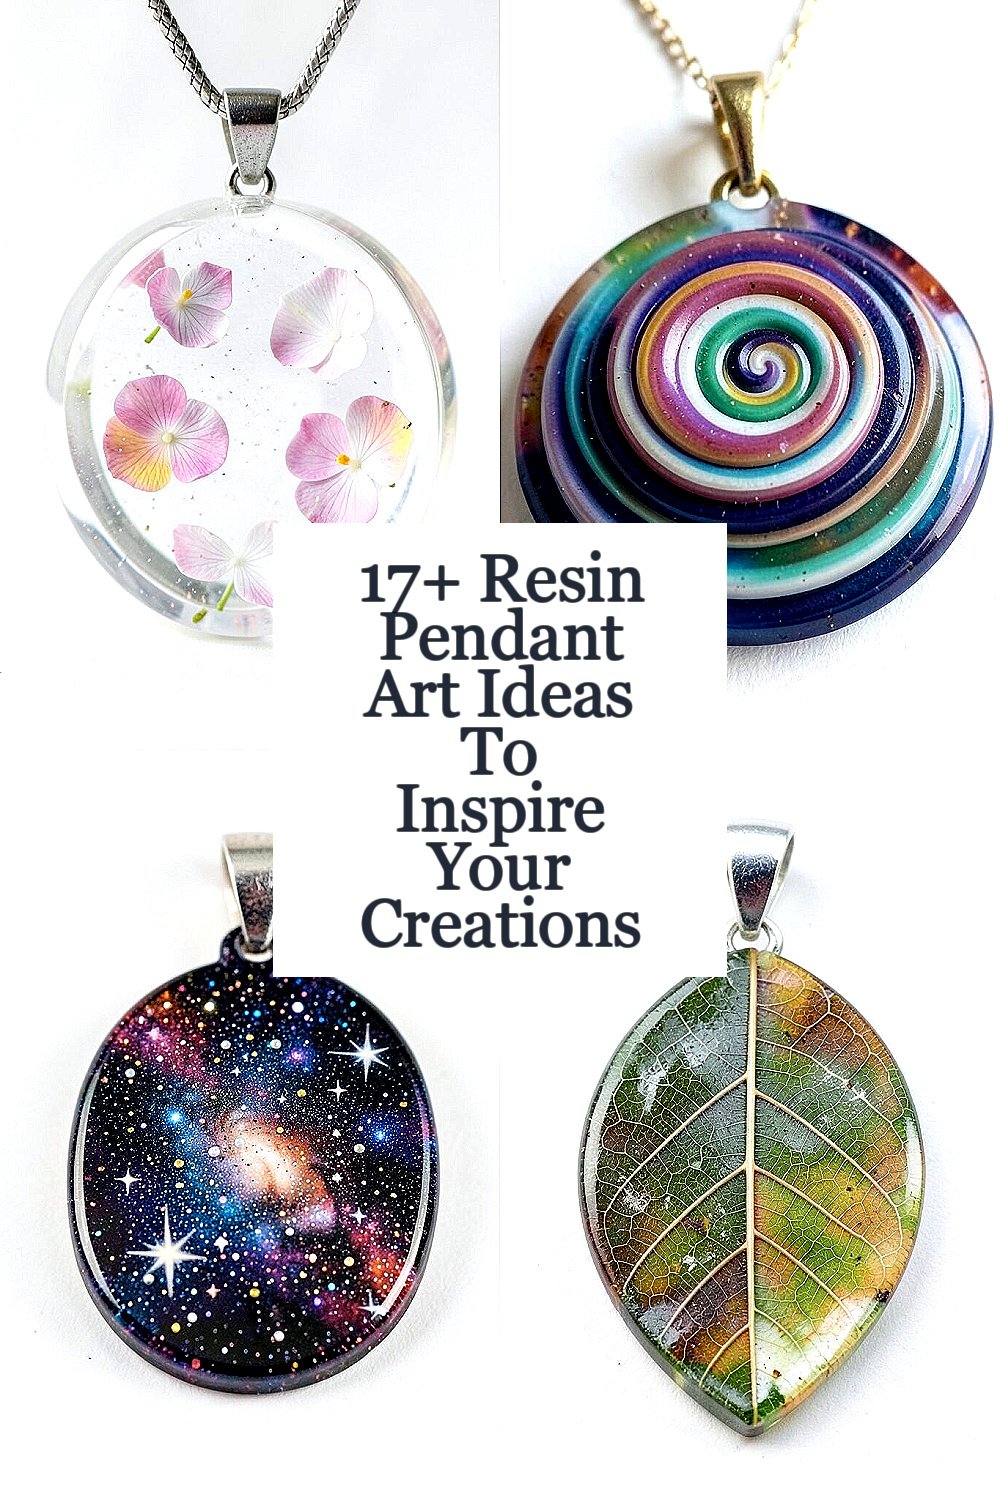
Shimmering resin pendants can turn tiny surfaces into wearable stories. The right idea makes every pour feel personal and exciting.
1. Clear-Window Resin With Floating Petals
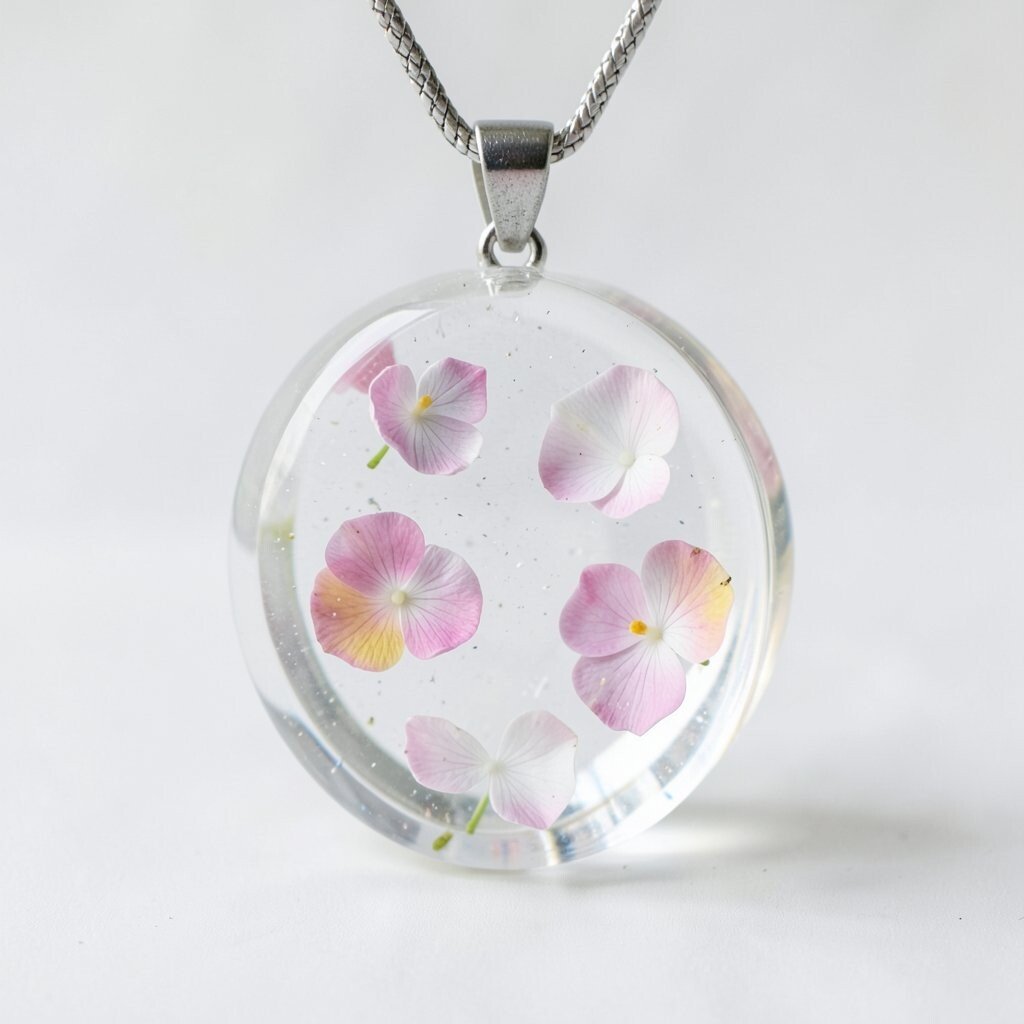
Imagine a glassy pendant where delicate petals seem to hover in midair. When you tilt the piece under light, you get soft color shifts that feel airy and bright.
Use dried flowers that are fully cured so they do not release moisture later. Keep petals at different depths by placing a few in the middle and a few near the back, then seal everything with a slow, even top coat.
2. Layered Color Depth With Ombre Swirls

Start with a base tint and then pour thin layers that fade from one shade to the next. The result looks like colored water moving under clear windows.
Try using alcohol inks or resin pigments in small amounts so you can steer the swirl pattern. Move the mold gently after each thin layer, and let it set until it looks mostly firm before adding the next color.
If you want a current, trendy look, choose limited palettes like seafoam to teal or blush to coral. This style also costs less because you can use small bottles of pigment and minimal colorant to get a big effect.
3. Galaxy Resin With Star Dust and Micro Specks
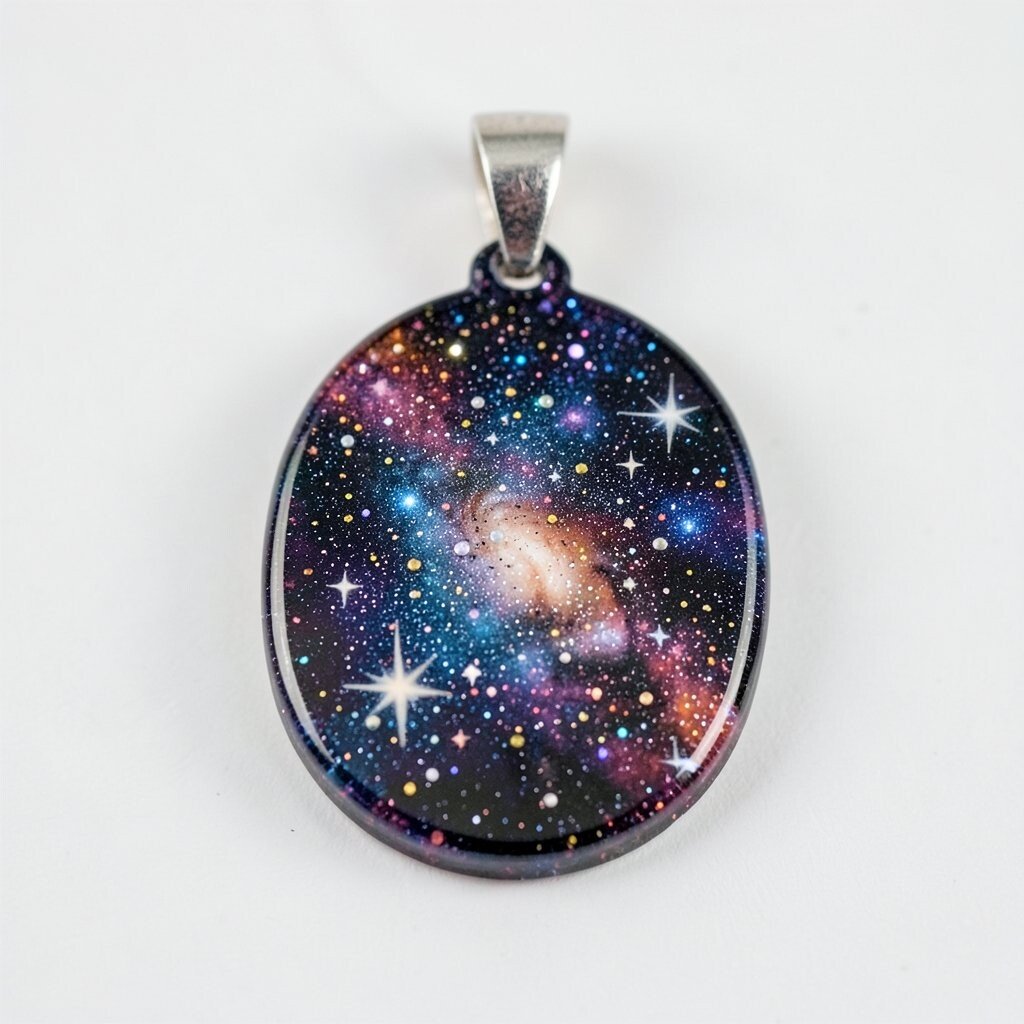
A galaxy pendant can feel like you’re carrying night sky magic on a chain. Dark indigo, deep purple, and tiny shimmering dots make the piece look rich and layered.
Blend pigments slowly and use a fine brush or pin to place micro specks like stars. For sparkle without heavy glitter falloff, mix a small amount of mica into clear resin rather than piling loose glitter on top.
To keep it practical, use a simple round or teardrop bezel and pour in controlled batches. Personalize by adding a small “planet” shape using a different tint, then finish with a smooth dome for extra shine.
Store your molds flat while resin cures so the surface stays even. If you want a cost-friendly route, you can use inexpensive metallic eyeshadow powder tested in a tiny sample batch first.
4. Botanical Pressed Leaves With Vein-Highlighting
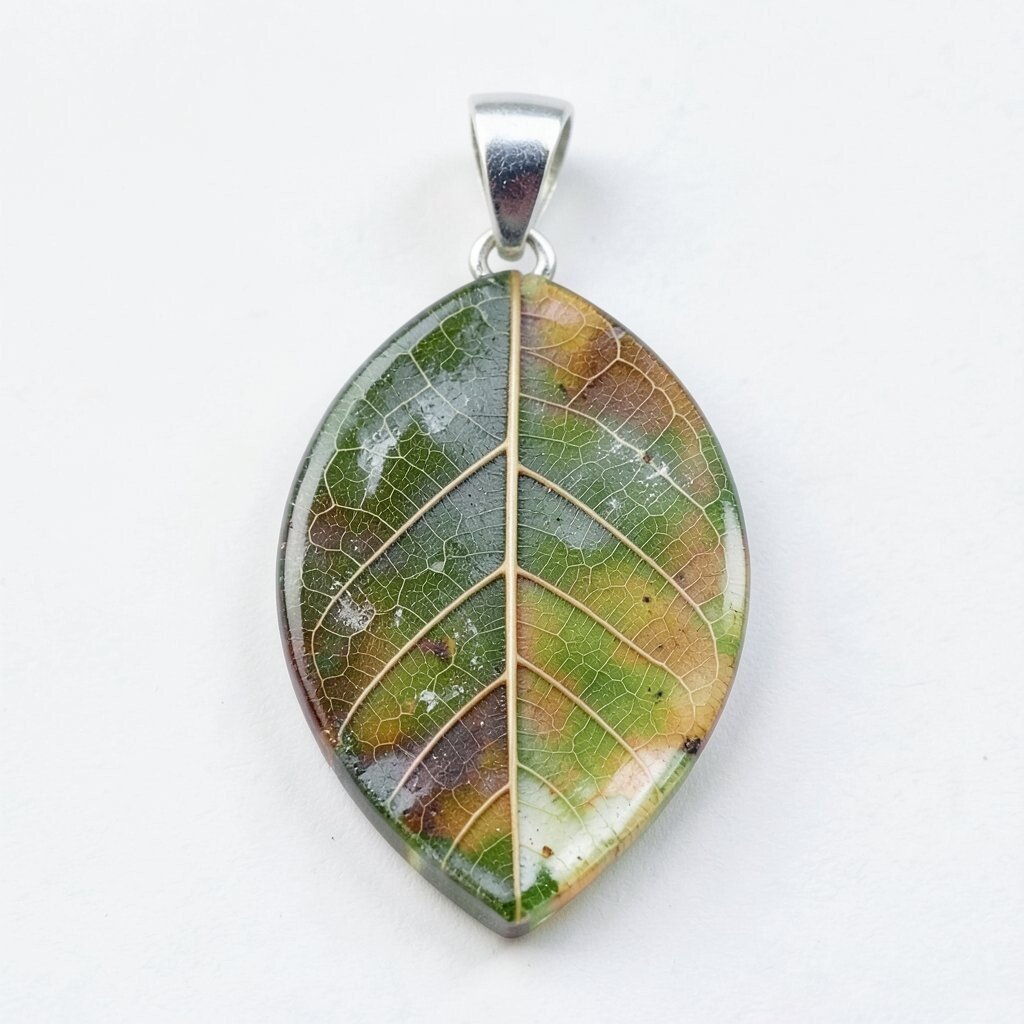
Pressed leaves create a grounded, nature-forward pendant that looks crisp and thoughtful. Even simple leaves can become dramatic when their veins show through clear resin.
Dry your leaves fully and sand the edges lightly if they feel too sharp. Place the leaf on a thin base layer, then pour slowly around it to avoid bubbles and trapped air.
Personalize with tiny touches like a thin line of green mica along the leaf vein for extra contrast. This idea is great for low waste too, since it uses scraps from real plants you already have at home.
5. Alcohol Ink Marbling With Soft Smoke Effects
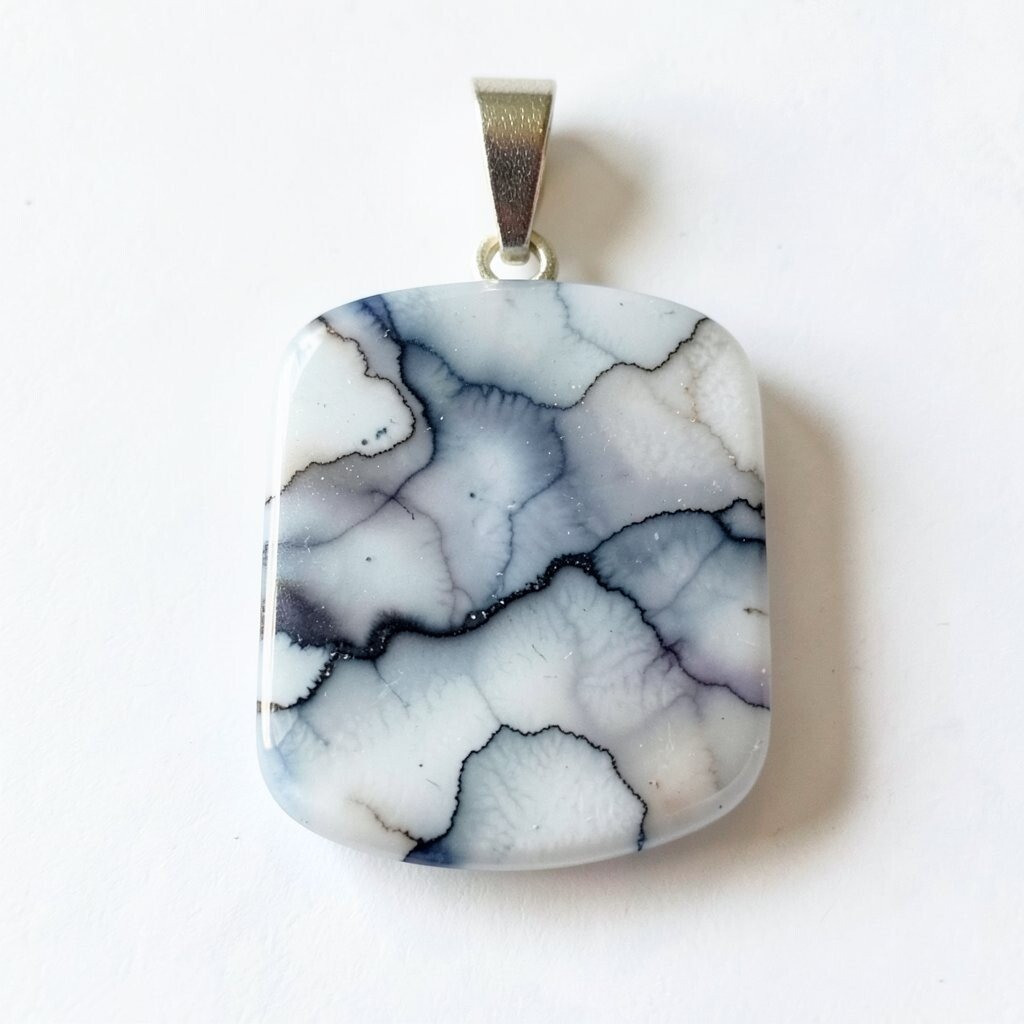
Marbling gives your pendant a feathered, cloud-like finish that feels modern and artistic. The colors spread in unexpected ways, so each piece looks one-of-a-kind.
Use just a few drops of alcohol ink on a base of tinted resin, then swirl with a toothpick for gentle movement. If the ink starts moving too fast, wait a moment after pouring your base so the surface is less runny.
Marble pendants are popular right now because they look like premium art prints but are still fun to make. A small bottle of ink can last a long time, which helps with cost considerations when you’re making several gifts.
6. Foil Accents Inside Clear Resin Capsules
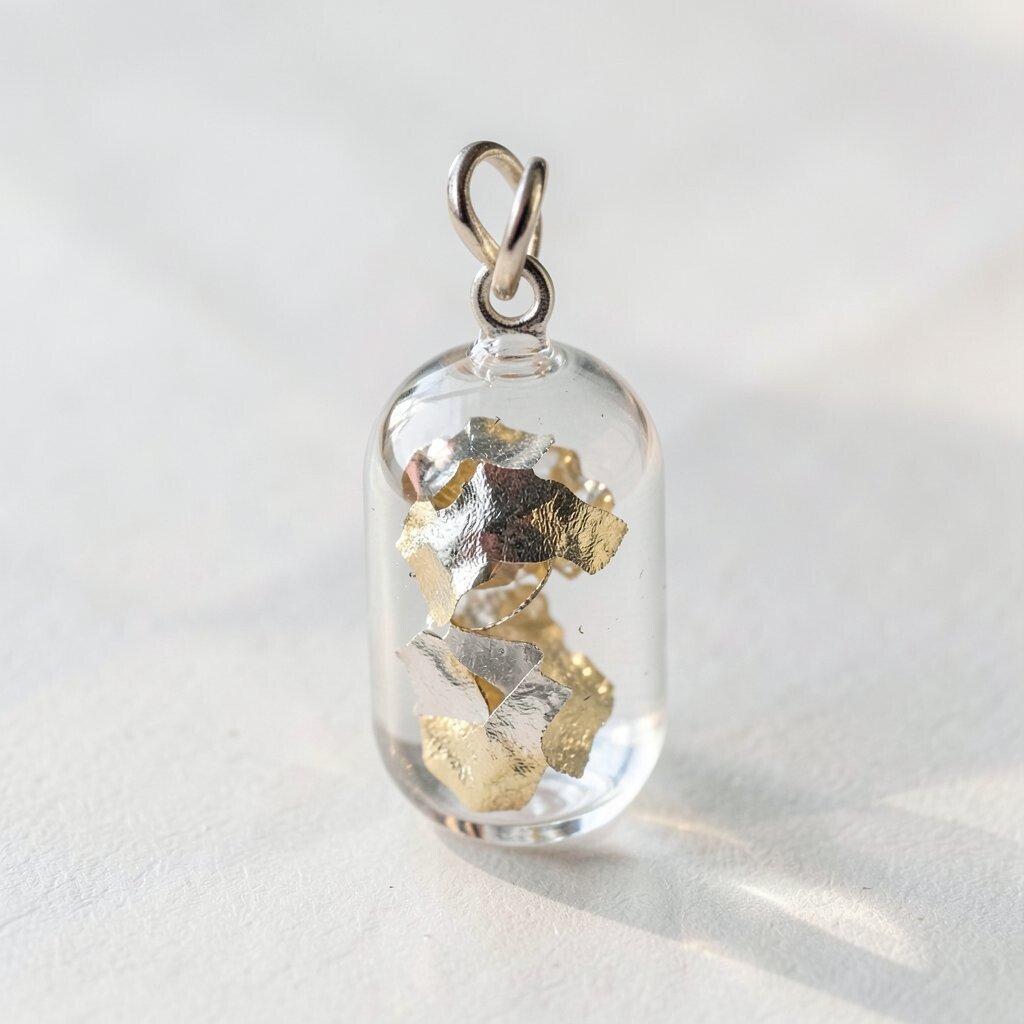
Metallic foil tucked inside resin looks like tiny treasures sealed in a time capsule. When light hits the foil, it flashes gold, copper, or silver in a way that feels luxurious.
Cut foil pieces small and place them off-center so the pendant has a focal point. Seal with clear resin in thin coats to keep foil edges smooth and to reduce the chance of lifting.
For uniqueness, try mixing foil with translucent pigments so the foil looks warmer or cooler depending on the tint. If you like budget-friendly materials, use leftover foil from crafts, packaging, or gift wrap cut into tiny fragments.
7. Resin Photo Memory Pendants With Tiny Keepsakes
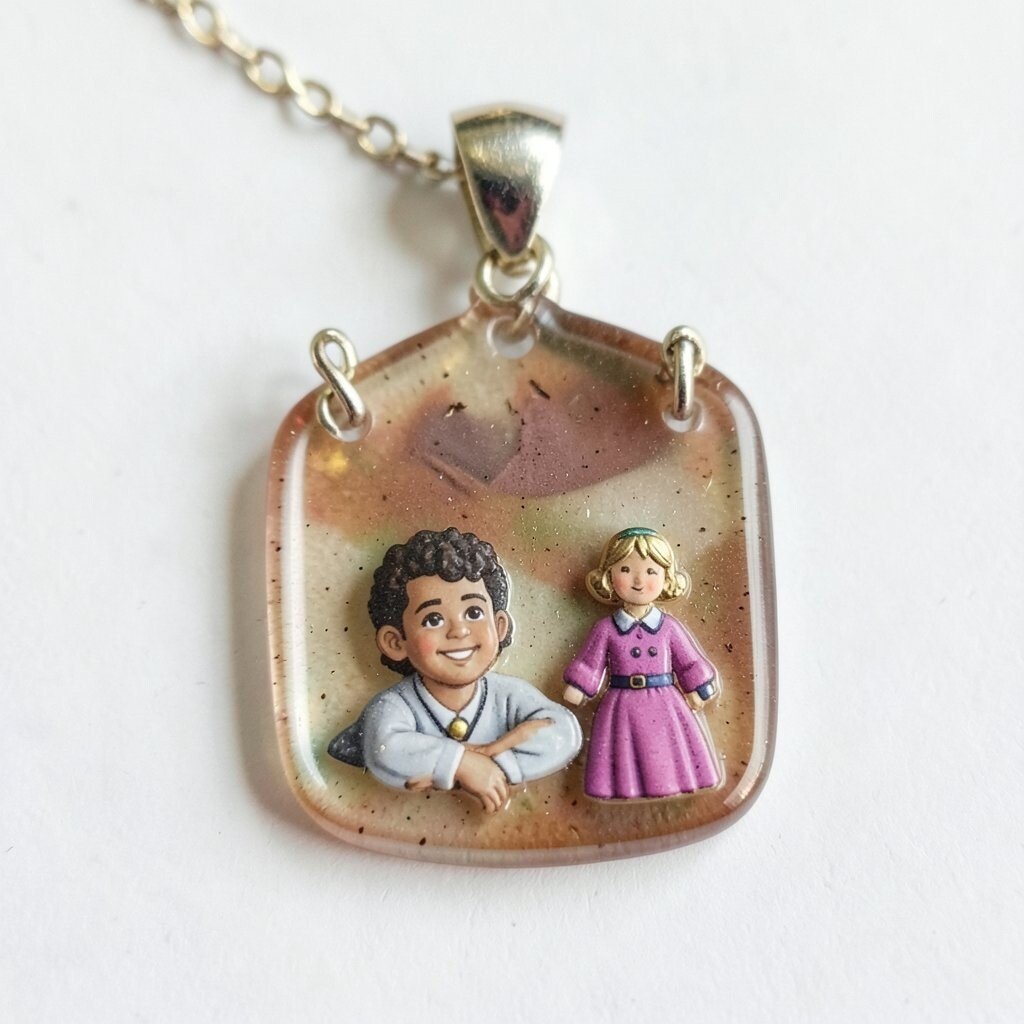
Turn a favorite moment into something you can wear every day. A photo memory pendant can hold a small image, a tiny note strip, or a meaningful scrap that carries emotion.
Choose photos printed on thin paper and coat them gently with a quick clear layer before sealing. Keep the image small and centered, then pour slowly so the edges do not wrinkle.
Personalize by adding a date or short handwriting in a corner using a fine pen that is compatible with resin. This can be cost-smart because you can reuse materials like old prints, and you only need a little clear resin for small molds.
8. Dried Blossom Confetti With Bubble-Free Pouring

Confetti-style pendants feel fun and playful, like tiny celebrations captured in clear resin. Colorful dried blossoms scattered throughout create a lively look with lots of movement.
To keep it clean, crush dried petals gently so they become flatter pieces that settle evenly. Pour a first thin layer, let it gel, then add the confetti and cover it with another careful top coat.
This approach is practical because it uses bits you might otherwise discard, and it makes every pendant match the theme you’re creating. Current trends favor “mix and match” color stories, so try one pendant with warm tones and the next with cool tones.
9. Geometric Resin Blocks With Crisp Edges
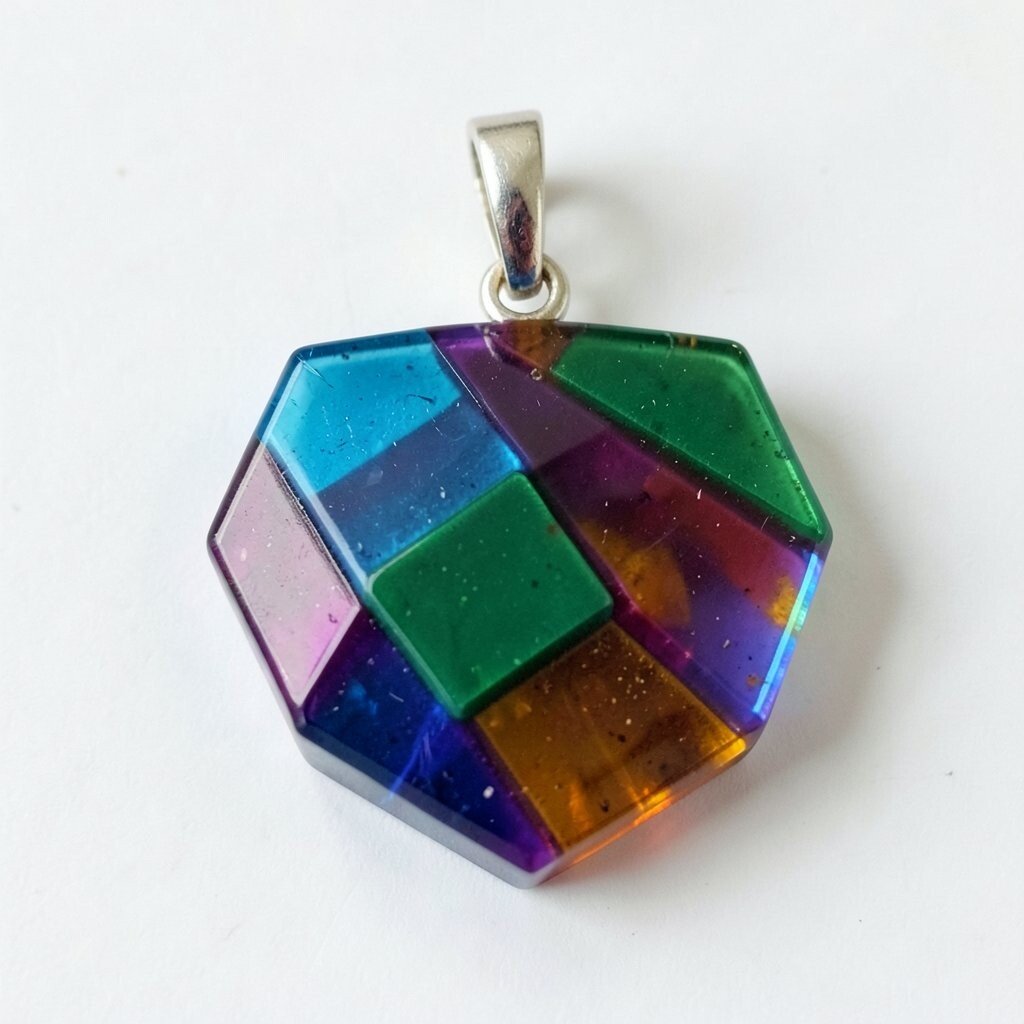
If you love clean design, geometric resin pendants look bold and modern. Hard lines and structured shapes create a calm, confident vibe.
Use a silicone mold with sharp compartments, and pour each section separately to keep edges crisp. Let each section set enough to hold its shape, then join layers so you do not blur the lines.
Personalize with two or three color choices and keep the rest clear for a sleek finish. This can help with cost since you can make multiple designs using the same mold by swapping pigments.
For a trend that feels current, choose monochrome palettes like black, white, and gray, or pair navy with icy blue. It’s a great way to look stylish even with minimal decorative materials.
10. Watercolor-Style Resin With Paint-Like Blotches
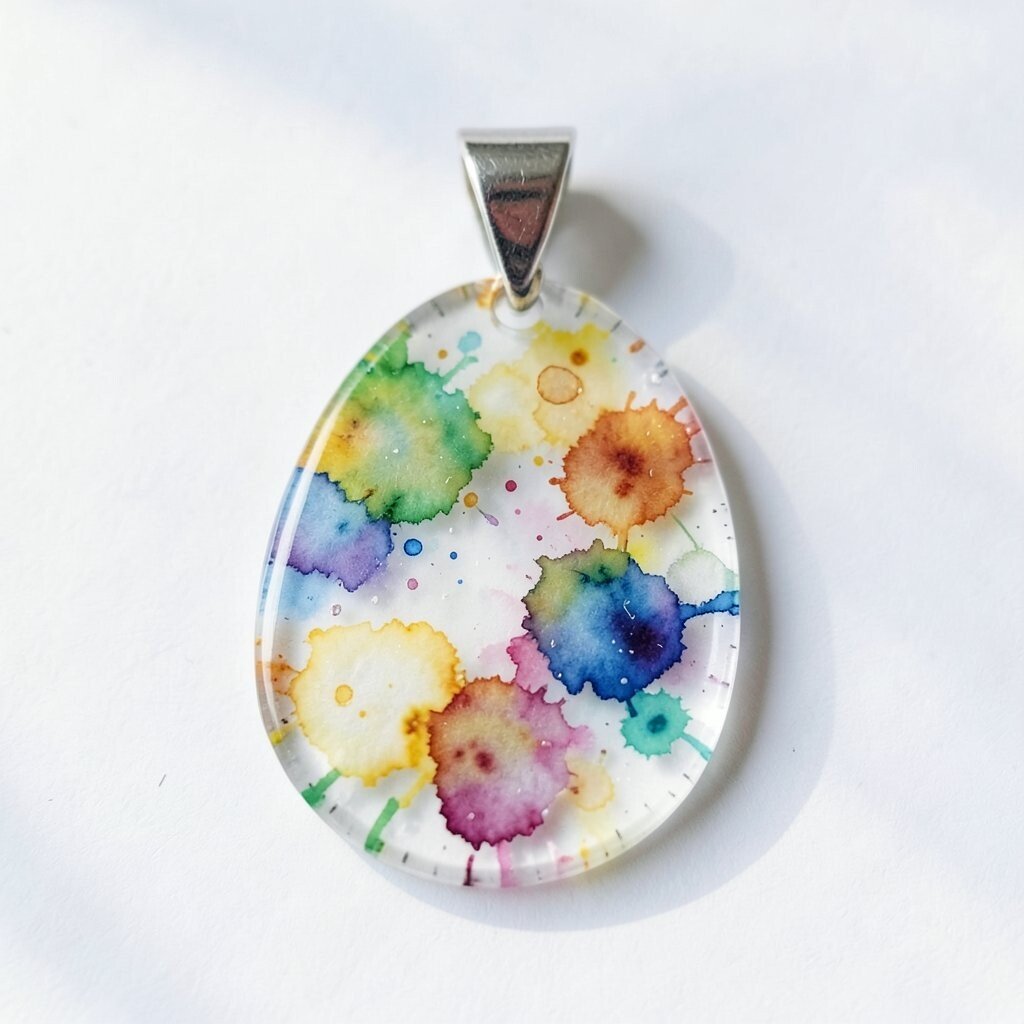
Watercolor resin looks gentle and dreamy, like soft ink on paper. The effect is created by blending pigments so they bloom and fade.
Start with a tinted base, then dab pigment onto the surface using a sponge brush. Swirl lightly so it spreads naturally, and stop once it looks like a painting instead of a mess.
Personalize by matching the colors to your wardrobe, like lilac and cream for spring or teal and sand for summer. If you want a cost-friendly option, you can test pigments from craft store sets before buying larger bottles.
11. Crystal-Look Resin With Faceted Glitter Effects
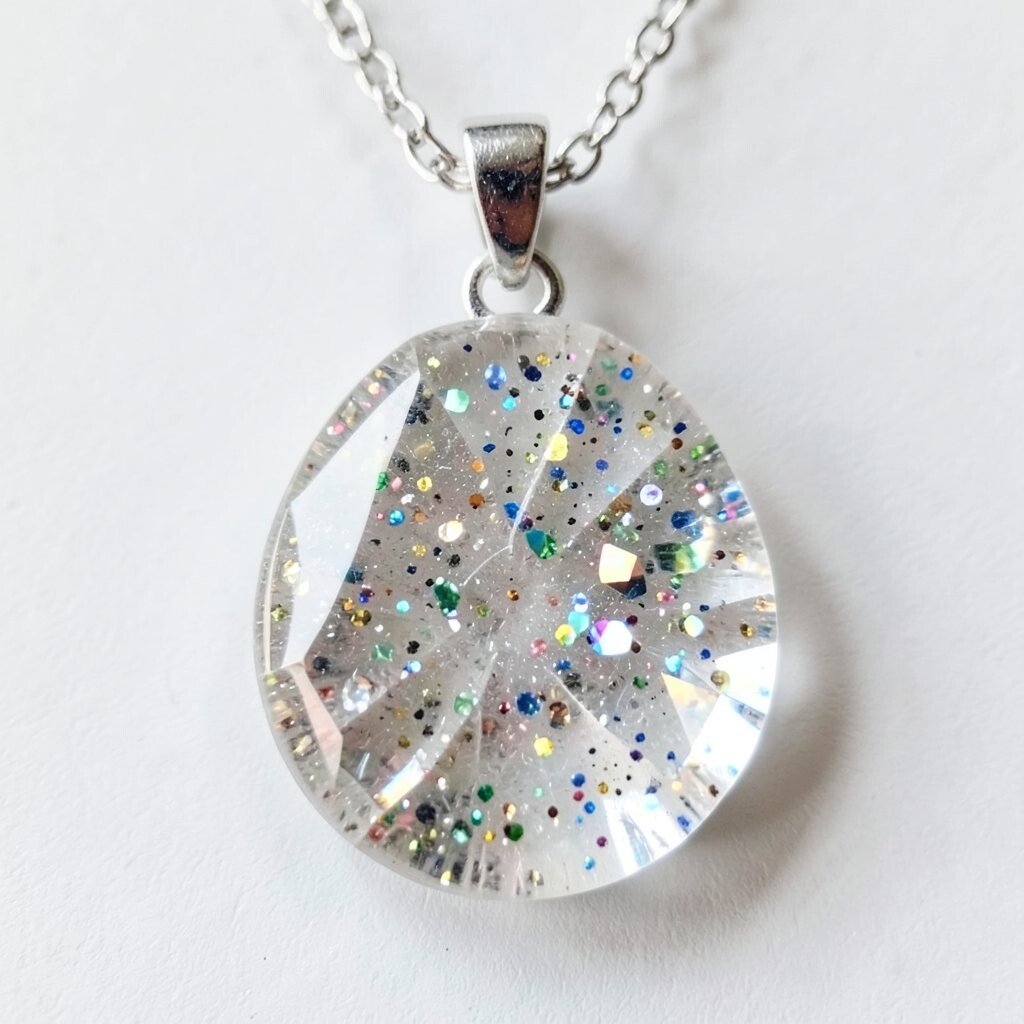
You can fake a crystal sparkle with resin, glitter, and clever layering. A faceted pendant catches light in bright flashes without needing gemstones.
Use a faceted mold and dust a tiny amount of glitter into each cavity before pouring. Add a clear base first, then a glitter layer, then top coat so the sparkle stays sealed and less likely to shed.
Uniqueness comes from the mix of glitter type, so try fine holographic for a soft rainbow and chunkier glitter for dramatic sparkle. For practical handling, make sure your pendant is thick enough to feel durable on a chain.
Cost considerations matter here, so choose glitter that you can buy in small bottles and use sparingly. A little glitter goes a long way when it’s sealed under a clear dome.
12. Resin With Embedded Beads and Tiny Charms
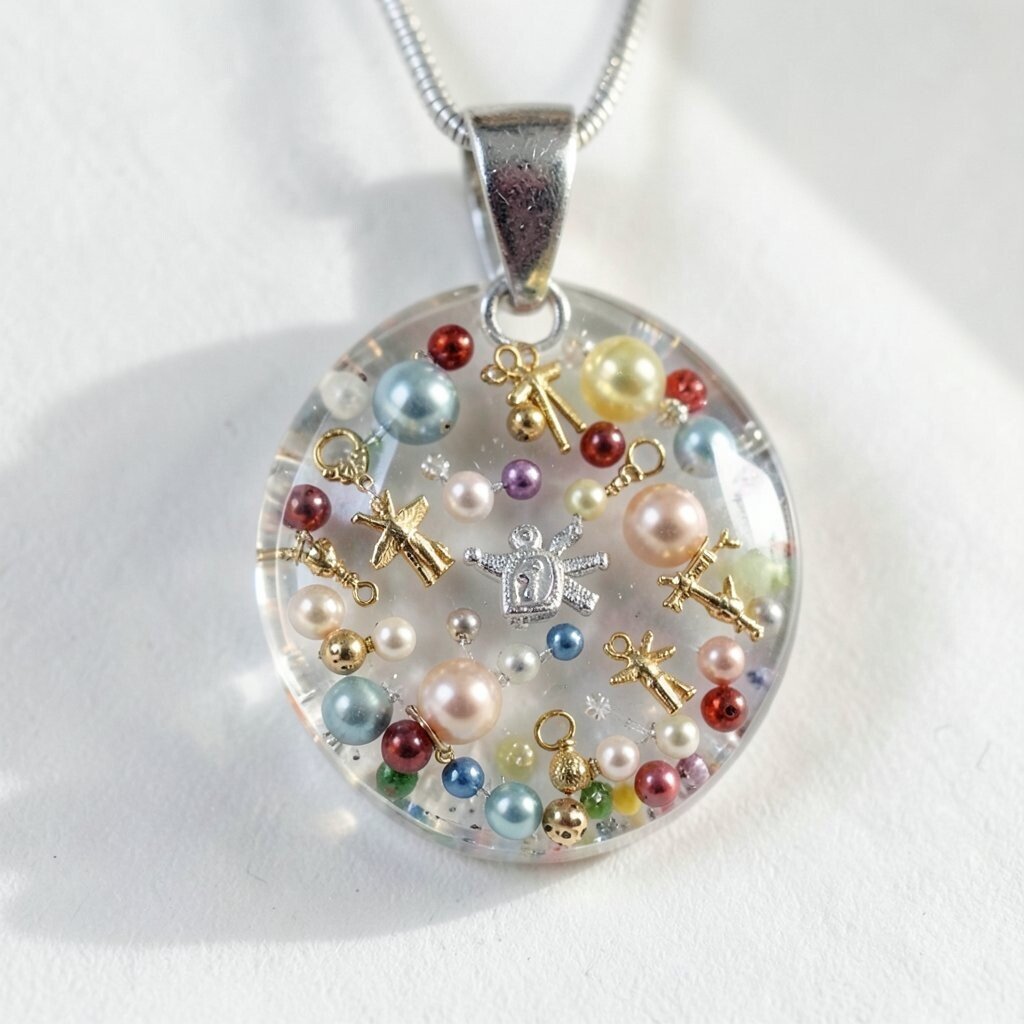
Embedded beads add texture and rhythm, turning a simple pendant into a tactile piece. Each bead catches light and creates tiny highlights as you move.
Place beads near the center so they stay visible, and pour around them slowly. If you want extra stability, let the first layer cure partially before you add charms so they don’t sink too deep.
This idea is highly personal because you can match charms to a hobby, a family name, or a favorite symbol. For current style, mix small metallic charms with matte beads to create contrast that looks intentional.
When thinking about cost, buy small bead packs and use only what you need. Even a few beads plus clear resin can make a pendant feel like a special custom gift.
13. Resin Pendant With Inlaid Fabric Thread Lines

Fabric threads can create delicate “stitching” effects inside clear resin. The result feels handmade and cozy, like a miniature piece of craft work.
Use thin embroidery thread or fine yarn and lay it in a simple line pattern on a base layer. Seal with resin in layers so the thread stays flat and does not float.
Personalize by using thread colors from a sweater, scarf, or favorite quilt. This is also practical because thread is usually low cost and you can use small scraps.
To keep it neat, avoid thick fibers that can create bubbles. A gentle pour speed and thin coats help the resin move around the thread smoothly.
14. Marbled Resin With Metallic Leaf-Like Veins

Vein patterns inside resin can look like stone, marble, or aged metal. A pendant with metallic streaks feels bold yet elegant.
Make a tinted base and add metallic pigment in thin strokes, then swirl with a toothpick just once or twice. Over-swirling can muddy the pattern, so stop while it still looks dramatic.
For uniqueness, try different vein colors like warm gold against blue-gray or silver against soft green. This style pairs well with current fashion because it looks like luxury materials but stays lightweight as jewelry.
Cost is manageable since metallic pigment can replace expensive foil. You may only need a few tiny shakes to create a striking effect.
15. Shimmer Gradient With Pearl Dust and Soft Glow
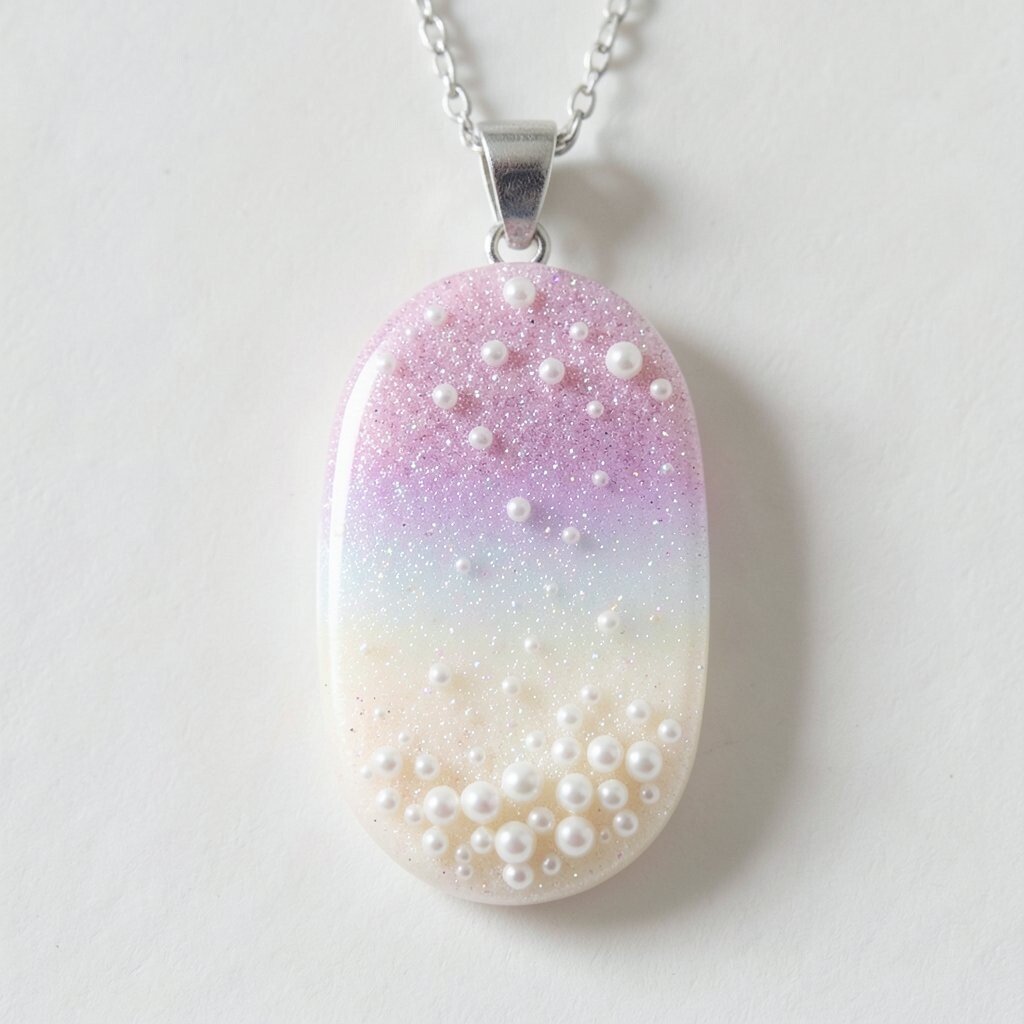
Pearl dust gradients give a pendant a soft glow that looks flattering in daylight. The finish feels smooth and elegant rather than sparkly and loud.
Mix pearl powder into clear resin at different strengths for the gradient effect. Pour one layer of light tint, let it set, then add a stronger layer, and finish with a fully clear top coat.
Personalize by choosing pearl tones like champagne, rose, or ocean blue to match your skin tone and outfit. This idea can also be budget-friendly because a small jar of pearl powder makes many batches of tinted resin.
To keep the glow even, make sure you stir thoroughly so there are no clumps. A calm, slow pour helps you avoid streaks and keeps the gradient smooth.
16. Botanical Resin With Floating Seed Pods and Fern Tips

Using seed pods and fern tips can create a pendant that looks like a pressed garden in motion. The tiny shapes feel intricate, yet the overall design stays natural and wearable.
Choose plant pieces that are small and lightweight so they stay in place during curing. Pour a thin base coat, arrange the botanical elements, and then add clear resin in steps so the details remain sharp.
Personalize by arranging the botanicals as if they’re drifting upward, which makes the pendant feel alive. If you want cost efficiency, gather fallen natural pieces and keep them clean and dry before using.
For trends, organic realism is popular, so this pendant style is likely to feel fresh. It also makes a meaningful gift because it carries a sense of place and memory.
17. Resin Pendant With Time-Stamped Ribbons and Handwriting
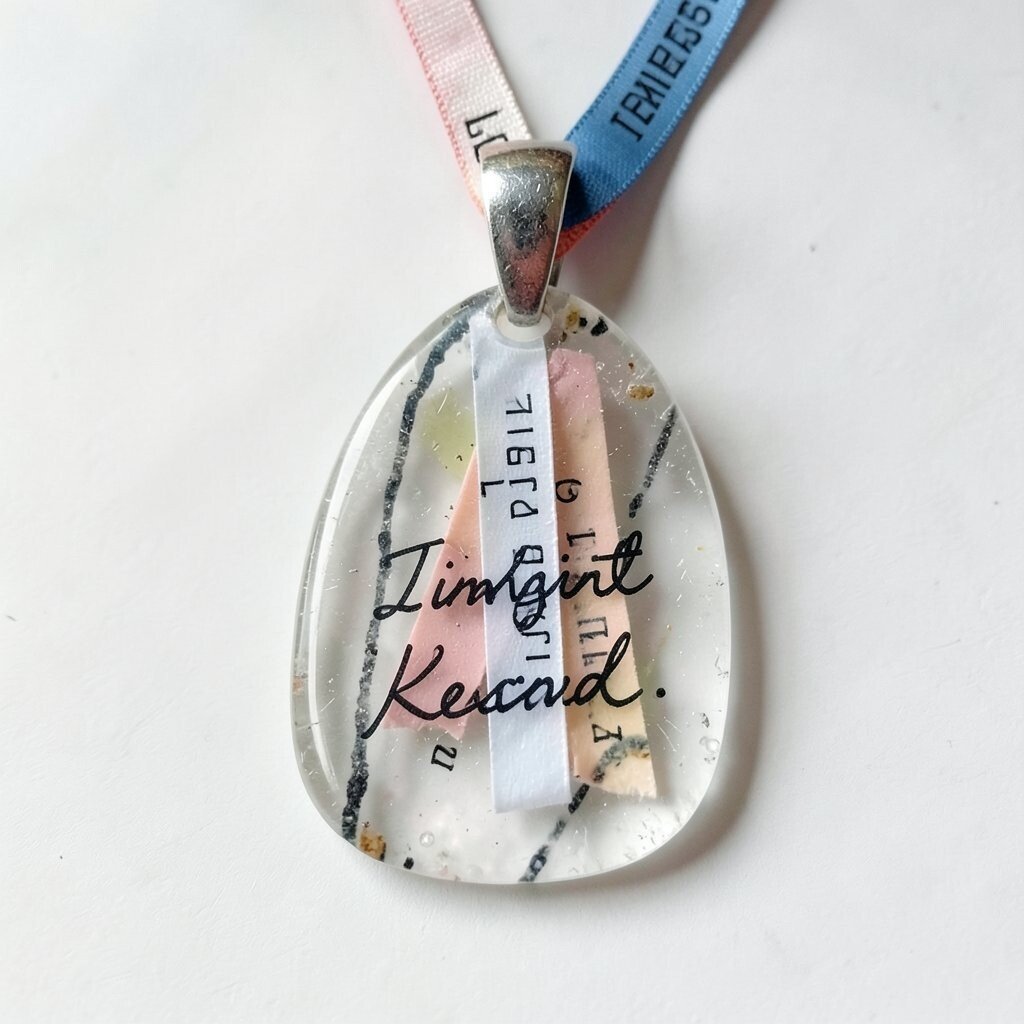
Handwritten elements inside resin create a deeply personal keepsake. A ribbon with a message can turn a pendant into something people hold close.
Use thin ribbon or a slim paper strip and coat it carefully with clear resin so it becomes flexible and sealed. Place the ribbon slightly off-center for visual interest, then pour clear resin to frame it.
To personalize, write short words, names, or a date in resin-friendly ink on the ribbon. This style can fit almost any budget since ribbon and paper scraps are inexpensive compared to decorative add-ons.
Current sentiment favors meaningful jewelry, so a time-stamped message feels in line with what many people want to wear now. Keep your pendant readable by using larger handwriting than you think you need.
18. Geode-Style Resin With Amethyst Color Blocking

Geode pendants look like nature’s crystals and feel instantly eye-catching. With the right color blocking and texture, your resin can mimic the layered look of stone.
Use a geode-inspired mold and start with darker tinted resin at the edges. Add lighter purple and pink layers toward the center, then sprinkle fine glitter or mica to suggest crystal sparkle.
Uniqueness happens when you vary the “crystal” patterns, so don’t copy the same layout every time. For personalization, add tiny gold foil or metallic pigment in select areas for a high-end finish.
Cost considerations depend on your materials, but you can achieve the geode look with pigments and inexpensive mica instead of buying specialty gems. If you keep your glitter use minimal and seal everything well, the pendant will stay clean and durable on a daily chain.