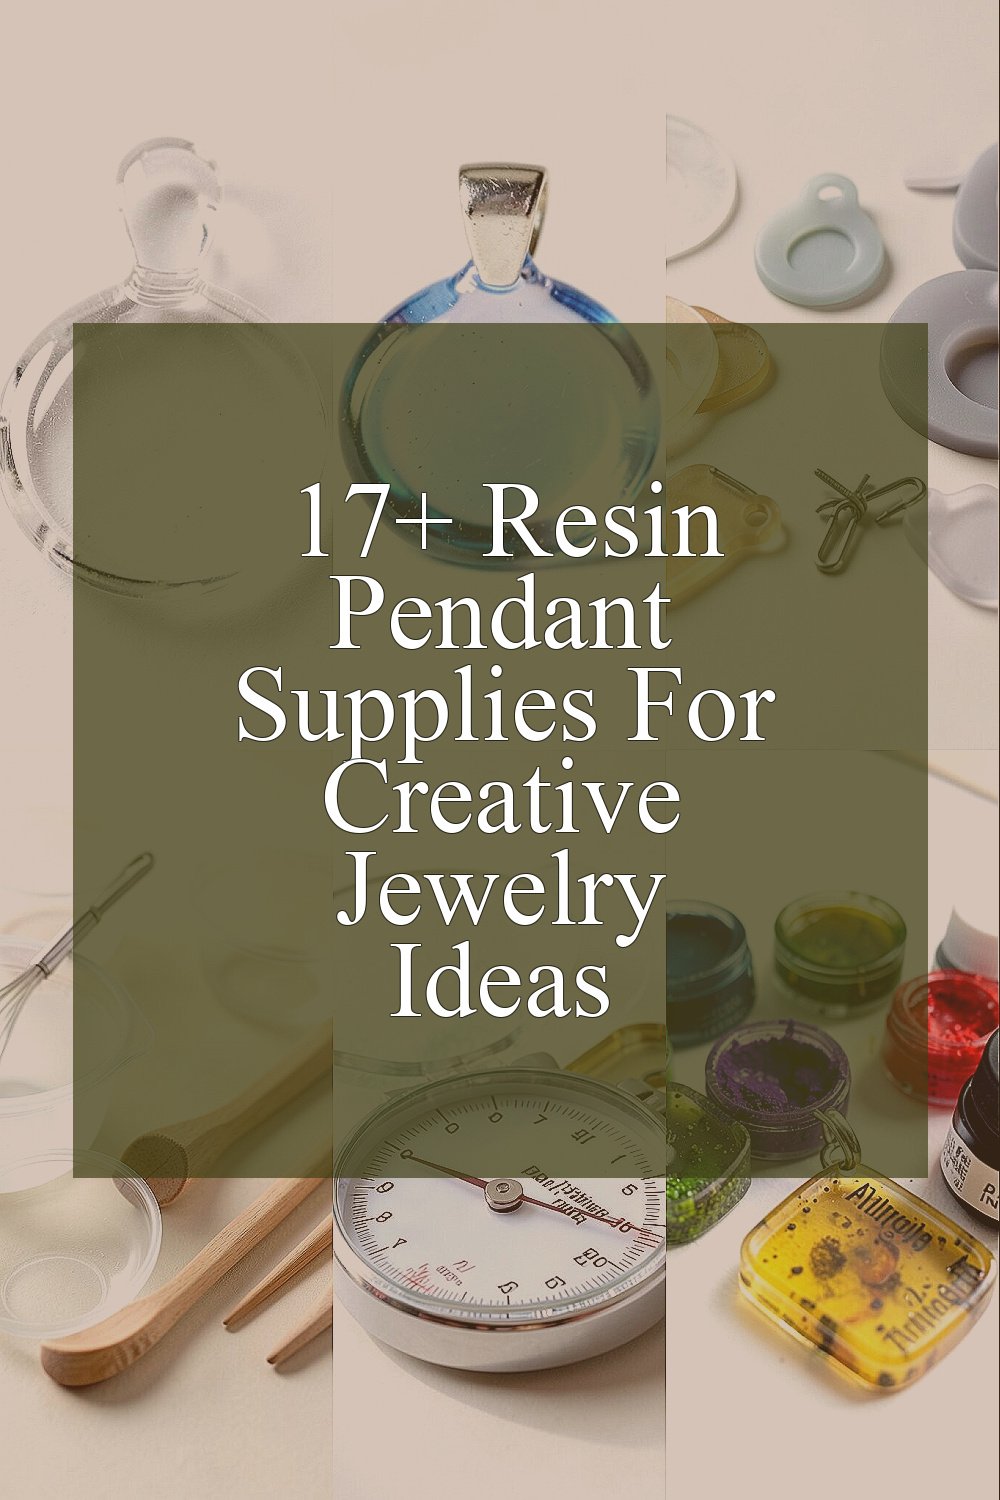
Something magical happens when resin meets your favorite materials. The right supplies make every pendant feel like it was made just for you.
1. High-Quality Clear Resin

You want clear resin that stays glassy and doesn’t turn cloudy after curing. When you pour it, it should look like smooth liquid light pooling in your cup.
Choose a resin that suits your time frame, since different formulas cure at different speeds. Clear resin helps your colors, glitter, and inclusions look crisp and bright, which makes your pendant feel more professional. For practical results, measure carefully and mix thoroughly, scraping the sides and bottom so nothing stays streaky.
2. UV Resin for Quick Curing
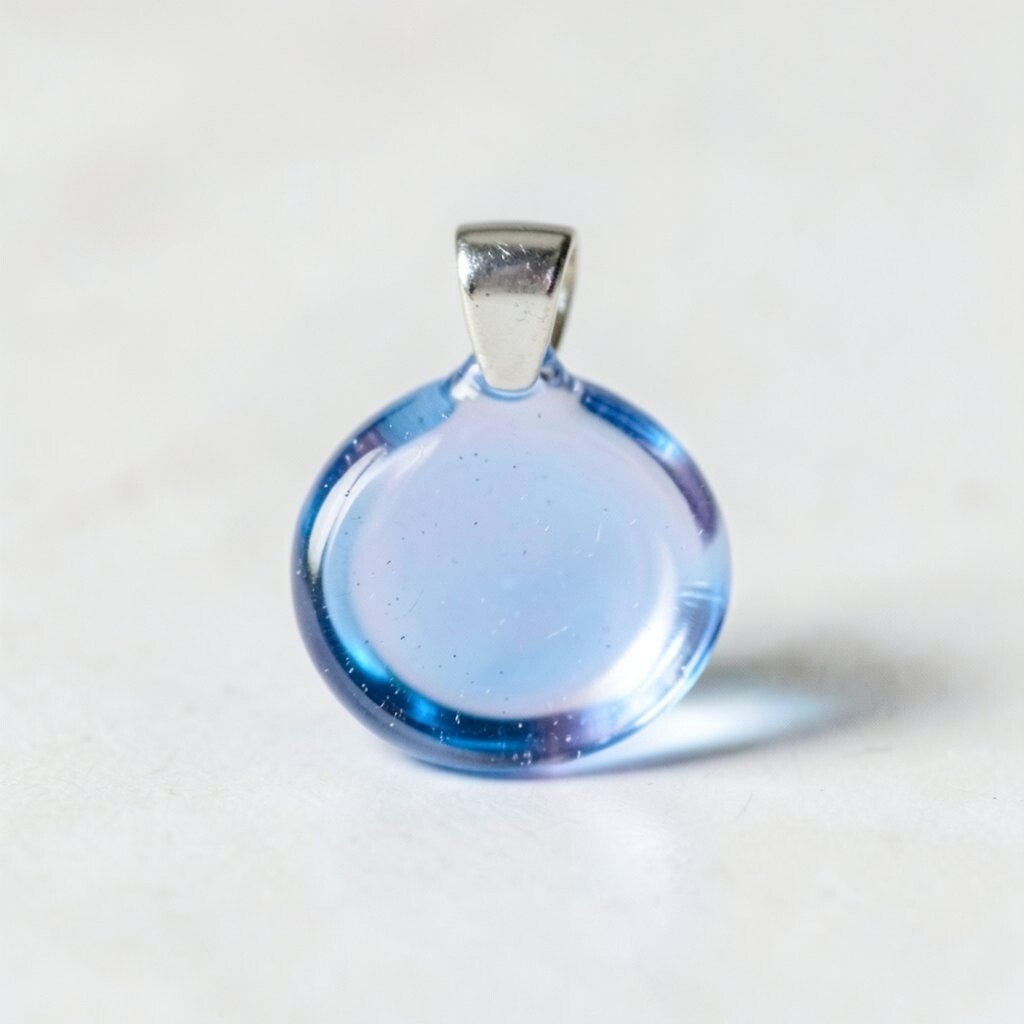
UV resin is perfect when you want speed and clean edges. It looks shiny and thick at first, then hardens under a UV light like magic in fast motion.
It’s also great for small pendants and domes because it lets you build layers with less waiting. To make it personal, you can add a thin color wash, cure, then add more layers for depth. Budget-wise, UV resin kits can be pricier upfront, but the small amounts you use for pendants help stretch your supply.
3. Silicone Pendant Molds

Silicone molds are flexible, so your finished pendant pops out without stress. When resin fills them, the shapes hold detail like crisp artwork.
They also reduce breakage risk because the material flexes instead of snapping. If you want unique results, try molds with swirls, waves, tiny frames, or even letter-like outlines. For cost control, buy a few versatile shapes you will use often, then add specialty molds only after you find your favorites.
For personalization, press in texture with a lightweight stamp before pouring clear resin, then overlay with color. Keep the mold clean and dry, and avoid dust so your pendant surface cures smooth and polished.
4. Mixing Cups and Stir Sticks

Mixing cups and stir sticks might seem simple, but they shape how neat your resin turns out. When you stir slowly and evenly, the resin looks uniform instead of marbled.
Using the right tools helps you avoid sticky spots, weak cures, and wasted material. For practical tips, count your stir turns, and keep each batch consistent for predictable results. Small paper cups are convenient for cleanup, while reusable silicone cups can lower long-term cost if you make jewelry often.
5. Precision Scale for Accurate Ratios

A precision scale keeps your resin ratio consistent, which is key for a solid cure. Even a small change in measurements can make resin soft or cloudy, so accuracy matters.
When your mix is correct, your pendant comes out clear, firm, and ready to wear. To personalize your workflow, weigh small batches for experiments and larger batches only for final pieces. If you’re watching costs, a basic digital scale is usually enough, and it prevents resin from being thrown away after failed curing.
Make it a habit to tare the cup, record the numbers you use, and keep notes for repeatable results.
6. Pigments and Alcohol Inks

Pigments and alcohol inks let you create colors that look like artwork trapped in glass. Swirls of dye can form gentle smoke-like clouds, while fine pigments add bold, solid color blocks.
They also help you match jewelry to outfits without buying lots of beads or stones. For practical tips, start with tiny amounts, since resin coloring can intensify as it cures. To keep things unique, combine one translucent wash with a small dot of a contrasting ink for a “star” effect.
7. Glitter, Foil, and Confetti Flakes
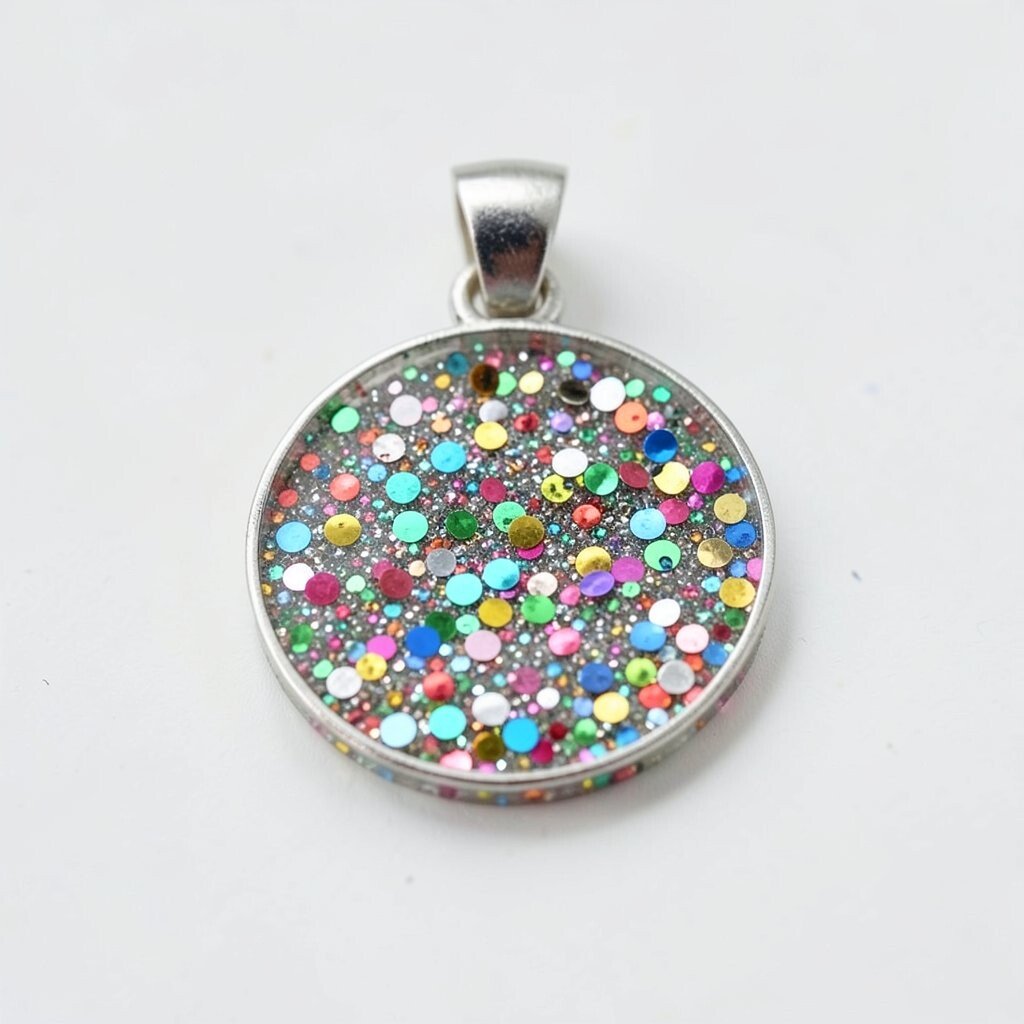
Glitter and foil add instant sparkle that catches light as you move. In clear resin, fine shimmer looks like tiny comets, while foil pieces create bold metallic flashes.
This supply is perfect for statement pendants because it gives instant visual impact even with simple shapes. Keep glitter from clumping by mixing it into resin slowly and evenly. For personalization, choose foil colors that echo your favorite lip shade, nail color, or holiday theme.
If you’re mindful of cost, buy a few high-quality mixes instead of many cheap ones, and use them sparingly for layered depth.
8. Dried Flowers and Herb Sprigs
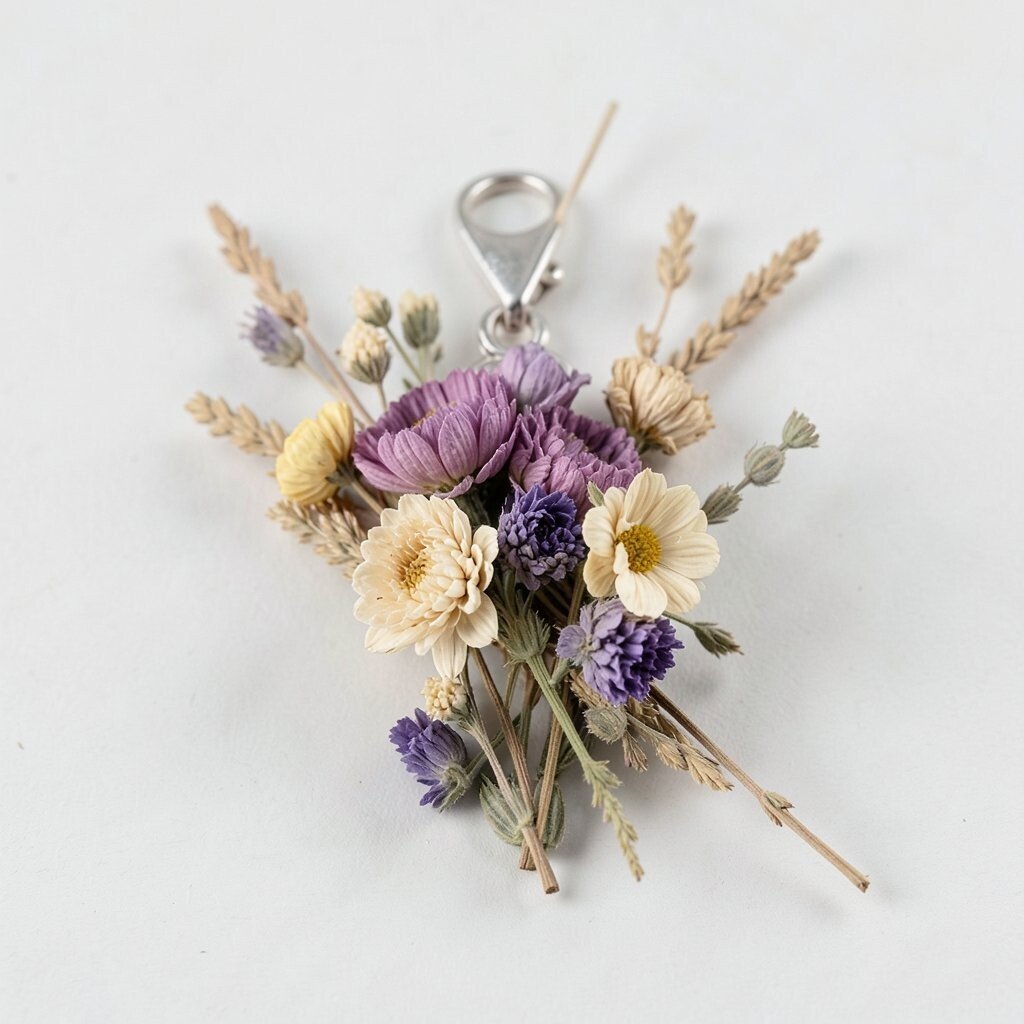
Dried botanicals turn resin into a wearable memory. A delicate petal inside resin can look like it’s floating beneath a clear bubble.
They create a soft, romantic vibe that feels unique in a way store-bought pendants often don’t. For practical tips, press flowers gently and ensure they are fully dry to reduce discoloration. You can also trim stems and arrange petals with tweezers for cleaner compositions.
9. Dried Leaves and Tiny Plant Pieces
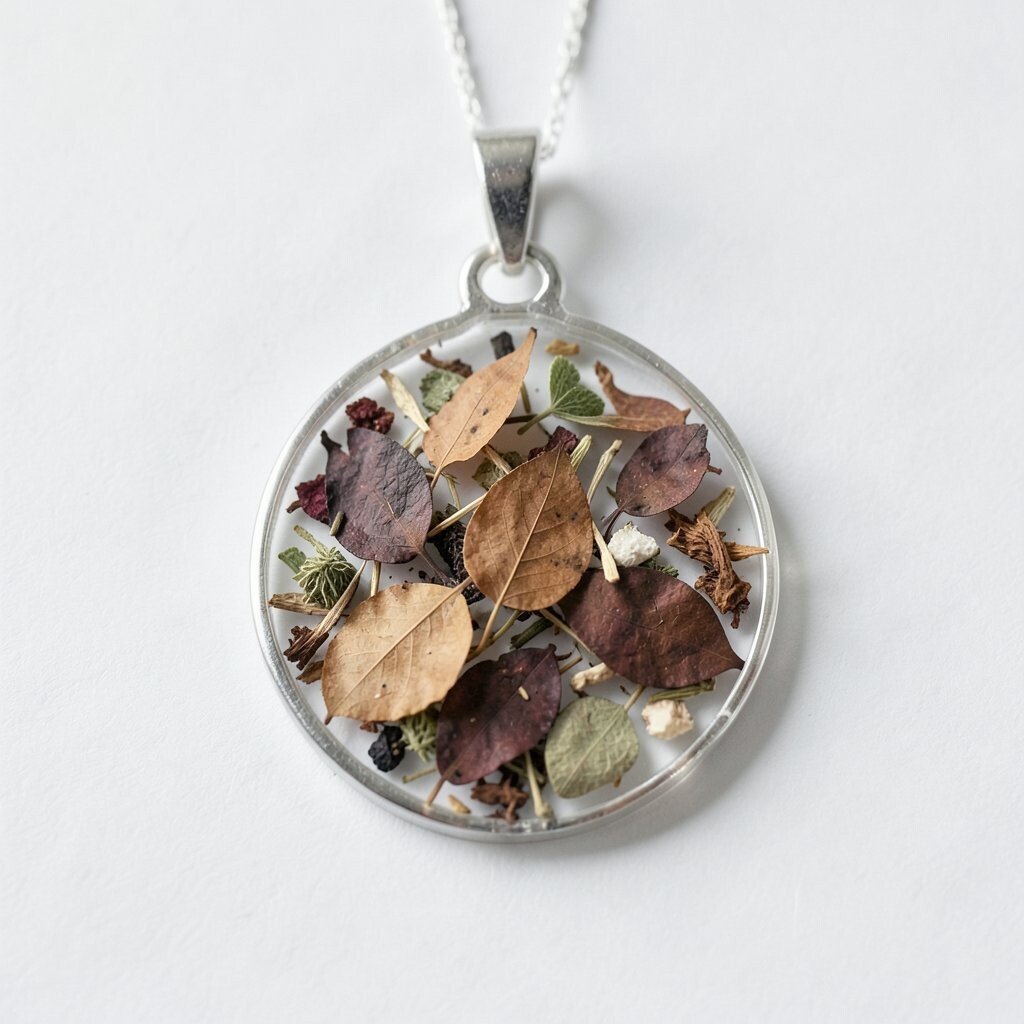
Leaves bring a natural look that ranges from modern minimal to earthy rustic. When you view them through clear resin, their veins can look crisp and detailed.
This supply works beautifully for themed pieces like forest-inspired charms or autumn color pendants. To get better results, choose thin leaf fragments so they sit flatter and cure smoother. For personalization, layer green shades with a touch of gold glitter to mimic warm sunlight on leaves.
Budget-wise, you can save money by collecting and drying your own leaves, then only buying occasional specialty botanicals for variety. Just be careful to clean and dry items thoroughly before sealing them in resin.
10. Sequin Bits and Mini Fabric Scraps
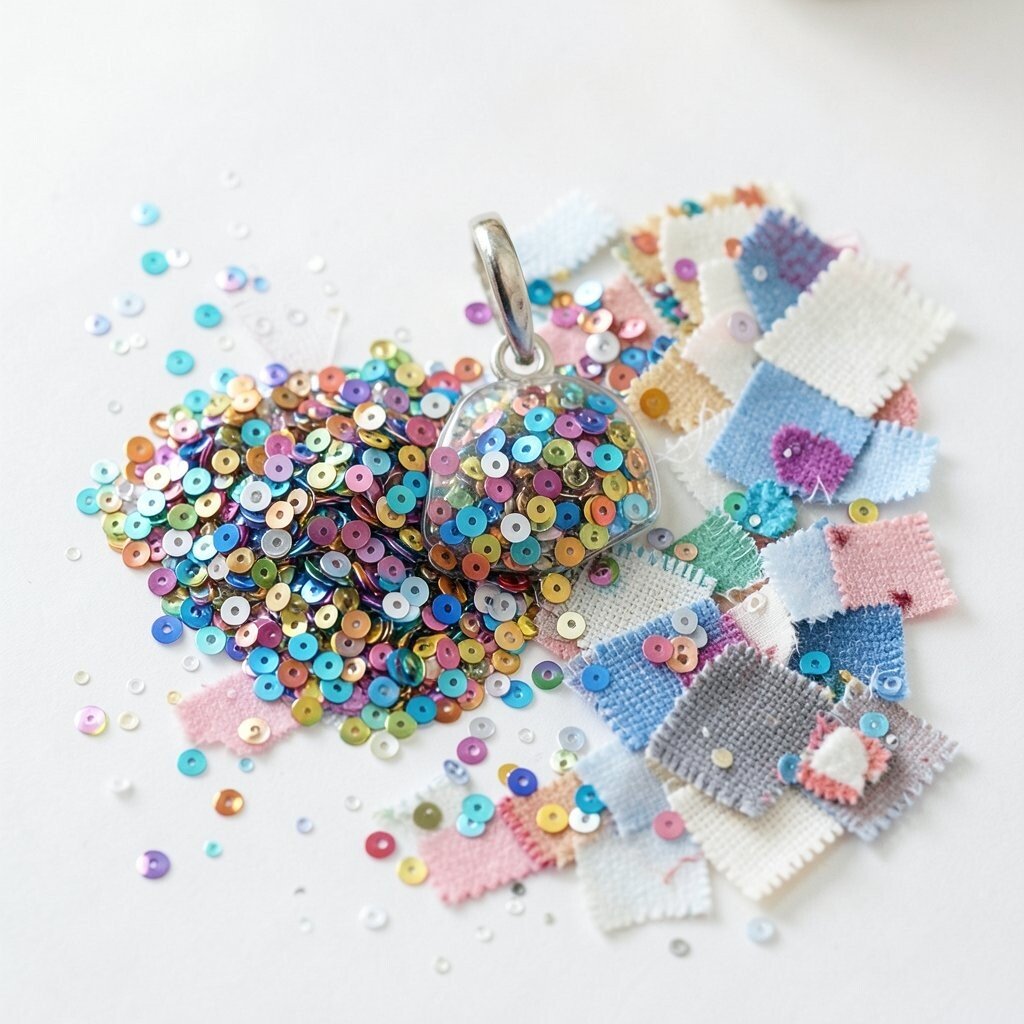
Sequin bits and fabric scraps can create texture that feels playful and bold. In resin, tiny fabric pieces can look like colorful tiles, especially when they catch light at different angles.
This is a great choice when you want a pendant that looks different from everyone else’s. Trim fabric into small shapes, then seal them under a thin first layer to prevent bubbles. If you want a balanced look, use one main color fabric and keep glitter accents limited so it doesn’t overwhelm the design.
11. Pearl Drops and Mini Beads for Layered Sparkle

Pearl drops and mini beads add subtle shine that looks elegant. When suspended in resin, beads can create tiny highlights that move as your pendant shifts.
They’re also easy to work with, which makes them great for beginners building confidence. Use a toothpick or craft pick to place beads exactly where you want them, then pour a careful second layer for depth. For personalization, mix bead colors to match a birthstone palette or favorite theme colors, and vary bead sizes for a custom look.
12. Resin-Friendly Charms and Cutouts
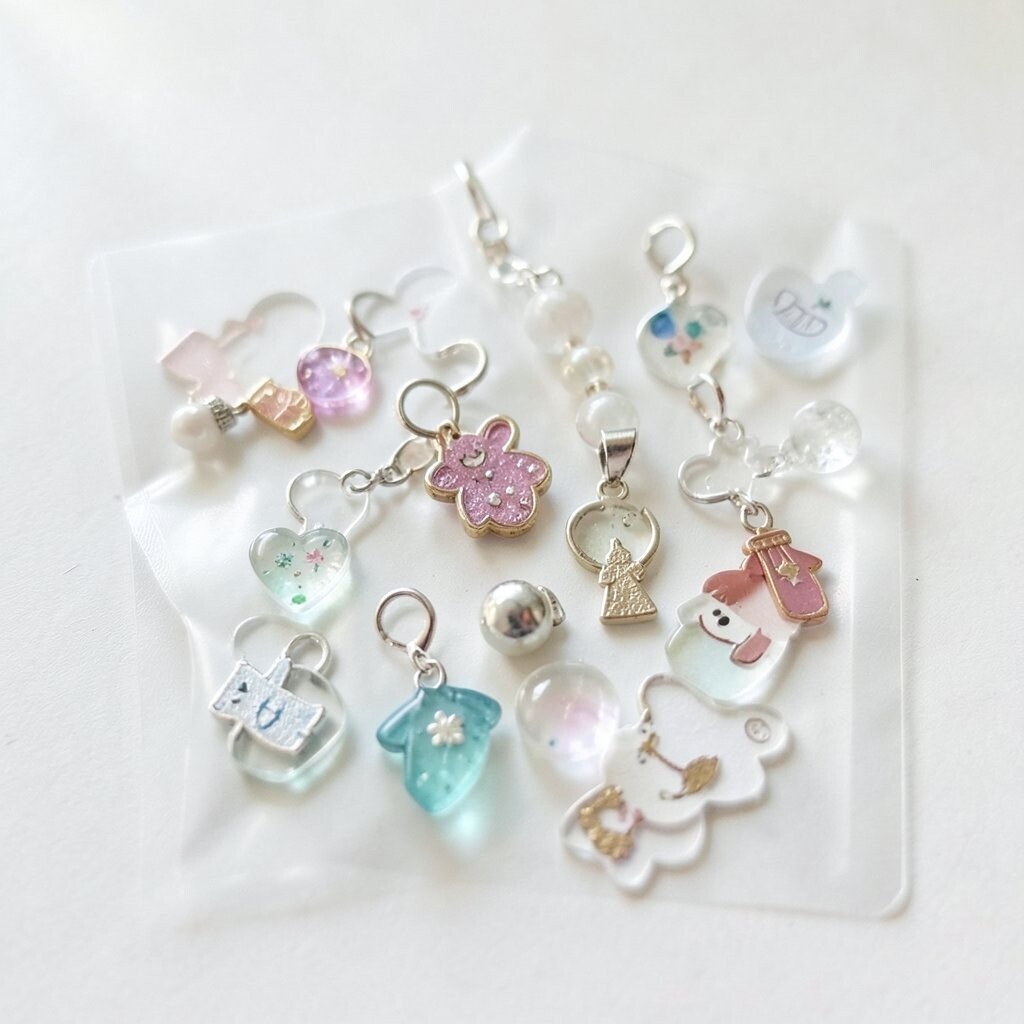
Resin-friendly charms and cutouts let you build a pendant with a clear theme. A small star, heart, or geometric piece can look like it’s floating inside your final design.
This supply helps you create meaningful jewelry faster because the focal point is already shaped. For practical tips, check that cutouts are thin enough so they don’t press against the mold and create uneven surfaces. You can also lightly sand shiny pieces so resin grips better and your pendant cures cleaner.
Cost-wise, a small pack of mixed charms can last a long time when you use only one or two per pendant. Pick charms that match your style, then repeat a color system so your collection feels cohesive.
13. Letter Inserts and Number Shapes

Letter inserts and number shapes make personalized pendants that feel special right away. Seeing a name or date trapped in clear resin can turn a simple pendant into a keepsake.
They’re great for gifts because you can match the meaning to the person you’re making it for. For practical tips, choose letters that are thick enough to avoid warping and place them flat so resin covers them evenly. Personalize with a color gradient background, then keep the letter insert color solid for readability.
14. Epoxy Resin Pigment Powders and Color Drops

Color drops are user-friendly, while pigment powders offer more control for bold shades. When mixed in small amounts, they create rich tones that still look translucent and light-catching.
This is a smart option for artists who want consistent results across multiple pendants. Use the same drop count or pinch size to keep a collection matching, especially if you plan to sell or gift them. For practical tips, test a tiny sample first, since powder pigments can settle if not mixed well.
Budget considerations matter here too, because pigment powders can last longer than many pre-made color sets, especially if you use them sparingly and mix them into clear base.
15. Heat Gun or Torch for Bubble Removal

Air bubbles can ruin the smooth look of a pendant, but a heat gun helps fix it quickly. When you gently warm the surface, bubbles rise and pop, leaving a glassy finish.
This small step makes your pendant look more polished and professional, even if your design is simple. Practice on a scrap pour first, because too much heat can affect certain pigments or cause uneven curing. For personalization, you can leave controlled tiny bubble patterns for a “seaspray” style, then smooth most bubbles for a clearer look.
16. UV Light or Curing Station Accessories
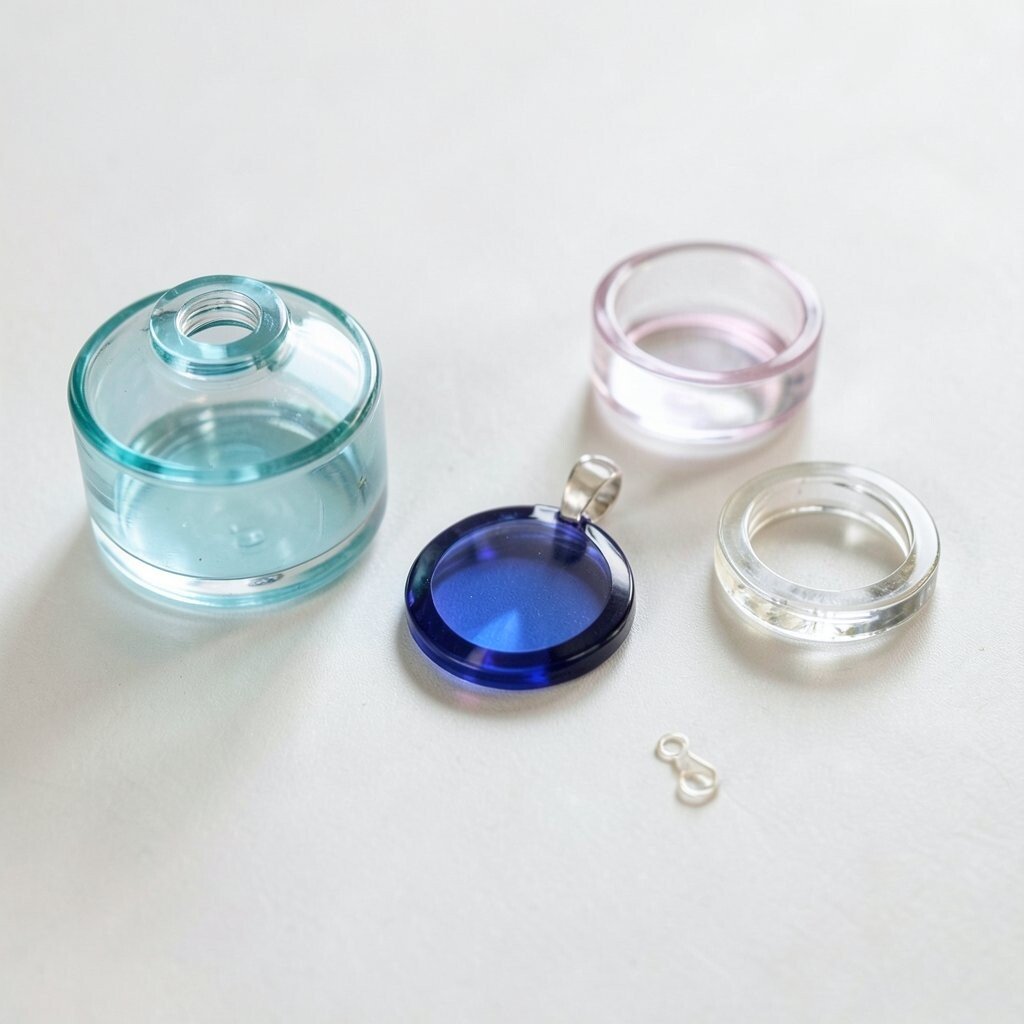
A reliable UV light keeps curing consistent, especially for UV resin. With the right setup, your pendant surface cures evenly instead of tacky or patchy.
This matters because uneven curing can lead to soft spots or dull shine over time. Keep your light at the recommended distance and cure in measured time chunks to help layers harden properly. If you’re cost-conscious, look for a basic curing station that fits your mold size, then upgrade later only if your work grows.
17. Jewelry Bails, Chains, and Clasps
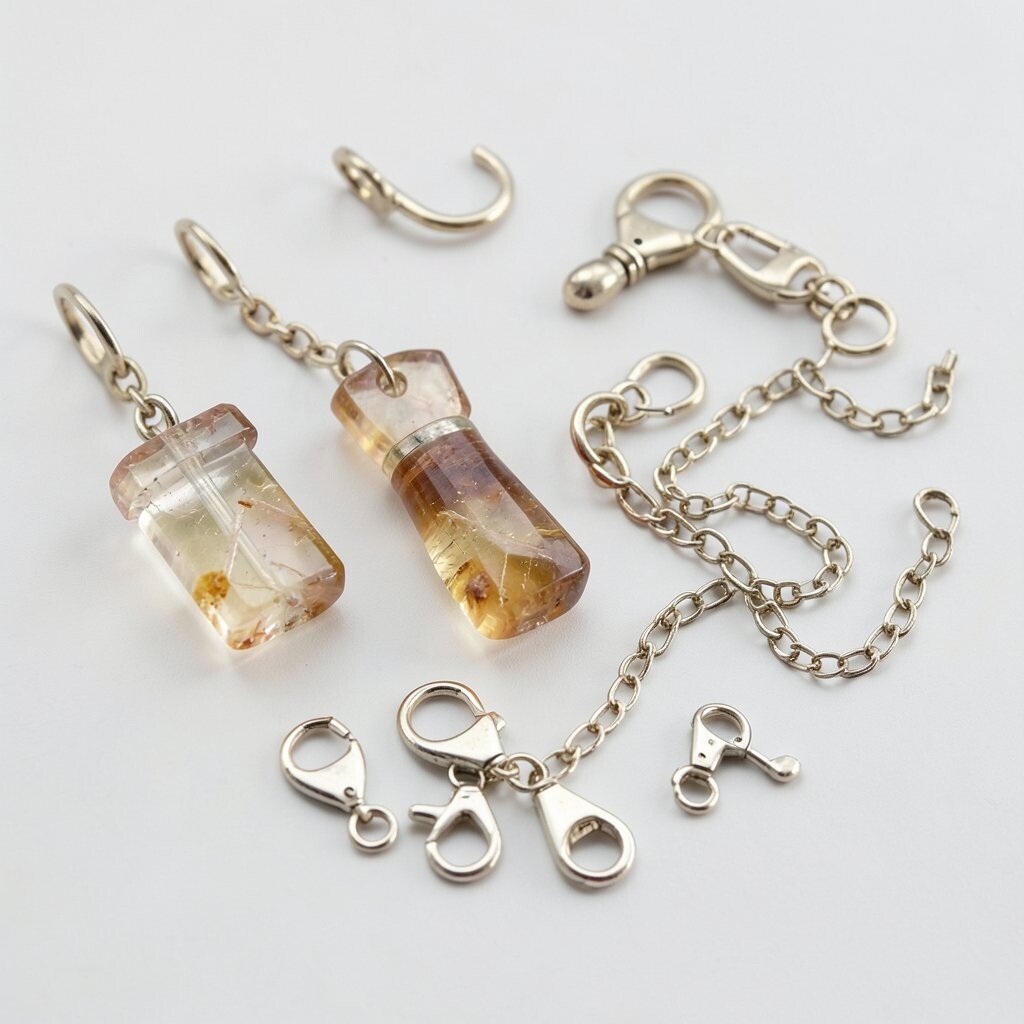
Beautiful resin deserves matching hardware, and bails help your pendant hang securely. A well-fitted bail keeps the resin piece centered, so it feels balanced when you wear it.
Choosing strong jump rings and a comfy chain also improves daily wear comfort. For practical tips, rough up the top surface lightly before attaching when needed, so glue or resin adheres better. Personalization is easy here too, because you can switch chain styles from delicate to chunky to match your mood and outfit.
18. Finishing Supplies Like Sandpaper and Polishing Compound
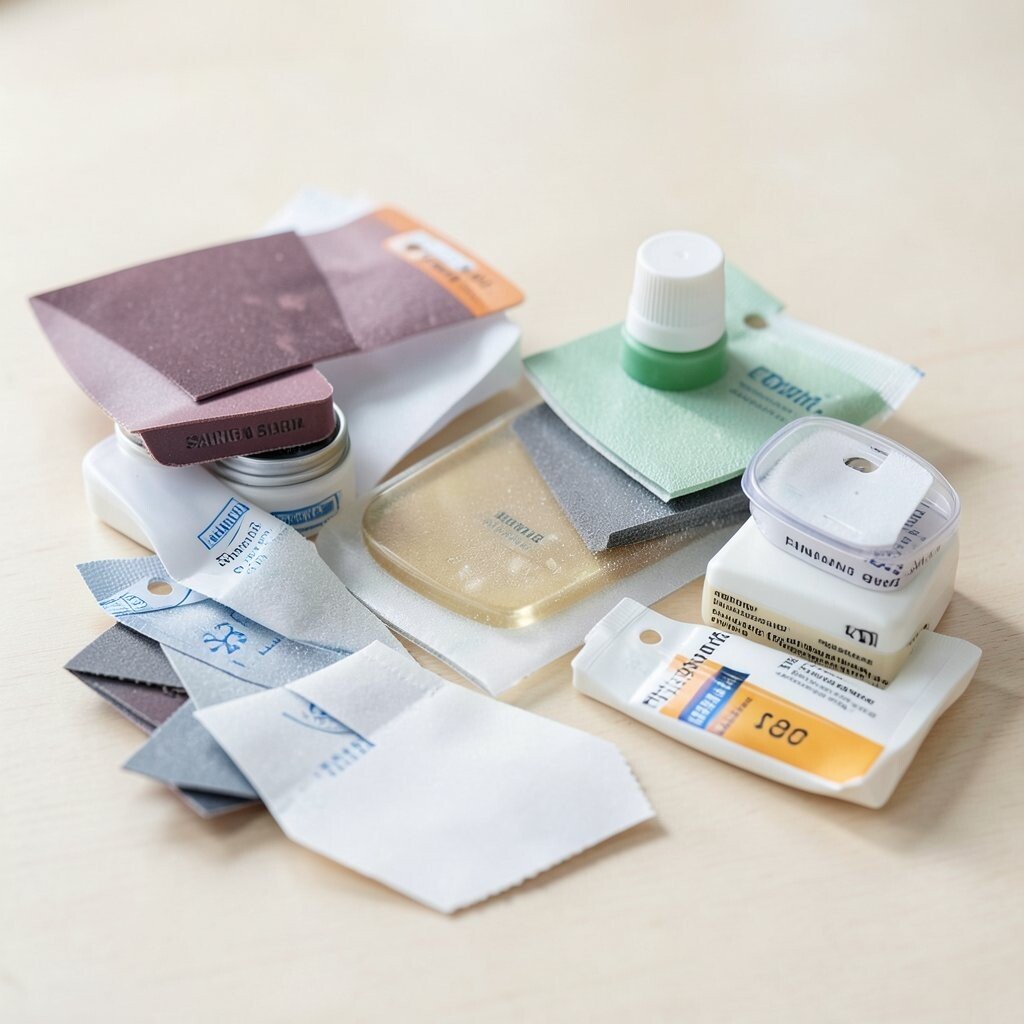
Finishing supplies make the difference between “homemade” and “wow.” After curing, light sanding can smooth edges, and polishing compound can bring back that deep glossy shine.
This helps protect your pendant surface from tiny scratches and improves the way light reflects through resin. Use gentle grit steps and wipe away dust thoroughly before you polish. For cost considerations, you can get a simple sanding kit and polishing cloth, then use them across every pendant you make, which makes them a smart long-term investment.
For personalization, consider a satin finish for a soft, modern look on textured molds, then leave clear shiny highlights only on smooth areas.