
The woods can feel like a warm secret when you plan the right details. A wooden signpost adds direction, charm, and personality in a single stroke of craftsmanship.
If you want a rustic forest wedding that feels inviting from the first moment, the ideas below will help you shape a look that guests instantly understand and love.
1. Wooden Signpost Welcome by the Driveway
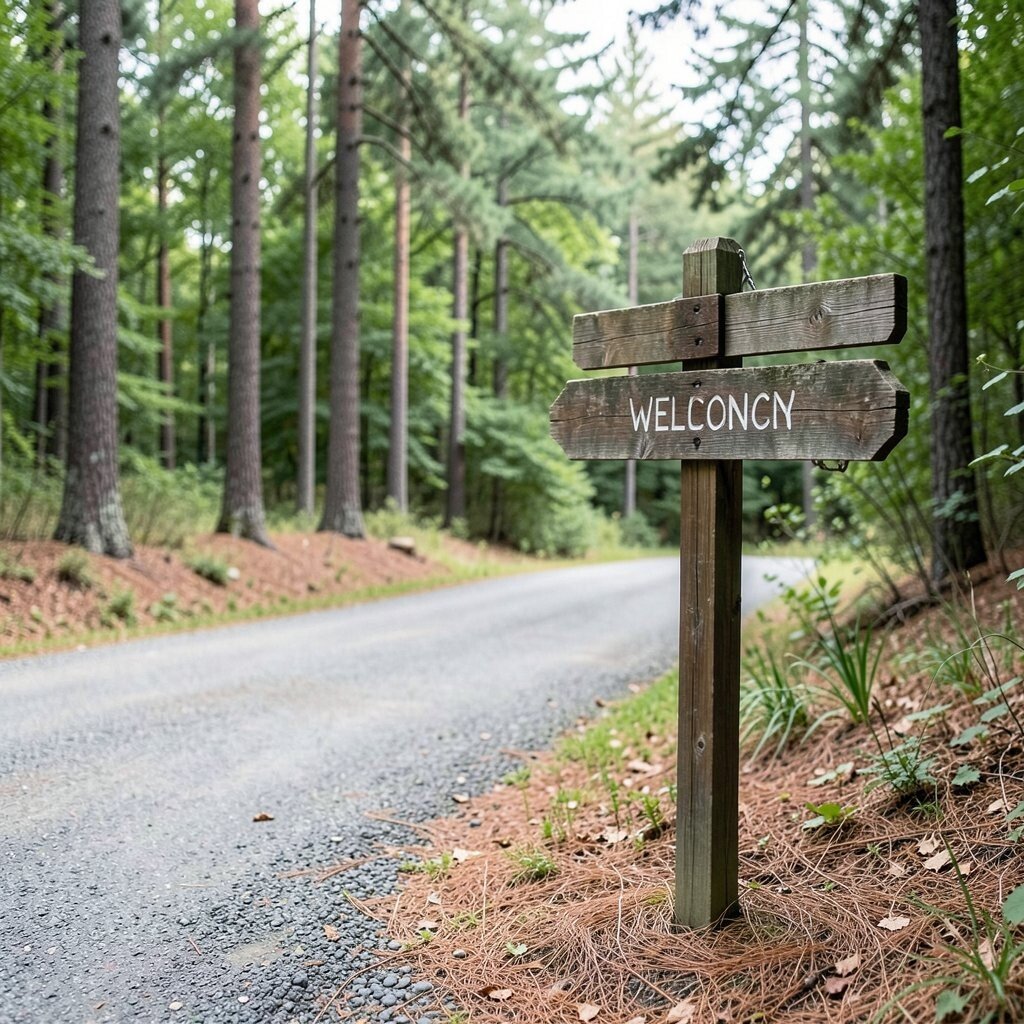
Place a sturdy wooden signpost right where guests turn in, so it feels like the story begins at the gate. Paint simple lettering or add a burned-wood message that tells people where to park, walk, or gather.
For the visual effect, think about weathered grain, soft shadows from late afternoon sun, and a little moss near the base. This keeps the vibe grounded while giving guests an easy benefit, because they won’t wonder where to go.
2. A Hand-Lettered Ceremony Direction Walk

Make a short walking path feel special with a line of small signs spaced along the route. Use arrow markers carved into wood, or hang tags from wooden stakes that sway gently in the breeze.
Your guests will feel guided instead of rushed, especially if the venue is spread out. Today’s trend favors minimal messaging, so you can keep it simple with “Ceremony” and “Reception” while letting greenery do the rest.
Personalize the language with inside details like your favorite nickname or a date burned into a side plank. If budget matters, create a few reusable sign shapes and swap only the top inserts before each event.
3. Rustic Frame Seating Area with Natural Wayfinding

Set up a seating zone in front of the ceremony with a wooden frame or arch made from straight branches. Add a signpost nearby that points to where guests should sit, with a small list of “first row,” “aisle,” or “access seating” if needed.
The look will be warm and grounded, like a photo backdrop that lives in real life. Guests get an easy benefit because sightlines improve when everyone knows where the center aisle starts.
This setup is unique because it combines direction with decor, so the wooden signpost feels like part of the design rather than a separate item. To keep costs reasonable, build the frame from inexpensive lumber and cover it with natural twine and greenery you can reuse.
4. Welcome Sign with Seasonal Forest Colors

Choose a welcome design that matches the time of year, then let the forest do the color work. In fall, pair dark walnut wood with copper paint and dried leaves; in spring, go lighter with sage accents and fresh sprigs.
It’s visually rich and comforting, and it helps guests feel like the day fits the place. Keep the personalization playful by adding a small carved heart or your initials near the bottom.
5. Escort and Table Number Signs in Matching Wood
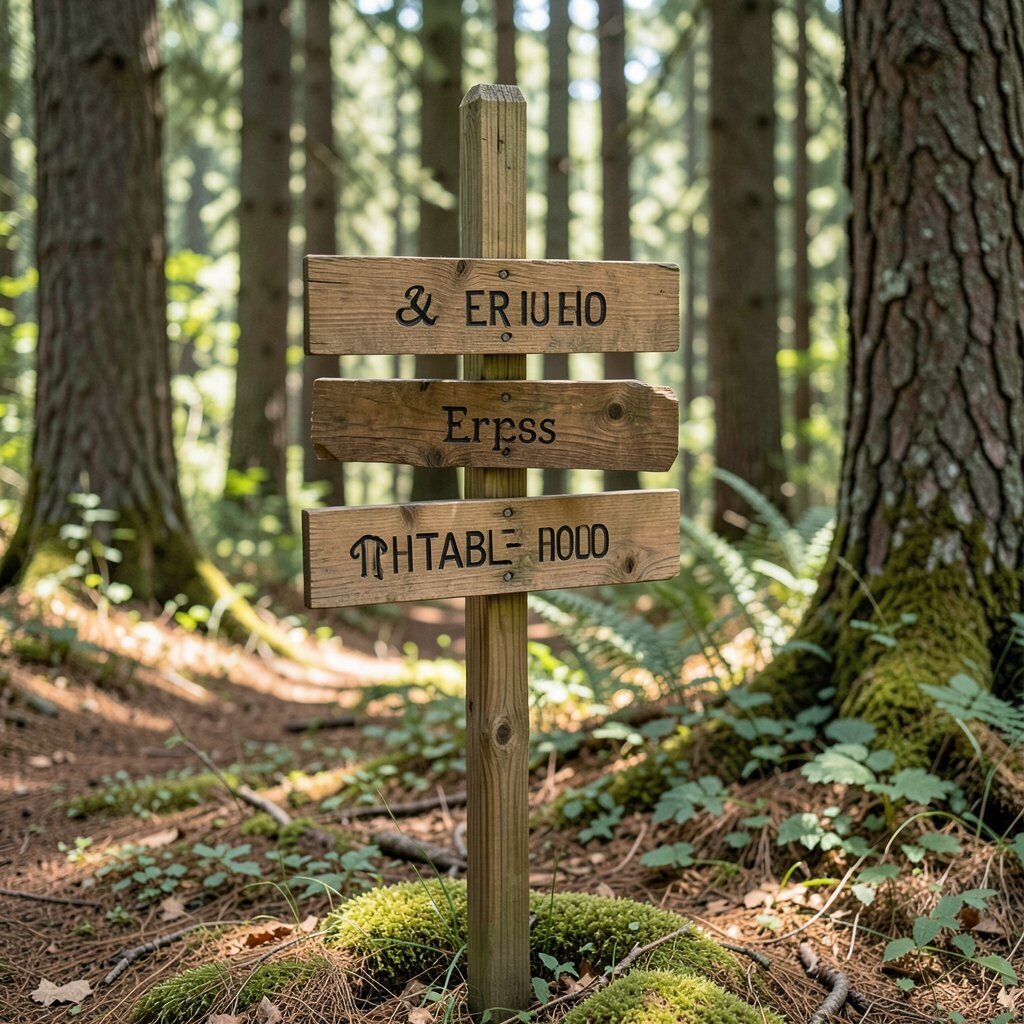
Create harmony across the whole event by using the same wood tone and lettering style for escort and table signs. Guests notice when everything looks coordinated, and it makes the night feel thoughtfully planned.
Turn the practical job of seating into a fun moment by adding tiny icons, like a leaf for table names or a small pinecone symbol for each number. A cost-friendly approach is to make fewer designs and duplicate them with simple changes in the wording or engraving.
If you want a current look, keep typography clean and let the grain show through, rather than covering everything with thick paint. This keeps the signs rustic but still crisp in photos.
6. Ceremony Aisle Markers That Look Like Trail Markers
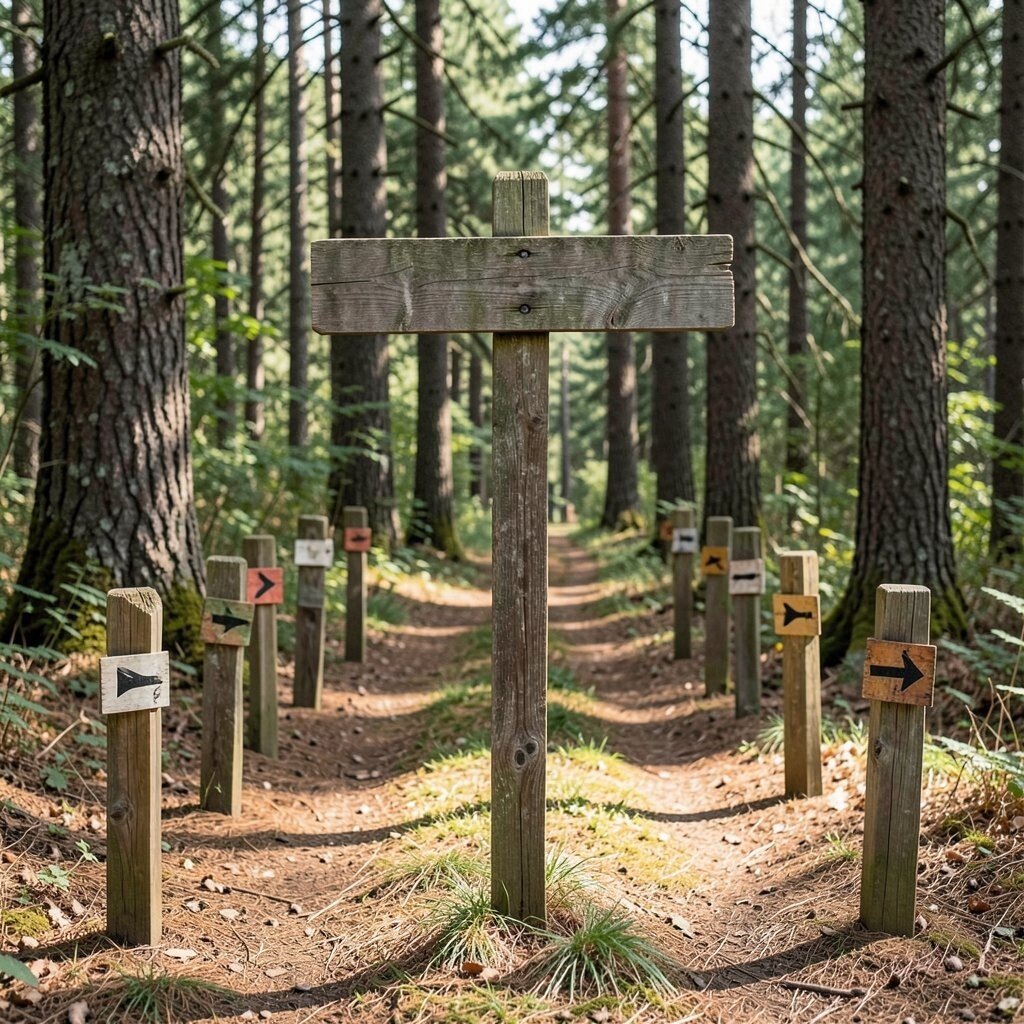
Place small wooden markers along the aisle to mimic forest trail posts. They can be flat plaques on stakes or rounded tags tied to short posts, and they’ll look great in aisle photos.
Guests benefit because the markers gently nudge attention toward the front without needing loud directions. This idea also feels unique because it turns wayfinding into atmosphere, making the ceremony path feel intentionally designed.
7. Map-Style Wooden Sign with Simple Loop Directions
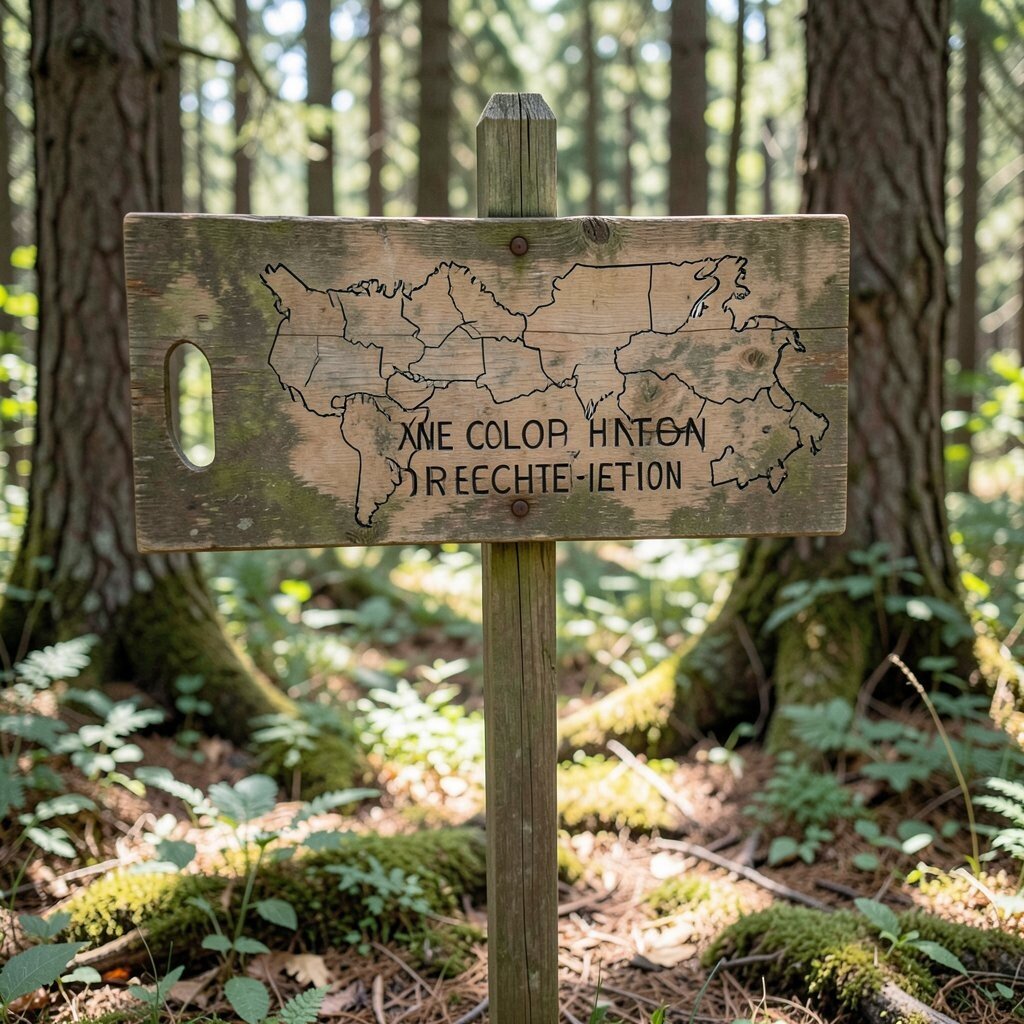
Offer a simple “how to move around” map using wood boards arranged like a small folding guide. Keep lines minimal and use arrows, so it reads quickly even on windy days.
People love understanding the layout, especially if they’re visiting a larger property or outdoor space. For practicality, place the map near the signpost welcome area and add a small note about restrooms, parking overflow, or accessibility.
8. Photo Opportunity Signpost with a Hanging Nameplate

Build a signpost that also acts like a photo spot by attaching a hanging nameplate over a flat base. Guests can stand near it, and the wooden texture will frame faces in a naturally rustic way.
Make the design personal by adding your wedding year in a carved style or a simple phrase that feels like you. Today’s trend leans toward meaningful “micro moments,” so a sign that doubles as a backdrop feels current without being overdone.
9. Seating “First Look” Sign for Early Arrivals

For guests who arrive early, place a wooden signpost that points to a cozy seating or mingling area. Use warm words that feel like a gentle invitation, such as where to grab a drink or where the guestbook table sits.
This is visually calming because the signpost becomes a landmark rather than a cluttered object. The benefit is smoother flow, since people naturally gather in the right spot instead of clustering randomly.
Uniqueness comes from adding small forest details, like a tiny cluster of dried lavender or a ribbon tied through the post for scent and charm. If you’re trying to keep costs down, use a single signpost style and swap the message for different segments of the day.
10. Wooden Bar Sign with Distinctive Drink Names
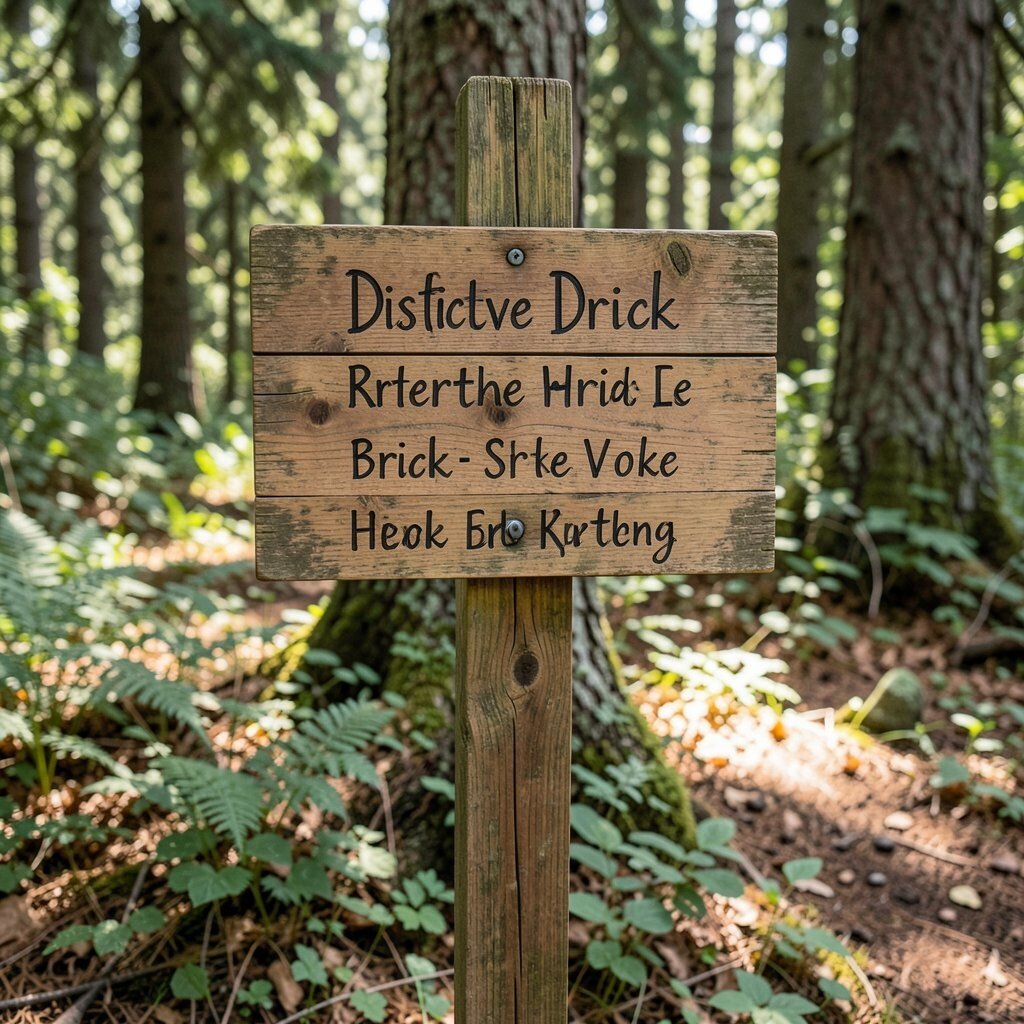
Turn the bar into a destination by adding a wooden signpost or bar board with your drink list. Keep it rustic with wood-burning or paint pens, and match the font style to the welcome sign.
Guests enjoy the clarity, because they can order quickly without asking every time. Add uniqueness by naming signature drinks after your story, like a “First Trip” mocktail or a “Forest Night” cocktail.
11. “Find Your Seat” Sign with Easy Accessibility Directions
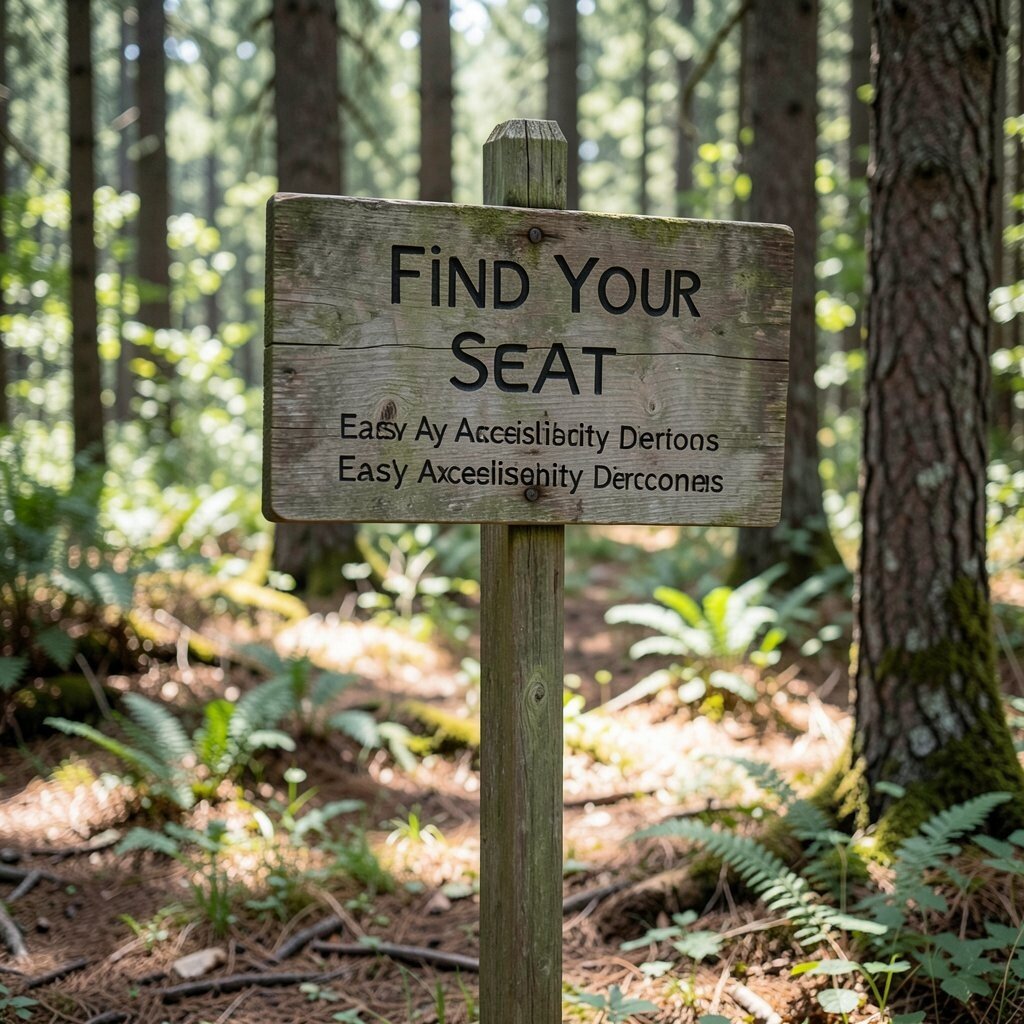
Include a sign that points to accessible seating, restrooms, and any route with fewer obstacles. Use friendly wording and big arrows, because outdoor events can be harder to read when the ground is uneven.
The benefit is real comfort, and it helps everyone feel cared for. Personalization can be as simple as adding your initials and date discreetly on the back so it still feels like decor.
12. Rustic Table Map Board with Weathered Barn-Wood Look

Use a larger wooden board as a table map so guests can find their tables fast. A weathered barn-wood look fits a forest theme perfectly, and it blends with the signpost style.
To keep it practical, place it near the walkway where guests naturally slow down, like by the entrance to the reception. If you’re watching costs, paint over an inexpensive wood panel and seal it for durability, then reuse it for future events by swapping the table numbers.
13. Escort Card Post with Mini Tags on Twine
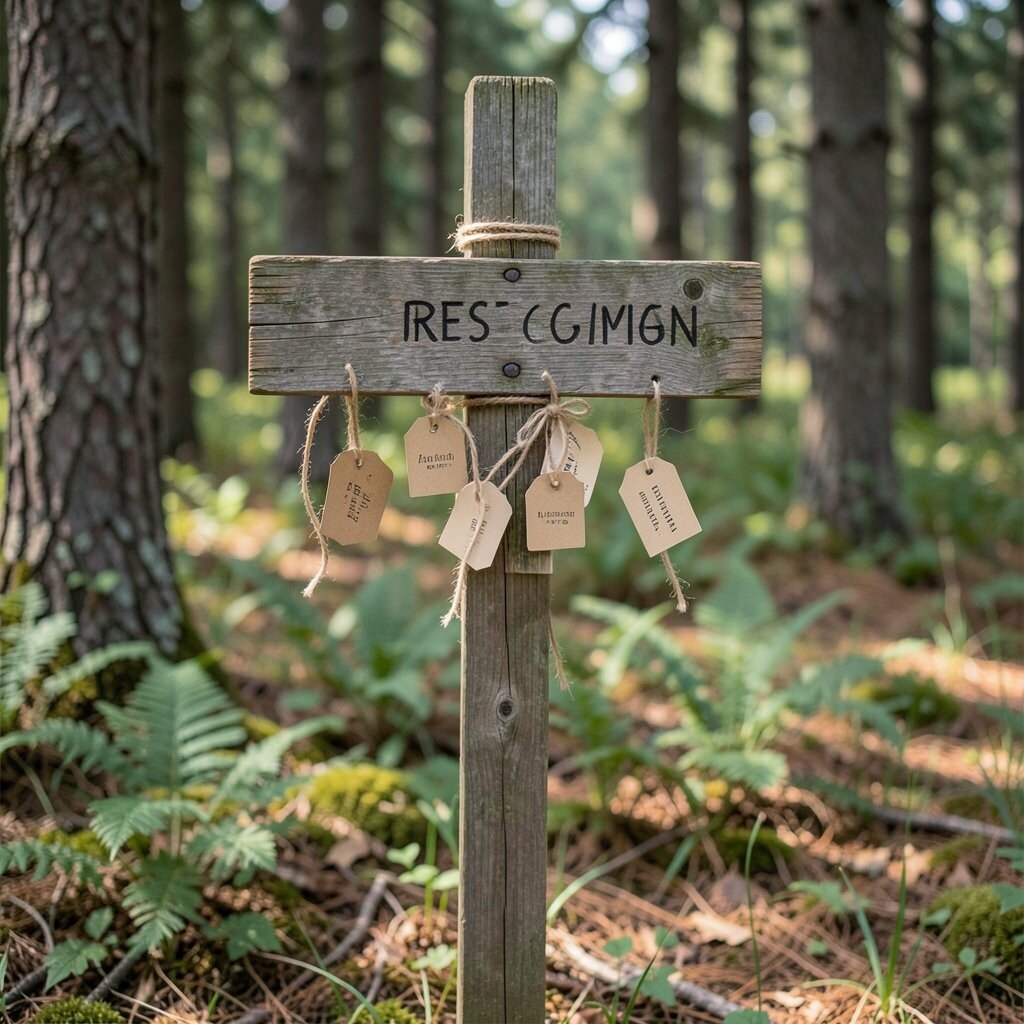
Create an escort card feature that feels like a forest breeze, using mini wooden tags clipped along twine. Attach each tag to a small signpost stake so guests can scan names quickly.
Visually, it looks airy and light, especially when you add subtle greenery draped around the stakes. Guests benefit because cards are easy to find, and it cuts down on waiting while keeping the mood fun.
For personalization, add a tiny symbol next to each name that matches their table theme or favorite detail from your story. This is also unique because it turns a simple administrative task into a keepsake-like moment.
14. Ceremony Exit Signpost with Celebratory Arrows
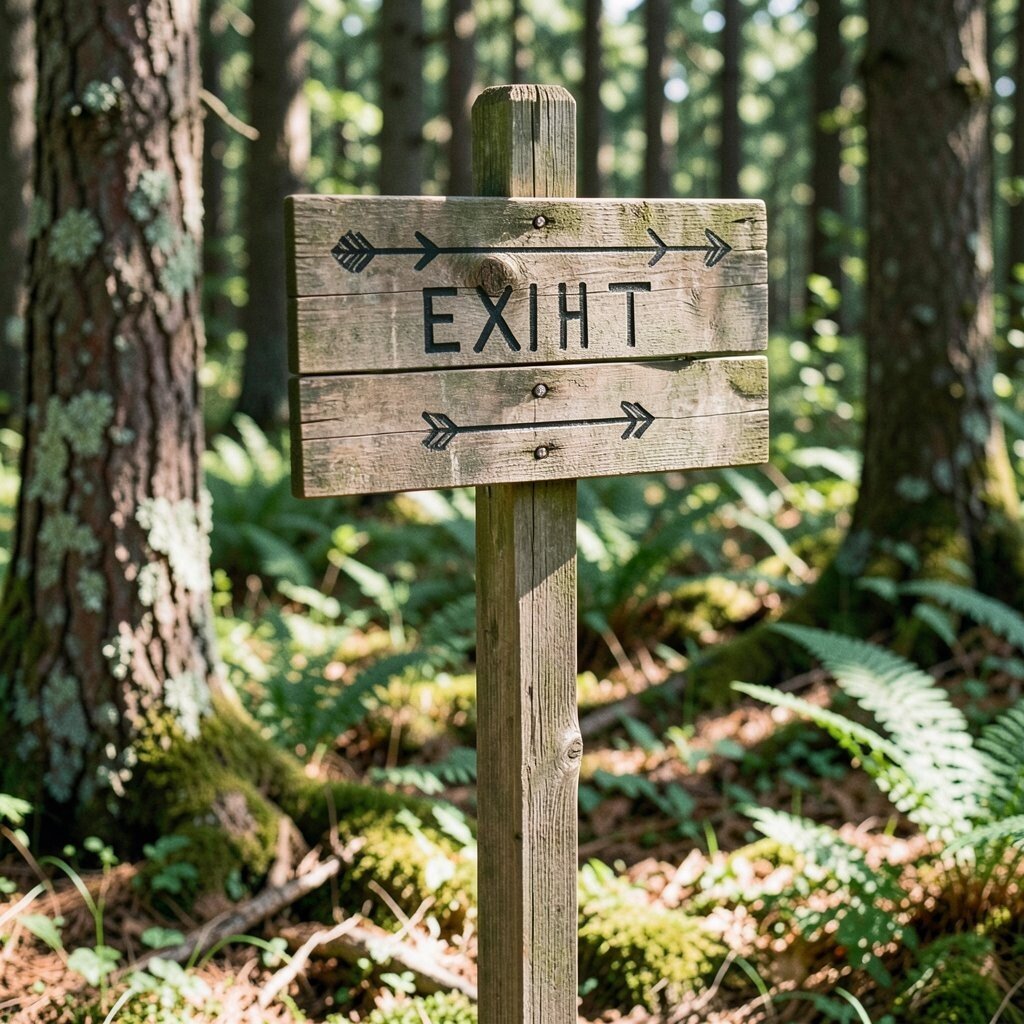
Plan the moment right after vows with an exit signpost that points toward the celebration spot. It can be as simple as “Continue the Joy” with arrows to the cocktail area, or you can add “Hugs This Way” for a playful tone.
This setup gives guests a clear next step, which improves the flow and keeps photos from getting chaotic. It feels unique in a way that standard signage doesn’t, because it marks the emotional shift from quiet to joyful.
15. Wooden Signpost with Hanging Lanterns for Night Lighting

When the sun dips, hanging lanterns can make your rustic signpost glow like a campfire. Use warm bulbs or battery tea lights inside lanterns and keep the wiring hidden behind the post.
The visual effect is dreamy, with flickering light reflecting off the wood grain. Guests benefit because it boosts visibility for pathways and keeps everyone safely guided after dark.
16. Kids’ Corner Trail Markers with Small Wooden Signs
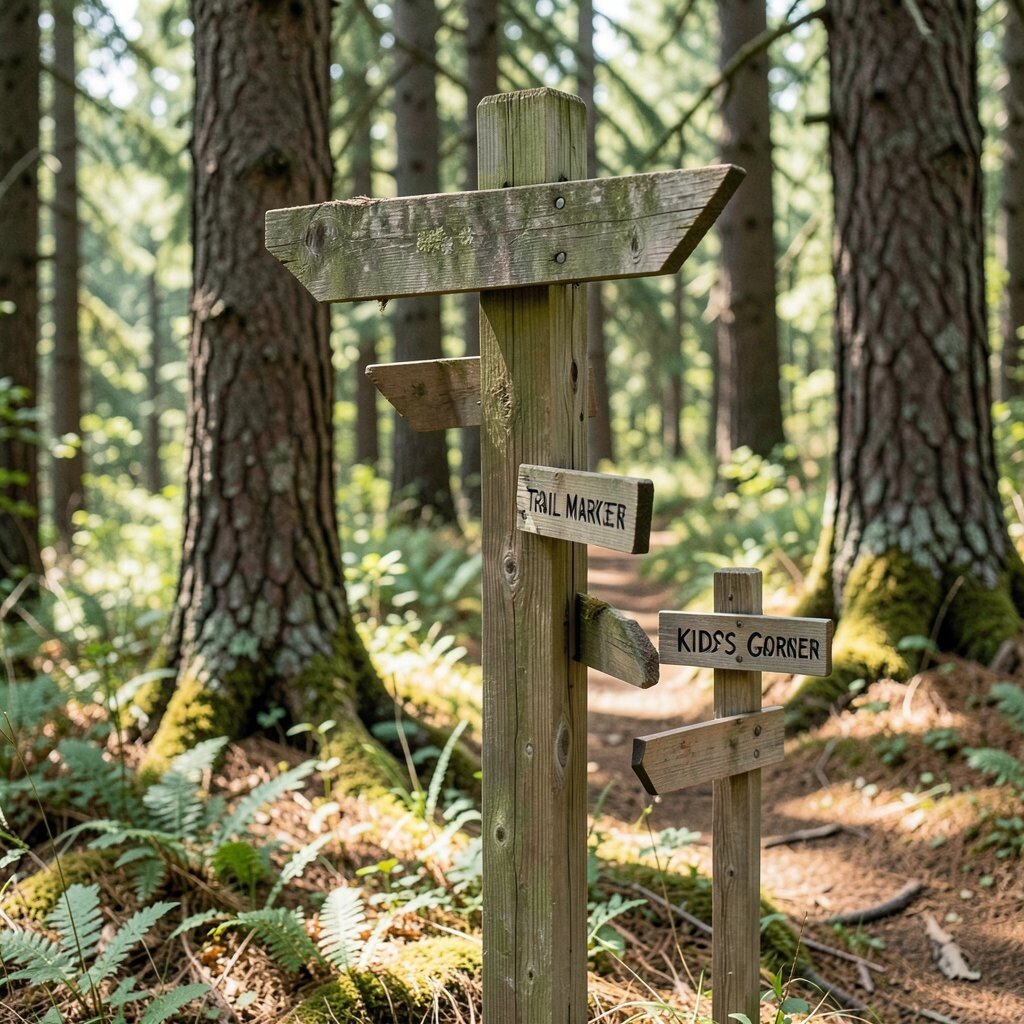
If you’re welcoming little guests, add a kid-friendly corner and point to it with small wooden trail markers. Keep messages short and upbeat, and consider adding a simple “Art Here” or “Games This Way” arrow.
This helps parents relax, since they know exactly where to take their children. Personalization can include your favorite family characters in burned wood style, which keeps it rustic instead of cartoonish.
17. Botanical Border Signs Along the Pathway
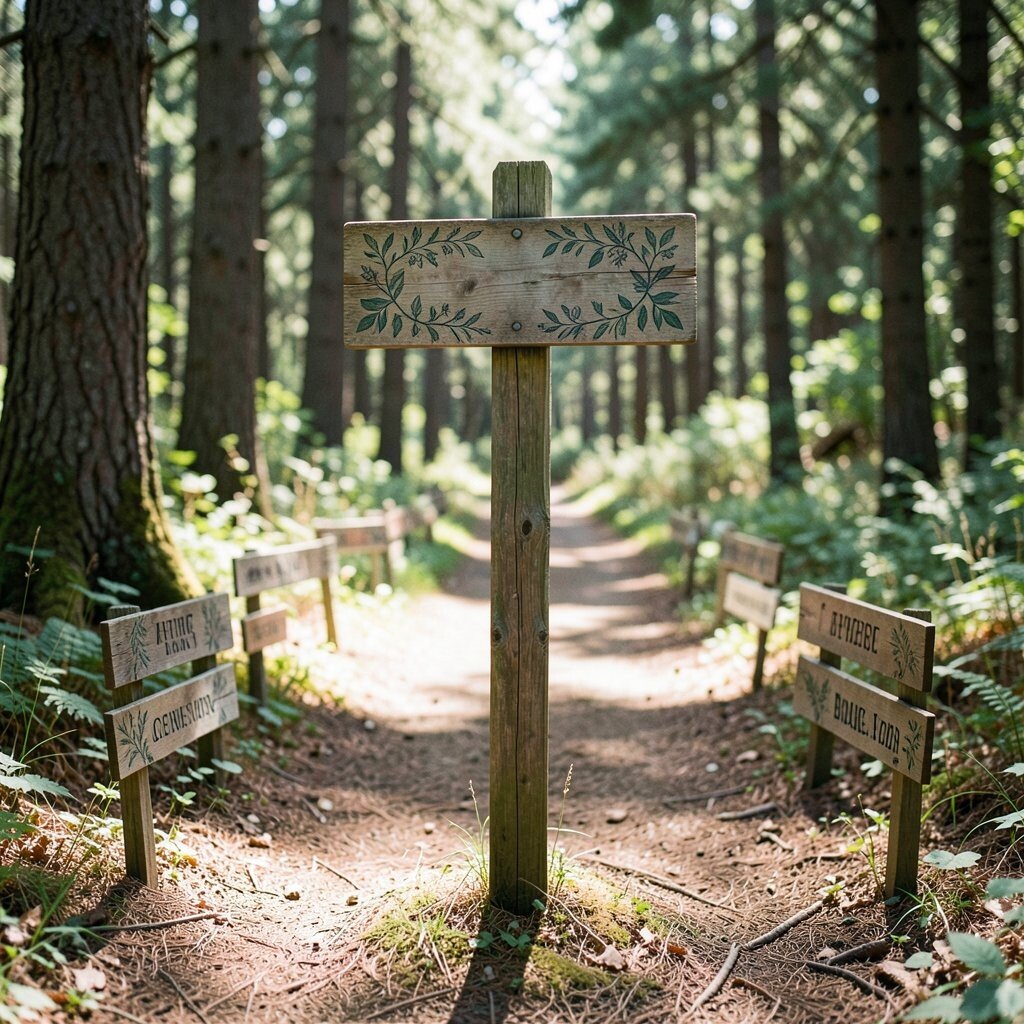
Line your walkway with wooden signs that feature botanical sketches, like ferns, pine needles, or eucalyptus leaves. The drawings can be subtle, and the wood texture will make them look handcrafted.
Visually, the border turns a simple route into a living photo backdrop. Guests benefit because the pathway feels intentional, and they’re less likely to wander into the wrong space.
This idea feels unique because it blends decor and wayfinding without heavy text. For cost considerations, use fewer larger signs instead of many tiny pieces, and reuse them across welcome, ceremony, and reception sections.
18. Custom Wooden Crest with Your Names and Venue Coordinates

Craft a crest-like wooden plaque and place it on the signpost base or backboard. Add your names, wedding date, and a small line that references the venue or its spirit, like “Forest House” or “Pine Ridge.”
It makes the signpost feel like a personal artifact, not just a direction tool. Guests will notice in photos, and it gives you a unique anchor piece that looks amazing from multiple angles.
19. Weatherproof Seal and Seasonal Update Strategy for Signs

Build your signpost and smaller boards to handle real outdoor weather by sealing wood and choosing paint or markers made for outdoor use. For a practical benefit, this prevents smudging in humidity and fading under bright sun.
It’s a thoughtful way to stay consistent throughout the day, especially if you set up early and guests arrive later. Personalize the strategy by planning one core design and seasonal swap pieces, like adding a different leaf cluster for fall or spring.
20. Reception Entrance Signpost with Menu and Greeting Highlights
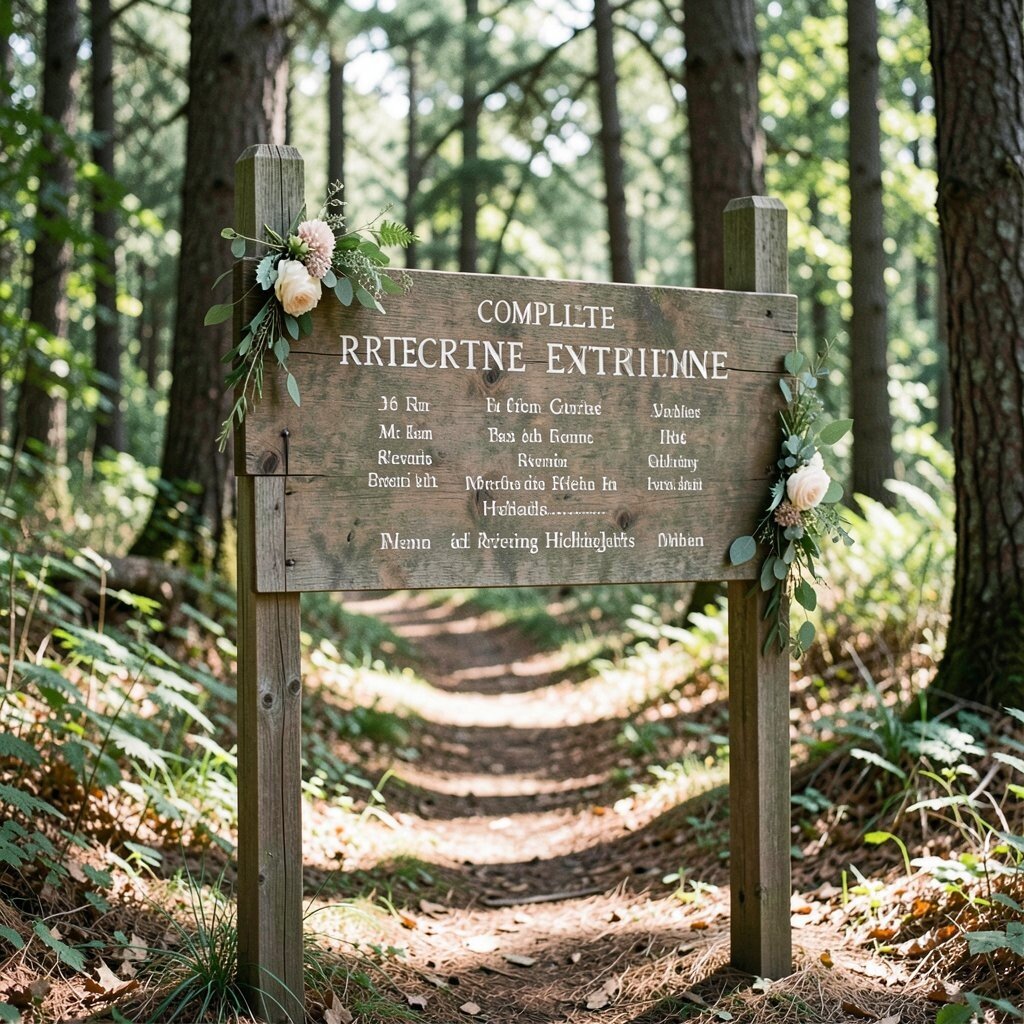
At the reception entrance, use a wooden signpost that greets guests and also shares the basics for what’s next. Add a short menu board listing dinner options, or keep it simple with the day’s schedule in a clean, easy-to-read layout.
This feels unique because it bridges story and function, guiding people while welcoming them into celebration. Guests benefit because they can quickly find what they need, and they won’t miss the moment when music starts.
To manage cost, print menu text on weatherproof inserts and slide them into frames, so you can update without remaking the whole board. Personalize the greeting with a phrase that feels like your voice, like a warm welcome line that you’d actually say to close friends.