Every resin pendant looks like a tiny art piece, but it carries real-life safety choices. The best part is that a few habits make your jewelry feel both beautiful and safer.
When you know what can go wrong and how to set things up well, you can wear your pendants with more confidence. You also get better results, because good safety habits support good craftsmanship.
1. Gloves Are Not Just for Protecting Your Skin
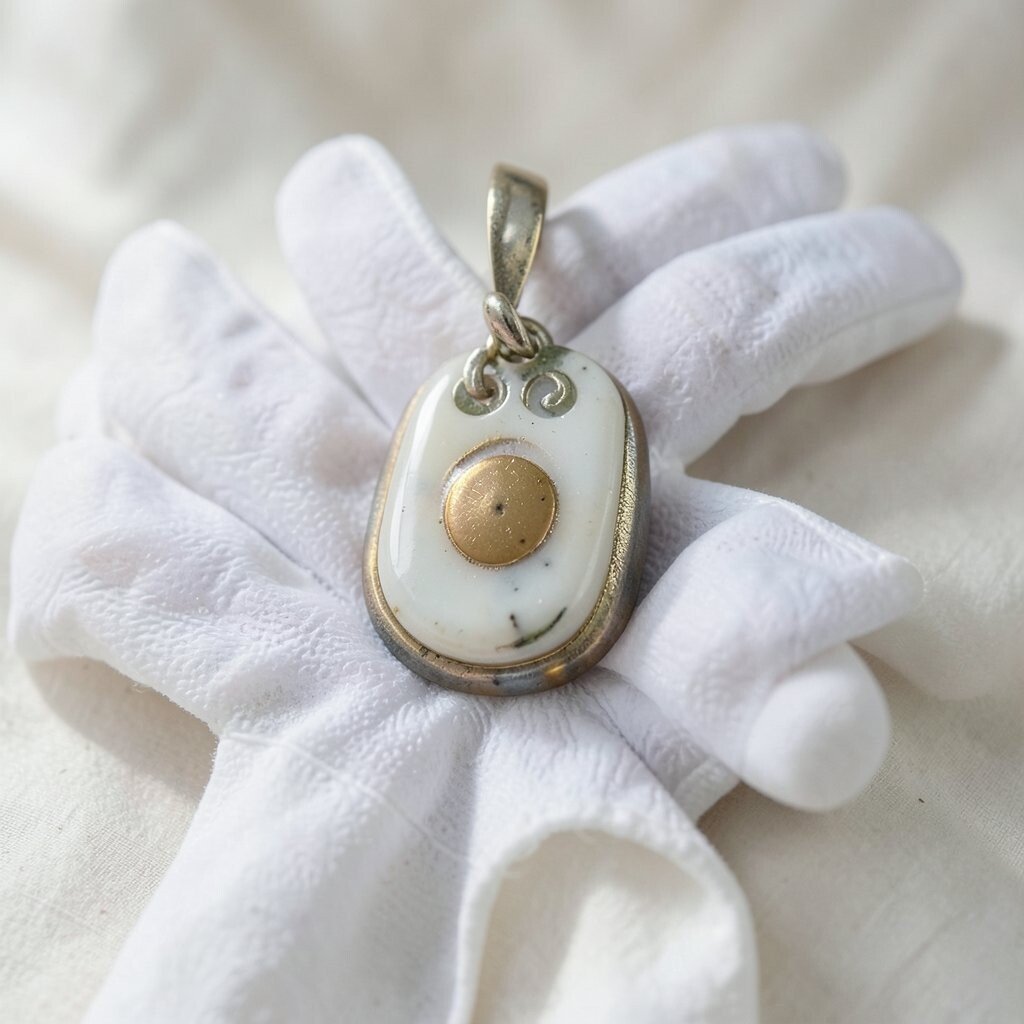
It’s easy to think gloves only keep resin off your hands, but they also help you control the mess. When your fingertips stay clean, you make fewer accidental smears on tools and workspace surfaces.
Choose gloves that fit well and don’t tear when you stir. Nitrile is a common pick, and it helps keep skin irritation down while you pour, mix, and clean.
2. Ventilation Changes Everything, Even in Small Rooms

Resin work can create strong fumes, and your room size affects how fast those fumes build up. If your space feels stuffy while mixing or curing, your body will notice first.
Use open windows and a fan that moves air away from your breathing zone. A simple setup like placing airflow toward a window can make a noticeable difference, especially when you’re doing small projects.
When possible, wear respiratory protection that matches the resin type and your local safety guidance. Keeping air moving also helps you stay relaxed, so you stir and pour more carefully.
3. Small Spills Can Create Big Sticky Problems

A resin spill may look harmless for a moment, like a shiny puddle waiting to harden. But it can spread thinly, get trapped under items, and leave surfaces tacky long after you think you cleaned.
Use a protective mat or a sheet of wax paper under your work. If something leaks, act quickly by blotting and removing residue before it cures, because cured resin can be harder and messier to remove.
For cleanup, keep dedicated tools and a simple wipe routine that you do only for resin. That way, you avoid carrying residue onto your hands, your counter, or your kitchen space.
4. The Cure Stage Can Still Be Risky for Skin

Many people wait until a pendant feels dry, then assume it’s safe. But some resins stay partially reactive for a while, and that can matter if you handle or sand too soon.
Follow the full cure time on the product, not just the look of the surface. If the piece feels rubbery or smells noticeably, give it more time before you touch it again.
5. Sanding Creates Dust You Don’t Want to Breathe
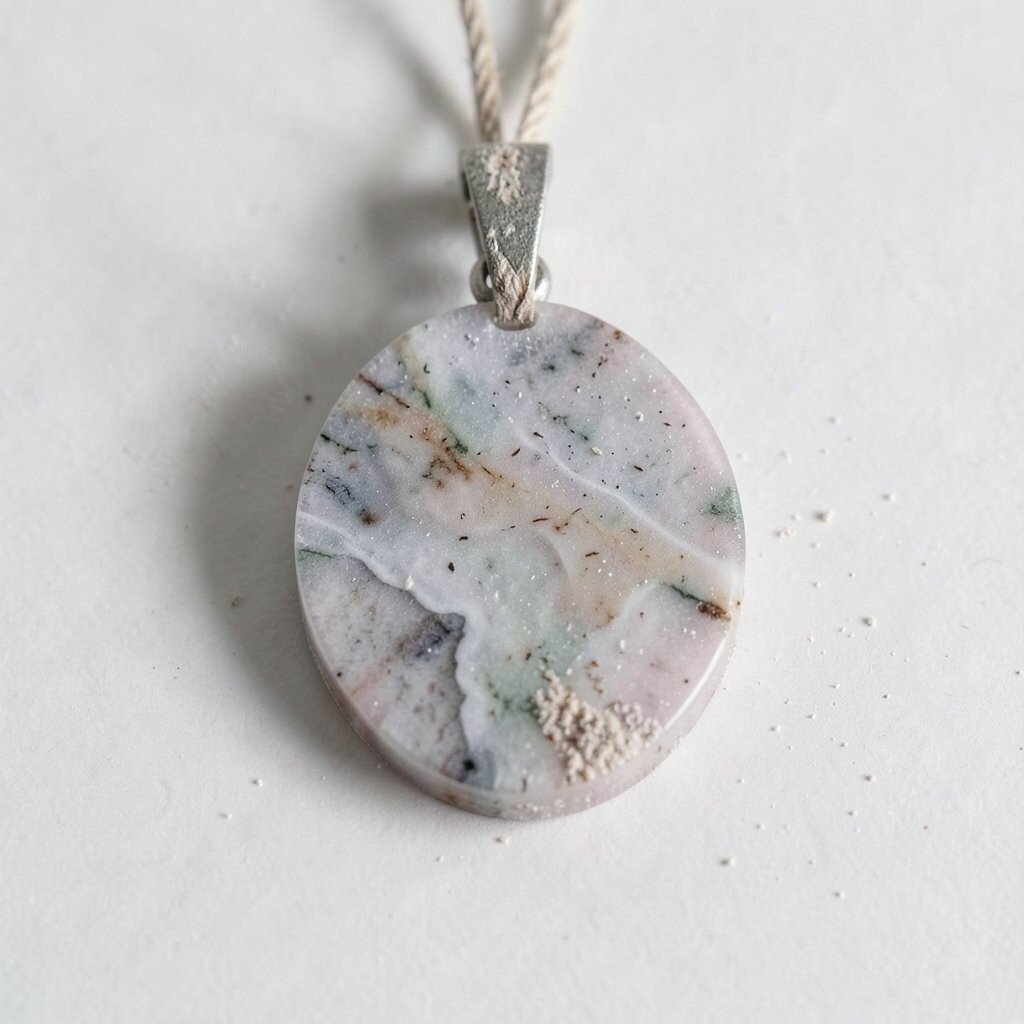
Once resin pieces are set, sanding is what makes edges smooth and shine better. The problem is that sanding creates tiny dust particles that can irritate your airways.
Wear a mask and work in a well-ventilated area while you sand. A damp-cleaning approach and a vacuum with a proper filter can reduce airborne dust.
Take short sanding sessions and check your progress often. That keeps heat low and reduces how much dust you make overall.
6. Not Every Resin Mix Is Equal, So Don’t Assume Compatibility
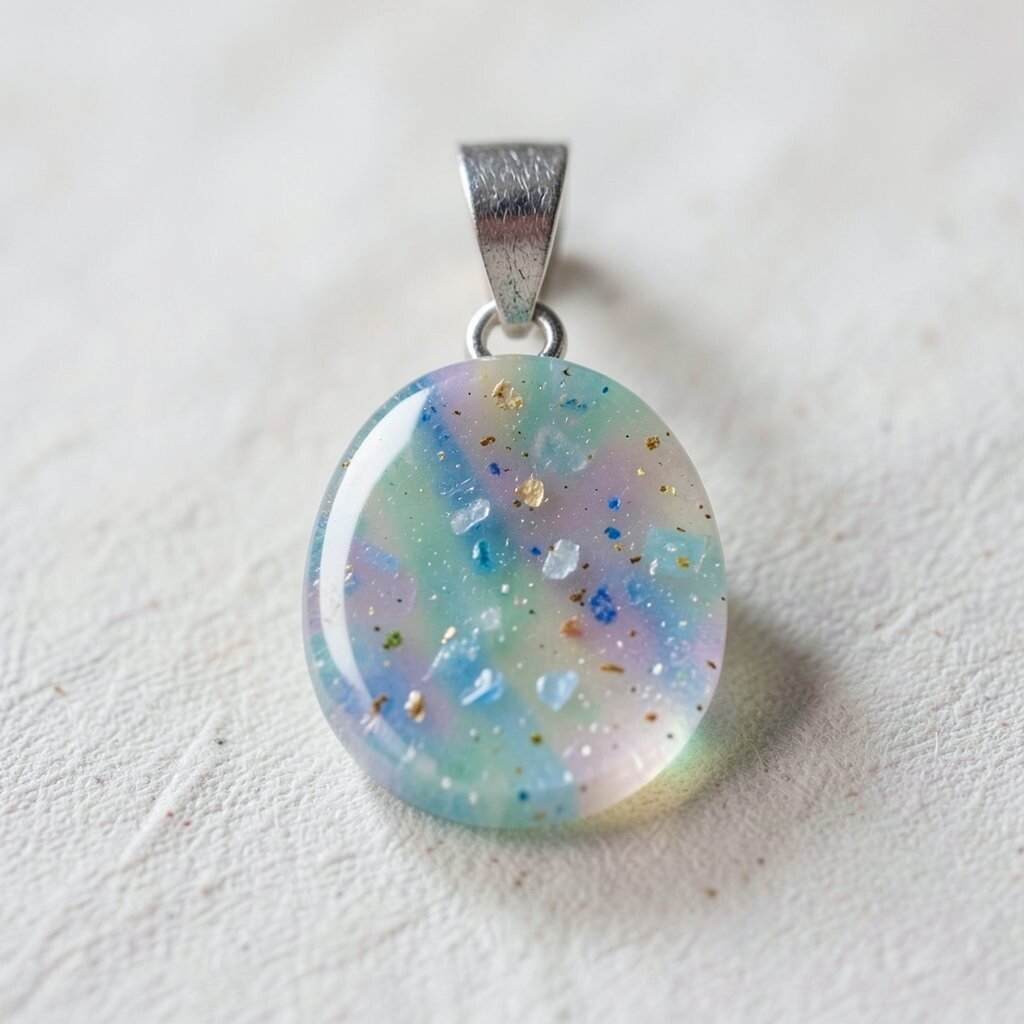
Different resins cure in different ways, and mixing brands without checking can lead to soft spots. Those softer spots can trap chemicals or make the pendant feel tacky even after time passes.
Stick to one resin system from start to finish and measure carefully. When the ratio is off, you may get uneven curing, cloudiness, or a surface that never quite behaves.
If you want special effects, use resin-safe additives made for that resin type. That keeps the pendant clear and stable while you still get the style you want.
7. Heat From Tools and Sun Can Affect Curing

Resin curing can be sensitive to temperature, and warm rooms can speed it up faster than you expect. Direct sunlight can also make the surface cure differently than the inside.
Keep your workspace in a stable temperature area and avoid placing curing pieces in hot windows. If your home runs cool, allow extra curing time instead of rushing the process.
8. Colorants Look Pretty, but They Change Safety Behavior Too

Colored pigments and dyes can make resin look like candy-gloss art. Still, some colorants can change how resin bonds or cures, which affects how finished the piece becomes.
Use colorants designed for resin jewelry and follow their mixing guidance. If you notice separation, thick gel, or an odd tacky surface, stop and adjust before you pour more.
Test a small batch first so you learn how your colorant behaves. That saves money and frustration, and it also helps you avoid making a pendant that needs rework.
9. Bubbles Are a Visual Issue, but They Can Be a Structure Issue

Clear resin bubbles can look like tiny stars trapped inside. Yet bubbles can also weaken the pendant, especially in thin areas near a bail or chain hole.
You can reduce bubbles by mixing slowly and letting the resin sit briefly before pouring. A gentle burst of heat from a safe tool can help, but keep it controlled and away from fumes.
10. Chain Holes and Bails Need Special Attention

Where you attach a chain takes stress every time you wear the pendant. If that area cures imperfectly or is too thin, it can crack or loosen.
Reinforce bails by using enough resin thickness and avoiding sharp corners. After curing, check the attachment area by gently testing how it holds before you wear it.
11. Resin Storage Matters More Than You Think

Your resin bottles can degrade over time if they sit in heat, light, or damp air. When resin changes, it may cure slower or behave unpredictably.
Store bottles tightly sealed and in a cool, dark place. Keep track of the mix date you opened the product, because freshness helps you get consistent results.
12. Molds and Release Agents Should Be Chosen Carefully
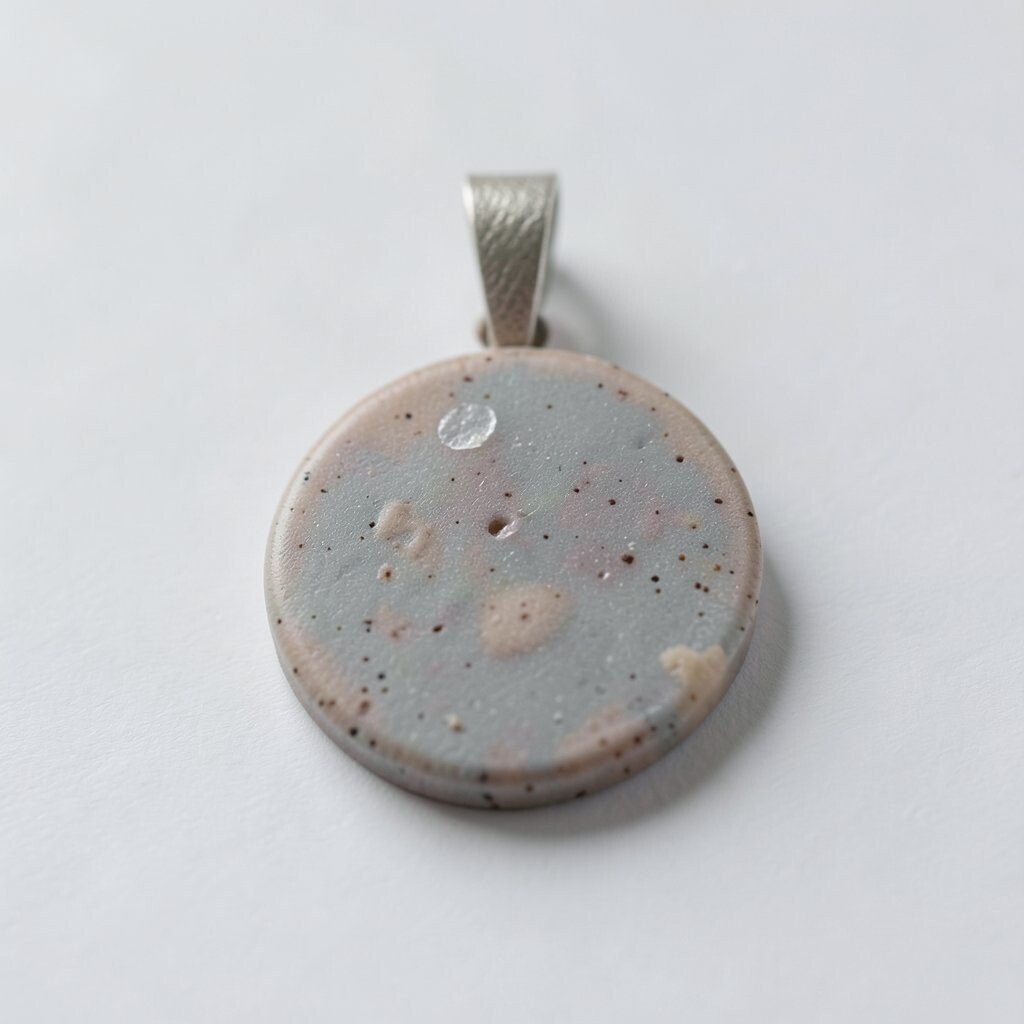
Molds make your pendants repeatable and neat, which is a real style win. But the wrong mold material or release method can leave residue that affects both looks and surface feel.
If you use release spray, keep it away from places you’ll later need for strong bonding. A residue film can also make a pendant rough or dull, so a clean release matters.
For easy unmolding, consider silicone molds made for resin. They often give better surface detail while keeping cleanup simple.
13. Personal Style Ideas Are Also Safety Ideas
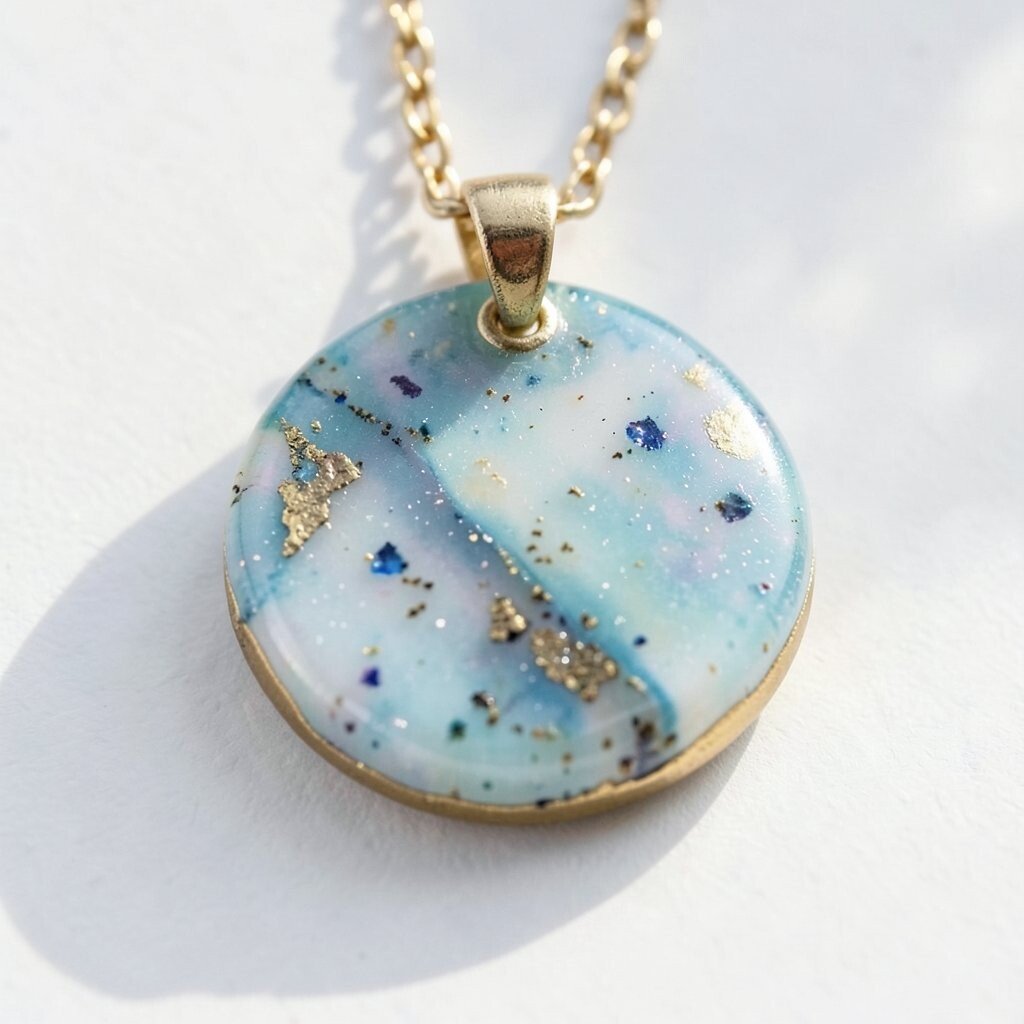
It’s tempting to cram lots of tiny elements into resin, like glitter, flakes, or dried flowers. A busy design can be gorgeous, but it can also hide thin weak spots where the pendant is stretched.
Try spacing elements a bit so the resin has room to fully flow and fully cure. You can still make it unique by layering items or using negative space for that modern look.
14. Gloves and Tools Should Stay Dedicated to Resin Work

Shared tools are how resin residue shows up where you don’t want it. A spoon used for resin may later touch food or hand tools, and that can be a health and hygiene problem.
Keep a small resin kit with its own measuring cups, stirring sticks, and wipes. Label it in your own way so you don’t accidentally mix it up with everyday items.
15. Cost Creeps Up Through Waste, Not Just Through Materials

Resin projects can look affordable at first, then the budget quietly grows with re-pours and extra sanding supplies. Wasted batches happen when measurements are off, bubbles surprise you, or cure problems show up late.
Measure accurately and plan your batch size so you use what you need. If you’re learning, start with small pendants, because small tests protect your wallet and your lungs.
Good ventilation and clean tools can also reduce waste, since you’ll work more carefully. When your process is calm and tidy, you spend less on mistakes.
16. The “Clear and Shiny” Look Often Requires Patience
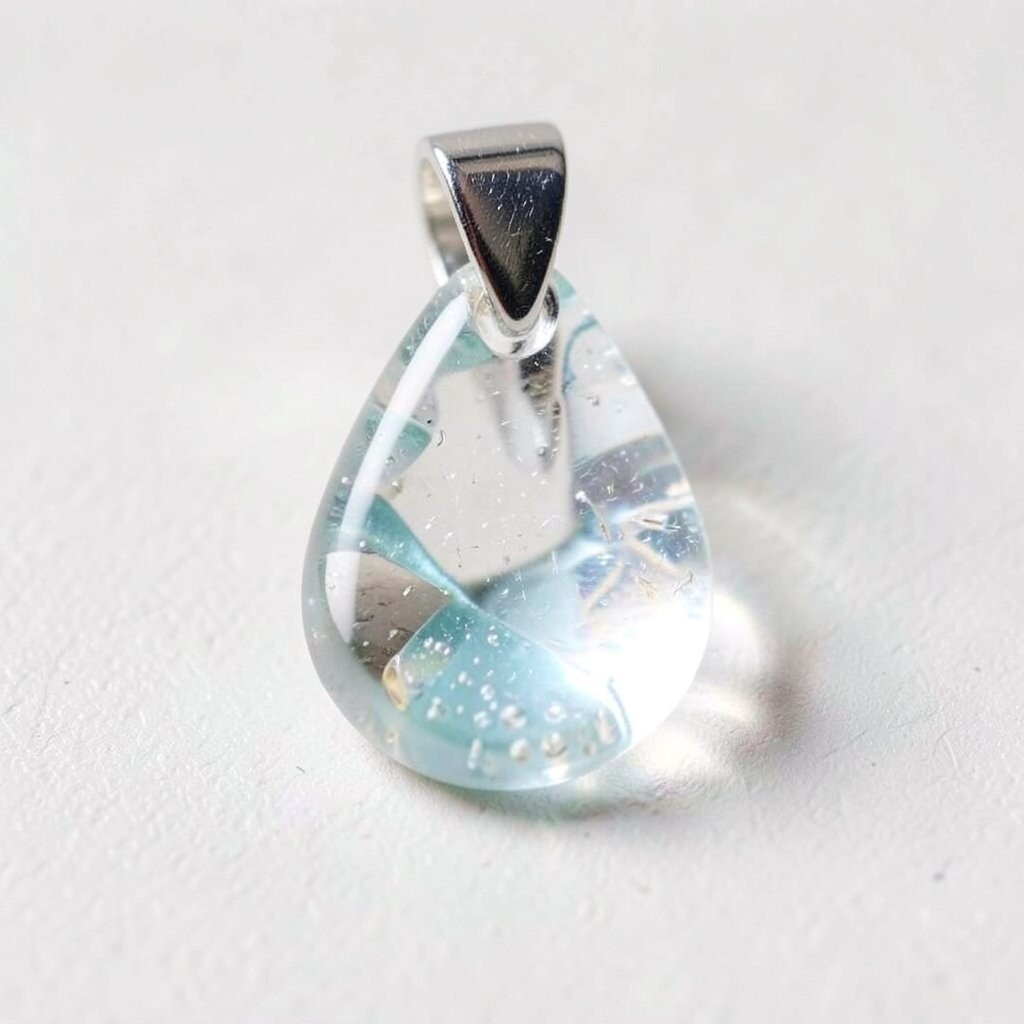
Clear resin pendants are popular because they look like glass but feel lightweight. To keep that glossy shine, you need a smooth cure and careful finishing steps.
Avoid touching the surface while it’s still curing, even if it feels cool. After cure, polish gently with the right steps for your resin type so the surface stays crisp and safe to wear.
17. Current Trends: Layered Charms Need Better Edge Control
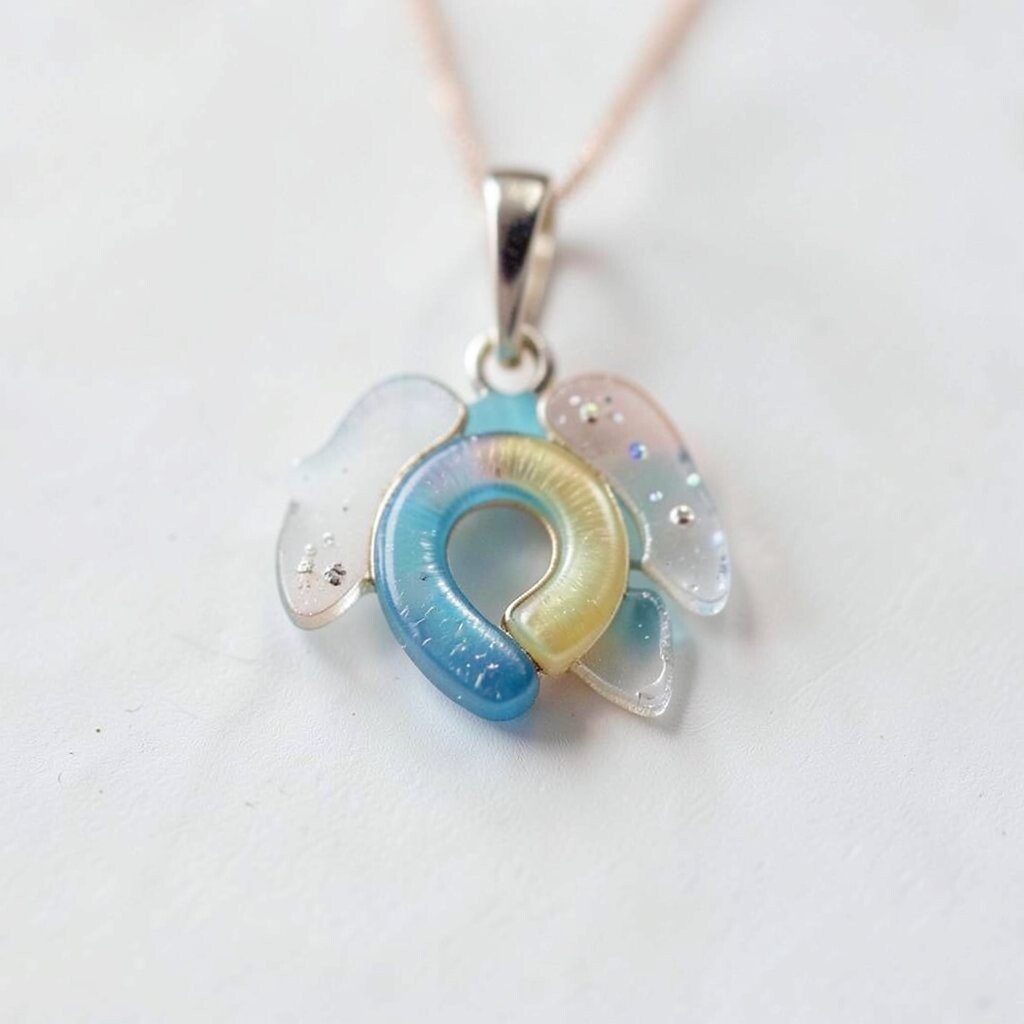
Layered looks are trending right now, like stacking charms or mixing resin with small metal shapes. This style can look high-end, but layered edges create more areas that can chip if they’re too thin.
Build layers gradually and let each stage reach proper cure before adding the next layer. Keep an eye on edge thickness around the perimeter so you don’t end up with fragile breaks.
18. If You Add Inclusions, Make Sure They’re Resin-Safe
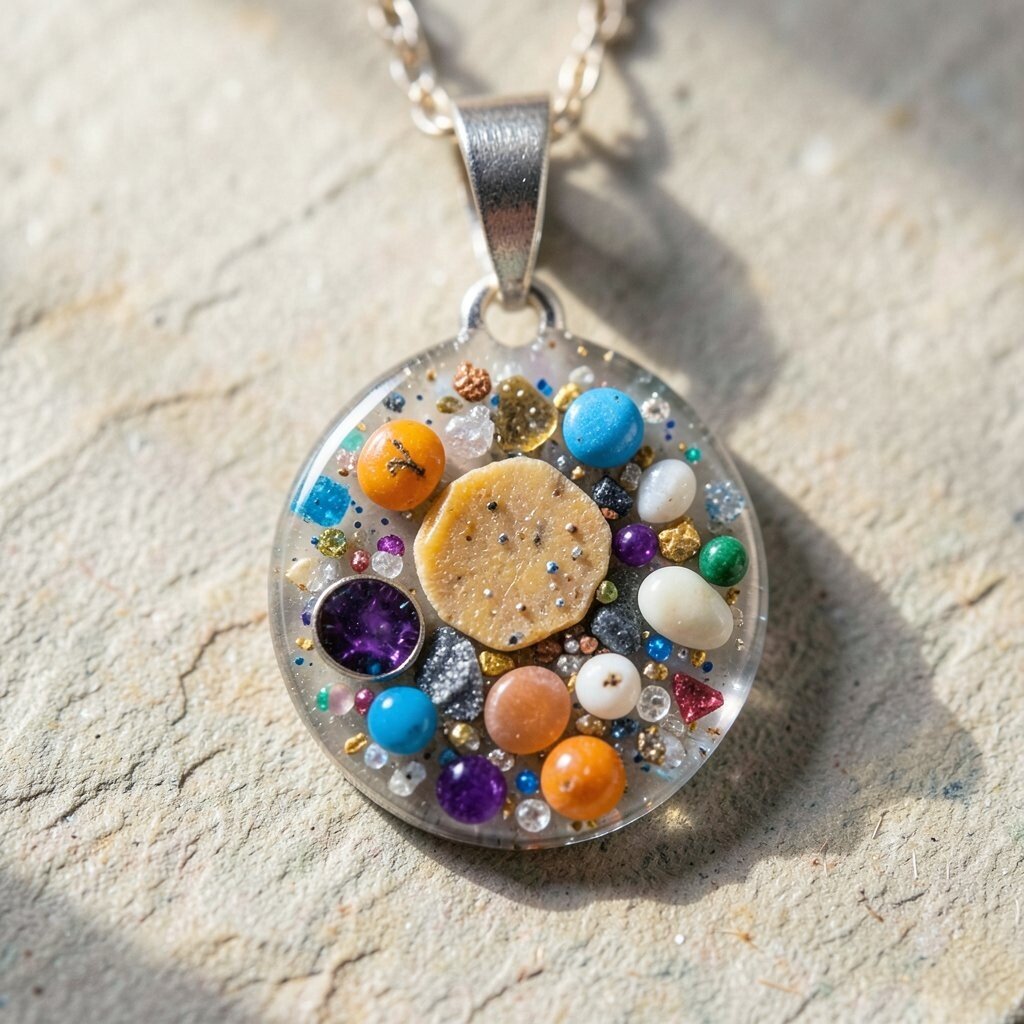
Inclusions like dried petals, tiny seashells, or fabric bits can make your pendant feel personal. But not every material behaves well inside resin, and some can change color or smell during curing.
Check that inclusions are suitable for resin jewelry and that they don’t contain oils that resist curing. Pre-sealing certain elements may help, but only if your resin system recommends it.
When you pick inclusions, aim for stability and clean visuals. That way your pendant stays pretty and structurally sound over time.
19. Personal Testing Beats Guessing Every Time
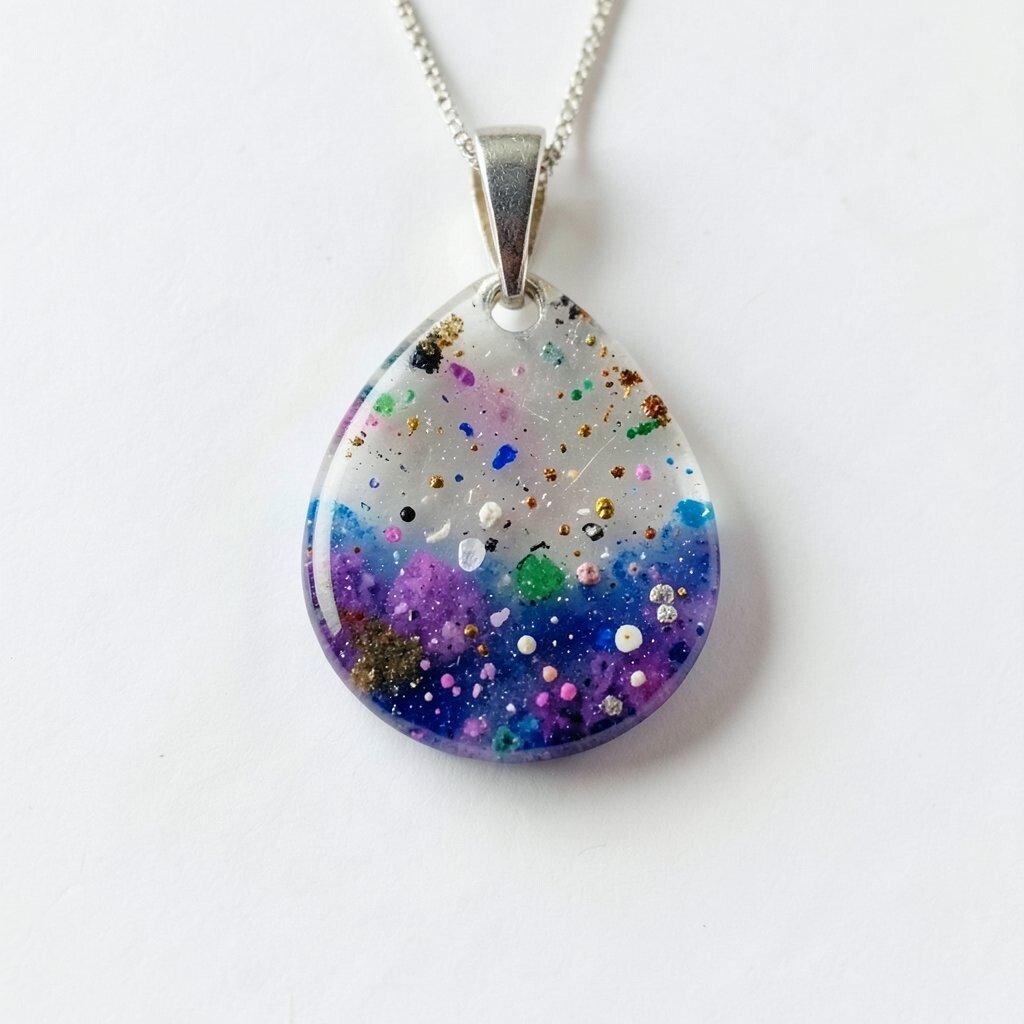
You don’t need to make a whole pendant to learn how your process works. A mini test piece can tell you about clarity, curing, tackiness, and how your chain hole area holds up.
Test a small shape with the same resin mix, same colors, and same additives you plan to use. If the finish looks great in the test, you can confidently scale up without risking a larger waste.
Keep a simple log in your own way, like writing down mix ratios and cure times. That gentle habit helps you create consistent, safe pendants that feel just right when you wear them.