
Some days call for shine, but your hair can handle it on its own. A tiara vibe is all about shape, placement, and polish.
When you skip extra accessories, you get a cleaner look that still feels special and refined.
1. Soft Crown Waves With a Center Part
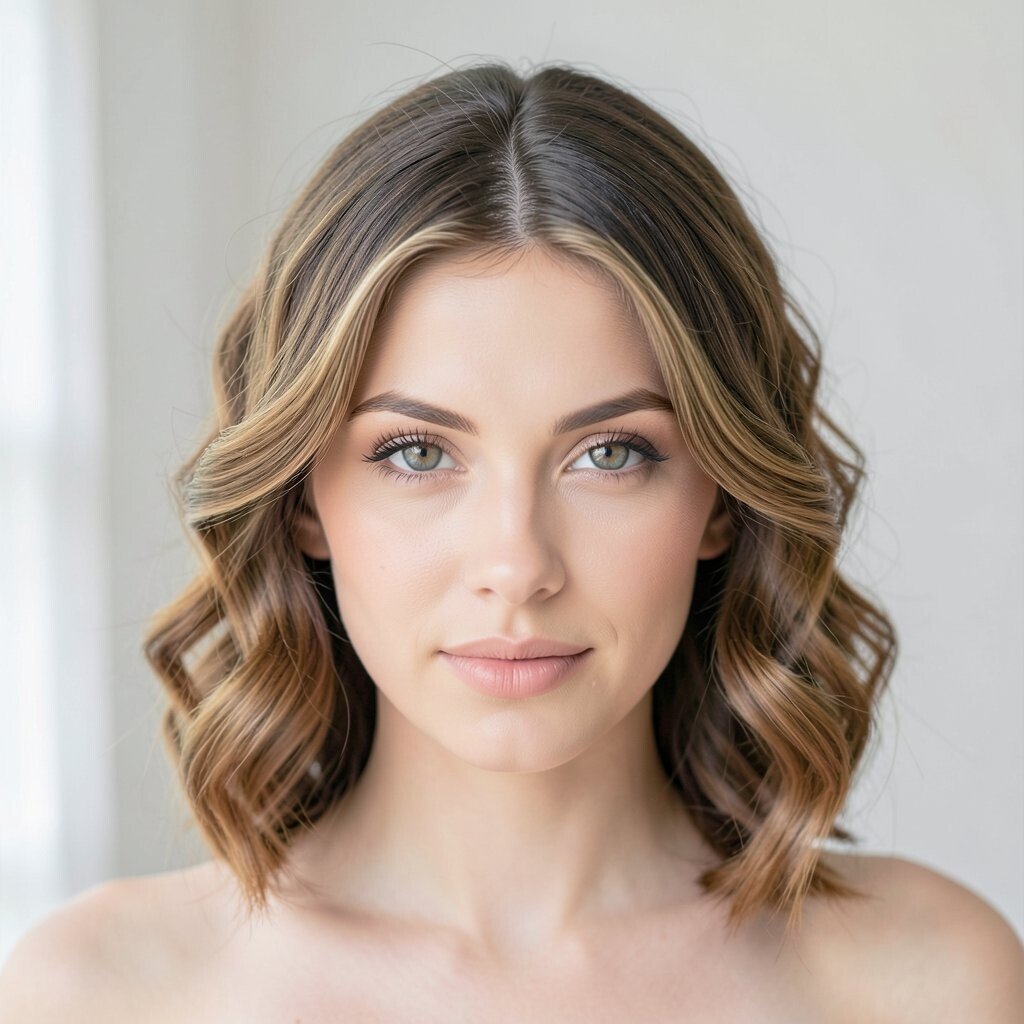
Start with a clean, calm center part and brush everything back until it sits neatly. Add loose waves that begin around the mid-lengths, so the top looks smooth and the texture stays gentle.
This style makes your head shape look elegant and balanced, like the base of a tiara. For an extra polished feel, lightly tuck one side behind the ear and use a light mist of hairspray to keep the waves from falling flat. If your hair is fine, add mousse at the roots so the crown holds volume without getting heavy.
2. Vintage Finger-Wave Sweep

Create a deep side part and comb the hair into a smooth sweep toward one side. Shape the front into small, neat waves using your fingers, then set them with a firm gel so they stay glossy.
The result looks vintage and regal, with the front acting like an invisible tiara band. It is especially flattering for short to medium hair because the wave pattern frames the forehead in a graceful arc.
If you want it to feel more personal, try two widths of waves instead of one uniform pattern. For staying power, use a heat setting tool briefly, then cool the hair before touching it. A gel that gives shine can cost more, but it helps you use less product overall and keeps the style looking expensive.
3. Sleek High Ponytail With a Tiara-Like Lift
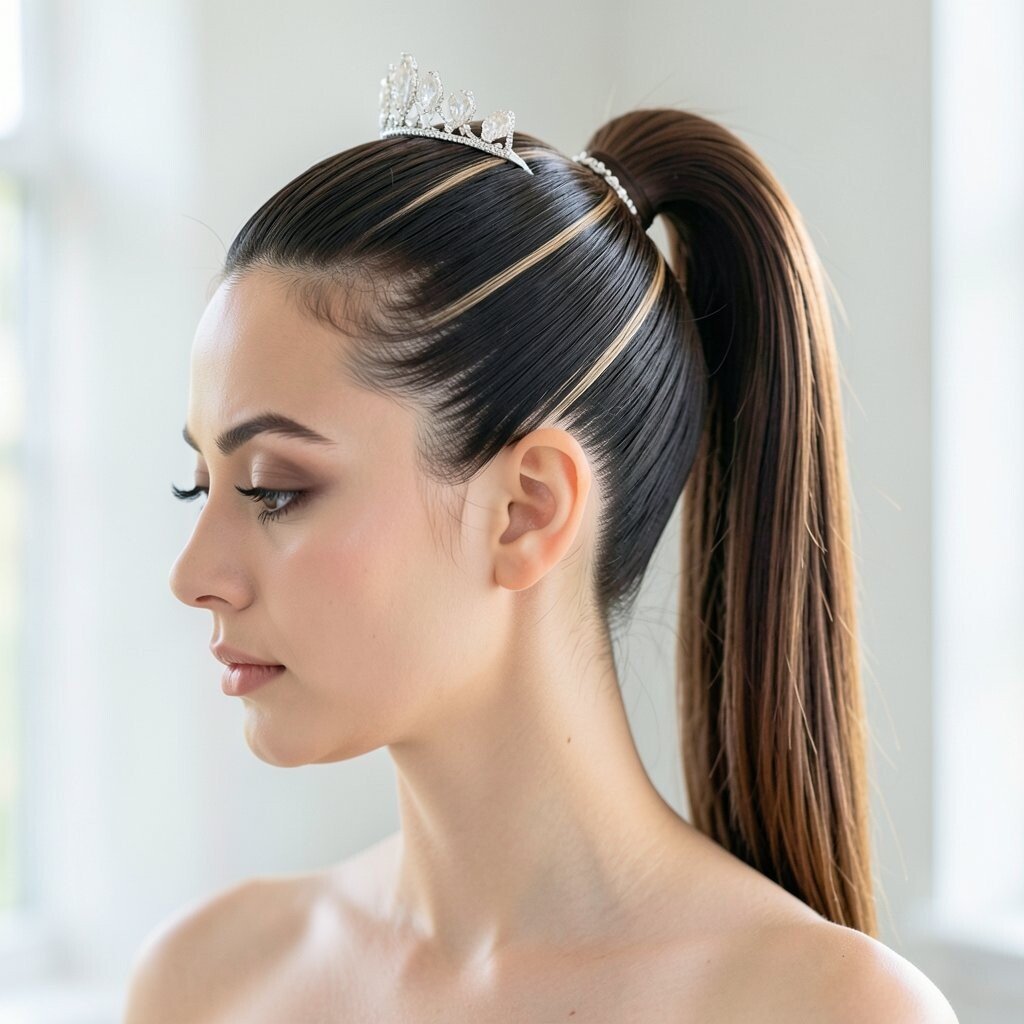
Brush the hair upward and gather it into a high ponytail, then polish the top section until it shines. Hold the front smooth as you secure the ponytail, and gently tug the crown area for lift without mess.
This high, lifted finish brings a crown feeling because it raises the eye line. It also keeps your neck and shoulders open, which feels fresh for weddings, parties, or a fancy dinner.
To make it softer, wrap a small section around the elastic using a bobby pin to hold it in place. If your hair slips, use a tiny bit of dry shampoo at the roots to add grip before brushing. You can keep costs low with a reliable brush and a good hold spray, then focus spend on hair care that prevents frizz.
4. Low Chignon With a Rolled Crown Edge
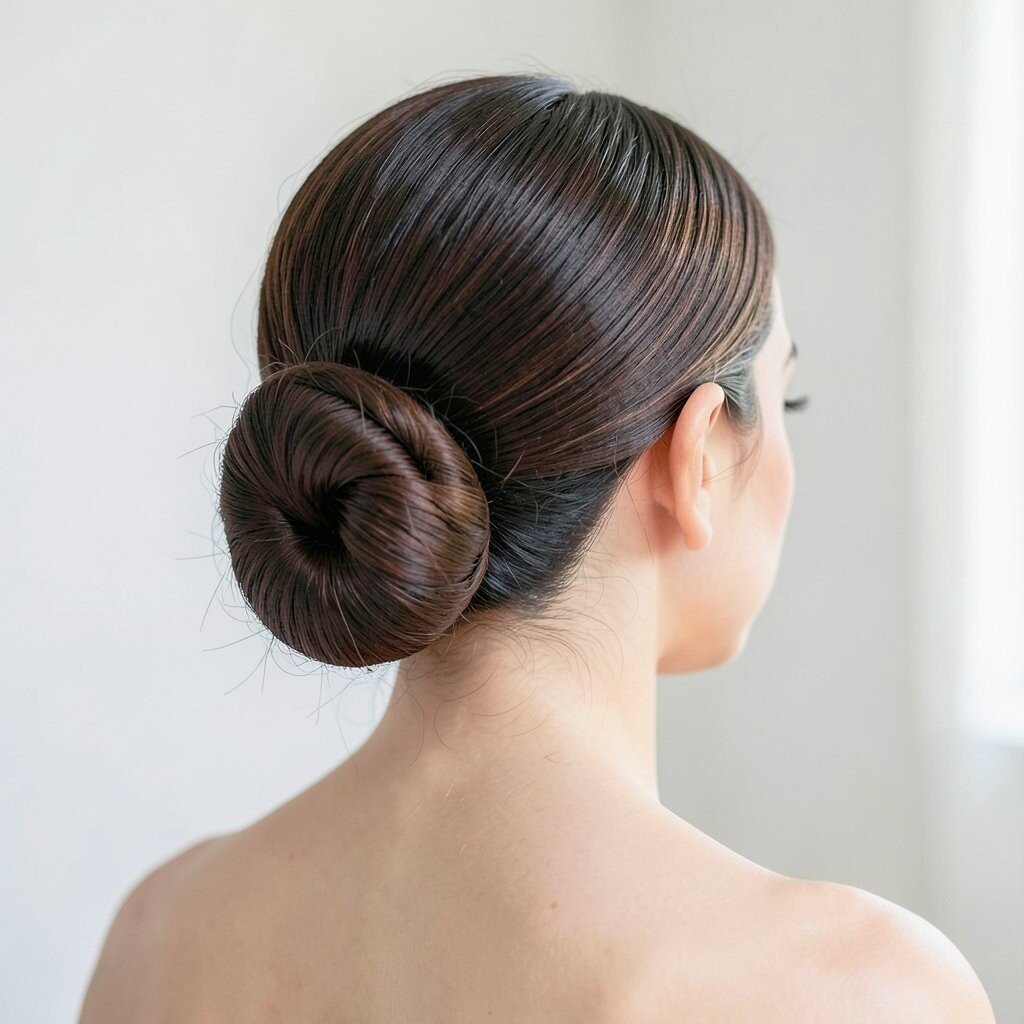
Gather hair into a low bun and smooth the outside with a fine-tooth comb. Before pinning, roll the top edge slightly upward so the crown looks like a neat halo.
That rolled crown effect mimics the way a tiara sits, giving you a refined silhouette without any extra sparkle. It works beautifully for thick hair because the bun feels substantial and stays secure all evening.
5. French Twist With a Clean Frontal Frame
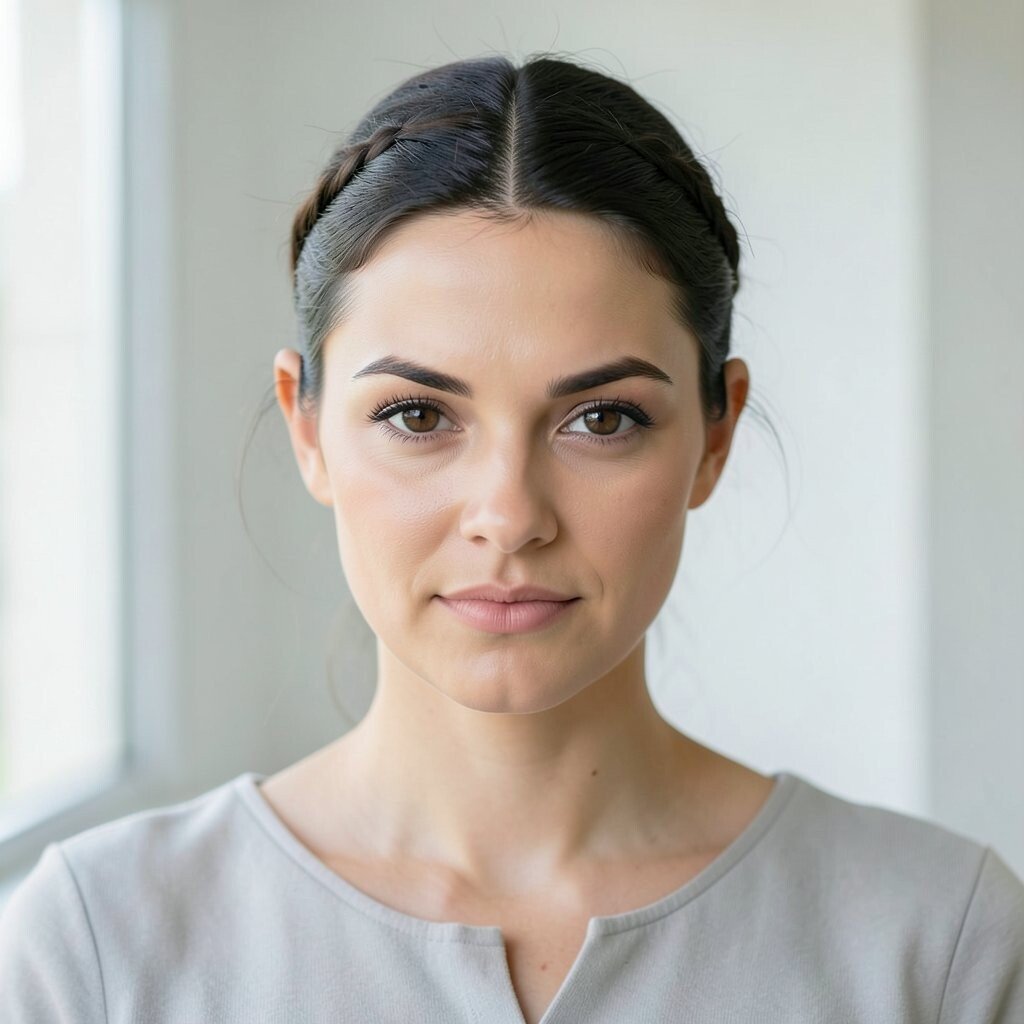
Start with a smooth section at the front and keep it sleek as you twist the rest of the hair. Pin the twist firmly at the back while you press the front into place like a glossy picture frame.
This classic twist feels ceremonial, and the neat front frame creates the illusion of a tiara line across your forehead. If you want more airiness, loosen a few strands near the top to soften the edges.
For a personal touch, adjust the height so the twist sits higher for drama or lower for understated elegance. Use a light styling cream on the top before pinning to help manage flyaways. Even with a simple budget, strong bobby pins and a steady hand make a huge difference.
6. Braided Crown Illusion Using Only Sections
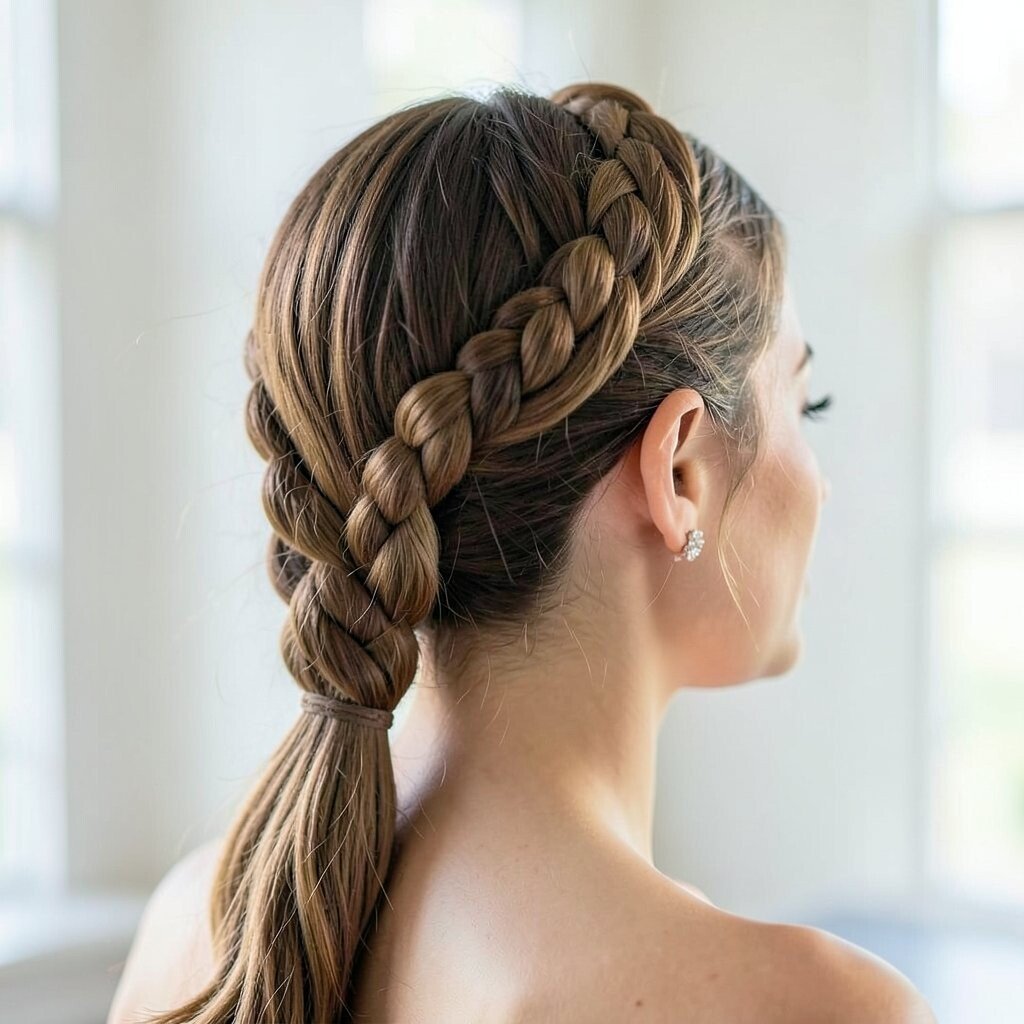
Part your hair as you normally would, then take two thin front sections. Twist each section outward toward the back and pin them so they form a subtle crown ring effect.
The beauty of this approach is that it gives the look of a crowned hairstyle without a braid that takes forever. It also suits different hair lengths, especially if you pin the ends flat so nothing sticks up awkwardly.
Make it yours by varying the thickness of the front sections for a bold or delicate look. For practical hold, spray the pinned areas lightly after each pin so they set quickly. If you are using hair wax or cream, choose a small amount so your hair stays touchable and not greasy.
7. Half-Up Tiara Texture With Soft Volume
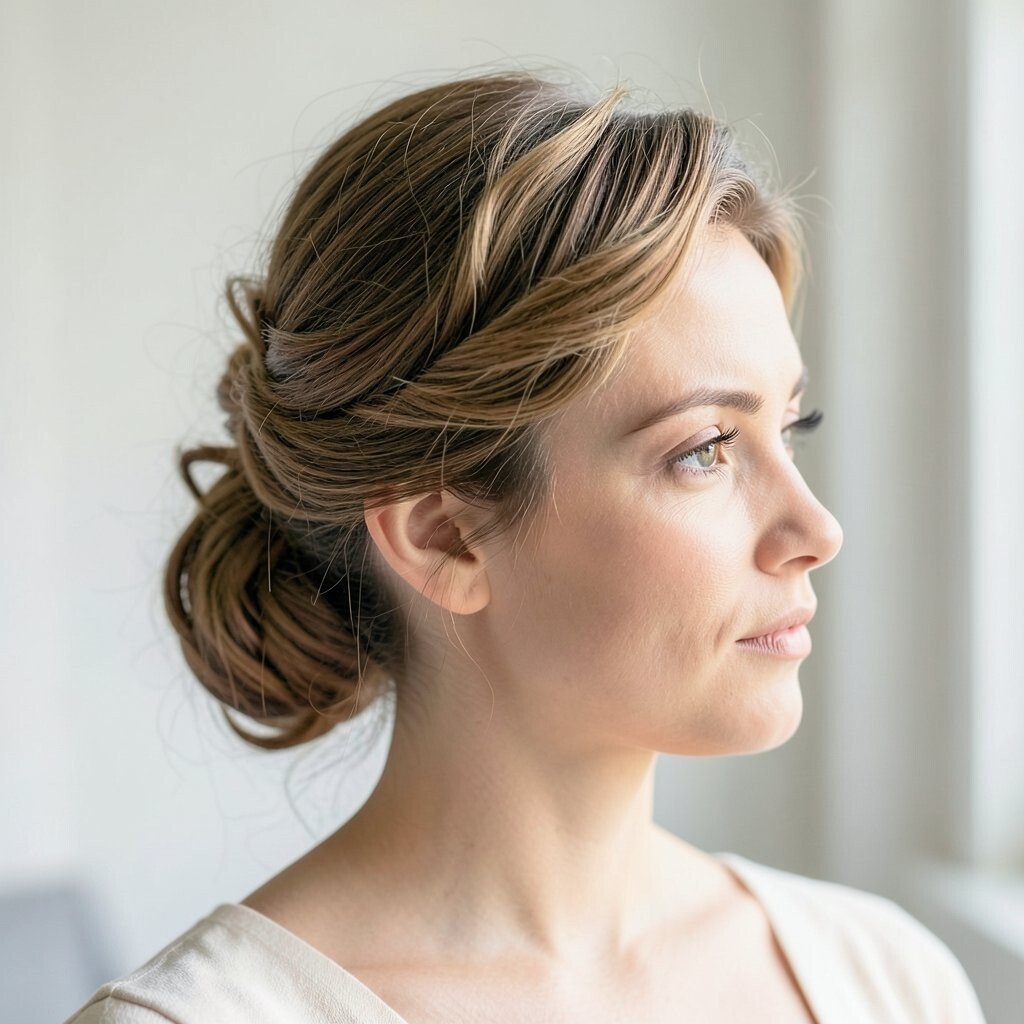
Pull the top half of your hair back and keep the sides smooth, then gently tease the roots at the crown. Secure with an elastic, but finish by tucking small strands around the band for a clean, custom look.
This half-up shape instantly feels like a tiara, because the lifted top creates a focal band across your head. It is also great for showing off earrings while keeping the rest of your hair free.
Try adding loose curls starting below the ears to keep the lower half romantic and light. If you have straight hair, a quick curl with a small barrel helps you avoid the limp look that can happen fast. Depending on your tools, you can keep costs reasonable by using heat only on the areas that need it most.
8. Crown-Swept Victory Rolls With a Modern Finish
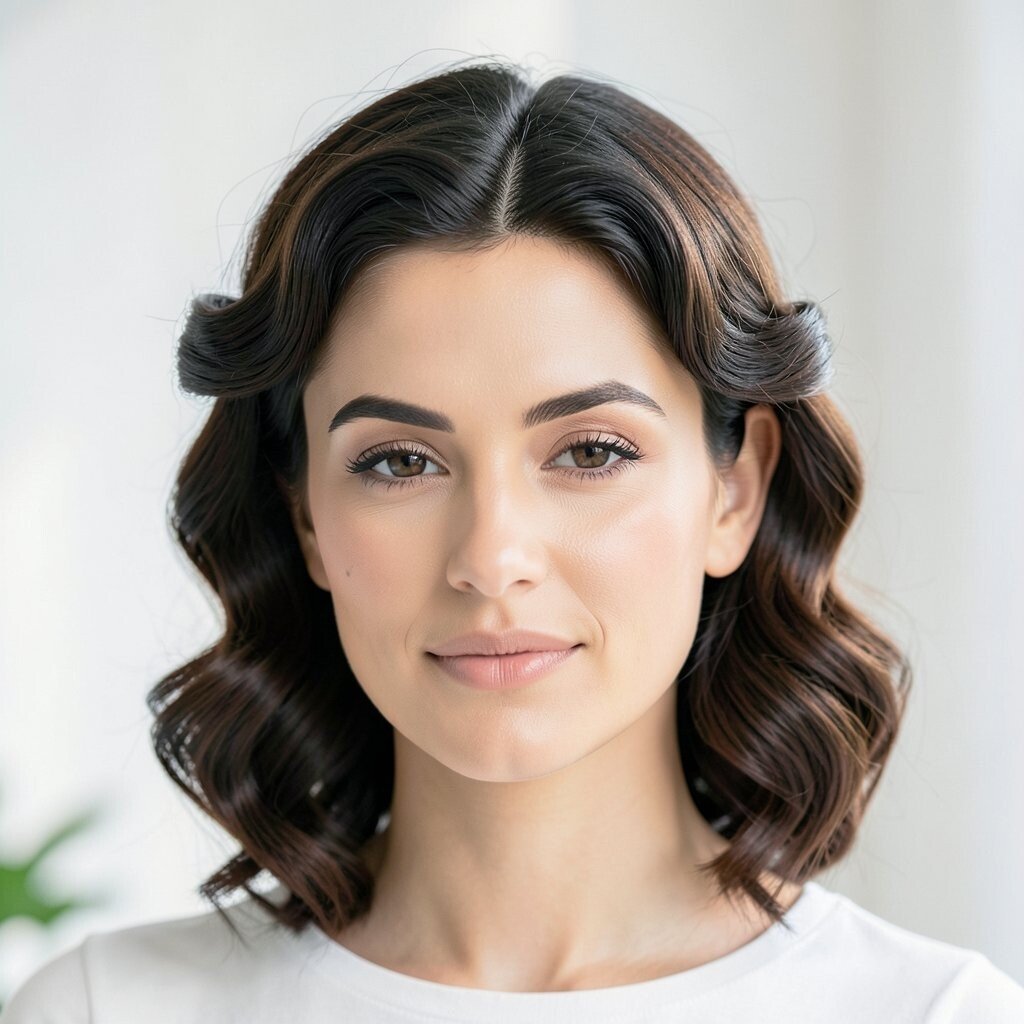
Part your hair and section off the front like you would for dramatic rollers. Create smooth rolls using your fingers and a styling comb, then pin them so they sit low and elegant.
Victory rolls can look bold, but when you keep them compact they give a refined, tiara-like structure. They also work well with bangs or a soft fringe because the rolls guide attention toward your eyes.
9. Center-Swoop Curtain Bangs With Glossy Back
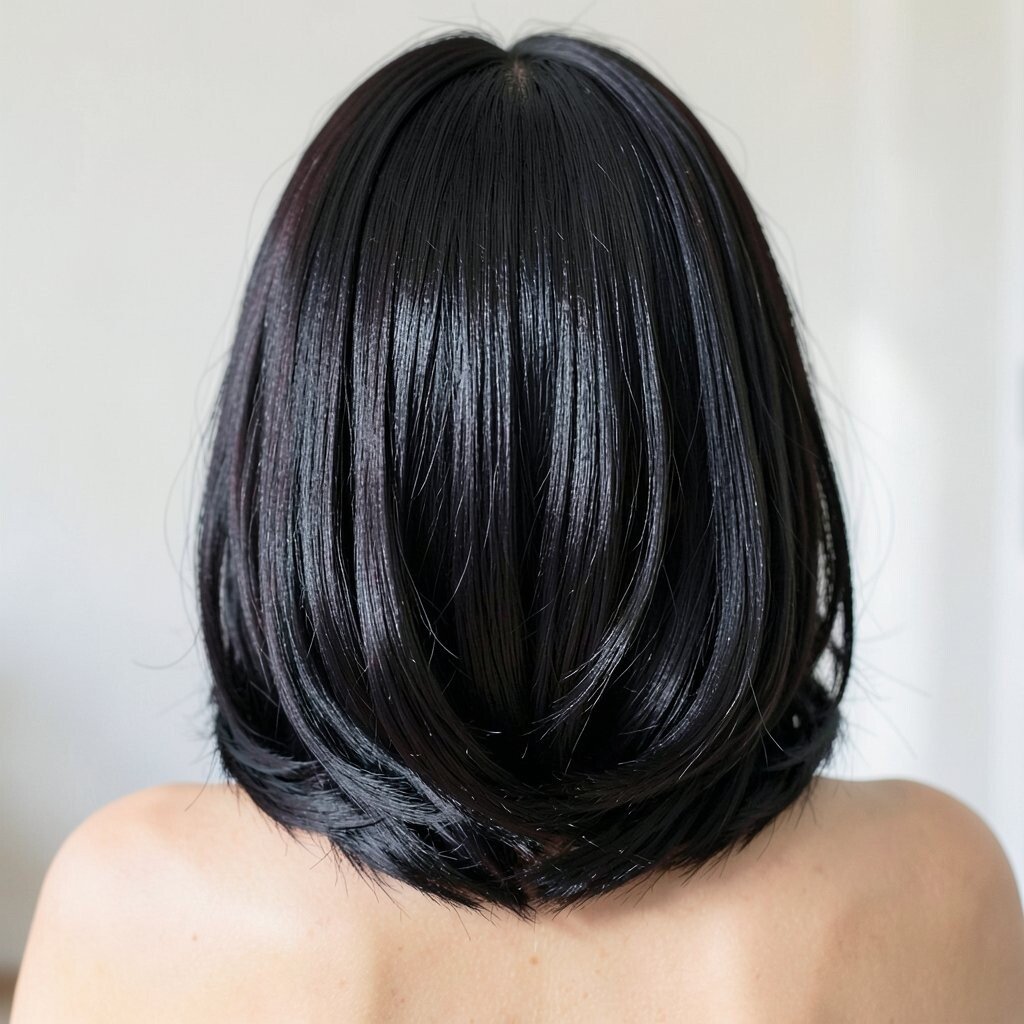
Keep the front airy with curtain bangs that part and fall in two directions. Smooth the rest of your hair back using a brush and a gentle serum so it looks sleek but not stiff.
This hairstyle feels romantic and regal, and the front framing creates the same effect as a tiara band. It is especially flattering if you like a softer look, since the hair moves around your cheeks instead of sitting heavy on top.
Personalize by curling only the bang ends or leaving them straight for a crisp, modern vibe. For practical care, mist a little heat protectant before styling the front so the shine lasts. A serum can be pricey, but one good bottle often lasts longer than you expect.
10. Bubble Ponytail With a Tiara-Top Volume
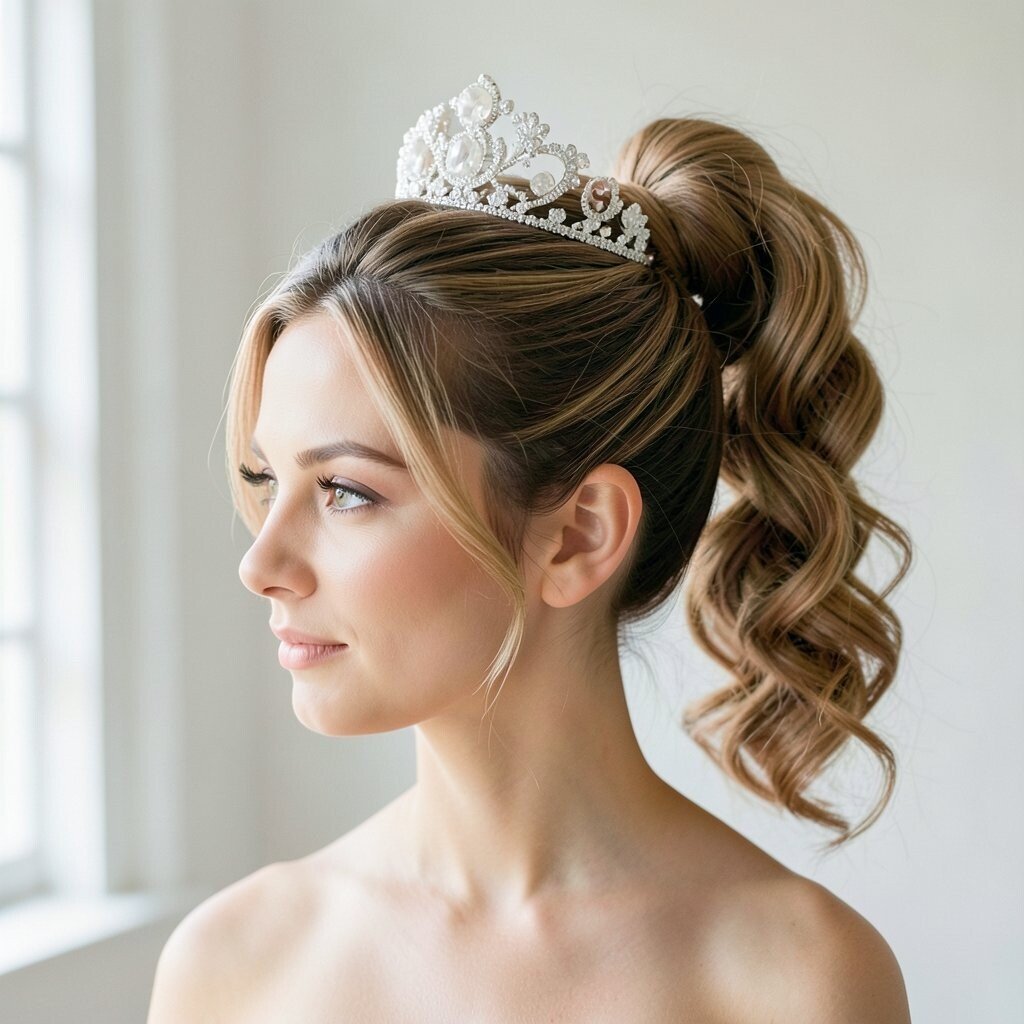
Create a mid-to-high ponytail, then divide it into sections using small elastics to make a bubble look. Keep the top section slightly bigger, as if it is holding a crown.
The bubble shape looks playful, but the lifted top keeps it elegant, like a tiara without sparkle. This also helps hair look thicker because each bubble adds dimension and shape.
11. Twisted Half-Up Rope Style
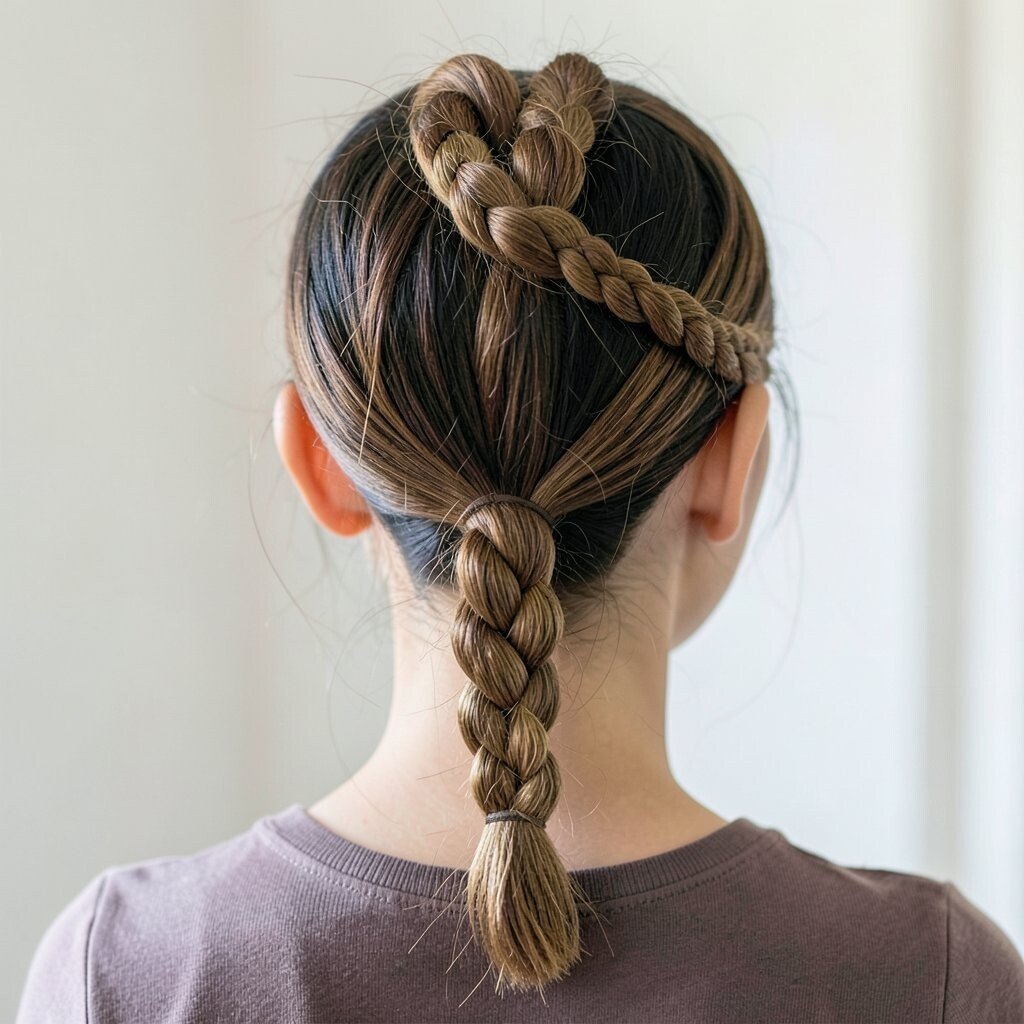
Take two sections from the sides and twist them together as a rope effect. Pin the twist at the back with bobby pins, keeping the top smooth so it resembles a neat crown band.
The twisted rope gives uniqueness because it feels intricate while still being simple to do at home. It is a great choice if you want a formal look that also works for day events.
Try a softer finish by slightly pulling the twist apart so it looks fuller. For hold, use a light hairspray after pinning, then smooth the top with a bit of water on your fingers. If your hair is fine, tease the roots a little before twisting so the style has lift.
12. Sleek Bun With a Side-Arc Part
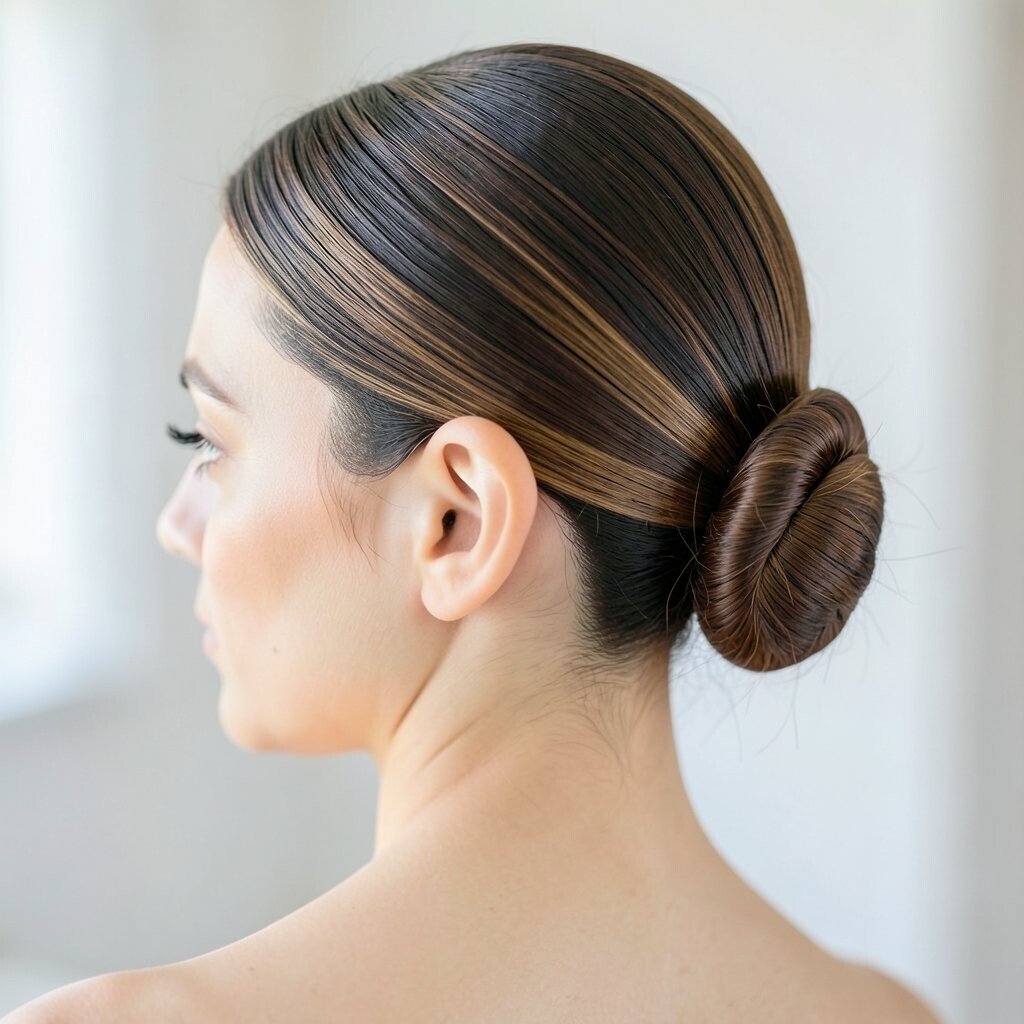
Make a side arc part and smooth your hair toward the direction of your bun. Secure into a bun at the back or slightly off-center, then use a comb to flatten the surface for a mirror-like finish.
This creates a tiara illusion because the part forms a graceful diagonal that draws attention upward. It also feels mature and polished, which makes it perfect for formal photos.
Personalize by adding a small wave in the side section before pinning so the look has texture. If you get flyaways, press them down with styling balm and a silk scarf for ten minutes. Cost-wise, focusing on a good brush and a reliable bobby pin set can save you from redoing the bun.
13. Loose Updo With Crown Lift and Face-Framing Strands
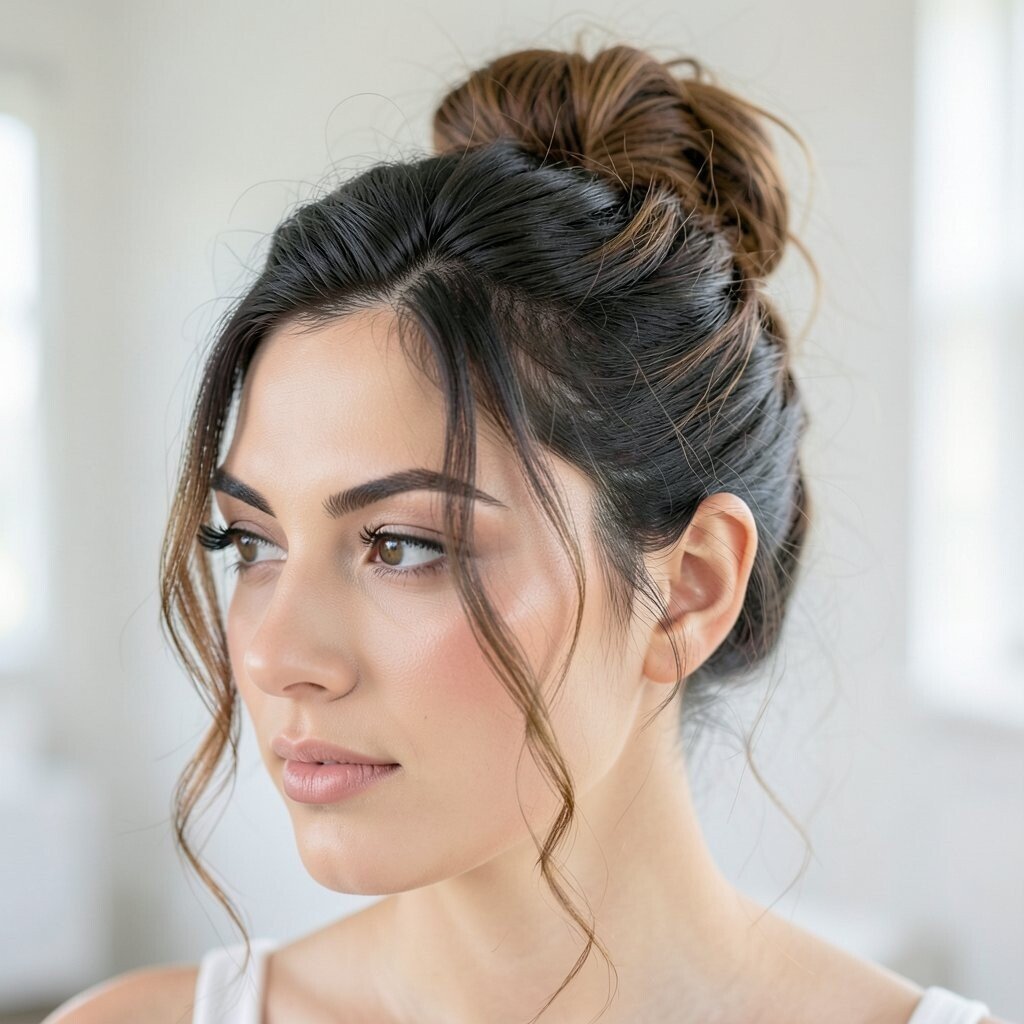
Gather hair into a loose updo and leave two soft strands around the face. Lift the crown gently while pinning, so the top looks airy and tall rather than flat.
The loose updo gives a dreamy tiara vibe because the height acts like a headband. It is also forgiving, which means it hides uneven growth and helps your style look natural.
For personalization, curl the face-framing strands in alternating directions for a subtle, artistic feel. Use flexible hold spray so your hair moves without losing its shape. If your hair gets dry, spend a bit on conditioning to keep the loose texture looking shiny.
14. Low Ponytail With a Rolled Top Wrap
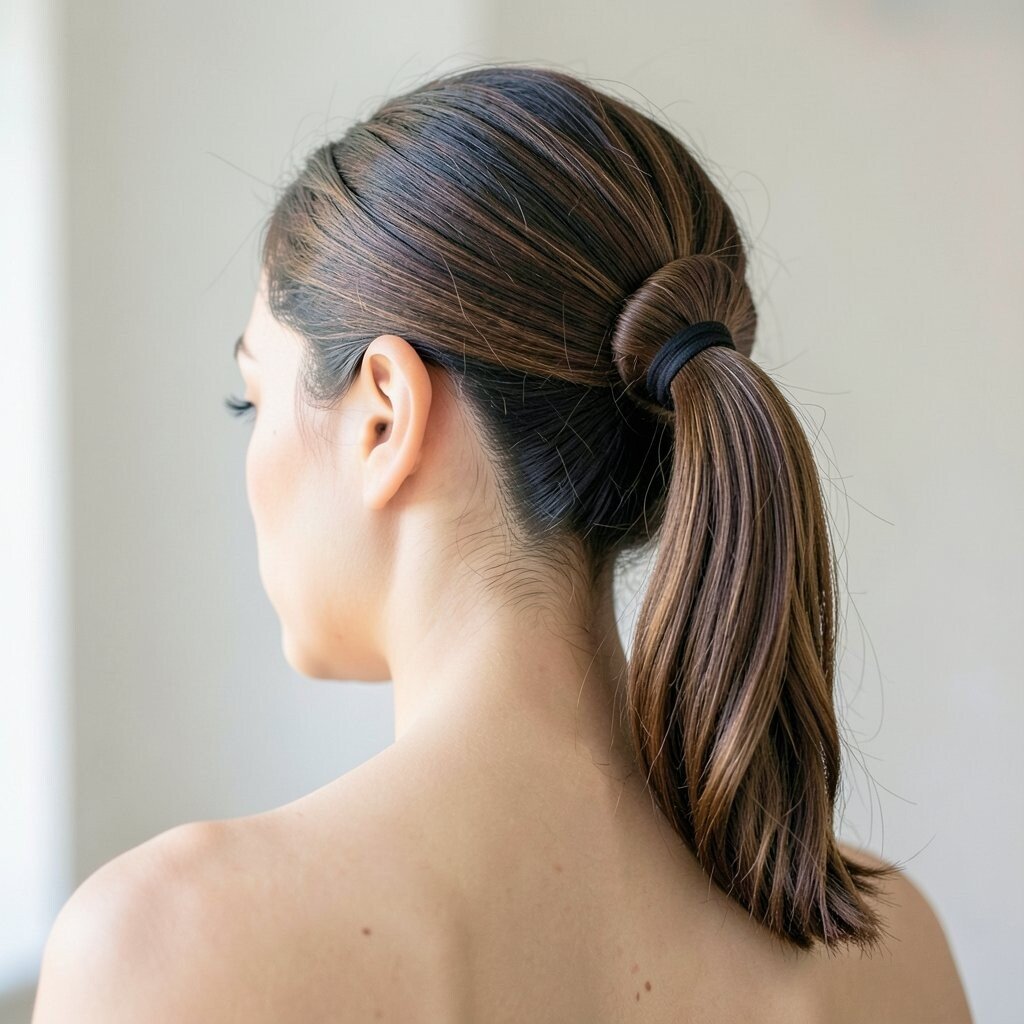
Gather hair into a low ponytail and then roll a small section of hair around the elastic. While rolling, keep the front slightly lifted so the top feels like it sits under an invisible tiara.
This elegant method is practical because it is quick and neat, even when you are running late. The rolled wrap also gives you a custom detail that looks intentional in photos.
15. Waterfall-Inspired Front With Twisted Pins
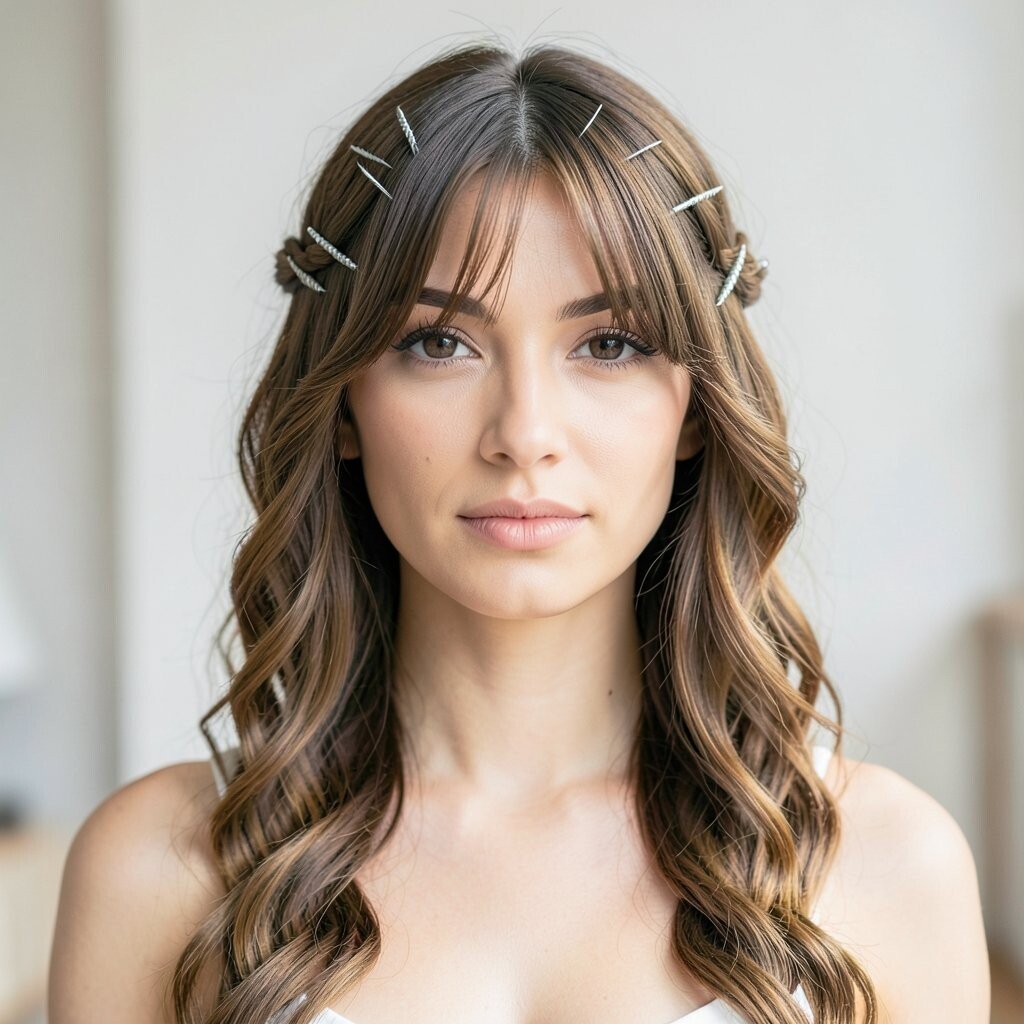
Create a subtle waterfall effect at the front by letting one thin section fall forward while pinning the next. Continue with small twists that tuck behind your ear so the front looks layered and graceful.
This style feels unique because it mimics the flow of a tiara setting, with layers that frame your face. It also balances movement and control, which is ideal for medium hair that wants to curl or flip.
Personalize by using a wider section for a bolder waterfall look or a thinner section for a delicate finish. If you have thick hair, pin closer to the roots so the weight does not loosen the front. A lightweight styling spray can be more cost-effective than heavy gel because it keeps things natural.
16. Braided Bun With Invisible Crown Lines
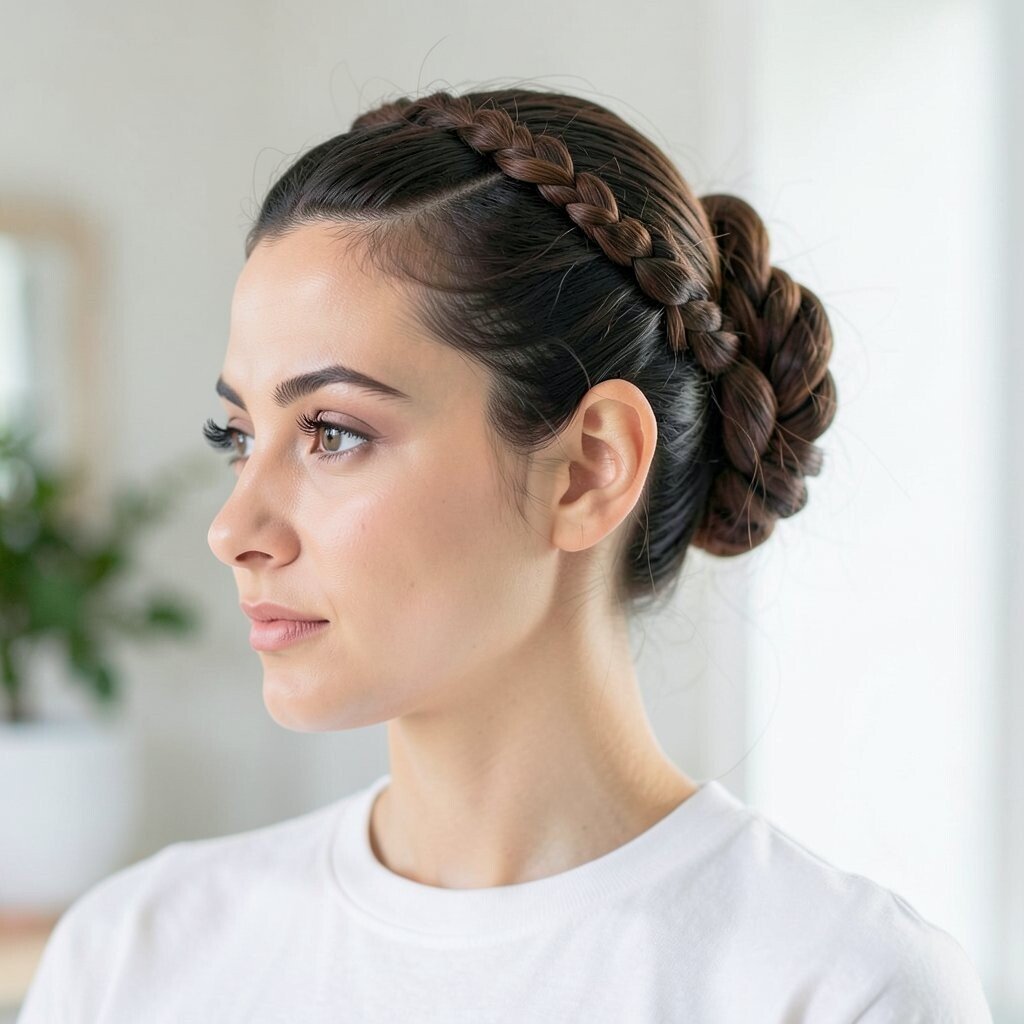
Make a simple braid with the main hair, then coil it into a bun. Before you finish pinning, tuck the front ends in a way that creates two soft crown lines across the top.
This braid bun looks intricate, yet it stays accessory-free because the structure does the talking. The crown lines make the whole style feel like it has a fitted tiara silhouette.
Try leaving a few wispy pieces at the forehead for a modern, softer look. For practical staying power, secure with pins in a crisscross pattern and gently pat the top smooth. If you want to cut styling time, braid while your hair is slightly damp and let it set before pinning.
17. Sculpted Side Smoothing With Hidden Pins
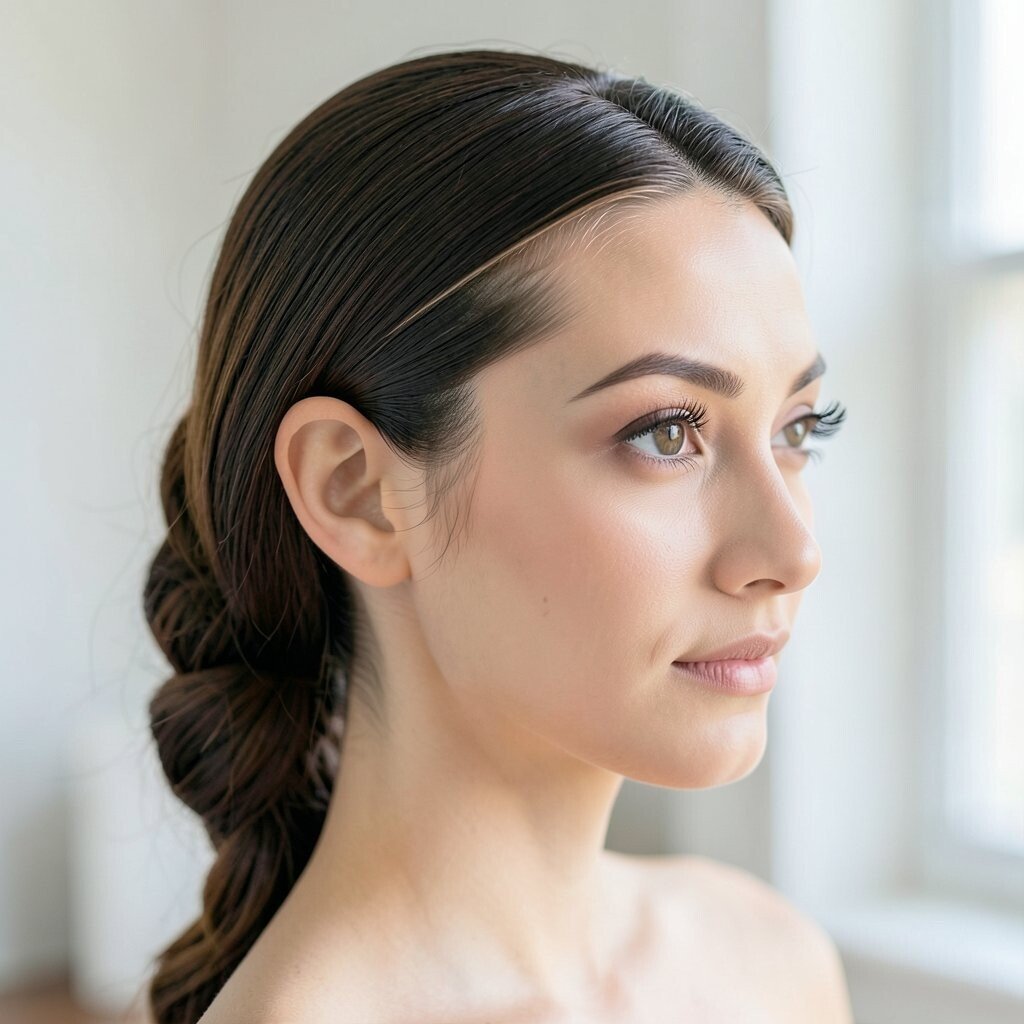
Smooth your hair to one side, then use bobby pins near the temple to hold a curved shape. Keep the top surface sleek, and tuck any loose ends so the look stays clean and calm.
This hairstyle feels elegant because it creates a continuous line from crown to shoulder, like a tiara following your head shape. It is also great for hair that holds a wave well, since the side sweep can look glossy and controlled.
18. Twisted Crown Halo For Short Hair
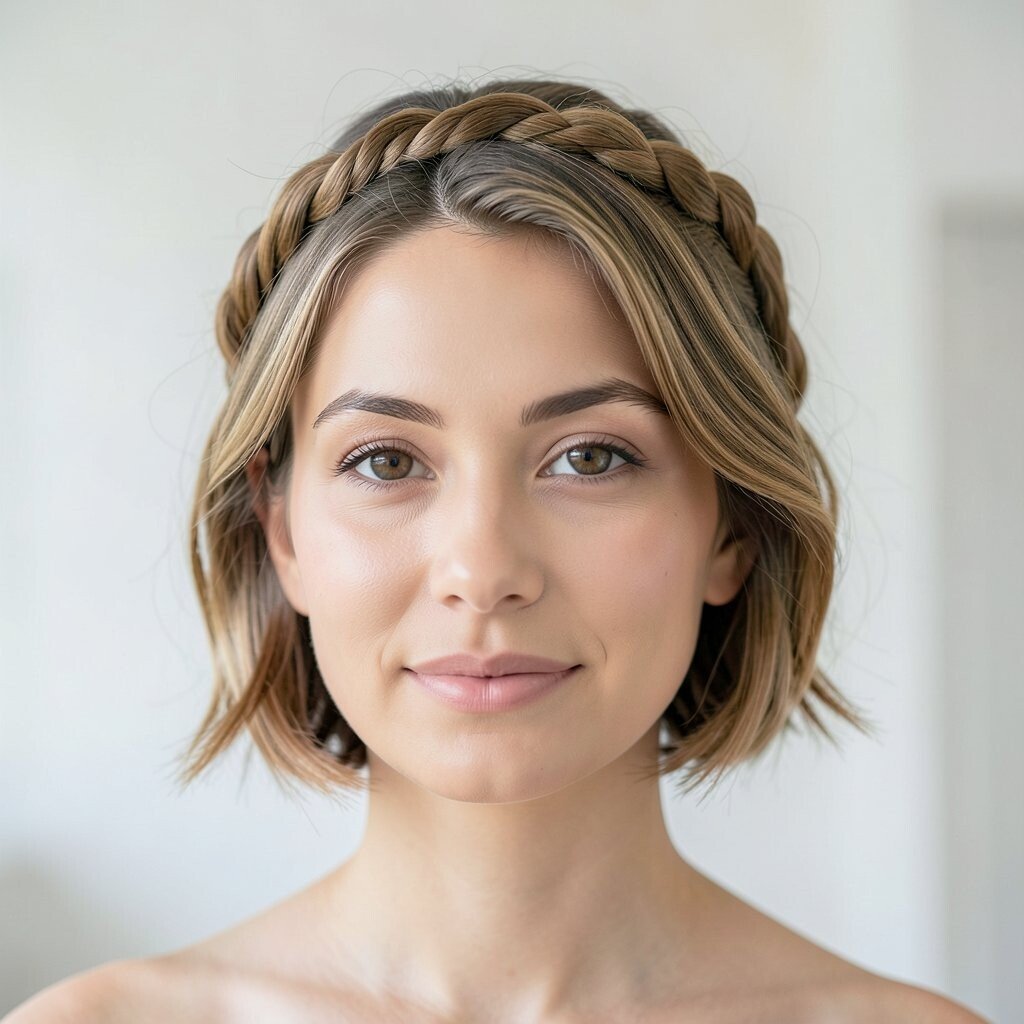
If your hair is short, gather small sections around the top like you are building a halo. Twist each piece lightly, pin it close to the scalp, and keep the direction consistent for a uniform crown effect.
A twisted halo for short hair is truly unique because it proves a tiara vibe does not need long length. It can also make your features stand out since the crown draws attention upward.
Personalize by mixing smooth pieces with tiny textured pieces using dry wax. For practical results, use a strong hold spray and press each pin in place until it feels secure. Cost considerations are easy here because styling tools matter less than pin quality and a little practice.
19. High Volume Blowout With a Polished Top Panel
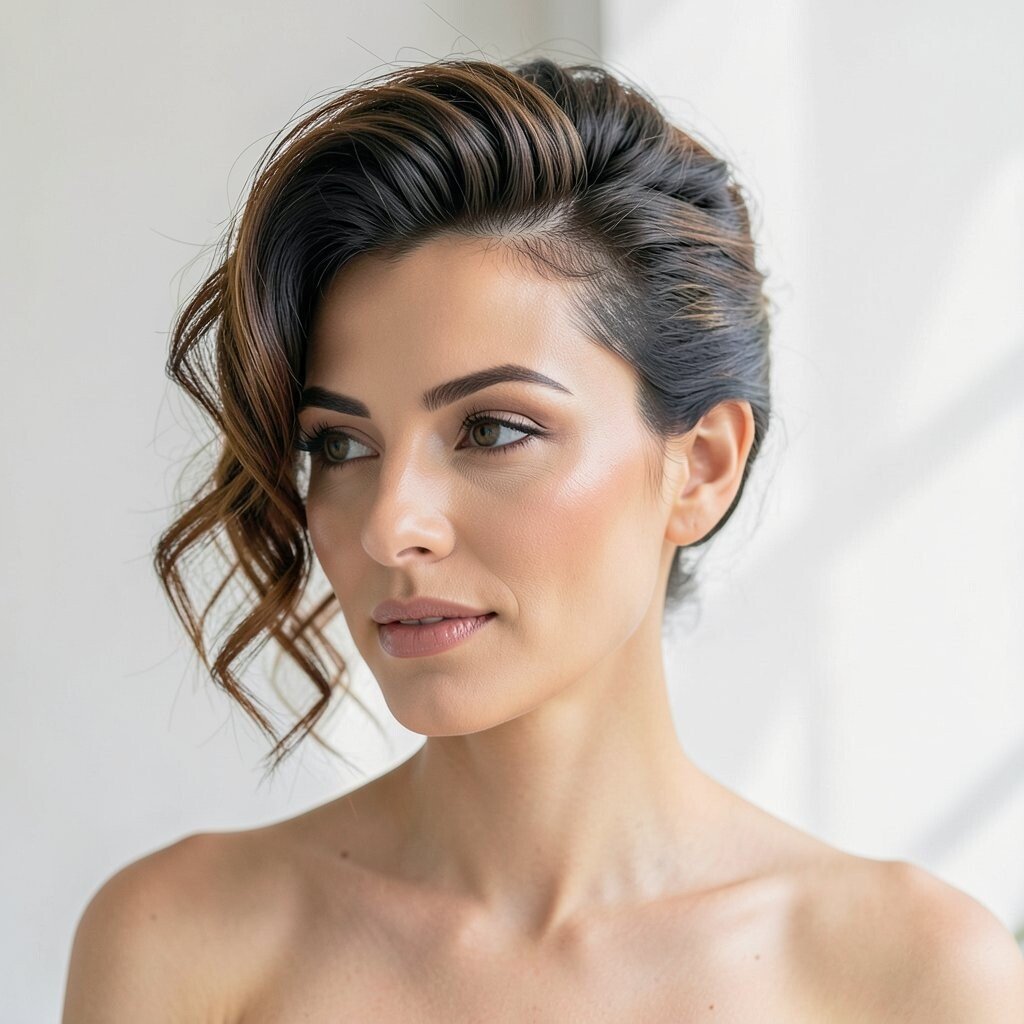
Create a blowout-like volume at the roots and keep the top panel especially polished. Smooth the very top with a brush while you blow dry, then set with cool air so it holds.
This gives you the same lifted, crown-focused look that a tiara would create. It also works for many hair types, especially if your hair naturally thickens near the crown.
To personalize, add soft bends at the ends instead of full curls for a modern finish. For practical care, avoid touching the roots too much after styling so the volume stays intact. If you are investing in anything, a good heat tool and heat protectant can make your style last longer and reduce damage.
20. Glam Retro Bun With a Front Victory-Like Flip
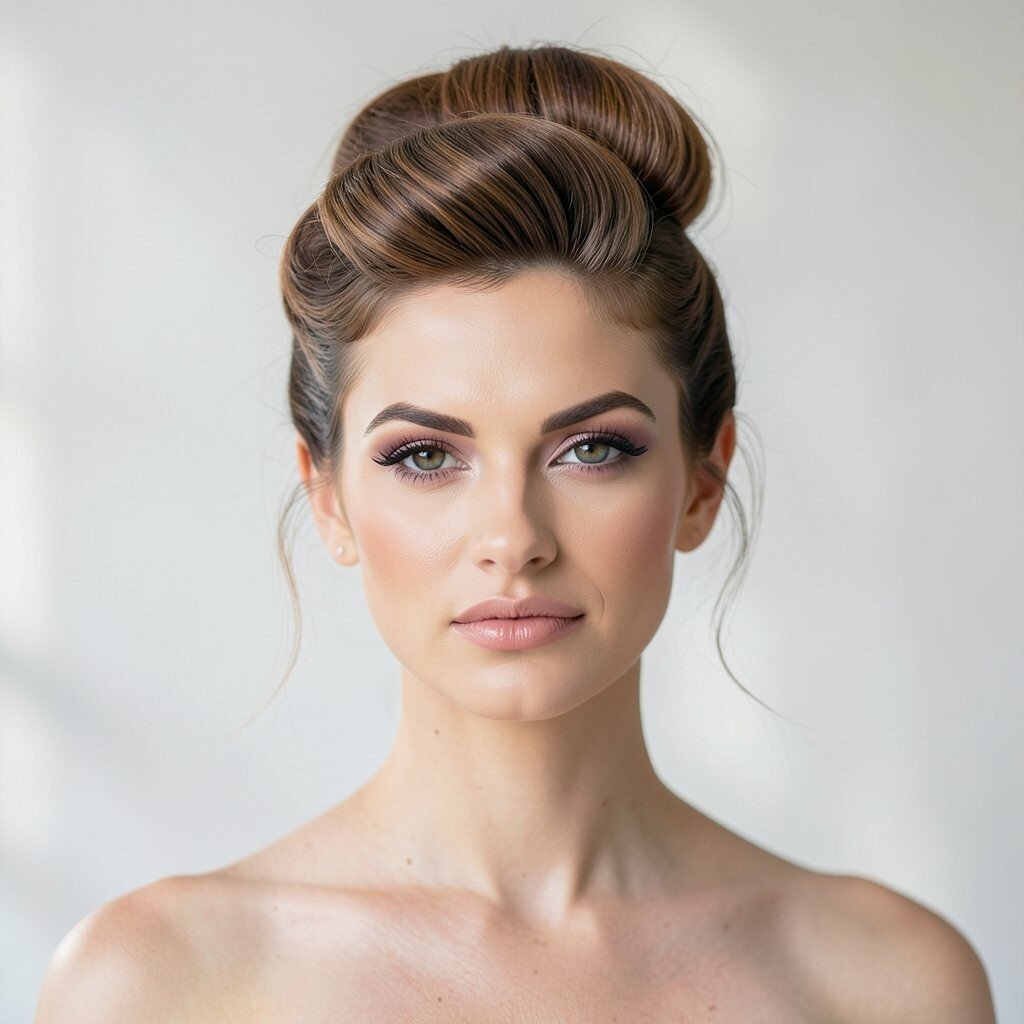
Form a bun at the back and keep it tight enough to look structured. Then style the front hair with a slight upward flip that resembles a small crown roll.
This blend of retro and modern feels elegant because it keeps the attention on your face. It is perfect for evenings when you want a dramatic hairstyle that still looks neat.
21. Glam Curls in a Half-Up Crown Knot

Make curls all over, then twist the top section into a small knot rather than a full bun. Keep the knot tidy and secure, and let the curls fall down in soft waves around your shoulders.
The knot acts like a tiara anchor, giving height and structure while keeping the rest playful. This is a great option if you love volume but do not want your hair fully pinned up.
Personalize by choosing a tighter knot for a more formal look or a slightly looser knot for a relaxed event vibe. For practical hold, use a light mist hairspray after pinning, then avoid heavy brushing so curls do not collapse. Cost-wise, curl-friendly styling products can add up, but using fewer products and focusing on technique often saves money.
22. Smooth Side-Parted Chignon With a Crown Seam
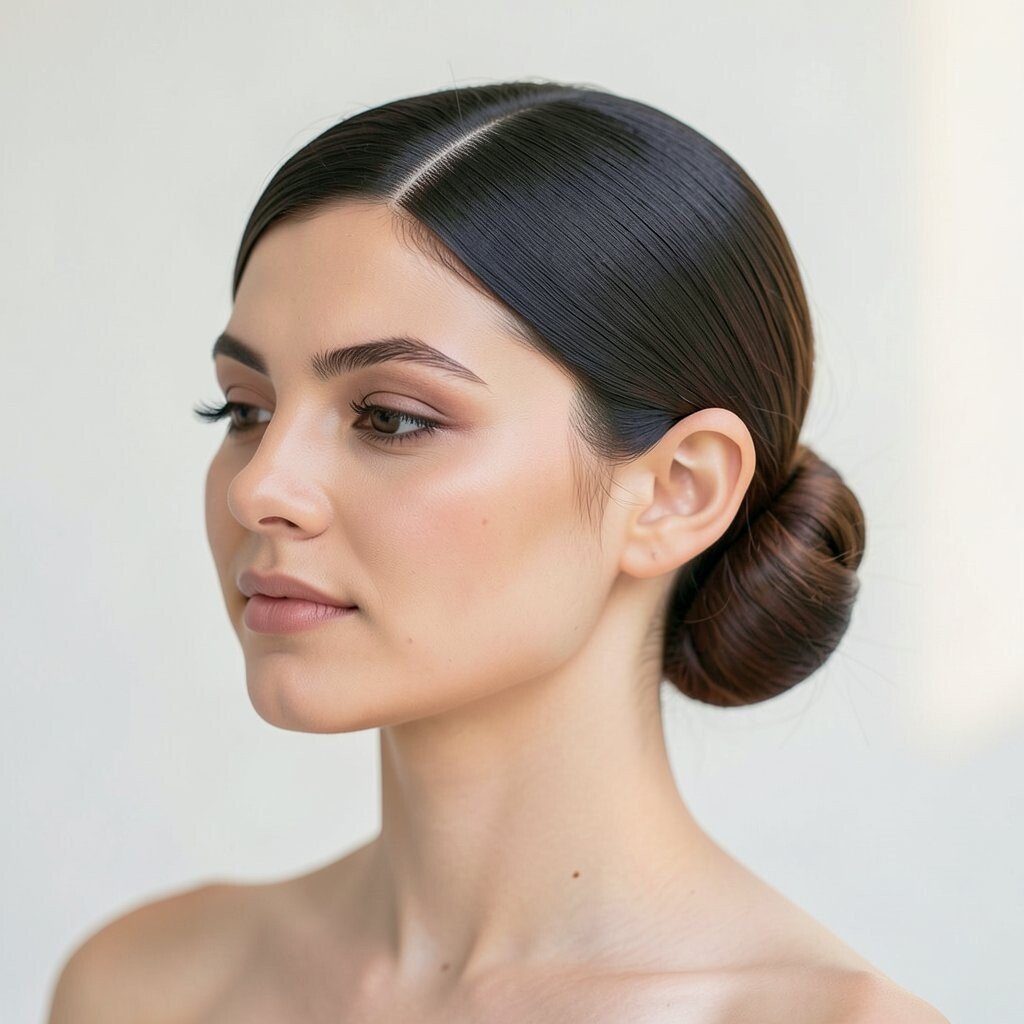
Use a clean side part and smooth your hair into a chignon at the nape. Create a “crown seam” by pinning the top hair in a gentle ridge so it looks fitted along your head curve.
This ridge makes the hairstyle feel designed, like a tiara sits just under the surface of your hair. It also flatters most face shapes because the side part guides the eye and the chignon keeps everything sleek.
Personalize with a tiny tuck at the end of the chignon for extra detail, even without any accessories. For practical styling, dampen the top lightly so it holds shape longer, then dry fully before pinning. If you want the look to last all day, prioritize a strong comb, quality pins, and a final mist that keeps shine without crunch.