
A wildflower bouquet can look effortless and still feel deeply personal. With a few smart choices, you can make it look styled from the inside out.
Whether you’re gathering blooms from a yard or picking a mix from a market, these ideas will help you shape color, texture, and meaning. You’ll get practical ways to keep petals fresh and stems strong.
1. Gather in a Meadow-Edge Spiral

Start with a loose handful of stems and build the bouquet like a gentle spiral. As you add each new bloom, angle it slightly so the whole arrangement feels like it’s leaning into a breeze.
This style looks natural because it mimics how flowers grow close together. It also benefits you because it hides uneven stem lengths without extra tools. Keep a few long, trailing stems on the outside for movement, and clip them to match as you go. For cost, you can buy a small bunch of greens and use it as “meadow fill” that stretches the look.
2. Build a Color-Blocked Ribbon Bouquet
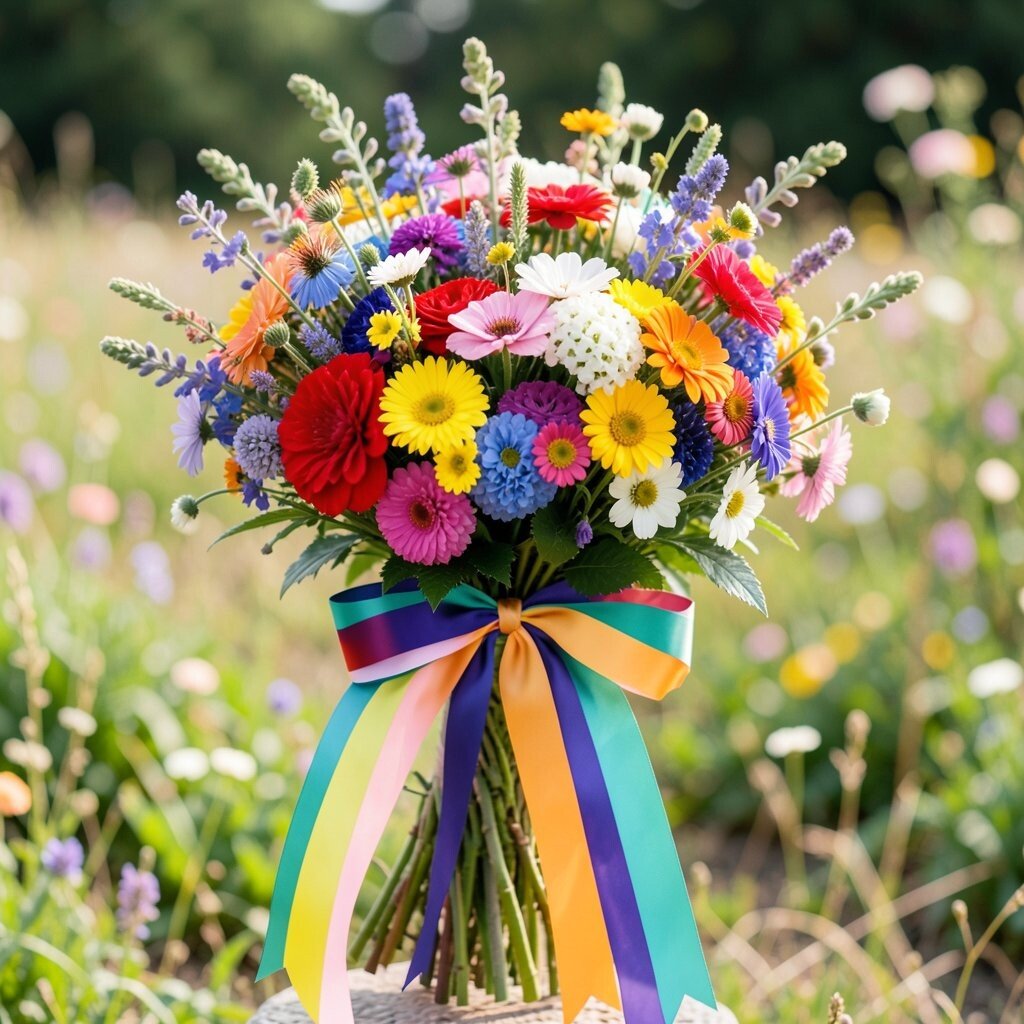
Choose one color family and make it the star, then add a second color band like a ribbon. Think of soft lilac with pale yellow, or orange with creamy white, and keep each “band” separate.
This arrangement can feel modern while still showing the wild, relaxed spirit of the blooms. It’s a simple way to personalize, since you can match your bouquet to a dress, a room, or a seasonal mood.
For practical setup, trim stems to a consistent height before tying them with twine. If you want the color bands to stay crisp, rotate the vase while you arrange so you don’t blend the sections too much. When you shop, focus on variety within the same colors so the cost stays predictable and the bouquet looks fuller.
3. Go Monochrome With One Flower Type
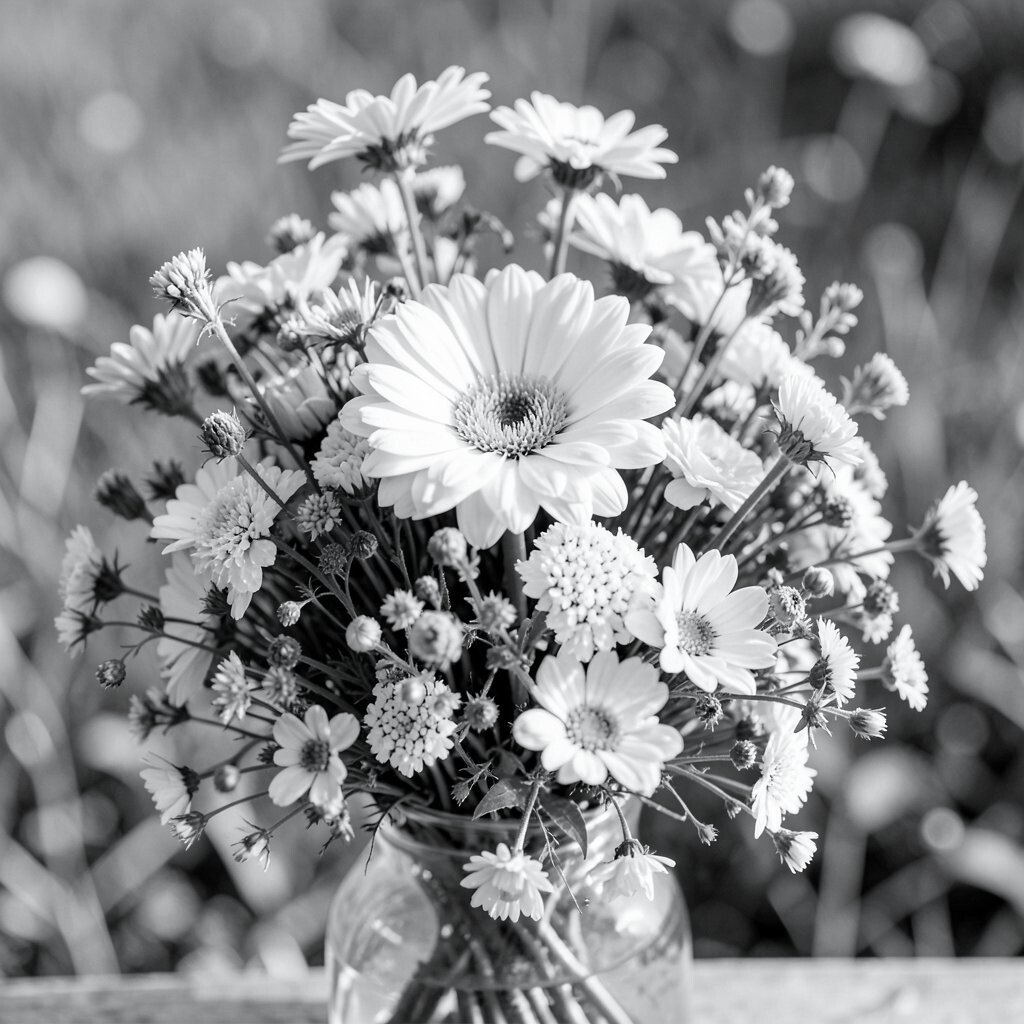
Pick one wildflower type and arrange it in many sizes and stages. Use mostly buds and half-open blooms so the bouquet slowly changes over time.
This monochrome look is unique because it turns one plant into a whole story. It also keeps your planning easy, since you’re not chasing too many different flower shapes. Add a little airy greenery, like leafy sprigs, to keep the stems from looking bare.
For best results, keep stems in water and re-trim ends every day or two. If you’re working with a limited budget, this style is forgiving, because fewer species can still look lush. Try pairing a monochrome bouquet with a plain glass vase so the petals remain the highlight.
To personalize, choose a flower tied to a memory, like daisies for sunny days or asters for cool evenings. Wrap the stems with ribbon in the same color family for a neat finishing touch.
4. Try a Foraged “Bounty” Hand-Tied Bundle
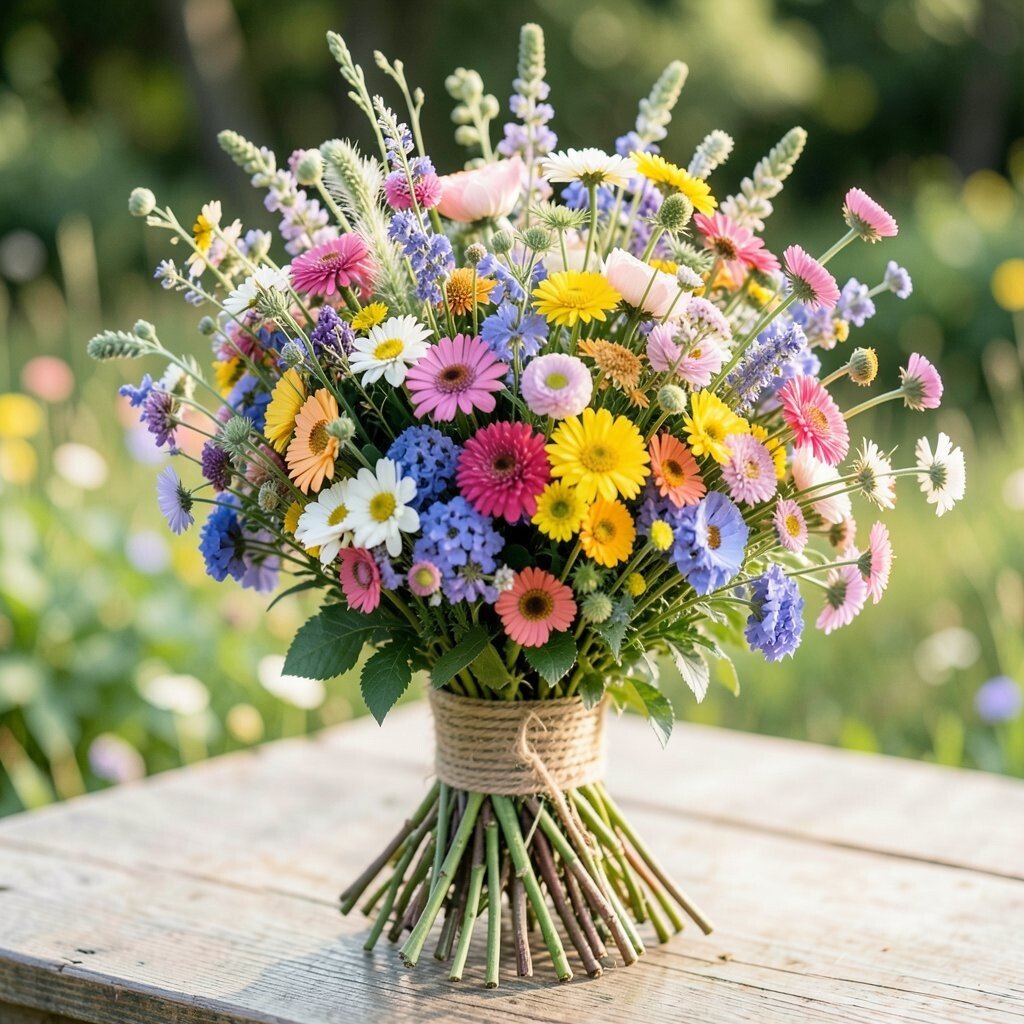
Make a hand-tied bouquet that looks like it came straight from a path in the field. Let some stems stick out more than others, and keep the overall shape rounded but relaxed.
This can be wonderfully budget friendly, because you can use what’s available and avoid extra filler. It also gives you a bold, joyful look that feels fresh and spontaneous. When you tie it, keep tension gentle so the petals don’t crush.
5. Arrange in a Vintage Teacup Stack
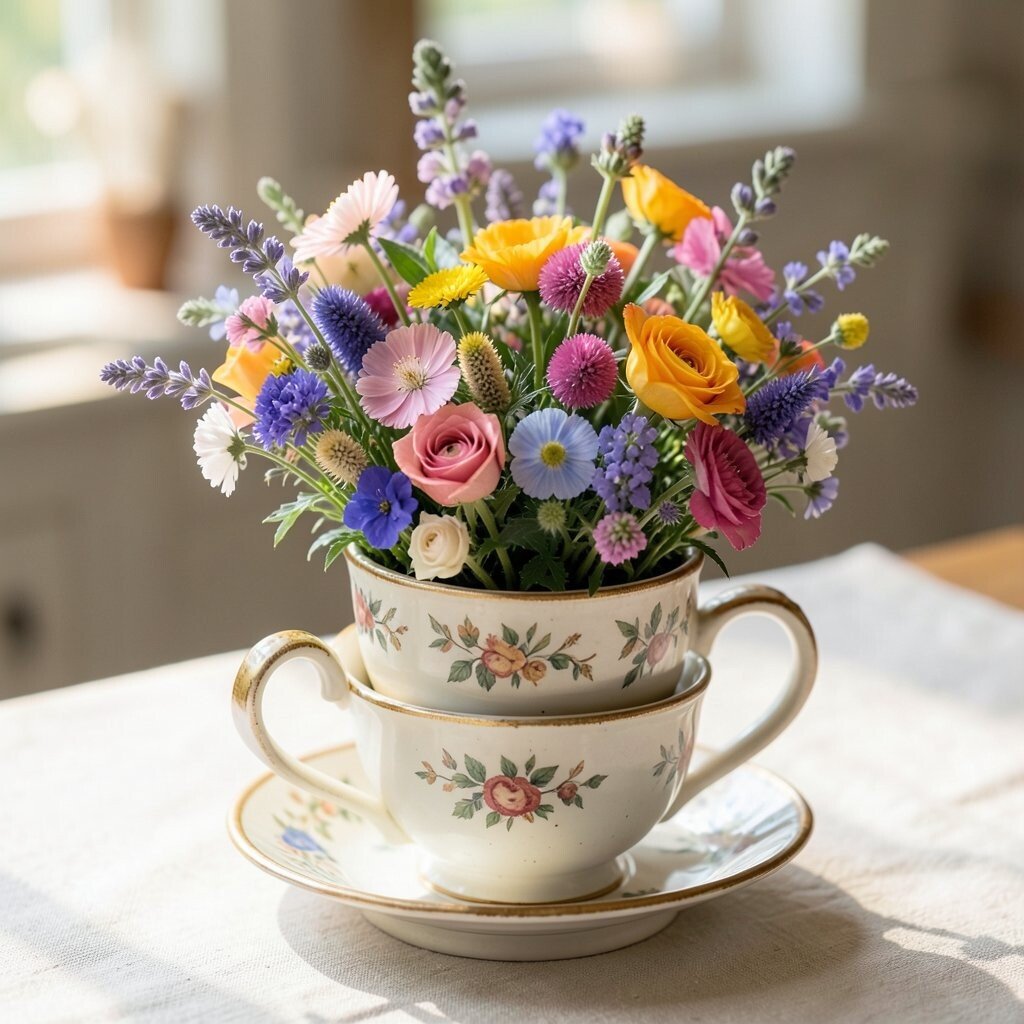
Use small teacups, mismatched mugs, or even tiny cream pitchers as mini containers. Build one bouquet per cup, then place them together on a tray so it feels like a set.
This idea is charming and unique because wildflowers feel both casual and elegant at once. It also gives you a practical option for homes with limited counter space.
To keep flowers happy, use shallow water and refresh it often since small containers warm up faster. Choose blooms with different heights across the cups, so the tray looks curated rather than scattered. You can personalize by matching the cup colors to the flowers, or by using one favorite pattern for unity.
If you’re watching cost, thrift stores can be a gold mine. A few inexpensive cups can make a big visual impact without a big flower bill.
6. Create a “Wild Crown” in a Flat Bowl

Place stems in a wide, shallow bowl and aim for a flat, ring-like shape. Think of a crown made of petals, with blooms turning outward like a wreath.
This design benefits you because it makes every flower visible from all angles. It’s also easy to personalize for different seasons by swapping greens and bloom colors.
For practical tips, anchor the stems with floral foam or a bed of moss inside the bowl. Then keep the tallest stems toward the center so the ring doesn’t collapse. If you want to keep costs down, use moss or leafy clippings as base filler instead of buying extra specialty materials.
To get a modern trend feel, keep the ring clean and avoid too many tiny filler flowers. Instead, choose a few distinct bloom shapes and let their silhouettes do the work.
7. Make a Tall “Windblown” Vase Statement
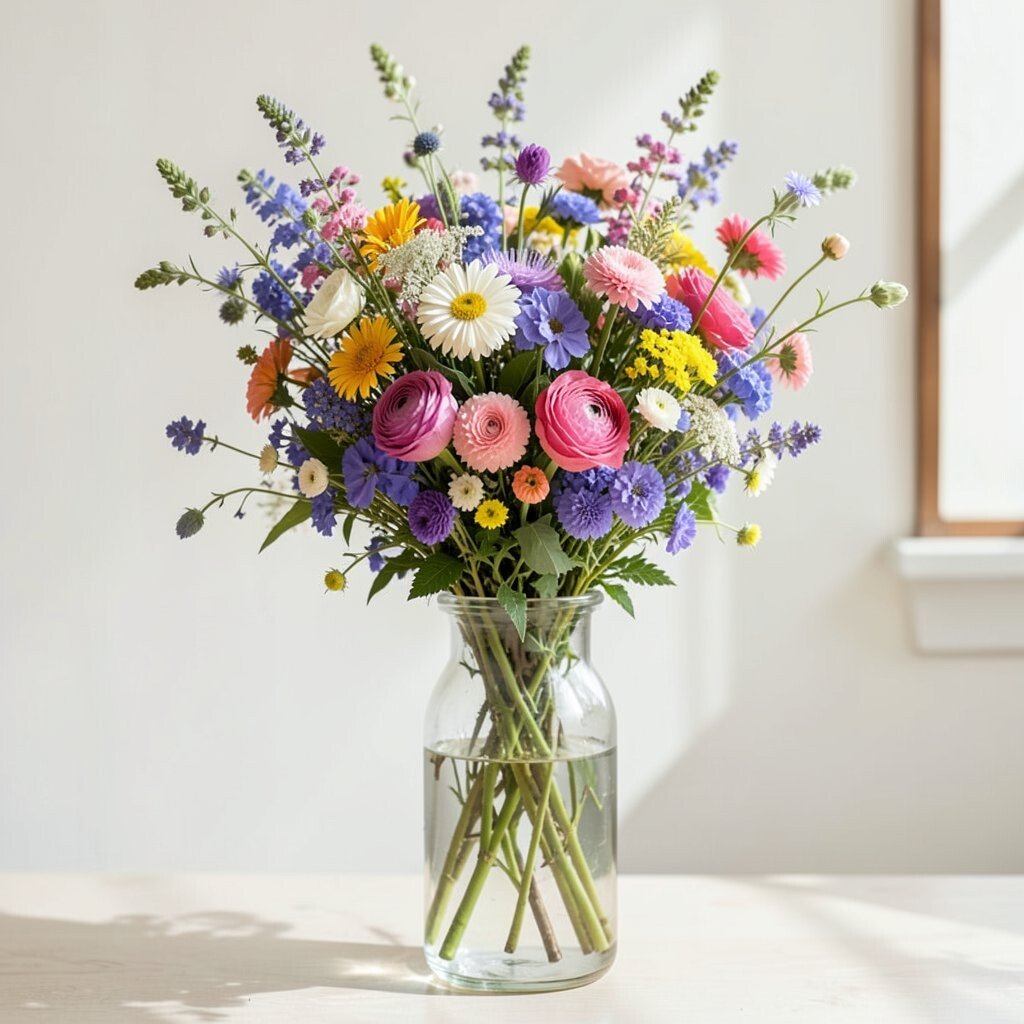
Choose a tall vase and arrange stems so they lean in one direction. Use longer stalks like delphinium-like blooms, tall grasses, or airy flower stems to create a windy sweep.
This look is striking and unique because it adds motion without needing extra decoration. It also helps you use stems that are too long for smaller arrangements, which saves money and reduces waste.
For practical tips, trim stems at an angle and place them in staggered depths so the bouquet holds its curve. If the blooms droop, re-cut the ends and keep the vase away from heaters. Personalize it by choosing a color palette that matches your room’s vibe, like soft pastels for calm or bold warm tones for energy.
Cost-wise, tall arrangements can be surprisingly affordable because a few key long stems create volume. Add only a handful of supporting blooms and let the vase do the rest.
8. Arrange Like a Hanging Garden With a Simple Bucket
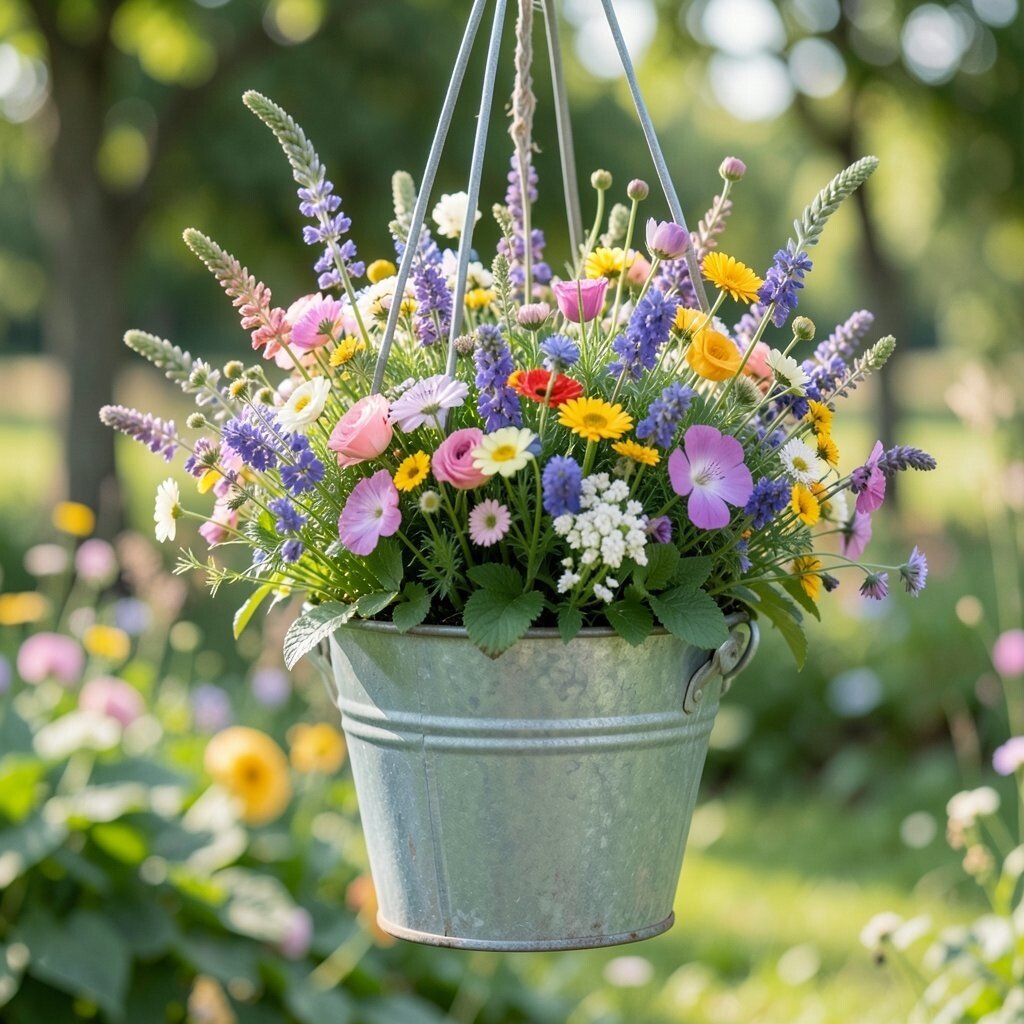
Use a bucket, vase, or jar on a low surface, then let a few stems fall over the edge. Instead of fully lifting every stem upward, create drapes that spill like a hanging garden.
This style feels cozy and playful, which makes it great for parties and everyday home charm. It also benefits you because draping stems can hide gaps where you don’t have many blooms.
To make it practical, keep the heaviest blossoms near the water line and let lighter airy stems spill. Rotate the container as you work so the drape looks balanced from every side. For personalization, wrap the outside of the bucket with twine, burlap, or ribbon that matches your theme.
9. Pair Wildflowers With a Single Bold Green Arch

Pick one green element, like eucalyptus-like leaves, fern fronds, or thick clover foliage, and shape it into an arch. Then tuck wildflower stems into the curve so the greens frame the blooms.
This arrangement is unique because the greens act like a natural picture frame. It also gives you a clear structure, which makes it easier for beginners to build a bouquet that looks polished.
For practical tips, wire the arch gently if you need extra support, or bend thick stems to hold shape. Keep the arch toward the back so the flowers remain the focal point. Cost considerations are helpful here too, because greens often stretch the look and can be less expensive than buying more blooms.
Personalize the arch by choosing the green tone that matches your season, like bright spring greens or deeper late-summer shades.
10. Create a Mixed Texture Bouquet With Grasses as the Backbone
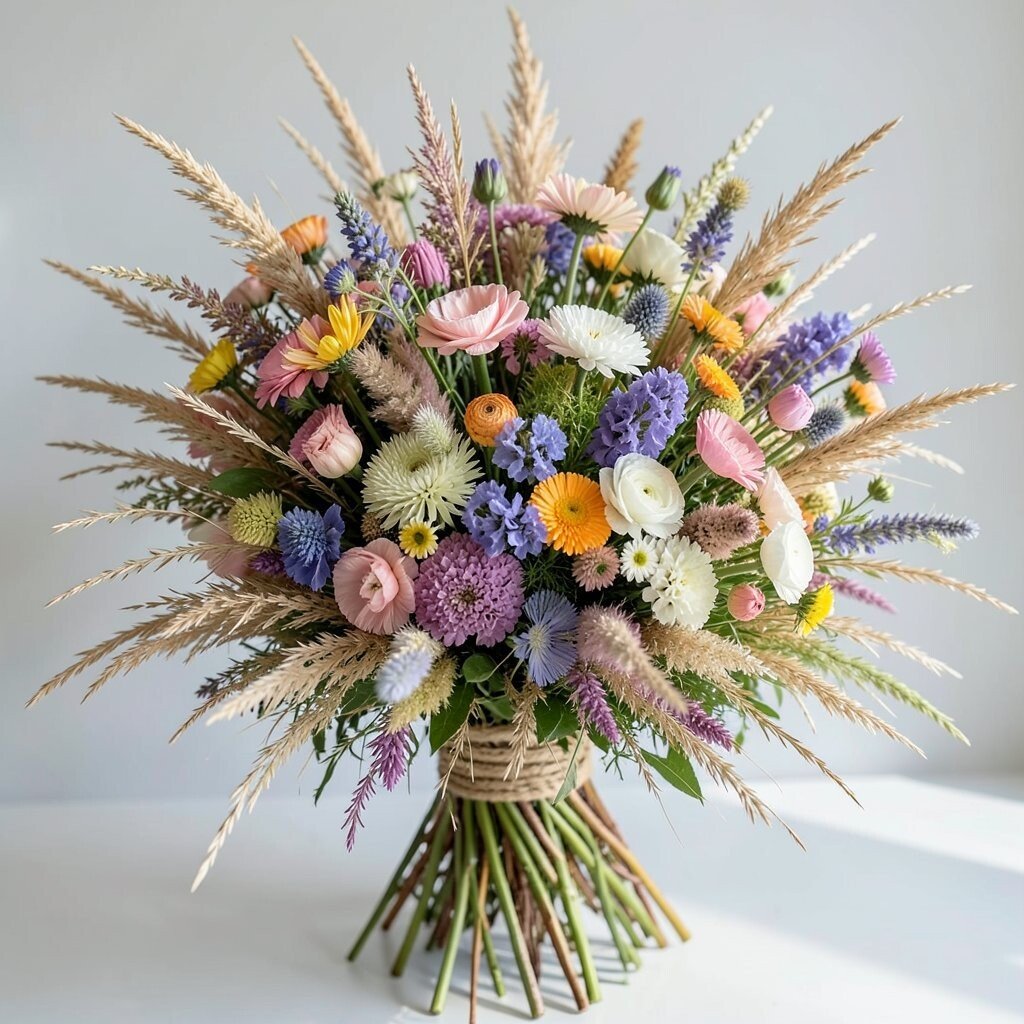
Use wildflowers plus grasses as the main structure, not just side decoration. Let the grasses rise, twist, and braid through the bouquet to add movement and texture.
This benefits you because grasses help hide the hard work of trimming and sizing stems. It also looks unique since many store bouquets use mostly blooms, while grasses add a natural, lived-in style.
For practical setup, trim grasses a bit shorter than you think, since they spring upward as they drink water. Keep the water clean and refresh it often because grass can shed particles. You can personalize by choosing grass length based on your vase height, and by mixing in tiny blooms to fill small gaps.
Cost-wise, grasses are usually easy to source and can make a small flower purchase look larger. Even a few stems can add that full, meadow feel.
11. Use a Gather-and-Glaze Glass Mason Jar Look

Pick a simple mason jar or clear glass container and style it with wildflowers that look like they’re “glazed” in sunlight. Keep the flowers tight enough to look intentional, but still airy enough to feel natural.
This is a friendly, modern trend because clear glass shows stems and water, which makes the bouquet feel fresh. It also benefits you since glass containers are easy to clean and maintain.
For practical tips, choose one focal bloom at the center and circle it with supporting flowers of similar height. If your blooms are delicate, keep them away from direct sunlight so petals don’t fade fast. Personalize it by adding a small charm tied to the jar handle, like a leaf-shaped tag or a simple cloth ribbon.
Cost considerations are gentle here because mason jars are affordable, and you can reuse them for future arrangements.
12. Make a “Garden-to-Table” No-Fuss Bowl Centerpiece

Use a wide bowl and fill it with a mix of flowers and greenery that feels like a table harvest. Keep the arrangement close to the table for a cozy, welcoming look.
This centerpiece idea works because it’s practical for hosting, and it doesn’t require fancy equipment. It also helps you personalize for different events by swapping seasonal greens and choosing colors that match your plates or napkins.
For practical tips, soak the stems briefly before arranging so they settle better in the bowl. If you’re using floral foam, cover it lightly with moss so it doesn’t show. Cost-wise, bowls stretch materials well, since you can use fewer flowers but in a wider layout.
13. Try a Wrapped-Foliage Handle Bouquet for Photos
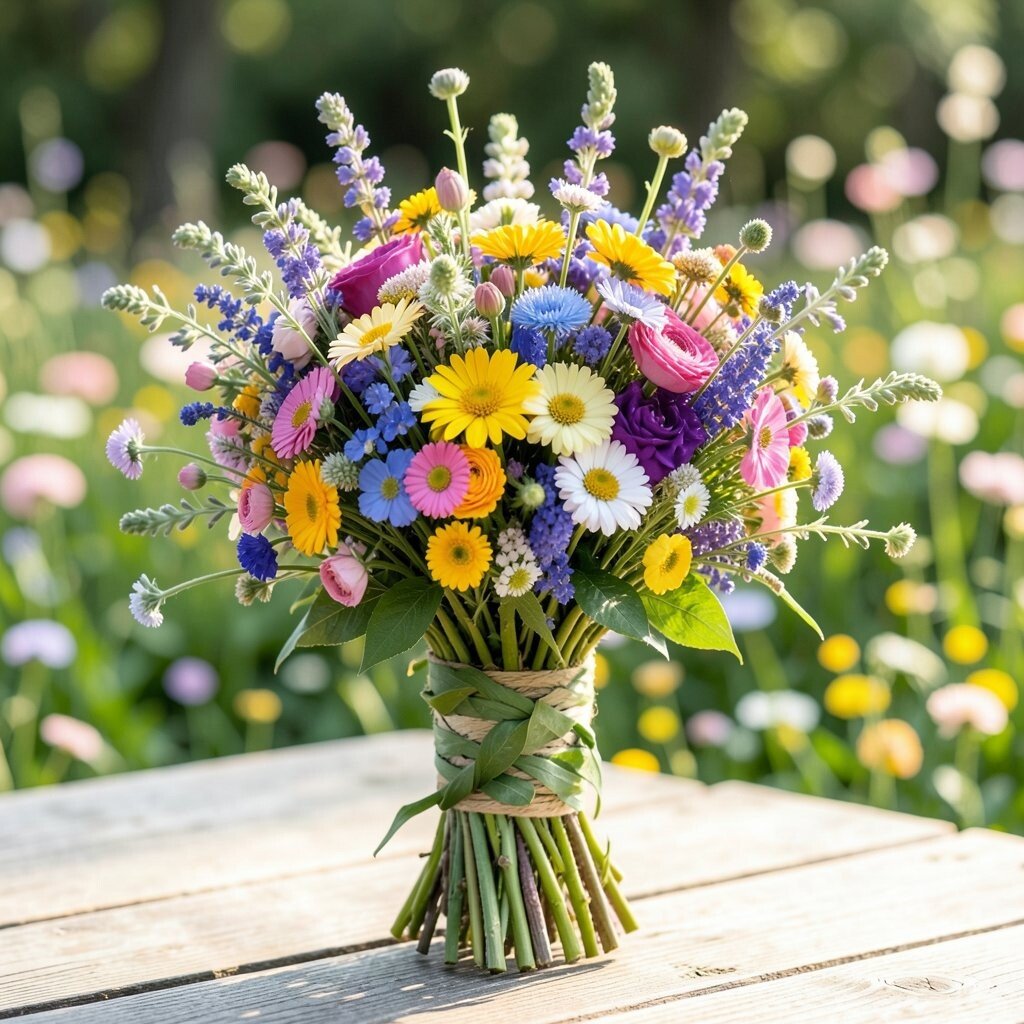
Shape your bouquet with flowers in a round cluster, then wrap thick foliage around the stems like a handle. Think of it as a bouquet grip made from leaves and twine so it feels crafted.
This style is unique because it adds a built-in design detail that looks great in photos and video. It also benefits you because the wrap can keep stems in place, reducing wobble.
For practical tips, start with greenery at the base, then layer flowers lightly on top. Use twine to secure the wrap, and trim stems so the bouquet sits evenly when held. Personalize it by choosing foliage that matches your bouquet’s color mood, like bright lime greens for a fresh look.
Cost considerations are helpful because foliage wrap often replaces extra ribbon and can make a simpler bouquet look more expensive.
14. Design a Waterline Bouquet With Stems Hidden in a Vase

Pick a vase with a narrow opening and arrange stems so only the bloom heads show at the top. Keep the waterline low and let the blossoms float above it like a floral fountain.
This arrangement looks modern and unique because the stems feel invisible, giving an airy, elevated impression. It also benefits you because you can use stems that aren’t all the same length without it becoming noticeable.
For practical tips, trim stems to different lengths and place them at angles so the heads form a gentle dome. If you can, use a thin holder or a grid insert to keep stems from shifting. Personalize by choosing a balanced color mix, then stopping when the shape feels complete rather than overcrowding.
Cost-wise, fewer visible blooms can still look full when the vase shape creates height and structure.
15. Assemble a “Seasonal Quilt” Mix With Many Small Blooms
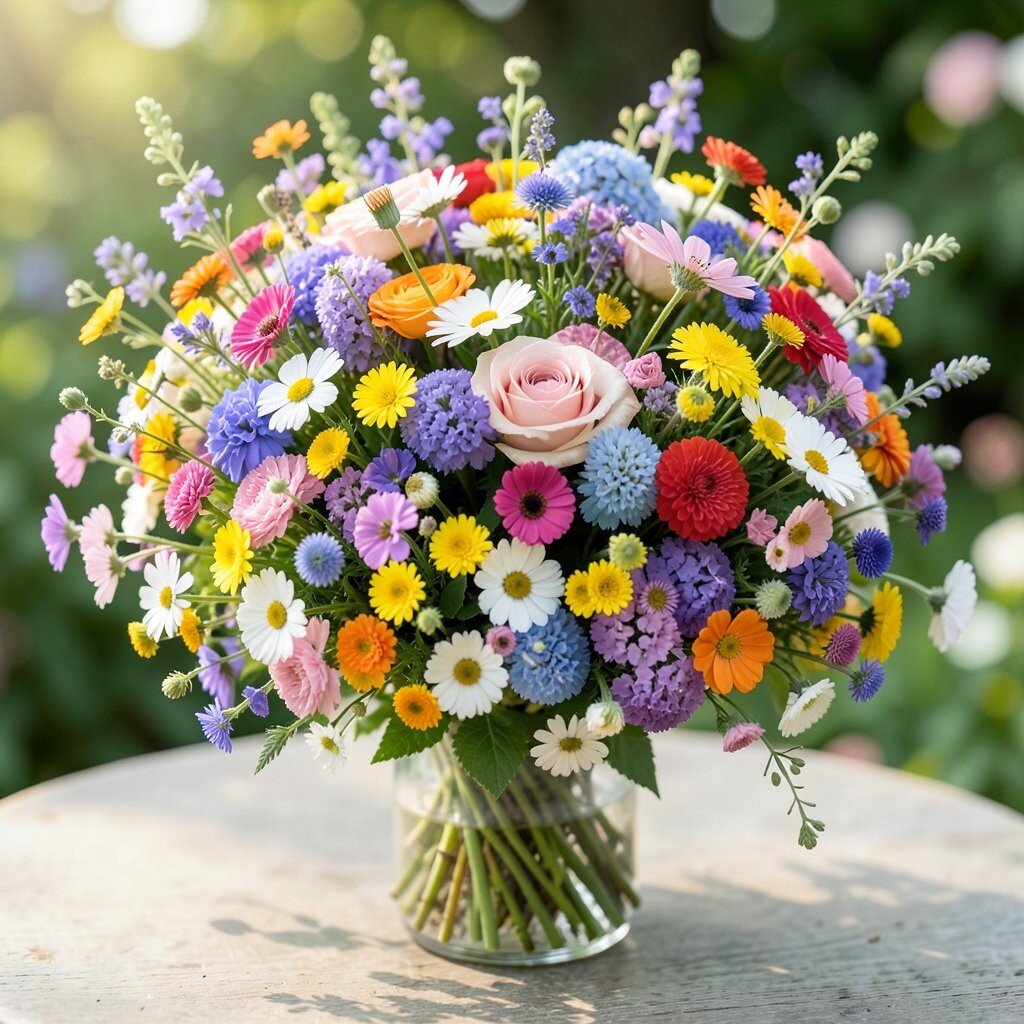
Use lots of small wildflowers and place them like pieces in a quilt. Keep them grouped by color and shape, then let the overall bouquet stay rounded and slightly irregular.
This idea is unique because the bouquet becomes a patchwork of textures rather than one main flower. It also benefits you because small blooms can stretch a budget, especially when you’re gathering from different places.
For practical setup, sort stems by height first so you don’t get a messy top layer. Secure the bouquet with twine and add a light green “border” at the outer edges so it reads like a complete design. Personalize it by leaning into the season’s palette, like cool blues in late summer evenings or warm golds for bright spring light.
Cost considerations are friendly because you can use mixed bunches and still get a rich, full look without buying premium single stems.
16. Create a Scented Citrus Twist With Flower-Infused Add-Ins
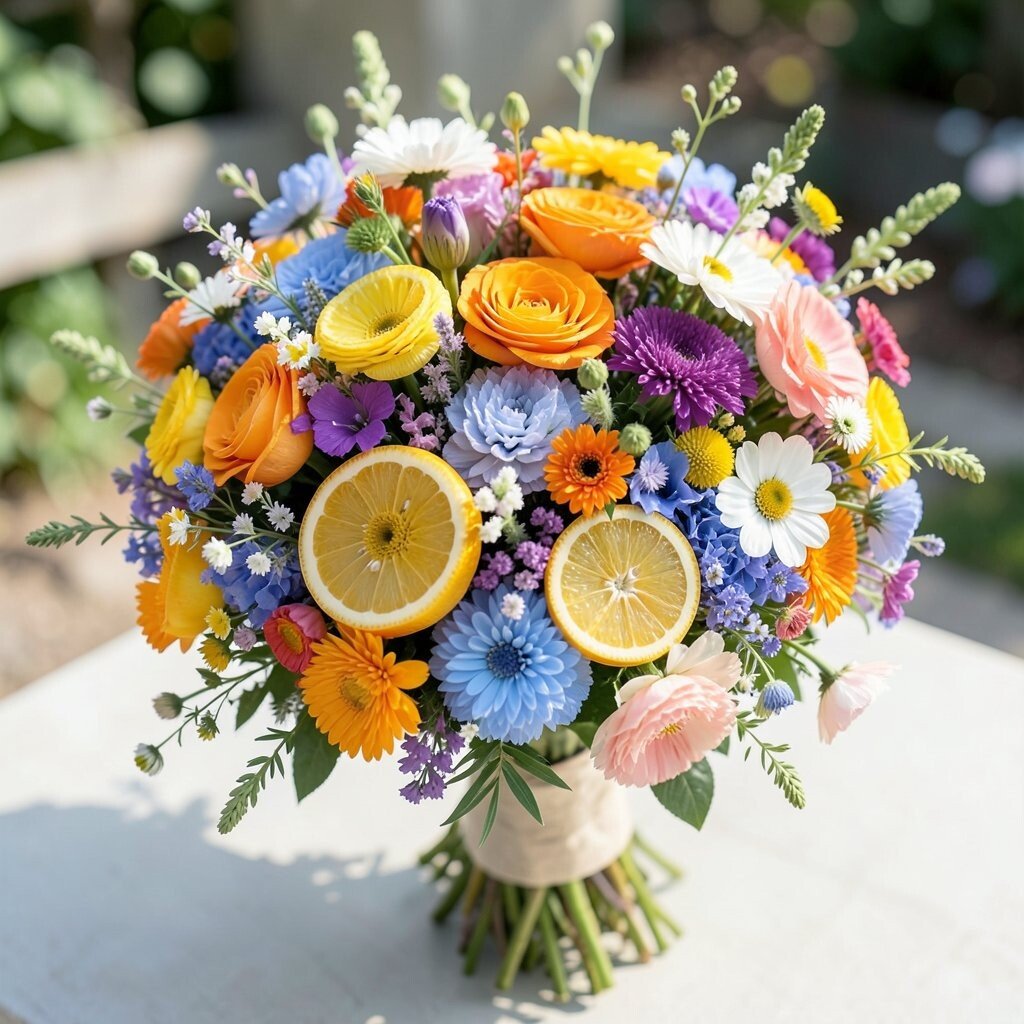
Add a twist of scent by including citrus slices, lemon peel, or small aromatic sprigs alongside the wildflowers. Keep the fruit pieces away from direct water contact, and tuck them between stems where they won’t soak.
This arrangement is unique because it adds a sensory layer you can’t get from flowers alone. It also benefits you since fragrance can make even a simple bouquet feel like a special occasion.
For practical tips, choose hardy slices that won’t get mushy too fast, and replace them if they start to wilt. Keep the bouquet cool and out of strong airflow so the scent stays pleasant. Personalize it by matching the aroma to your mood, like fresh lemon for energy or sweet orange for cozy warmth.
Cost considerations are manageable because you can often use seasonal fruit from your kitchen as a low-cost add-in. Pair this style with a clear glass vase so the citrus pops visually against the petals.