The first day jitters deserve a hairstyle that feels fun and fits your kid’s real life. These ideas are made to look great in class photos and still survive recess.
You can mix and match with what you already have at home, from simple clips to cute braids. Each option below includes quick ways to make it last and feel special.
1. Bubble Ponytails With Tiny Clips

Start with two or three high ponytails, then gently add small clear elastics to “bubble” the hair. The look pops off the head like little balloons, and it makes thin hair look fuller.
Finish by tucking a small snap clip near each bubble for extra sparkle. This style keeps hair away from eyes, and it feels playful without needing heavy styling.
2. Messy Side Braid With Soft Waves
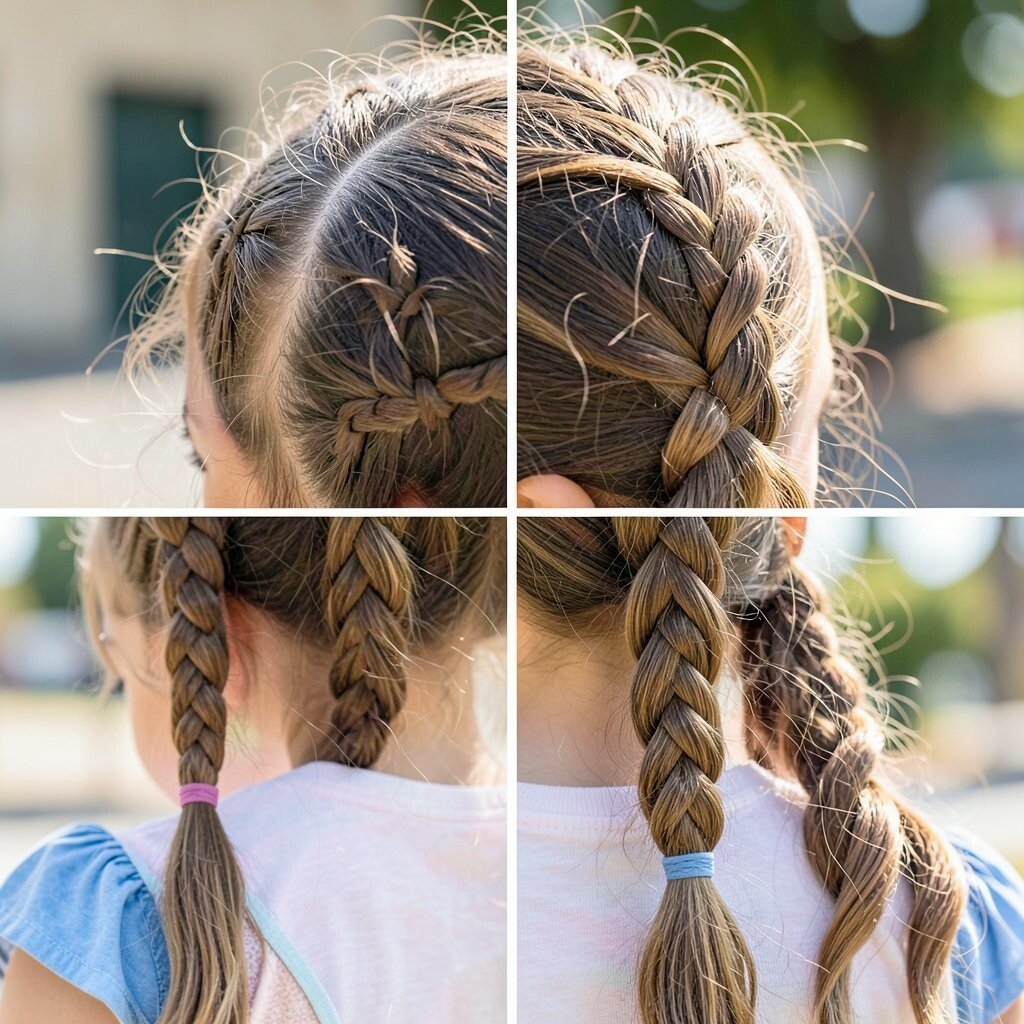
Part hair slightly to the side and braid loosely, leaving a few face-framing pieces out. You’ll see an effortless, wind-kissed look that still looks intentional.
To help it last, secure with an elastic that matches the hair color and lightly mist with water first. This style is unique because it feels artsy, and the loose strands add movement.
For personalization, weave in a thin colored thread or wrap a mini ribbon at the end. If your budget is tight, you can skip extra accessories and still get the same trendy vibe with just a good elastics set.
3. Half-Up Crown Braids
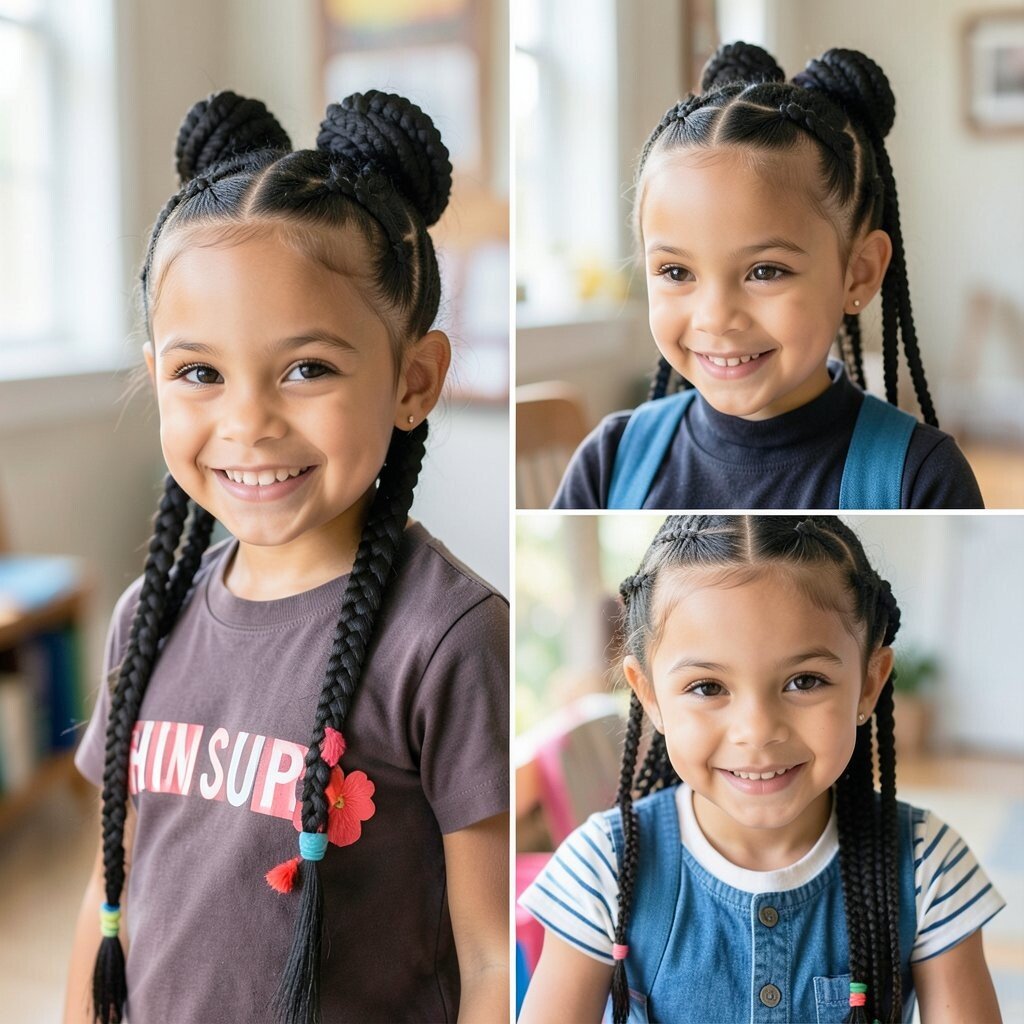
Take two small sections from the front and braid them back like a crown. The top looks neat and regal, while the rest of the hair falls naturally.
Secure the braids with a small elastic, then tuck the ends under to hide them. This keeps hair off the face during learning time and helps your kid stay comfortable.
To personalize, choose a crown shape that matches their hair thickness by making wider or thinner front sections. A wide crown usually needs fewer pieces, which can save time in the morning rush.
If you’re following current trends, you’ll notice crown braids are back because they look polished but still kid-friendly. Pair it with a simple headband for a cute finish that doesn’t cost much.
4. Fishtail Mini Braids Around The Head

Split hair into two sections and create short fishtail braids near the temples, then connect them at the back. The tiny zigzag braid pattern looks detailed, even when you keep it small.
Use lightweight elastics and gently pull the braid edges for a fuller look. It benefits busy kids because it holds well and reduces tangles when they move a lot.
For personalization, swap the braid placement for your child’s part, or add a single charm clip at the join. This style feels unique, and it can be done with minimal product if the hair is slightly damp.
5. Classic High Ponytail With Scarf Wrap
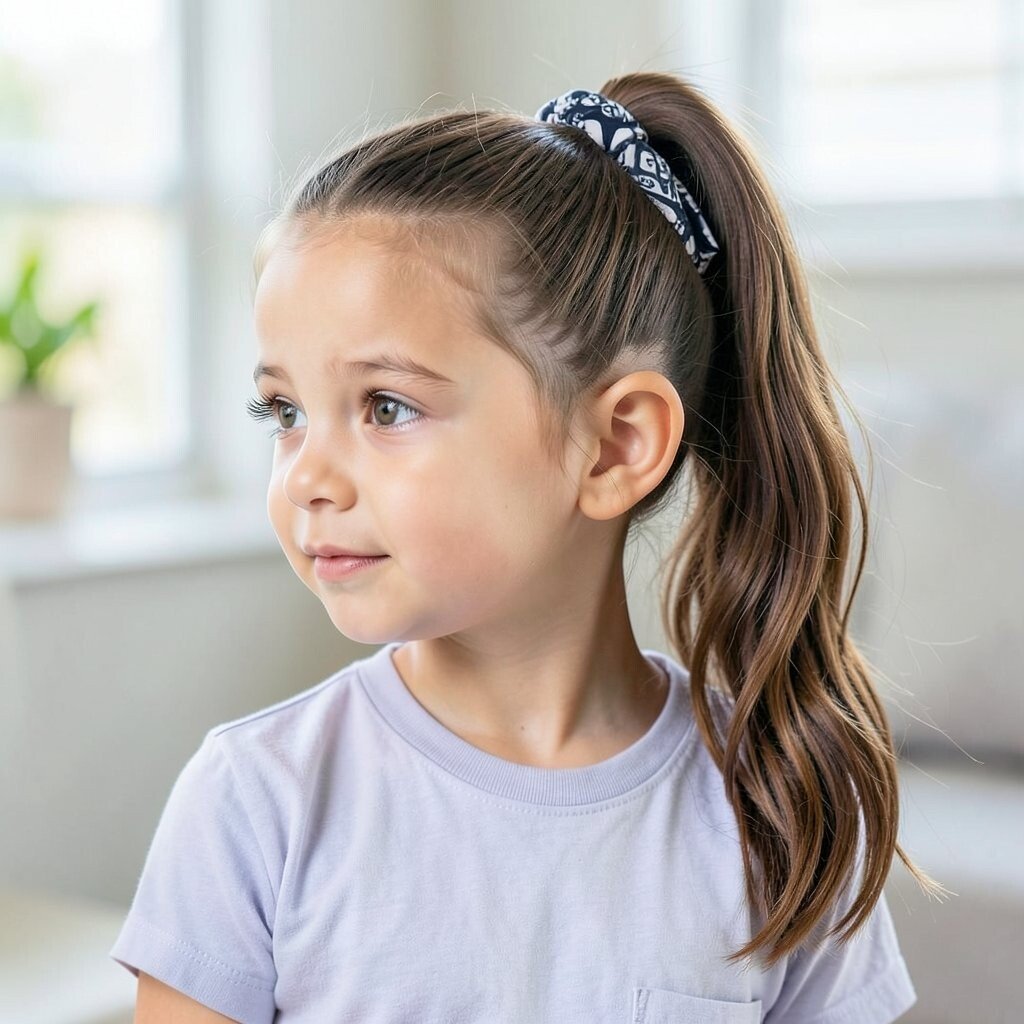
Gather hair into a high ponytail, then tie a small scarf around the base. The scarf adds color instantly, making the ponytail feel fresh and styled.
Use a few bobby pins to tuck the scarf ends so they don’t slip. This keeps the style neat and helps hair stay off the neck on warm days.
Personalize it by choosing a scarf shade that matches your kid’s favorite shoes or backpack. For cost considerations, use an old ribbon or a fabric scrap you already have for a budget-friendly upgrade.
6. Low Braided Bun With Two Loose Strands
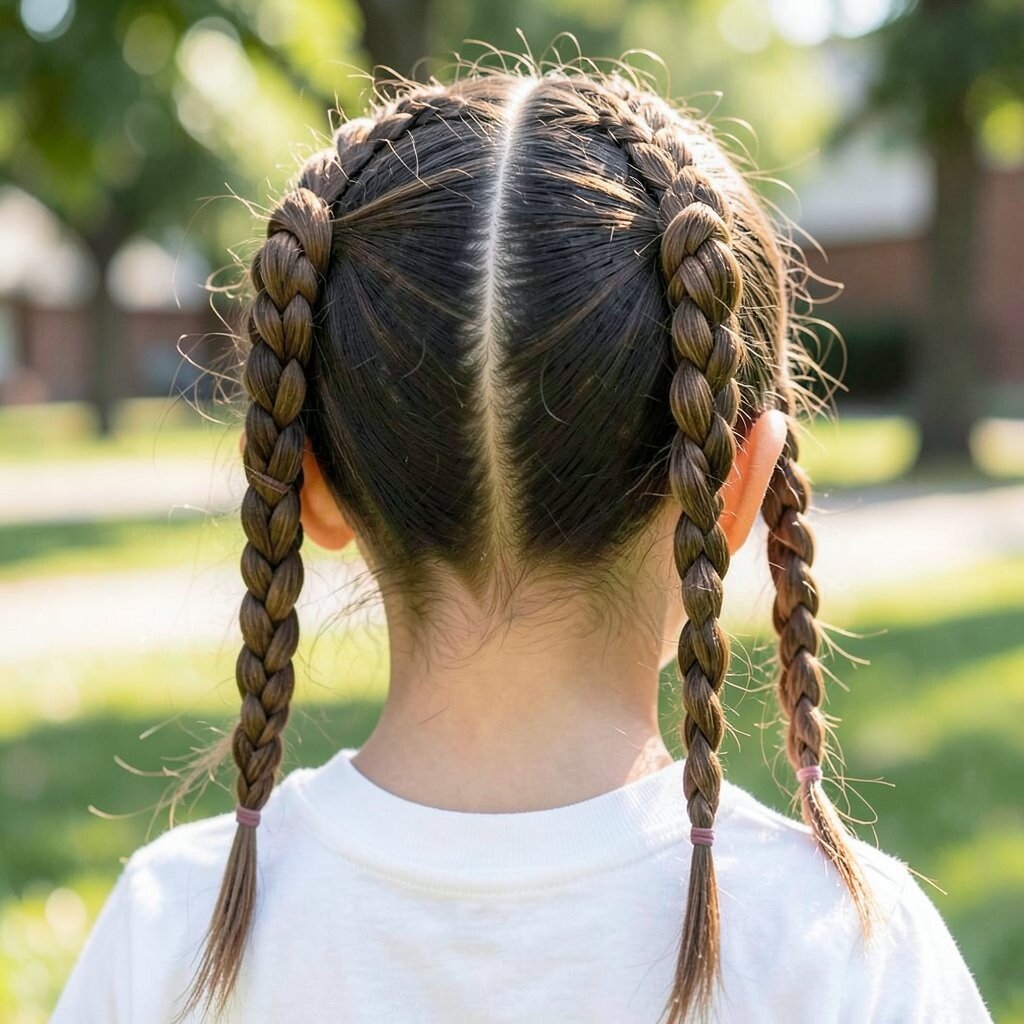
Gather hair into a low bun, then braid a small section and wrap it around the base. You’ll get a clean silhouette with just enough charm from the braid.
Leave two thin strands near the face for a soft, natural frame. This benefits kids because it looks fancy without pulling on the scalp too much.
To personalize, braid tighter for school photos or loosen it for everyday play. If your hair is very thick, a braided wrap can reduce bulk and feel lighter.
Trends right now favor “soft neat” hairstyles, and this bun matches that vibe while staying practical for class.
7. Twin Dutch Braids With Ribbon Ties
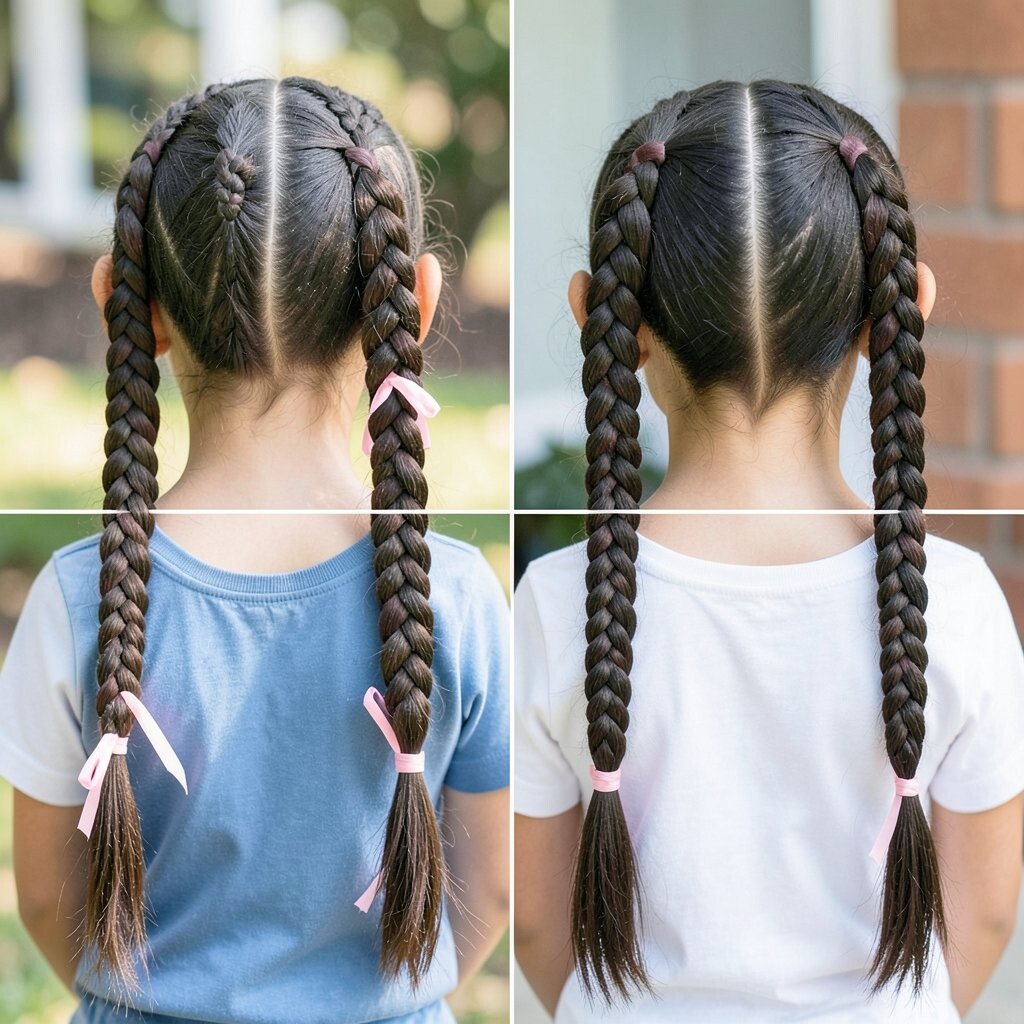
Part the hair in the middle and braid two Dutch braids, pushing the strands under instead of over. The braids stand out like shiny rails and look super energetic.
After tying each braid, add a ribbon wrap around the elastic and secure it with a knot. The look feels unique and adds a pop without needing expensive hair gems.
For personalization, pick ribbon colors that match a seasonal theme, like bright summer tones or cozy fall shades. A simple satin ribbon can look high-end even on a budget.
8. Half-Up Twist With Hair Pins
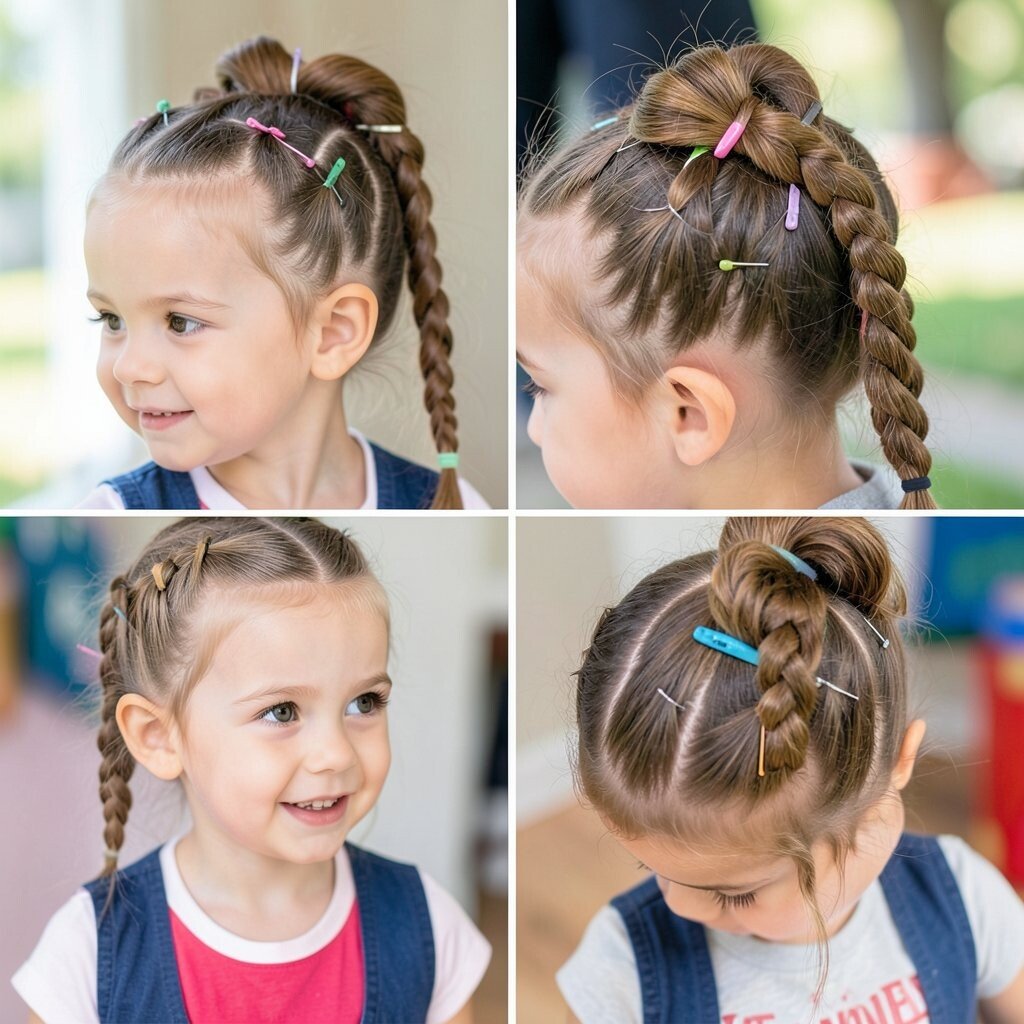
Take a small top section, twist it once or twice, and pin it back. The twist creates a mini crown effect that is quick and sweet.
Choose bobby pins in a similar hair color, then angle them so they feel secure. This benefits kids because it keeps flyaways controlled without heavy gels.
Personalize by adding a small decorative pin at the side or using two matching pins. You can also change the twist direction for a different vibe each day.
9. Curly Fro-Hawk With Edge Clips
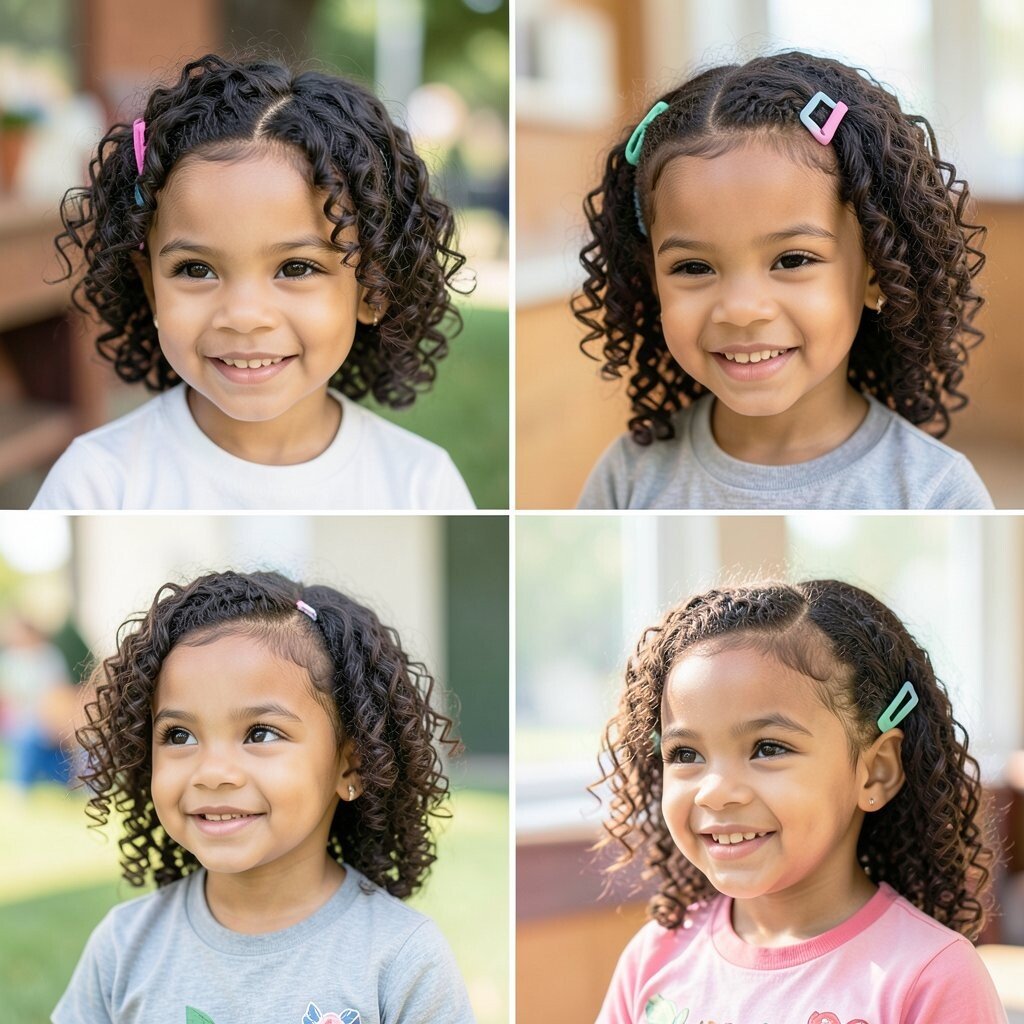
If your kid has natural curls, gather the front into a small “mohawk” shape using clips. The curls stay bouncy while the face area becomes tidy.
Use a light styling cream or curl gel so the front holds without crunch. This benefits curly hair because it reduces frizz and helps the style keep its shape.
Uniqueness comes from how you lift the hair, so try a higher bump for bold days and a softer one for gentler mornings. For cost considerations, a small jar of leave-in cream is usually enough for many styles.
Current trends love textured natural looks, and this one keeps the texture the star of the show.
10. Rope Braid Ponytail

Make a ponytail, split it into two sections, then twist each section separately. Twist them together like a rope, and tie the end with a small elastic.
The result looks sleek and shiny, even on kids who don’t love tight braids. This style benefits active kids because the twists grip well and resist unraveling.
Personalize by adding a ribbon at the base or using elastics with fun colors. If your budget is limited, you can use hair ties you already own and still get a polished look.
11. Side Ponytail With Crown Braid Accent

Start with a side ponytail, then braid a thin strip along the hairline and tuck it back. The accent makes the simple ponytail look like a styled trend.
Secure everything with one elastic and a couple of bobby pins for extra hold. This benefits kids because it keeps hair controlled while still feeling light and comfortable.
For personalization, choose a thicker accent braid for extra detail or a tiny one for a subtle look. This is also a great option if you want something quick for early mornings.
12. Twisted Space Buns With Mini Elastics

Part hair into two sections and twist each section, then coil into space buns. The raised buns look playful and make the hairstyle feel exciting from the moment your kid sees it.
Use mini elastics or bobby pins to secure the twists, and smooth the top with a light mist. This benefits kids by keeping hair off the face during recess and sports.
Personalize by adding small hair bows or using elastics that match favorite colors. For cost considerations, you can make the look pop using simple bows from a dollar store.
13. Straight Hair With Micro Clips And Center Part
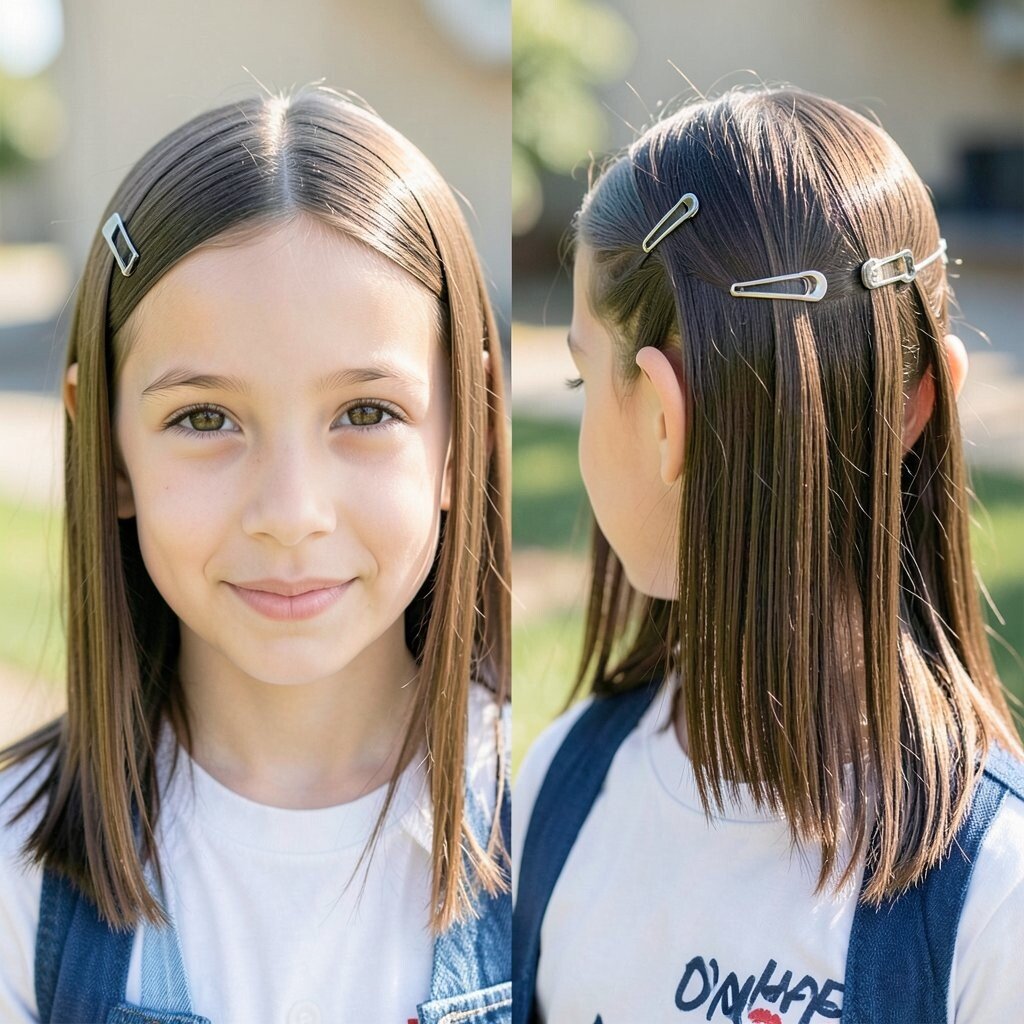
If your child has straight or slightly wavy hair, try a center part and add micro clips near the temples. The hair looks neat, and the clips create a modern, eye-catching detail.
Place the clips slightly off the hairline so they don’t feel too tight. This benefits the day because it prevents pieces from falling into eyes.
Personalize with clip colors that match school uniforms or backpacks. It’s also budget-friendly since a small set of clips lasts a long time.
Current trends often feature “clean” hair with tiny accessories, and this one fits right in.
14. Classic Dutch Braid Down The Back
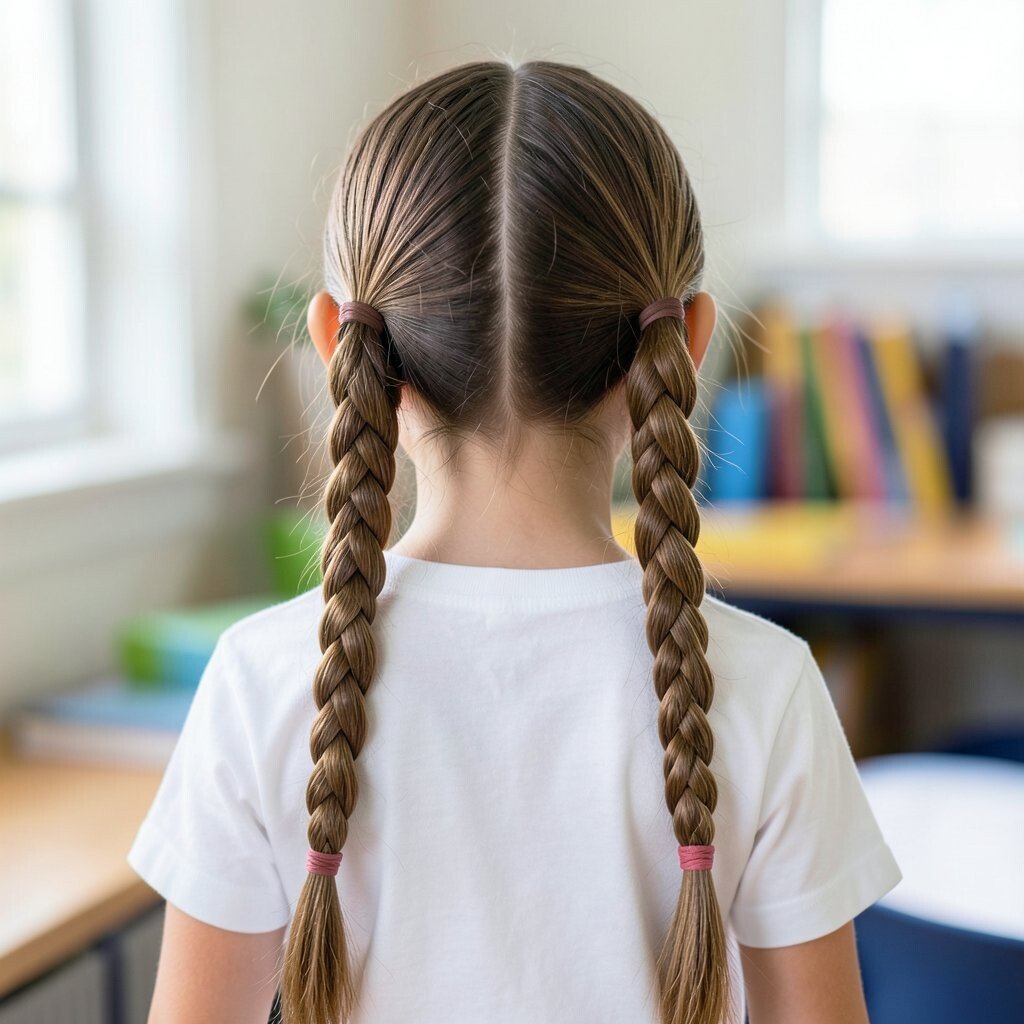
Begin a Dutch braid from the top and braid all the way down, keeping it even from left to right. The long, textured braid looks gorgeous and stays tidy all day.
Secure with an elastic, then gently tug the braid edges to add volume. This benefits kids because the style is simple to repeat and helps prevent tangles.
To personalize, leave small face wisps or keep the hair smooth for a more formal look. If your child has fine hair, adding a little teasing at the crown before braiding can help.
15. Lemonade Braids With Three Bands Per Side
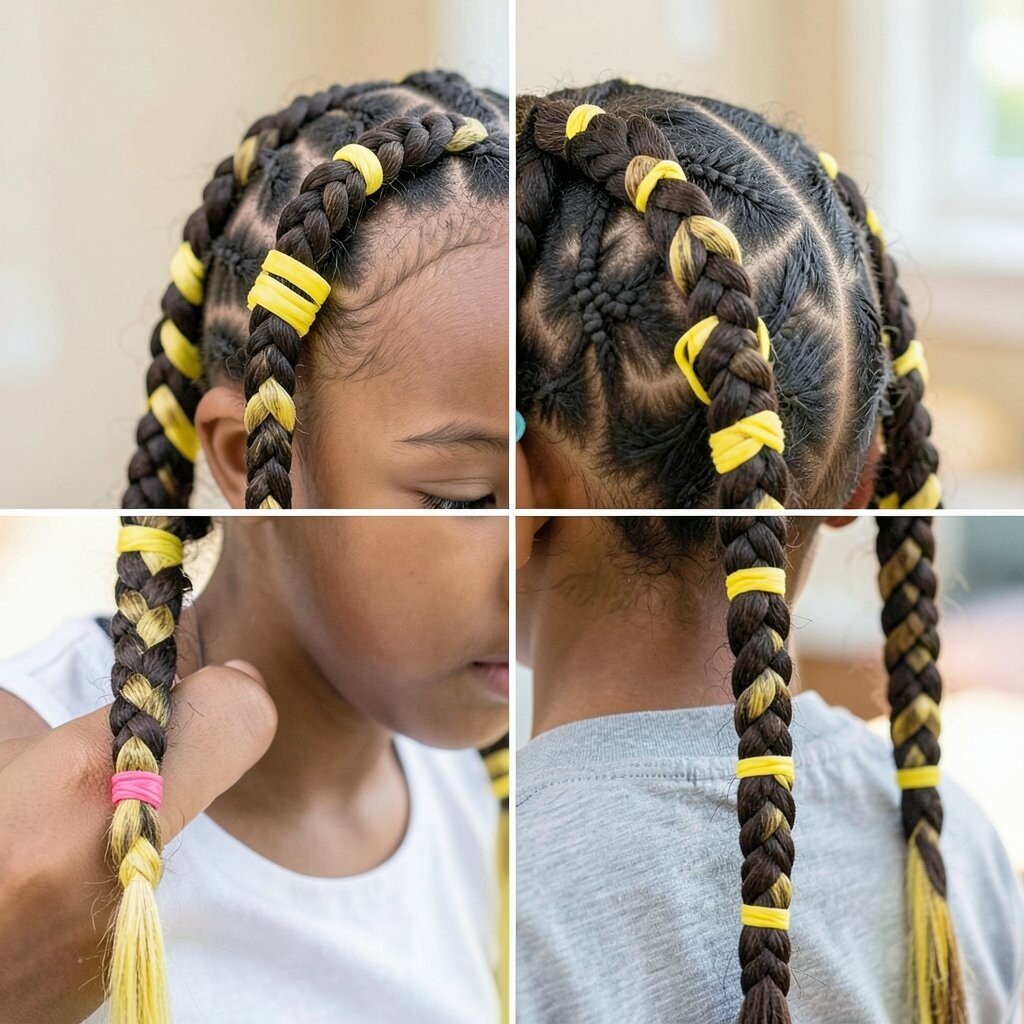
Create two side sections, then braid each side and add elastics at regular spaces. When you stretch the braid lightly, it forms a “ladder” or lemonade shape.
This visual pattern is fun and different, and it gives hair a structured style without needing lots of products. It benefits kids because the elastics keep the braid pieces in place during movement.
Personalize by using different elastic colors for each side or switching the section height. For cost considerations, you can use clear elastics plus one colorful tie at the end for a balanced look.
16. Half-Up Bubble Pony With Side Part
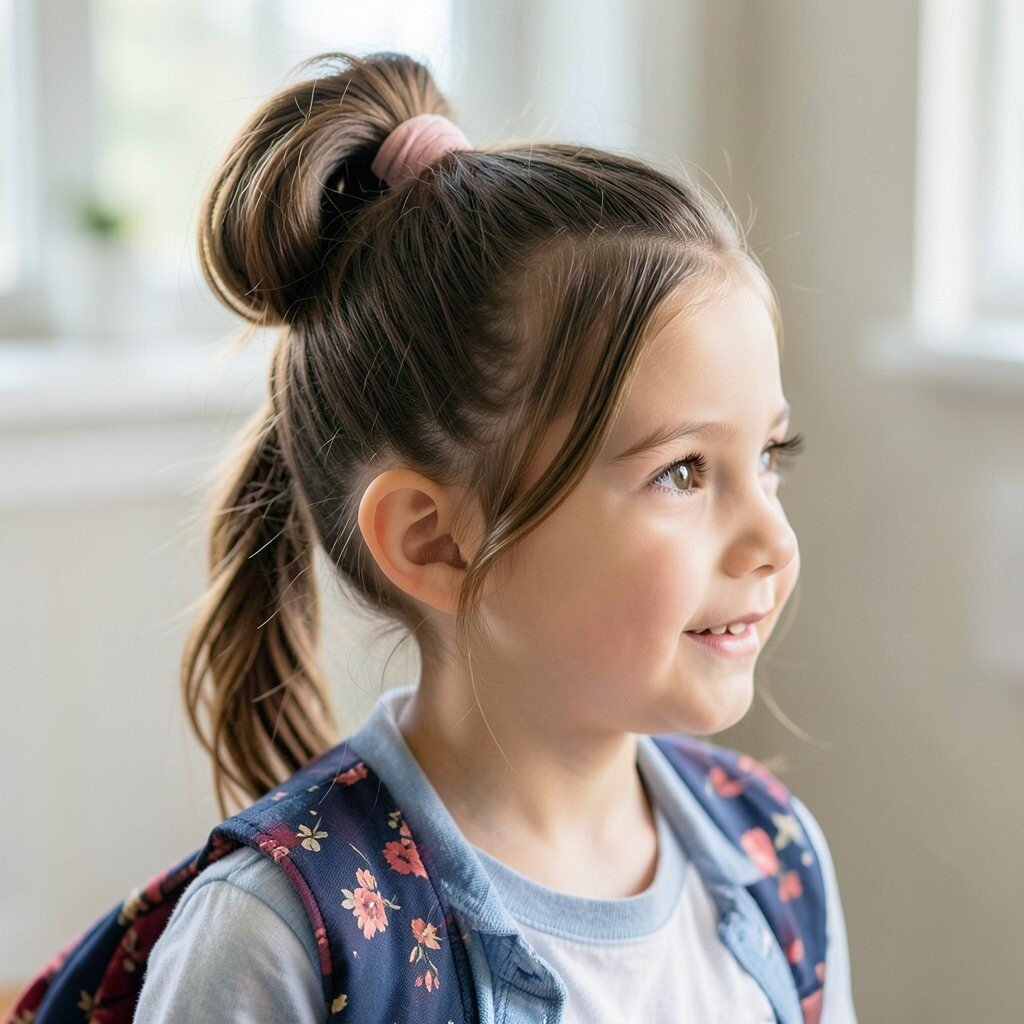
Use a side part, then pull a small top section into a ponytail and add bubbles down the length. The asymmetry makes it feel trendy, while the bubbles keep it playful.
Secure the base with an elastic, then loop more elastics at evenly spaced spots. This benefits kids because it controls hair in the front while the rest flows naturally.
To personalize, add a small star clip near the first elastic or choose elastics with a subtle shine. If your child has thicker hair, you may need one extra elastic to keep the bubbles round.
17. Braided Crown With Two Thin Front Braids
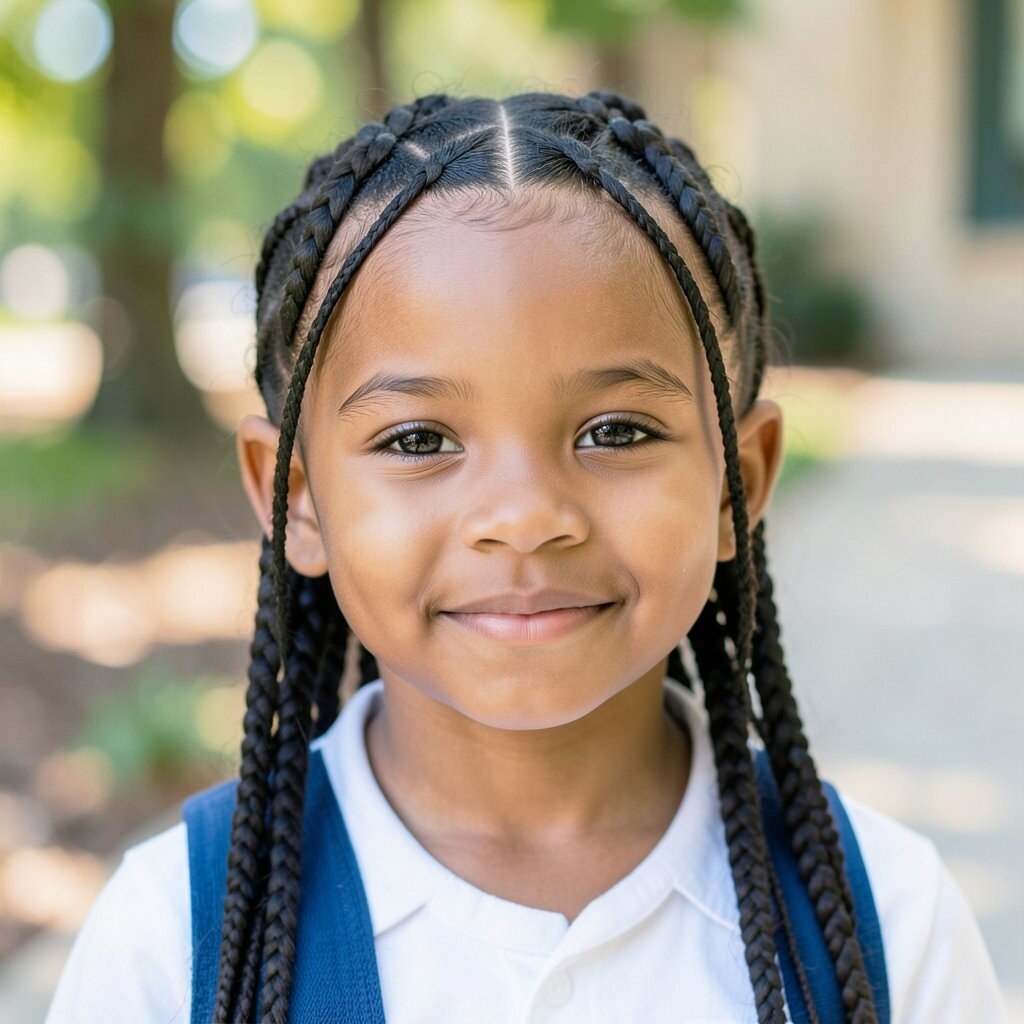
Make two very thin braids from the front and connect them at the back like a gentle crown. It’s delicate, pretty, and looks extra cute in photos.
Secure with bobby pins and tuck the ends under so nothing sticks out. This benefits kids because it stays out of the face and helps hair stay smooth.
Personalize by adjusting the front braid size for your kid’s hair thickness. Thin braids look airy for fine hair, while wider ones add fullness for thicker hair.
For a current trend feel, keep the hair slightly natural and avoid making everything too perfect.
18. High Ponytail With Twisted Wrap Around Elastic
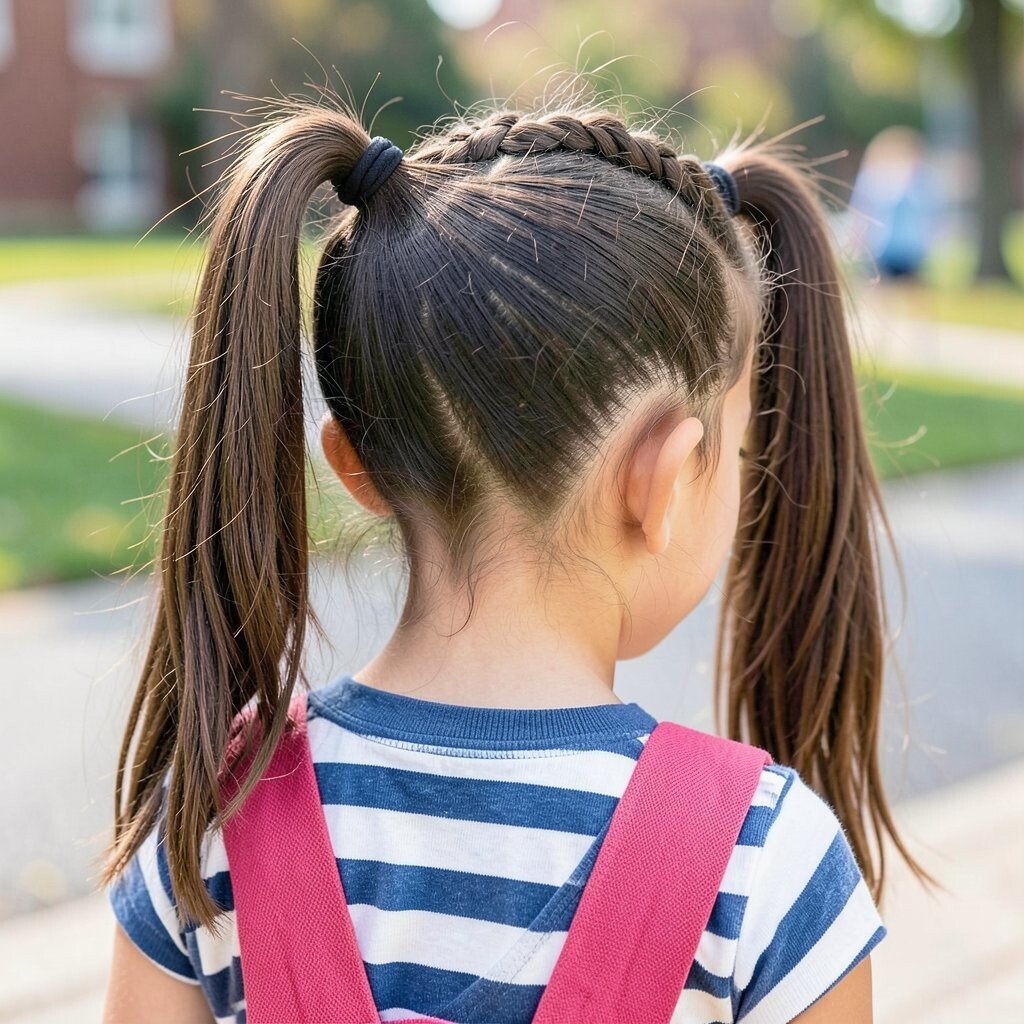
Hold hair high in a ponytail, then take a small strand from the ponytail and twist it around the elastic. This hides the elastic so the ponytail looks neat and more “finished.”
Pin the end underneath with a bobby pin so it stays in place. This benefits kids because the style stays secure even during running and play.
Personalize by choosing how wide the wrap strand is and whether it’s tucked tight or slightly looser. It also saves money since you get a salon-style look using a single strand and a pin.
19. Waterfall Braid With Clip-On Charm

Try a waterfall braid by adding strands from the top and letting some “fall” through. The effect looks like flowing ribbons, and it feels magical without being too hard.
Secure the end and add one clip-on charm or small accessory near the braid finish. This benefits kids because the charm can replace extra heavy hair jewelry that might bother them.
For personalization, choose a charm that matches their personality, like a tiny heart or a bright star. If you want a budget-friendly option, use a simple colored claw clip instead.
20. Curly Top Knot With Loose Curls Hanging

Gather only the top section into a small knot, leaving curls loose underneath. The contrast looks cute and sporty, and it keeps hair off the face during class.
Secure with a soft scrunchie, then let the hanging curls bounce naturally. This benefits kids because it reduces tangles and keeps scalp comfort in mind.
Personalize by changing the knot position higher for a bolder look or slightly lower for a softer feel. For cost considerations, you can use a basic scrunchie and still get a modern result.
21. Straight Hair Half-Up Ponytail With Braided Tie
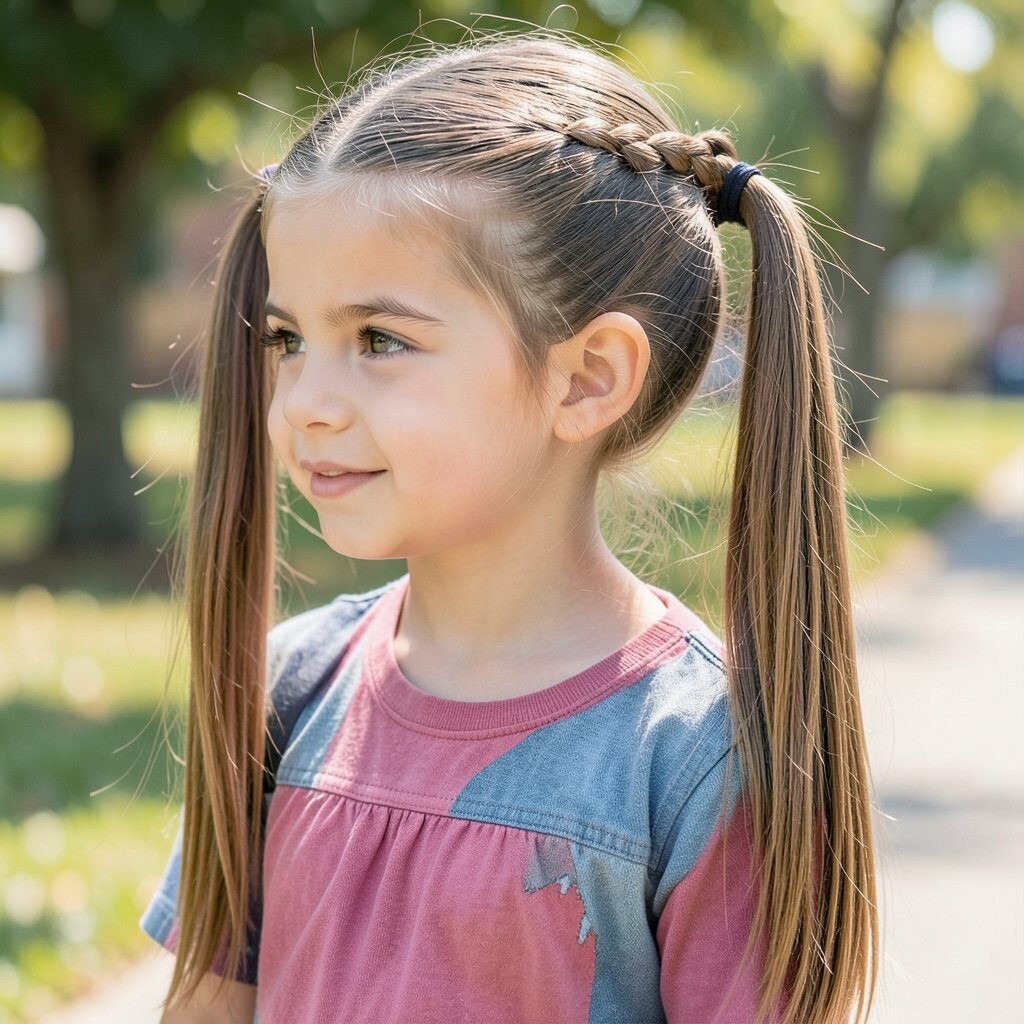
Clip or tie the front half of hair into a half-up ponytail, then braid a tiny strip around the base. The braided tie makes the style look more special while keeping everything simple.
Use a small elastic at the half-up section, then wrap and pin the braid finish. This benefits kids because it keeps hair from falling forward during reading time.
Personalize by adding a ribbon, changing the part line, or making the tie braid thicker for extra detail. The braided tie is also a low-cost way to upgrade hair without buying new tools.
Current trends lean toward “small details,” and this hairstyle nails that look.
22. Low Twisted Halo Braid For Busy Mornings
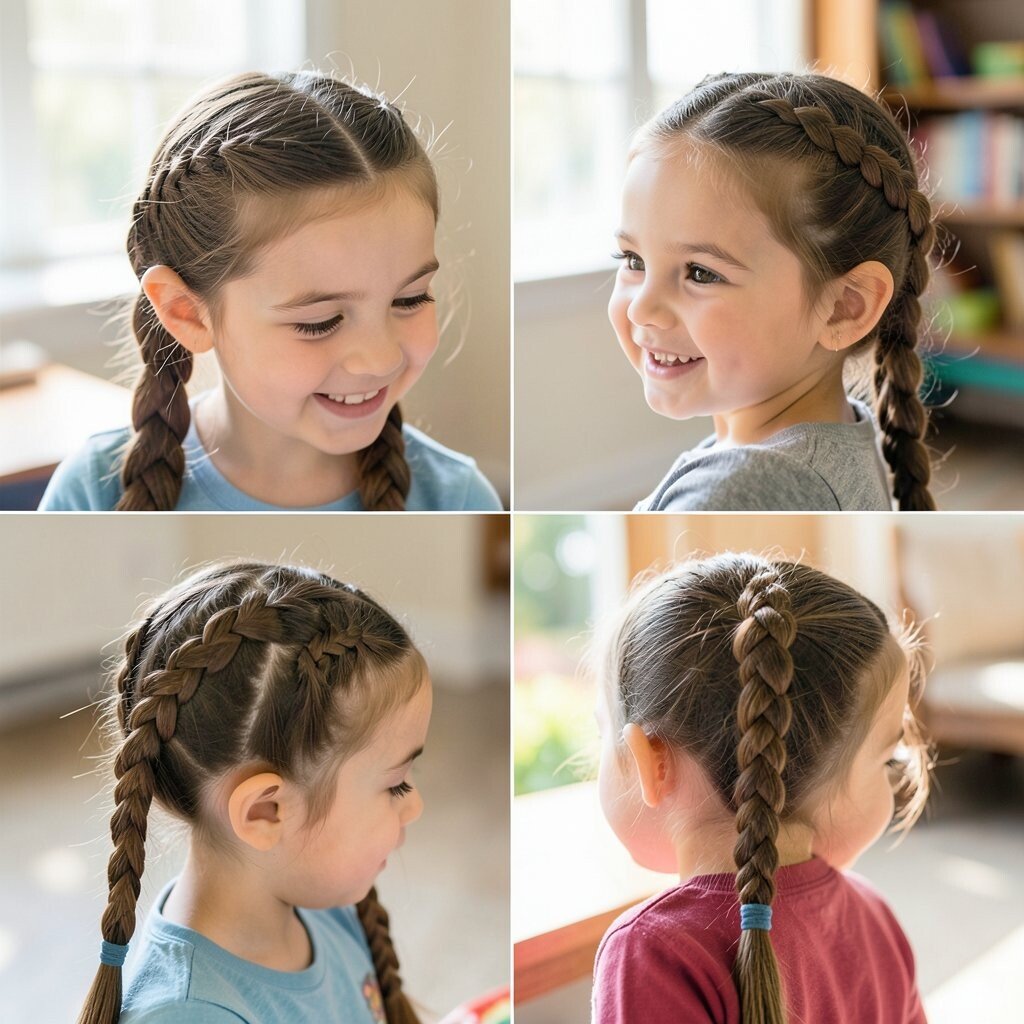
Start from one side near the ear, twist the hair as you go around the back, and tuck the ends into a secure finish. It creates a halo-like shape that looks neat even when you’re moving fast.
Secure with bobby pins and a light mist of water to reduce flyaways. This benefits kids because it stays comfortable, controls hair, and avoids too much pulling.
For personalization, add a decorative clip at the side where it meets, or keep it plain for a school-ready look. If you want a budget-friendly approach, use pins you already have and focus on tidy placement.
The uniqueness of the halo twist is how it frames the face without needing a full braid from start to finish.