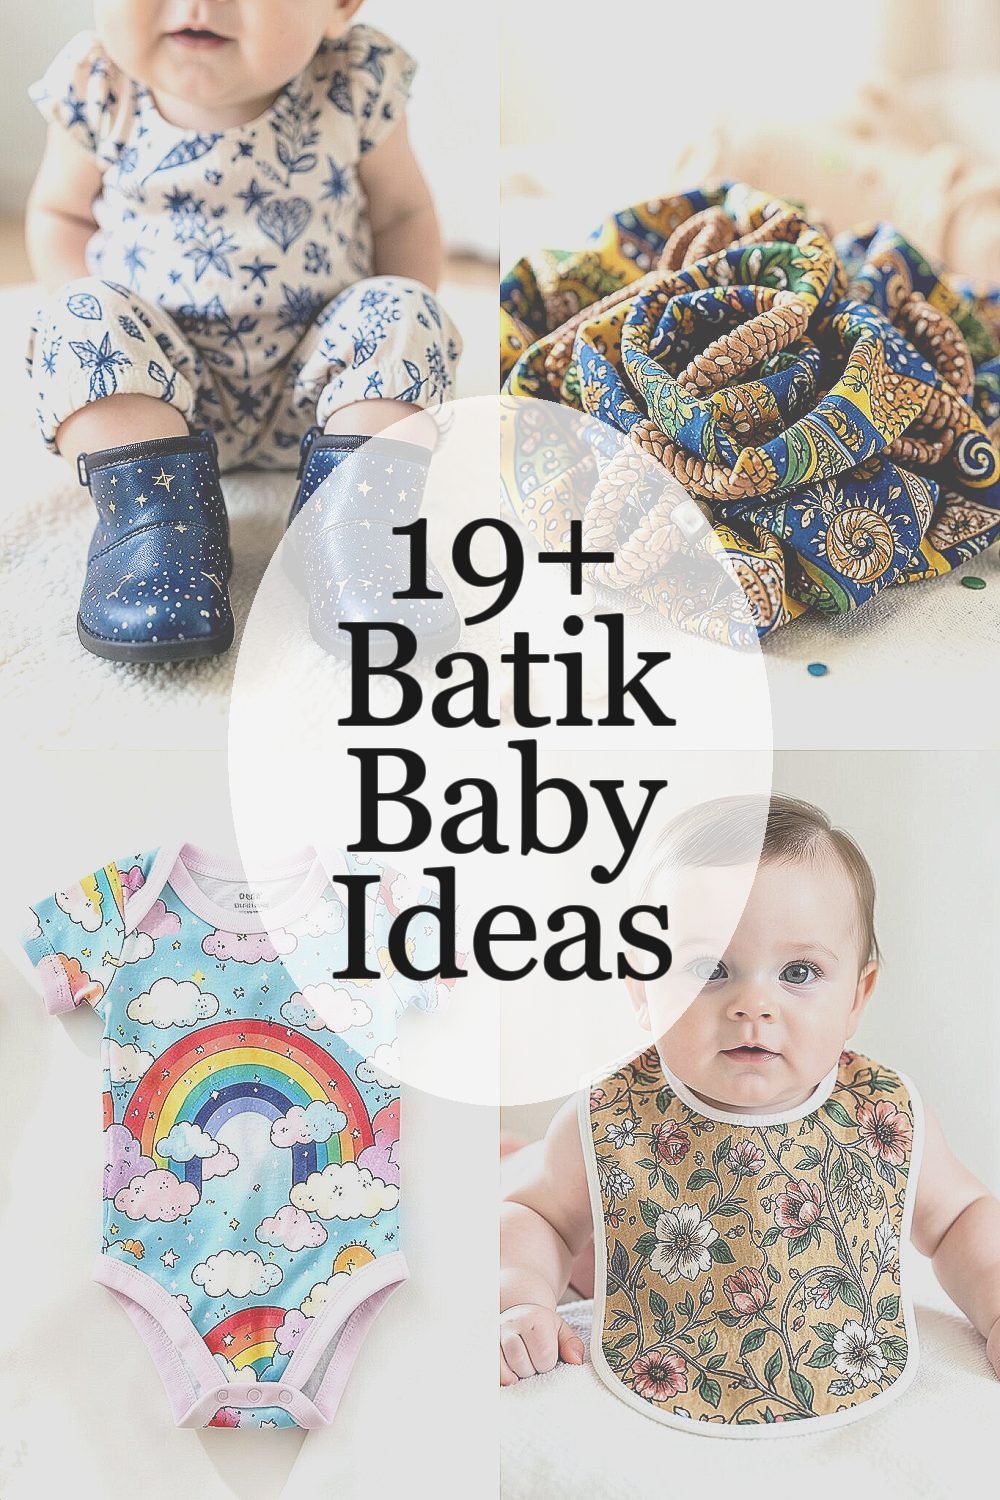
Soft fabric can tell stories long before words ever do. With batik, tiny designs become wearable art.
The patterns below are built for comfort, creativity, and everyday use. Each idea includes practical ways to start, plus tips that help your results look neat.
1. Mini Constellation Booties

Imagine baby booties dusted with tiny dots like night-time stars, stitched in gentle blues and warm creams. The look feels magical, yet it stays calm enough for daily wear.
Use a fabric-safe resist for dots and short dashes, then apply dye in thin layers so the colors look airy. For best results, prewash cotton or cotton-blend fabric to help the dye grab evenly. Add a small tie-dyed band at the ankle to make the stars feel anchored, and keep the pattern simple so it dries quickly.
2. Swirly Rice-Grain Rattle Wrap
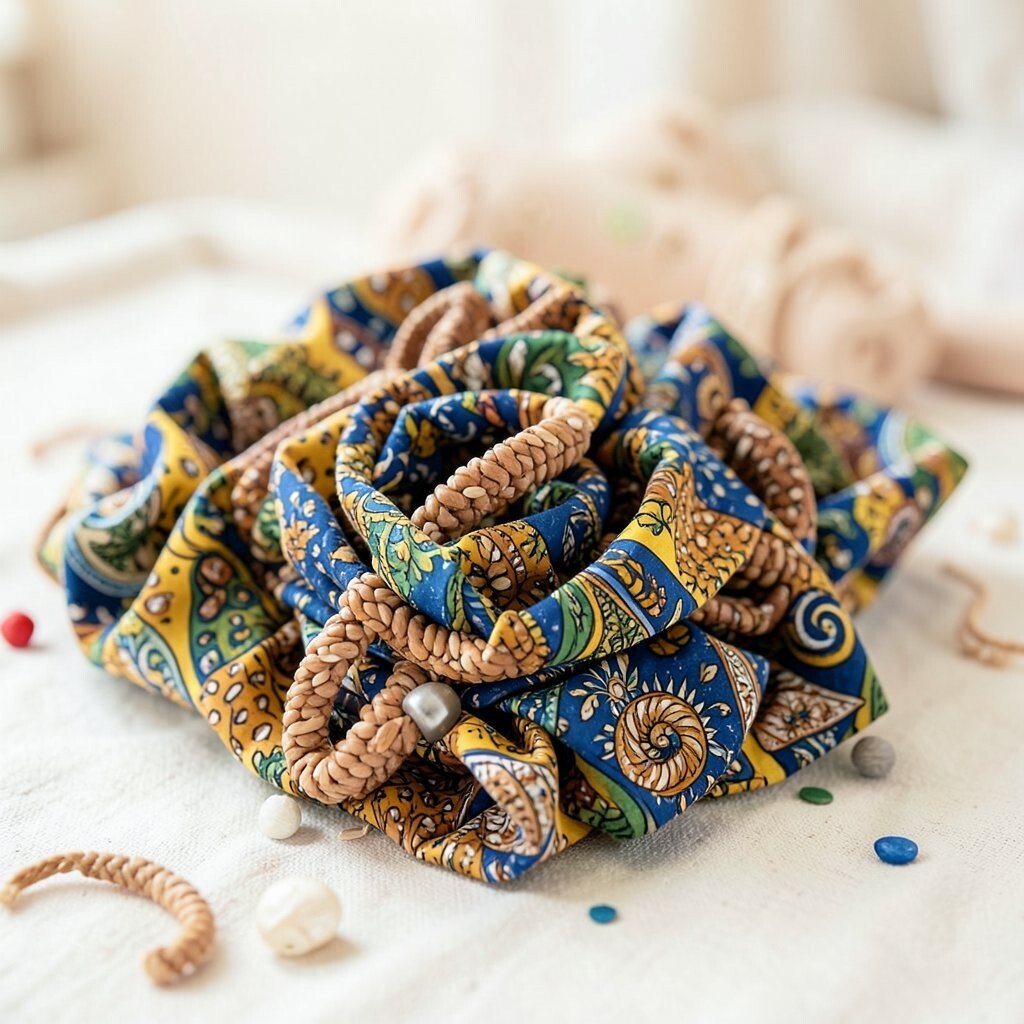
Picture a swirly wrap that hugs a small rattle, with repeating loops that resemble grains of rice marching in a spiral. The fabric looks lively, and the shape stays tidy around the edges.
Try wax-resist swirls in a single color, then dip or paint with a contrasting shade for a crisp outline. Keep the resist lines narrow so they hold their shape during dyeing, and let each section dry before adding the next color. Choose a dye that is friendly for baby items, and rinse thoroughly until the water runs clear.
Personalize it by changing the swirl direction for each baby gift, like clockwise for one relative and counterclockwise for another. If you want cost-friendly materials, use leftover fabric scraps from old clothes and simple cotton gauze. The final touch can be a soft hem finish so it feels smooth against little hands.
3. Rainbow Cloud Onesie

Think of clouds floating across a onesie, made from batik blocks that blend like cotton candy. The fabric looks bright but still gentle, especially when you keep the colors in soft pastels.
Sketch simple cloud edges, then apply resist along the outlines before dyeing with two or three colors that fade into each other. Layer dye gradually so the darker shade sits near the cloud edges and the lighter shade stays in the middle. This helps the design look airy rather than heavy, which feels perfect for baby clothing.
To personalize, vary the cloud sizes so the onesie feels playful, not uniform. For practical comfort, choose breathable fabric and avoid stiff resists that may feel scratchy. If you’re working on a budget, hunt for plain white or light-colored onesies at sales and dye only the outer panels.
4. Floral Vine Baby Bib
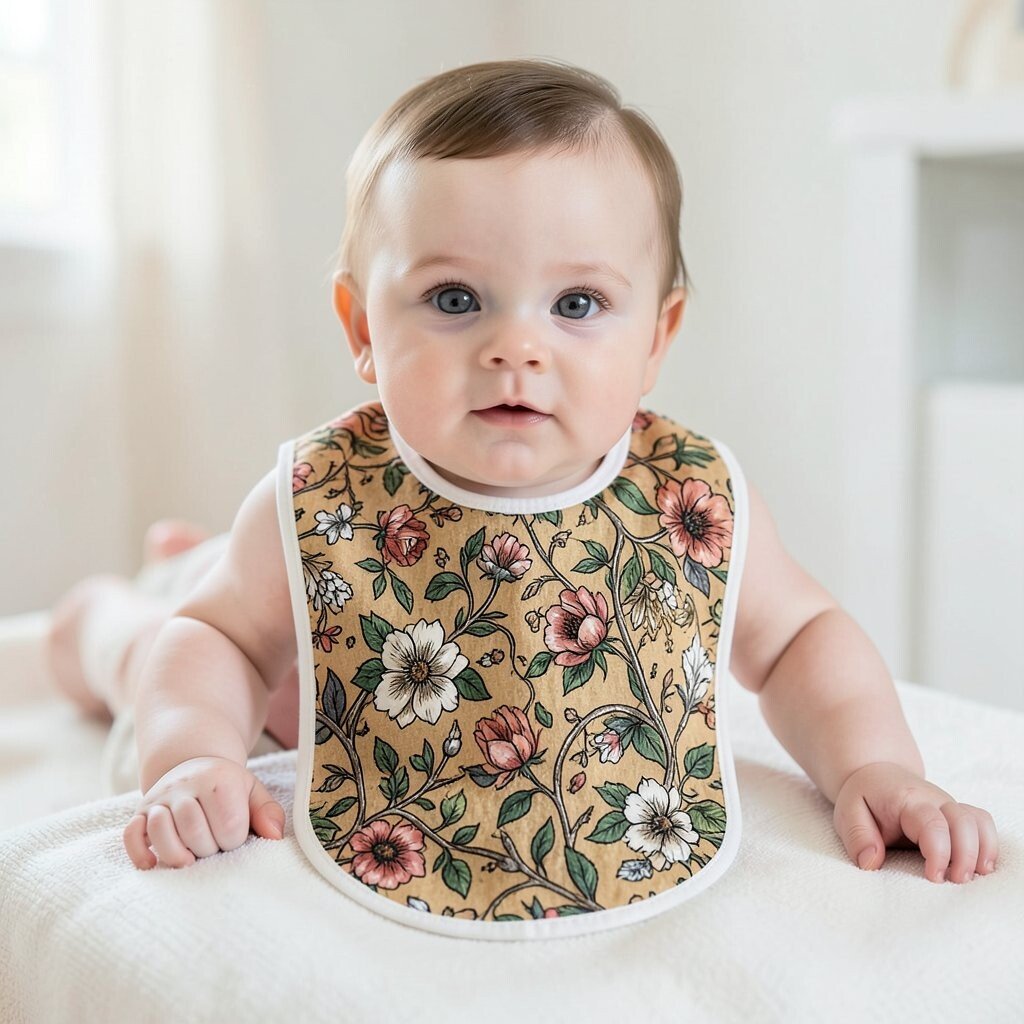
Imagine a bib covered in looping vines with tiny blossoms that appear wherever the resist blocks the dye. The pattern feels sweet and old-fashioned, like a garden drawn with ink.
Use a stencil or freehand to place vine lines, then resist the leaf shapes so they stay brighter. Dye the background first, then add a darker dye over selected vine areas for depth. Finish by sealing the fabric with a thorough rinse and drying on a flat surface to prevent warping.
5. Sunburst Teething Towel

Picture a teething towel with sunburst rays radiating from the center, each ray separated by crisp resist lines. The result looks clean and modern, while still feeling warm and cheerful.
Start with a square towel and draw a circle in the middle, then mark ray lines like pie slices. Resist the rays, dye the background, and then remove the resist to reveal bright stripes. Keep the towel edges finished so the design stays tidy after washing.
For personalization, place a tiny baby name or birth date near the center using a small resist stencil. If you want to keep costs down, use inexpensive muslin towels and focus your dye on just the top half. This keeps the look striking and the drying time faster for busy days.
6. Small Whale Waves Washcloth

See a washcloth where gentle whale shapes travel through wave lines, like a quiet ocean story. The colors feel soothing, especially with seafoam greens and soft sky blues.
Transfer whale outlines lightly with pencil, then apply resist to keep the shapes bright. After dyeing, the wave pattern helps the whales feel like they’re swimming, not floating. Try a two-step dye approach so the waves become slightly darker than the background, giving the design a clear sense of motion.
Personalize by adding tiny bubbles around the whales using dot-resist. For practicality, choose a fabric that stays soft after repeated washing, and keep the resist small so cleanup is manageable. You can even use leftover dye from other projects to avoid wasting color.
7. Pastel Striped Receiving Blanket

Envision a receiving blanket covered in wide stripes where each band shows its own batik texture. The design makes the blanket look cozy and visually calm, even in bright nurseries.
Measure evenly spaced stripes, apply resist along the stripe boundaries, and dye in alternating directions for variety. When the resist is removed, the stripes reveal a subtle marbled edge that feels handmade. This approach is practical because it scales well across larger fabric pieces.
8. Tiny Heart Patch Cap
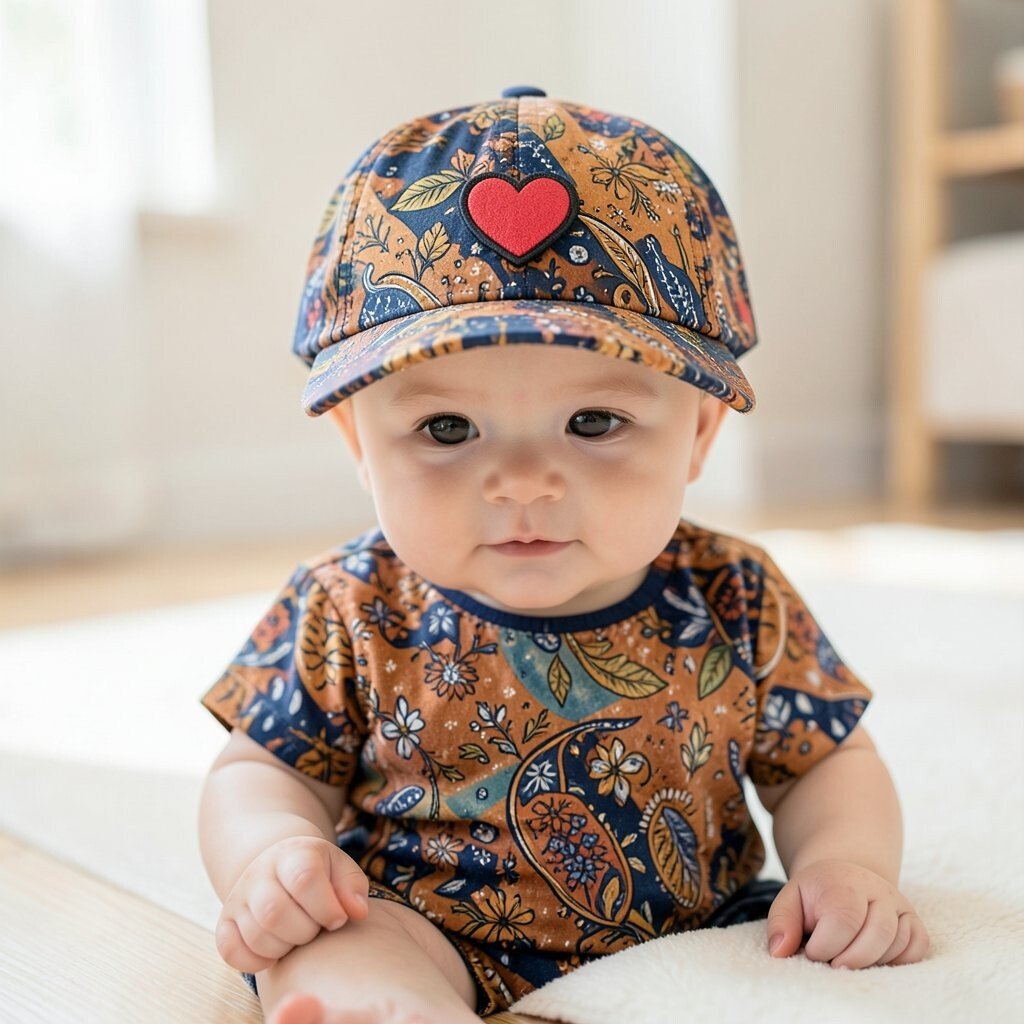
Imagine a baby cap with scattered heart patches, each one edged in resist so it looks like a stitched-in secret. The pattern feels cute without being too busy.
Use a template to trace hearts, resist them, and dye the fabric in a single colorway for clean results. After dyeing, you can add one accent color with a small brush to bring certain hearts forward. Keep the hearts small so they stay readable on a curved cap surface.
9. Geometric Starry Swaddle

Picture a swaddle with geometric stars made from triangles and hexagons that align like a playful puzzle. The look is modern, and the repeating shapes help the fabric feel balanced.
Outline a star pattern with light pencil marks, then apply resist to keep the star shapes lighter. Dye the background first, then add a second dye layer to deepen select edges. Let everything dry completely before rinsing so the pattern stays sharp.
For personalization, change the star color on different corners or align stars with the folds of the swaddle. If you’re keeping costs reasonable, buy plain swaddle fabric in bulk and dye only the sections you need. A practical trick is to place a protective layer under your work so the design doesn’t bleed into the table.
10. Sesame Seed Dot Music Mobile

Think of a small cloth ornament for a mobile, patterned with sesame seed dots that look like tiny rhythms. The speckled texture catches light and makes the space feel soft and lively.
Create a dot field by applying resist with a rounded tool, then dye with light-to-medium tones so the dots remain clear. After removing resist, the contrast shows a crisp speckle effect that looks detailed without being complex. Choose lightweight cotton so the cloth moves gently as the mobile sways.
Personalize by grouping dots into small clusters, like mini measures of music, and leave one dot larger as a “beat.” For cost considerations, use small fabric scraps, because this project works well at any size. It’s also a fun way to test dye combinations before using them on bigger items.
11. Sassy Stripe Socks
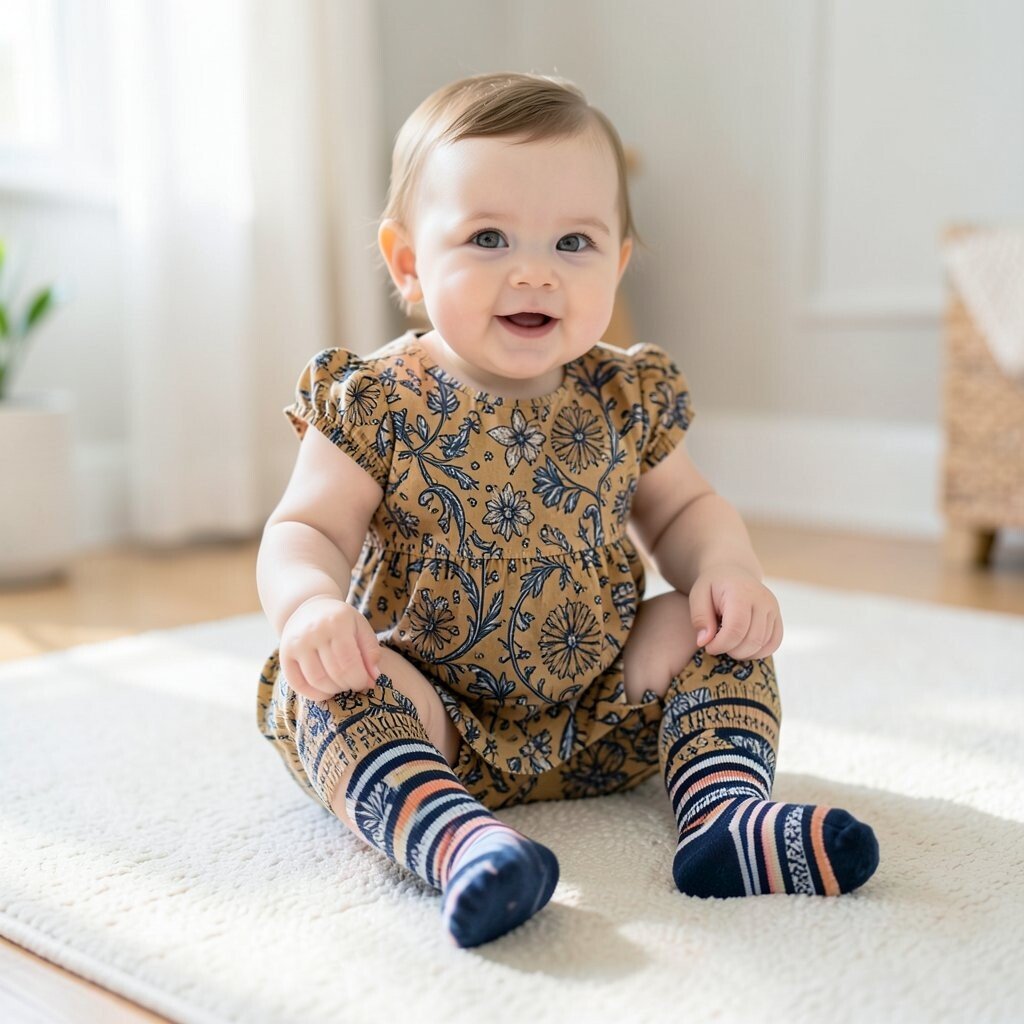
Imagine baby socks with playful alternating stripes, each stripe edged with batik texture like tiny waves. The design looks bold yet still sweet, especially in bright but friendly hues.
Resist thin stripe lines along the length of the socks, then dye the fabric in one direction for consistent results. If the socks are stretchy, work slowly so the resist adheres well and doesn’t crack with movement. After dyeing, rinse carefully and dry flat to help the fabric return to its original shape.
12. Cherry Blossom Baby Quilt Square

Picture a single quilt square with cherry blossoms that bloom in layered circles. The petals appear delicate, and the background feels calm like morning light.
Plan the blossom positions first, then resist petal shapes before dyeing. Use a light layer of dye for the background and a slightly darker layer for the petal centers to create depth. A practical tip is to keep your dye on the surface instead of soaking through too fast, which helps keep the edges clean.
Personalize by mixing blossom colors based on a theme like spring pastels or a soft neutral set. For cost, make a small patch first using scrap yardage, then repeat the best method on larger quilt pieces. This is a great way to build a set over time without needing everything at once.
13. Butterfly Wing Hooded Towel

Imagine a hooded towel where the hood looks like butterfly wings spreading out. The fabric feels cozy, and the wing pattern makes bath time feel like a special event.
Resist symmetrical shapes across the hood, then dye the main background so the wings stay bright. After resist removal, add a second color near the wing tips using careful brushwork for wing-like shading. This method gives a clear focal point while still being manageable for beginners.
14. Little Footprint Wash Basin Mat

See a small mat with repeating footprint shapes scattered like gentle steps. The design can handle messes because the pattern hides little marks and adds visual charm.
Use a foam stamp or custom footprint stencil, apply resist within each shape, then dye over the surface. When the dye is removed, the footprints appear raised in color, like they were stamped from the fabric itself. Choose a fabric that dries quickly, and keep the mat thickness practical for everyday use.
Personalize by adding a name in tiny footprint size near the corner, or by switching colors between footprints for a fun rhythm. For cost, this is great for using leftover yardage from earlier projects. If you want extra safety, keep edges clean and secure so it stays comfortable in the bathroom.
15. Ocean Ripples Baby Pillowcase

Imagine a pillowcase with ocean ripples spreading in wide bands, creating a calm wave look. The pattern feels soothing, and it gives a nursery a gentle, breezy feel.
Draw ripple curves, resist the lines between them, and dye in a layered sequence so each band has its own depth. A practical trick is to dye from light to dark so the highlights stay bright after you rinse. Afterward, iron lightly on the correct setting if your fabric needs it for smooth edges.
Personalize by adding a tiny sail shape near one end or by placing small wave dots like distant bubbles. For cost considerations, use a plain pillowcase cover found at a reasonable price and dye only the front panel if you prefer. This helps you manage time and reduces risk if you’re still learning batik basics.
16. Leopard-Love Snuggle Blanket Edge
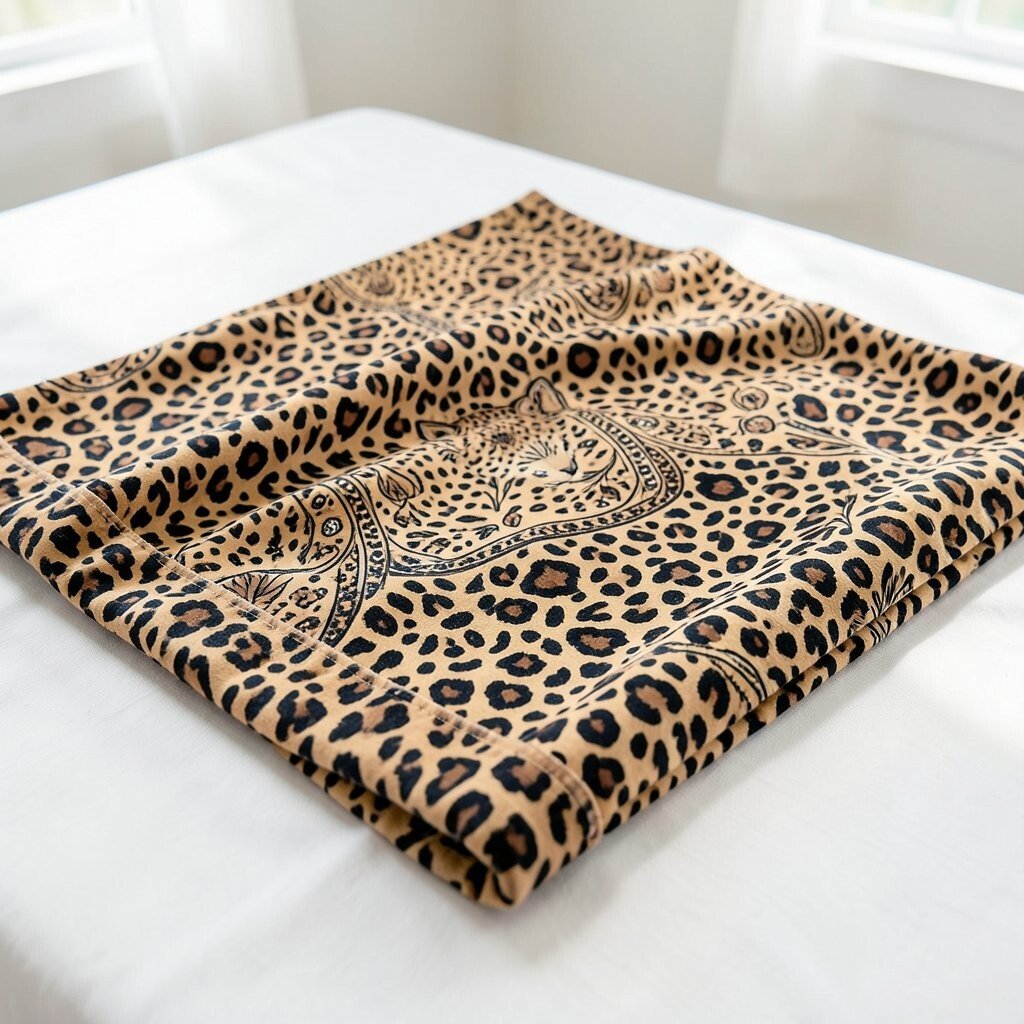
Picture a snuggle blanket with a batik edge that resembles leopard spots but softened into friendly dots. The border adds character while the middle can stay plain for comfort.
Resist irregular spot shapes along the border, then dye the border area more intensely than the center. Leaving the center lighter makes the design look intentional, and it saves dye and effort. When you remove the resist, the spots look crisp and stylish without feeling harsh.
17. Alphabet Baby Play Mat Panels
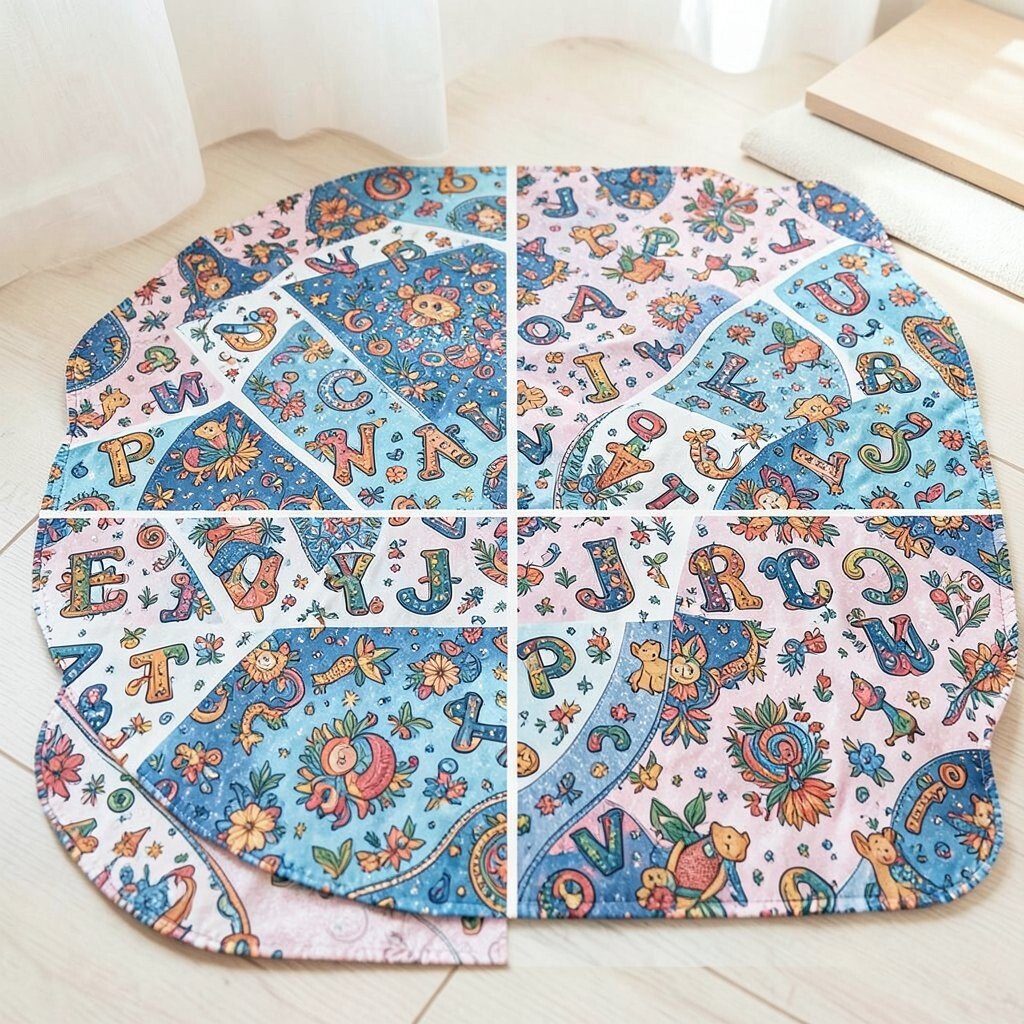
Imagine a play mat with small panels showing letters made from batik lines, like stitched-on badges. The pattern can encourage early recognition while still looking beautiful.
Resist letter shapes on one panel, dye the background, and then remove resist to reveal clear outlines. Keep letters large enough to read from a short distance, and choose strong contrast colors for easier visibility. If you want extra fun, pair each letter with a tiny symbol nearby, like an apple for A.
18. Soft Ombre Dyed Bandana Bib
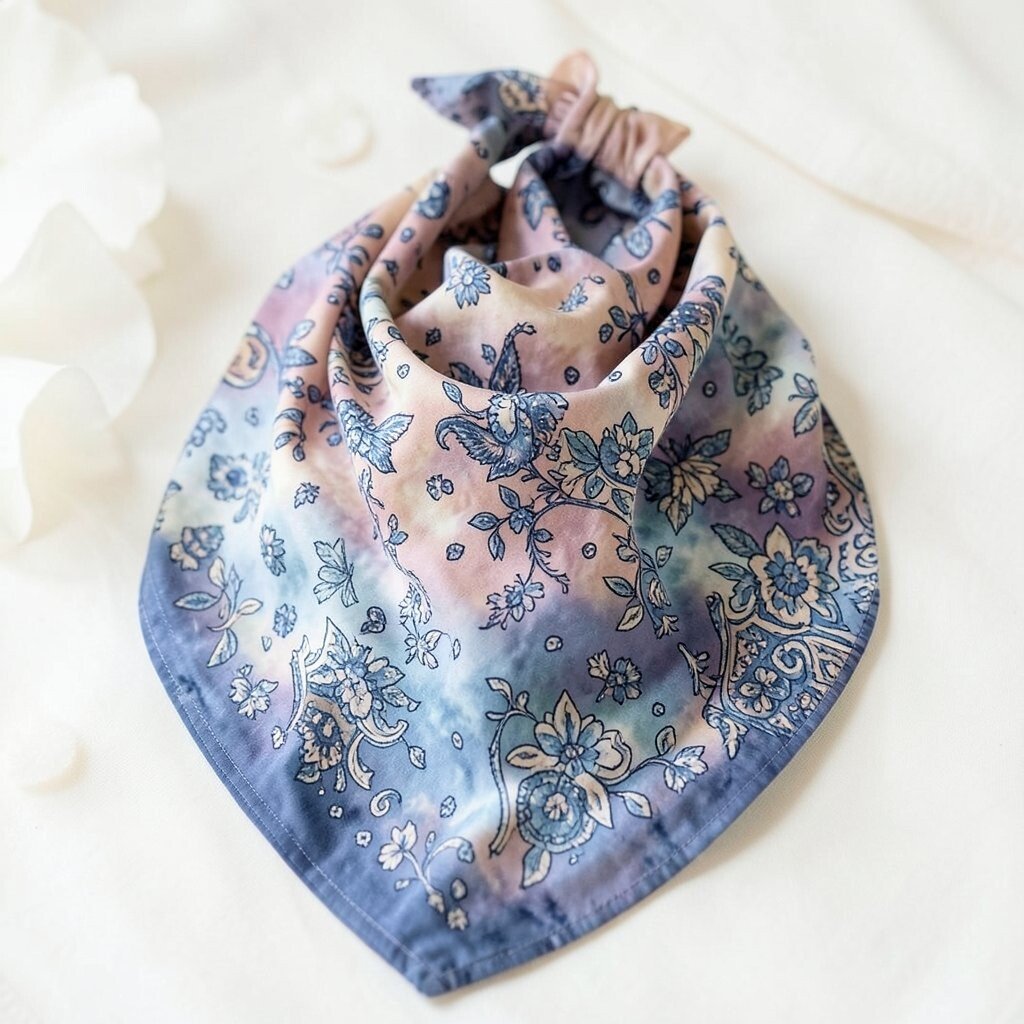
See a bandana bib with an ombre look where color fades from deep to light across the triangle. Batik texture shows through like watercolor, making the fade feel handmade.
Apply resist along a few horizontal curves so sections break up the gradient, then dye in stages from darker to lighter. This helps prevent the color from pooling and makes the fade look smooth. Rinse gently and let it dry flat so the bib stays neat and flexible.
Personalize by adding a tiny repeated pattern on one corner, like small stars or hearts. For cost, use plain bib fabric and focus dye only on the front, which keeps the back simple and quick to clean. It’s a practical way to get a high-impact look with less dye.
19. Vintage-Feel Lace Pattern Baby Cardigan

Imagine a cardigan with a delicate lace-like batik pattern across the sleeves, like vintage fabric meets modern softness. The result looks detailed, yet it can stay wearable and cozy.
Resist small repeating leaf and swirl shapes along the sleeve panels, then dye with a muted palette so it feels timeless. If the cardigan has seams, align patterns with those lines so the design looks naturally placed. A helpful tip is to test your resist on a small hidden area first, especially if the fabric blend is tricky.
Personalize by changing only the sleeve pattern while keeping the body mostly plain for a balanced look. For cost considerations, find a simple cardigan during off-season sales and dye it yourself instead of buying a pricey handmade one. This also lets you match colors to a nursery theme without guessing.
20. Name-in-a-Bird Nest Sleep Sack
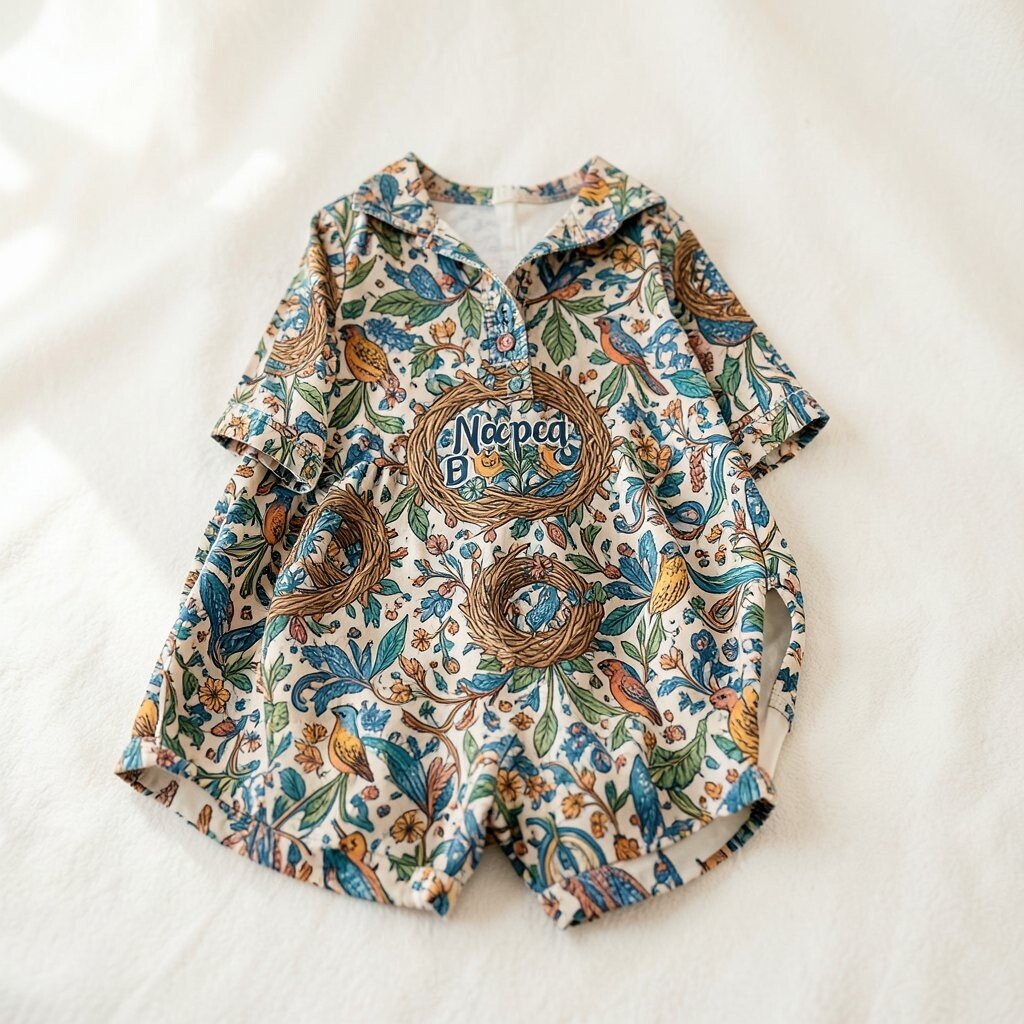
Picture your baby’s name written as if it’s resting in a bird nest, with twig-like lines and soft background color. The design feels warm, personal, and instantly meaningful.
Resist the “nest” lines first, then dye around them so the nest stands out. For the name, use a stencil for clean letters, apply resist inside the letter shapes, and dye with a complementary shade for contrast. Keep the lettering medium-sized so it’s readable but not overwhelming.
Personalize by adding tiny egg shapes around the name using dot resist, and choose a color palette that matches the rest of your baby items. For cost, a sleep sack can be more expensive, so consider dyeing a cheaper plain layer first to perfect your resist technique. This project rewards patience, and once you see the final pattern in place, it feels like a keepsake you’ll treasure.