The right cut can make an ordinary tee feel like your favorite outfit. Small changes in fabric and shape can give your look a whole new mood.
Whether you wear graphic prints, plain cotton, or oversized basics, these ideas can help you style with confidence. Keep a spare marker, a pair of sharp scissors, and a little patience nearby, and you’ll be surprised how far a simple shirt can go.
1. Asymmetrical Hem Swing
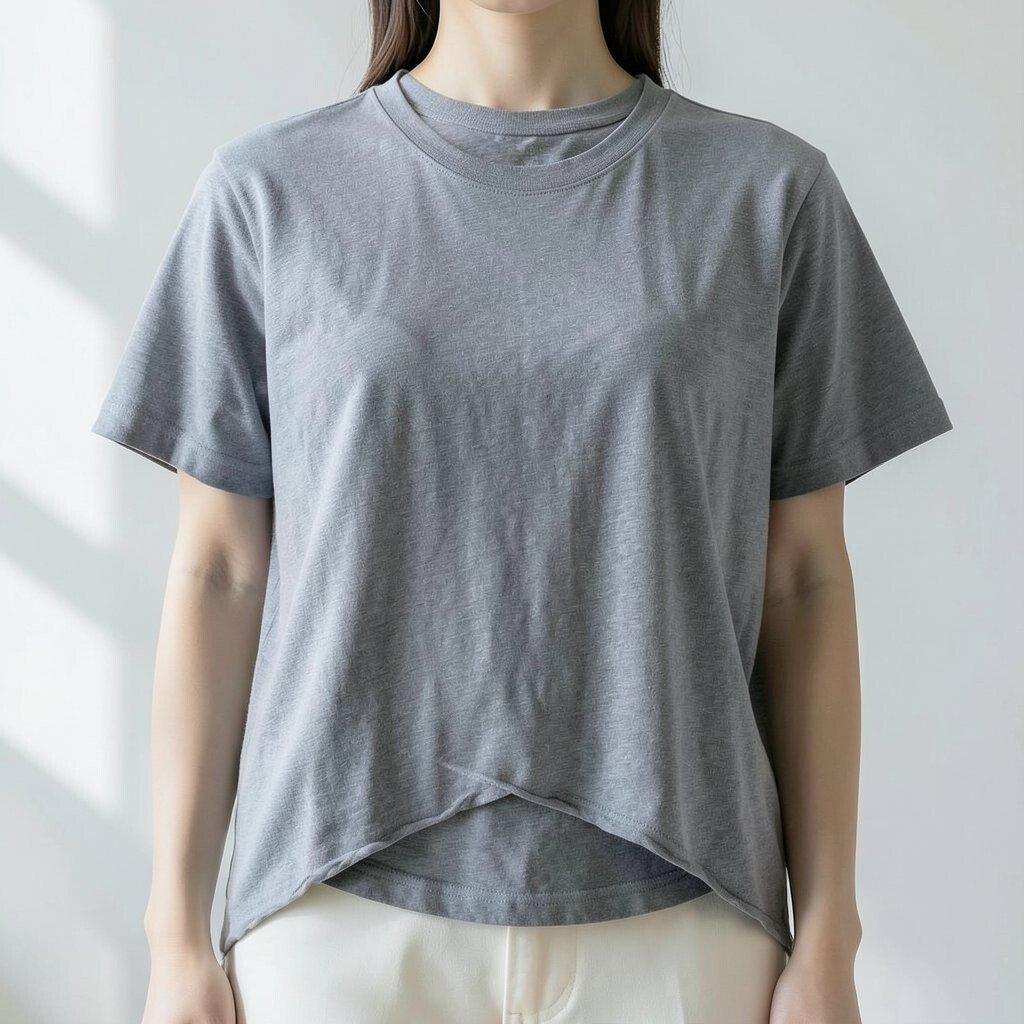
Start with a plain or printed tee and imagine the bottom edge swaying to one side. Mark a gentle curve so the front hem sits slightly higher while the back drops lower.
Cut along your line with a slow, steady motion. Leave a tiny bit of extra fabric so you can trim again if you want it cleaner. After cutting, tug the edges lightly to soften the look, because fabric often relaxes once it meets air.
2. One-Shoulder Slit & Wrap
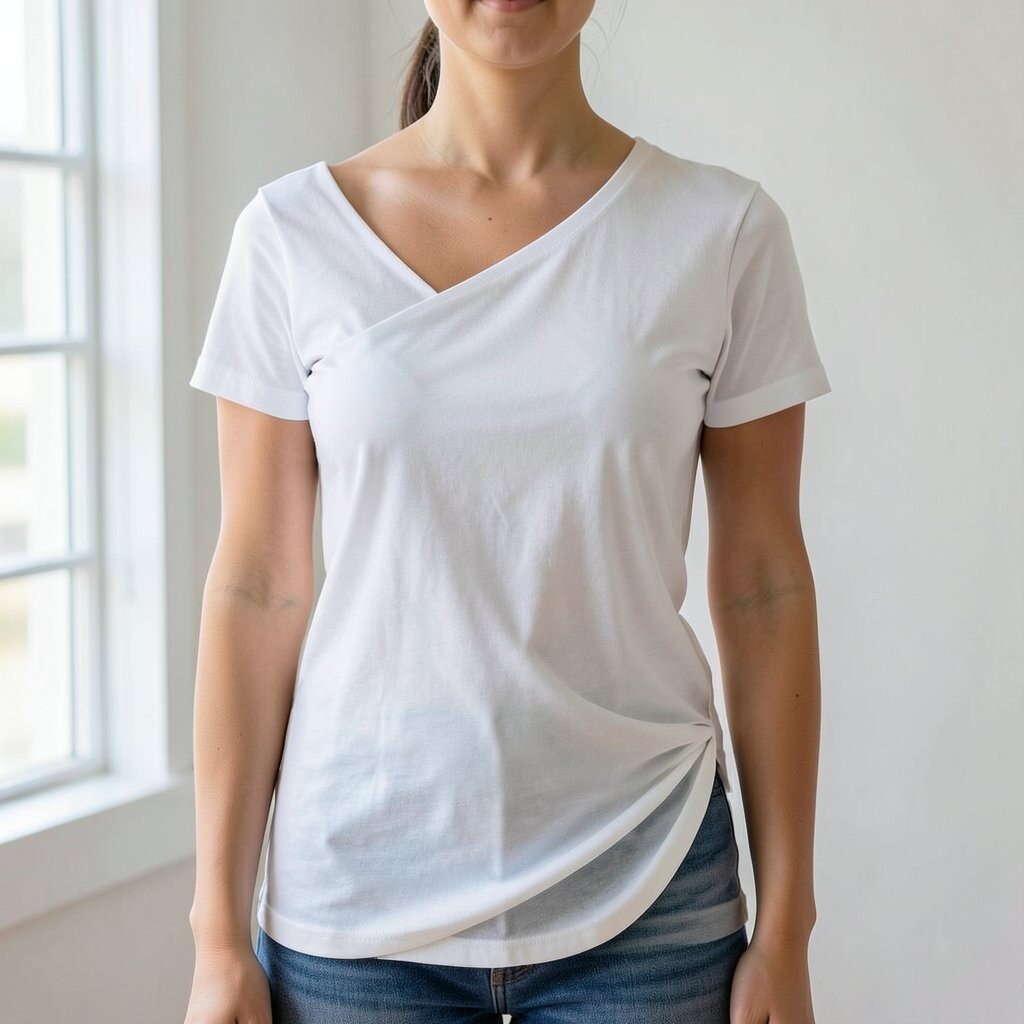
Choose a shirt that fits you well in the shoulders, then picture one side peeling open like a stylish wrap. Use chalk to outline a slit starting near the collar and moving down toward the sleeve seam.
Cut carefully along the line, then test it by putting your head through and sliding your arm through the new opening. For a wearable result, keep the fabric connected enough that the shirt still hangs nicely. If you want extra security, knot the underlayer at the inside point where the slit ends.
Style it with a bralette or a fitted tank underneath for an easy summer vibe. This idea feels unique because it blends a sharp cut with a draped silhouette that looks intentional. It also saves money since you’re using the same shirt and skipping hardware or extra fabric.
3. Micro Crop With Fringe Bottom
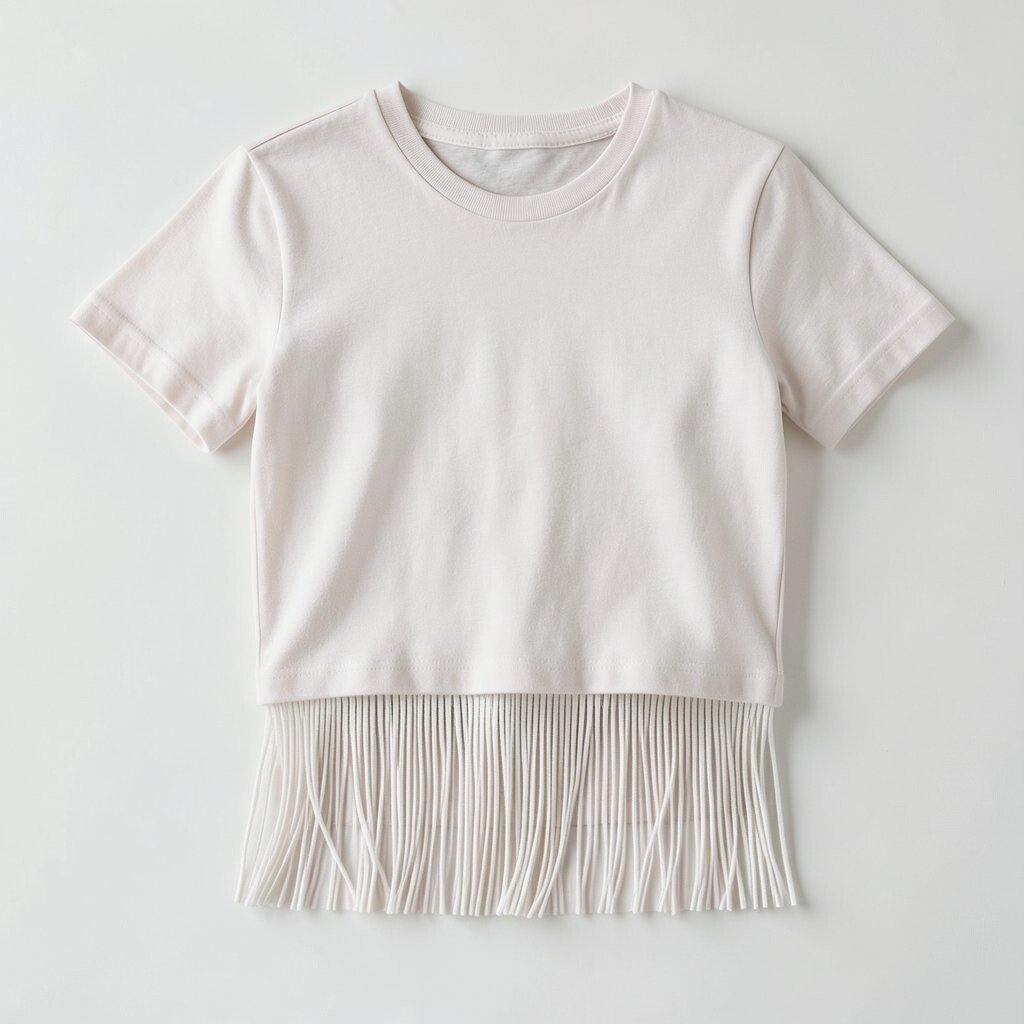
Grab an old tee you like but don’t wear much anymore, then picture a shorter length with playful movement. Measure your crop height while wearing the shirt so the hem lands where your body feels comfortable.
Cut straight across, then make small vertical snips into the remaining hem to form fringe. Keep the fringe short for a tidy look or longer for a more relaxed feel that moves with you.
Wash it once after cutting so the threads loosen naturally and soften. This design is trending because fringe and cropped hems show up everywhere from festivals to everyday street style. For personalization, use a darker dye on the fringe tips or leave them raw for a rugged look.
4. Side Cutout Bands
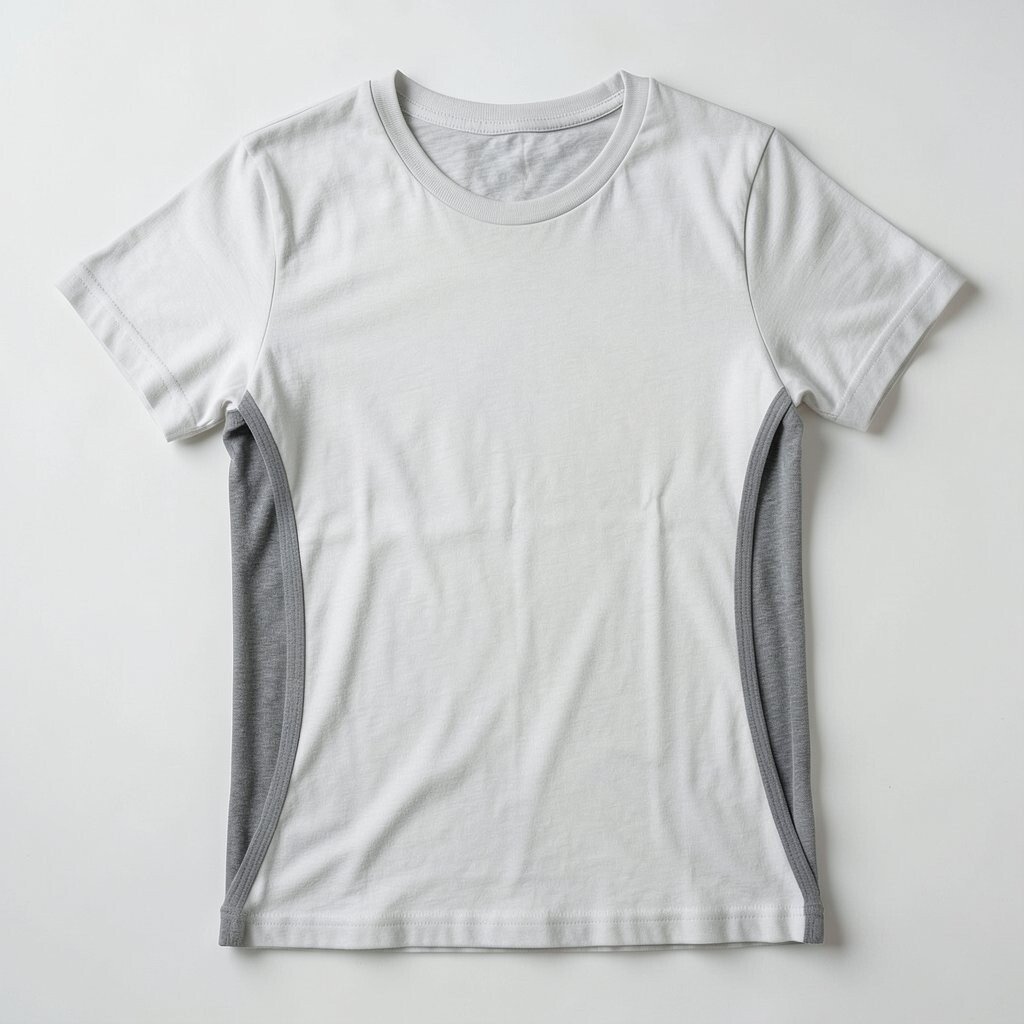
Try carving out two slim side panels that look like modern racing stripes. Mark a vertical rectangle on each side seam, then remove the fabric to create narrow cutouts.
Don’t cut all the way through if you want a layered effect, because leaving a thin bridge can keep the shirt more stable. If you remove fully, you’ll get a bold open look that shows more skin and makes summer outfits feel lighter.
Pair it with high-waisted jeans or biker shorts so the cutouts line up with your body shape. This idea looks unique because the openings act like built-in graphic styling without extra paint. It’s also practical since you can keep the rest of the shirt untouched and still get a dramatic change.
5. Back Zipper Illusion (Without Sewing)
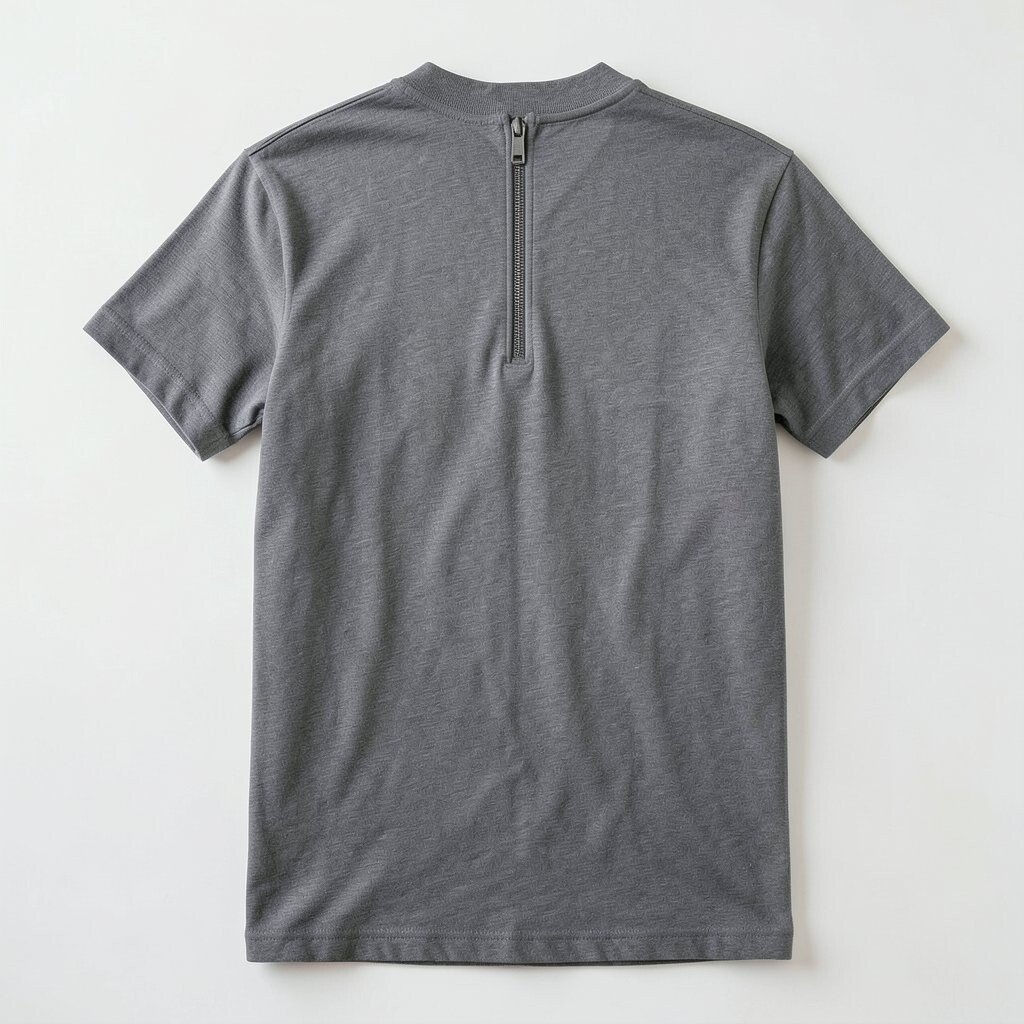
Lay your tee flat and imagine a faux zipper line across the upper back. Use a marker to draw a straight vertical path from just below the collar toward the lower shoulder area.
Cut a narrow strip along the line, then separate the fabric just enough to show an inner layer. If your shirt is thick, you can create a stronger “zipper” gap by trimming the edges slightly uneven for a stitched-like texture.
For a more realistic look, add small fabric loops from scraps along the sides of the slit. This costs very little because scraps can come from old shirts or spare fabric. Personalize it by changing the zipper curve into a gentle wave so it matches your style.
6. Tie Knot Neck Remix
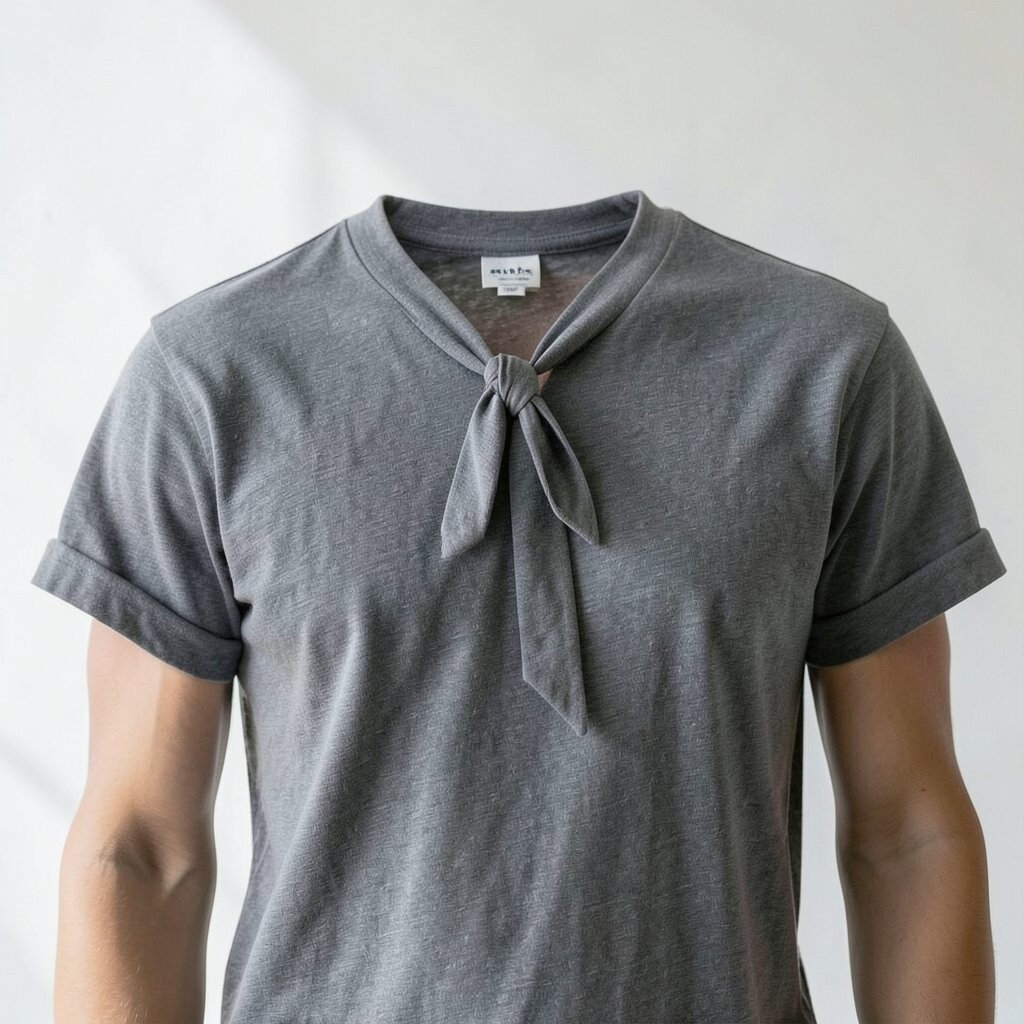
Start with a crew neck tee and picture the collar turning into a tiny centerpiece. Cut two short slits on each side of the neckline, then thread a small strip of fabric through and tie it into a knot.
Keep the knot centered for balance or shift it off to one side for a more playful look. Tie knots have been popping up in current streetwear because they add structure to simple basics.
To prevent stretching, use a strip cut from the same shirt so the fabric matches in thickness. If your shirt is thin, you can double the strip for strength. This is an easy, low-cost upgrade that feels personal right away.
7. Cutout Flower Grid
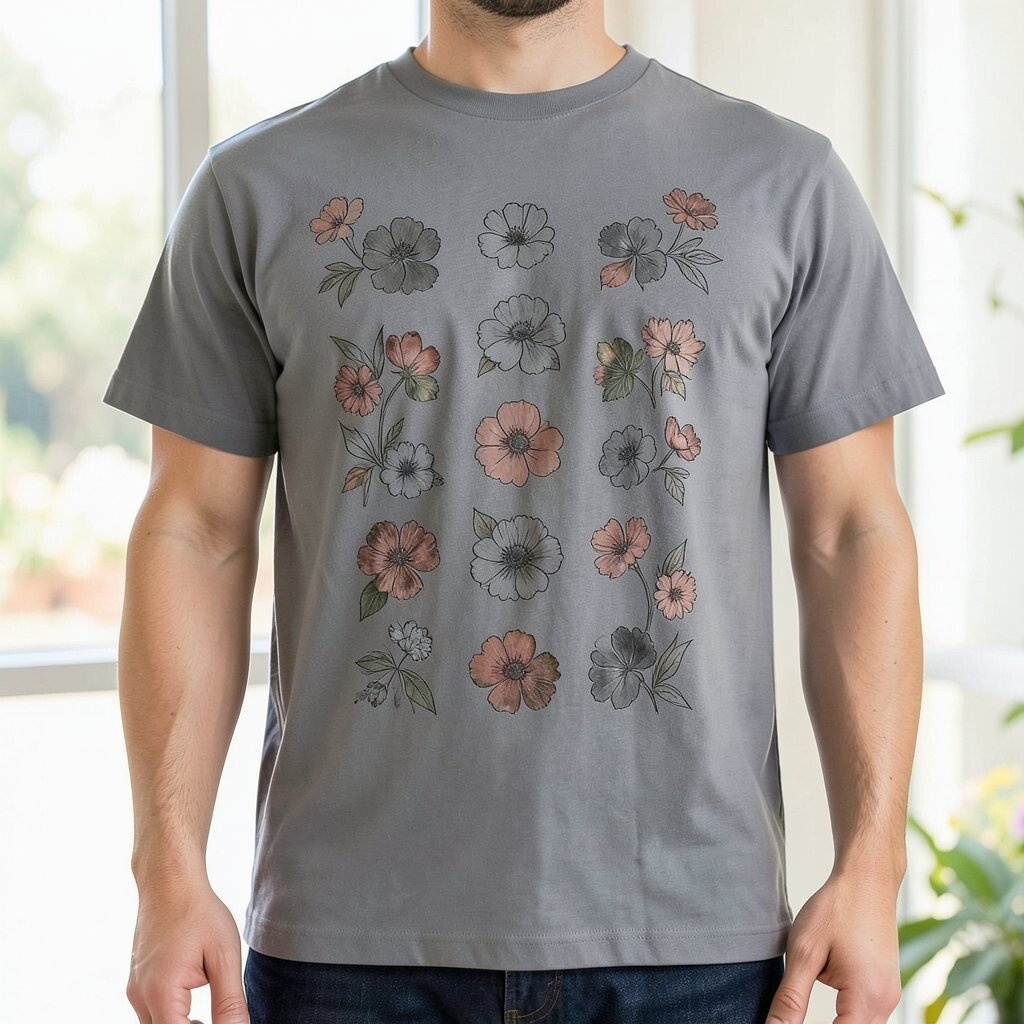
Choose a graphic tee or a plain one, then imagine a grid of small floral holes across the front. Draw a repeating pattern of curved petal shapes so the cuts form a flower effect without needing paint.
Cut along the outline carefully, leaving small bridges between petals so the design stays connected. If you want cleaner edges, use small scissors and pause to check symmetry as you go.
This style is fun because it looks delicate but still feels bold when you move. It also lets the color underneath show through if you wear a contrasting tank. Personalize by choosing larger petals for one side of the shirt so it looks like a blooming detail.
8. Sleeve Thumbholes
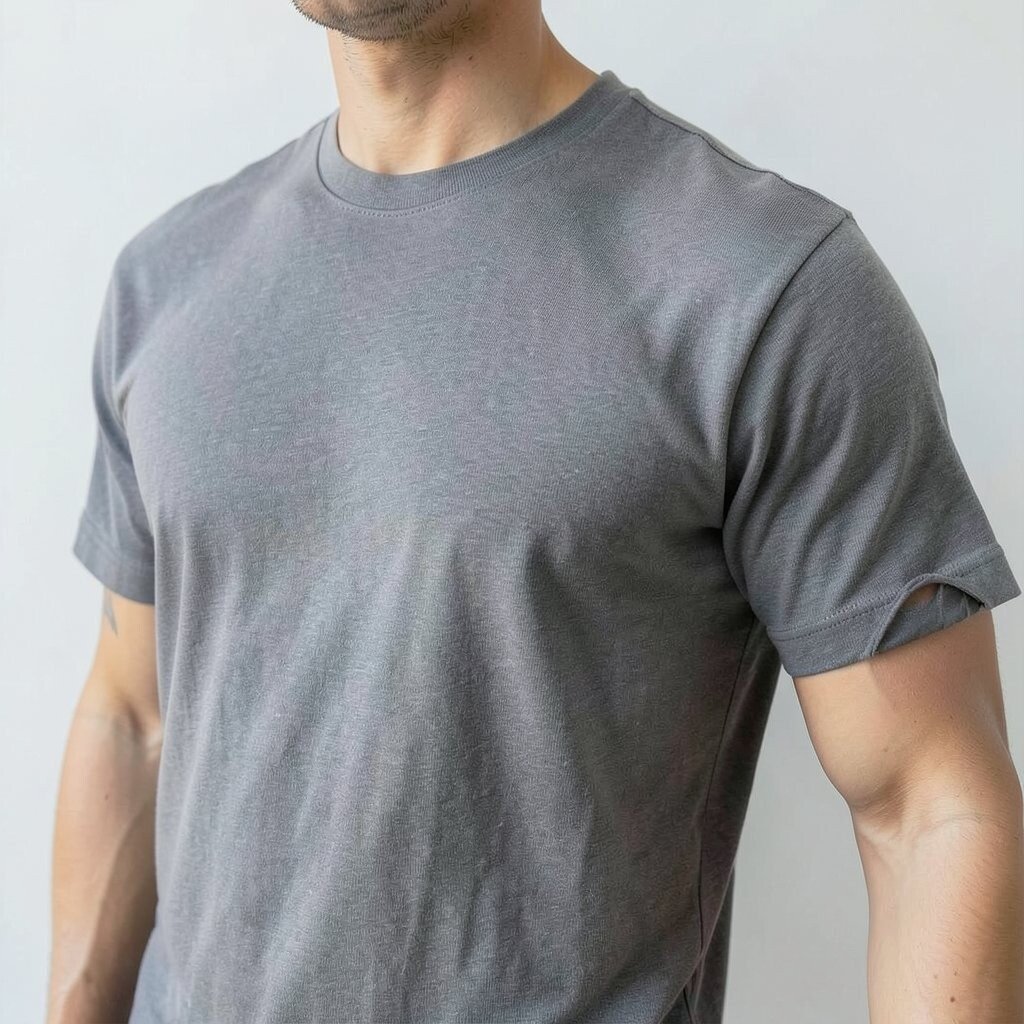
Turn an ordinary short-sleeve tee into something that feels like a relaxed hoodie. Mark thumbholes on each sleeve, placing them near the inner seam so they sit naturally when you bend your arm.
Cut two small openings, then reinforce the edges by folding them inward and tucking the fabric with your fingers. Even without sewing, the fabric often holds its shape after trimming and tugging lightly.
Thumbholes add comfort because they help the sleeve stay in place while you move. This idea is practical for cool evenings too, since the openings reduce bunching. For personalization, vary the size so one thumbhole is subtle and the other is more dramatic.
9. One-Side Pocket Peek
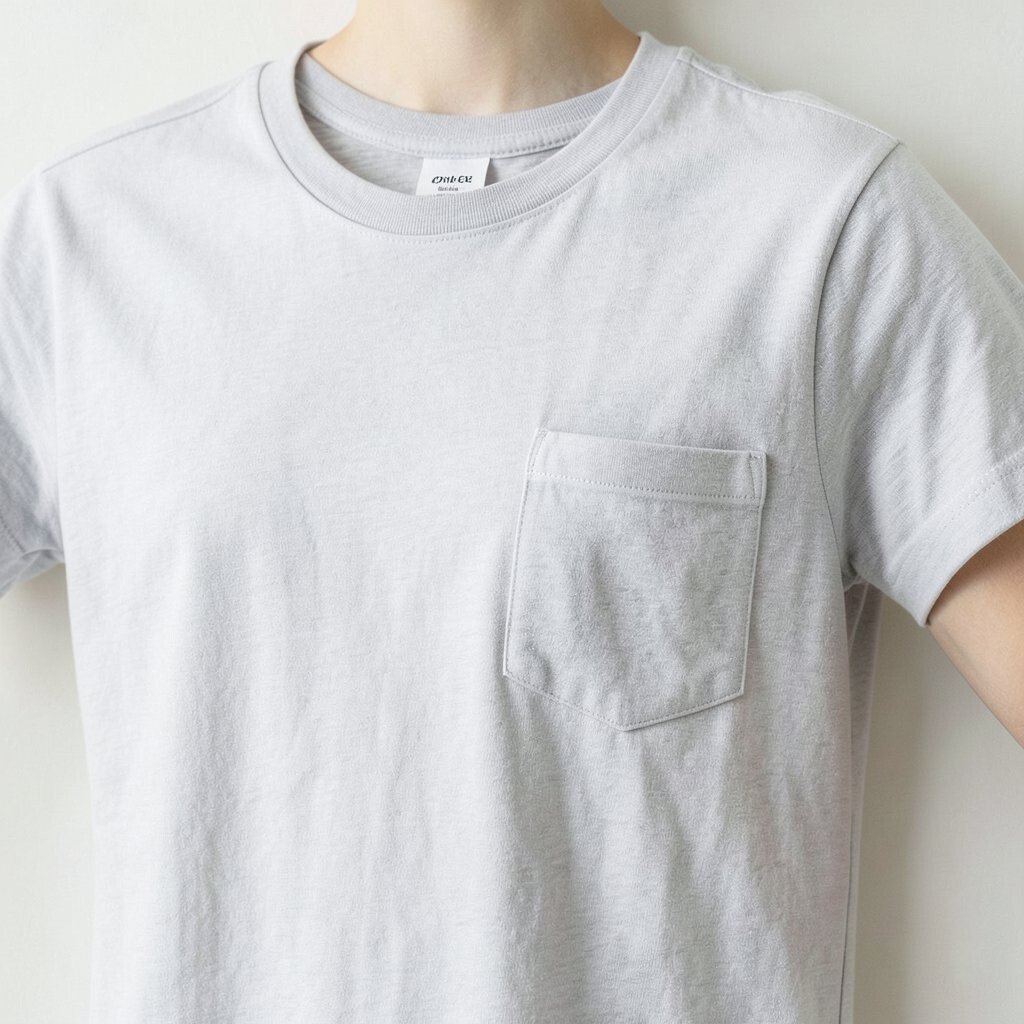
Picture your tee with a mini panel that looks like a hidden pocket on one side. Cut a shallow angled opening along the lower side seam, then pull out a small inner layer so it peeks through.
To make the effect stronger, trim the opening wider at the top and narrower at the bottom so it resembles a tucked pocket. Use a scrap backing piece if you want extra contrast, like a different color tank under the tee.
It feels unique because the cut looks like a garment detail rather than a DIY accident. This also helps you personalize your wardrobe since you can match the backing color to your belt, shoes, or bag. Cost stays low because you’re mostly cutting, not buying anything new.
10. Ragged Crop With Tattered Shoulders
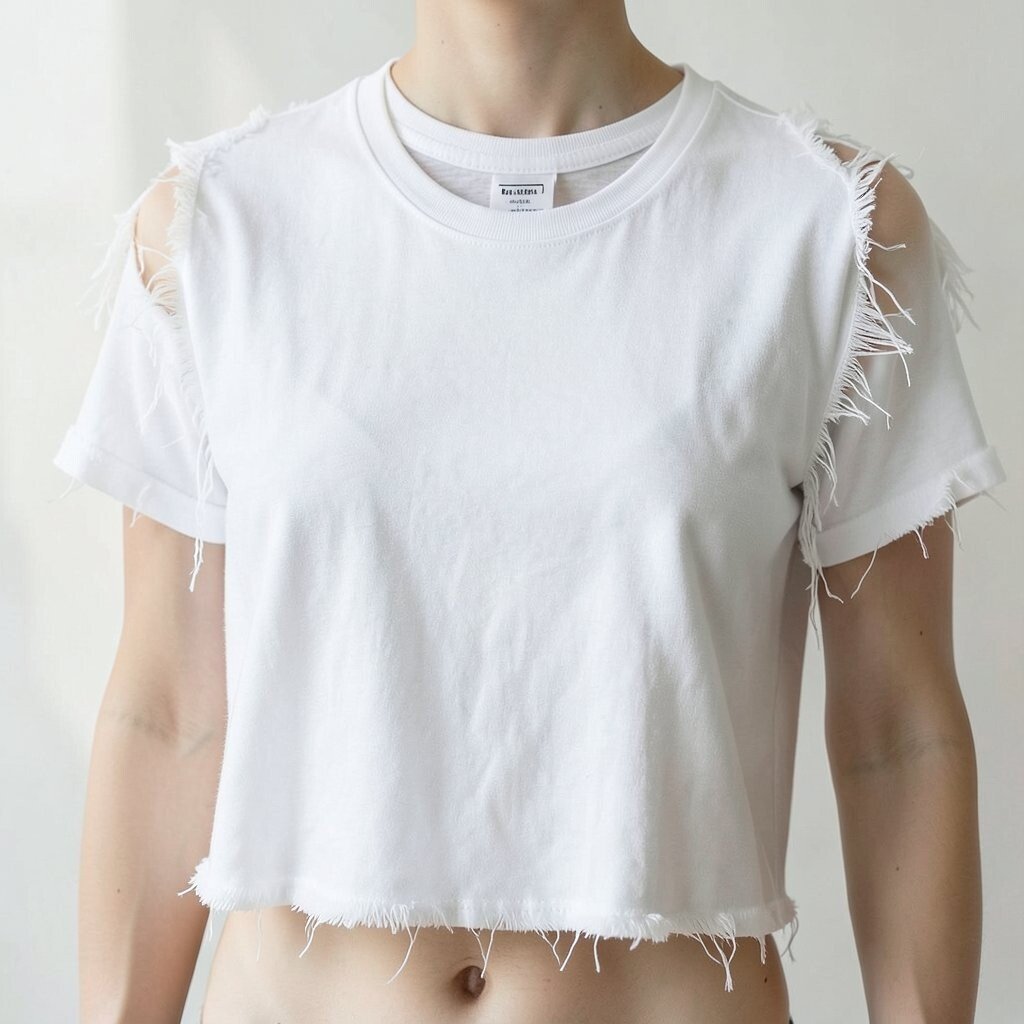
Grab a tee that already has some wear, then lean into it with a more intentional distressed look. Trim the hem into a crop, and then create tiny slits at the shoulders for a tattered effect.
Use your scissors to remove small threads in a controlled way so the holes look natural. For a smoother finish, gently pull the fabric until it frays, then stop when it looks right to you.
This style benefits from movement, so it’s great for concerts, street photos, and casual weekends. It’s trending because distressed textures feel gritty and fashionable, especially when paired with clean accessories. Personalize it by keeping the distress only on one shoulder for a lopsided vibe.
11. “V” Neck Deepener With Raw Edge
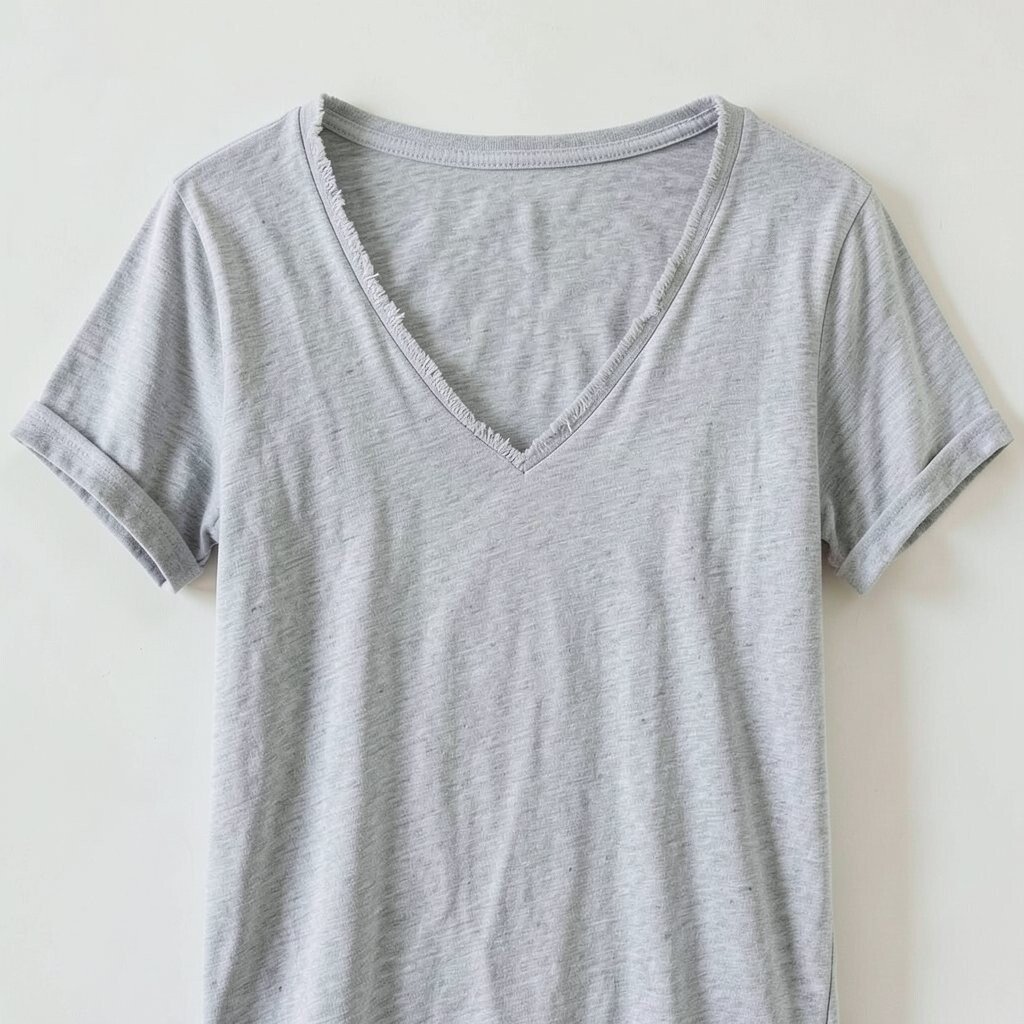
Start with a crew neck or shallow scoop tee and imagine a deeper “V” that frames your face. Measure and mark the center point on the front, then draw lines that angle down from the collar area.
Cut along the V lines, then leave the edges raw for a bold, modern look. Raw edges can feel edgy in photos and look great when the fabric relaxes after a wash.
If you want a cleaner finish without heavy sewing, trim the inner edge slightly higher so the fabric rolls outward naturally. This benefits your outfit because it changes the silhouette without changing the rest of your shirt. Keep costs down by using only scissors and a marker, and personalize by making the V shallow for subtle style.
12. Spiral Side Twist
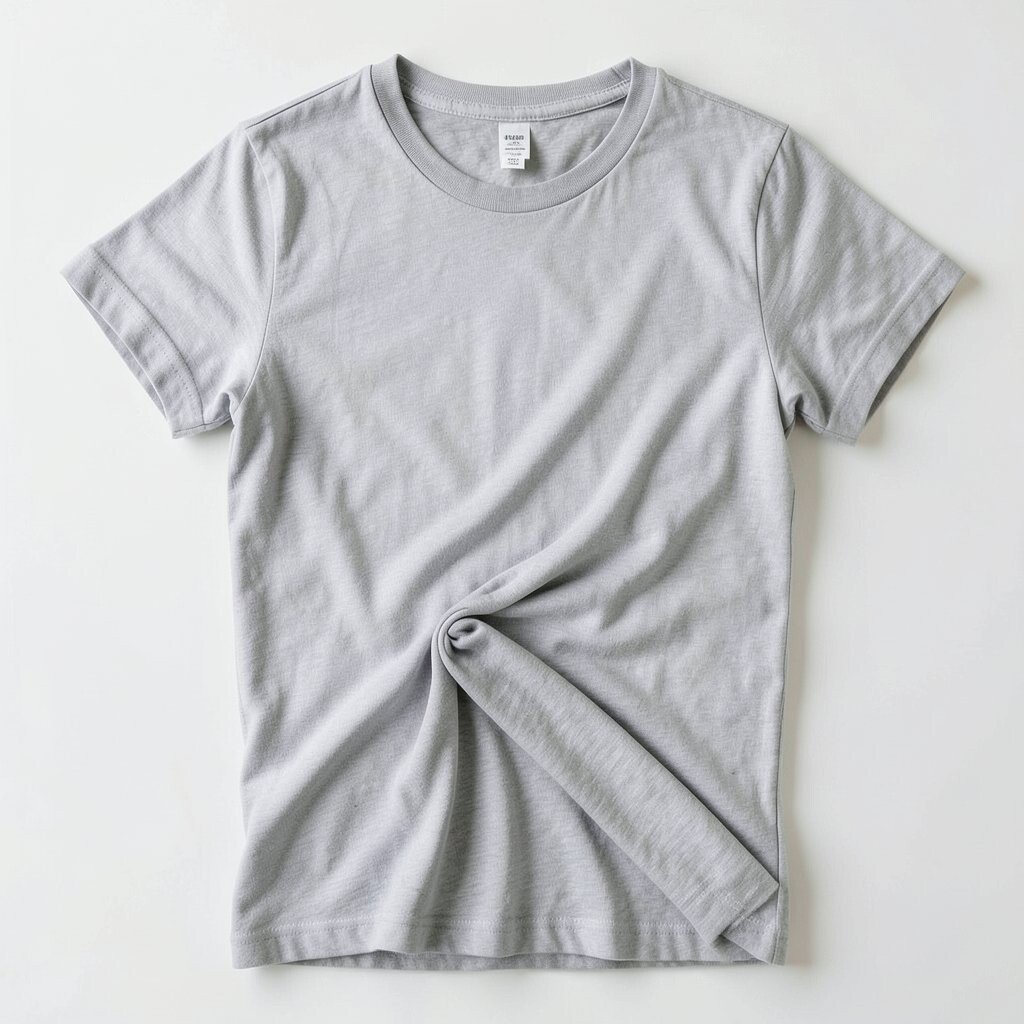
Choose a slightly oversized tee so you have fabric to shape, then picture a diagonal spiral twist that looks like a knot dress. Mark a point near one side seam where you’ll start twisting, then pinch the fabric and twist it in the direction that feels balanced.
While holding the twist, mark where the fabric should meet so the spiral sits snug and doesn’t droop. Cut small slits along the meeting line and slide a thin strip through to secure the twist, or use a fabric tie from the same shirt.
This idea is unique because it creates a sculpted shape using only the shirt’s own fabric. It’s practical since the twist hides minor mistakes in alignment and gives your outfit structure without buying a pattern. For personalization, add bead-like accents with leftover yarn knots, or keep it minimalist for a clean, modern look.