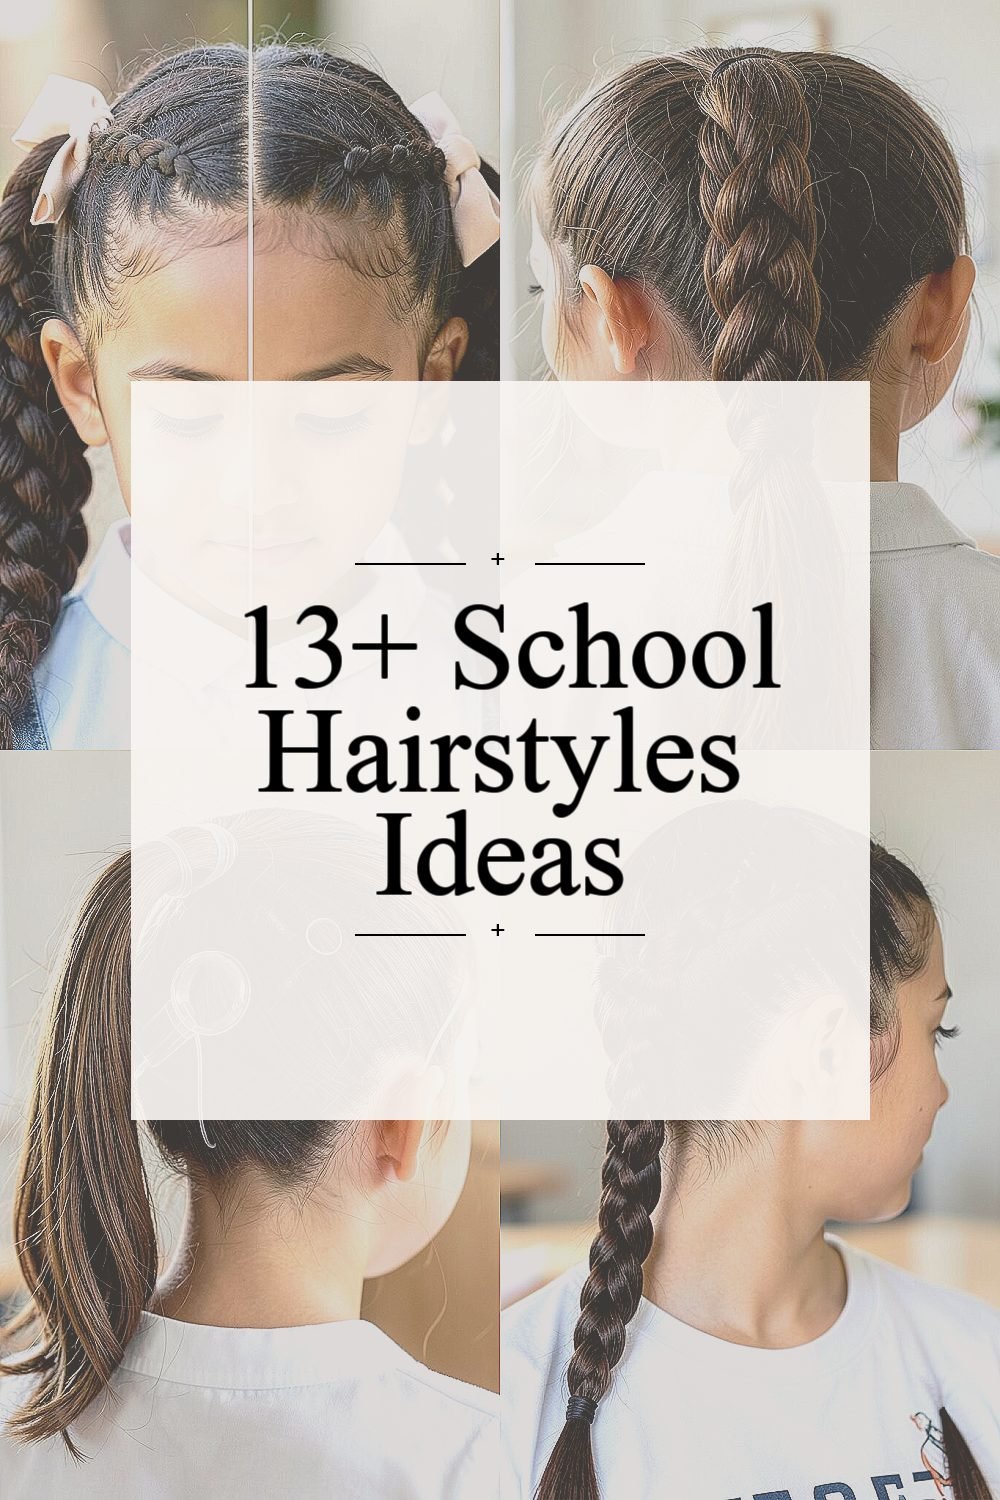
Your hair can look brand new without feeling like a whole project. These simple styles are made for busy mornings and real school days.
Think comfy, cute, and quick enough to fit into your routine. You’ll find plenty of ways to make each look feel like yours.
1. Half-Up Twists with a Soft Bow
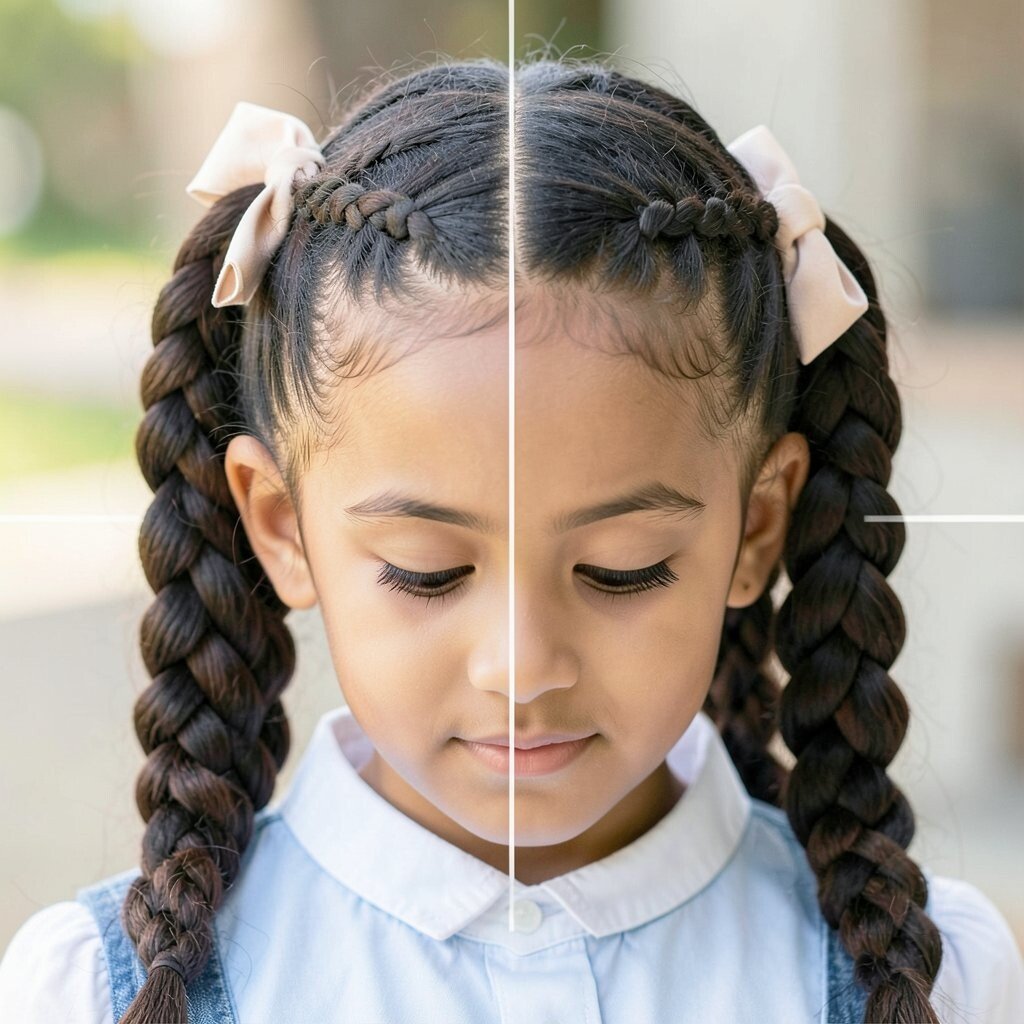
Start by parting your hair slightly off-center so one side looks a little fuller. Pull the top section back and split it into two parts, then twist each part toward the middle.
Secure the twists with a small elastic, then add a bow clip or tie for a sweet finish. This style keeps hair out of your face while still showing off your natural waves or volume. It’s also great for beginners because twisting feels easier than complicated braids. For personalization, match the bow color to your backpack or scrunchies, and use a tiny clip to hide any flyaways.
2. High Ponytail with a Braided Wrap
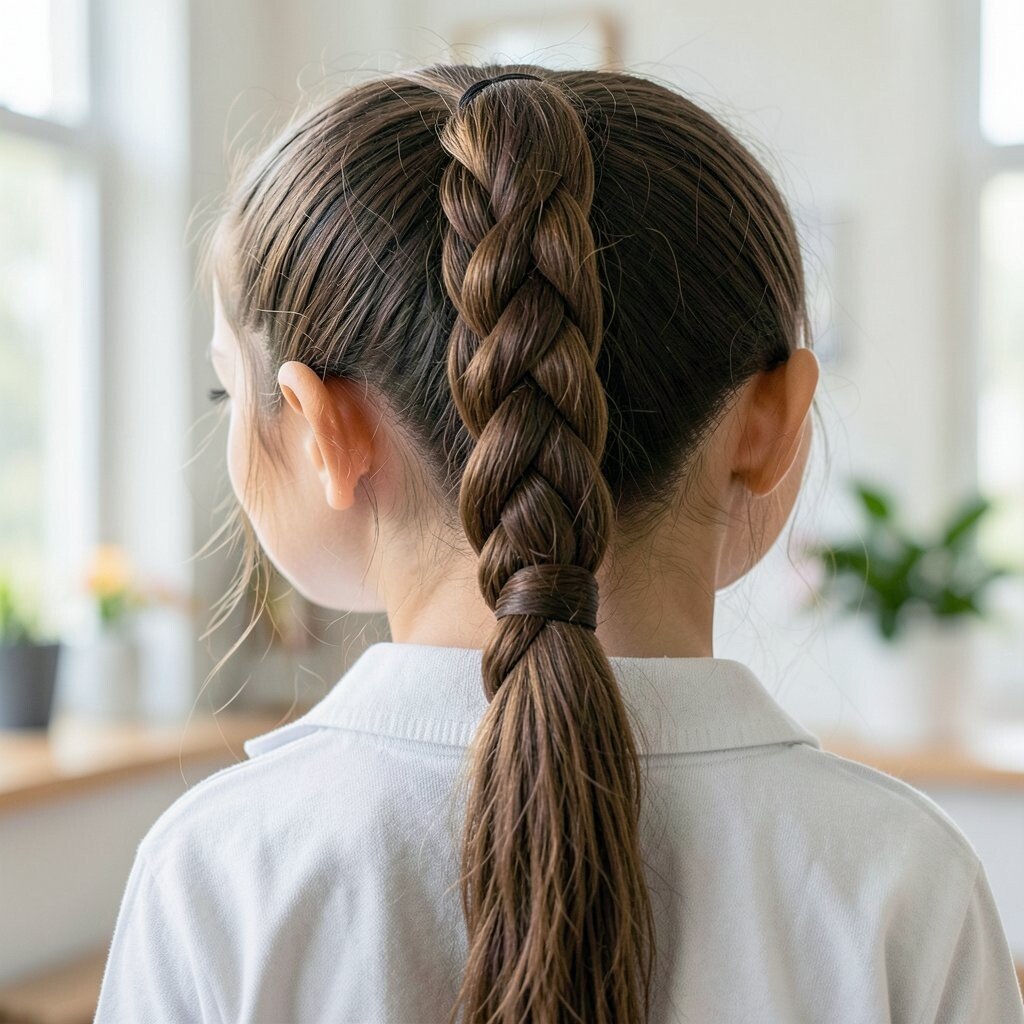
Brush your hair smooth, then gather it into a high ponytail for an energetic, sporty look. Take a small strand from underneath the elastic and braid it for a neat little accent.
Wrap the braid around the base of the ponytail and pin it in place. This gives you the “done” look without spending extra money on fancy accessories. It helps your hair stay secure during PE and recess, and it can reduce tangling by keeping ends together. For personalization, try a skinny braid for a delicate vibe or a thicker braid for a bold look, and finish with a light shine spray if your hair looks a bit dry.
If you want today’s look to match current trends, keep the braid tight and clean and let the ponytail be sleek. A smooth base also photographs well when you’re doing school portraits or group selfies. If your hair is short, use two small elastics to create two mini sections that feel full and secure.
3. Bubble Ponytail with Clear Elastics
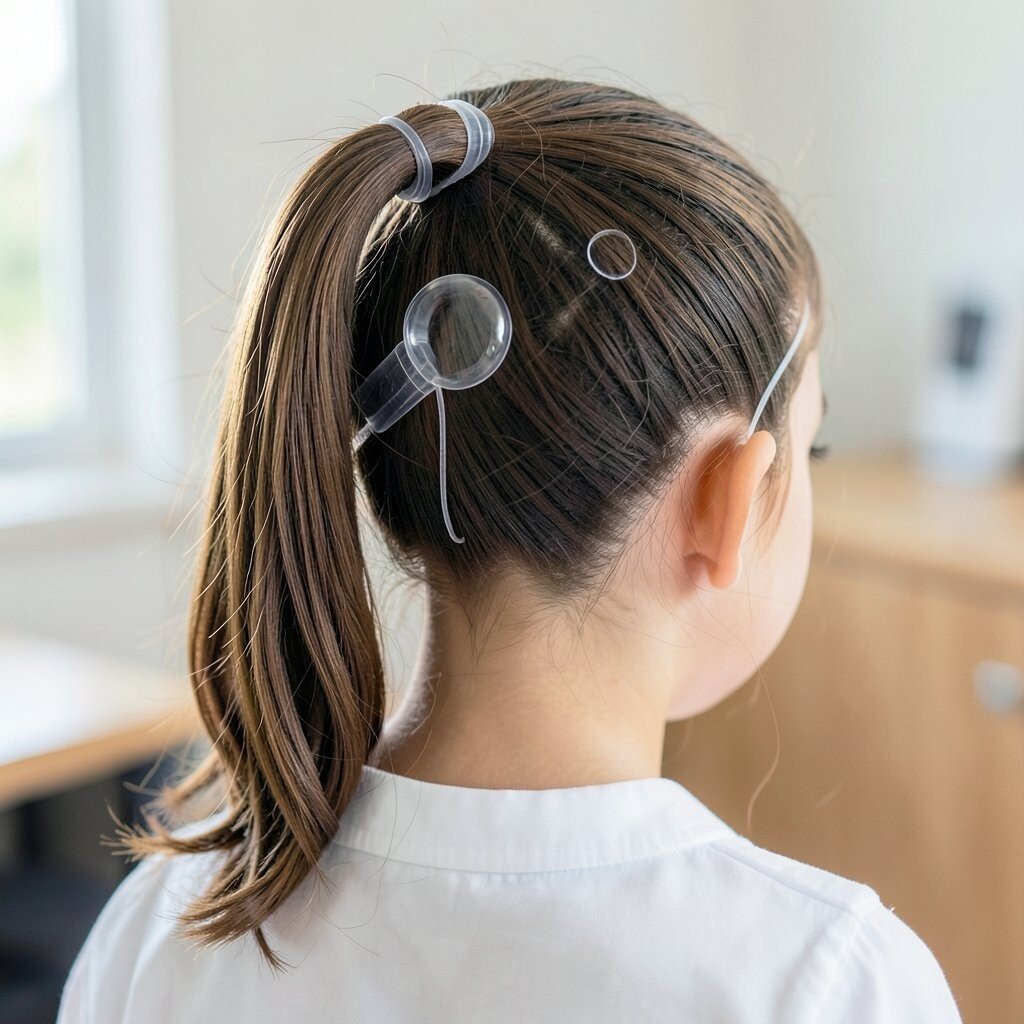
Gather your hair into a mid or high ponytail and secure it with an elastic. Then section the ponytail again with a few more elastics spaced out like small bubbles.
Gently pull each bubble to make it round and puffy while keeping the ponytail shape. This style looks fun and gives your hair instant volume, even if it’s fine. It’s unique because it turns a simple ponytail into something playful and artsy. To personalize, choose elastics in your favorite colors or use clear ones for a more modern look.
You’ll also like how it keeps hair controlled, so strands don’t slip into your eyes. For practical morning ease, use a comb to smooth the hair before adding each elastic. If you’re worried about breakage, don’t pull too hard when making the bubbles, and keep elastics away from your roots.
Cost-wise, clear elastics and a few extra hair ties are usually inexpensive and easy to find. This is a great style when you want maximum cuteness with minimal effort. It also works well with slightly wavy hair because the bubbles catch and hold the texture.
4. Sleek Side Braid That Starts at the Crown
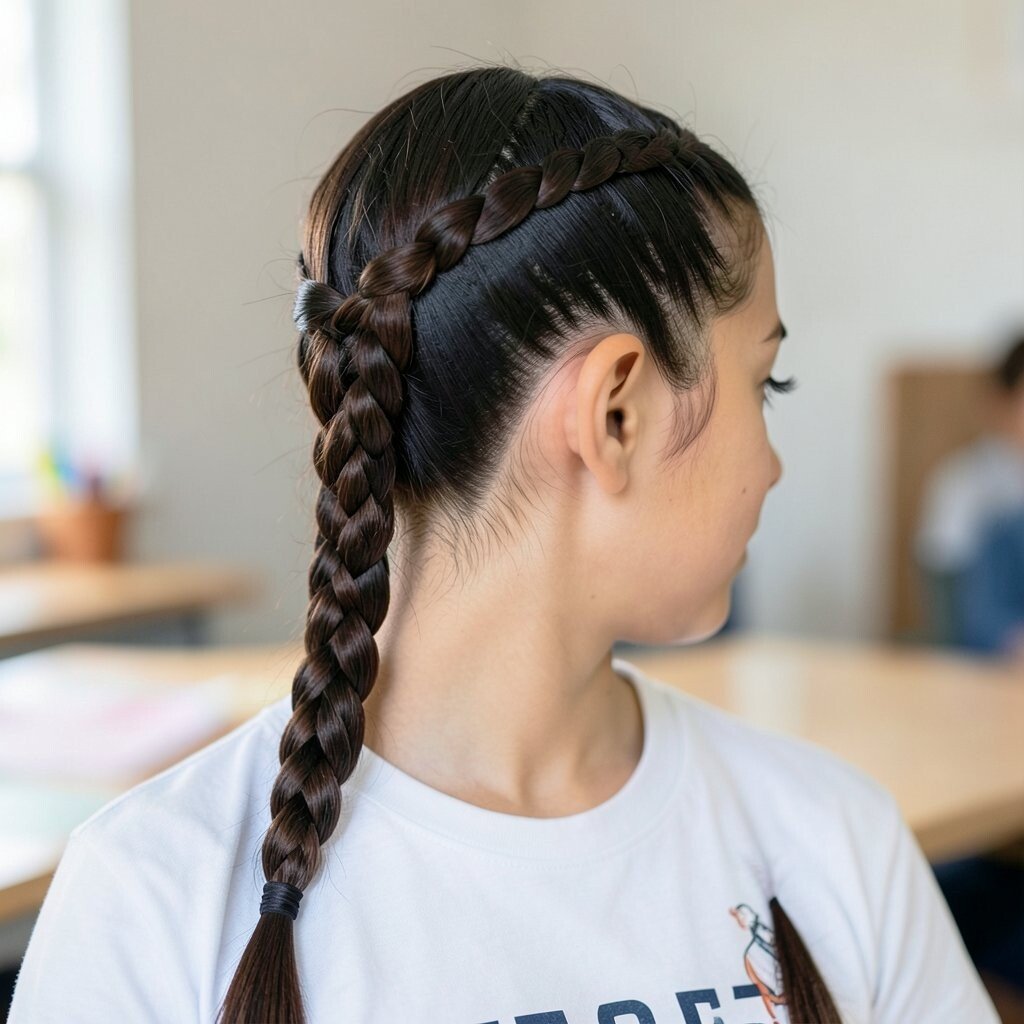
Part your hair to the side and gather a section near the crown. Begin braiding while adding a little hair as you move down, keeping the braid close to your head.
When you reach the ends, secure it with a small elastic and smooth any bumps with your hands. This looks polished and stylish for school events, but it still feels practical for daily wear. It’s unique because the braid begins higher and wraps your hairstyle like a frame. If you want extra personalization, add a small charm clip near the top or keep the braid slightly looser for a softer look. For a current vibe, lean into clean lines and avoid messy frizz by using a light styling cream.
This braid also helps keep hair off your neck, which is helpful on warm days. If your hair is slippery, use a tiny bit of mousse on the roots before you start. You’ll spend less time fixing flyaways when your starting section is smooth and evenly grabbed. Braiding can be a little tricky at first, so try it once on a weekend and adjust your grip before school time.
5. Messy Bun with a Front Twist
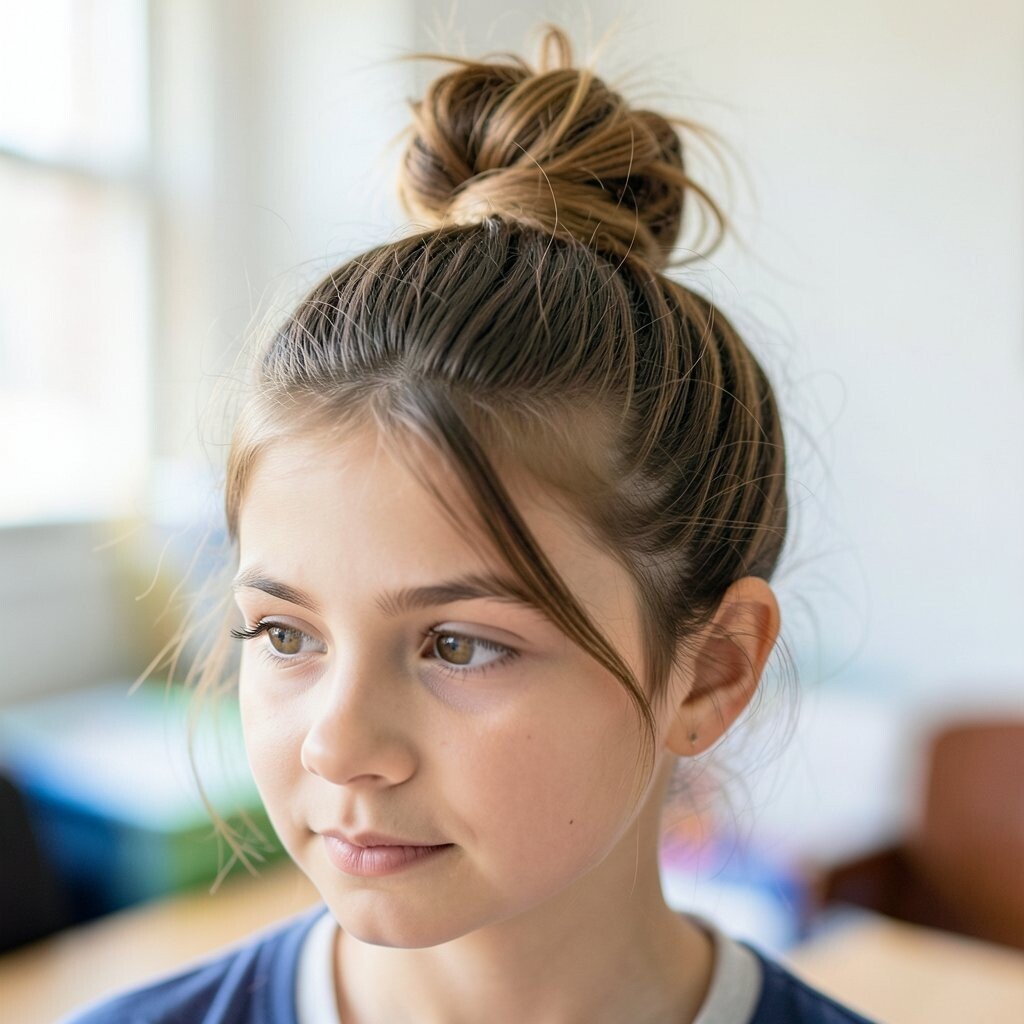
Gather your hair into a loose bun at the back or slightly off-center. Leave a small front section out near your forehead, then twist that section and tuck it around the bun.
Use bobby pins to secure the bun, letting a few soft strands fall for a relaxed look. This hairstyle feels effortlessly cute and still keeps hair contained during class. It’s unique because the front twist adds detail, even when the bun is intentionally messy. For personalization, add a headband, or use two hair pins that match your outfit.
The benefits are real on busy mornings since you can keep it quick and forgiving. If your hair is thin, add a hair donut or backcomb gently at the crown for more fullness. For cost considerations, bobby pins and elastics are usually the cheapest styling helpers, and you can reuse them daily. To avoid tangles, mist the ends with a tiny bit of water and detangle before making the bun.
6. Crown Braid Headband for Bangs and Face-Framing
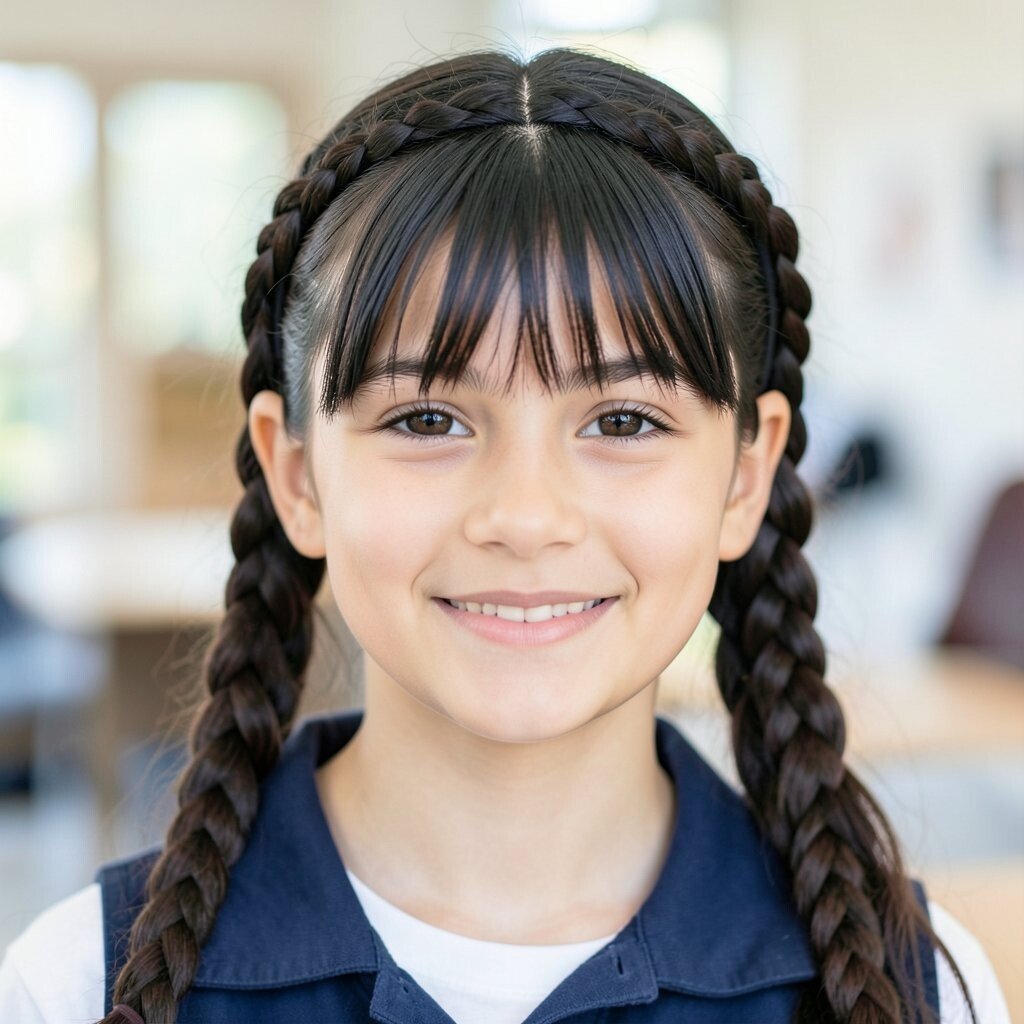
Start by separating a small front section from one ear to the other. Braid that section loosely, then bring it across the head like a headband.
Pin the ends behind your ears and adjust the braid so it sits comfortably. This style is perfect for bangs because it keeps them organized while giving a sweet, polished look. It’s unique because it feels like jewelry for your hair without needing extra pieces. For personalization, choose a looser braid for a boho style or a tighter braid for a more neat and tidy look.
To make it practical for school, tuck in any flyaways with a light gel or a bit of hair oil on your fingertips. The braid also helps prevent hair from touching your cheeks, which can feel annoying during long days. If you want it to look trendy, keep the braid slightly thicker and let the rest of your hair fall naturally.
7. Two-Section Rope Twists Around the Face
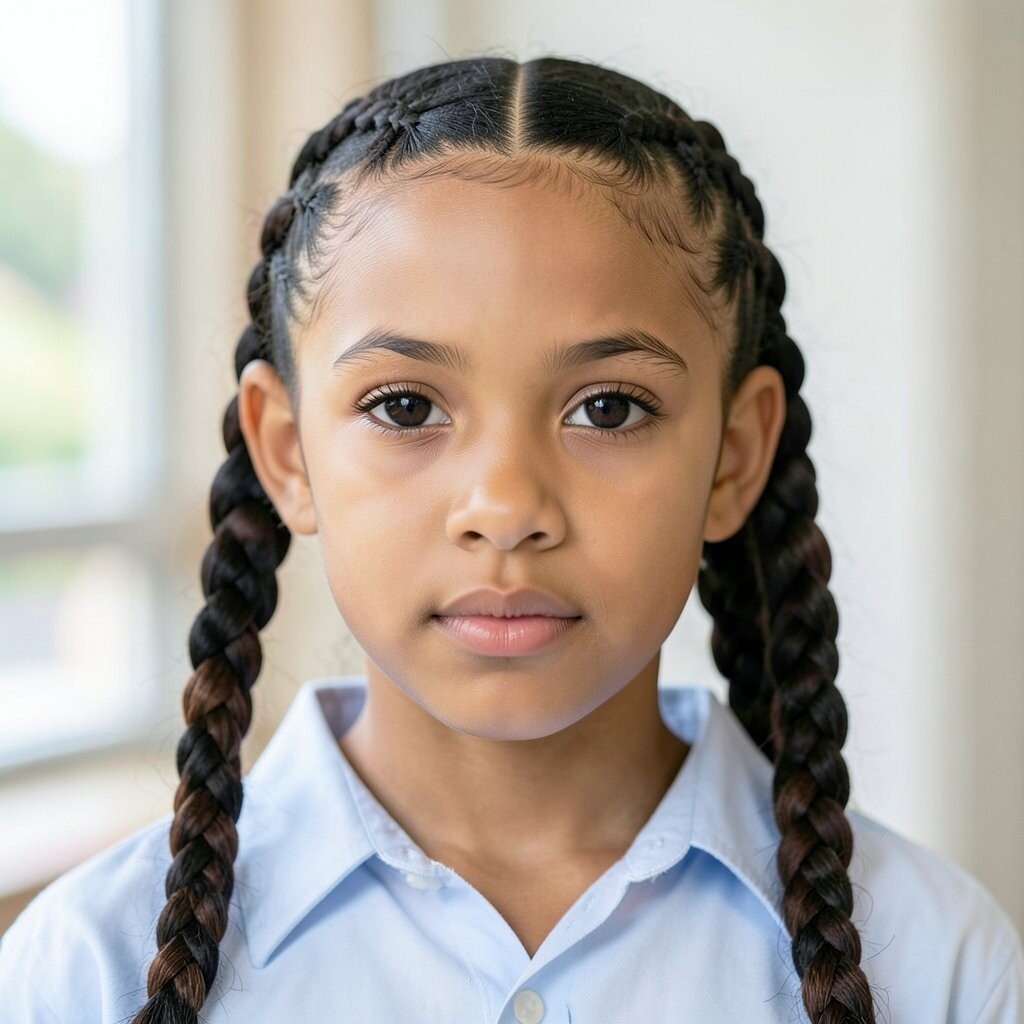
Part your hair down the middle and separate it into two equal sections. Twist each section from top to bottom like you’re twisting a rope, then secure with small elastics.
Bring the twists toward the back and wrap them together, pinning as needed. This gives you a cute, symmetrical look that feels organized and different from basic ponytails. The benefits include keeping hair away from your eyes and reducing day-long tangles. For personalization, try adding tiny clips or a small scrunchie at the point where the twists meet.
It’s also a great style when you’re growing out bangs because the twists naturally guide hair away from your face. If your hair is thick, use larger elastics so you don’t create bumps. For cost, you only need elastics and bobby pins, which are usually cheap and easy to replace.
8. Low Ponytail with a Top-Side Knot
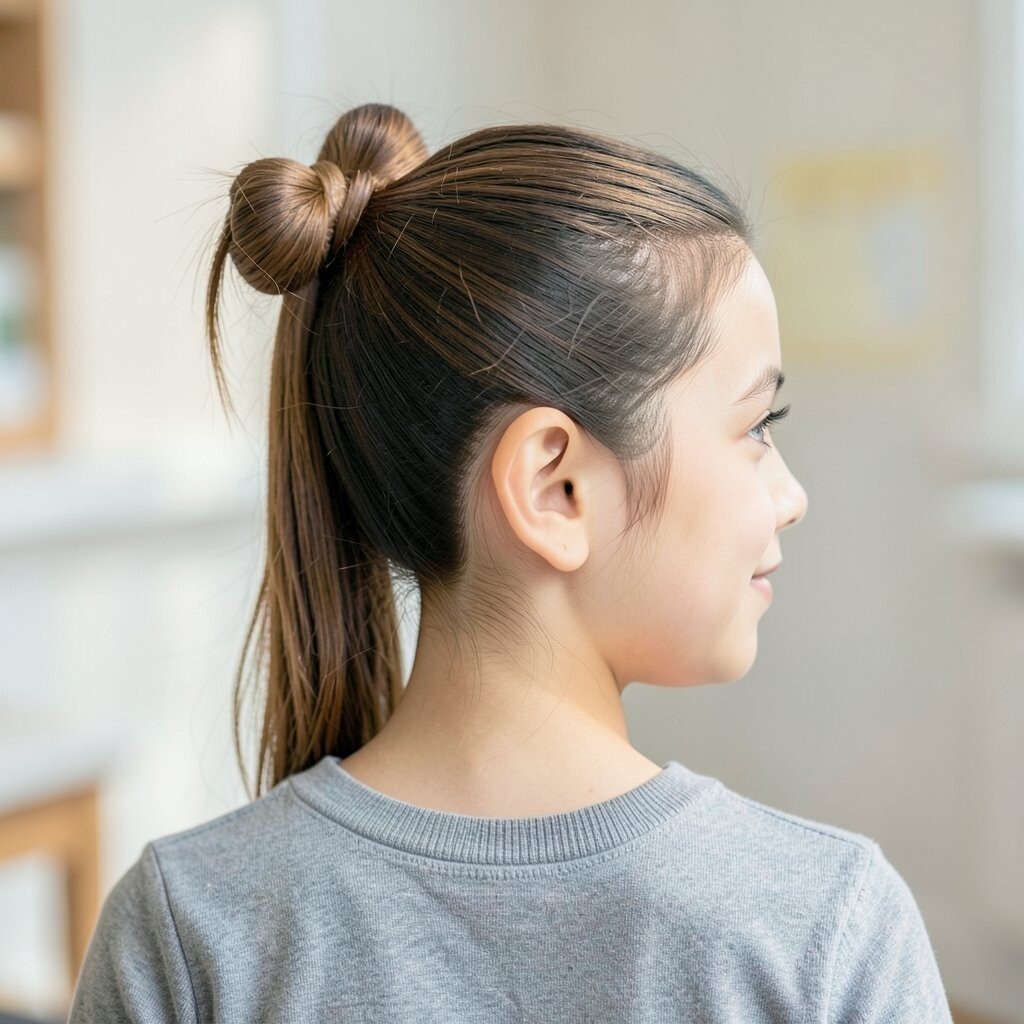
Brush your hair into a low ponytail near the nape of your neck. Instead of tying it straight, cross a small strand over the elastic to create a simple knot effect.
Wrap the strand around and secure it with a bobby pin, then smooth the ponytail for a clean finish. This style looks classy but stays comfortable, which is perfect for long school days. It’s unique because the knot detail adds style without extra work. For personalization, use a thin scarf ribbon if you want something fun for spirit days.
The practical side is that a low ponytail helps keep your face clear, especially if you wear glasses. It also reduces pulling on the scalp compared to very high styles. To keep it from slipping, add a tiny bit of dry shampoo or styling powder at the roots before tying. If your hair is fine, fluff the ponytail gently so it looks fuller without adding tension.
9. Side Part Half-Up with a Twist and Clip
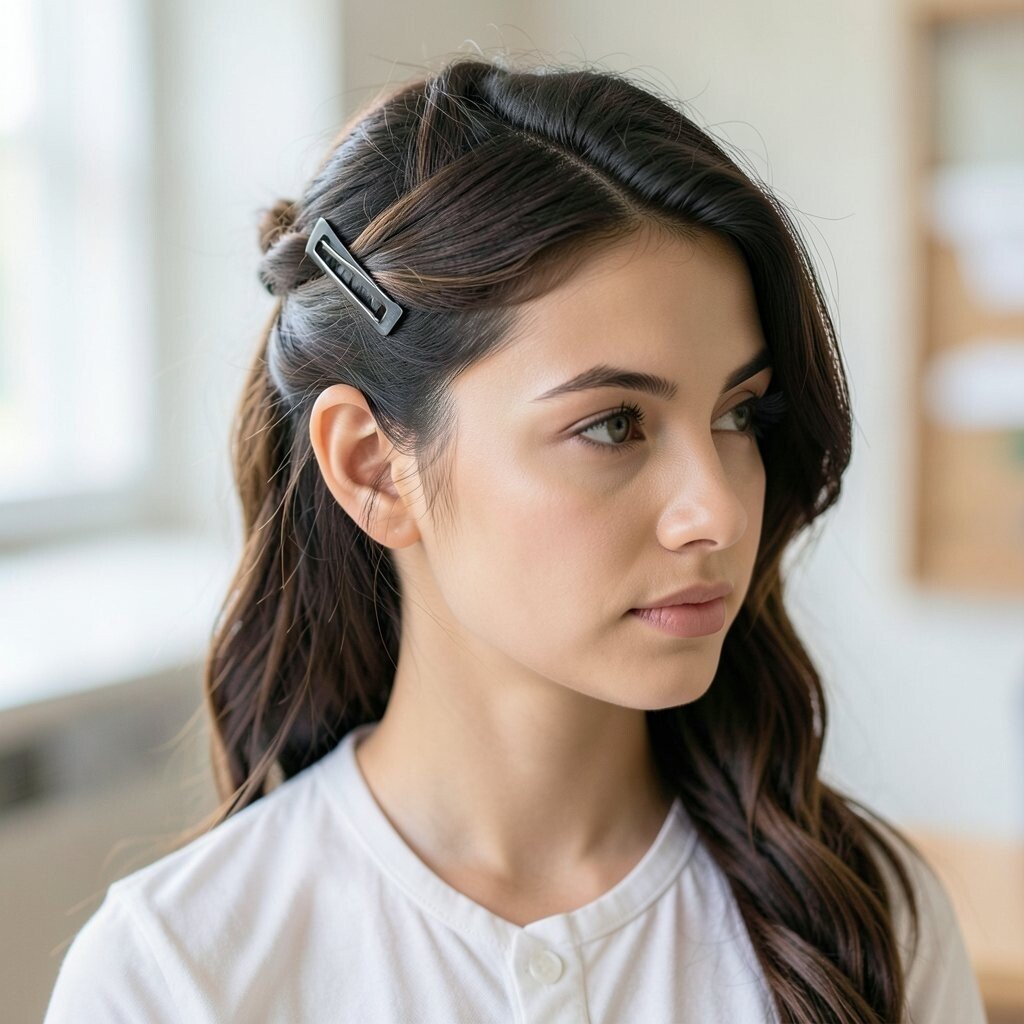
Make a side part and take a small top section on the heavier side. Twist that section once or twice, then clip it back near the crown.
Let the rest of your hair fall naturally over your shoulders for an easy, everyday vibe. This hairstyle is great for showing off hair color, highlights, or natural texture because it doesn’t hide everything. It’s unique because the twist is small, but it makes your whole look feel styled. For personalization, try a different clip shape each day, like a heart clip or a pearl style clip.
You’ll love the benefits during windy school mornings since the clip holds the front pieces in place. It’s also quick enough that you can adjust it even after you’ve reached school. Cost stays low because clips are affordable and you can build a small collection over time. For a current trend, keep the front twist loose and soft rather than tight and stiff.
If you want it to last longer, smooth the hair with water on your hands before twisting. When you take the clip out later, your hair may look extra wavy from the twist. That’s a win for the end of the day.
10. Classic Three-Strand Braid with a Ribbon Finish
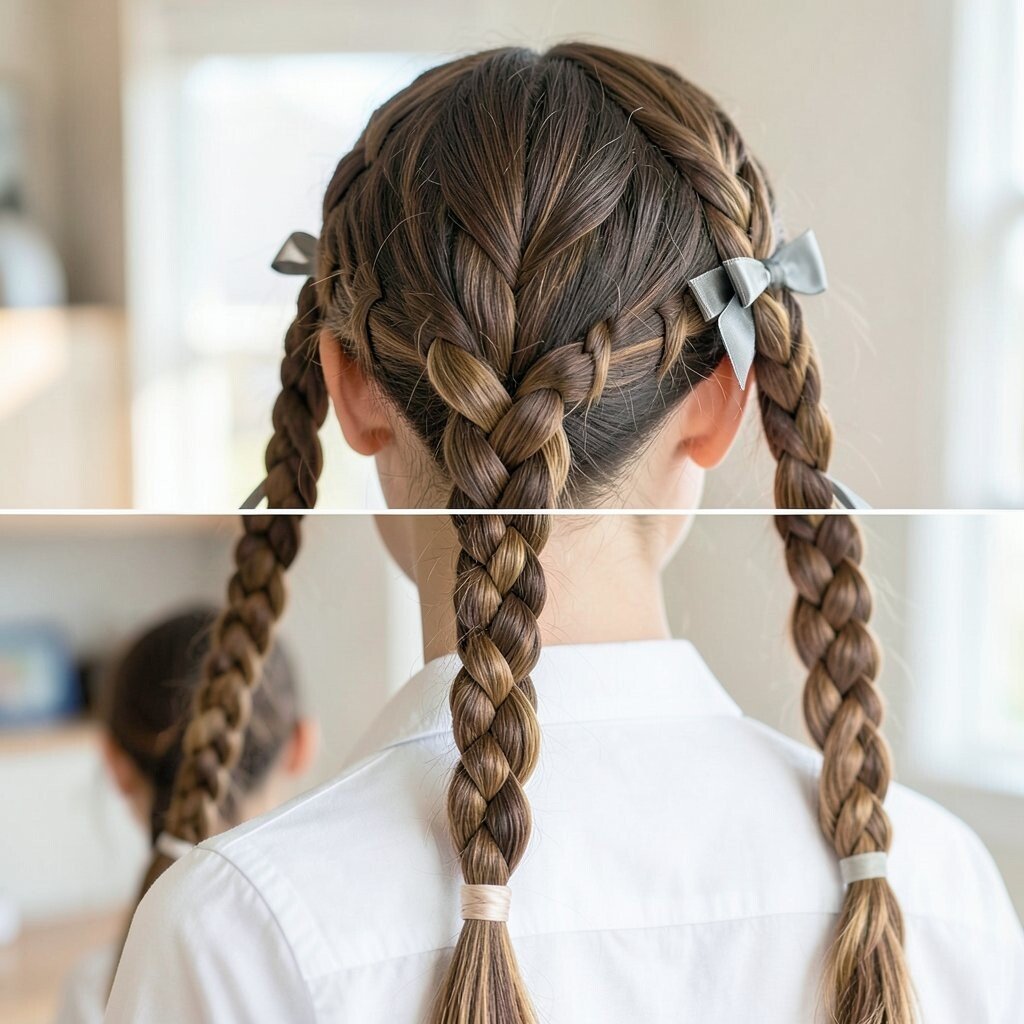
Gather your hair and split it into three even sections. Braid down the length, keeping the braid steady and not too tight for comfort.
When you’re near the ends, secure with an elastic and tie a ribbon around it. This style is timeless and always looks neat in photos, uniforms, and everyday outfits. It’s unique when you use a ribbon because it adds color without needing new hair accessories. For personalization, pick a ribbon that matches your outfit or your school colors for spirit week.
The benefits include keeping hair tangle-free and helping ends stay protected during the day. A braid also feels comfortable for most hair types, including wavy hair and straight hair. For a practical morning routine, braid slightly damp hair to reduce flyaways, and remember to use a light conditioner if your hair tangles easily. Cost-wise, ribbon is usually inexpensive and can last many uses if you store it carefully.
11. Waterfall Braid with Two Easy Sections
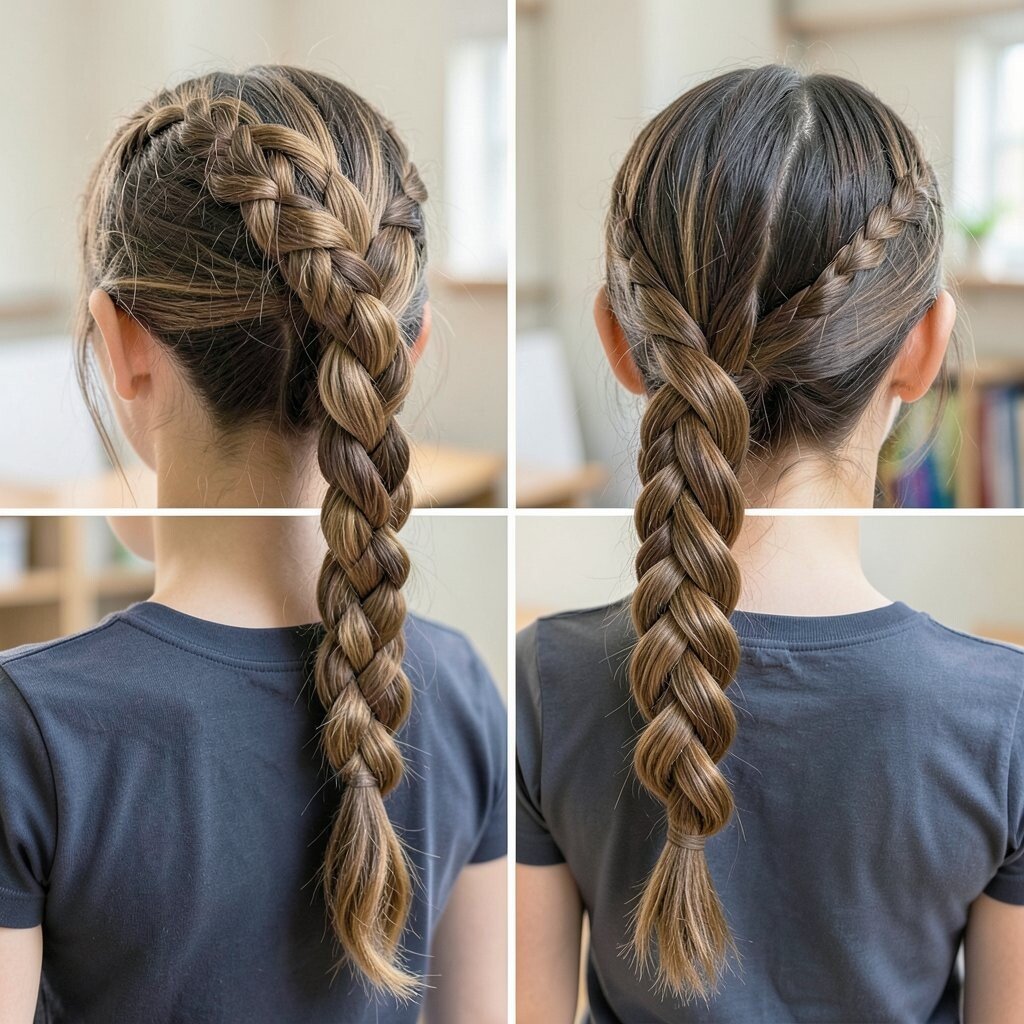
Create a side part and pick up a front section near your temple. Start a simple braid, but every time you add hair, drop one strand and let it fall like a waterfall.
Keep moving backward and secure the braid with pins at the side. This hairstyle looks fancy but can be done with practice, and it’s perfect for showing off your hair length. The unique look comes from the flowing strands that tumble along your head. For personalization, choose a matching hair pin for your outfit or use a small claw clip to hide the end.
Because it’s partially open, it feels lighter than a full braid, which can be nice for warm classrooms. It also helps control face-framing pieces while still letting your hair move naturally. For cost, you need only pins, elastics, and maybe a light styling spray. Keep the braid tension gentle so your scalp doesn’t feel sore by the afternoon.
12. Puff Ponytail with a Backcombed Crown
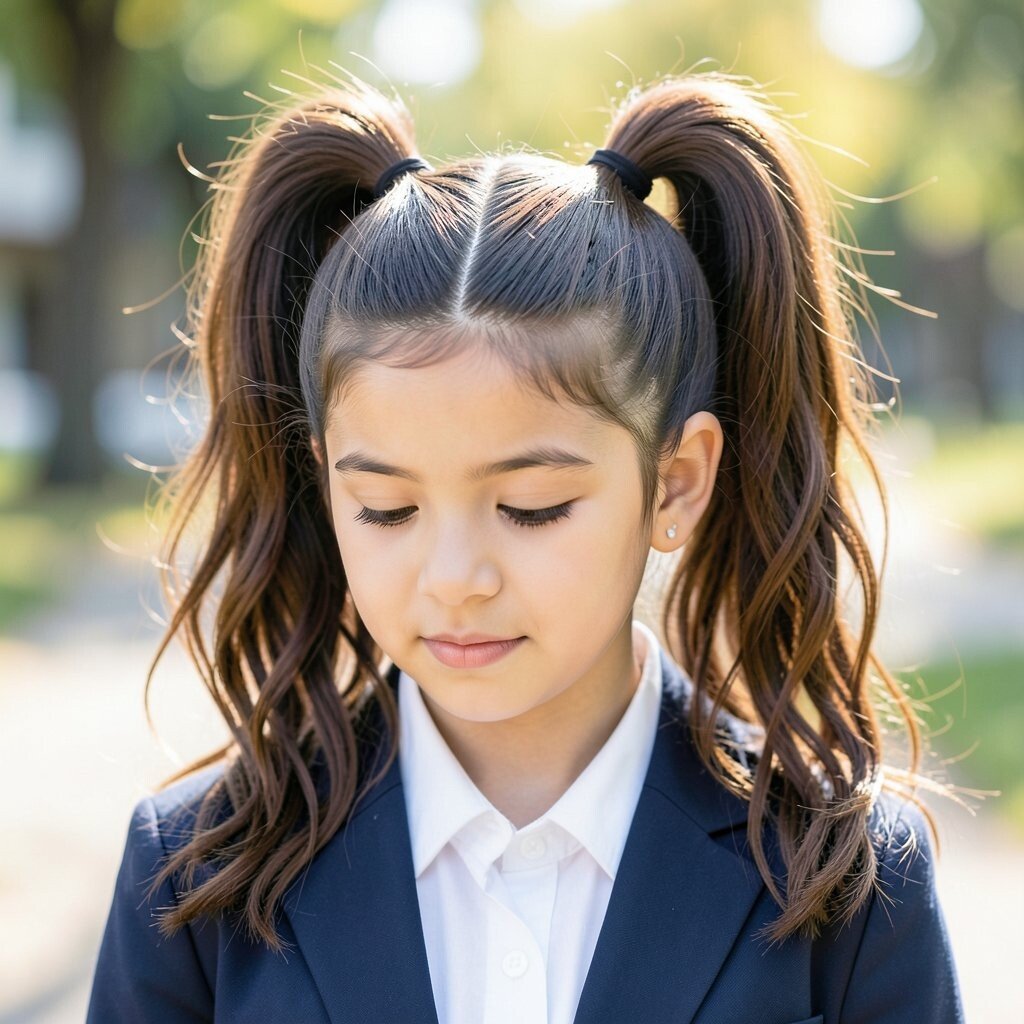
Section your hair at the top and gather the rest into a ponytail. Backcomb gently at the crown for lift, then smooth the top layer and tie the ponytail in place.
Adjust the puff so it looks round and balanced, then secure any stray strands with pins. This style is a confidence boost because the puff adds height and makes your hair look thicker. It’s unique because the volume is the star, not the ponytail itself. For personalization, you can make the puff high for a dramatic look or lower for a softer vibe.
The benefits include a secure hair hold and less time spent fixing flat roots. If you have curly hair, the puff helps define your shape without needing heat. For practical tips, use a small comb and a light hairspray only on the roots so the rest stays touchable. If you want a current look, keep the sides sleek and the puff smooth for a clean silhouette.
Cost considerations are simple since you only need elastics, pins, and maybe a cheap setting spray. You can also reuse elastics from other hairstyles, making this a budget-friendly favorite. Remember to avoid heavy backcombing every day to protect your hair.
13. Space Buns with a Middle Part
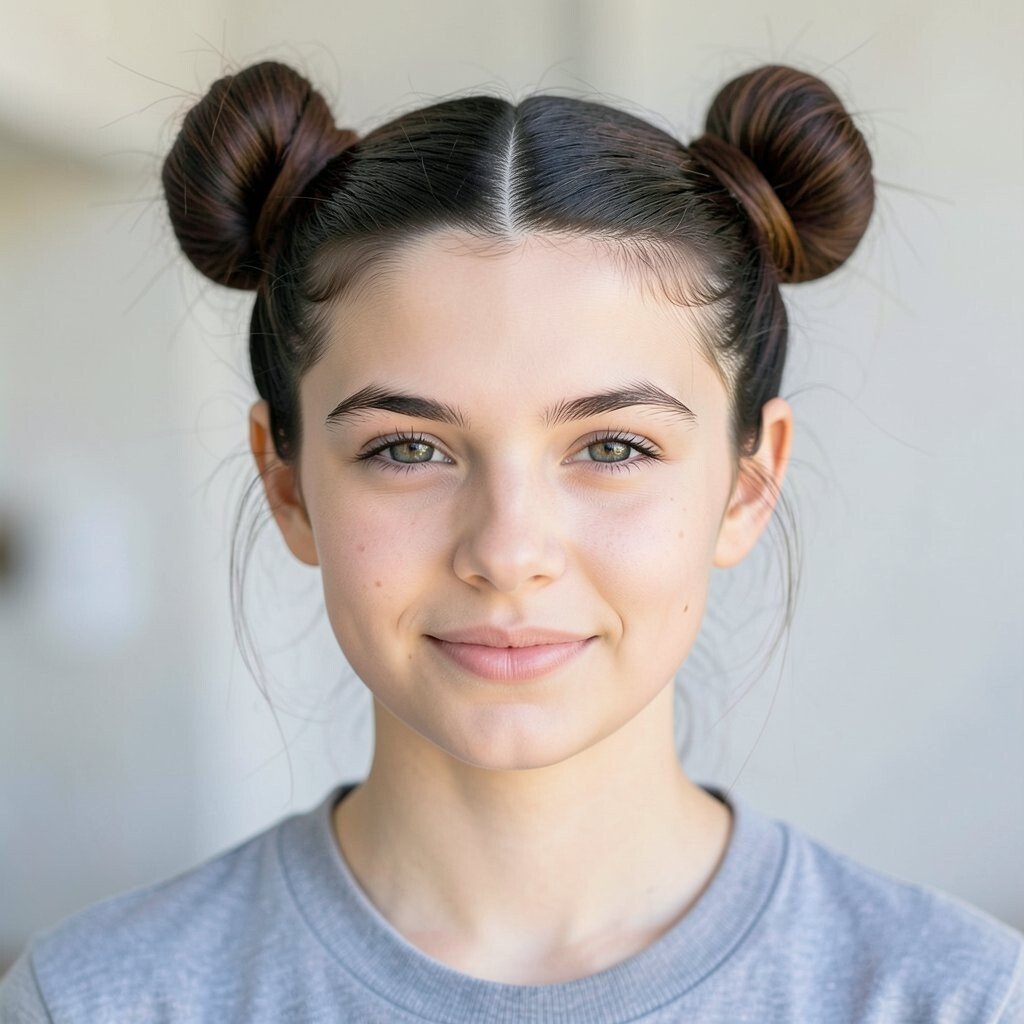
Part your hair in the middle, then gather two sections into high pigtails. Twist each ponytail into a bun and secure with elastics or bobby pins.
Pull the buns slightly apart for a playful shape, and tuck in any loose ends. This style feels fun and bold, which is why it fits so many school spirit days. It’s unique because it turns a simple bun into something playful and energetic. For personalization, add small hair rings or colorful clips near the bases for extra charm.
The benefits are that space buns keep hair off your shoulders and reduce how often you need to touch your hair in class. They also hold well when you’re moving around during lunch or after school activities. For practical tips, make sure both buns are the same height so the look stays balanced. If your hair is short, use smaller buns and add a little volume at the top so they don’t look flat.
14. Braided Bangs into a Side Clip Style
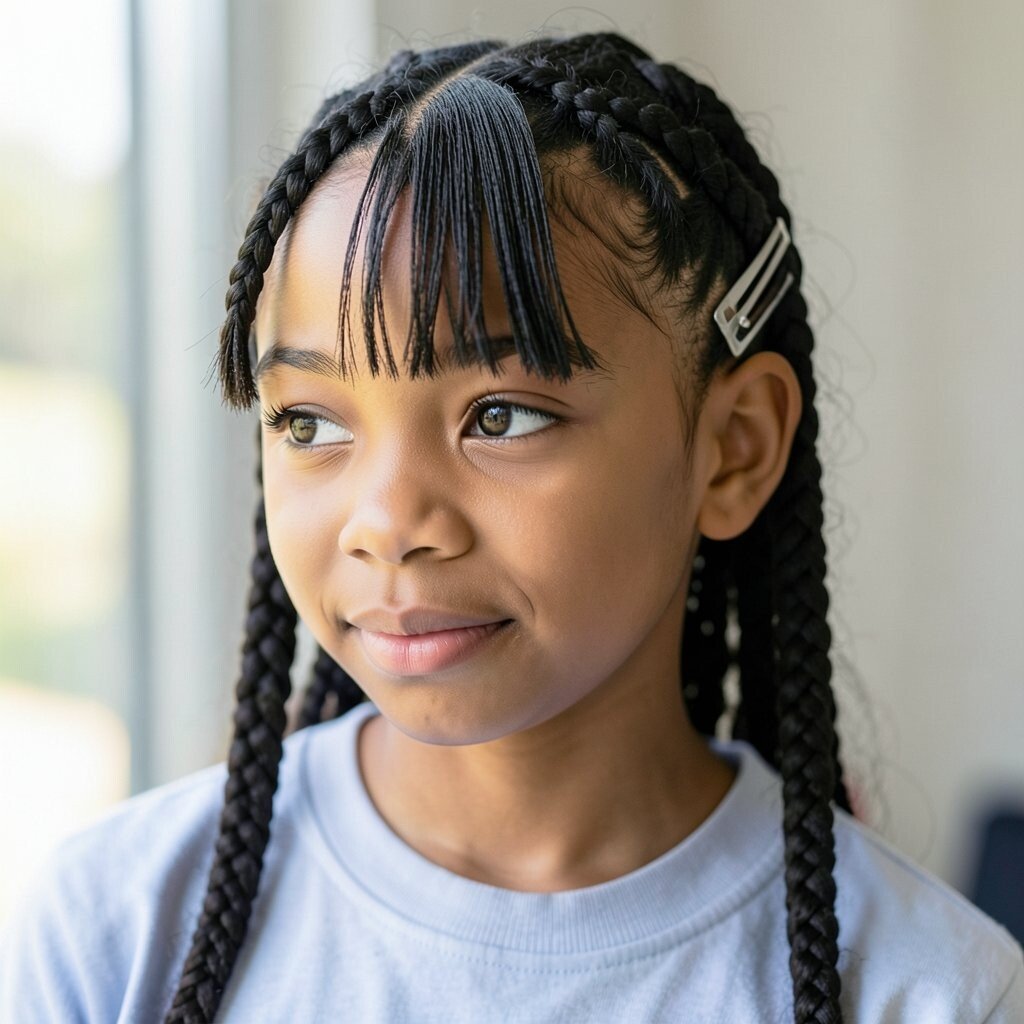
Take the front pieces near your bangs and braid them into a short, thin braid. Secure the braid with a tiny elastic, then sweep it to one side.
Pin the end under your hair and use a decorative clip to hold the front neatly. This hairstyle is perfect when your bangs fall into your eyes or when you want your face to look extra clear. It’s unique because the braid is small but the effect is big, like a mini accessory. For personalization, match the clip to your earrings, or add a subtle sparkle clip if your school allows it.
On the practical side, it stays put during homework, eating, and even a little hallway running. Cost is low because a mini braid needs only a small elastic and pins, which are easy to keep in your bag. For a current trend, keep the braid thin and neat, and let the rest of your hair stay natural and soft. If you have textured hair, braid with slightly damp fingers so the braid looks tidy without adding too much tension.
When you remove it later, you may notice gentle waves from the braid, which saves time for a fresh look the next day. That little bonus makes this one a favorite for many students.