Your morning has enough to handle already, so your hair should be the calm part of your routine. These styles are fast, cute, and easy to make your own.
1. Messy Half-Up with Tiny Braids
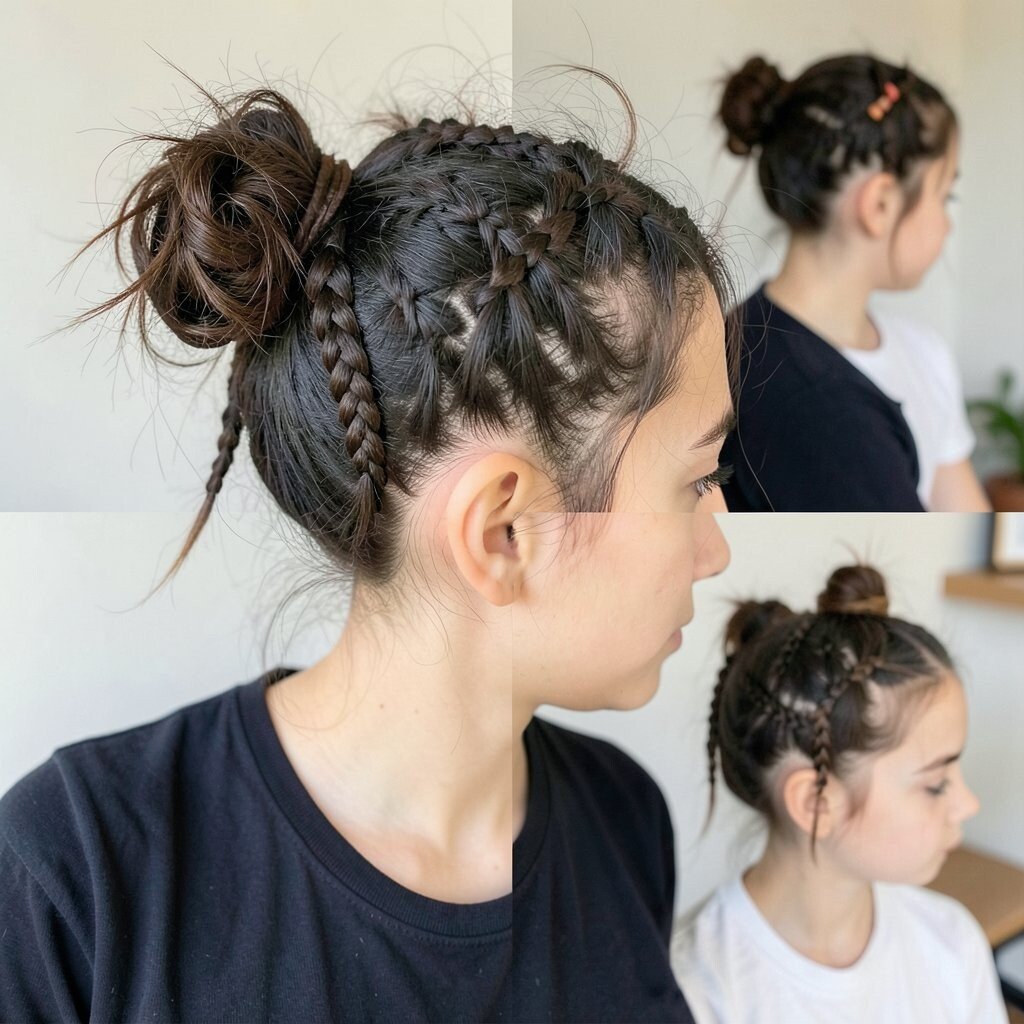
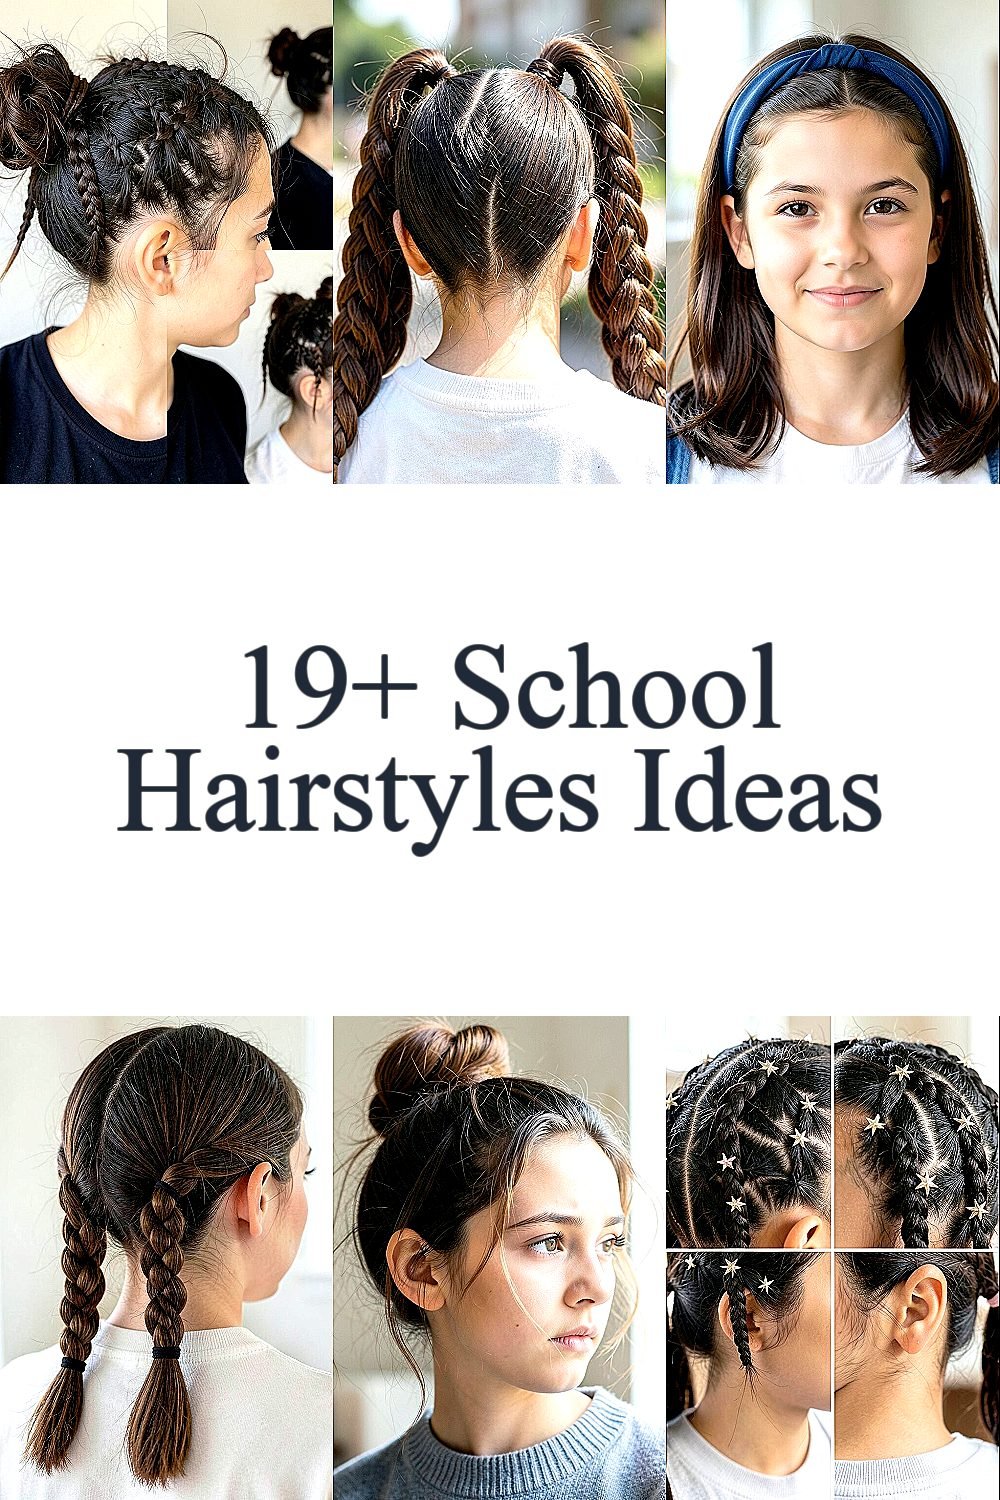
Start by parting your hair slightly off center, then pull the top section back for a half-up hold. Add two small braids near your part and tuck them into the half-up braid base so it looks intentionally artsy.
This style looks great even when your hair is a little wavy or fluffy, because the messy texture makes it feel trendy. Use a soft elastic and gently loosen the braid loops with your fingers for a fuller look. If you have straight hair, spritz a little water first so the braids stay put.
2. High Ponytail with a Braided Wrap
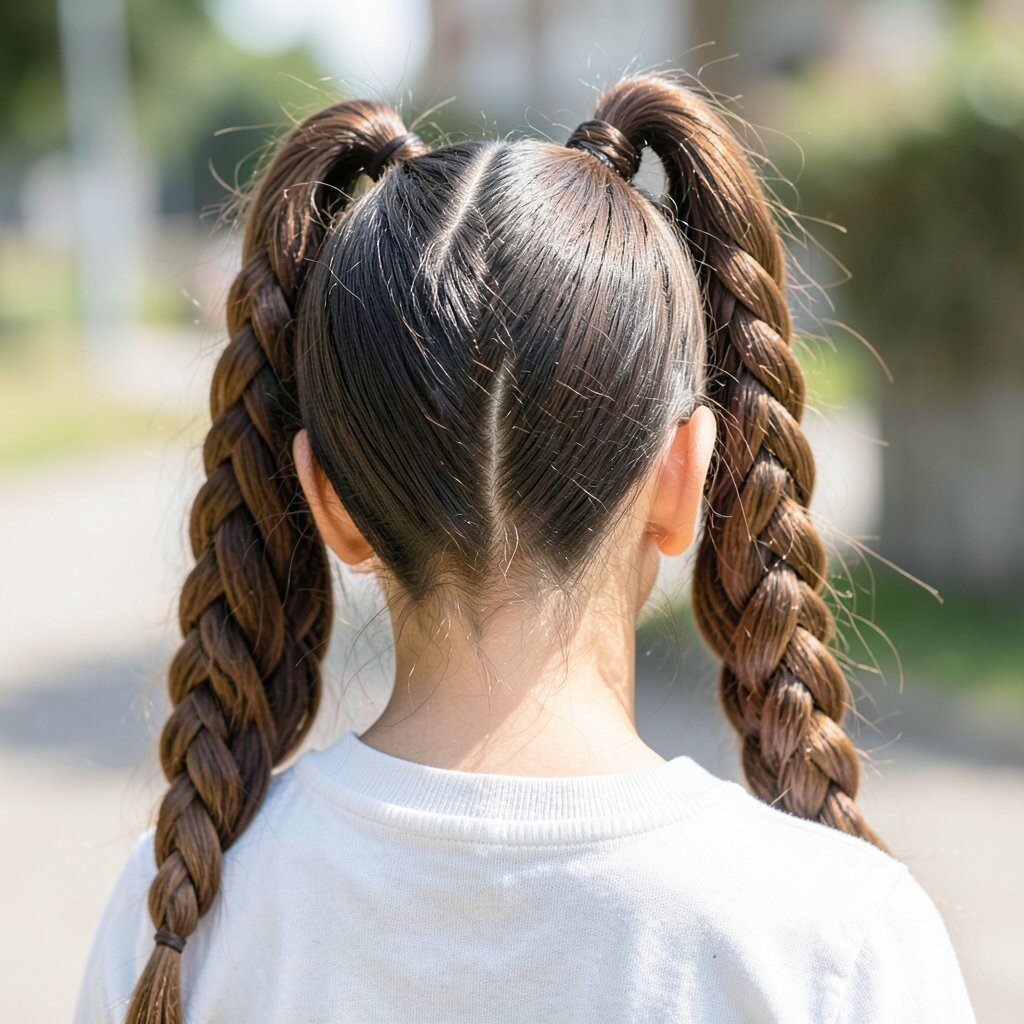
Smooth your hair into a high ponytail and secure it with a snug elastic. Take a small strand from the ponytail and braid it, then wrap it around the base.
Finish by tucking the end under the braid or pinning it down neatly. The sleek ponytail looks polished for school photos, while the braided wrap adds a special touch without extra time.
For personalization, choose a fun ribbon shade that matches your outfit or add a simple claw clip for a sporty look. If your hair is fine, backcomb the crown lightly so the ponytail doesn’t fall flat.
3. Two-Sided Twist Headband
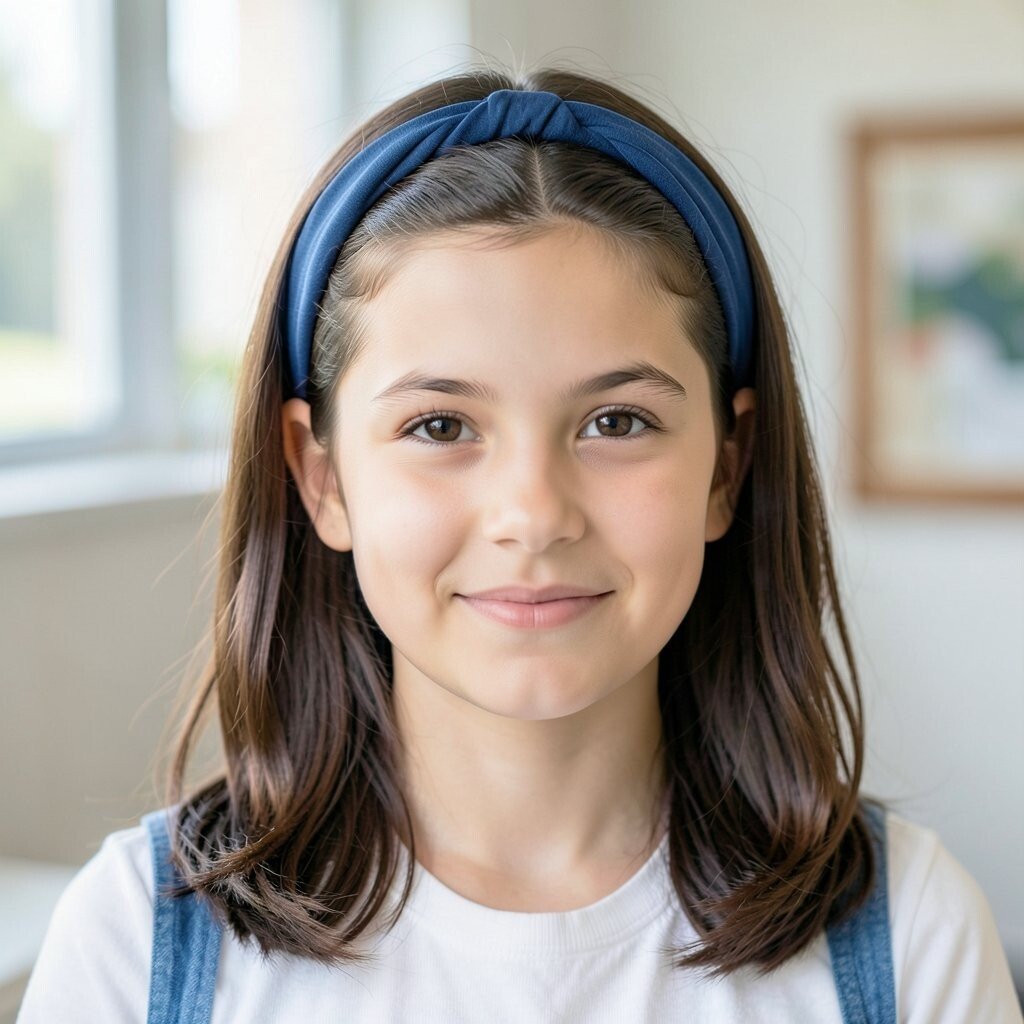
Create a middle part and take two front sections, one on each side. Twist each section gently backward and secure them with small pins near the back.
Leave the rest of your hair down so it frames your face with soft movement. This gives a headband effect without buying any hair accessories, which keeps things low-cost and simple.
To make it look unique, vary the twist thickness and try a slightly looser twist for a relaxed vibe. If your hair slips, use a light styling gel or a tiny dab of mousse on the front pieces before twisting.
4. Sleek Low Bun with a Side Part
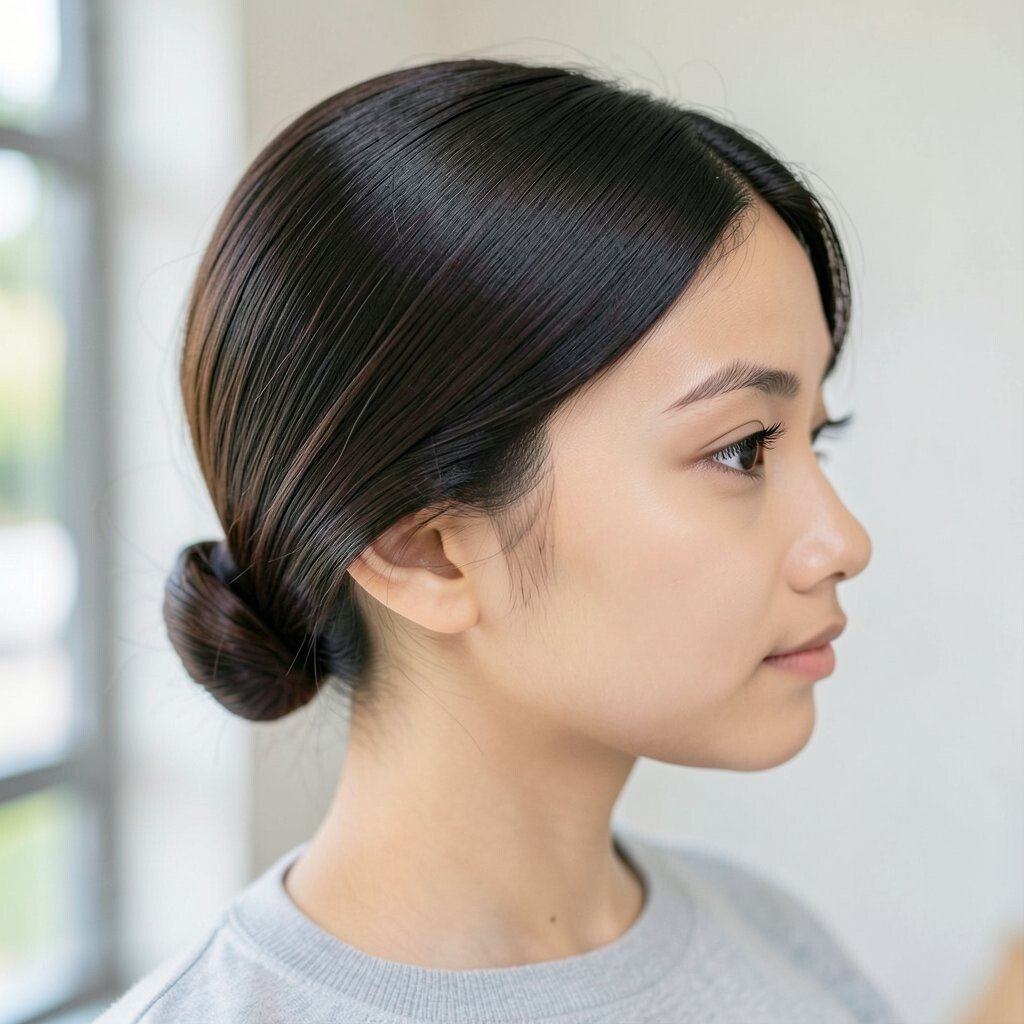
Part your hair on one side and pull it into a low ponytail at the nape of your neck. Twist the ponytail into a bun and secure with pins, keeping the shape smooth at the top. Finish with a light mist of hairspray so flyaways behave.
This hairstyle looks clean and grown-up, and it pairs well with uniforms and hoodies. For practical timing, prep your hair with a quick brush-through so the bun sets faster and stays tighter during the school day.
5. Bubble Ponytail with Three Bands
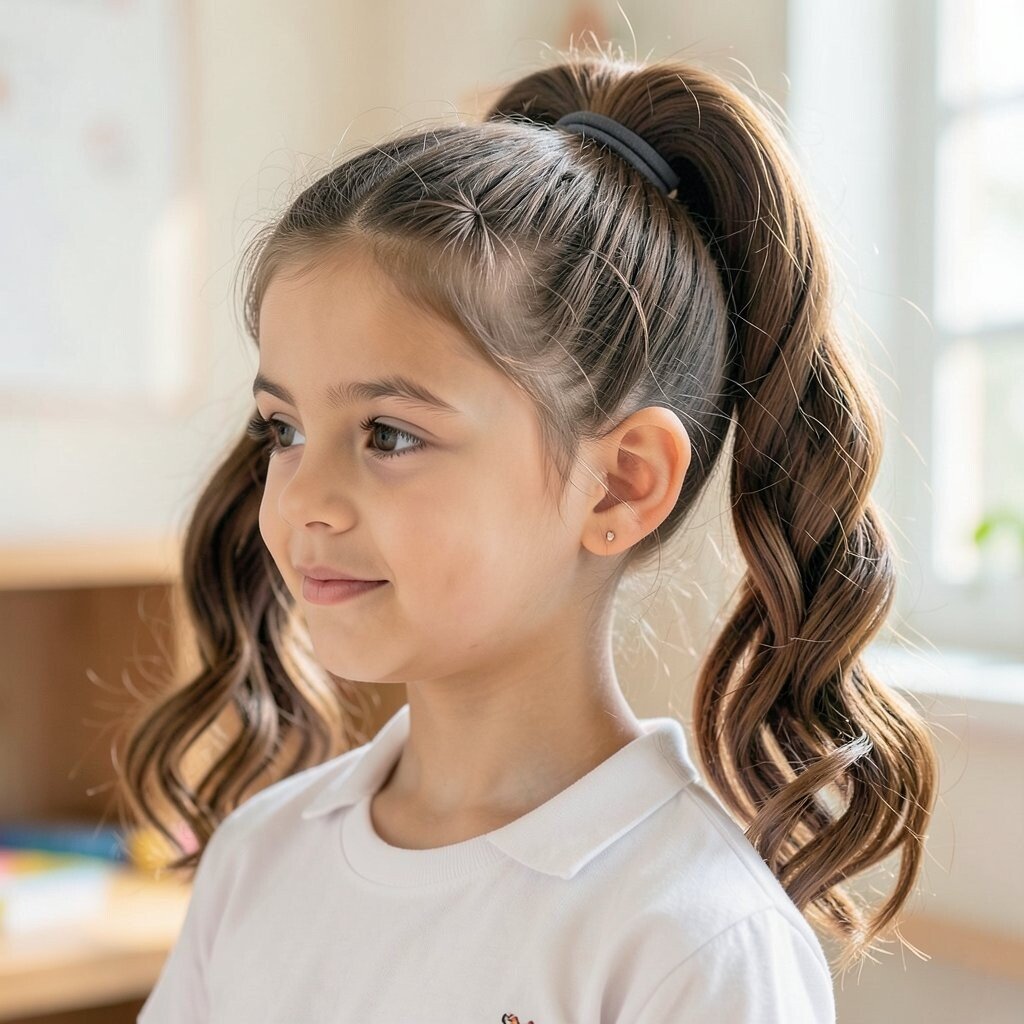
Gather your hair into a mid ponytail and tie it with an elastic. Then add two more elastics spaced out along the ponytail, creating “bubbles” between each band.
Gently pull each bubble outward to make it look round and bouncy. This style is popular right now because it feels playful, especially with thick hair or soft waves. If you want a more natural look, use clear elastics or elastics that match your hair color.
For personalization, try adding one bubble on each side for a half-and-half style. If your hair is slippery, a tiny bit of dry shampoo at the roots can help the bands grip.
6. Crown Braid from One Side
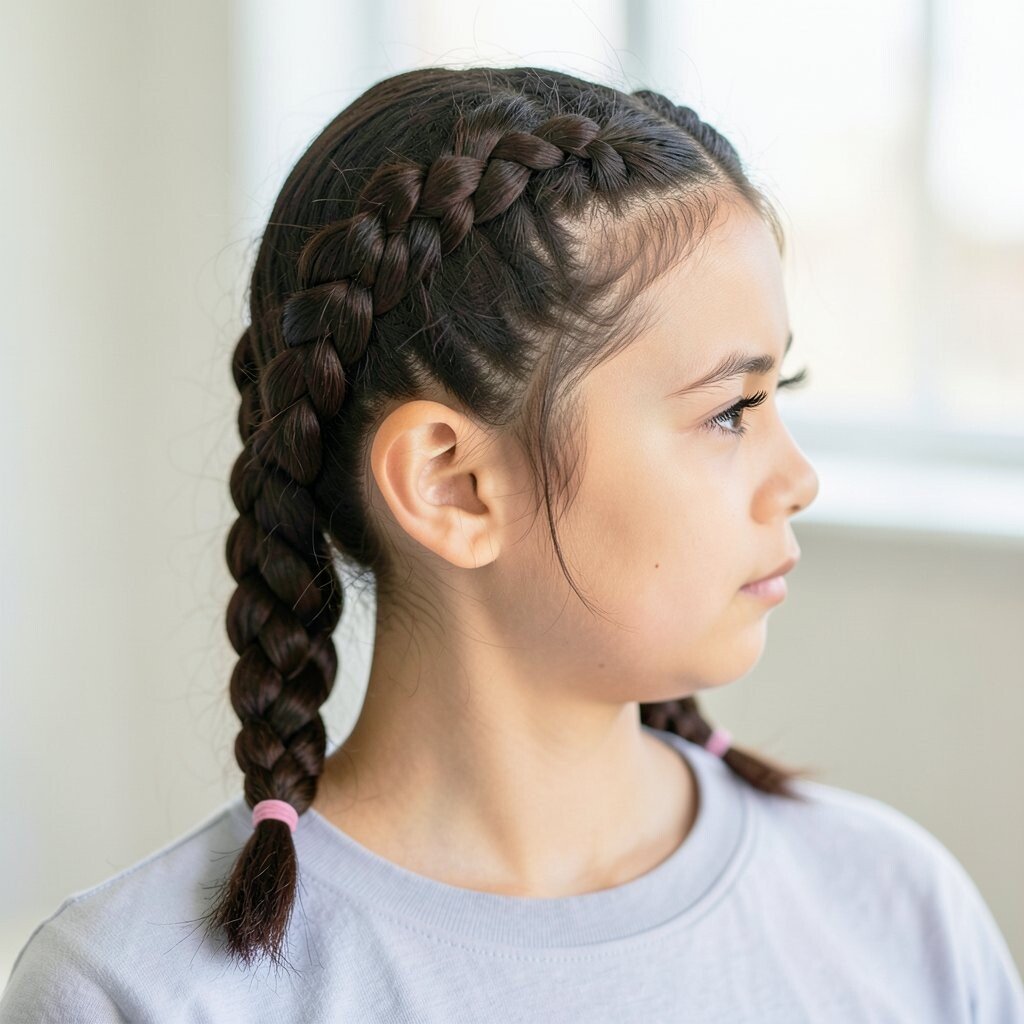
Make a side part, then braid the front section across your head like a crown. As you braid, add small pieces from the side so the braid hugs your hairline.
Secure the end with pins and tuck it so it feels snug and comfortable for class. The visual effect is gorgeous, like a delicate braided halo, and it looks more complicated than it is. For a quick fix, keep the braid slightly looser so it doesn’t pull and become uncomfortable by the afternoon.
7. Twisted Low Ponytail with Knots
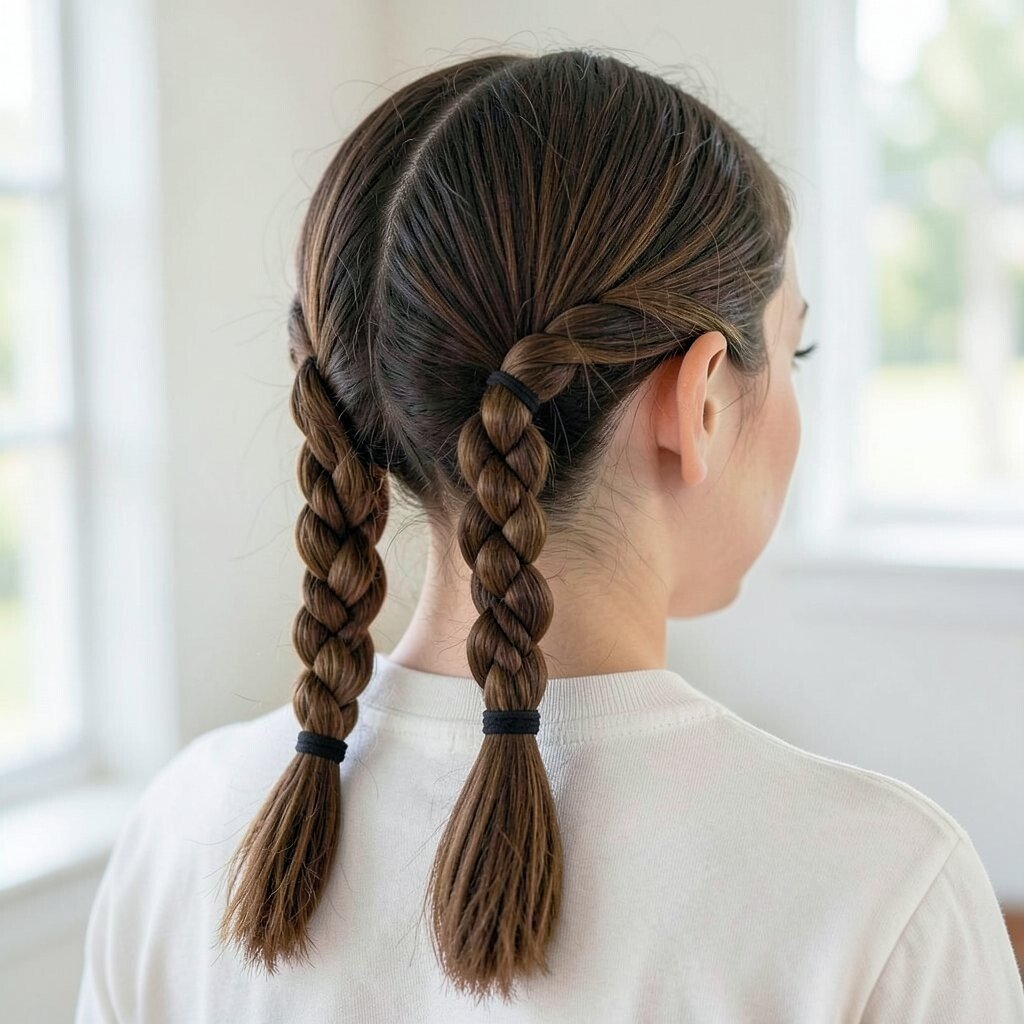
Pull your hair into a low ponytail and split it into two sections. Twist each section in the same direction, wrap them together, and secure at the end.
To make the look feel unique, create two small knots near the ponytail base and tuck the ends under. This style works well for both straight and wavy hair, and it stays out of your face during busy days.
Use two elastics if your hair is long, because extra grip helps it survive gym day. For cost savings, skip fancy tools and use regular hair pins plus a small hair tie you already own.
8. Loose Bun with Face-Framing Pieces
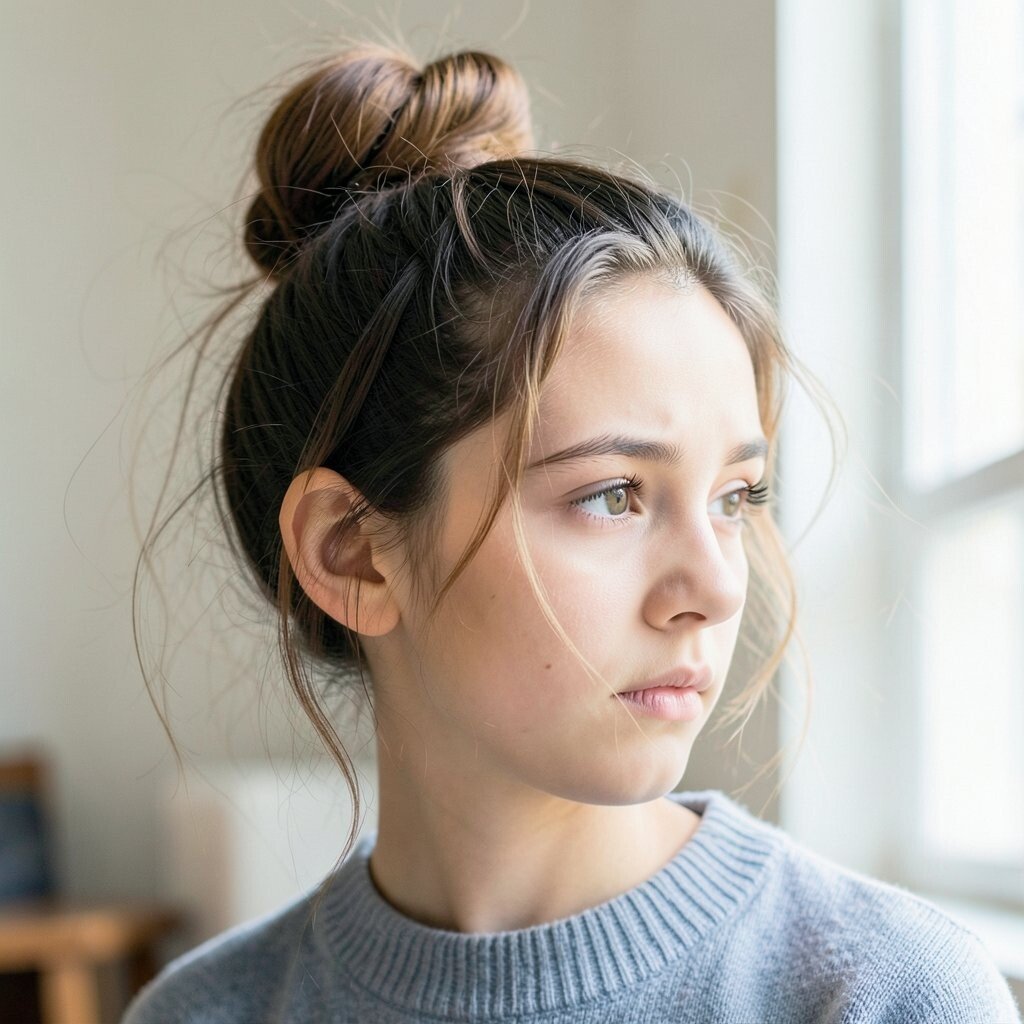
Gather hair into a loose bun at the back of your head, leaving a few strands hanging in front. Twist the hanging strands lightly around your fingers so they curl or wave.
Pull the bun just tight enough that it won’t move, but keep it soft so it looks relaxed. This hairstyle benefits busy mornings because it doesn’t require perfect parts or careful tension. If your hair is frizzy, smooth only the top and let the rest keep its natural texture.
9. Mini Braids Placed Like Stars
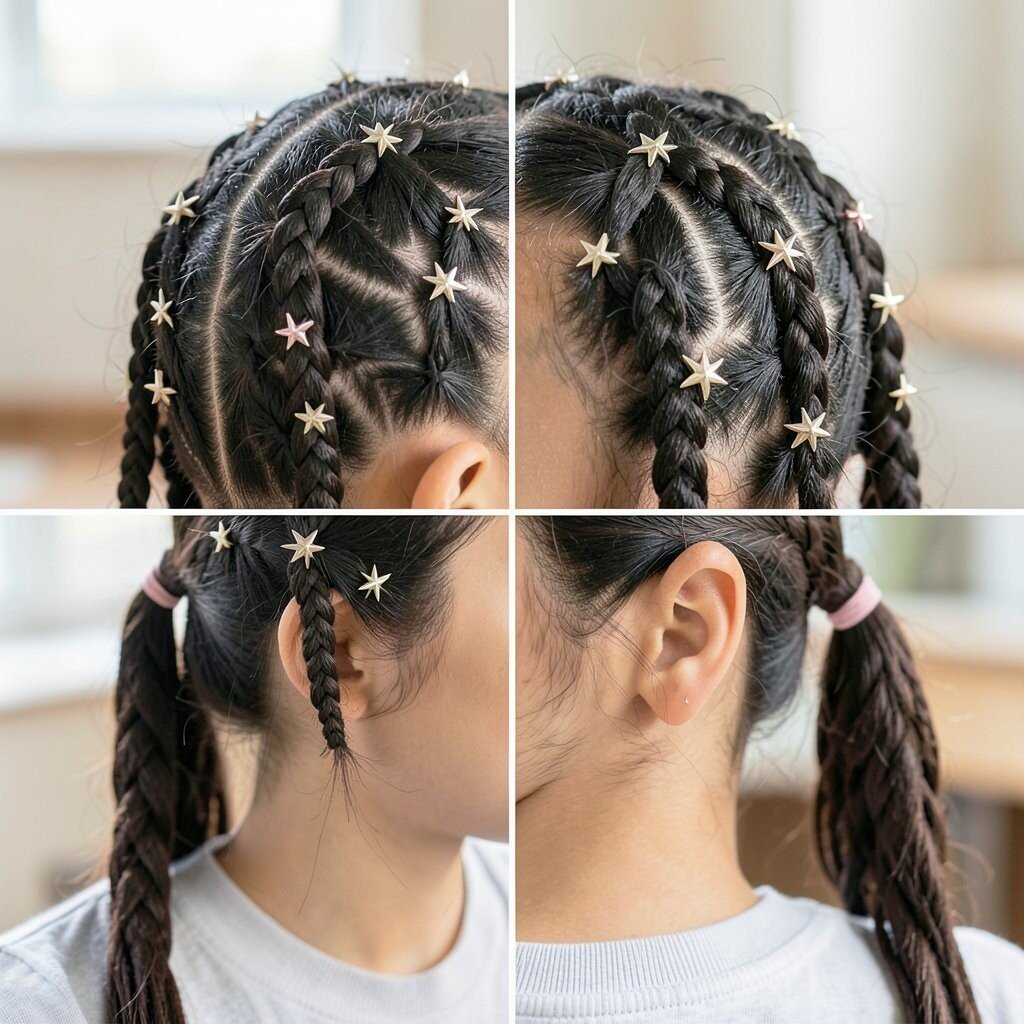
Part your hair into small sections near the front and create tiny braids in each section. Place the braids in a pattern across the top, then secure them with small elastics or pins.
Leave the rest of your hair down for a light, airy look that feels young and fun. Tiny braids are trending because they add detail without taking hours, especially when you keep them short. To personalize, use color elastics or clip on one small charm for a playful touch.
For practical timing, work from the sides toward the center so you don’t run out of time halfway through. If your scalp feels sensitive, avoid pulling the braids too tightly and use a gentle hold spray.
10. Classic French Braid with Quick Loosening
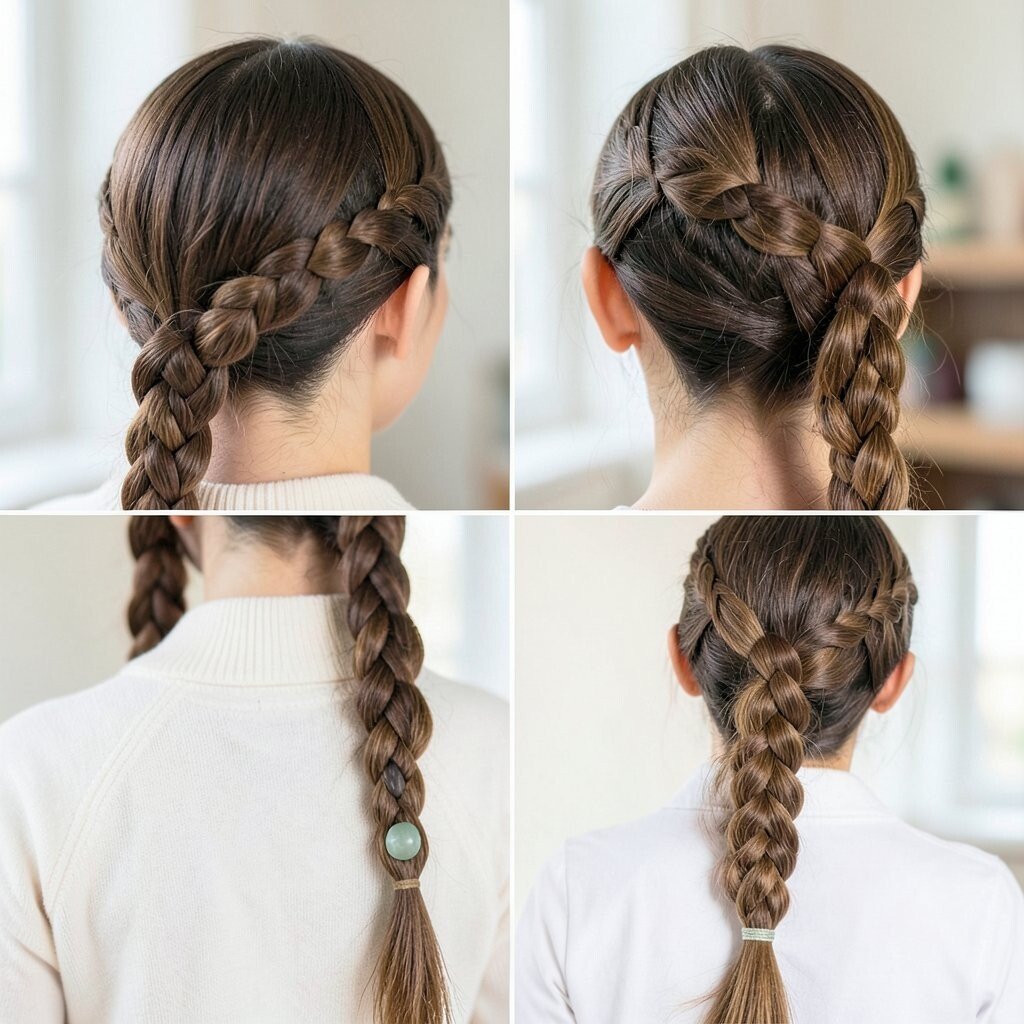
Start a French braid at the crown by adding hair from both sides as you braid down. Secure the end with an elastic, then loosen the braid by gently tugging at each segment.
This makes the braid look fuller and more modern while still staying secure. It’s a benefit for school because a well-made French braid helps reduce tangles all day. If you want extra polish, use a small smoothing brush on the top so the braid lines up neatly.
11. Side Ponytail with a Long Curtain Fringe
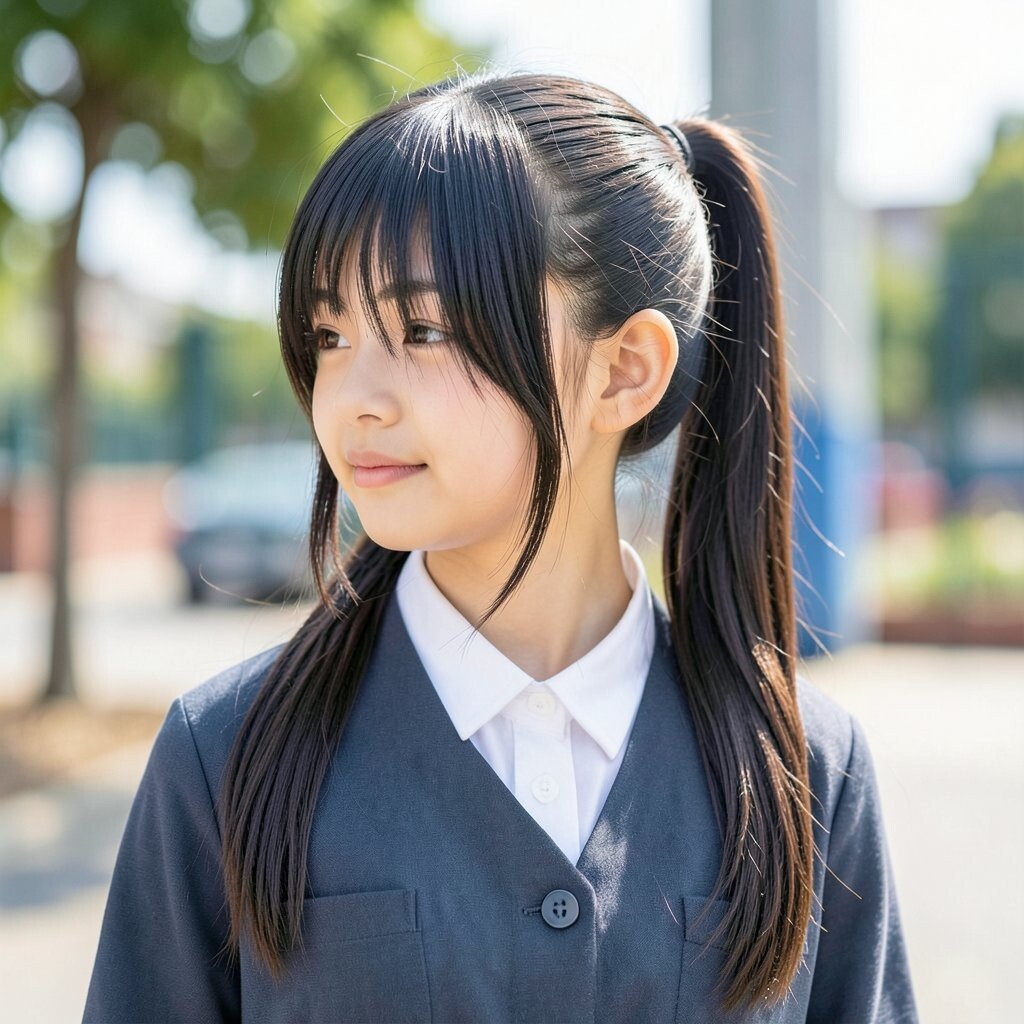
Brush your hair over to one side and tie it into a ponytail just above the shoulder. Leave longer front pieces loose so they hang like a soft curtain along your cheek.
This hairstyle looks trendy and flattering, especially with straight hair or smooth blowouts. To keep it practical, use a strong elastic and add one pin if the ponytail base tends to twist. For personalization, try curling the curtain pieces with a clip iron quickly, or keep them natural for an effortless vibe.
If you have thick hair, split the ponytail in half before tying to make the base sit flatter and feel more comfortable. If you have fine hair, add a tiny bit of volume spray at the roots before you tie.
12. Half-Up Scrunchie with a Twist Clip
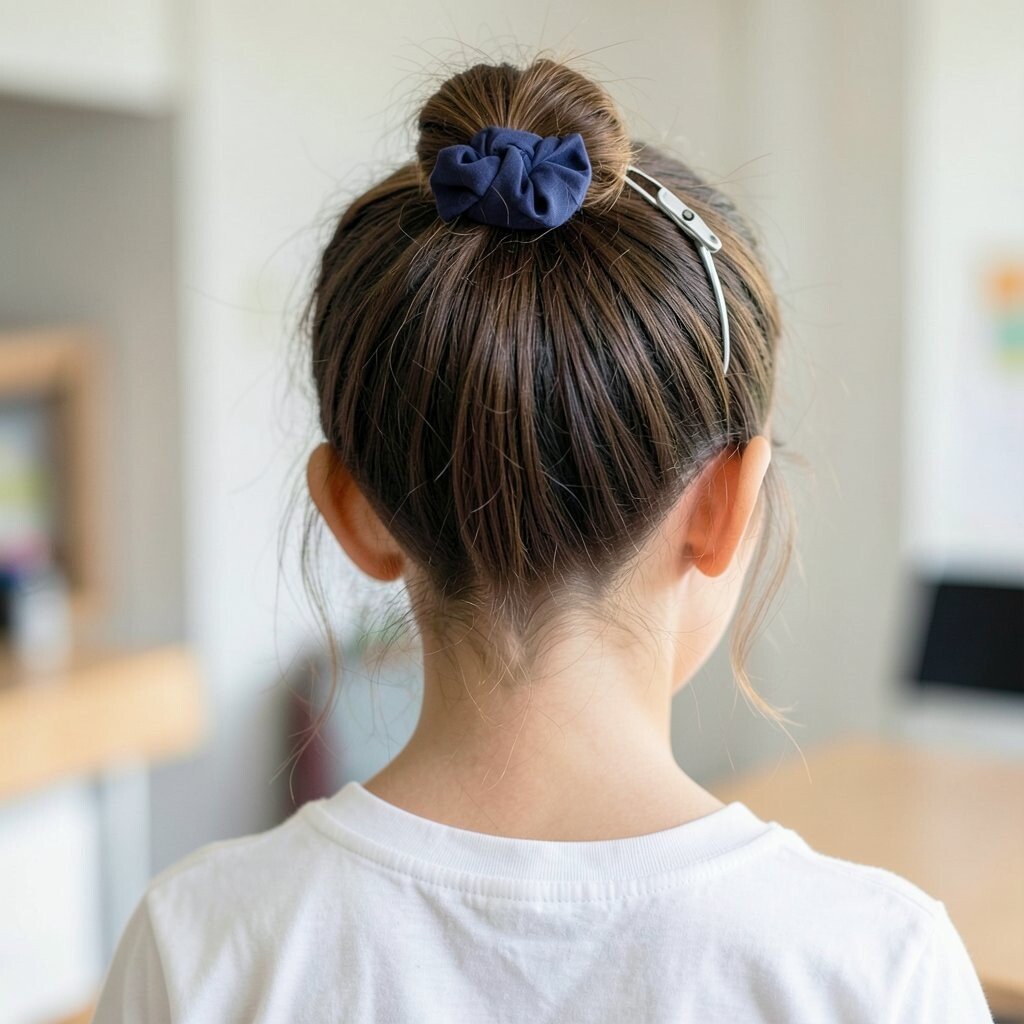
Pull the top half of your hair back and secure it with a scrunchie for a soft hold. Twist the remaining loose ends slightly and tuck them through the scrunchie area.
The visual look is sweet and casual, like you already had a styled day planned. Scrunchies are still popular because they’re gentle on hair and reduce breakage compared to tight elastics. For personalization, switch to a color scrunchie that matches your backpack or favorite hoodie.
To keep it school-friendly, avoid pulling the twist too hard and use one bobby pin at the back for extra grip. If you’re running late, mist the front with a little water so the hair cooperates faster.
13. High Puff Ponytail with a Center Clip
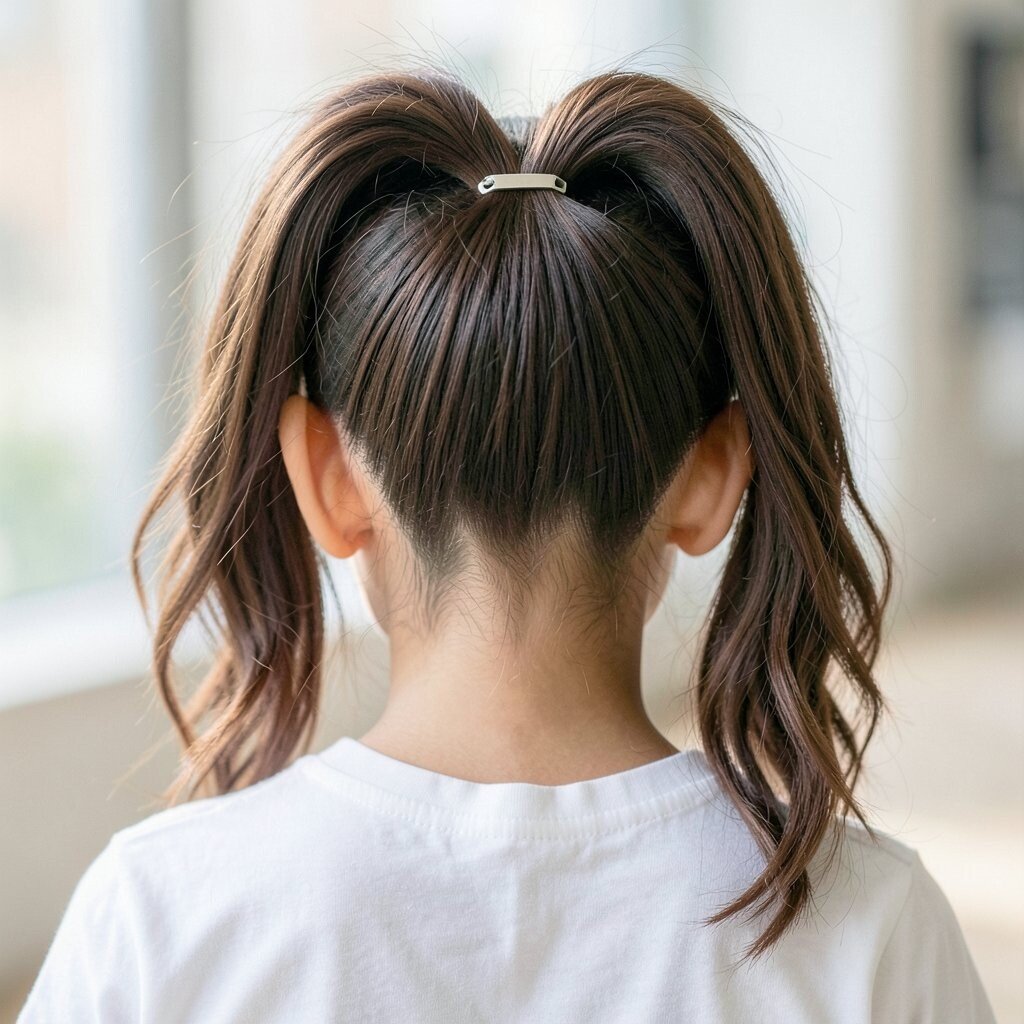
Gather the top section only and secure it into a high puff ponytail. Make the puff full by smoothing the sides and lightly fluffing the top with your fingers.
Add a center clip or small hair accessory to the middle of the puff base for a cute focal point. This hairstyle looks bold and confident, which is great for days when you want your hair to match your energy. To personalize, try a tiny bow clip or a small metal barrette if you love a neat style.
For cost considerations, you can use a clip you already own and place it creatively instead of buying anything new. If your hair is slippery, use a little dry texture powder so the puff doesn’t sag.
14. Flat Twist Corners with Small Pins
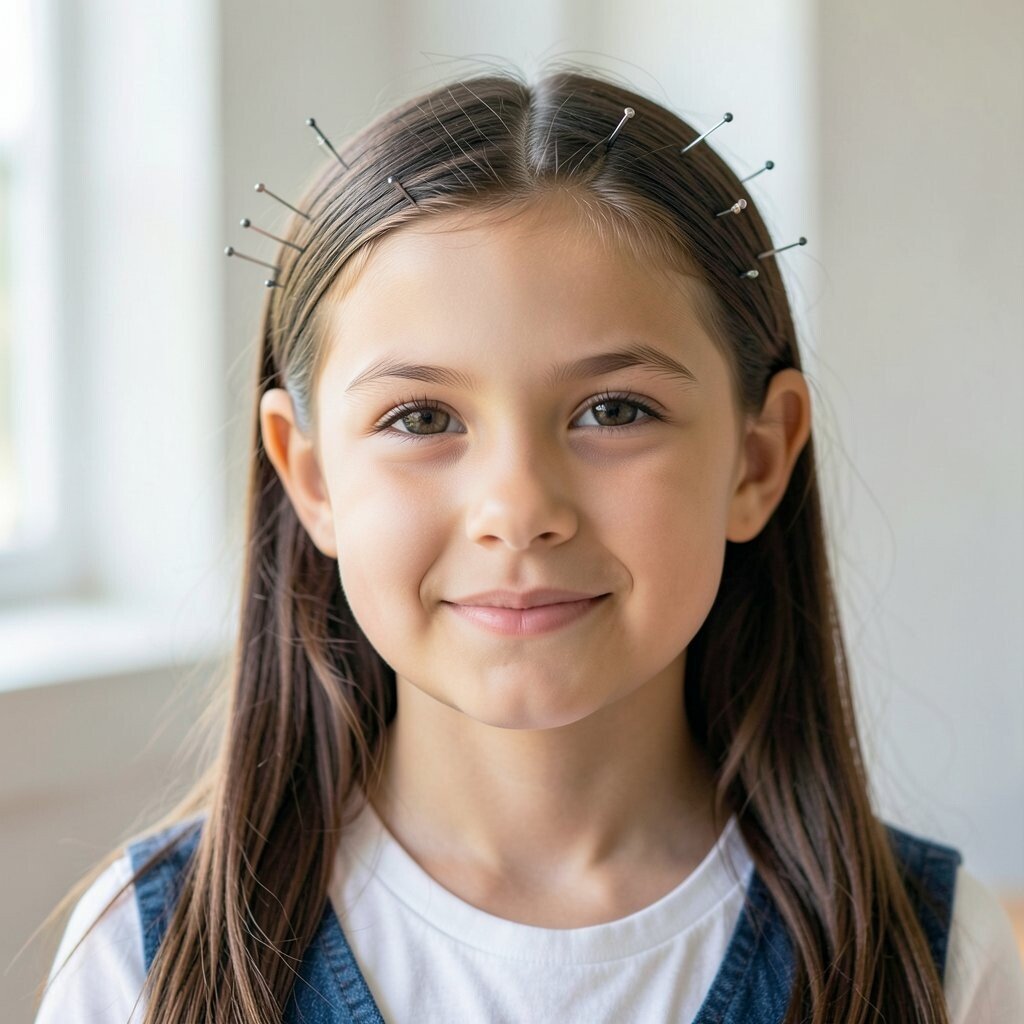
Take two small sections from the front corners near your part and twist them flat against your head. Pin each twist in place so the ends stay hidden.
This creates a clean, minimal look that still feels special, especially for students who like sleek styles. It benefits tight schedules because it takes only a few twists, and you can do it even when your hair is slightly messy. For personalization, try twisting with a slight backward angle so it follows your eyebrow line.
If you want extra staying power, use a light spray at the twist area before pinning. For thicker hair, make smaller sections so the pins feel secure without being too bulky.
15. Waterfall Braid with a Simple Tie-Off
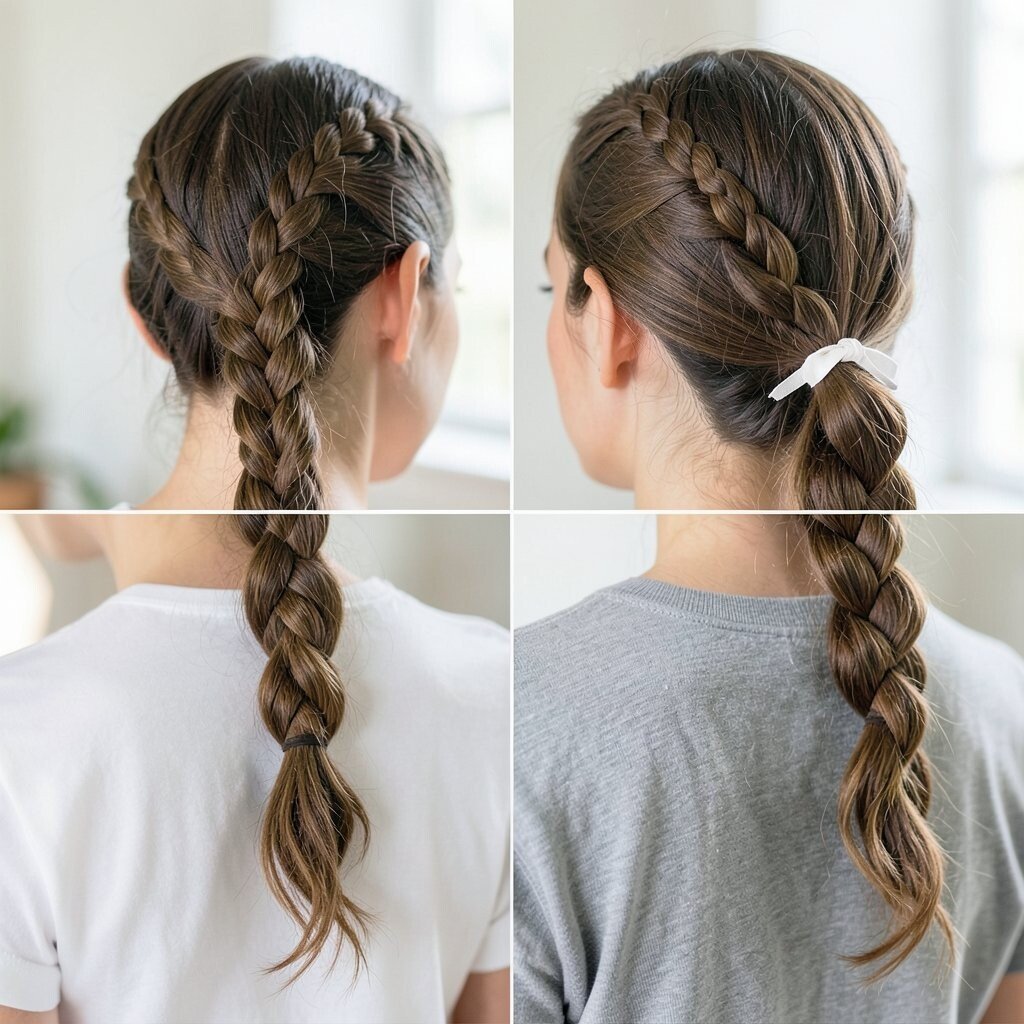
Create a waterfall braid by braiding three strands while letting one strand “fall” each time you repeat. Continue along the side or across the back, then secure the end with an elastic.
This style has a soft, flowing visual and looks extra pretty even with minimal effort. It’s great for school because it keeps hair distributed instead of all in one tight ponytail, which can feel heavy. If your hair is fine, use a light hair mousse so the braid holds shape longer.
For uniqueness, try placing the waterfall braid closer to your part for a more noticeable effect. To keep it practical, stop early if you’re short on time and secure with pins so it still looks intentional.
16. Messy Side Braid with a Scrunchie End
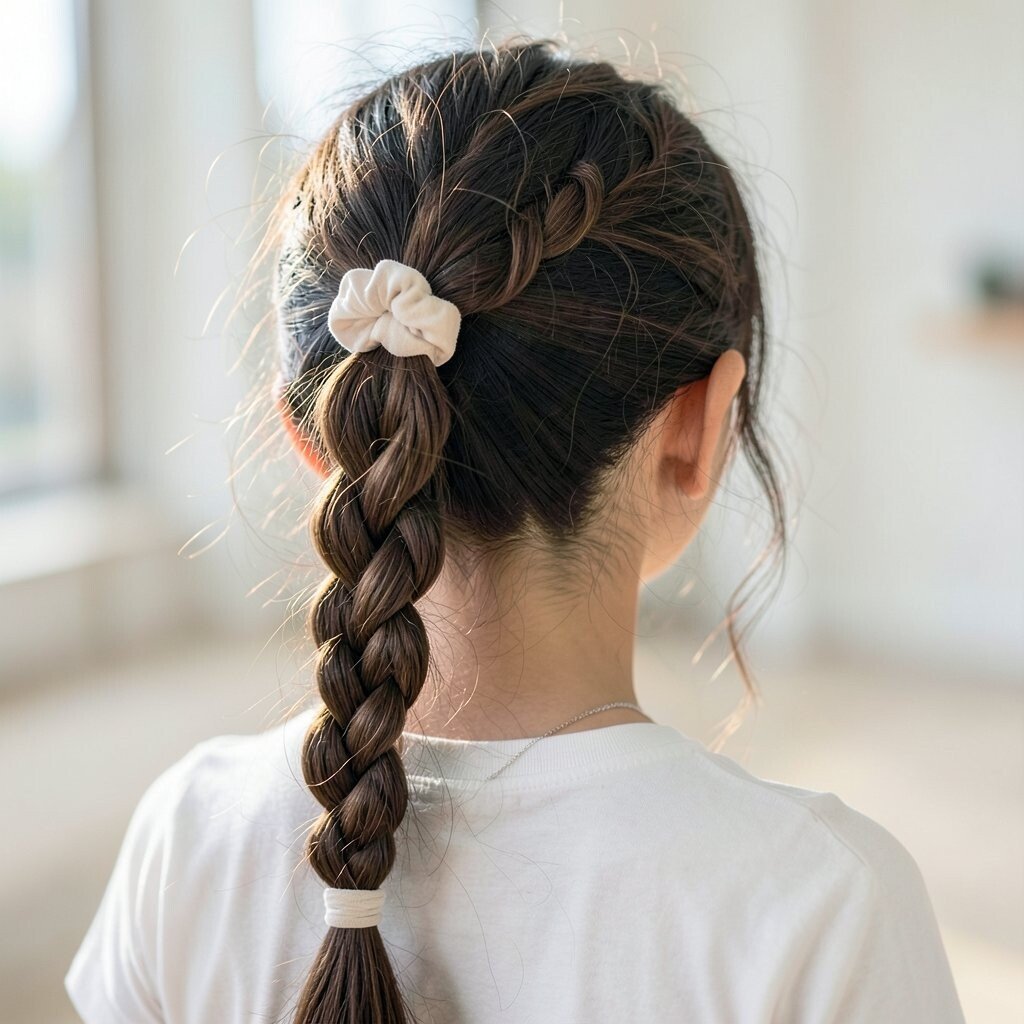
Gather hair into a loose side braid and secure it with a scrunchie at the end. Pull the braid pieces apart gently to make it look thicker and more carefree.
This hairstyle looks current because messy braids feel effortless, not undone. It benefits mornings when you don’t have time to straighten every strand because the braid pattern hides small flyaways. For personalization, add a small ribbon tied around the scrunchie for a pop of color.
If your hair tangles easily, detangle before braiding and lightly dampen it so it braids smoothly. For cost savings, use hair tools you already have since scrunchies and elastics are easy to swap.
17. Wrapped Ponytail with a Spiral Strand
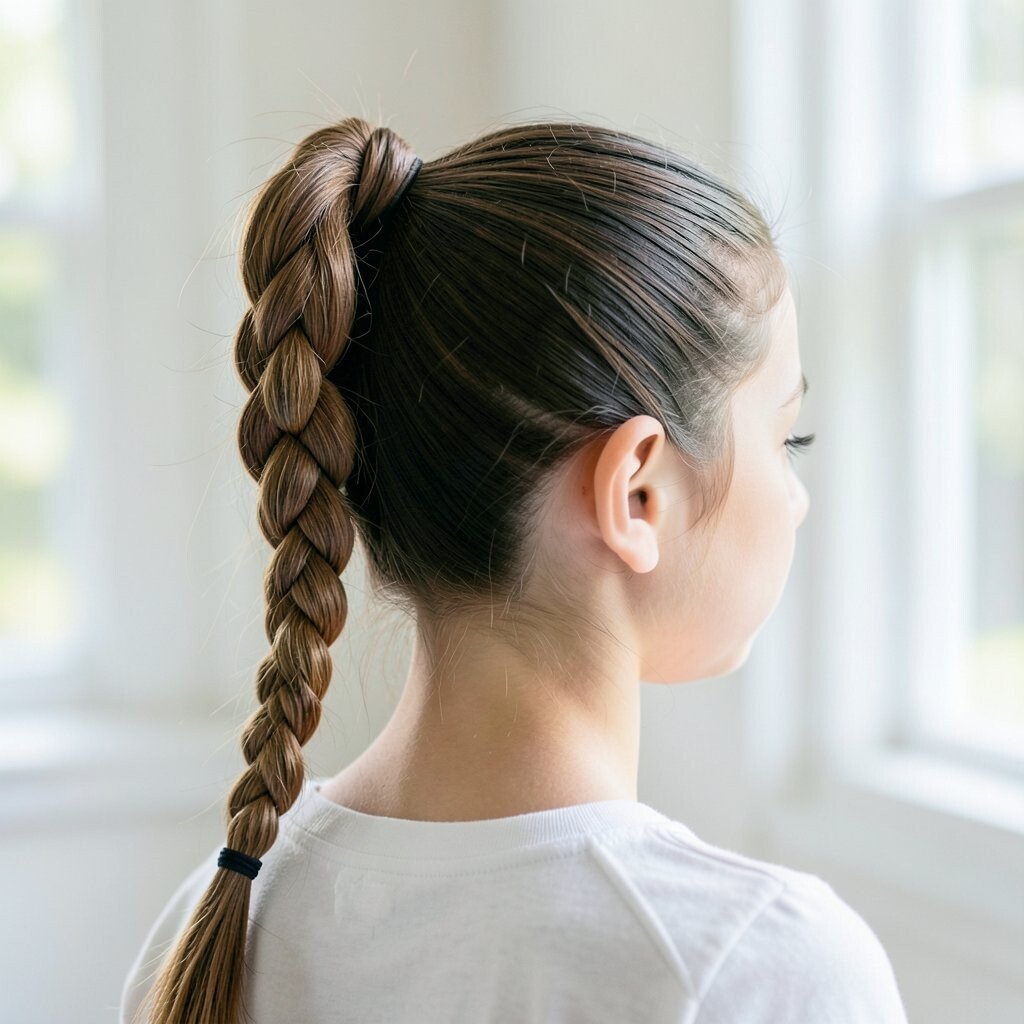
Tie your hair into a medium ponytail and separate a thin strand from underneath. Wrap that strand around the ponytail base in a spiral pattern, then tuck the end under with a pin.
The spiral adds a unique, elegant feel without making the ponytail any harder to do. It’s a good choice for school because the wrapped base helps prevent the ponytail from twisting and slipping. For practical tips, keep the spiral strand slightly damp so it grips and doesn’t fly out.
To personalize, use a strand that matches your hair color for a classic look or choose a dyed strand if you have highlights. If your hair is thick, secure the spiral with two pins so it stays put during the day.
18. Bubble Crown Ponytail
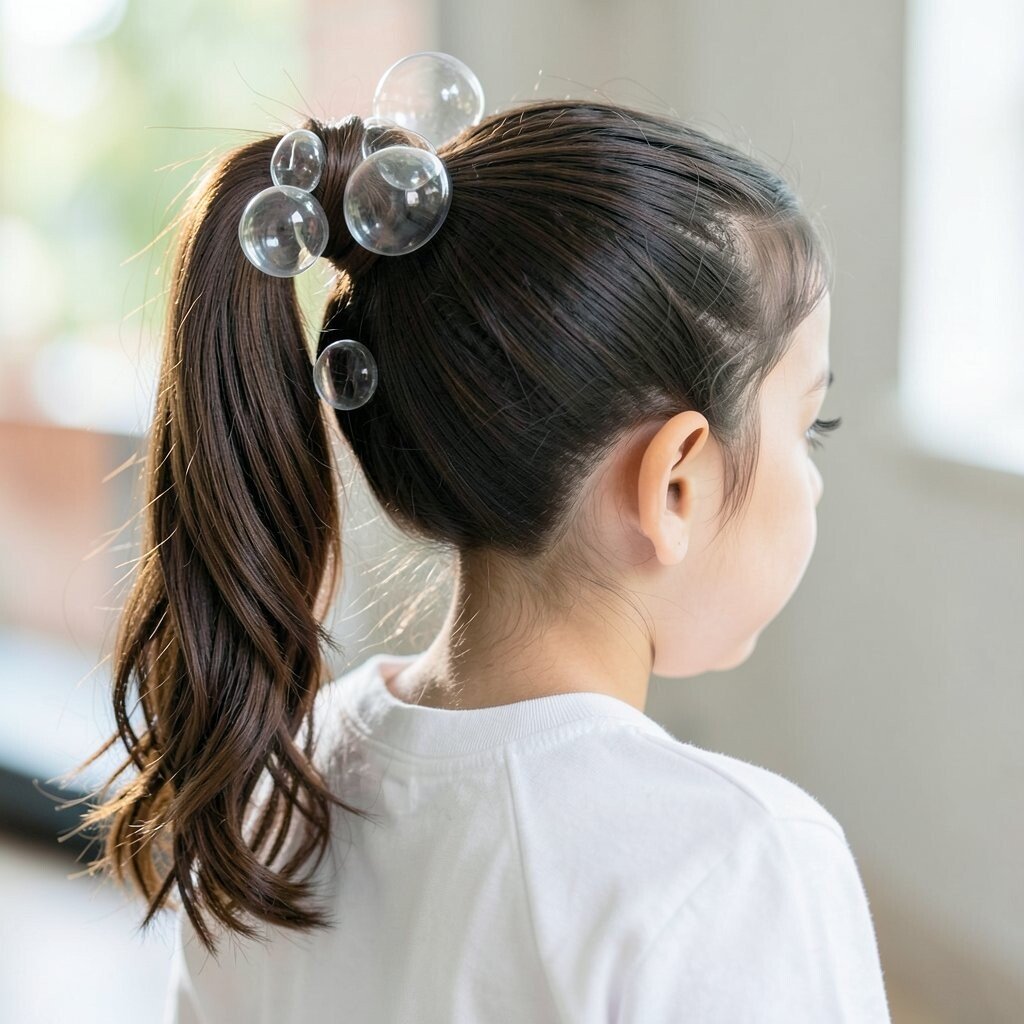
Start with a high ponytail and add elastics down the length to create bubble sections. Then gently lift the bubbles upward so they form a crown-like shape on the head.
This gives a wow effect that still feels school-appropriate and fun. It’s especially good for long hair because it turns a simple ponytail into a statement hairstyle. For personalization, vary the bubble sizes by spacing the elastics closer near the top and farther near the bottom.
For cost considerations, you only need elastics and pins, so it’s budget-friendly and easy to repeat. If you’re worried about time, pre-section the bubbles as you go so you don’t have to measure anything.
19. Quick Clip-and-Go Half-Up with Waves
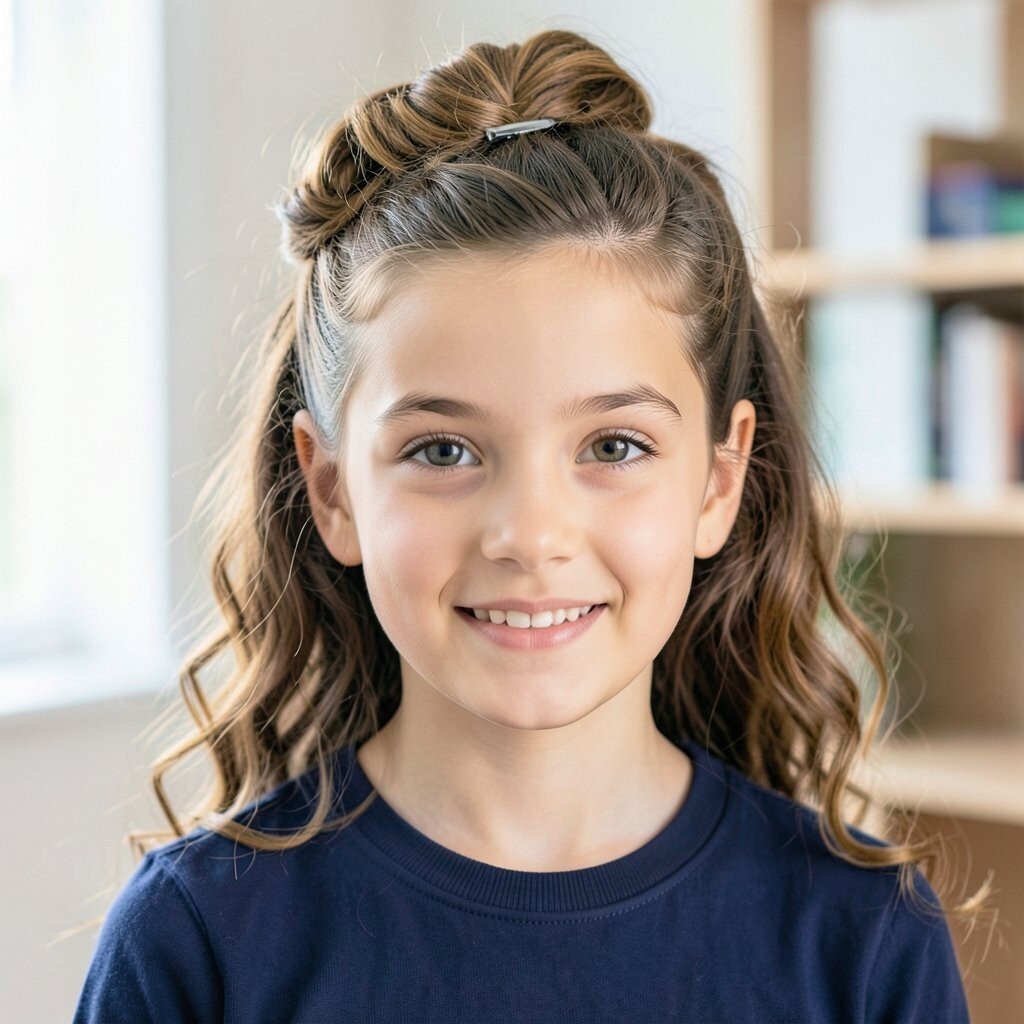
Apply a little water or leave-in mist to damp ends, then twist the loose hair and create quick waves with your fingers. Pull the top half back with a claw clip or two bobby pins for a secure hold.
This style feels lively and modern, and the visual contrast between wavy ends and clipped top makes it look styled. It benefits quick mornings because you can skip heat entirely and still get a cute result. For personalization, part your hair in a zigzag or add two small clips near the temples for an extra playful touch.
If your hair is fine, add a tiny pinch of styling cream to the ends before waving so the texture shows up. Use a light spray to keep the clip area from slipping when you move around at school.