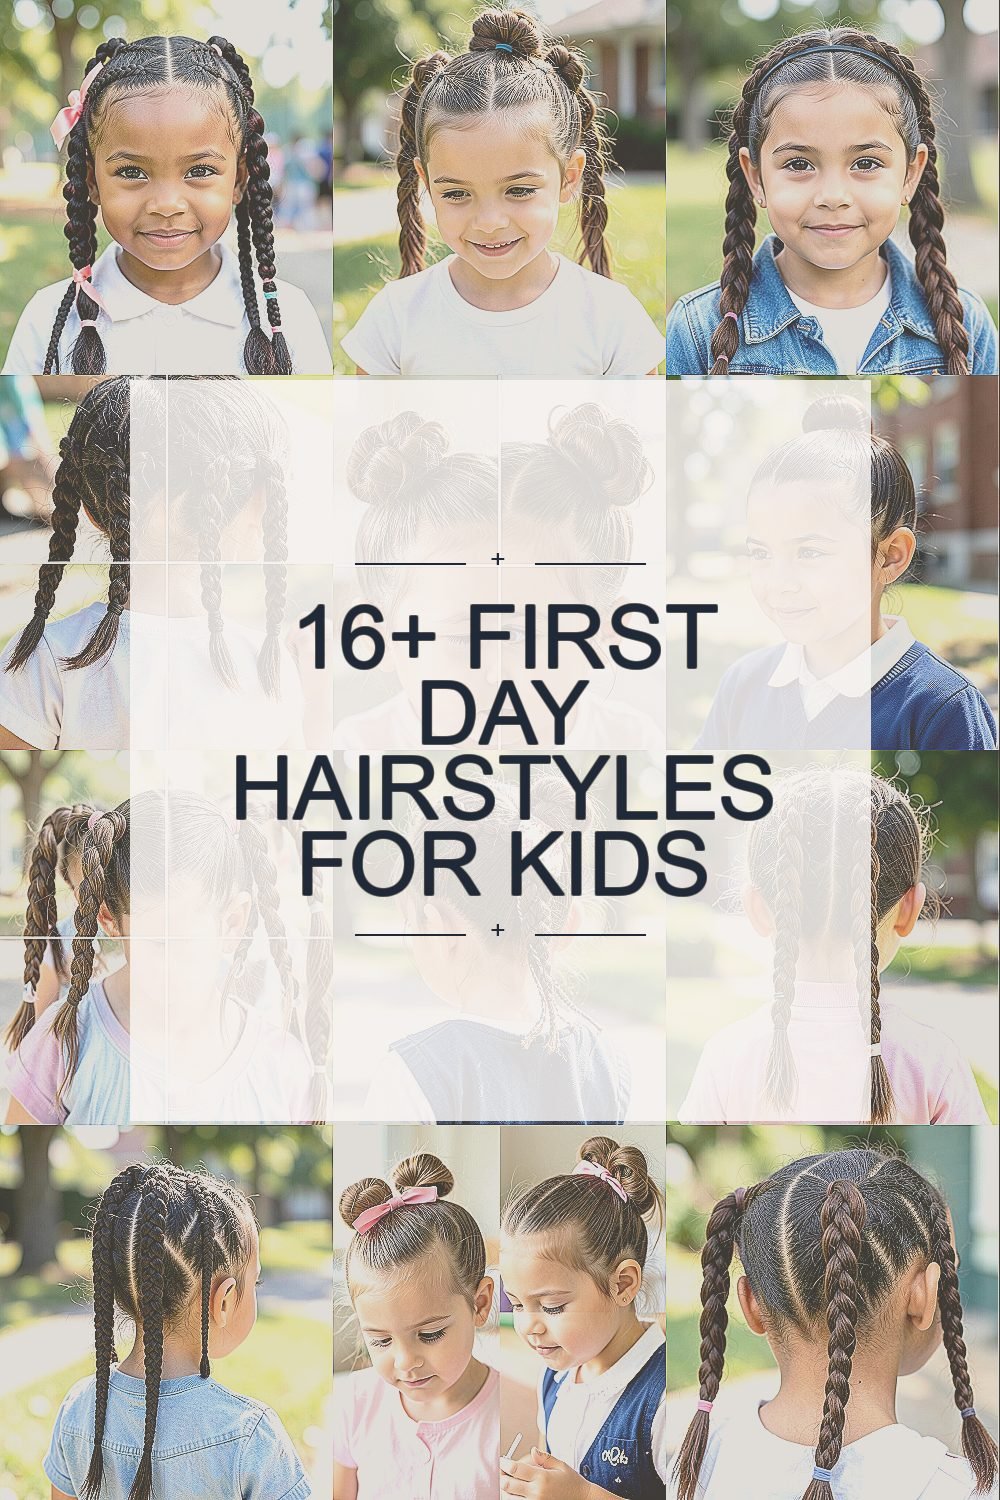
The first-day photos deserve hair that feels fun and easy. These kid-friendly styles keep tiny routines calm and pictures cute.
1. Bubble Braids With a Ribbon Pop
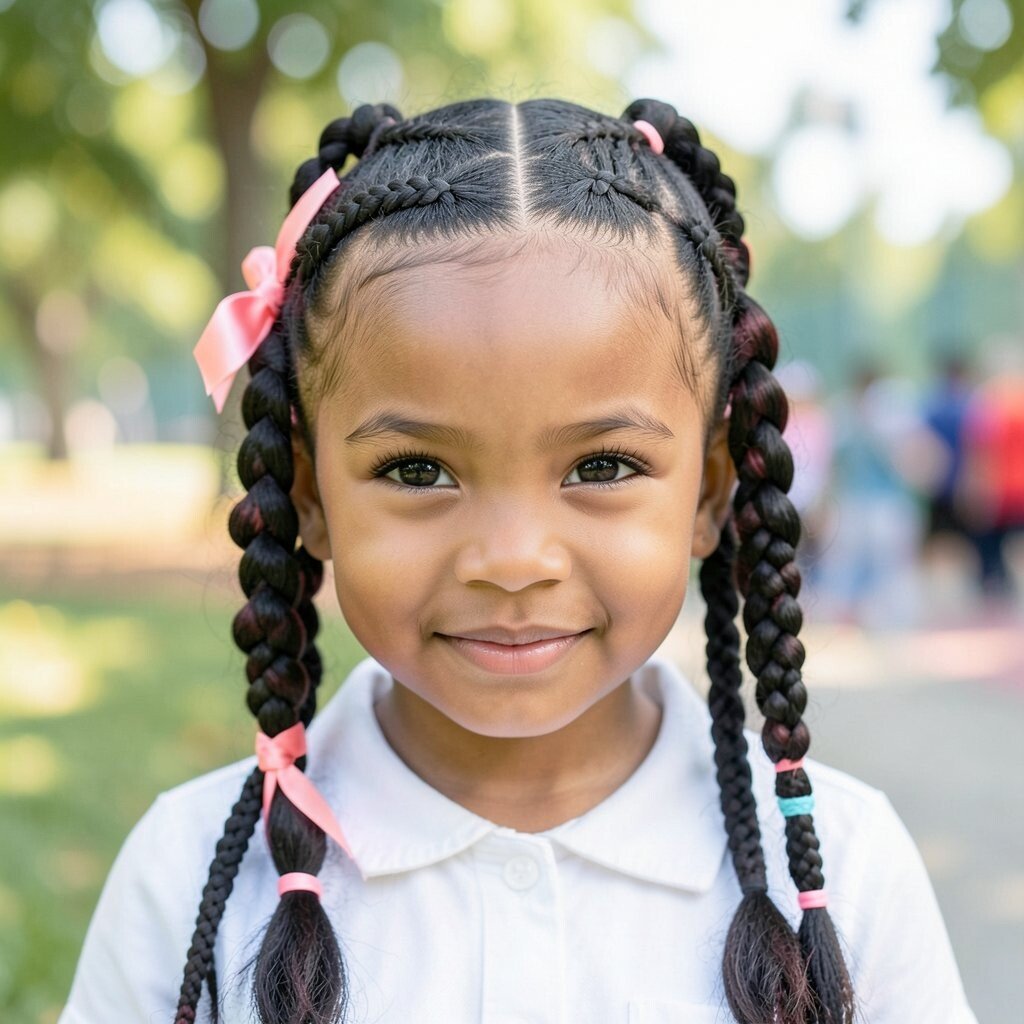
Section the hair into two equal parts and braid each side loosely. Then gather small bubble loops along the braid using clear elastics for a bouncy, balloon-like look.
The ribbons add a bright accent without needing extra accessories. It also holds up well for active kids, since each bubble is tied securely. For a smooth finish, lightly mist the hair with water or detangling spray before you braid.
2. Half-Up Crown Twist
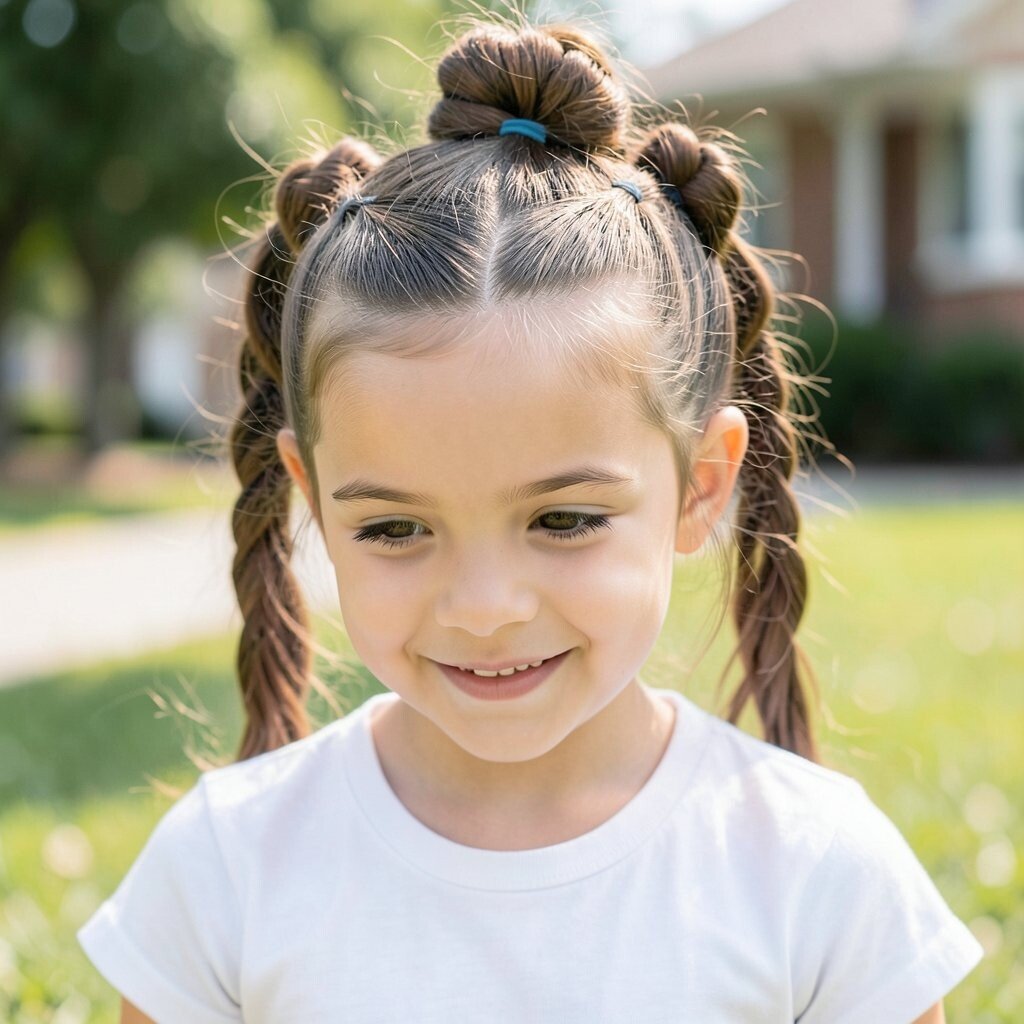
Take the top section of hair and twist it like a little rope across the head. Secure it at the back with a soft elastic, leaving the rest down for a flowing frame.
This style looks fancy but it takes only a few minutes. It helps hair stay out of the face while still feeling loose and comfy. Try adding a tiny clip near the elastic if your child loves sparkly details.
For personalization, match the hair color with a ribbon, bow, or a fabric tie. If your child has thick hair, use a wider elastic so it sits comfortably. A quick spritz of shine spray makes flyaways less noticeable in daylight pictures.
3. Side-Swept Braided Headband
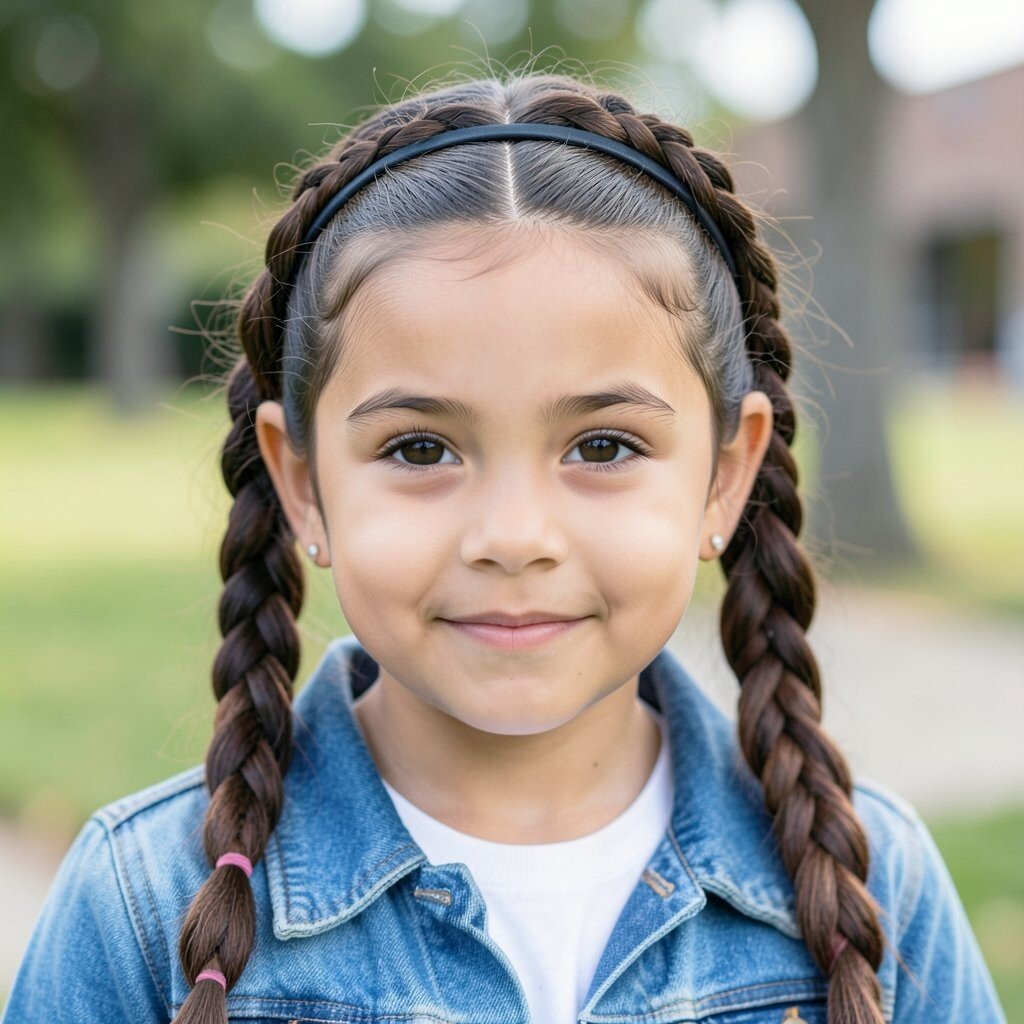
Start with a side part and braid a small section near the ear. Bring that braid across the top like a headband and fasten it on the opposite side.
The braid acts like a gentle barrier that keeps bangs or shorter layers from falling forward. It is unique because it looks like a style meant for a special event, not just a school morning.
Use a few bobby pins to anchor the braid invisibly, and choose pins that match the hair color. If your child has very fine hair, add a tiny puff at the crown first so the braid looks thicker. This is a low-cost option since it mainly uses elastics, pins, and patience.
If trends are leaning toward “clean and simple,” this fits that vibe because it looks neat and tidy. You can also make it higher on the head for a sporty look or lower for a softer, sweet feel.
4. Two Mini Pigtail Braids With Knotted Ends
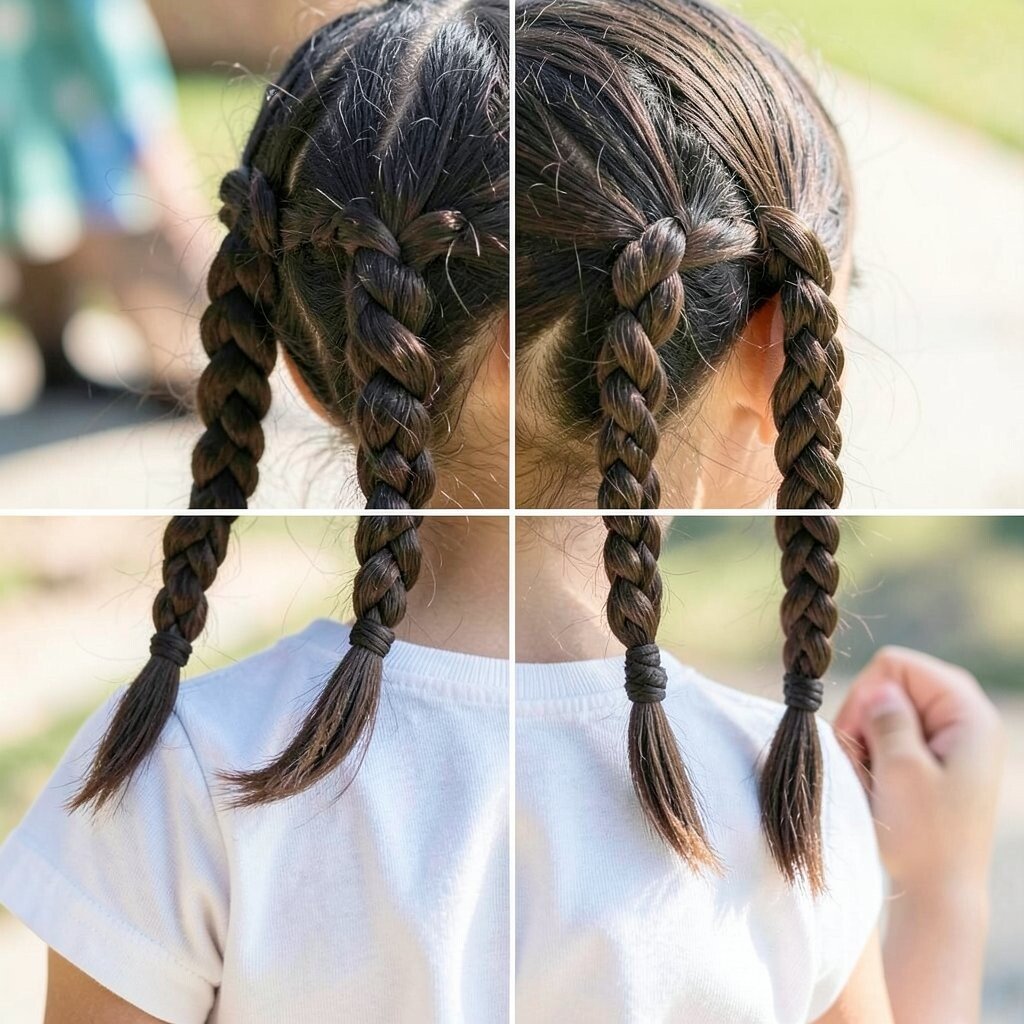
Split hair into two pigtails and braid each one into a small, tight braid. Instead of a plain elastic finish, tie a small knot at the end using a soft strip of fabric or a slim ribbon.
These mini braids look playful and keep strands from tangling during the day. Knotted ends are extra charming in photos because they add detail at the bottom. For practical results, braid from the scalp down so the hair stays smooth and doesn’t puff out.
5. Space Bun Puffs With Soft Curls
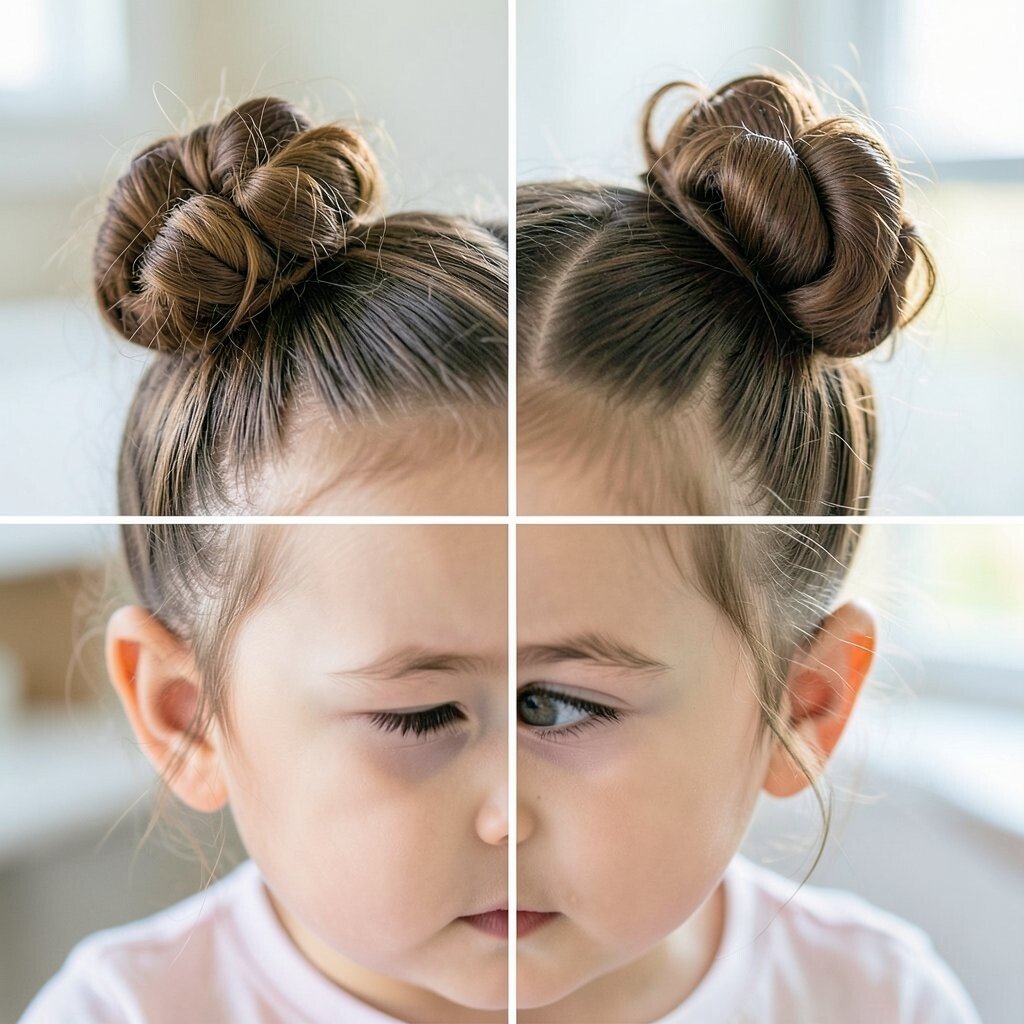
Create two high buns on either side of the head and secure them with scrunchies. If your child’s hair is straight, wrap a few face-framing strands around a large clip or roller for gentle curl.
Space buns are trending because they look energetic and fun without being too fussy. The raised shape also keeps hair off the neck when the classroom gets warm.
For a personalization twist, try different scrunchie colors for a theme, like “blue day” or “rainbow day.” Use lightweight styling mousse so curls don’t get stiff. On cost, you can reuse the same scrunchies and clips all year and only add one matching accessory.
6. Smooth Top Knot With a Side Spark Clip
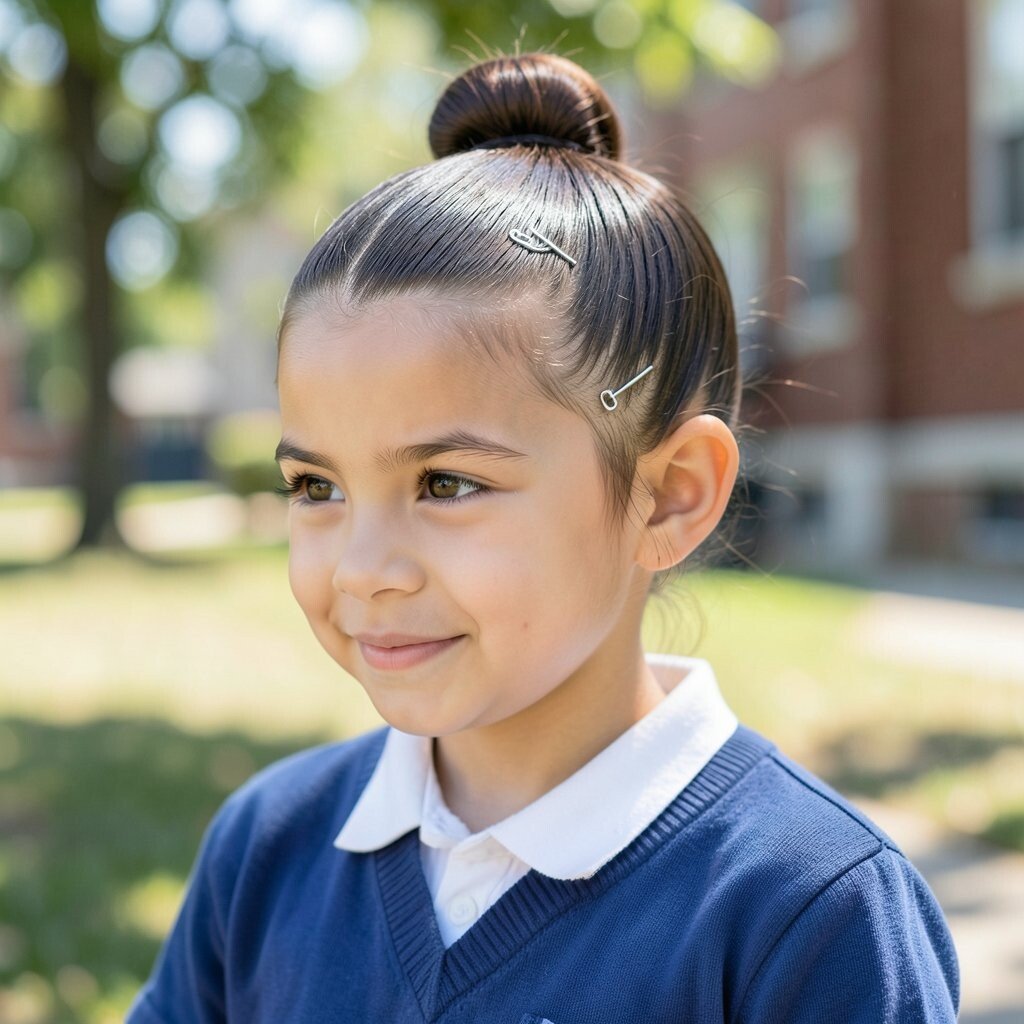
Gather hair at the crown into a simple top knot and tighten it with an elastic. Smooth the outer layer with a dab of gel or a gentle brush for a polished look.
This style is great for kids who like a neat, tidy feel. It also helps hair stay controlled during lunch, recess, and after-school activities.
Choose a side spark clip slightly above the ear so it catches light in pictures. Personalize by using a clip shape your child already loves, like stars or hearts. If hair is thick, consider two small elastics under the knot for extra grip so it holds longer.
7. Pull-Through Ponytails With Braided Accents
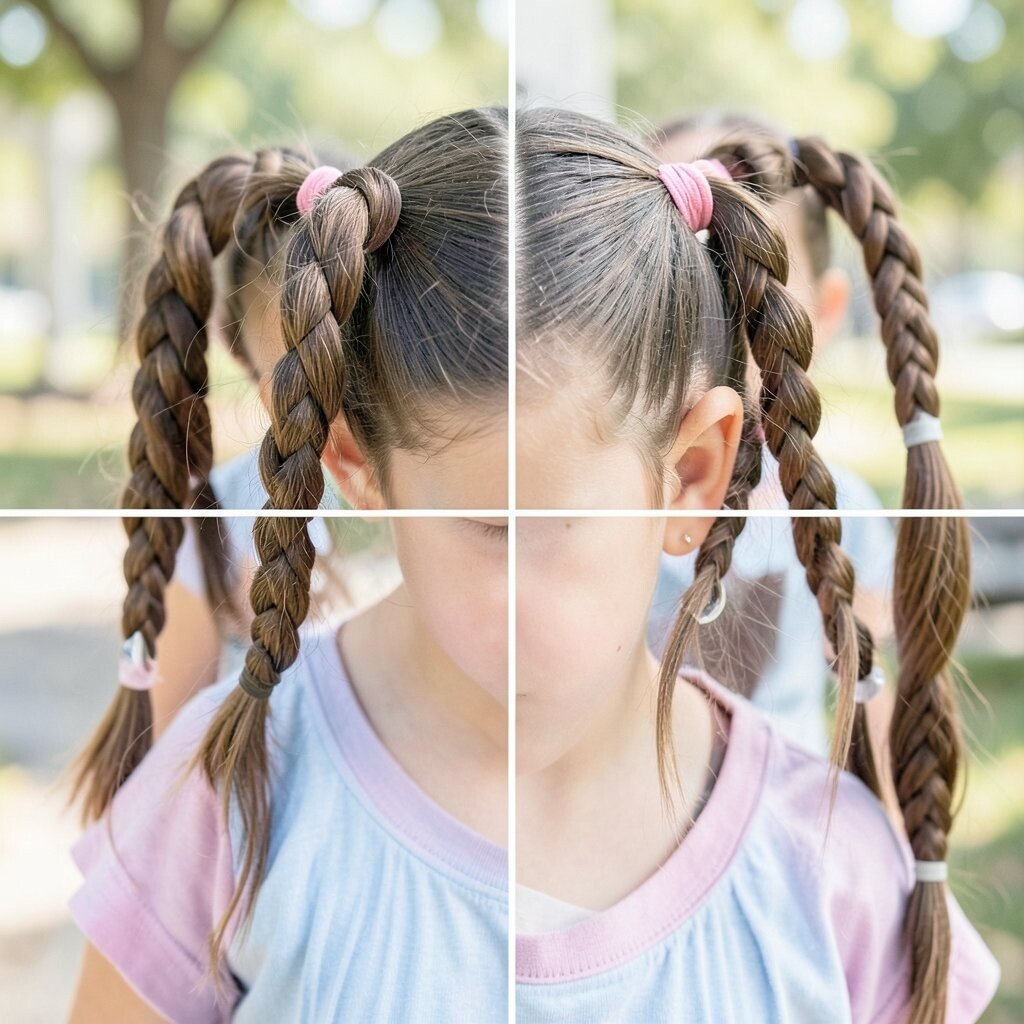
Make two ponytails and loosen a small section above each elastic. Pull each ponytail through the opening to create a twisted, pull-through loop.
The loops look modern and feel special without taking ages to do. A tiny braid wrapped around the base adds a unique finishing touch and hides the elastic.
To keep it comfortable, use gentle hair ties and avoid pulling too tightly at the scalp. If your child has wavy hair, the texture will make the loops look even more dimensional. For budget-friendly styling, use hair ties you already own and add only one accent braid charm.
This is a good option when current trends lean toward “styled but not stiff.” It also works well for school because the ponytails stay in place and don’t stray into eyes.
8. Scarf-Style Wrap Pony With Twisted Fringe
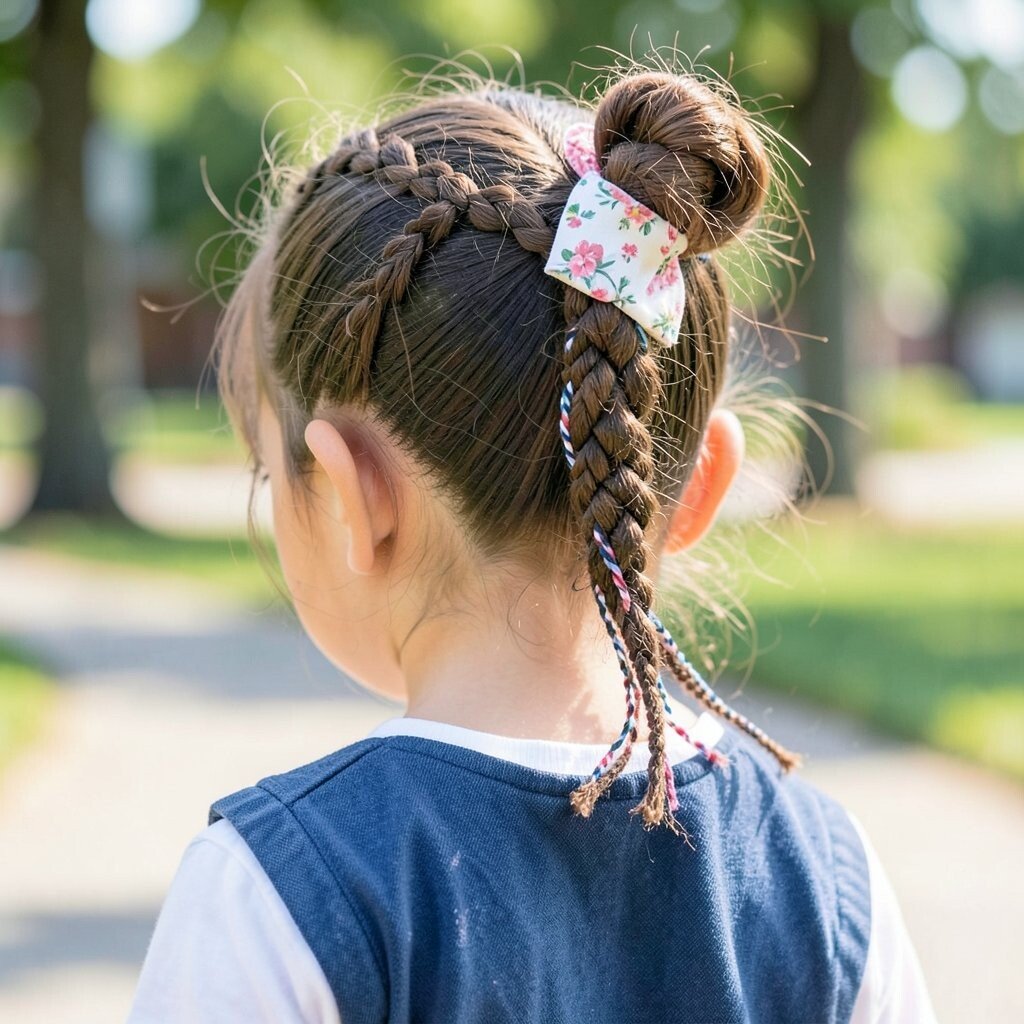
Secure hair into a medium ponytail and wrap a long scarf around the base, tying it in a snug bow. Before tying, take a small front fringe section and twist it neatly so it blends into the scarf wrap.
Using a scarf adds color and personality instantly. It is also handy because you can change the scarf for different moods without changing the hairstyle.
9. Waterfall Braid Over a Low Pony
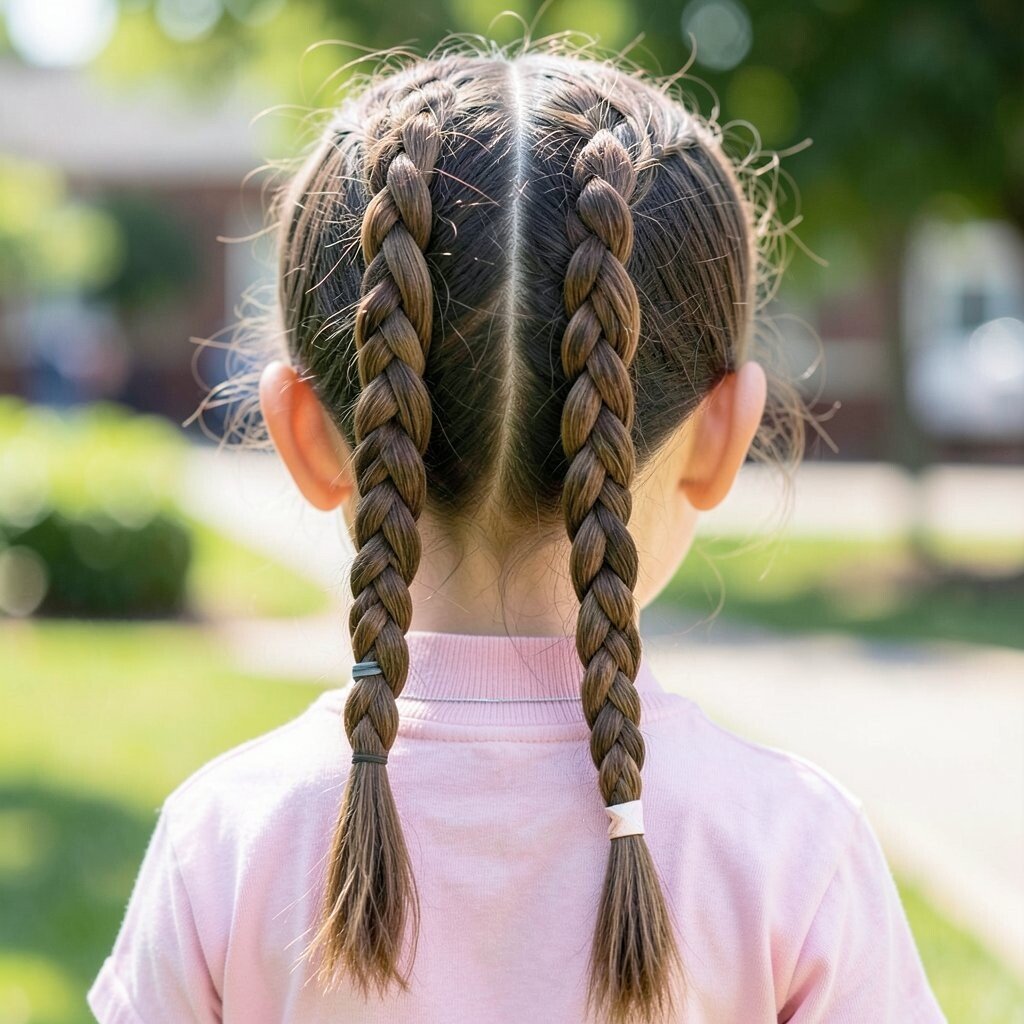
Start a braid along one side near the forehead and let some strands flow downward in a “waterfall” pattern. When you reach the back, secure the braid and then connect the remaining hair into a low ponytail.
This is visually interesting because parts of the braid appear to cascade. It keeps hair controlled near the face while still giving a soft, pretty movement to the lower section.
For practical ease, use a light spray to reduce frizz before braiding. Personalize by choosing elastics that match hair color, or add a small charm at the ponytail end. Cost-wise, you can do this with everyday hair products and one nice elastic, so it stays realistic for busy mornings.
10. High Pony With Ladder Braids
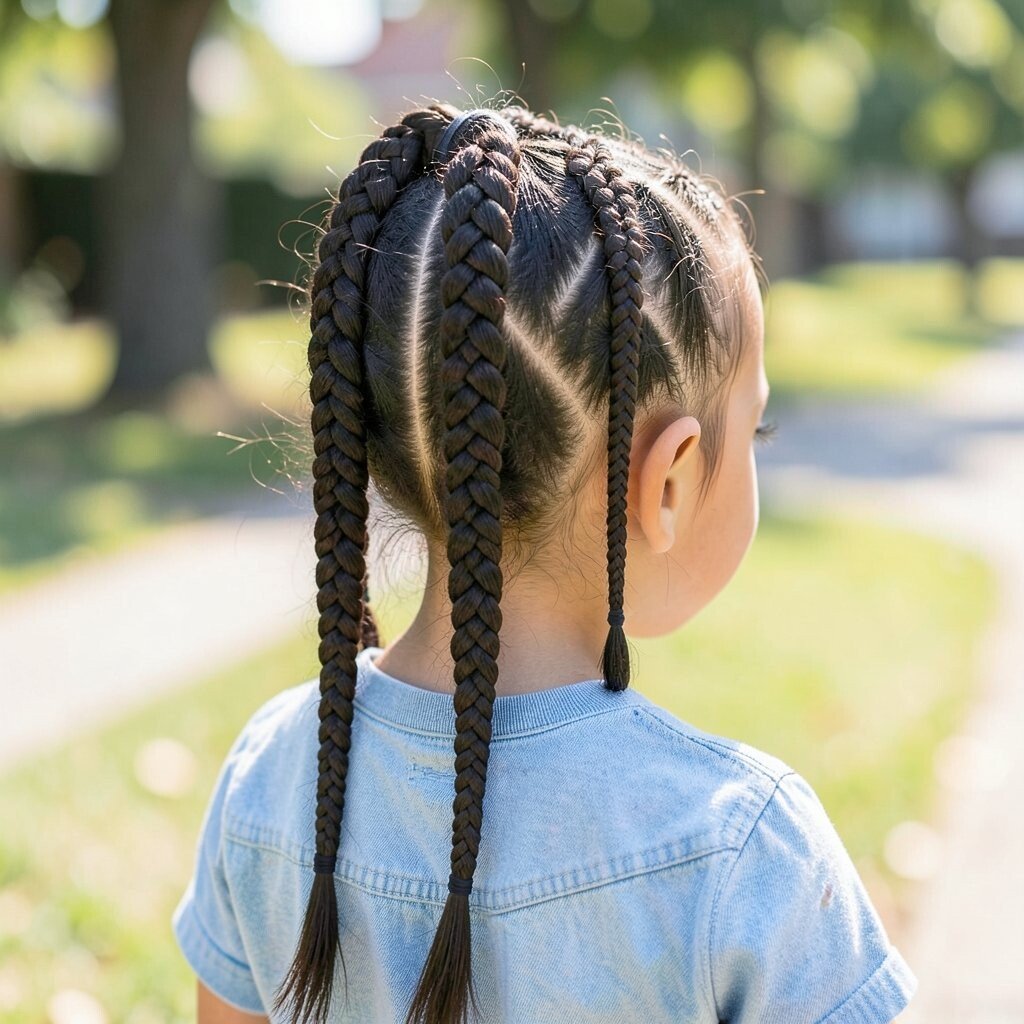
Make a high ponytail and then braid small sections along the length in ladder-like rows. Leave the ponytail long so it swings, but keep the braid pattern tight for neatness.
Ladder braids feel creative and different from the usual single braid. They also help prevent tangles since the hair is divided and secured along the way.
For personalization, try two colors of elastics spaced at intervals, like a subtle pattern. If your child’s hair is very curly, use a wide-tooth comb to keep sections defined. A small amount of leave-in conditioner can help the braid look smooth instead of fuzzy.
11. Half-Up Bow Tie Buns
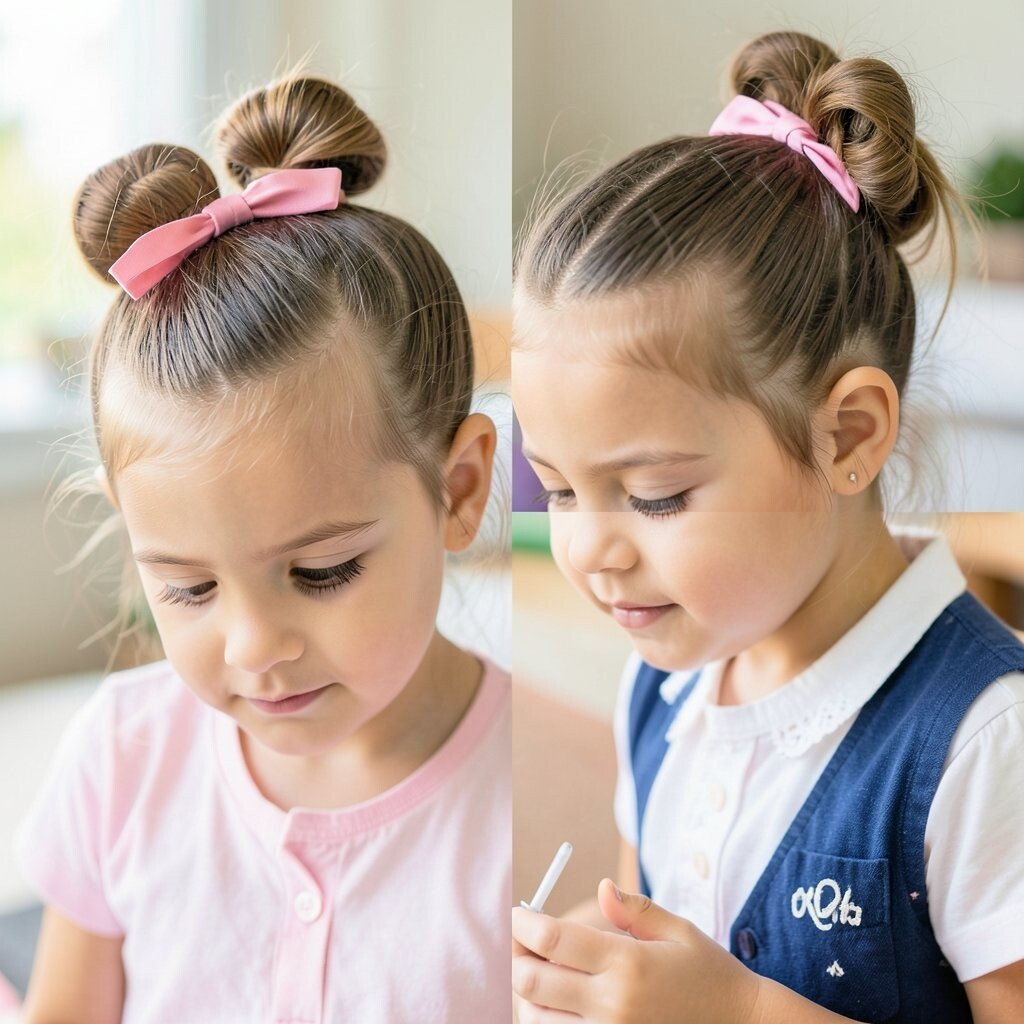
Section the top half of hair and create two small buns on either side near the crown. Secure with elastics, then add a large bow clip at the center for a sweet “bow tie” vibe.
This style is adorable and works especially well for kids who love accessories. The buns keep hair off the face, which means fewer adjustments during class and snack time.
Make it unique by placing the buns slightly closer together for a “cluster” look. For thick hair, use a second elastic under each bun so it stays put. Budget-friendly choices include using a bow clip instead of buying new hair extensions or complicated tools.
12. Twisted Side Ponytail With Two Strands
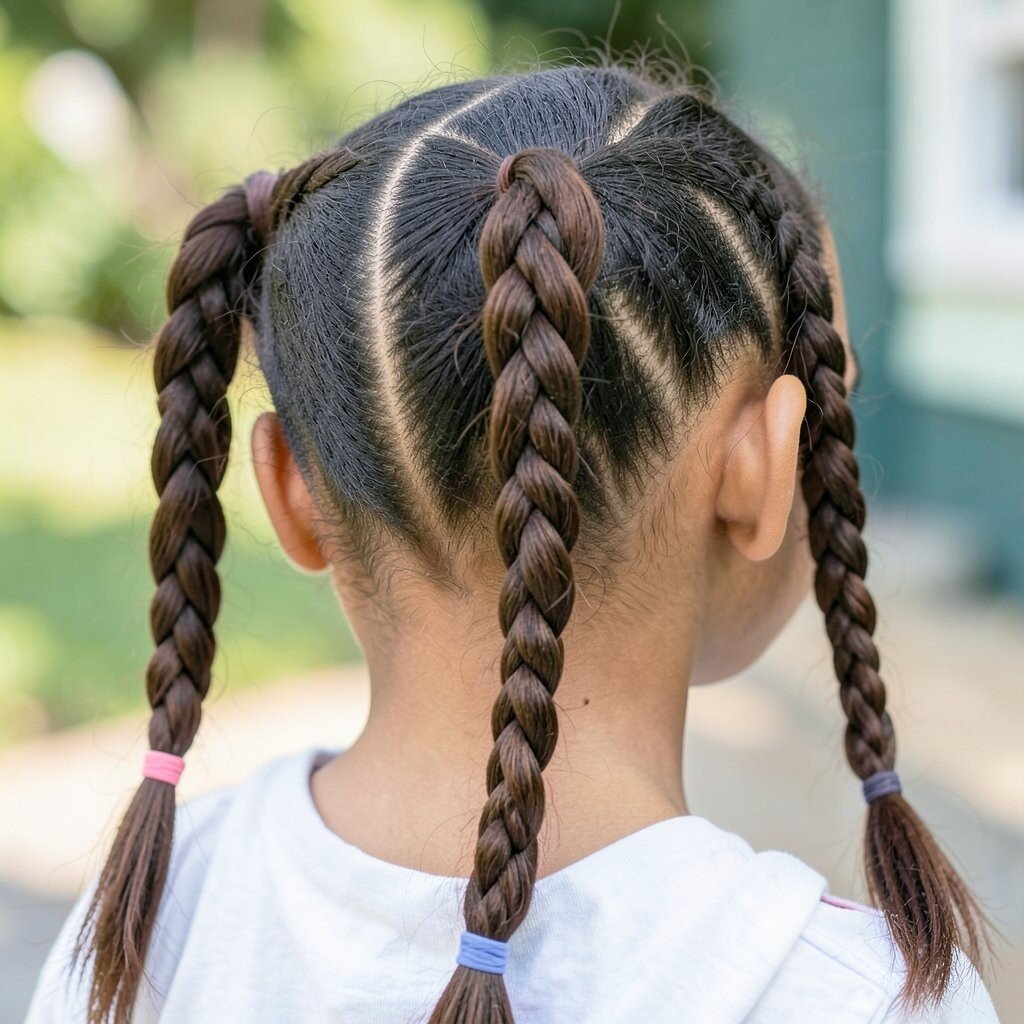
Pull hair into a side ponytail and twist two thin strands around the elastic. Secure the ends with a small pin or tiny clear elastic for a clean finish.
This hairstyle feels sleek, but it still looks kid-friendly and soft. It is great for active days because the twists add grip and reduce flyaways.
To personalize, match the pins to your child’s hair tone so they blend in. If your child has bangs, tuck them into the twist for a tidy look. You can keep cost low by reusing elastics and focusing on one decorative hair pin that your child can choose.
13. Braided Ponytail Crown With Small Rings
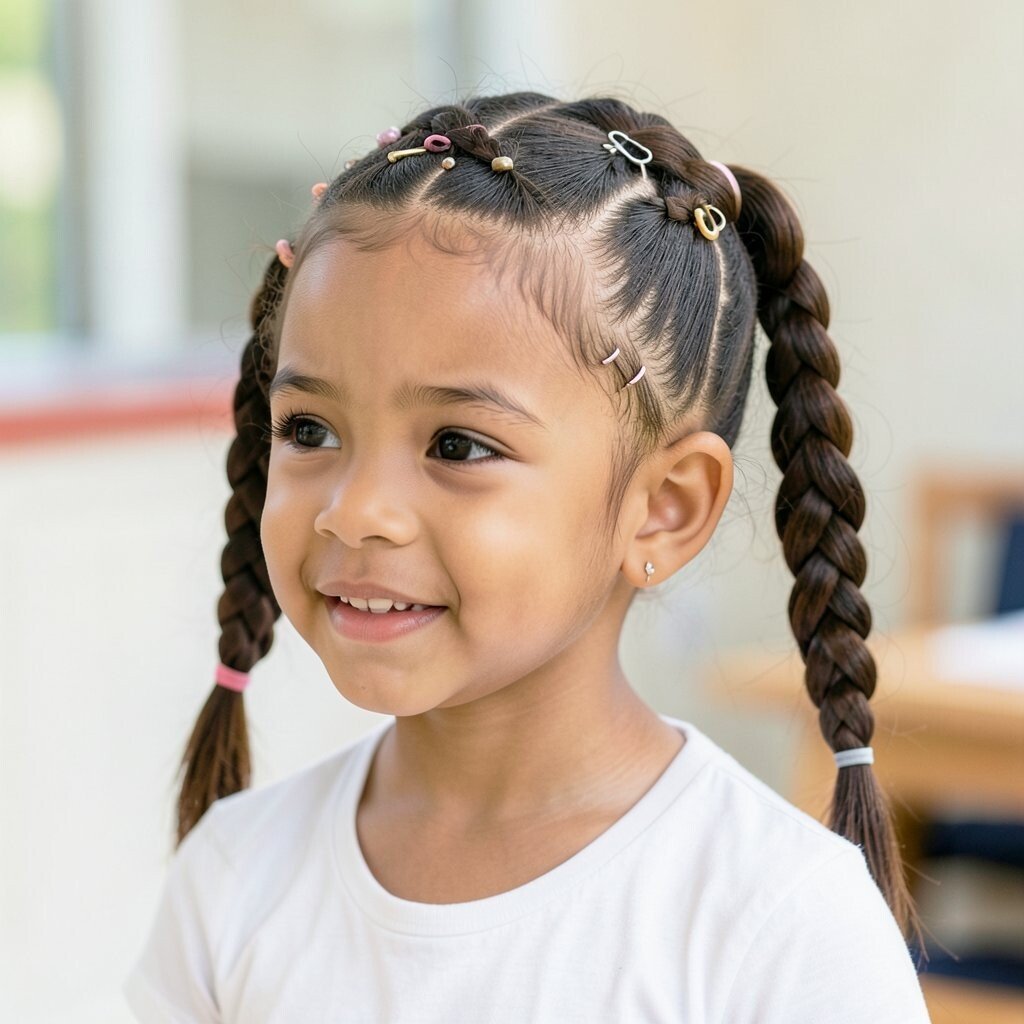
Create a braid along the top of the head and continue it into a ponytail at the back. Then add small ring-like elastics at intervals along the ponytail to create a “crown” effect.
The visual contrast between the braid and the ponytail rings looks neat and modern. It also helps keep hair organized, which is a real win for mornings when everyone is running late.
Use lightweight elastics so the rings don’t tug as the child moves. Personalize by using clear rings for a subtle look or bright ones for a fun pop of color. This can be done with basic supplies, so you won’t need a big shopping list.
If you want a current-trend vibe, this leans toward statement hair that still feels practical for school. It also photographs well because the braid creates clear lines and texture.
14. Classic French Braid With a Soft Bow
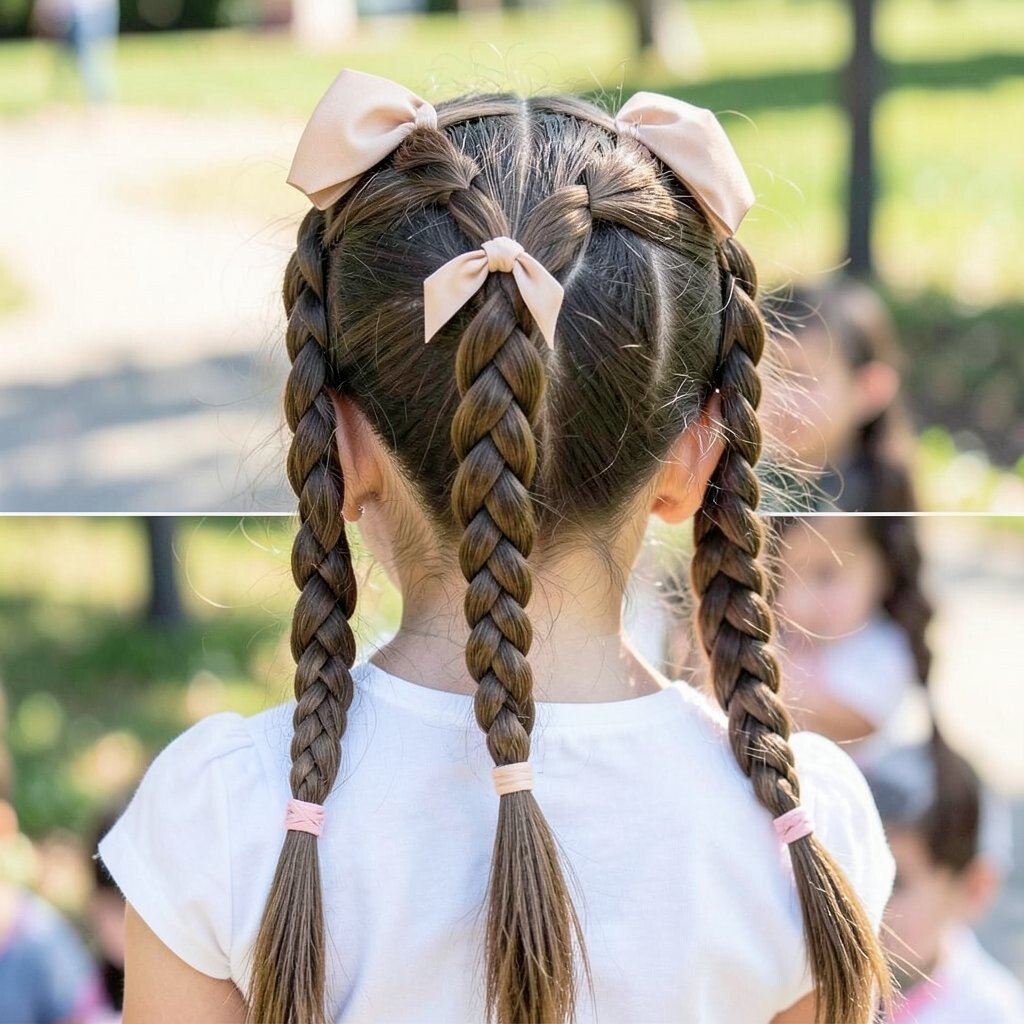
French braid from the crown down the back, gathering hair on both sides for a smooth, continuous braid. Secure at the end with an elastic, then attach a soft bow or ribbon for a classic finish.
This style is timeless, which makes it a reliable choice for first-day pictures. A French braid also keeps hair from tangling because the strands are locked in a single neat pattern.
15. Fishtail Mini Braids Around Two Pigtails
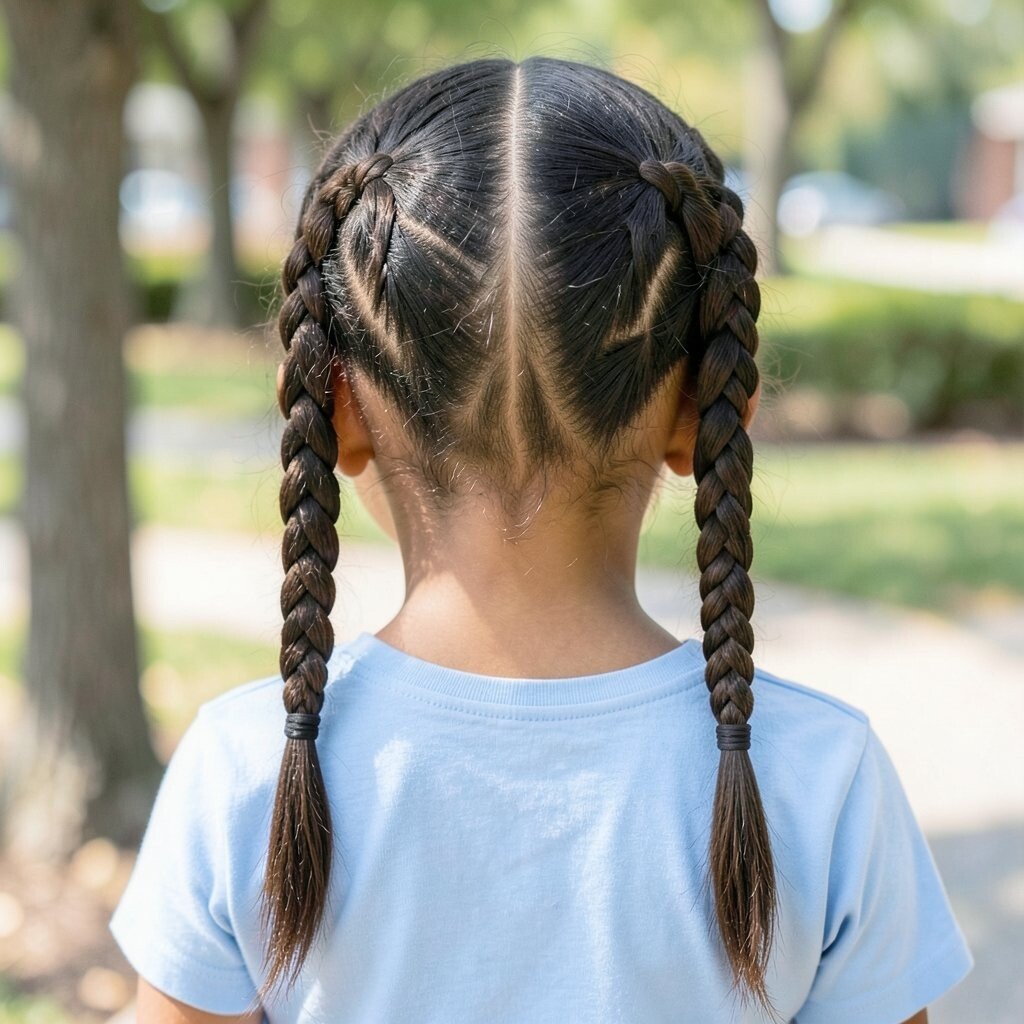
Make two pigtails and braid each one using a fishtail technique for a textured look. Add tiny elastics at intervals so the fishtail pattern stays visible.
Fishtail braids feel extra detailed, which makes them unique compared to everyday braids. The pattern holds strands in place while still looking light and pretty.
For personalization, choose elastics in pastel colors if your child likes gentle shades. If hair slips out, use a small amount of styling cream to help the braid stay smooth. Cost is usually low since you need only elastics and maybe one decorative clip to finish.
This style is also great for kids who hate tight hairstyles, because the braid can be kept looser while still secure. It looks sweet in any hair length that reaches the shoulder or longer.
16. Low Twisted Bun With a Headband Halo
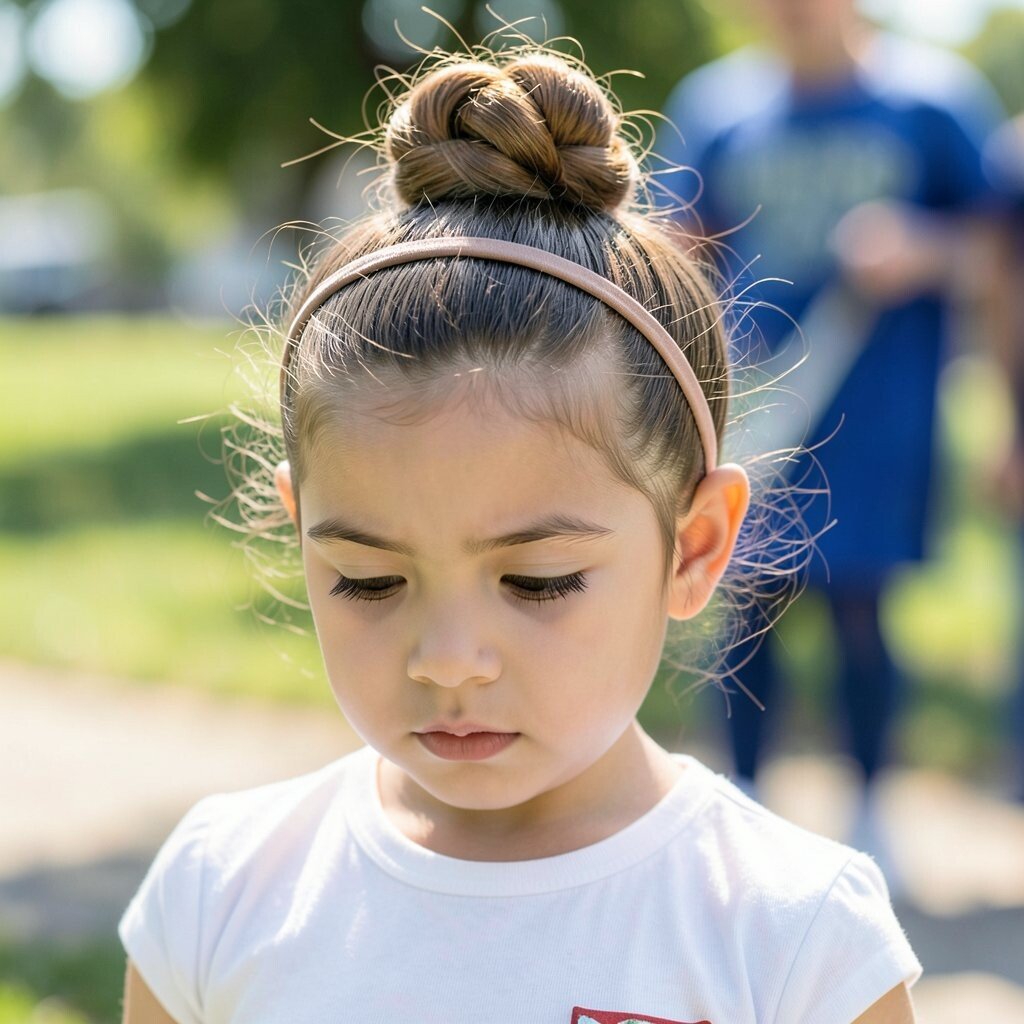
Create a low bun at the nape and twist two sections before wrapping them into the bun. Then place a soft headband like a halo around the head for a gentle, coordinated look.
The twisted bun adds comfort and stability, and the headband finishes the style without extra time. This works well for school because it keeps hair controlled near the cheeks and forehead.
Personalize by choosing a headband color that matches your child’s outfit or favorite hoodie. For cost considerations, a reusable fabric headband is often cheaper than buying new accessories every season. If you want extra hold, pin the bun with bobby pins and tuck the ends underneath.
17. Messy-Pretty Fauxhawk Braids
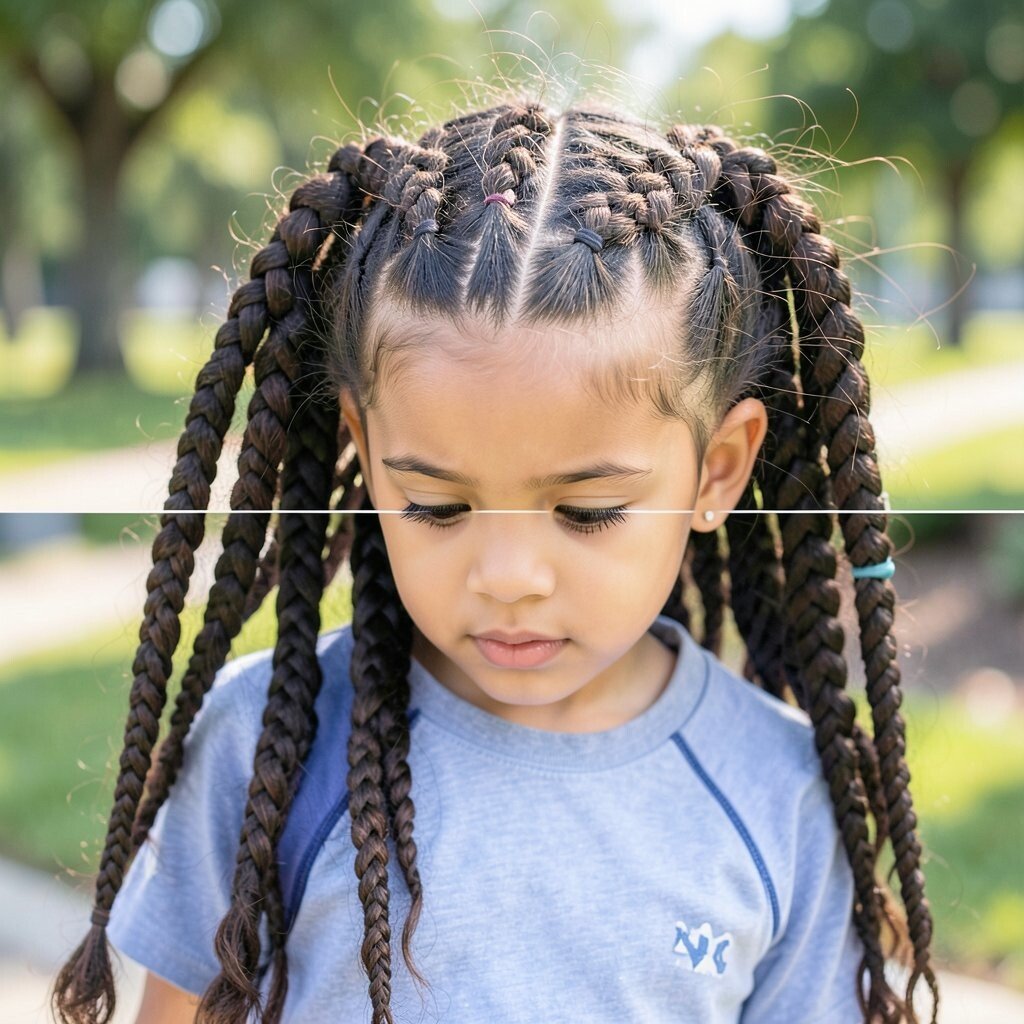
Create two braids starting from the sides and angle them toward the center, leaving the middle section fuller. Secure the side braids near the top so the center looks raised like a gentle fauxhawk.
This hairstyle is playful and unique, and it looks bold without needing dye or extra products. It also keeps hair mostly off the face while still letting the center puff look carefree.
To make it practical for school, keep the braids secure and use a soft elastic for comfort. Personalize by choosing a patterned elastic or adding a small charm clip at the crown. If your child’s hair is fine, tease the center slightly before securing to get that lifted look.
This is a fun option when current trends favor “messy but intentional” hair. It’s also a great confidence booster because it feels like a cool style while staying kid-friendly.