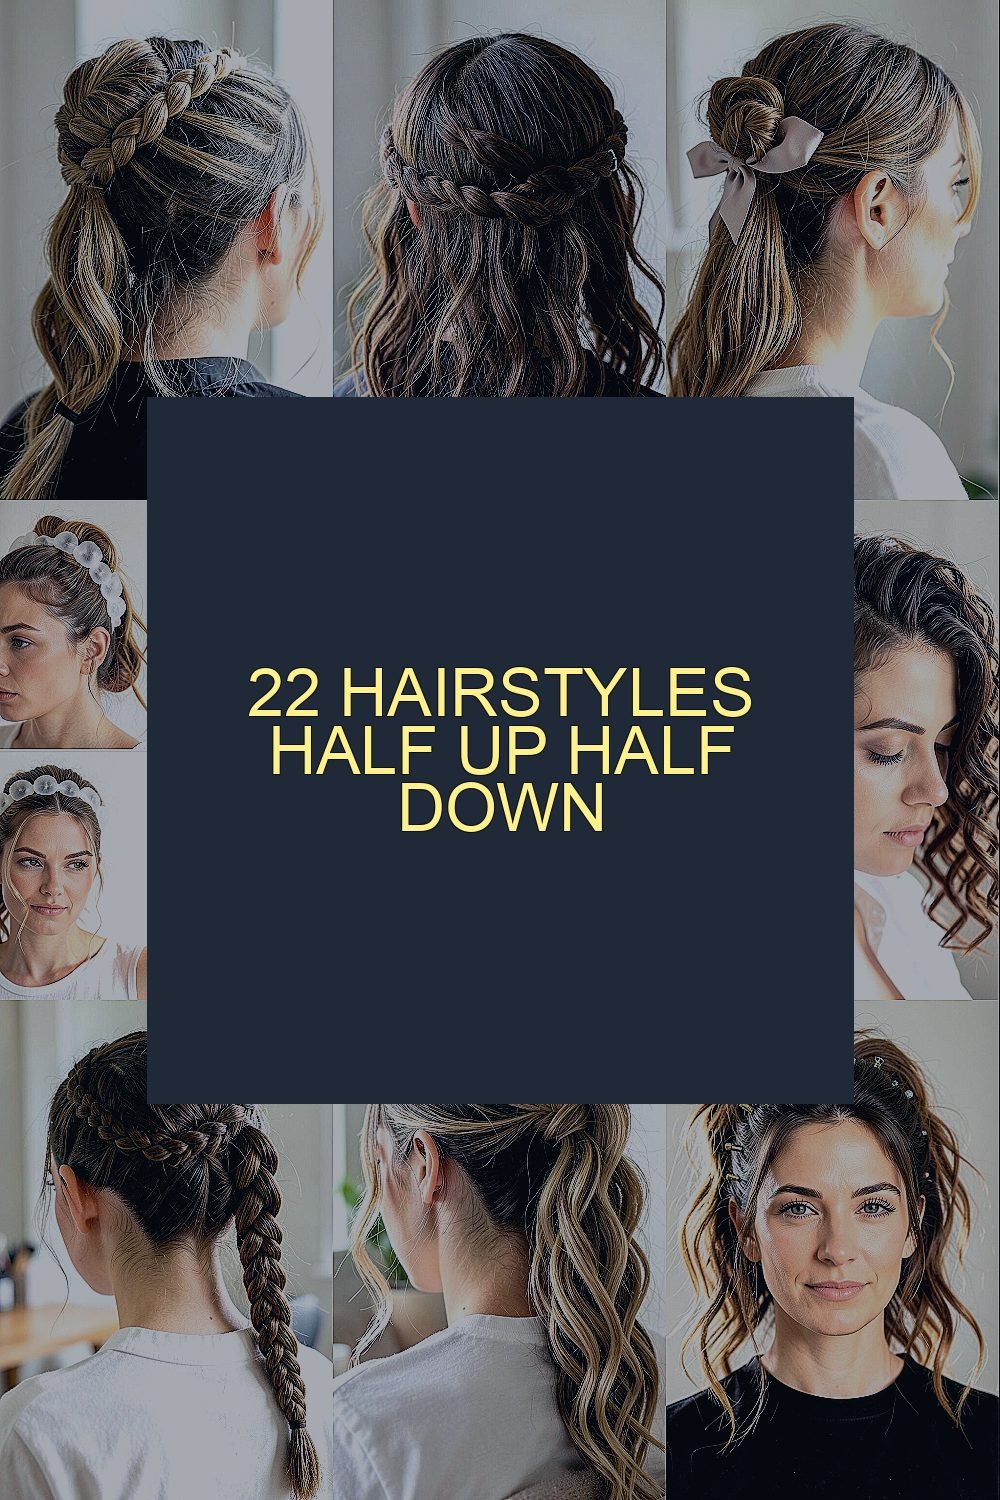
Half up, half down styles look polished without feeling too fussy. They also give your hair the perfect mix of face-framing and free-flowing length.
Whether you want a soft everyday look or something more party-ready, these ideas can meet you where you are. Each one has tips you can actually use and ways to make it feel like you.
1. Braided Crown Half-Up
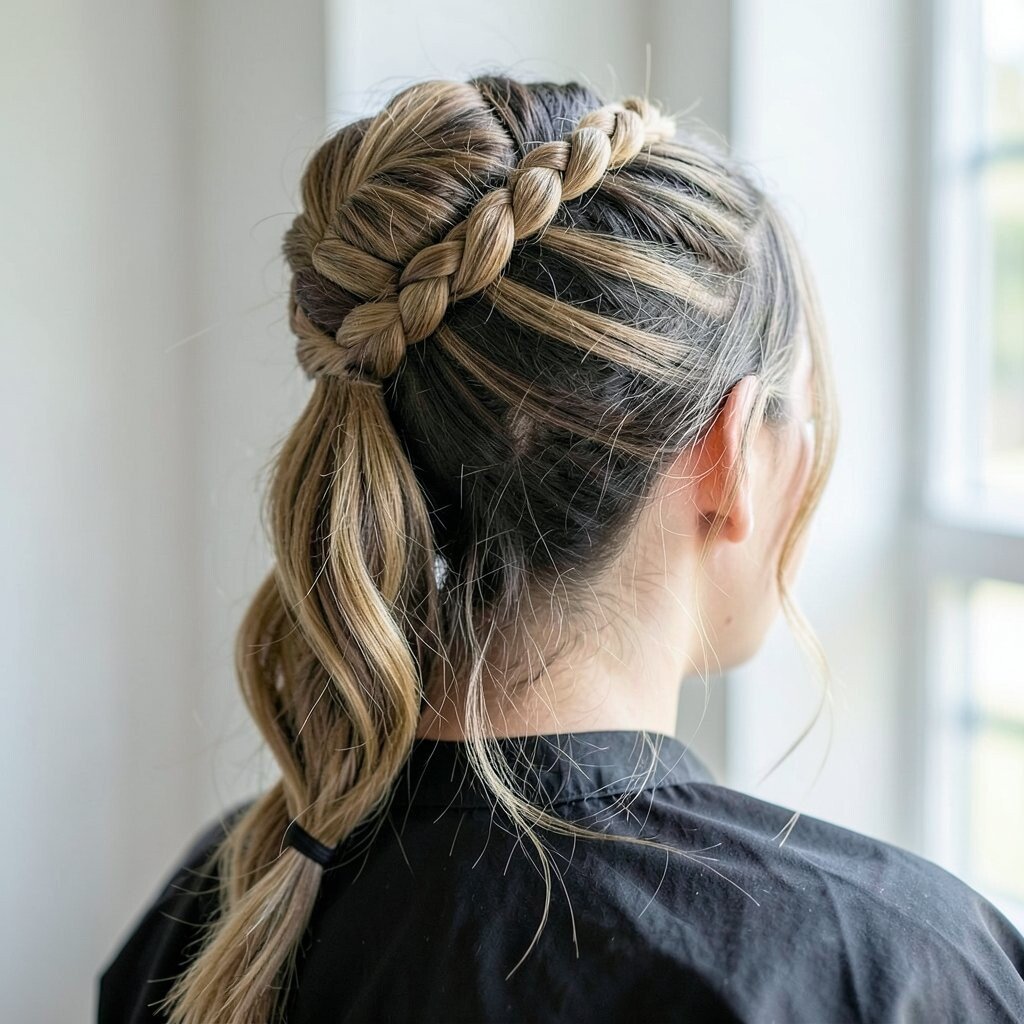
A braided crown half-up style starts with a neat part, then wraps two small braids across the top like a little halo. You get a clear visual frame at the forehead while the rest of your hair falls freely.
This look helps keep flyaways calmer because the braids add gentle structure. To make it feel current, keep the braid pieces slightly fuller and avoid pulling them too tight. If your hair is fine, use a lightweight mousse before you braid so everything has grip.
2. Twisted Halo with Claw Clip
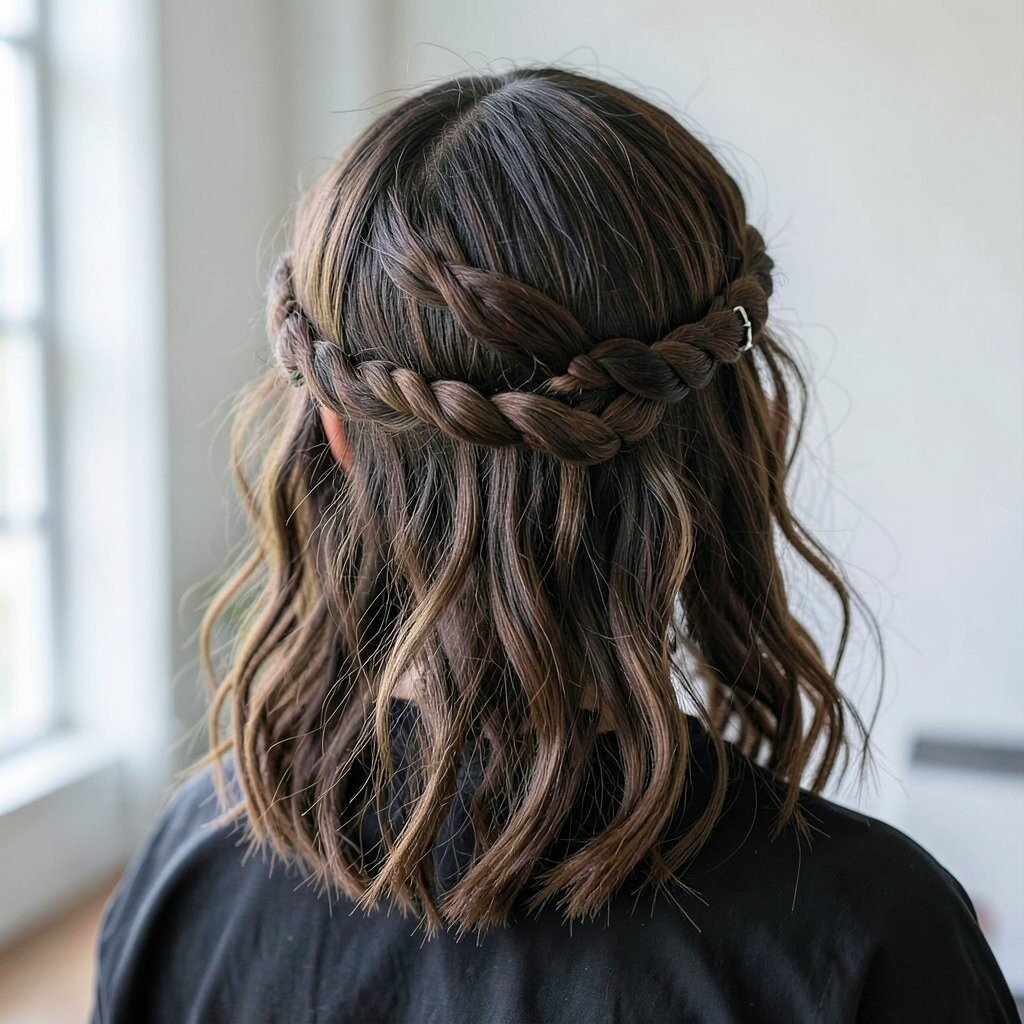
Instead of a full braid, twist two sections on both sides and meet them at the back. A claw clip or small barrette holds it in place, and the top looks clean and shiny.
The big benefit is speed, since twists take less time than braids. For personalization, switch from a classic center part to a soft side part and let a few wisps hang near your cheek.
If you have thick hair, choose a clip with strong teeth so it doesn’t slip. For cost, a mid-range clip plus a salon-quality hairspray usually beats buying a bunch of accessories.
3. Half-Up Ribbon Bow
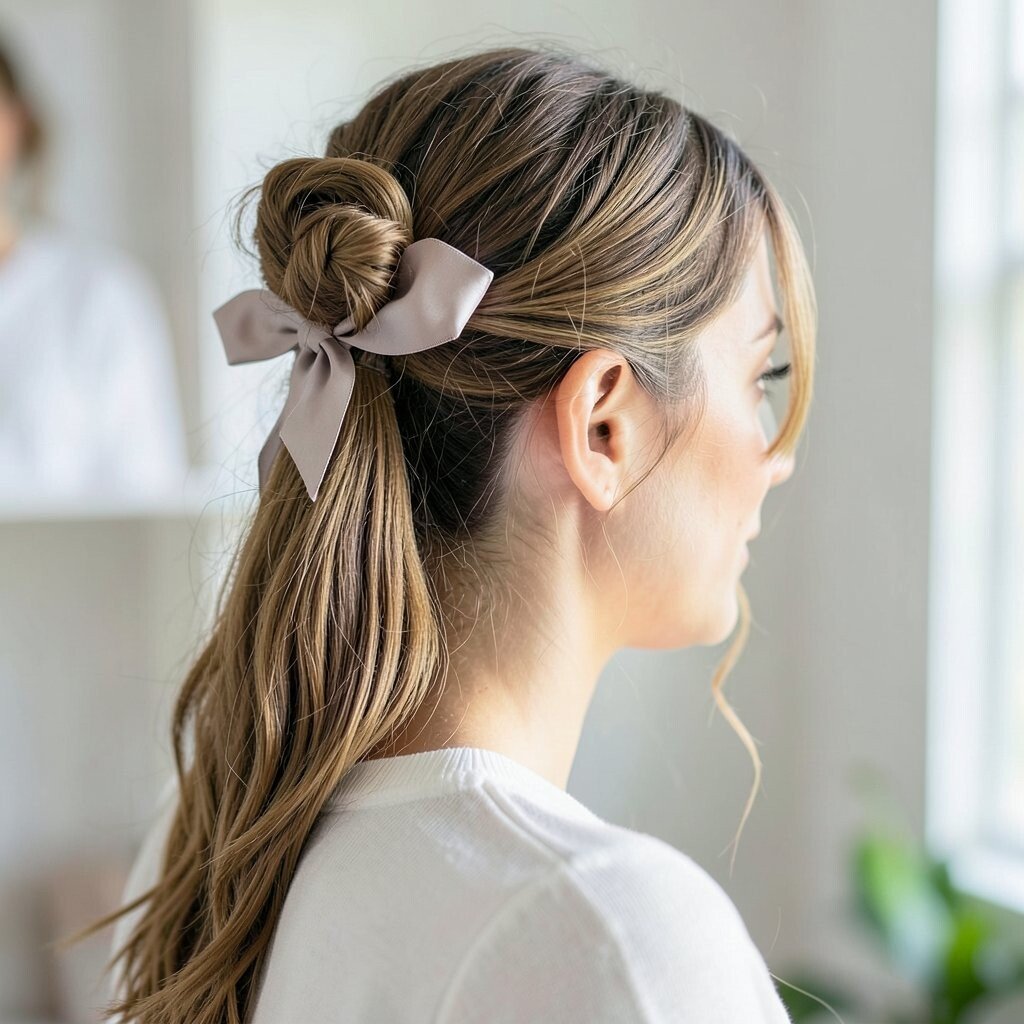
Pull the upper half back into a half pony, then tie a ribbon around the base. The finished look feels playful, with the bow creating a bright focal point above your eyes.
You get instant personality without changing your haircut, which is why this style stays popular. Use a satin ribbon for a dressy vibe or a cotton ribbon for a casual, everyday feel. When you tie it, leave a little slack so the bow looks soft, not stiff.
To keep the bow secure, wrap the ribbon around once more behind the hair tie. If your hair is slippery, add a tiny dab of styling cream at the roots before you gather it.
As trends shift toward more “styled-but-not-starched” looks, slightly messy ribbon tails can look extra modern. This also lets you match your outfit color without pricey upgrades.
4. Bubble Half-Up Bands
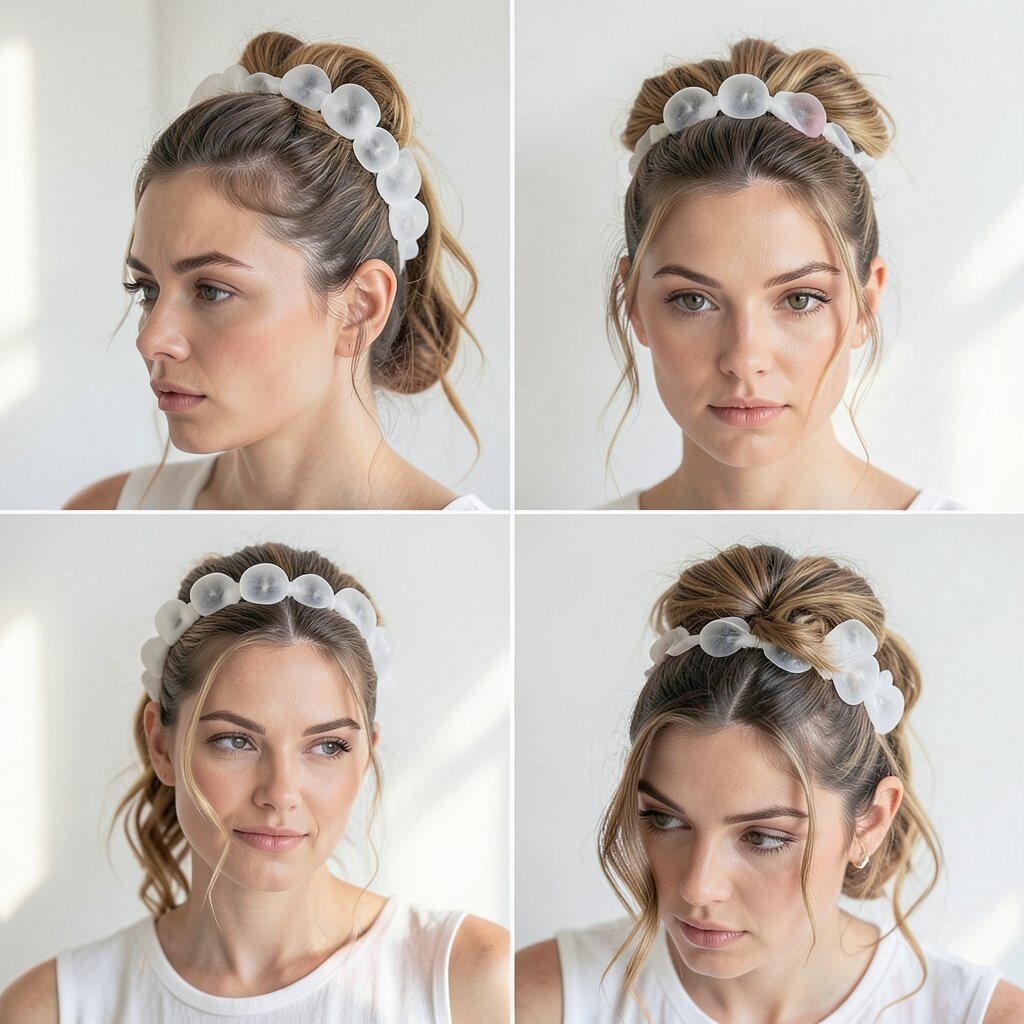
Section the top half and tie it into a pony at the crown, then add small elastic bands spaced down the length. The bubbles create a fun, rounded texture that pops in photos.
This style keeps volume where you want it most, especially if your hair tends to lay flat. Start with a medium hold product so the bubbles look smooth instead of frizzy. Use clear elastics if you want a neat finish, or choose colored elastics for a bold twist.
5. Half-Up Side Dutch Braid
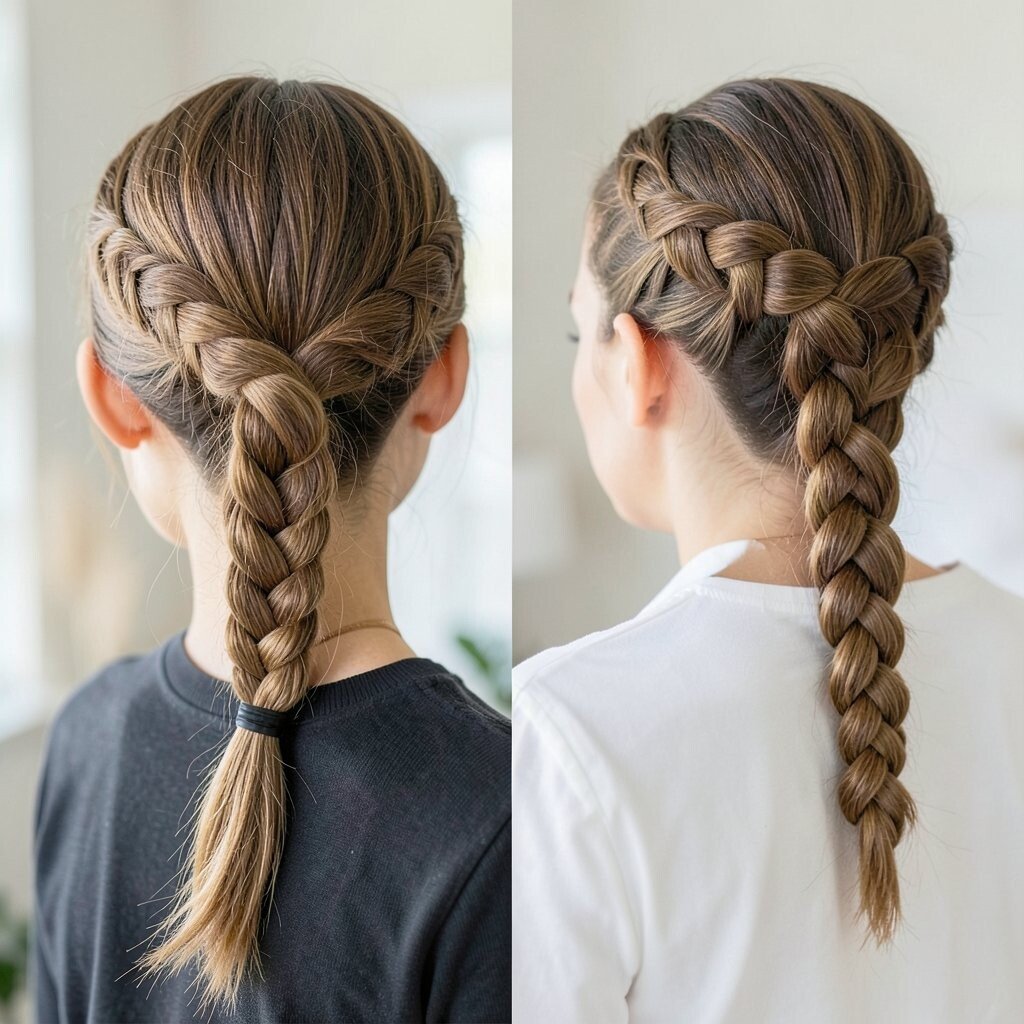
Begin a Dutch braid on one side near your temple, working toward the back while the rest of your hair stays loose. The “raised” braid gives a striking look, like a side sweep made braid-like.
You’ll love how it frames your face while still showing off your length. For a practical touch, pin the end of the braid with a bobby pin hidden under a few loose strands.
To personalize, try a deeper side part and braid with thinner sections for a delicate effect. If your hair is short, use hair extensions or braiding clips to add length to the braid base. This look also works well on humid days because the braid structure helps the style last.
6. Soft Curled Half-Up with Volume Roots
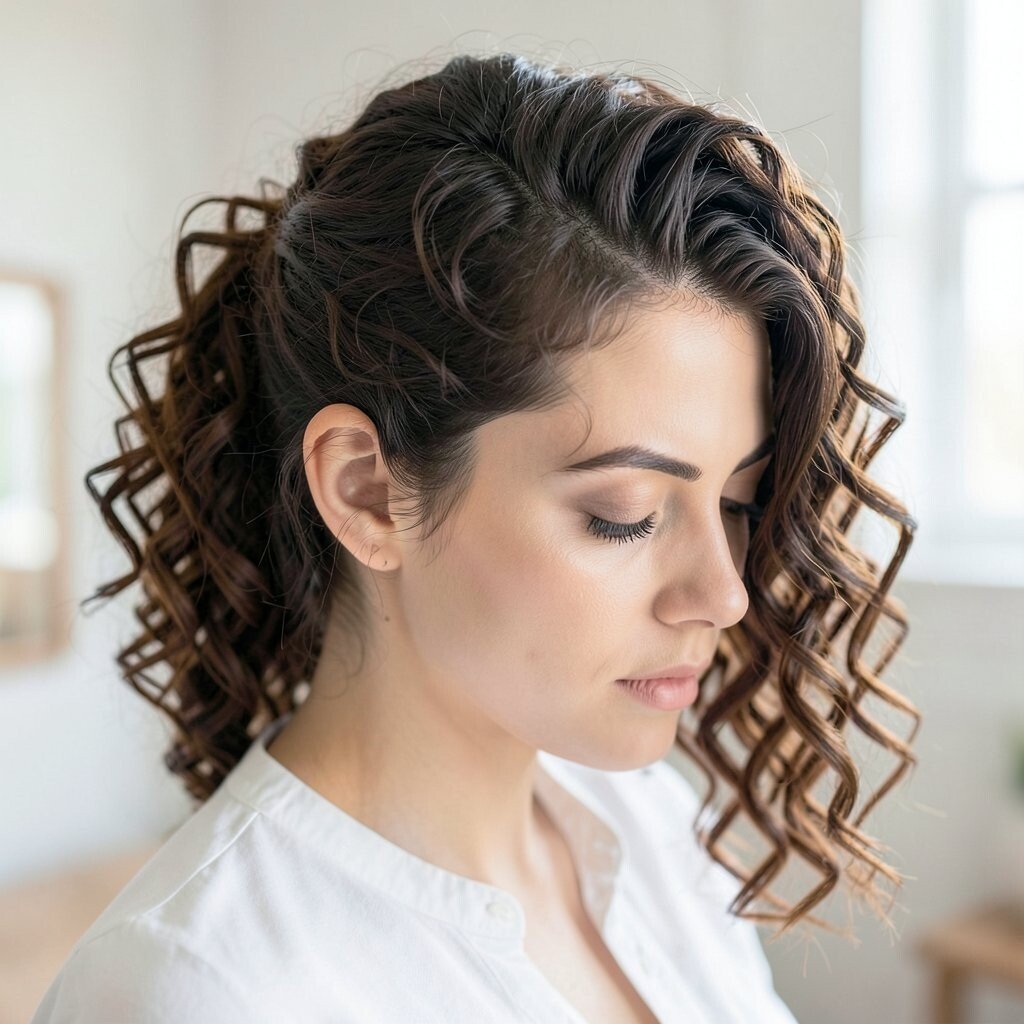
Create volume at the crown using gentle teasing or a root-lifting spray before styling. Then twist or pin just the top half so your curls start flowing right after the pin point.
The visual contrast is beautiful, with lifted roots meeting soft, bouncy lengths. It’s a great option for events because curls look glam while the half-up section keeps it elegant. Finish with a light mist so you get shine without crunchy hair.
7. Half-Up “Milkmaid” Braids
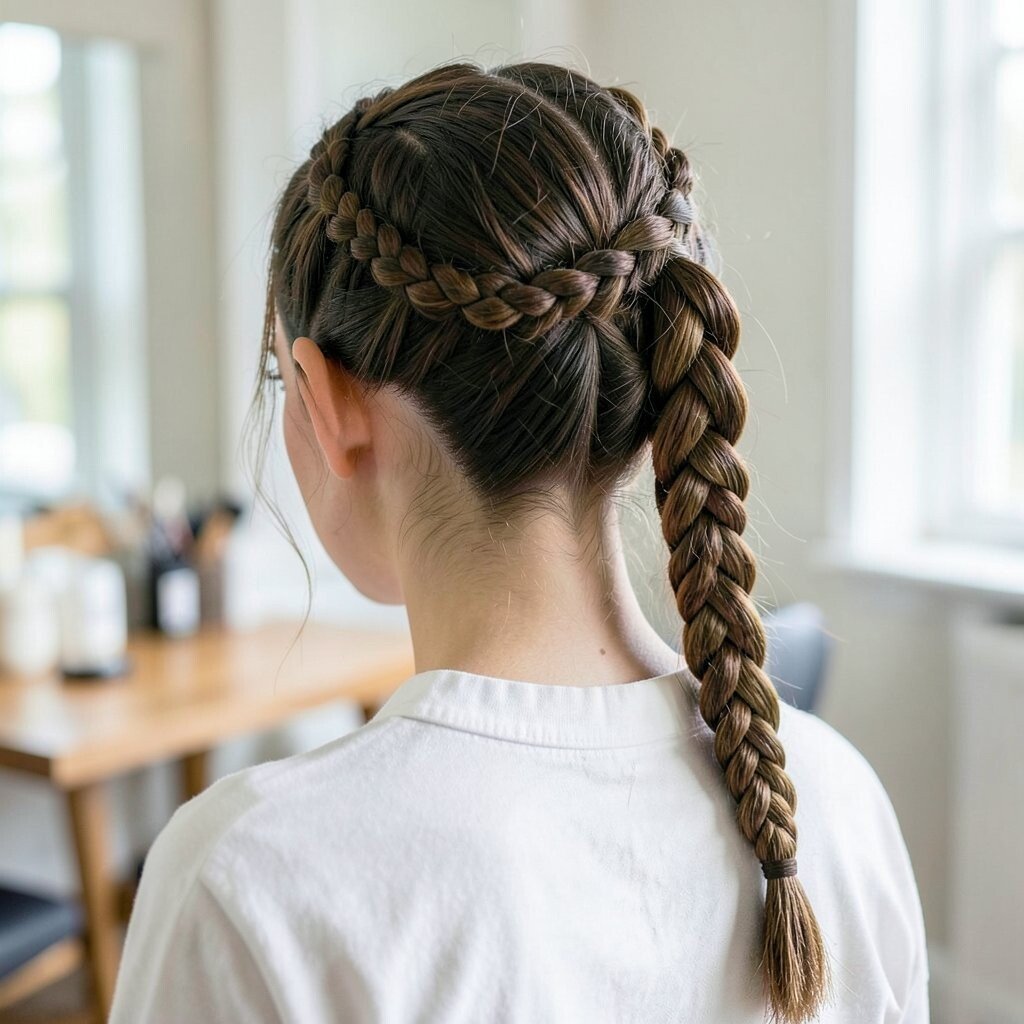
Two braids across the top, tucked to form a milkmaid shape, make your hairstyle look thoughtful and romantic. The braids sit like a headband, and your loose hair adds movement underneath.
This style is unique because it blends old-school charm with modern, lighter texture. Keep the braids slightly looser and let a few soft strands touch your cheeks for a less severe look. If your hair is very thick, start with a smoothing serum so the braid stays neat.
For cost considerations, you can use inexpensive elastics for the braid ends and invest in one good detangling brush. That one tool often changes the whole braiding experience.
8. Half-Up Waterfall Twist
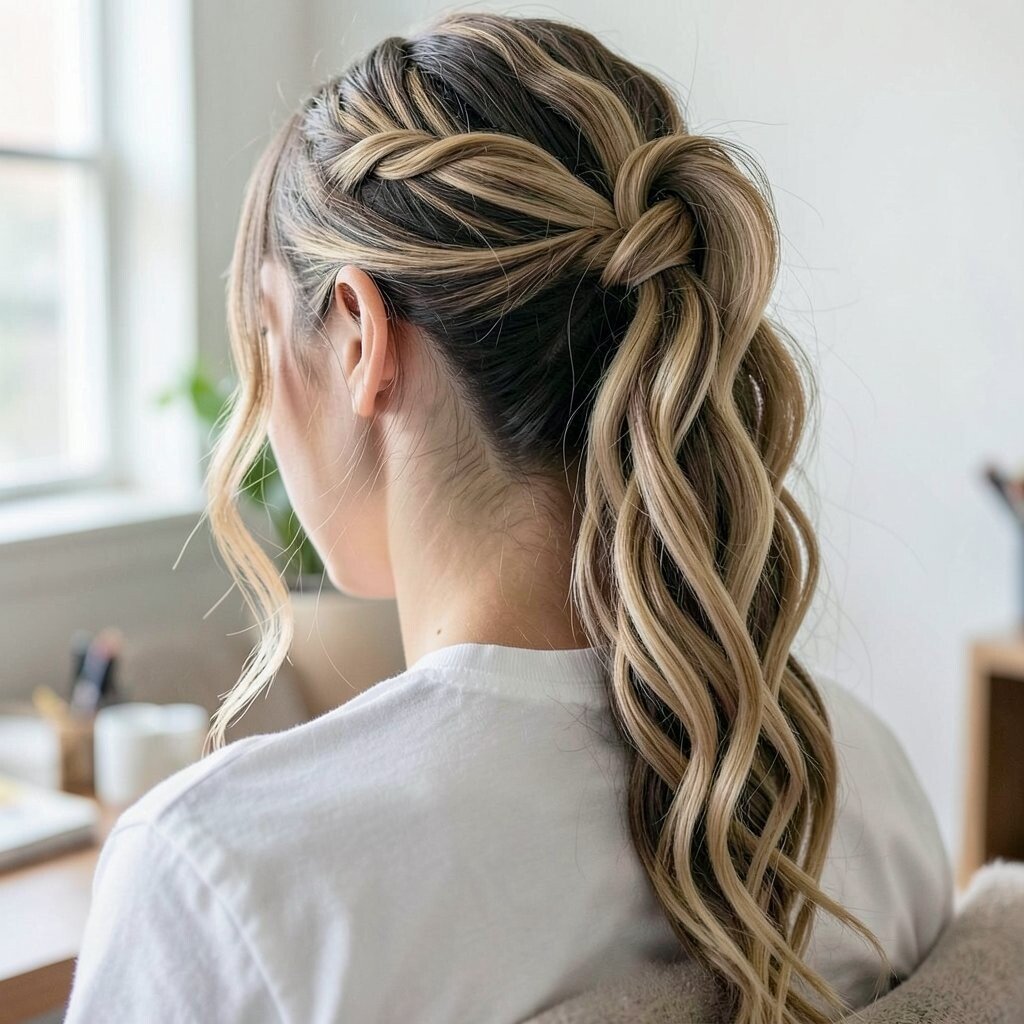
A waterfall twist starts with a twist at the top that “releases” strands as you move downward. The effect looks like flowing ribbons, while the half-up section still holds your hair back from your face.
You get a soft, dreamy visual that feels special but still practical for daily wear. To personalize, vary the width of the released strands so it matches your hair thickness. If your hair is wavy, enhance the pattern with a curl cream so the waterfall looks intentional.
9. Messy Half-Up with Crown Pins
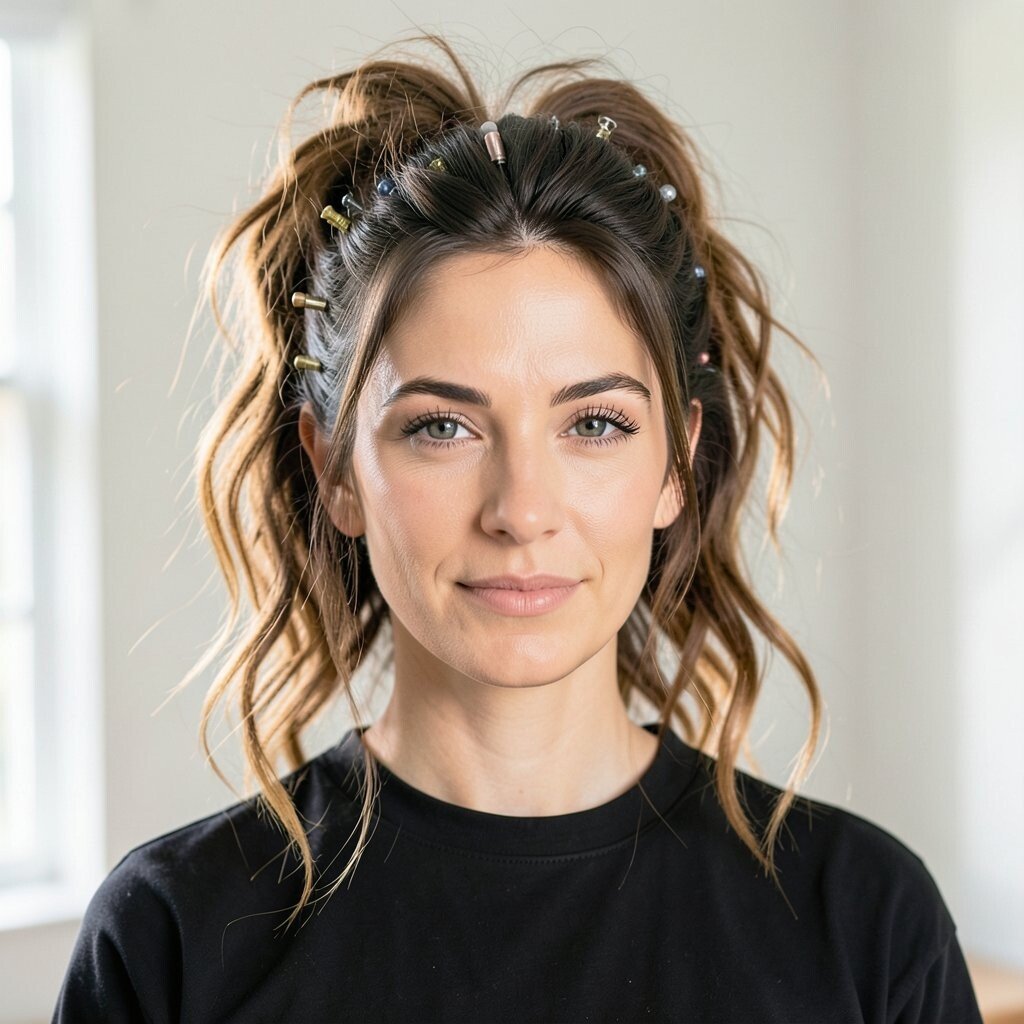
Pin the top half loosely with a few bobby pins, leaving texture and movement in the loose hair. The style looks effortlessly undone, with the top creating structure while the lengths stay playful.
This look is a lifesaver for second-day hair because it makes your style look like you planned it. Use a texturizing spray at the roots, then gather lightly so you don’t flatten your crown. For personalization, add a tiny hair accessory like a small pearl pin or a metallic clip.
10. Half-Up Scarf Wrap Headband
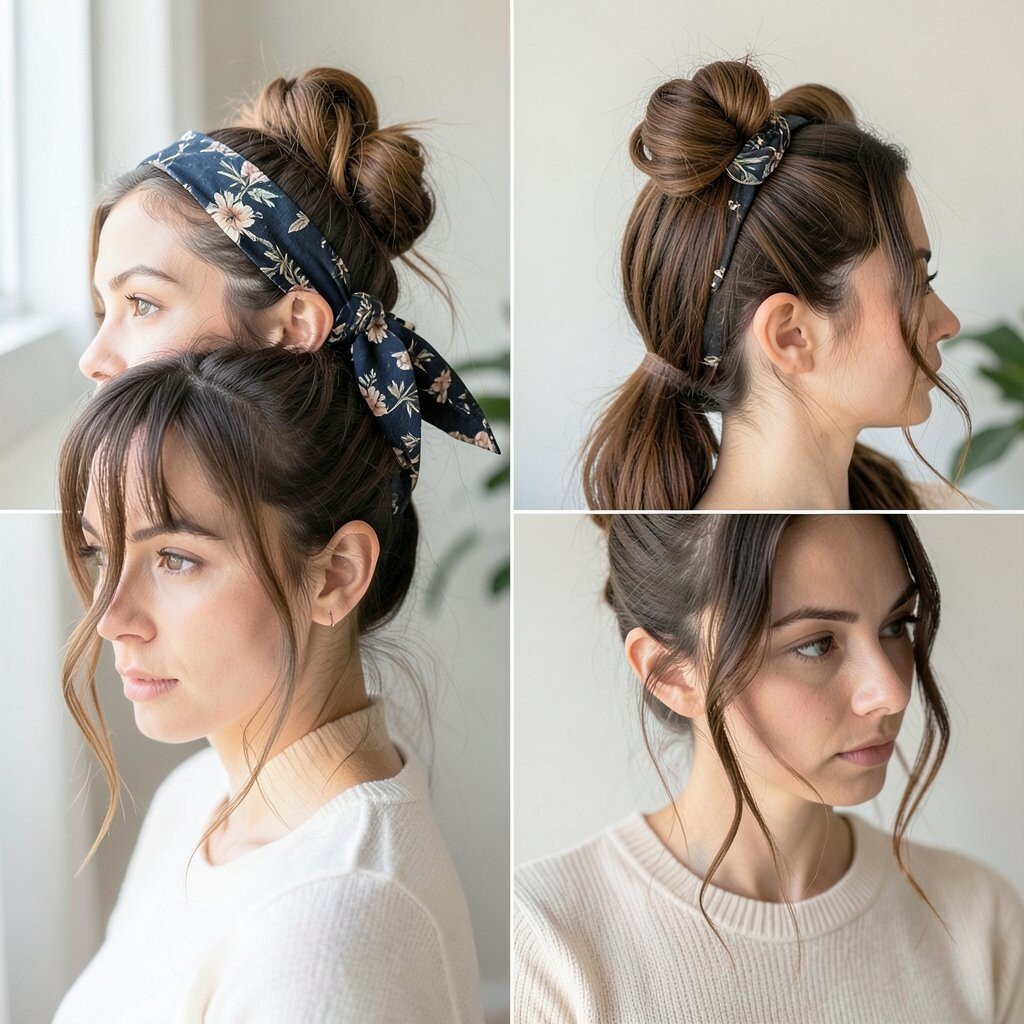
Gather the top half and secure it, then tie a scarf around the base like a headband. The scarf adds color instantly, and it creates a clean line that looks great in any lighting.
This style helps hair stay out of your eyes, which is a big benefit for hot days. Choose a scarf with a pattern that matches your outfit so your look feels coordinated. If you want a modern twist, fold the scarf thinner so it looks sleek rather than bulky.
Cost is also friendly here, since one quality scarf can be used in multiple styles. For extra hold, tie the scarf over a hair tie so it won’t shift.
11. Half-Up Fishtail Crown
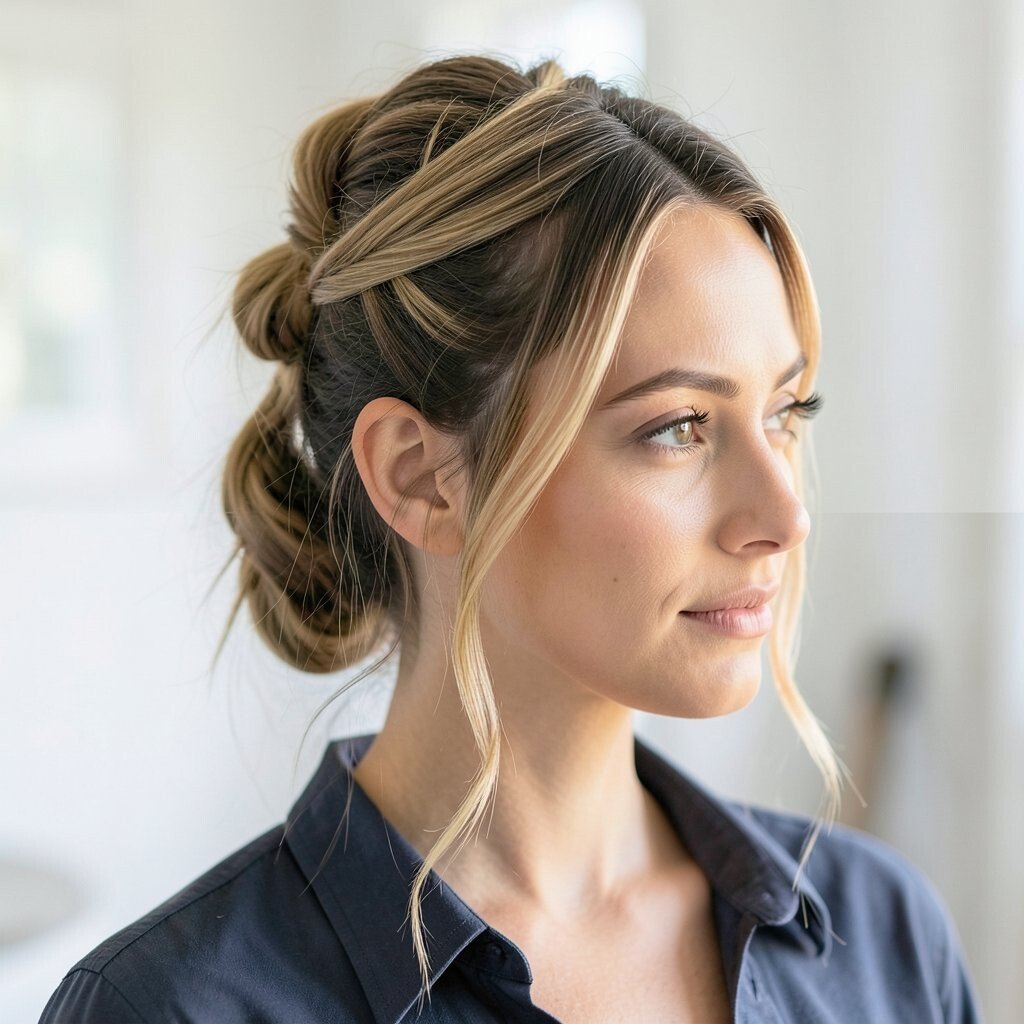
A fishtail crown half-up starts with a fishtail braid across the top, then lets the rest of your hair drape. The braid pattern looks detailed, so even a simple outfit can feel elevated.
You’ll love how it looks intricate without needing a super complicated technique. Start with slightly dry hair for better control, and use a small amount of styling gel to tame stray hairs. For personalization, keep the braid centered for a classic feel or tilt it for a modern asymmetrical look.
12. Half-Up Topknot Twist
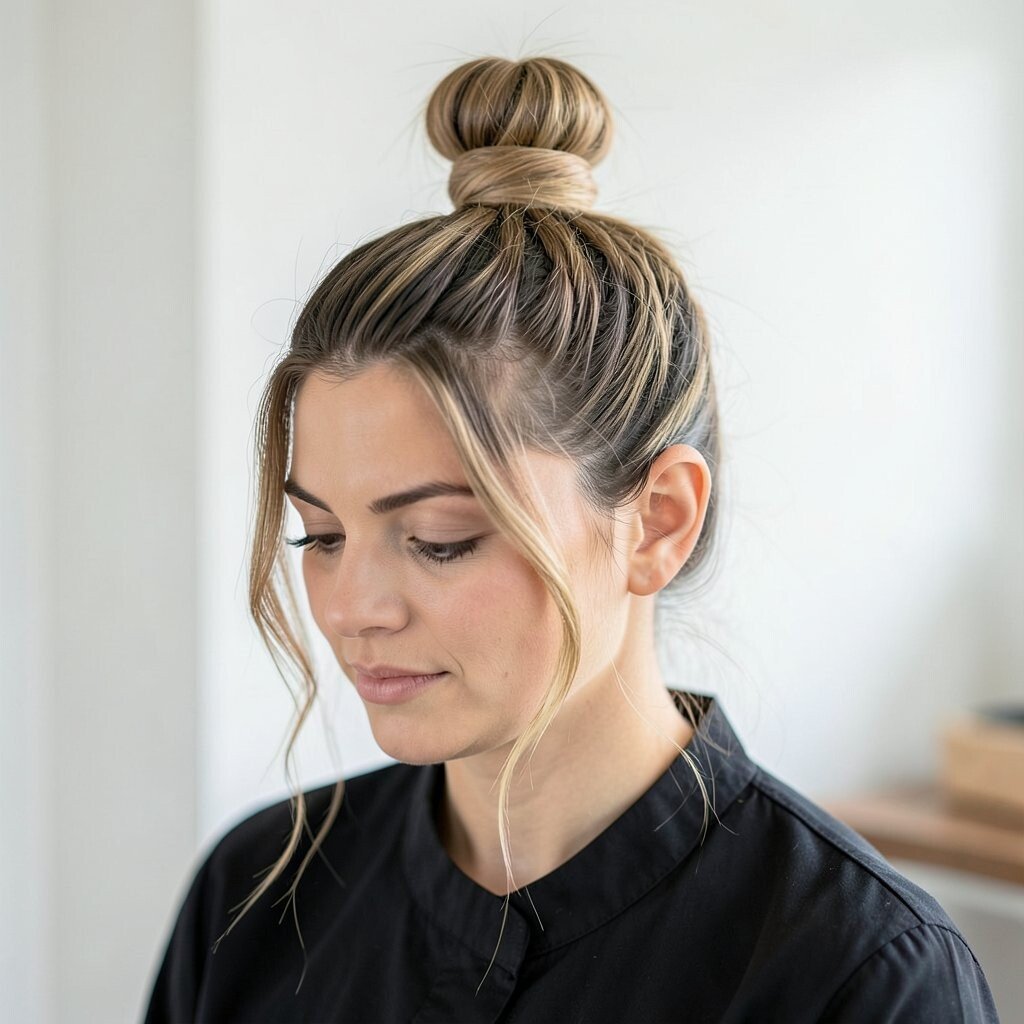
Twist the upper half and coil it into a small topknot at the back or crown. The topknot gives a mini-lift that makes your hair look thicker and more styled.
This is especially helpful for long hair that needs off-face ease while still showing length. To make it practical, secure with a strong elastic, then wrap strands around it and pin tightly. Add shine serum to the topknot so it looks smooth, not dry.
13. Half-Up French Roll Pin
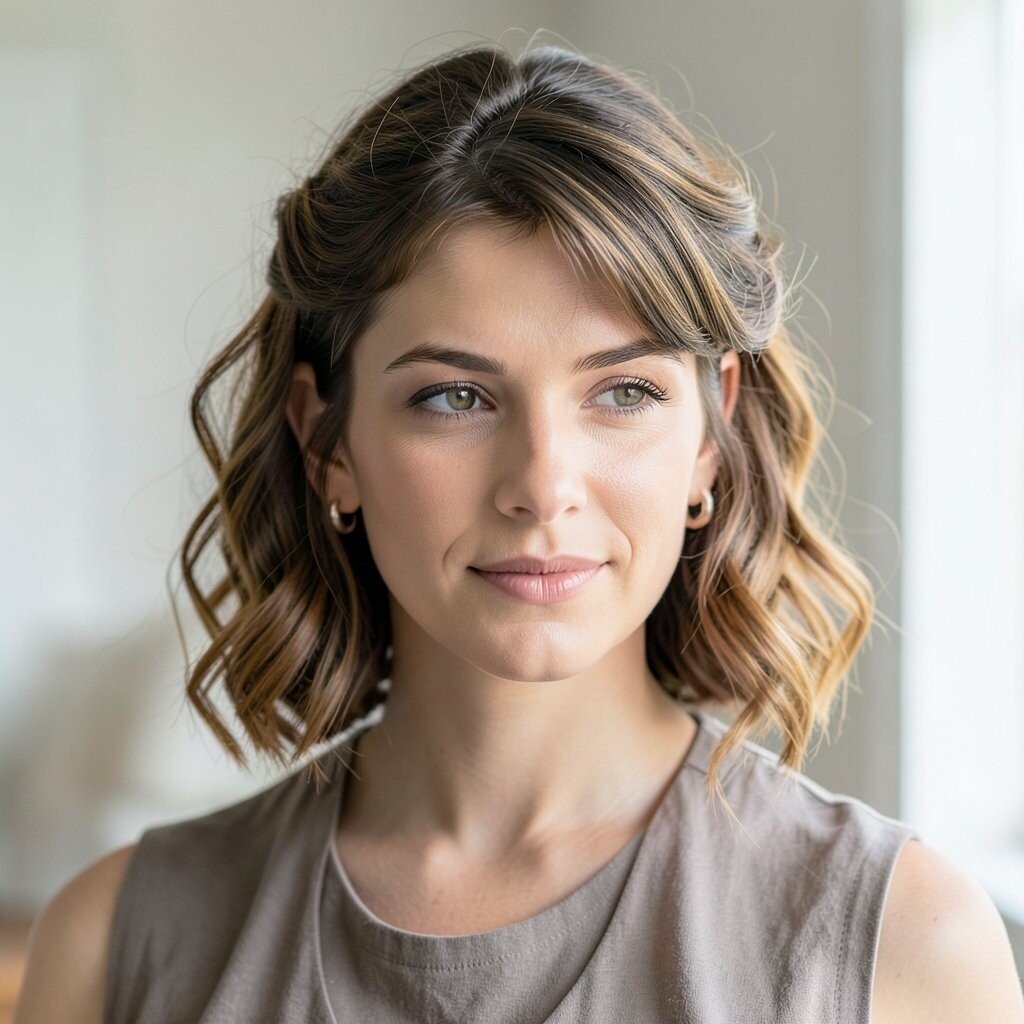
Create a soft French roll using the top section, then pin it flat near the back of your head. The rest of the hair stays down, giving a polished look that feels classy and tidy.
The benefit here is neatness, especially if you have bangs or face-framing layers. Use bobby pins in a cross pattern for better grip, and spray lightly so it holds. For personalization, choose a more relaxed roll for a modern feel, or keep it tighter for a formal vibe.
14. Half-Up Ladder Braid
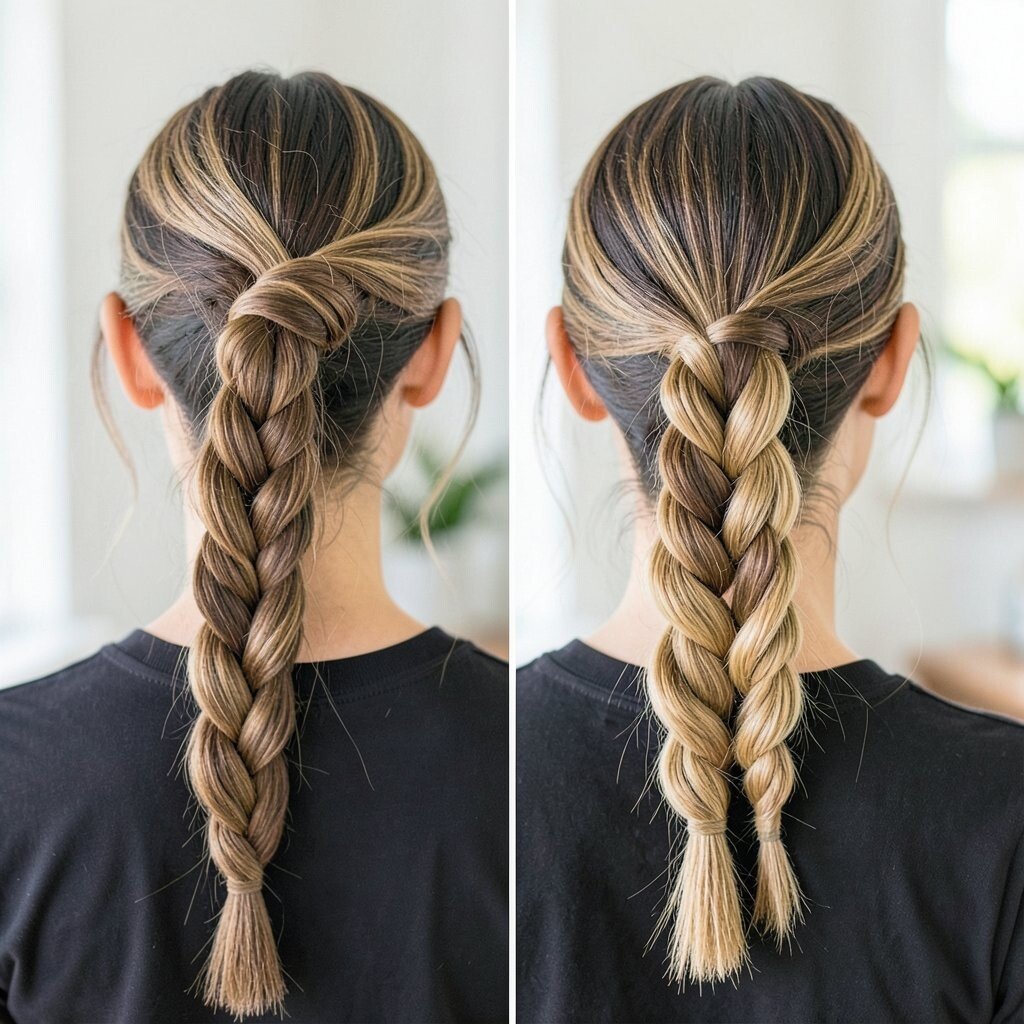
A ladder braid half-up uses small sections that move step-by-step across the top. It creates a “ladder” pattern that looks clever in motion and stands out from typical braids.
You get a unique texture that still works for school, work, or a date night. For practical tips, keep your tension consistent so the rungs look even. If you want a softer look, gently tug the edges after braiding to add dimension.
Personalize by adding a thin braid ribbon or choosing elastics that match your hair color. Keeping a few small elastics in your bag makes touch-ups easy on busy days.
15. Half-Up Braided Bangs Feeler
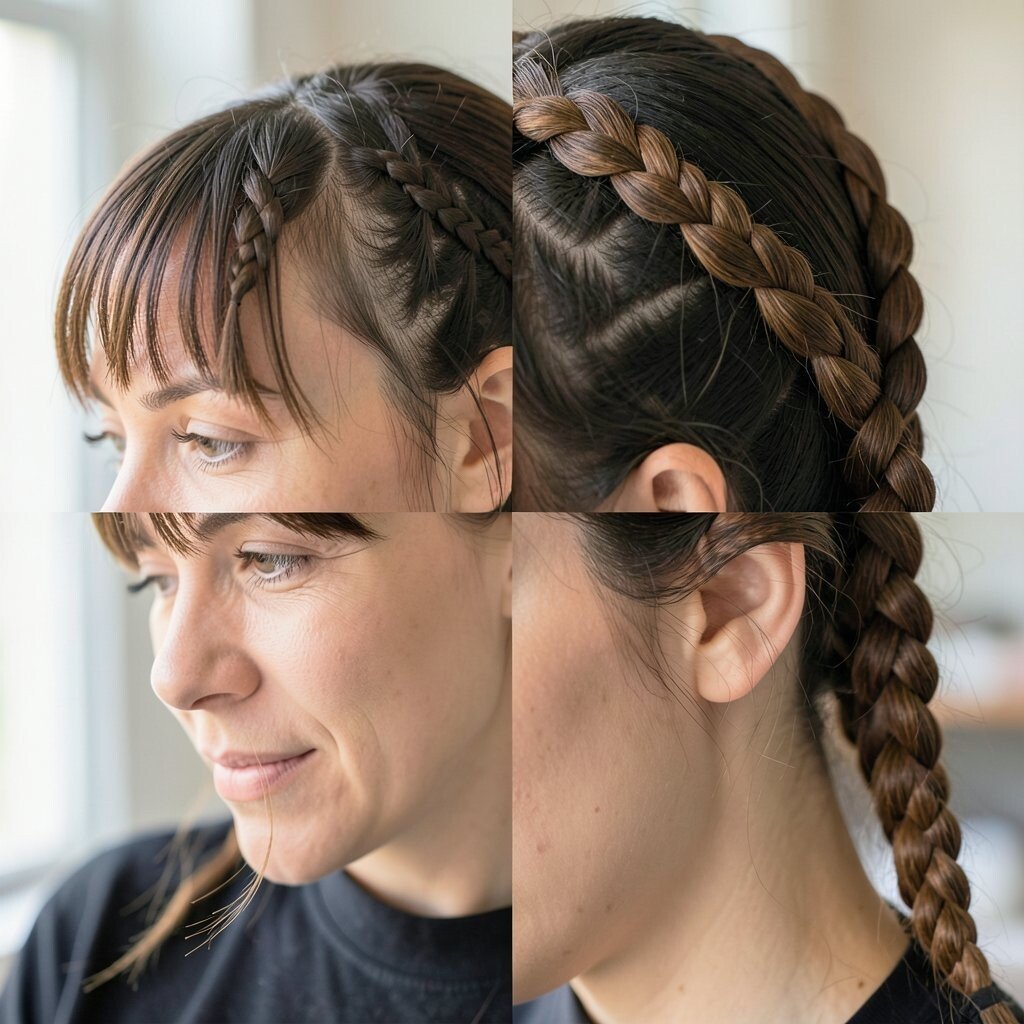
If you like bangs, braid a small section right near your fringe and pin it back with the upper hair. The braid acts like a tidy frame, making your face look extra open.
This look is beneficial because it keeps bangs from sticking to your forehead while still showing your hair texture. Use a light styling cream so the braid looks smooth, not stiff. For personalization, braid into a tiny fishtail or keep it as a simple three-strand section for a softer look.
16. Half-Up Halo with Wet Look Gel
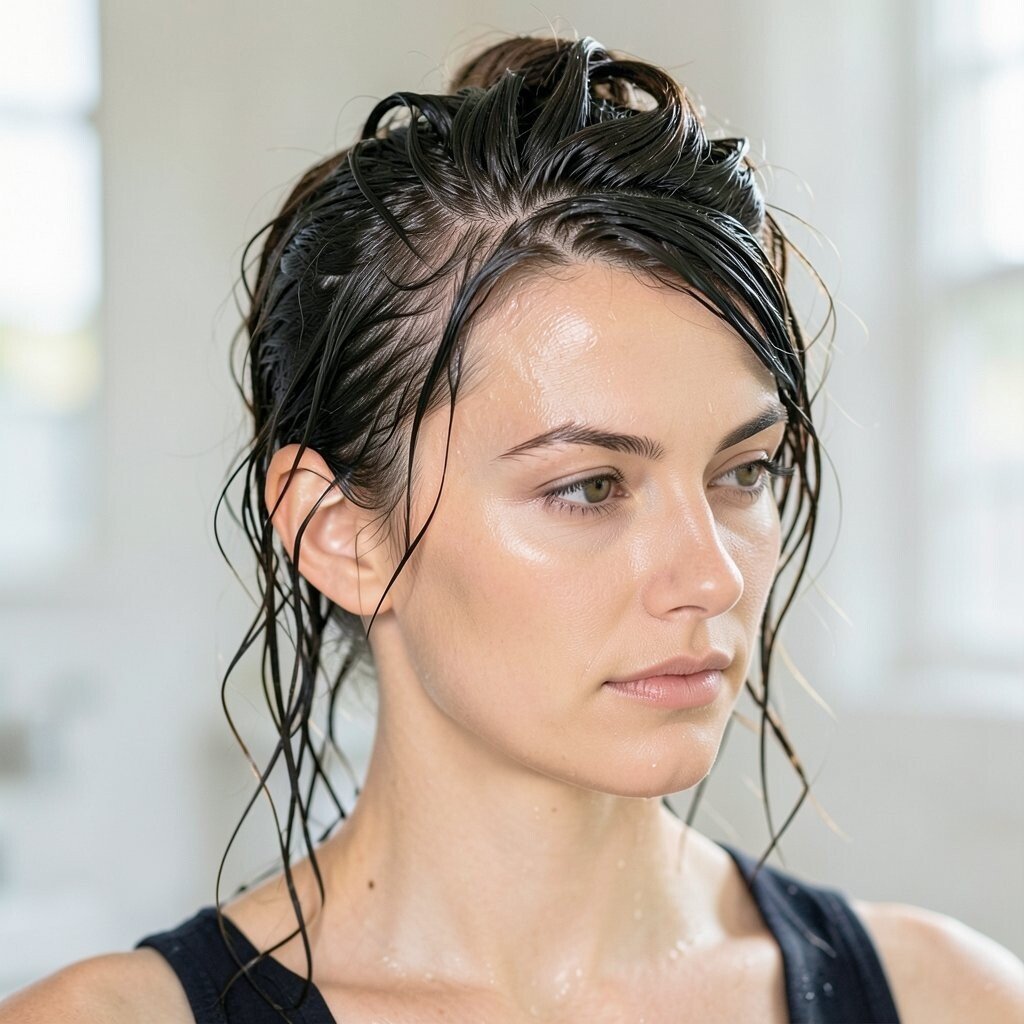
Style the top half with gel for a wet-look shine, then secure it with a clip or elastic while leaving the lengths softer. The shiny top contrasts with natural movement in the bottom half.
This is trending because it looks sleek and photo-ready, even when your hair isn’t perfect. To keep it wearable, smooth only the top and let the rest air-dry or curl gently for softness. If your hair tends to get heavy, use a pea-sized amount of gel and dilute with a little water.
Cost considerations are simple here since you need one good gel and a reliable clip. A high-hold gel can replace multiple products, which saves money over time.
17. Half-Up Floral Crown Pins
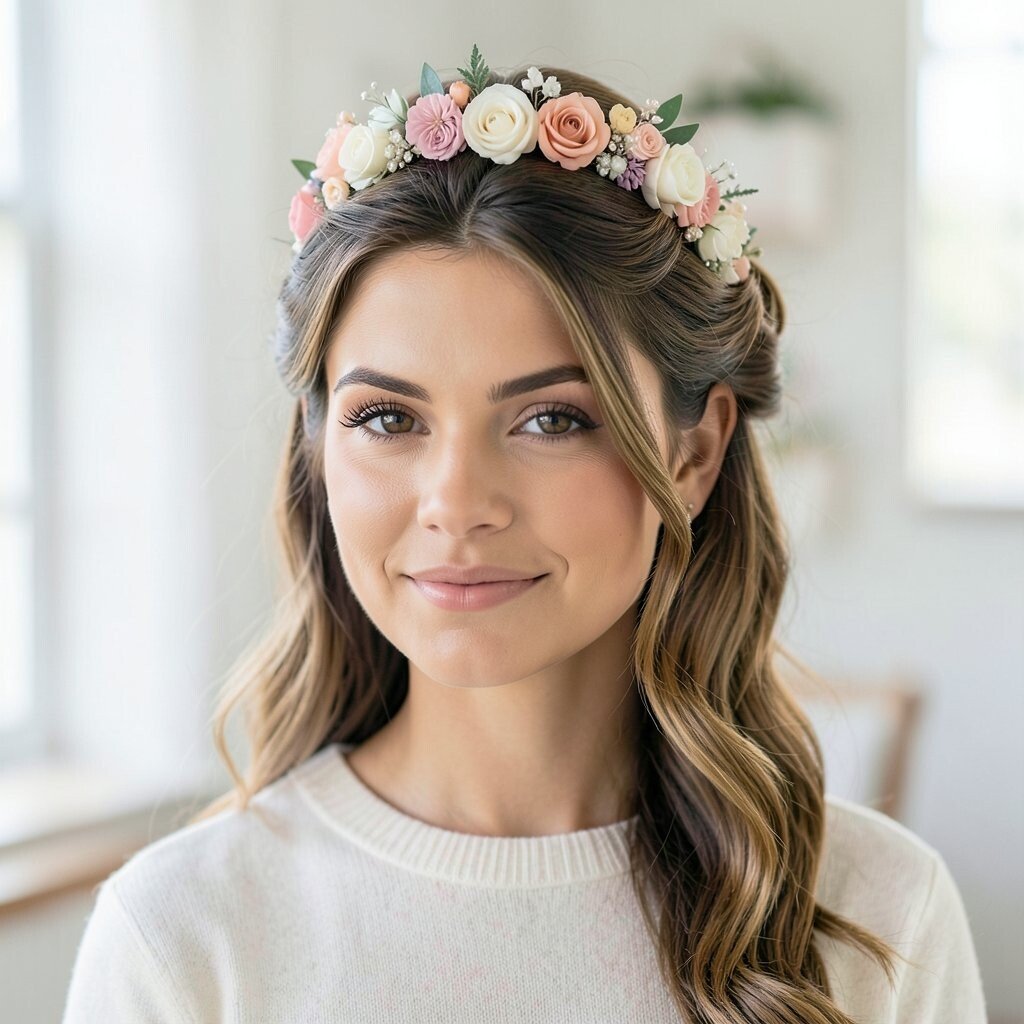
Secure the top half with bobby pins, then tuck in small floral pins or delicate hair charms. The visual effect is romantic, like a tiny garden growing right at your crown.
This style benefits special occasions and also makes regular days feel festive. Choose pins that match your color palette so they look intentional, not random. For personalization, place the flowers slightly off-center for a more modern, asymmetrical vibe.
18. Half-Up Accordion Pleat Section
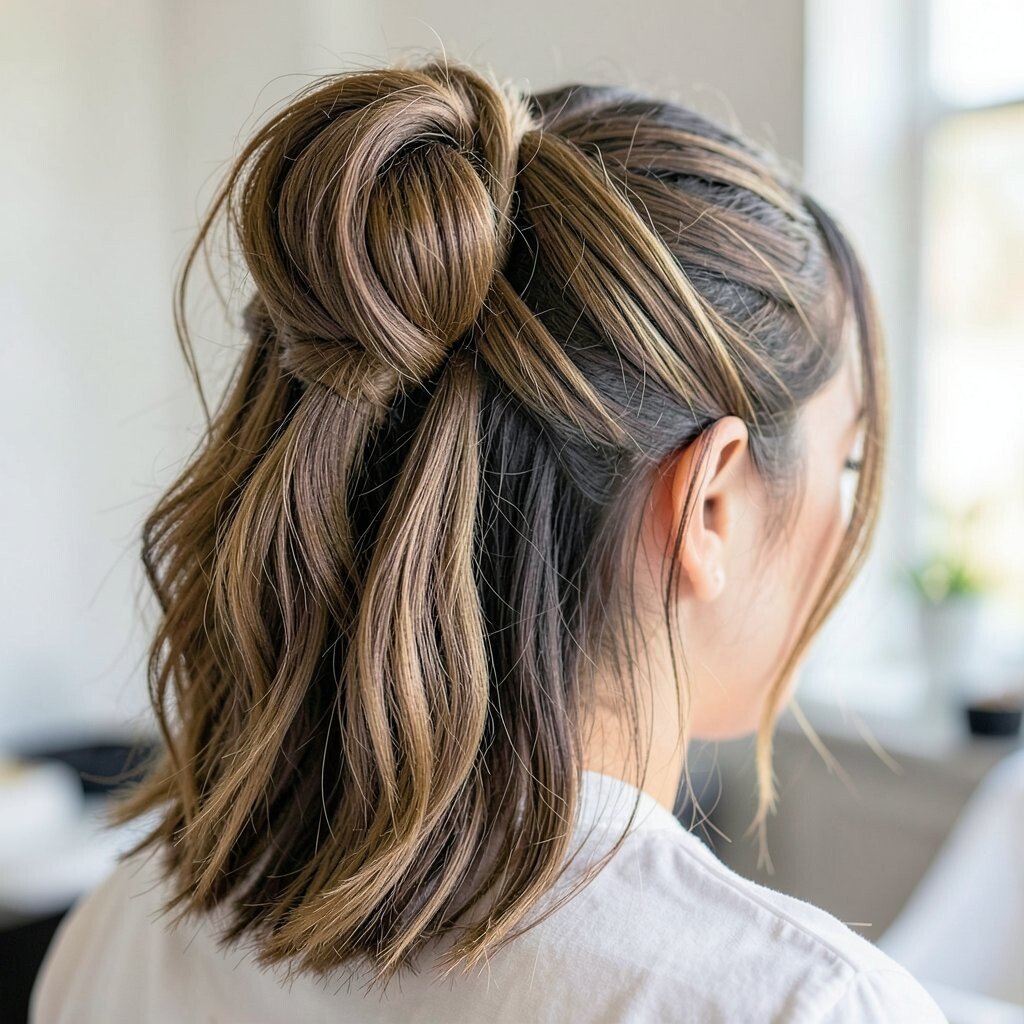
Take the top half and create an accordion-like pleat by pinching small segments and holding them while you set. Then release gently so you get wavy folds stacked near the crown.
The visual is bold and creative, giving your hair a sculpted look even with minimal length changes. Use a heatless method first, like pinning pleats for a short set, if you want less damage. If you do use heat, protect your hair with a heat protectant spray before shaping.
19. Half-Up Pinned Ponytail with Face-Framing Clips
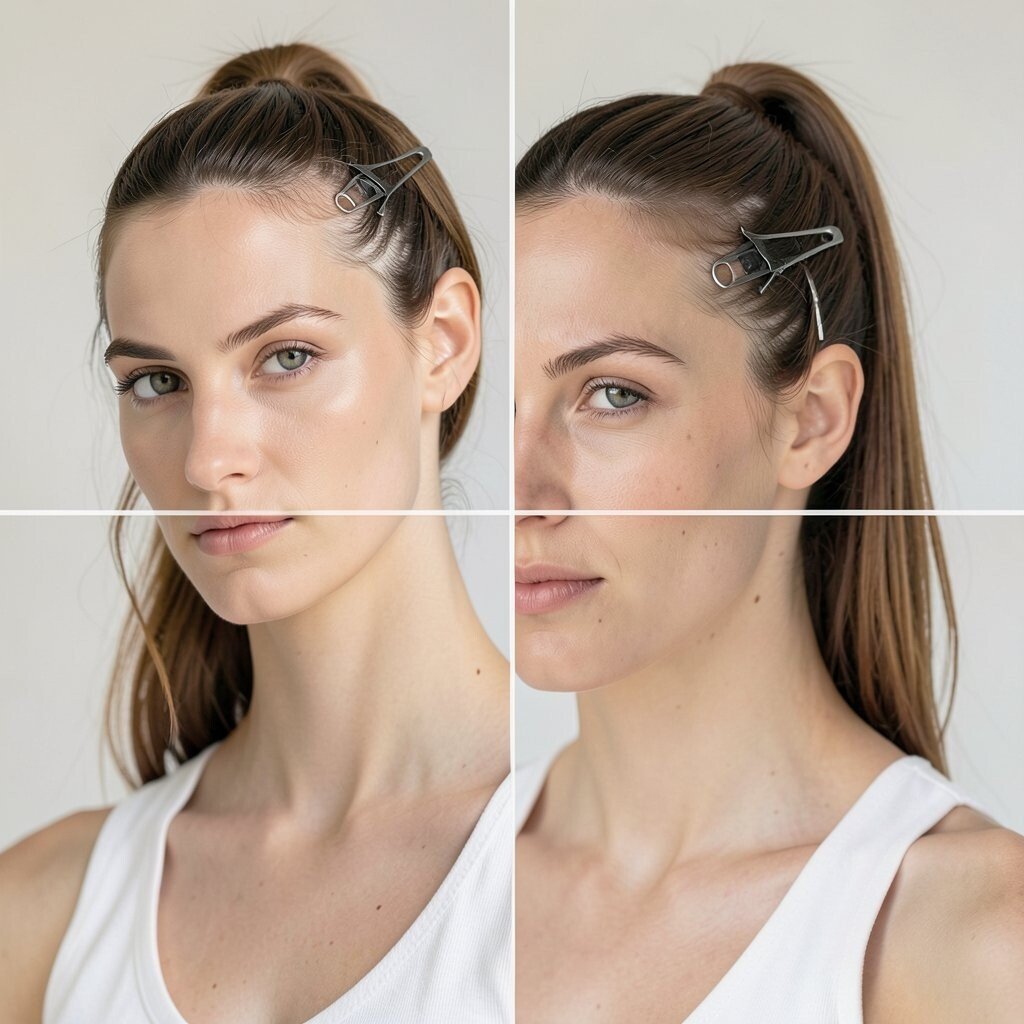
Make a half pony at the crown, then clip a few strands around your face so they fall naturally. The ponytail gives structure, and the clips add a curated touch that frames your features.
This is practical because it keeps hair off your neck while still looking stylish. For personalization, wrap a thin strand around the hair tie to hide it and use a matching clip near your cheek. If your ponytail looks flat, gently lift the top section before securing and tease just a little.
20. Half-Up Side Loop with Twist Tuck
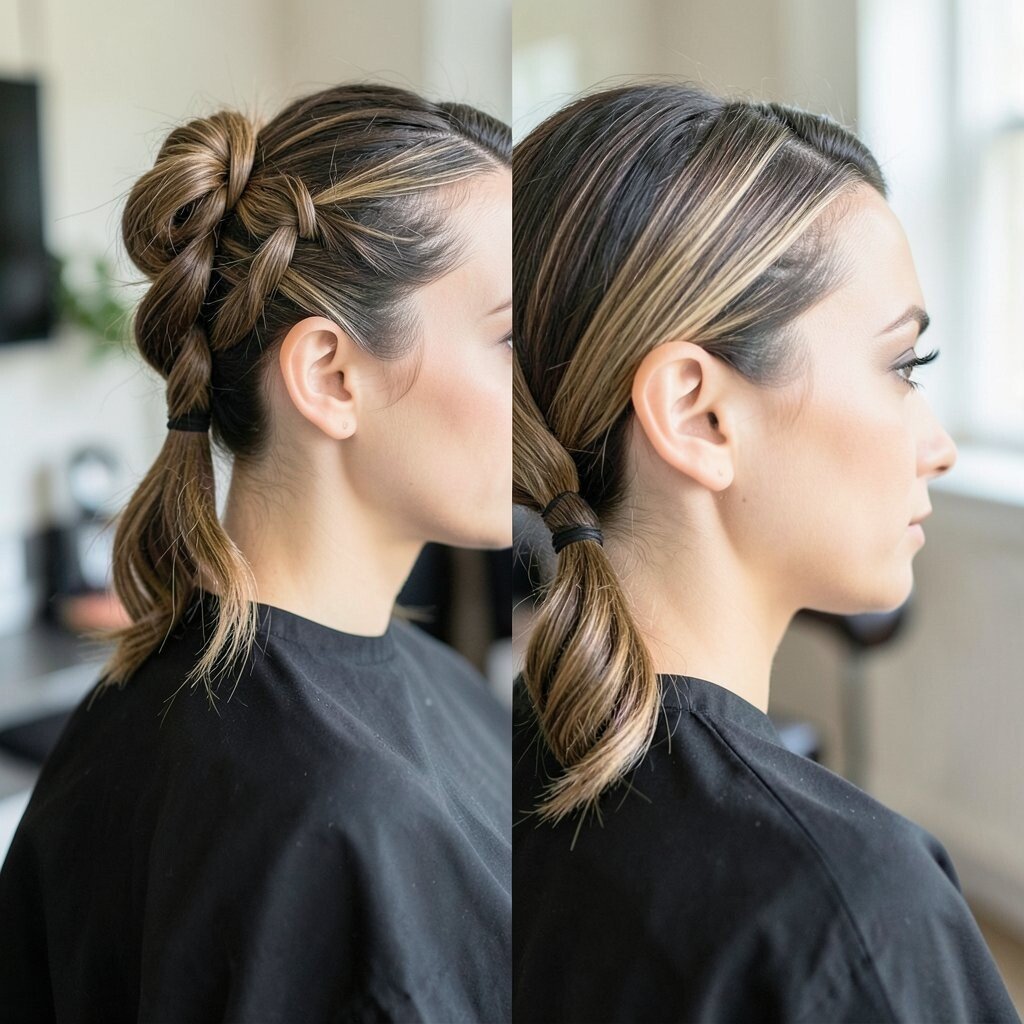
Gather the upper half to one side and twist it into a loop, then tuck the ends under for a hidden hold. The loop creates a soft, elegant shape that feels like a side accessory.
You get a unique silhouette that works for both casual and dressed-up looks. For practical tips, use a small elastic to create the loop shape first, then add pins where the tuck sits. Personalize by adding a sparkly pin or choosing a neutral clip for a clean finish.
If your hair is straight and slips, add a dry texture spray to the top before looping. That small step helps the style stay put longer.
21. Half-Up Curtain Braid with Middle Part
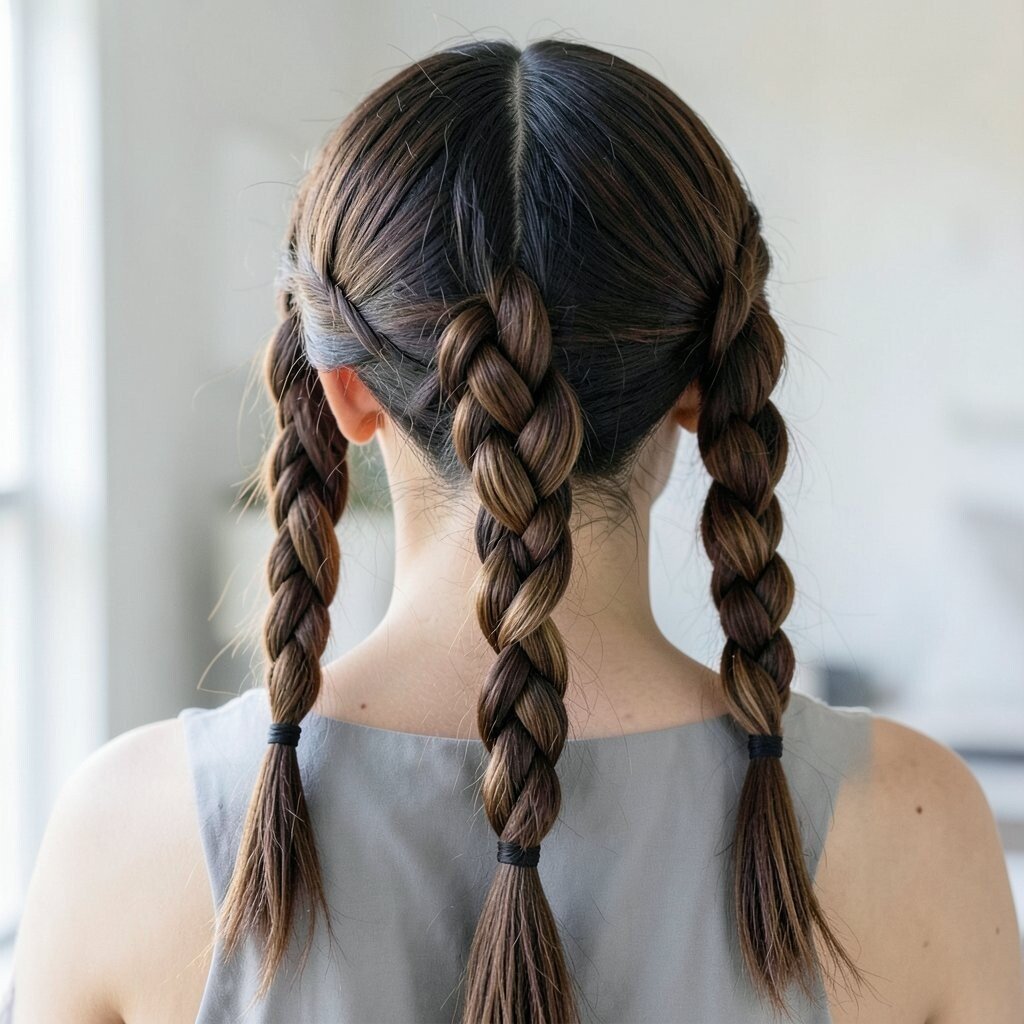
With a middle part, braid two short sections near the temples and connect them behind your head. The curtain braid framing makes your hair look balanced on both sides.
This style benefits anyone who wants an easy, everyday look with a polished finish. To personalize, keep the braids shallow for a soft vibe or braid a bit deeper if you want more contrast. If your hair is fine, use a volumizing mousse at the roots so the curtain effect looks full.
22. Half-Up Sleek Wrap with Low Pins
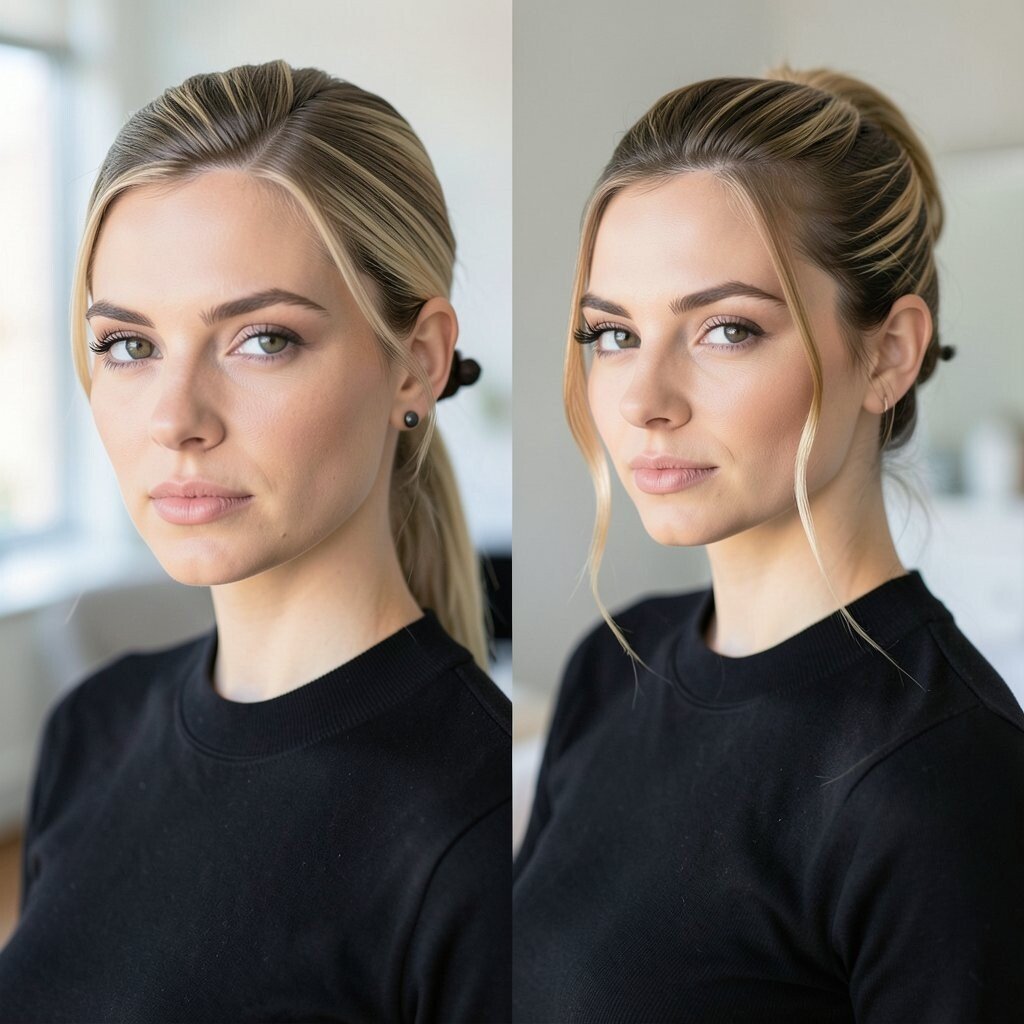
Smooth the top half with a light serum, then wrap it back and secure with pins low on the back of your head. The sleek wrap creates a clean line, and the loose lengths add contrast.
This one feels modern and tidy, perfect for workdays or events where you want a sharper look. For personalization, leave a few face-framing strands out so it doesn’t look too strict. If you have coarse hair, use a softening cream before smoothing so the wrap stays elegant without puffiness.
Cost-wise, you can keep it simple by using one good smoothing product and reliable bobby pins. When the pins grip well, you won’t need extra tools, and the style lasts longer.