Hair knots have a magic way of looking both fancy and effortless. Once you learn a few styles, you’ll start spotting knot potential everywhere you go.
The best part is how many personalities knots can match, from neat and polished to soft and playful. With the right technique, you can make your hair look styled even on busy days.
1. The Classic Ballet Bun Knot
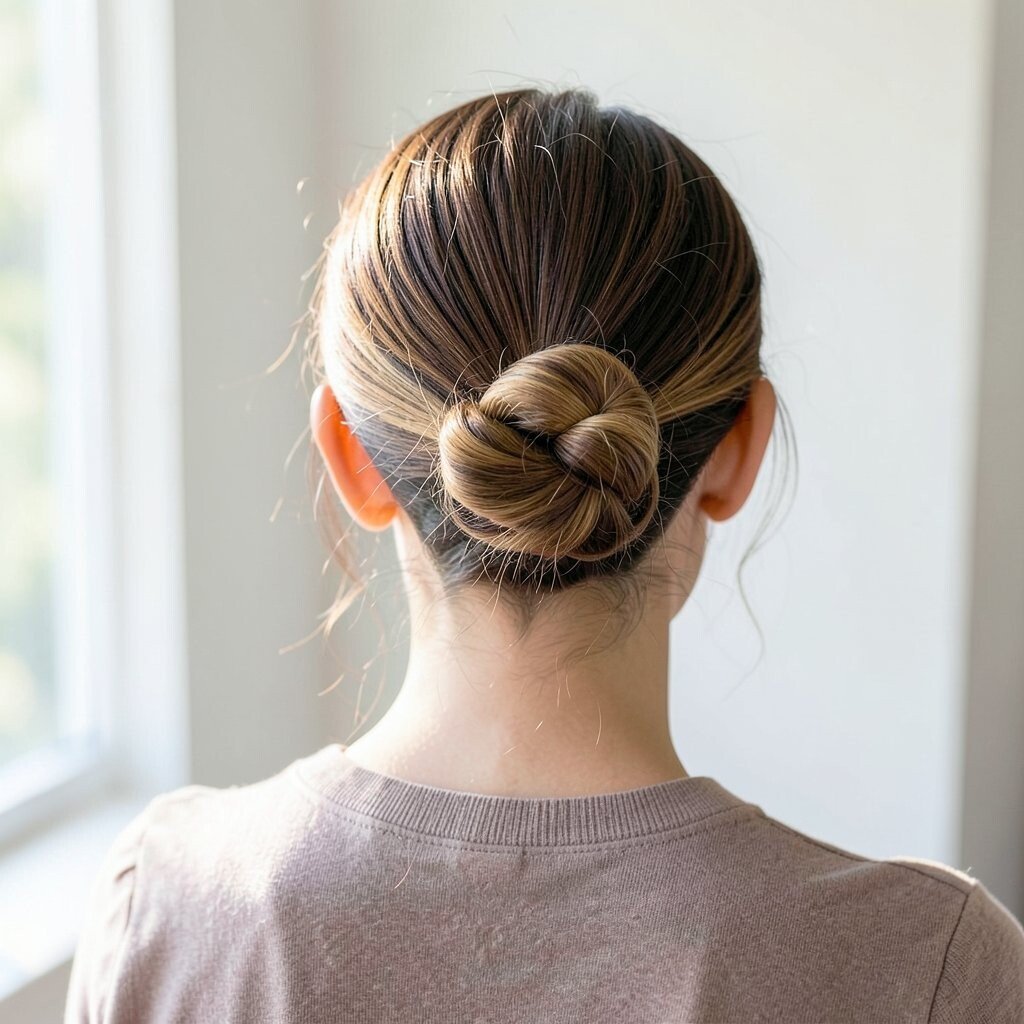
Imagine a smooth bun sitting high, with a knot that feels tight but not stiff. It looks like you stepped out of a studio right after rehearsal.
To get it, gather your hair into a ponytail and twist it into a bun shape, then wrap the tail around the base. Secure with pins and a strong elastic, then tug lightly at the knot to create a gentle rounded look.
2. The Messy Textured Knot Pony
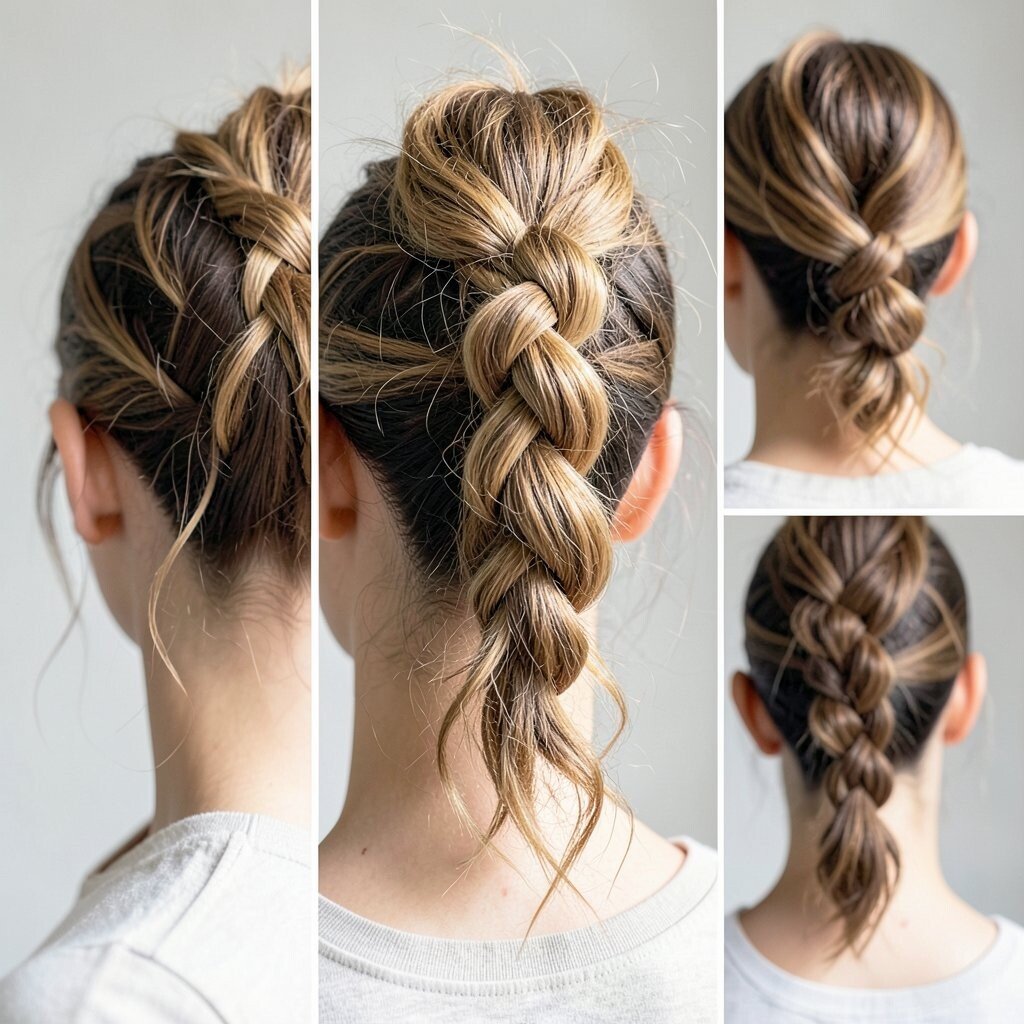
A high pony that meets a knot midair can look cool and casual. You’ll see loose strands catching the light while the knot adds structure.
This style works especially well when your hair has some natural grip from light styling products. Tie a ponytail, twist the length loosely, then wrap it into a knot and secure without over-polishing.
If you want it to feel current, keep the knot slightly off-center and let a few face-framing pieces stay soft. Finish with a light mist so the knot holds through the day without turning crunchy.
3. Two-Sided Mini Knot Crown
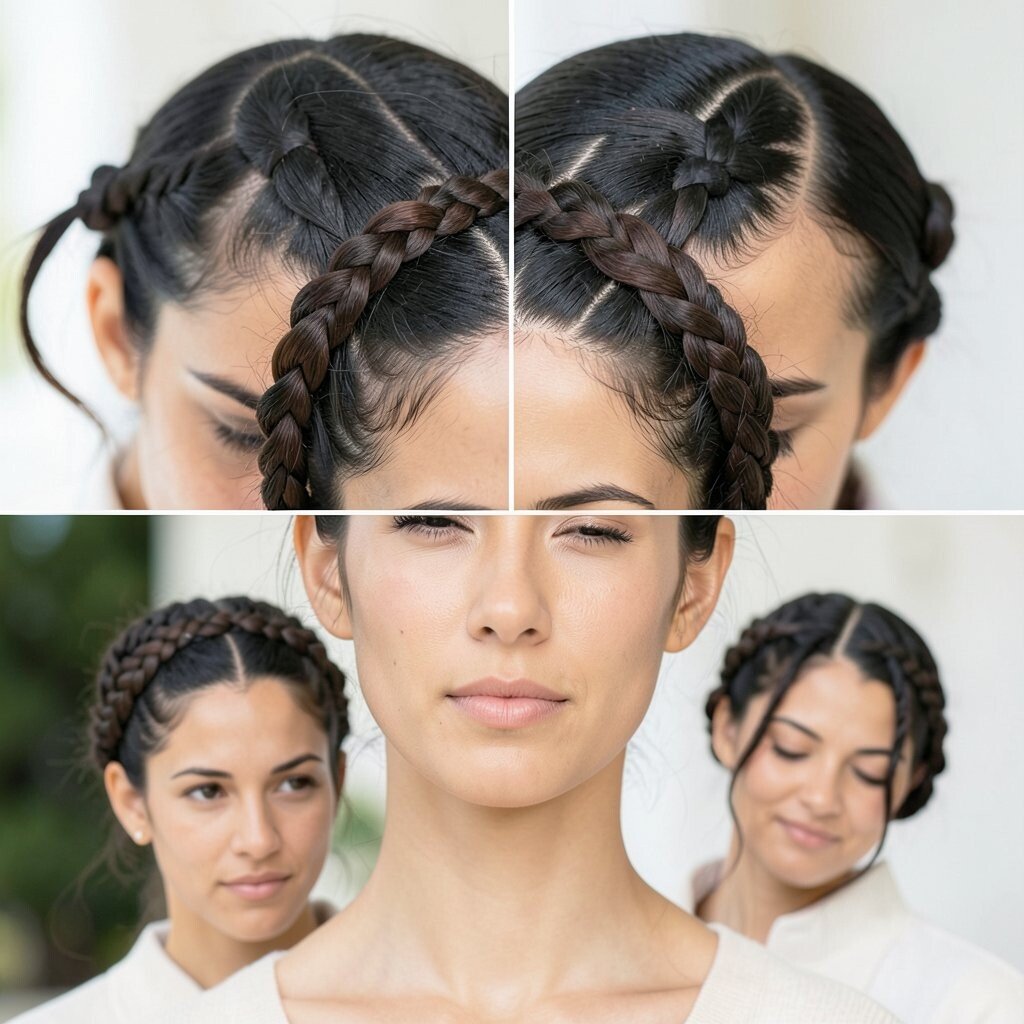
Picture small knots on both sides that flow into a gentle crown. Your hair will look framed like a wreath, but still wearable for everyday plans.
Start by parting your hair and sectioning small front chunks on each side. Twist each chunk into a small knot, secure near the top, then connect them with pins as needed to feel balanced.
For extra personality, vary the knot size slightly, so one side looks a touch more playful. If your hair is thin, add volume at the roots first, and choose slender pins that won’t slide.
To keep it practical, aim for secure placement where you can feel the pins through your hair. A quick touch-up with a smoothing cream along the flyaways will keep it neat.
4. The Low Knot with Wrapped Ends
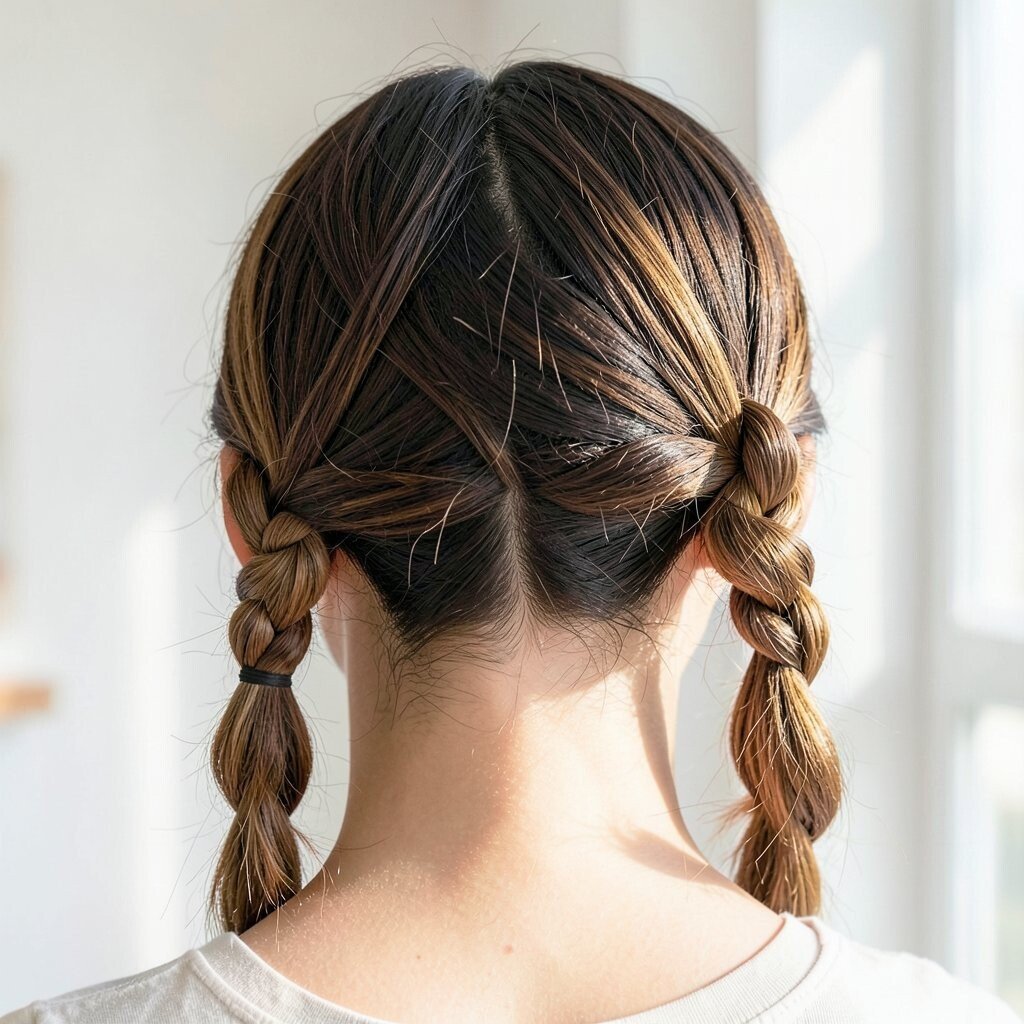
A low knot looks calm and elegant, like a tidy secret under your collar. The wrapped ends add a subtle detail that makes it feel more special than a basic bun.
Gather your hair into a low ponytail, twist it into a knot, and tuck the ends through for a wrapped effect. Use one or two pins at the base and keep the knot snug so it stays put.
5. The Side Knot Twist for Long Hair
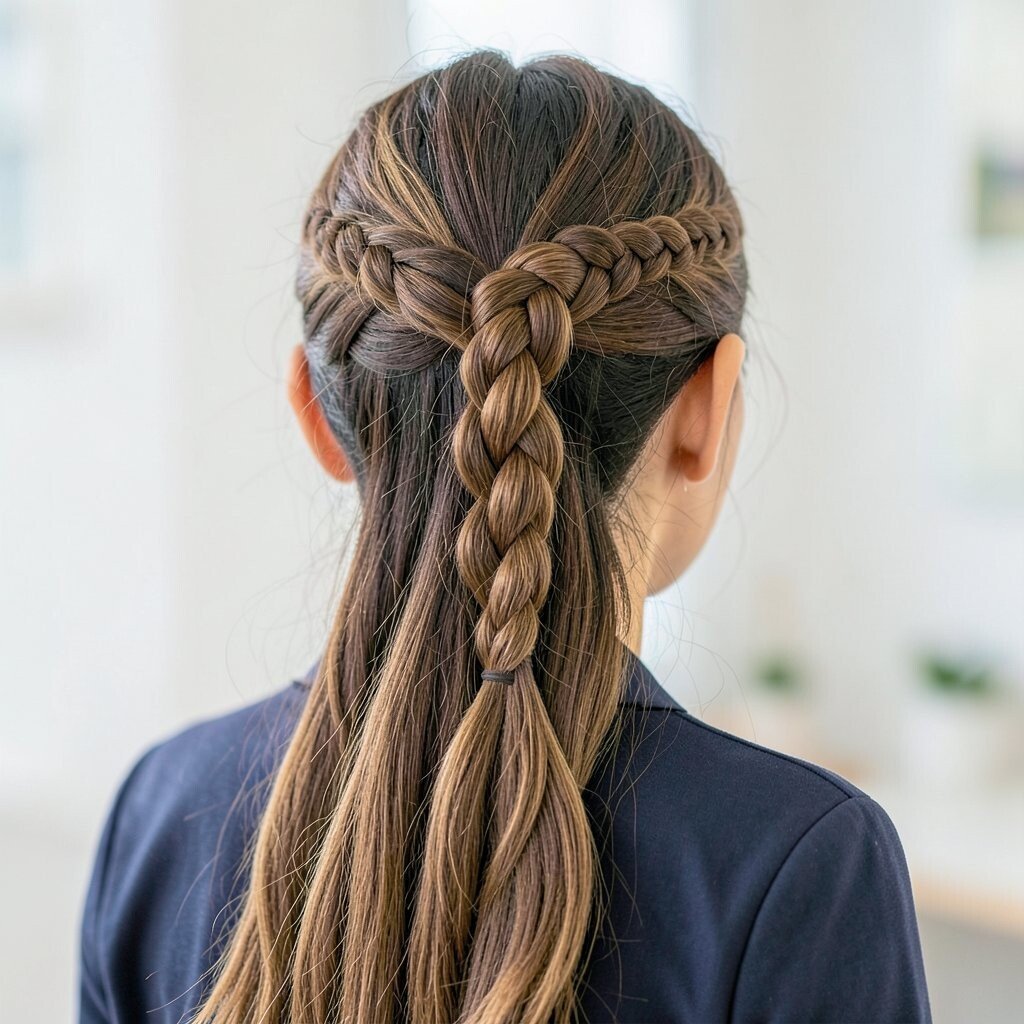
Visualize your hair swept to one side, ending in a twist-knot that feels glamorous. It’s the kind of style that makes long hair look lighter and more intentional.
Create a deep side part, gather hair to one side, and twist the length before winding it into a knot. Secure with a pin that crosses the knot so it grips, then lightly loosen the twist for a softer silhouette.
If you want it to feel trendier, add a glossy serum to the outer layer so the twist looks sleek. For cost, you can use hairpins you already own, plus a small bottle of shine spray if you want that extra polish.
6. The Rope Braid Knot Hybrid
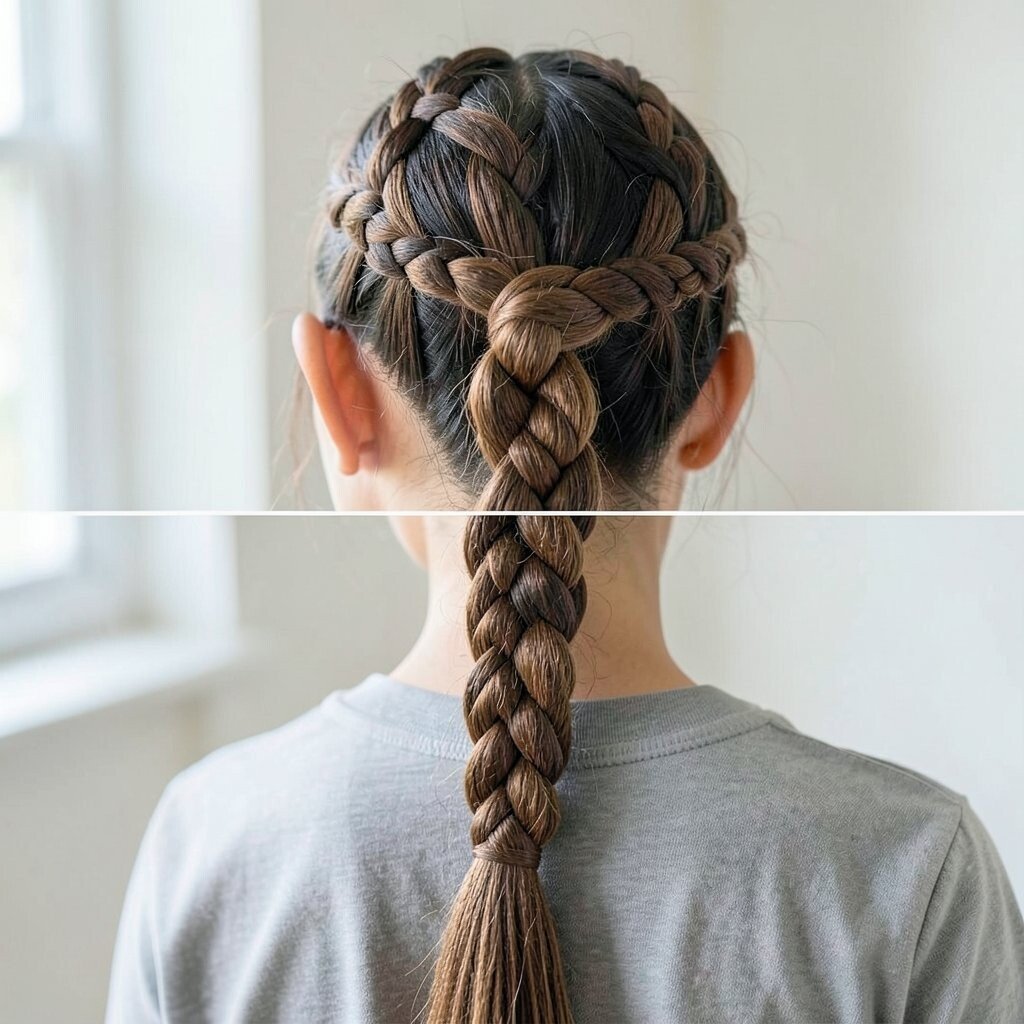
This one blends a rope braid feel with a knot at the finish. Your hair will look rope-like and dimensional, with a sturdy knot that anchors the style.
Split hair into two sections, twist them like a rope, then coil the rope into a knot at the back or side. Tuck and pin the last section so it looks clean, not bulky.
To personalize, braid a small ribbon-like strand in front so the knot has a framing detail. If your hair is thick, do larger sections; if it’s fine, use smaller twists and add a tiny bit of styling mousse at the start.
7. The Half-Up Knot with Soft Fringe
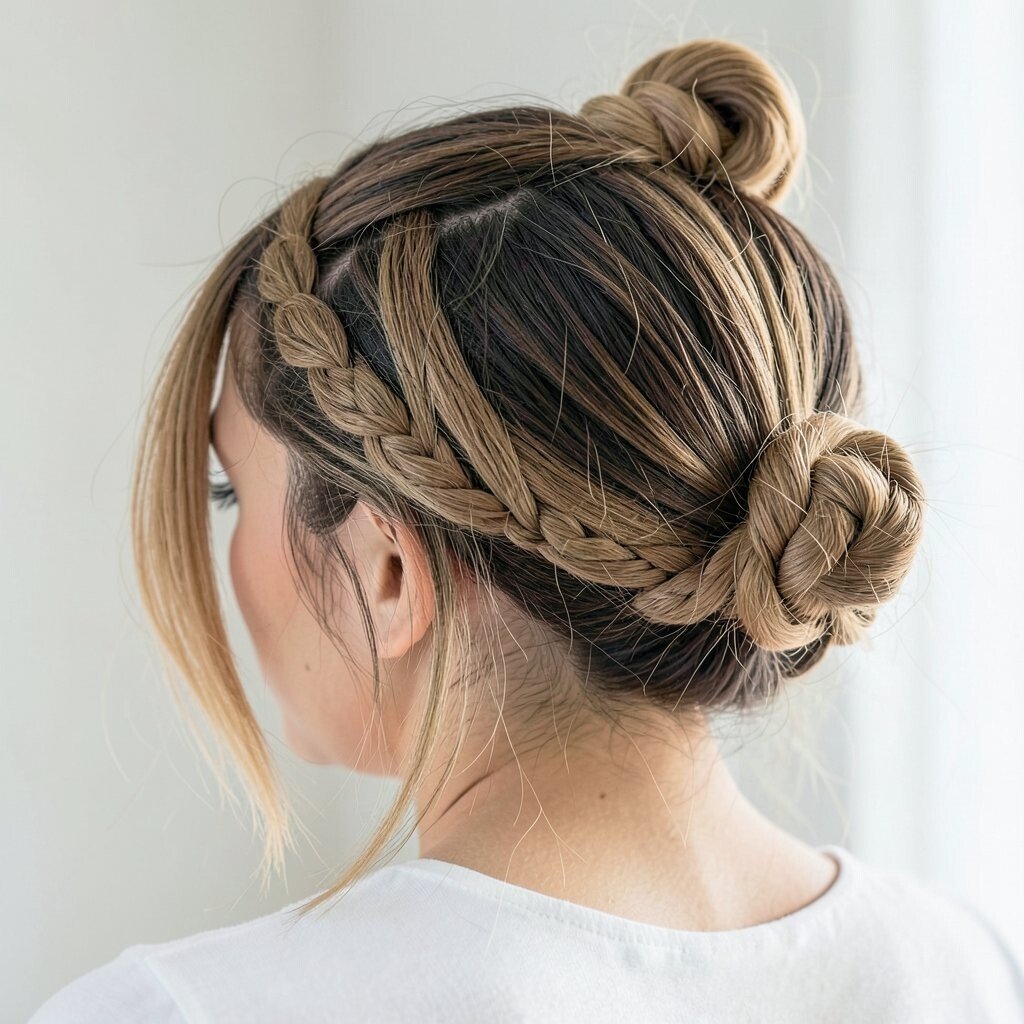
A half-up knot is perfect when you want both style and comfort. It keeps your crown tidy while your ends stay free and bouncy.
Pull the top half into a ponytail, twist into a knot, and secure at the base. Leave the rest of your hair loose, then add soft fringe waves or straight pieces for contrast.
This style feels special without taking much time, which is why it’s great for school, work, and casual nights out. For uniqueness, pull a thin braid thread through the knot so it shows like a little accent.
8. The Knotted Fishtail Crown
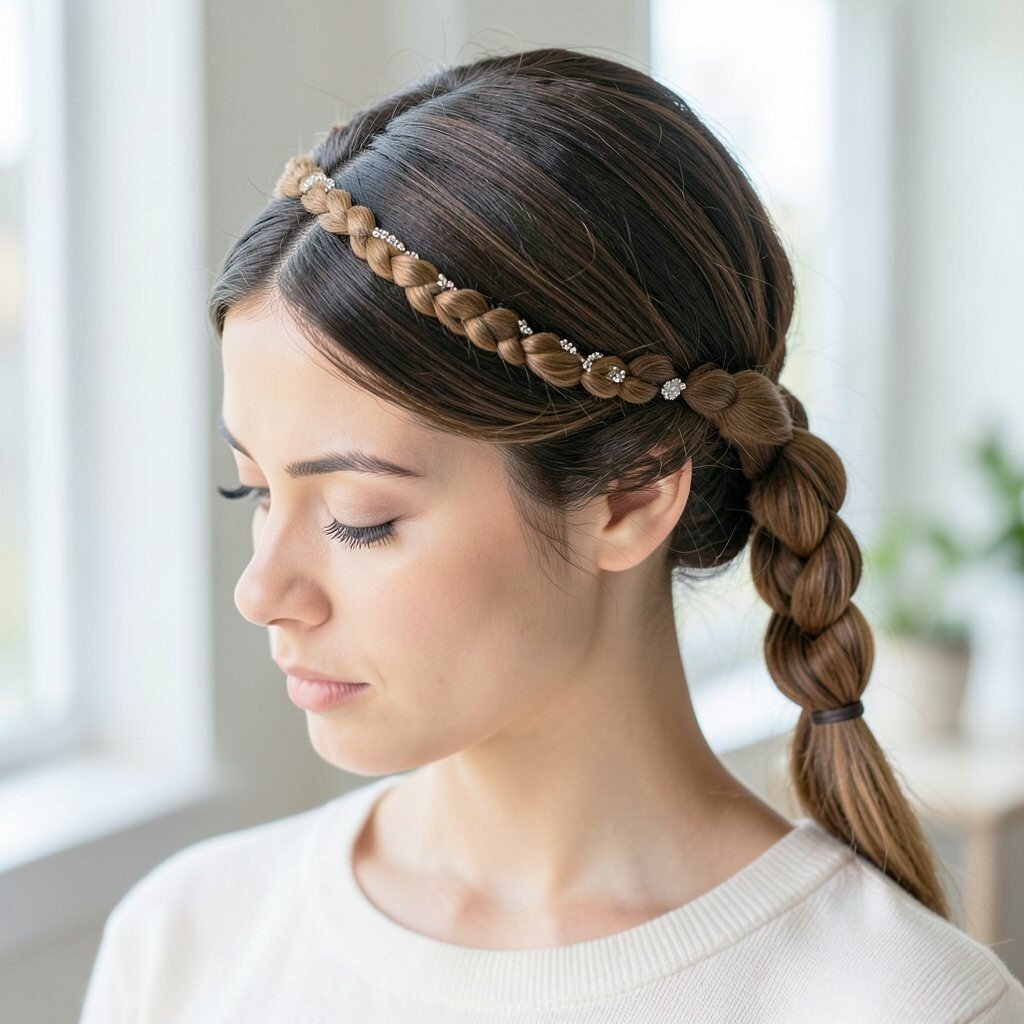
Think of a fishtail pattern turned into a crown, with a knot-like finish. It looks detailed and artistic, like a hairstyle that took way longer than it did.
Make a fishtail braid and then coil it along the head, pinning as you go. At the center, tuck the last end into a small knot and secure tightly so it holds the shape.
For practical wear, place pins along the braid texture instead of only into smooth hair. Use a light hairspray so the braid doesn’t loosen too quickly, especially if your day is active.
9. The Space Knot Loop Bun
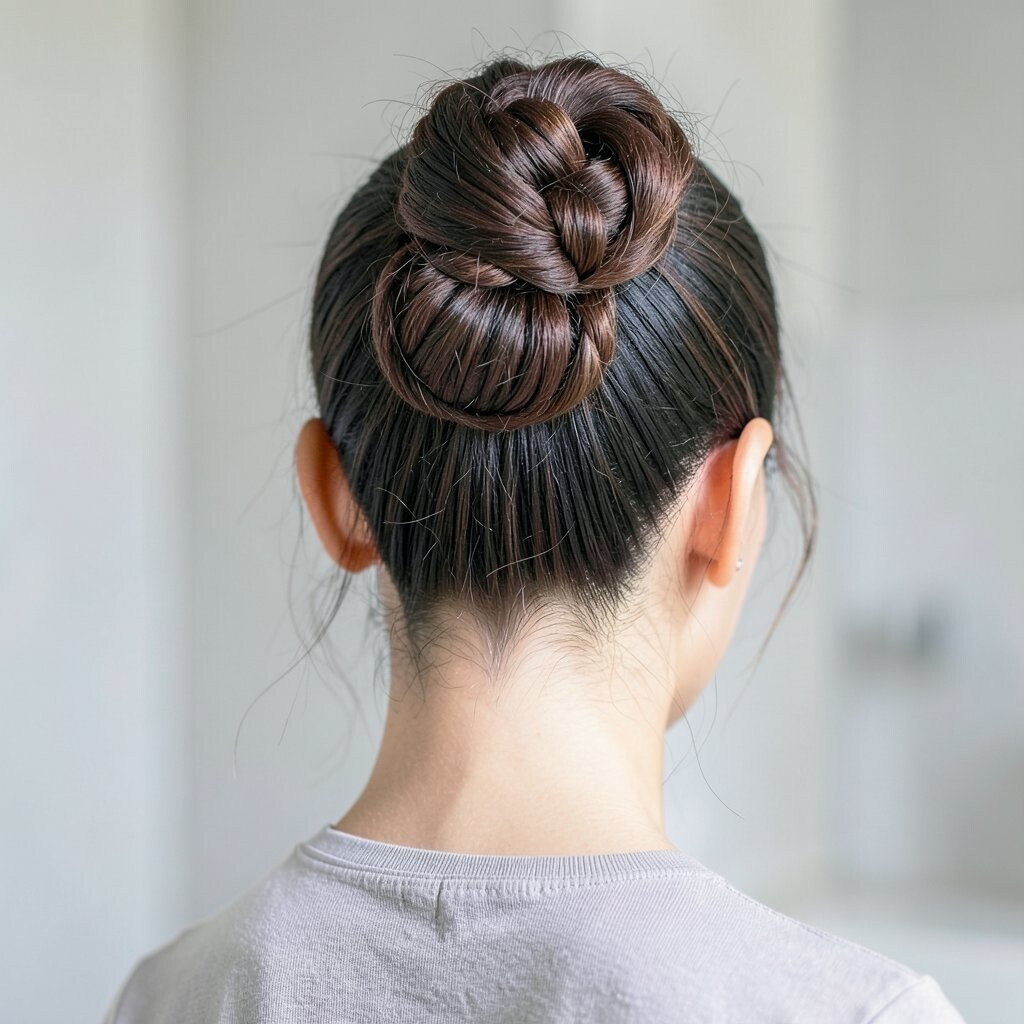
Space knot buns are playful and bold, like little stars in your hair. You’ll get a fun look that still feels organized because each knot has its own spot.
Create two high ponytails, twist each one, and wrap into a loop bun. Secure with elastics and pins, then gently press the loops so they look even.
To keep it current, match the loop shape so both sides look intentional, not random. If you want a cheaper version, skip extra accessories and focus on clean elastics and good pin placement.
Personalize by adding tiny clips near the part, or by leaving a few strands out around the temples for a soft vibe.
10. The Knotted Chignon Twist
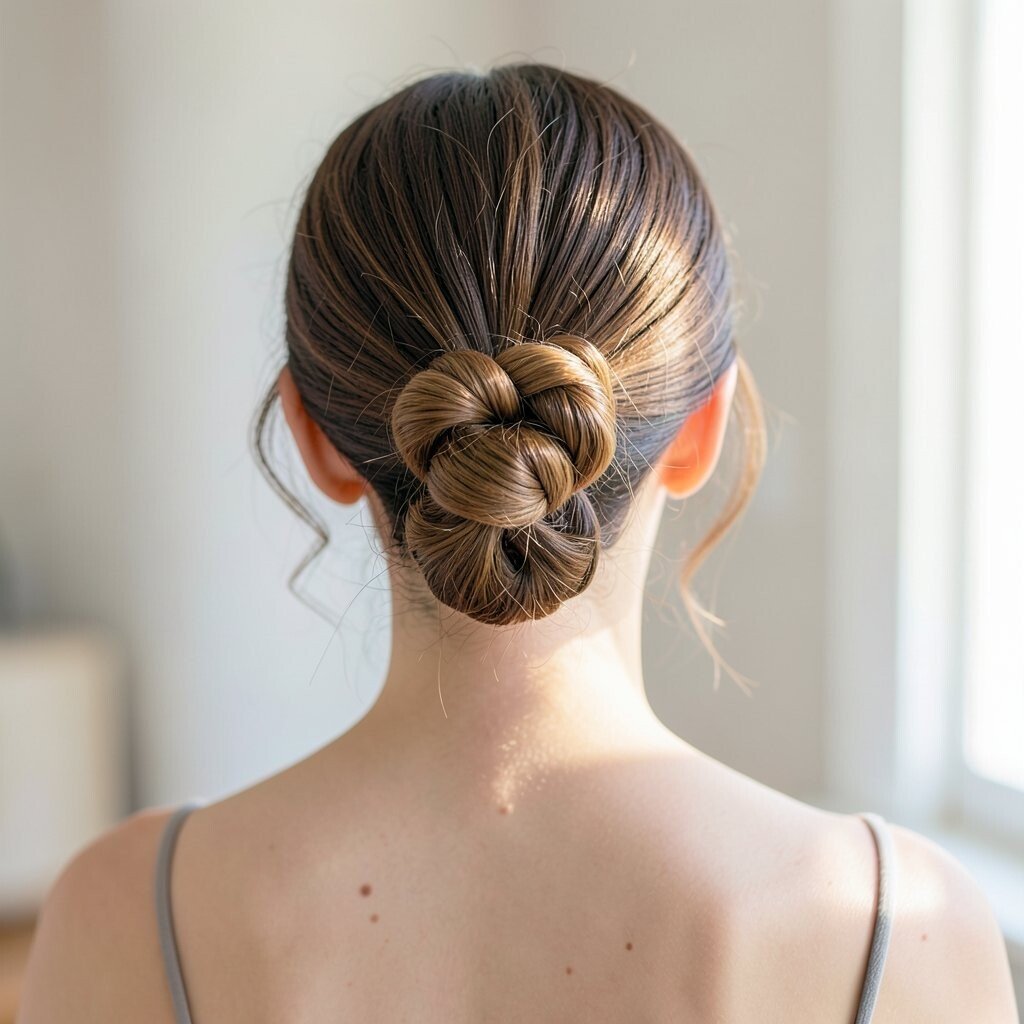
A chignon twist with a knot is the ultimate classic-modern hybrid. It looks polished, and the knot detail gives it a little edge.
Gather hair into a low ponytail, twist it, and roll it toward the base of your head. Form a small knot in the middle as you tuck and pin, so the shape feels secure and sculpted.
This hairstyle is excellent for events because it holds its form and frames the neck nicely. Add a shine product to the surface so it looks smooth under lighting.
11. The Crown Knot with Bobby Pin Web
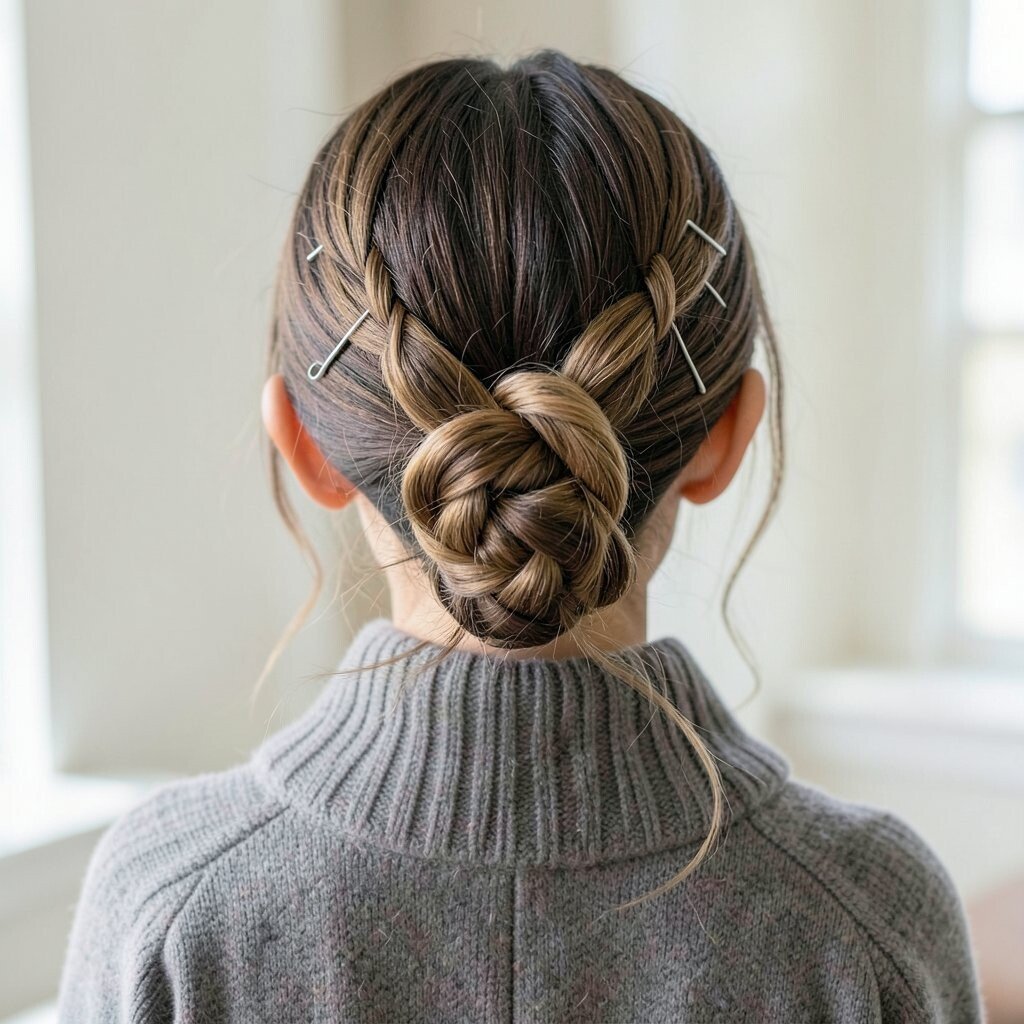
This style creates a crown effect that feels intricate, like a tiny web of pins. The knot acts as the anchor, while pins help the shape sit flat and tidy.
Part your hair and section small sections around the crown. Twist each section into a knot and pin them in a way that lightly overlaps so everything looks connected.
For a practical boost, secure the knot base first, then fill around it. If your hair slips, use a grippy styling paste on the sections before you twist so they grip the pins.
12. The Knotted Low Pony Wrap
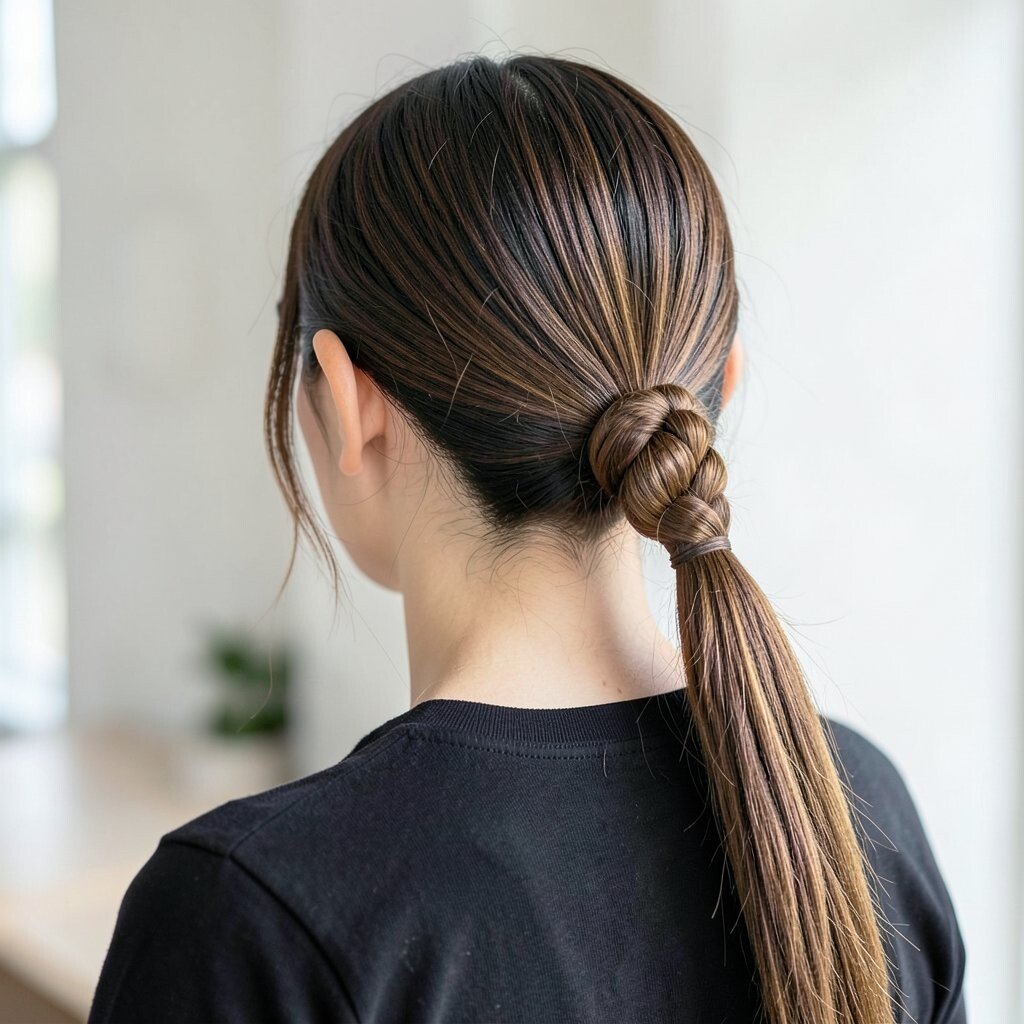
A low pony wrap knot is simple, but it looks expensive. The knot hides the elastic area, so the style looks clean and intentional.
Tie hair into a low ponytail, then take a small piece and wrap it around the elastic. Instead of wrapping endlessly, twist that piece into a knot at the back and secure with a pin.
To personalize, use a thinner section for a delicate wrap or a thicker section for a bold knot. For cost, you can reuse the same elastic and pins and just invest in a good bobby pin grip if yours tend to slip.
13. The Knotless Faux Mohawk Knot
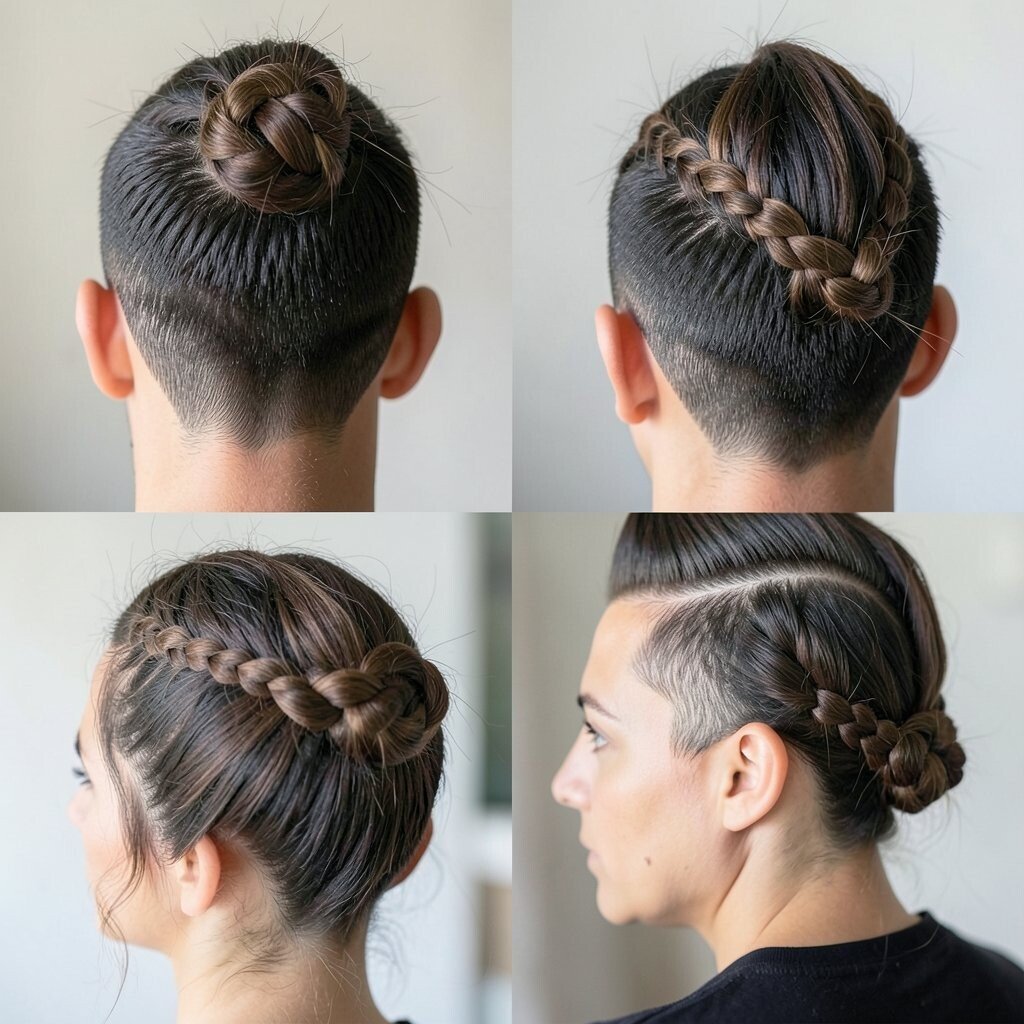
A faux mohawk knot can look fierce while still being comfortable. You’ll notice height at the center and a knot that feels like a crown of confidence.
Create volume at the center by teasing lightly at the roots, then smooth the sides. Tie a center ponytail, twist it into a knot, and pin it in place so it stands out.
If you want the trendier version, keep the sides sleek and shiny while the knot looks textured. This contrast makes the style feel modern without needing complicated tools.
14. The Braided-In Knot Bun
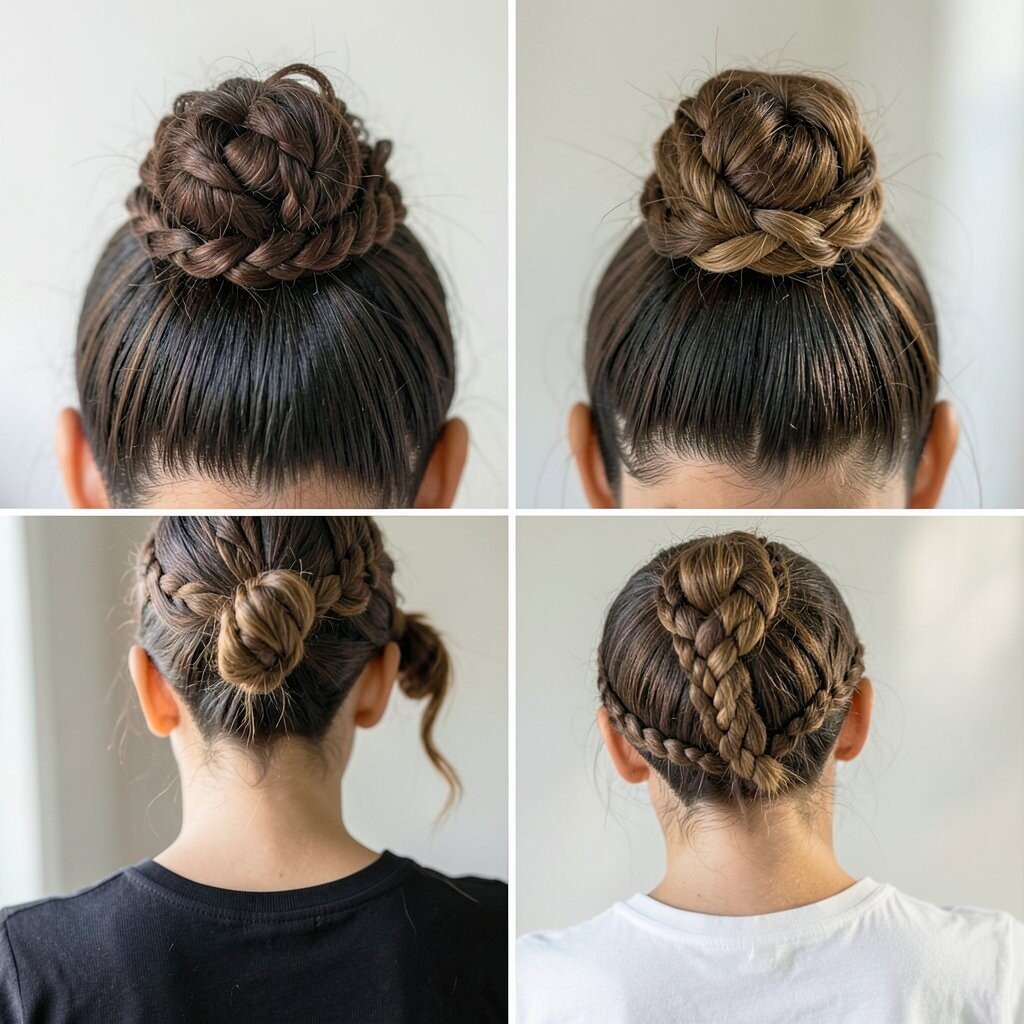
Start with a bun base, then braid small strands into the knot as you secure it. It gives you a woven look that feels romantic and unique.
Make a low or mid bun, then take thin sections around the bun and braid them before wrapping into the knot area. Pin each braid so it locks into the bun instead of floating outside.
For personalization, braid in hair that matches your natural color blend, then add a single clip if you want a little sparkle. If your hair is coarse, use a light conditioner mist so the braid looks smooth instead of frizzy.
15. The Side Knot with Hidden Pin Stash
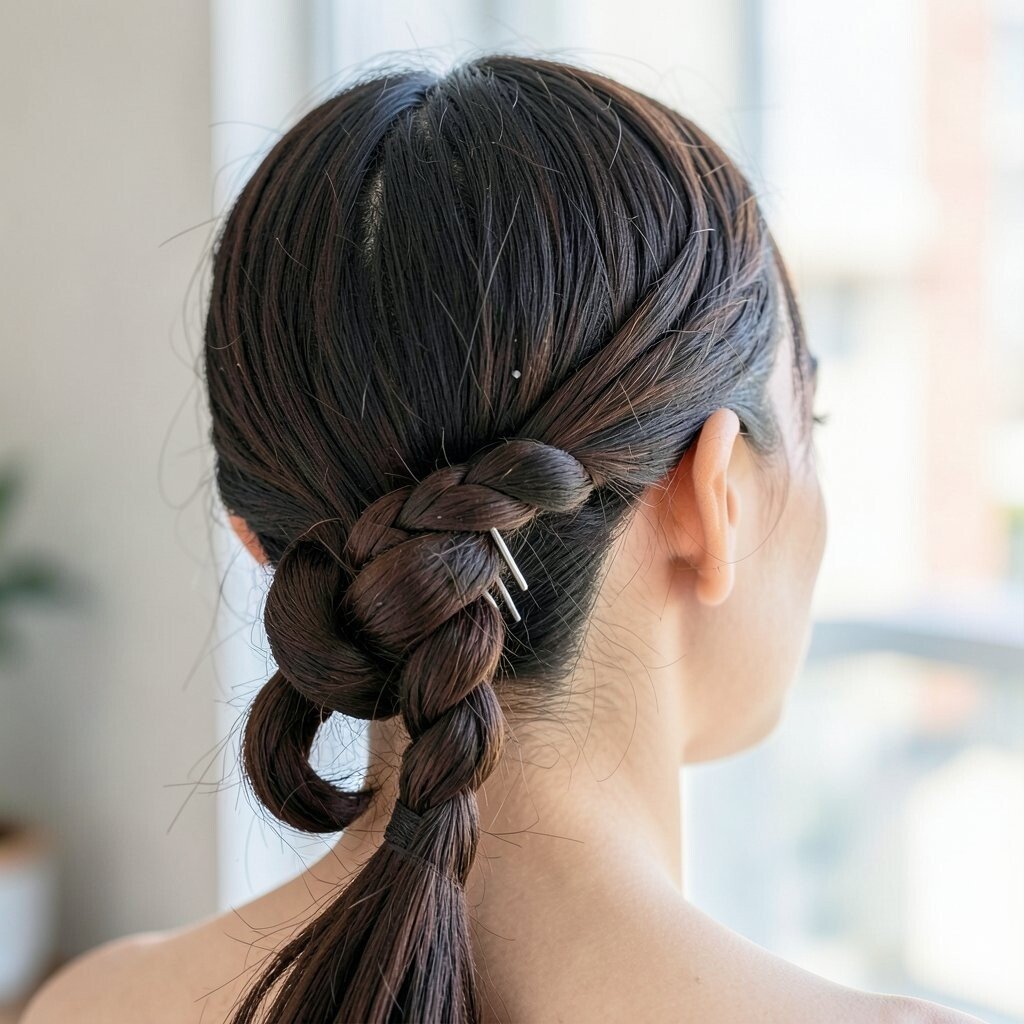
This style is all about clean lines and smart pin placement. The side knot looks neat, and your pins disappear because they’re tucked into the knot itself.
Gather hair to one side, twist it once to create a strong shape, and wrap into a side knot. Insert pins in a cross pattern from underneath, then cover the point with the knot wrap so it’s not visible.
To keep it practical for long wear, secure the knot base with two pins and lightly spray after. For cost considerations, you don’t need extra hair tools, just a few well-made pins that grip.
16. The Double Knot Ribbon Effect
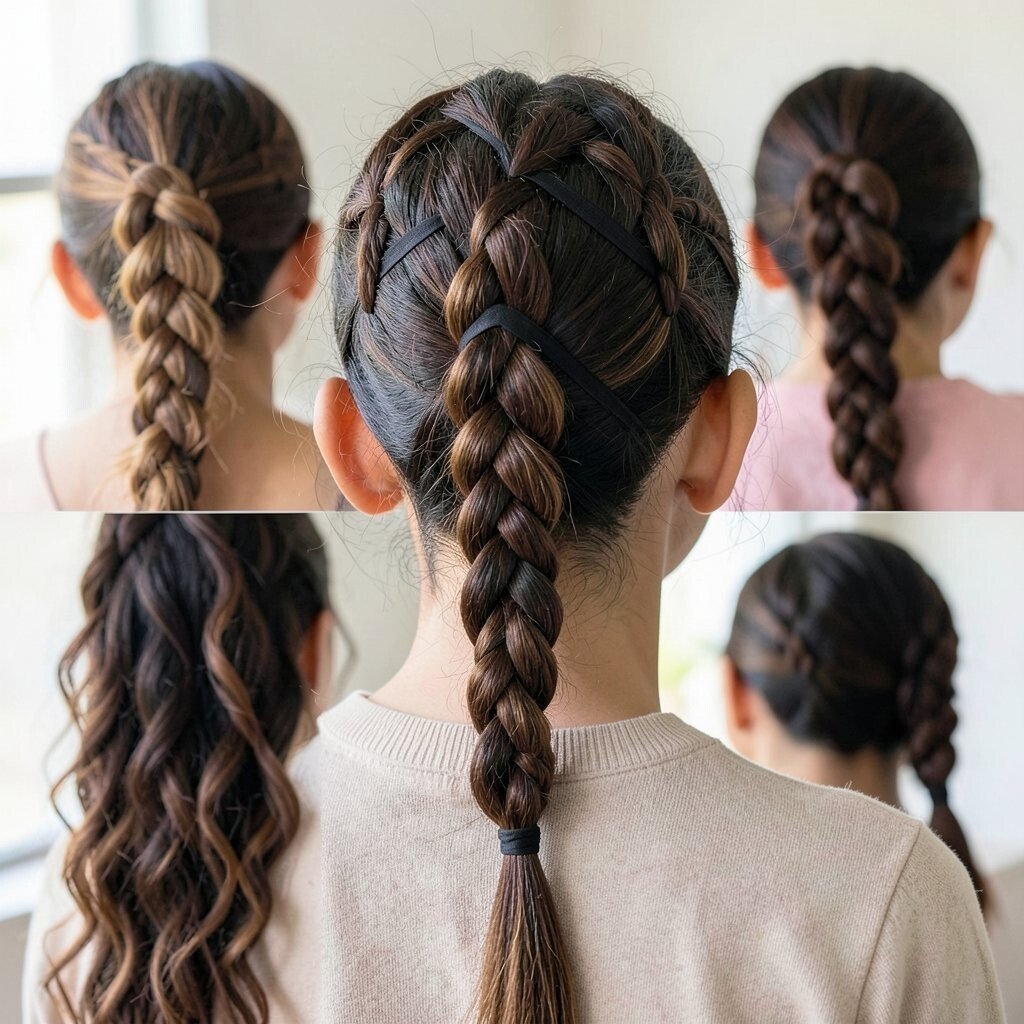
Imagine two knots that sit close together like ribbon folds. It creates a sculpted look that’s playful but still tidy enough for everyday.
Create a ponytail, divide it into two sections, and twist each one into its own mini knot. Pin the knots next to each other so they look connected and symmetrical.
For uniqueness, make one knot slightly looser so it looks airy while the other stays tighter for structure. If your hair is fine, lightly backcomb the ponytail for volume before twisting.
To personalize the vibe, try a center part for a classic look or a zigzag part for something more fun.
17. The Knotty Bun with Pinched Texture
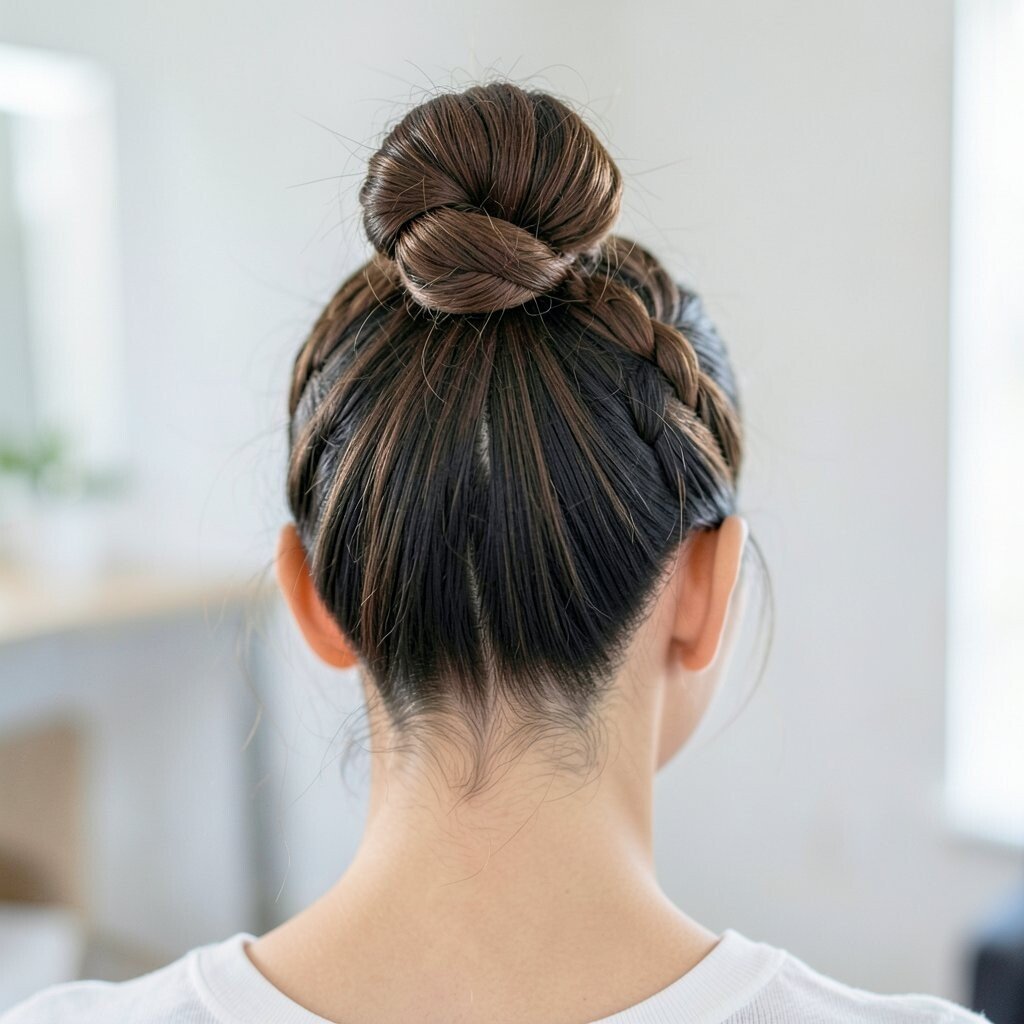
This bun looks like it has natural ridges, thanks to pinch points around the knot. The texture makes your hair look fuller and more interesting.
Twist hair into a bun, then pinch small sections around the outer edge where the knot sits. Secure with pins so each pinch holds its shape.
For benefits, it hides uneven hair lengths and reduces the need for perfect sleek styling. If your hair is frizzy, use a smoothing cream on the outer layer, then keep the pinching on the textured inside.
18. The Knot and Loop Updo
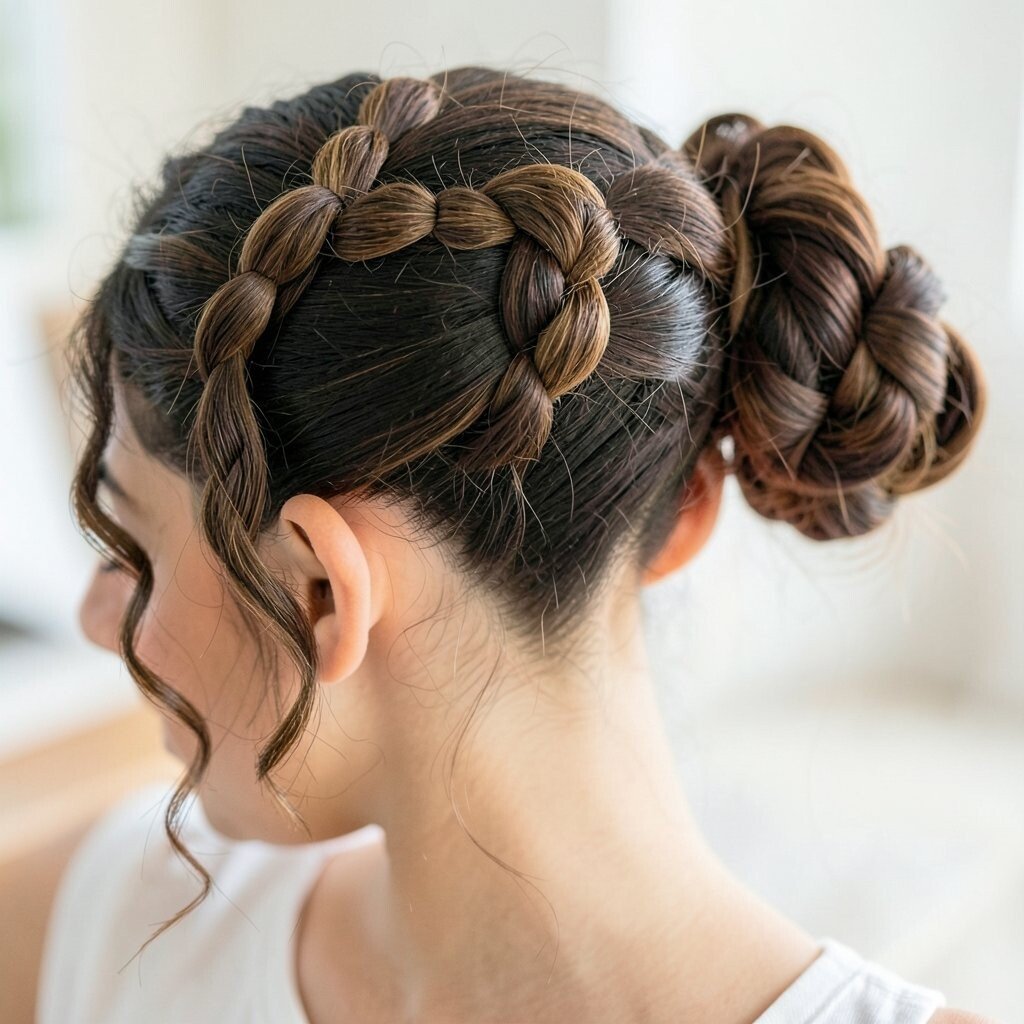
A knot and loop updo feels delicate and playful. The loops give movement, while the knot keeps everything grounded.
Build a base knot near the back, then pull small segments outward to create loops before pinning them. Arrange loops in a soft arc so they frame your head naturally.
To keep it current, keep the loops airy instead of tight, and use light hairspray so they don’t collapse. This is also a great style for personalization because you can choose loop size based on your hair thickness.
19. The Knotted Low Ponytail with Volume Top
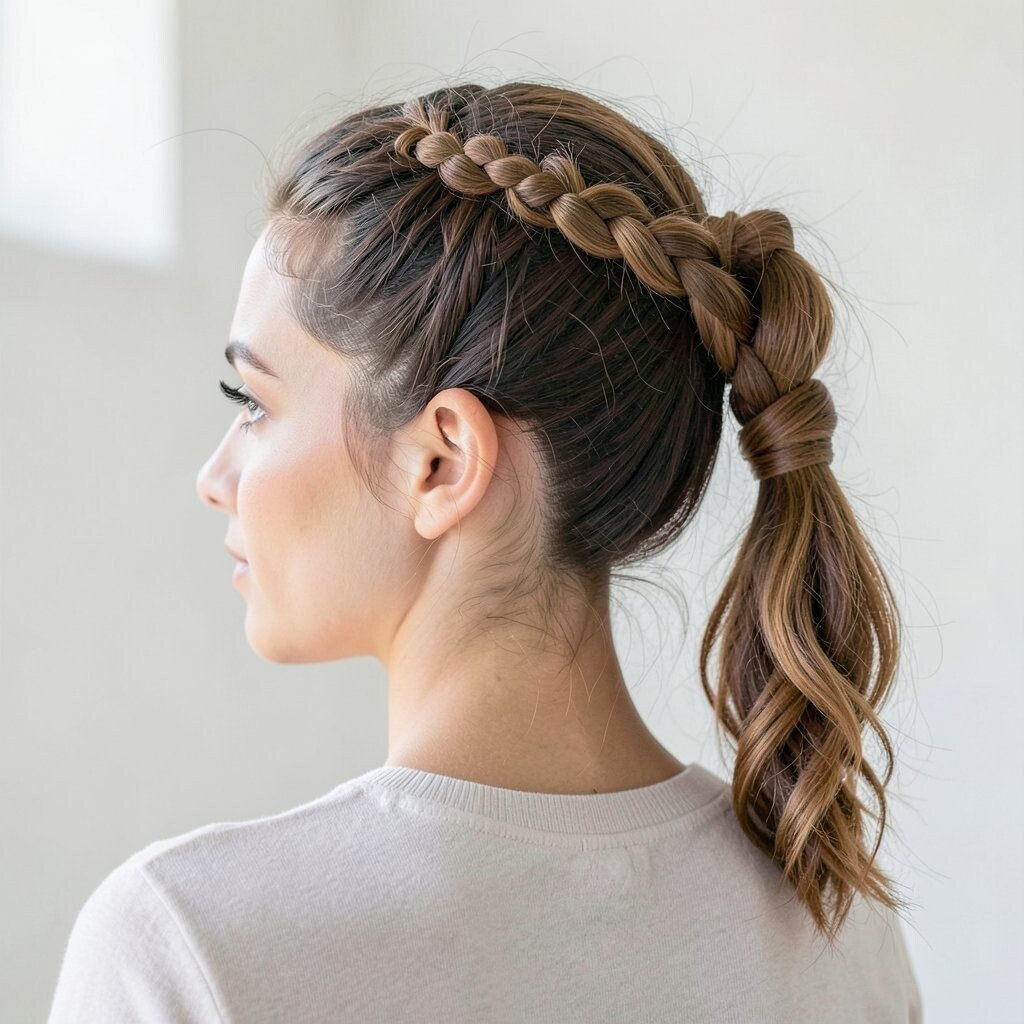
This look combines a lifted top with a grounded knot at the ends. It gives a flattering silhouette that makes your hair look fuller even when you’re using minimal styling.
Tease the top lightly for volume, gather hair into a ponytail at the lower back, and knot the ponytail around the elastic. Pin securely so the knot sits low and comfortable.
For practical tips, use a comb to smooth only the surface while keeping the volume underneath. If you want it to match your outfit, choose a glossy finish for formal looks or a matte finish for casual days.
Cost is easy to manage because you can get the height with simple teasing and you only need pins and a small styling spray.
20. The Knotted Scarf-Style Hair Knot
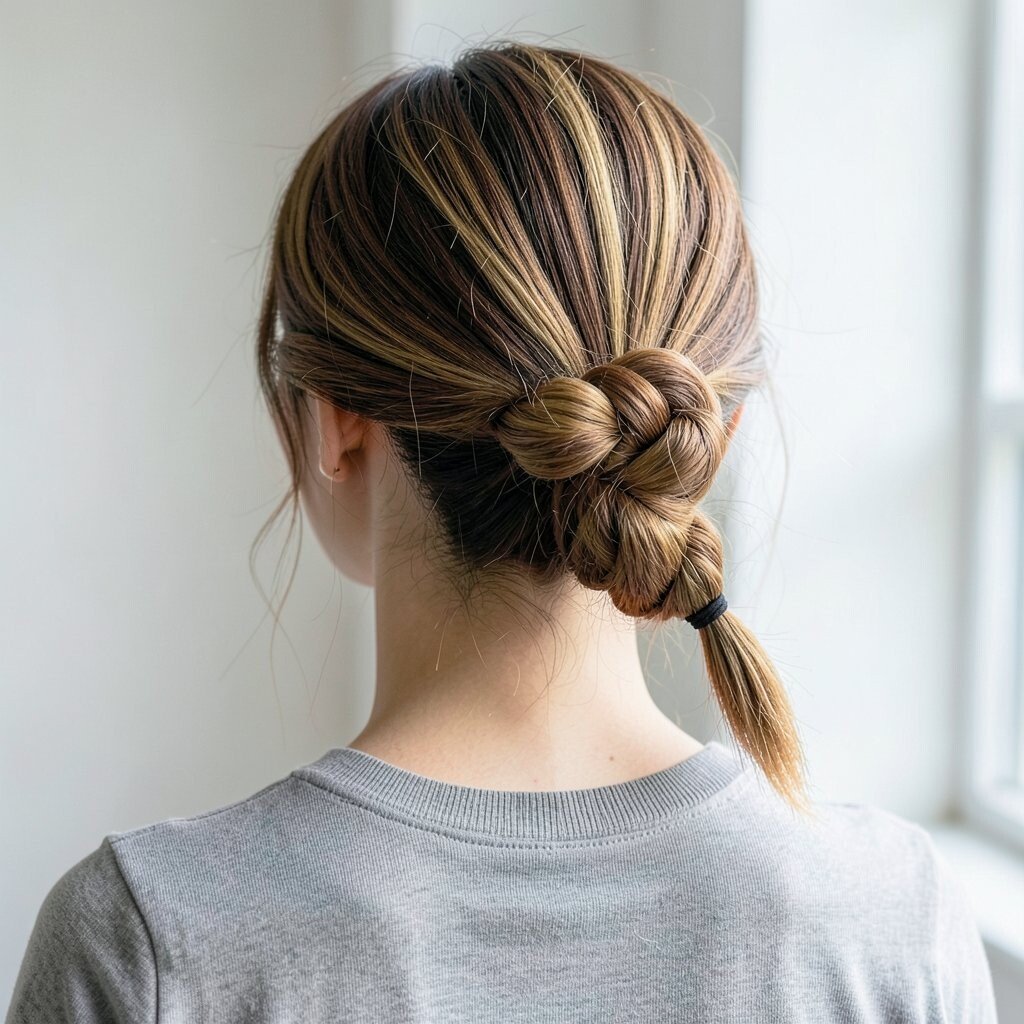
You can get a scarf-like vibe without adding a real scarf. A knot style with a wrapped strand effect looks cozy, stylish, and ready for cooler weather.
Take a small section of hair, twist it, and wrap it around the base to mimic how fabric would fold. Secure with pins, then blend the wrapped section into the knot so it looks intentional rather than separate.
To personalize, use color-friendly styling tools like a subtle hair gel sheen or clip-in shine pieces if you like that extra pop. This style also saves money because it gives the scarf aesthetic using hair alone and a few pins.
When you want it to feel more trendy, leave a couple of soft pieces loose so the knot looks lived-in, not too perfect.