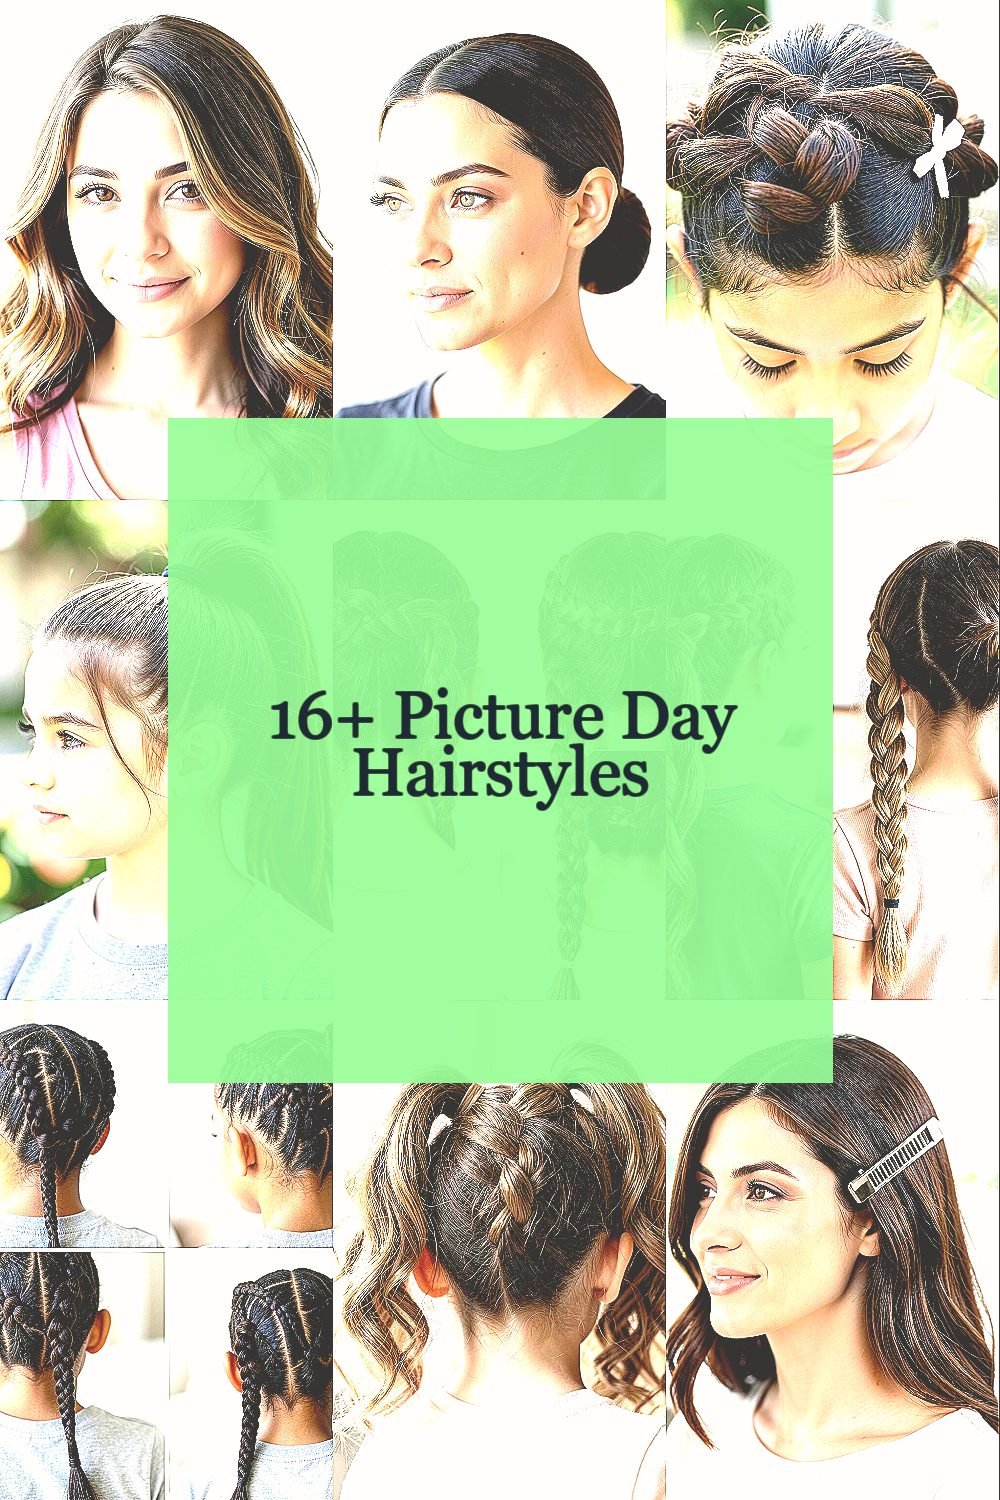
Picture day is one of those moments when your hair can quietly do a lot of work. The right style helps you feel put-together from the first flash to the after-photo smiles.
You don’t need anything fancy to look confident and camera-ready, and you definitely don’t need to fight your hair all morning.
1. Soft Side Part with Airy Waves
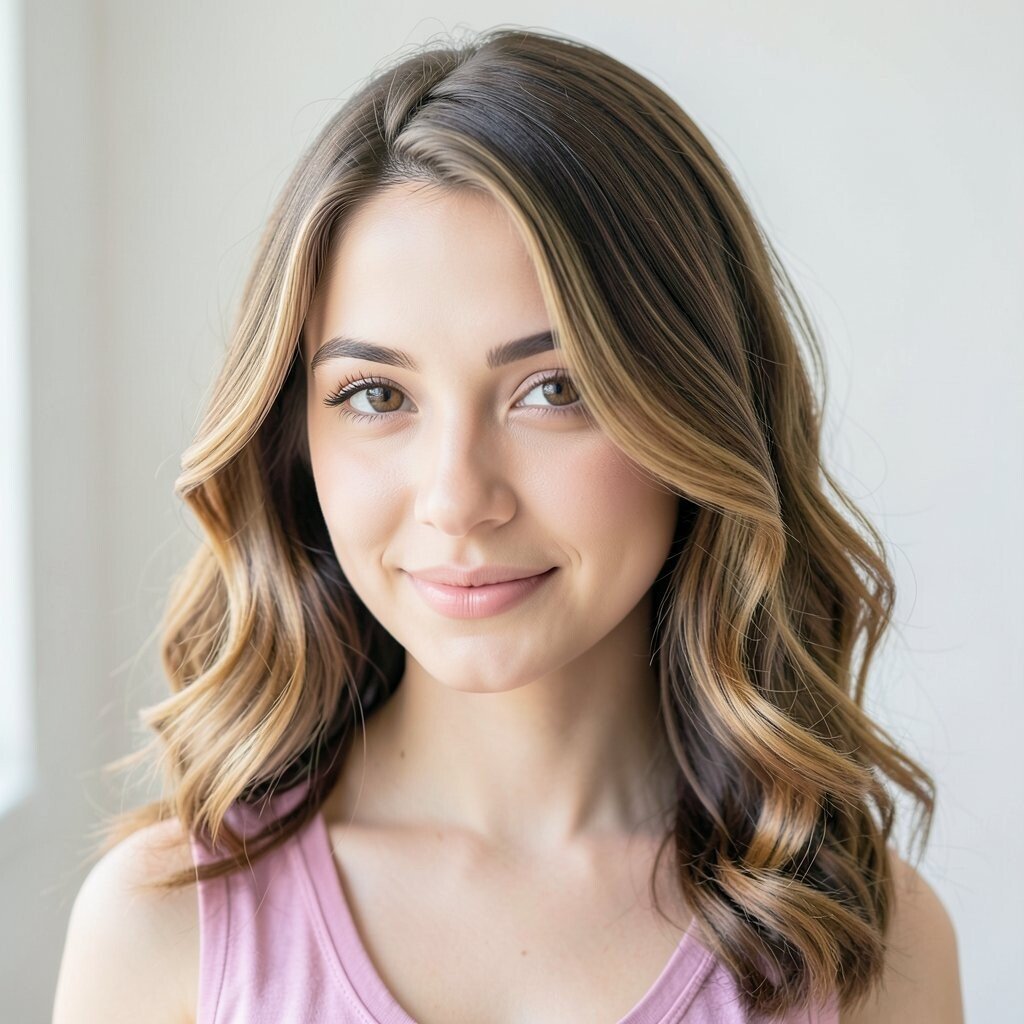
This style looks like you stepped out of a comfy salon chair. A gentle side part creates a natural frame, and loose waves fall around your cheeks like a soft curtain.
To try it, start with slightly damp hair and add a light mousse from mid-length to ends. Blow-dry with a round brush just enough to shape the part, then let the ends cool while you brush them once for a relaxed finish. For shine, use a tiny drop of hair oil on your fingertips and smooth the outer layer.
2. Sleek Low Bun with Face-Framing Strands
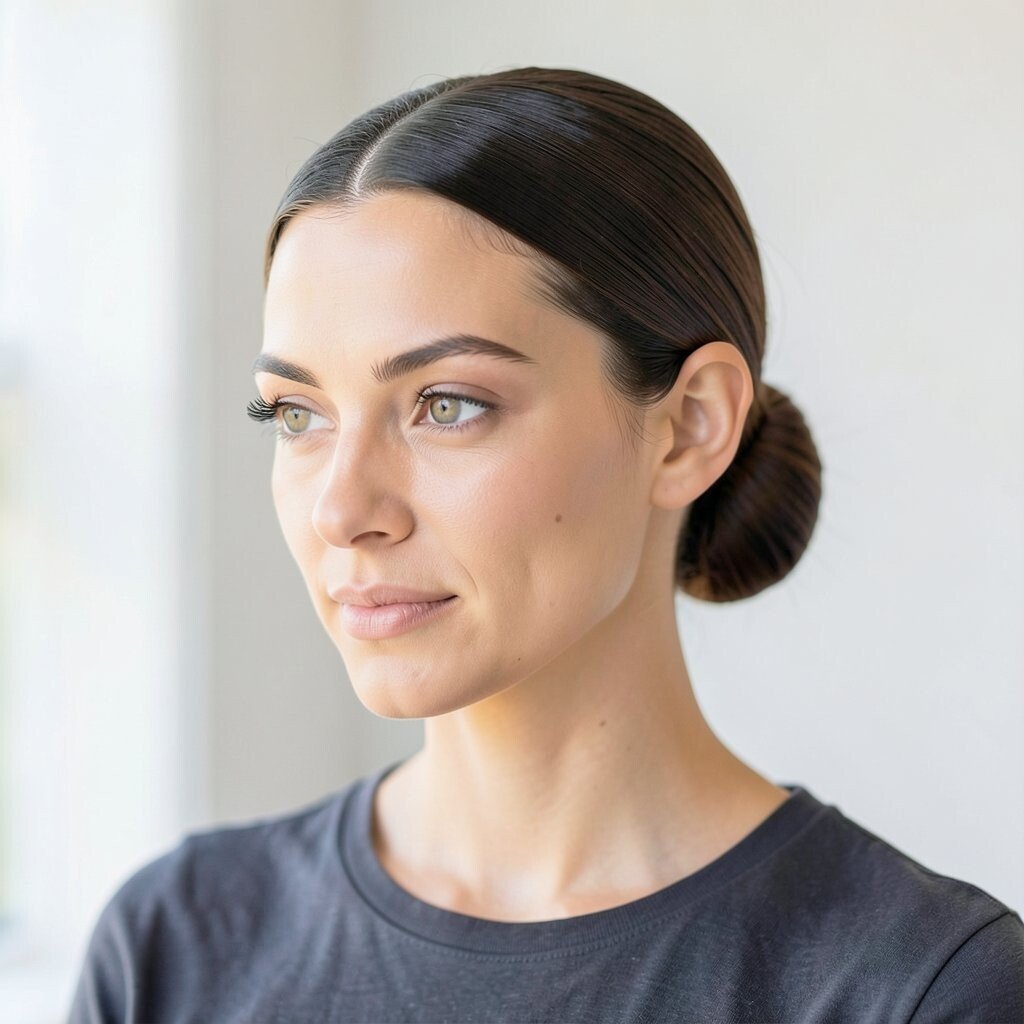
A sleek low bun looks clean, confident, and ready for close-up details. Tightening the look at the crown while leaving two thin strands loose makes it feel soft instead of severe.
Begin by brushing hair smooth and gathering it at the nape of your neck. Twist the ponytail, wrap it into a bun, and secure with pins you can hide under the hair. If your hair is thick, a quick spritz of smoothing spray helps the bun stay neat, and if it’s fine, a bit of dry shampoo at the roots adds grip.
For personalization, vary the strand width and curl type so it matches your vibe. Try straighter face-framing pieces if you want a sharper look, or flick them outward if you want something playful. This hairstyle is usually budget-friendly because it relies on basic tools and minimal products.
3. Half-Up Twist with a Tiny Bow Clip
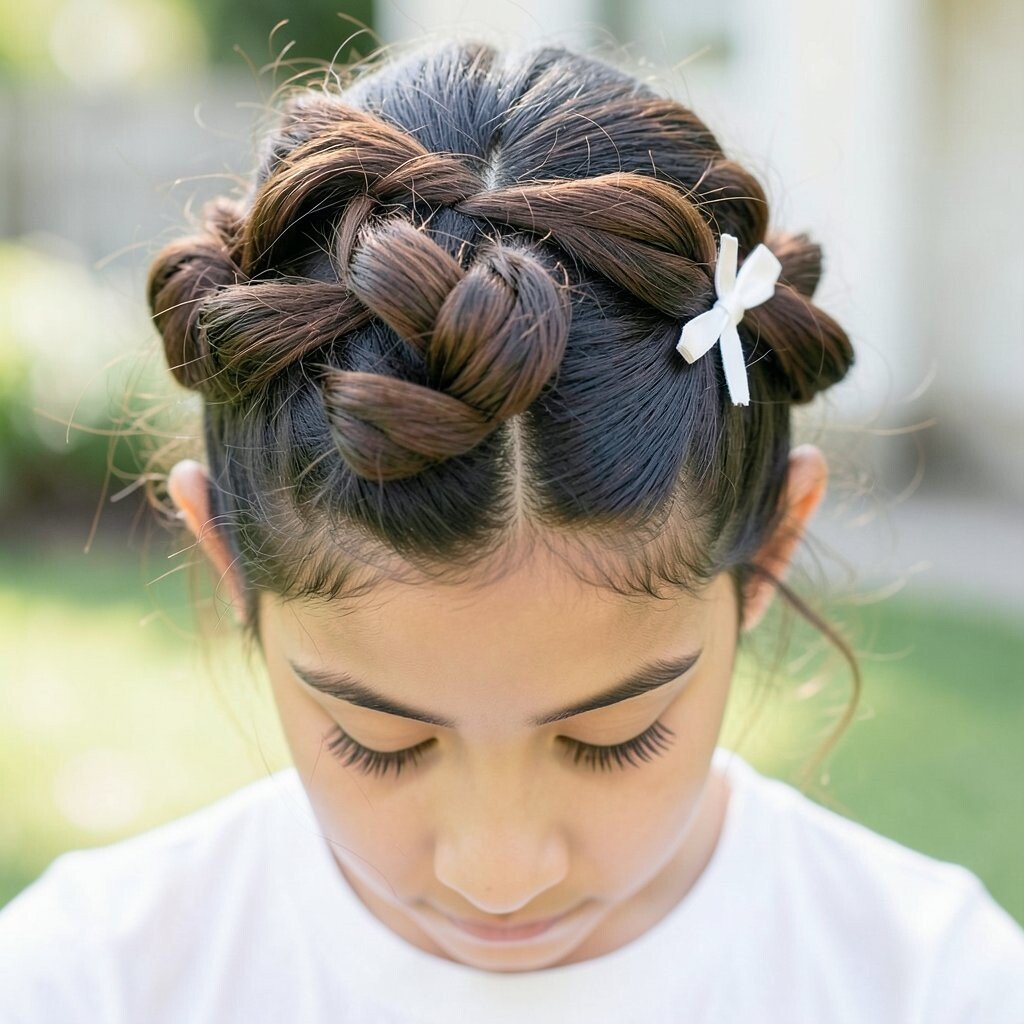
A half-up twist keeps hair out of your eyes while still showing off length and texture. It also looks extra sweet in photos because the top section catches the light.
Start by parting hair slightly off-center, then take two small sections from the front and twist them back. Secure the twist with a small elastic or a pin, then place a cute bow clip over it for an added pop. Keep everything loose at the ends so the twist doesn’t feel too tight.
If you want extra staying power, mist the twist lightly with a flexible hold spray before you clip it. For personalization, match the bow color to your outfit, or choose a neutral shade if you like a classic look. Current trends show more mixed textures, so pairing this with soft waves looks especially modern.
This style is also great if you’re growing out bangs, since the front twist helps shape your face. It usually costs little because a clip and a couple of bobby pins are all you need.
4. High Ponytail with a Wrapped Elastic
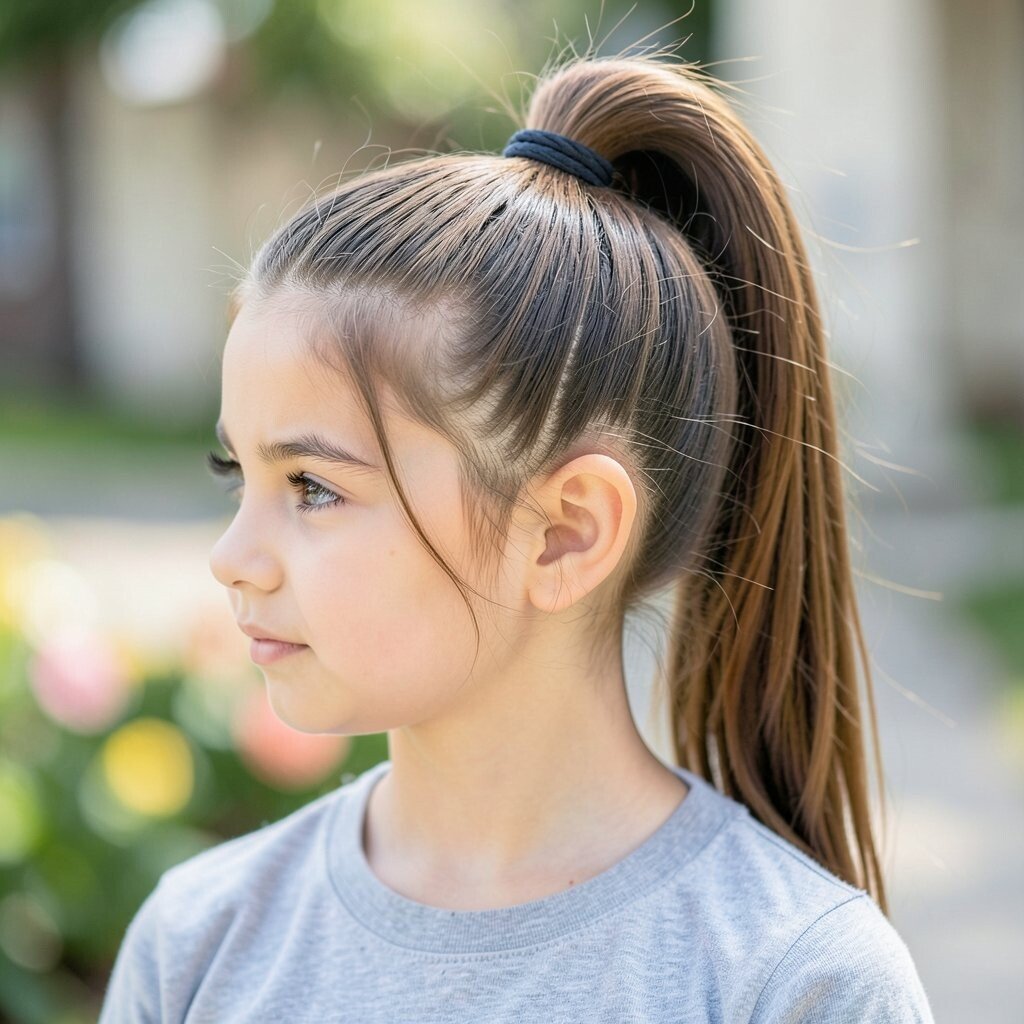
A high ponytail gives a bold, sporty feel that still photographs beautifully. The wrapped elastic adds polish, making the whole look feel intentional.
Brush your hair up smoothly, then secure with an elastic. Take a small strand from the ponytail, wrap it around the elastic, and pin it underneath so it disappears. If you have flyaways, smooth them with a dab of gel or cream on a toothbrush for a clean finish.
5. Classic French Braid with a Soft Crown
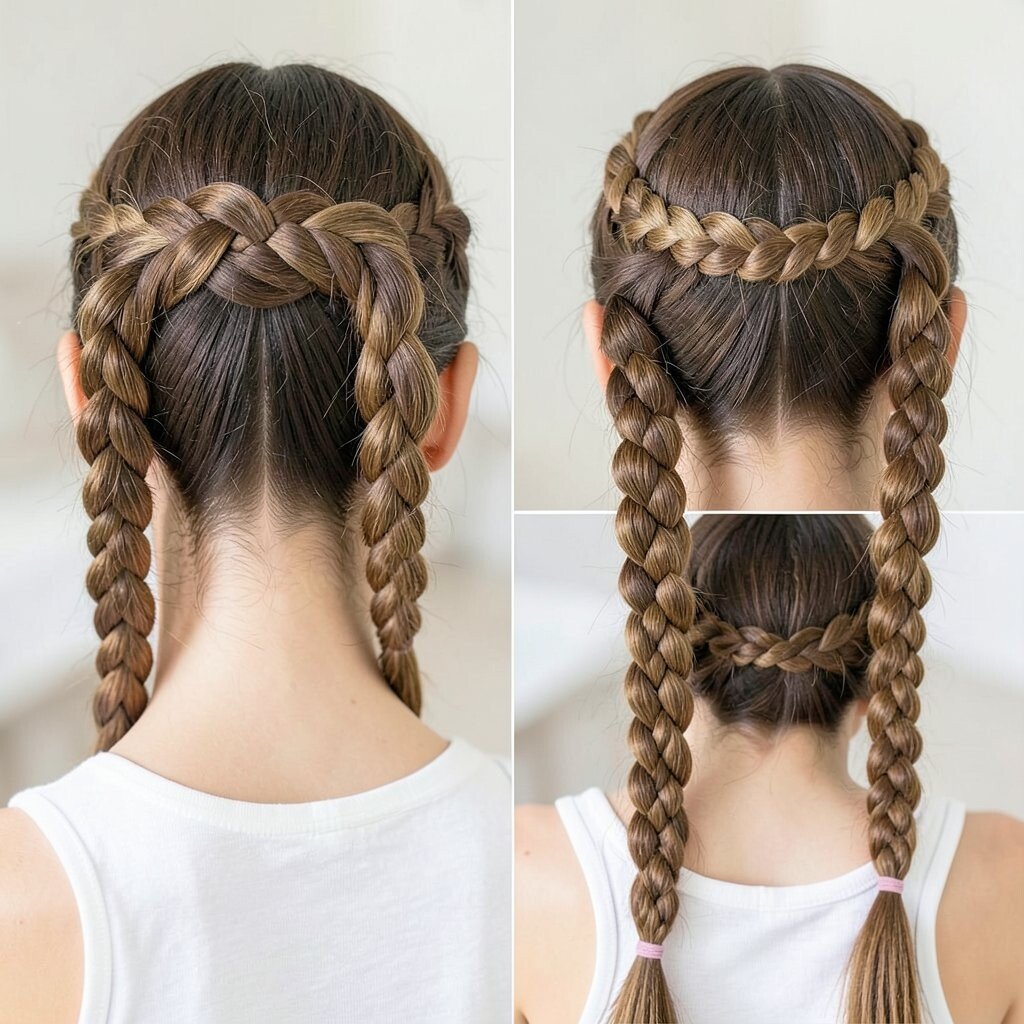
A French braid looks timeless, and it stays put when you’re moving around. The braided crown style also helps your hair look thicker in photos because the pattern catches light.
Begin near the front and braid all the way back, keeping sections even so the braid looks neat. Don’t pull too hard; a gentle grip keeps the braid comfortable and prevents dents. Once you finish, secure with a small elastic and lightly tug the braid edges to create a soft, fuller shape.
For personalization, decide how much you want the braid to start at the scalp versus a little lower. If you like a trendy look, keep the braid slightly off-center for a modern twist. This is a great low-cost option because you can do it with basic elastics and pins.
6. Waterfall Braid for Easy, Flowing Texture
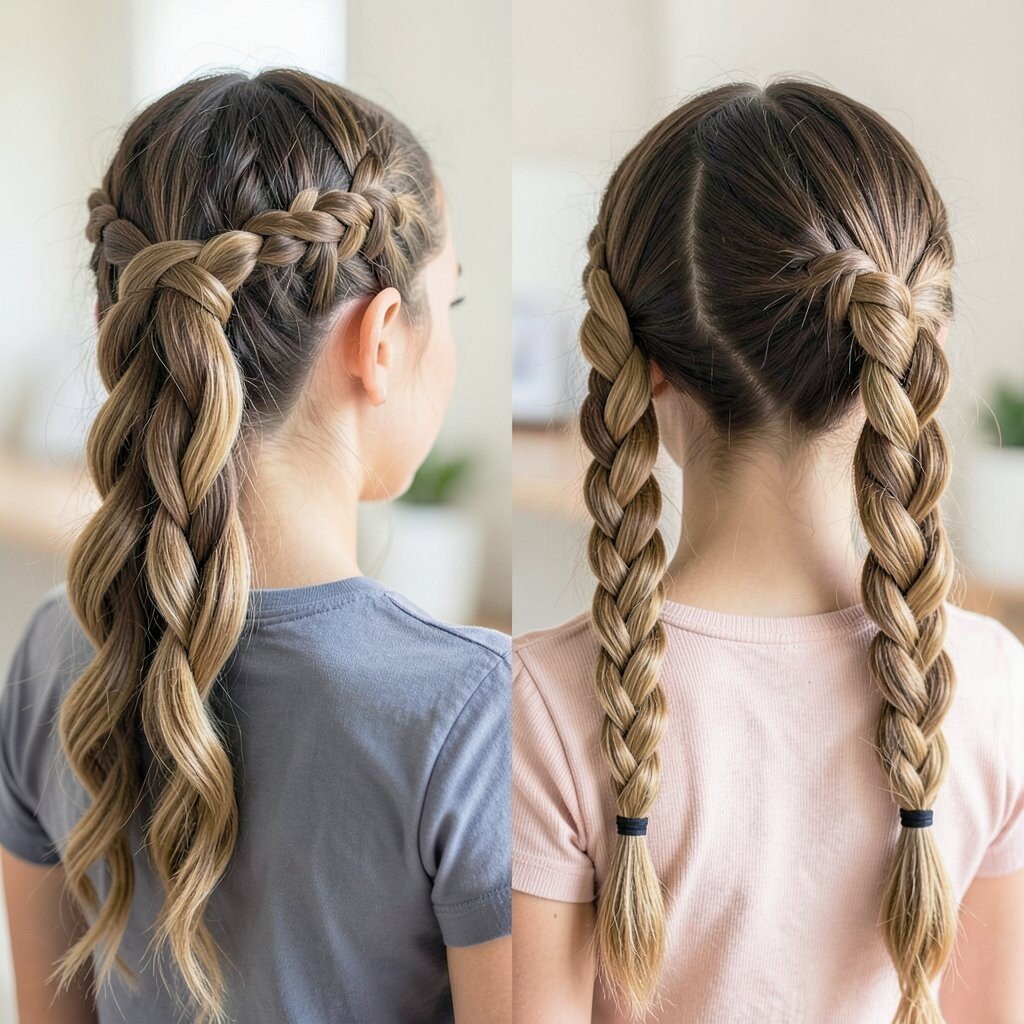
A waterfall braid makes hair look like it’s flowing, even when you’re standing still for a photo. The effect comes from letting small strands fall through the braid pattern.
Start with a side part, then create three sections near the front. As you braid, drop one section and replace it with a new piece from above, repeating the pattern as you move back. Once you reach the end, secure with a small elastic and leave the rest of your hair wavy or straight depending on what you prefer.
If your hair is fine, adding a light wave before braiding gives the waterfall more volume. If it’s thick, use a smoothing cream so the braid looks tidy and not bulky. This style feels unique because it’s not as common as a basic braid and looks especially pretty in bright daylight.
7. Twisted Crown Braids (Two-Part Style)
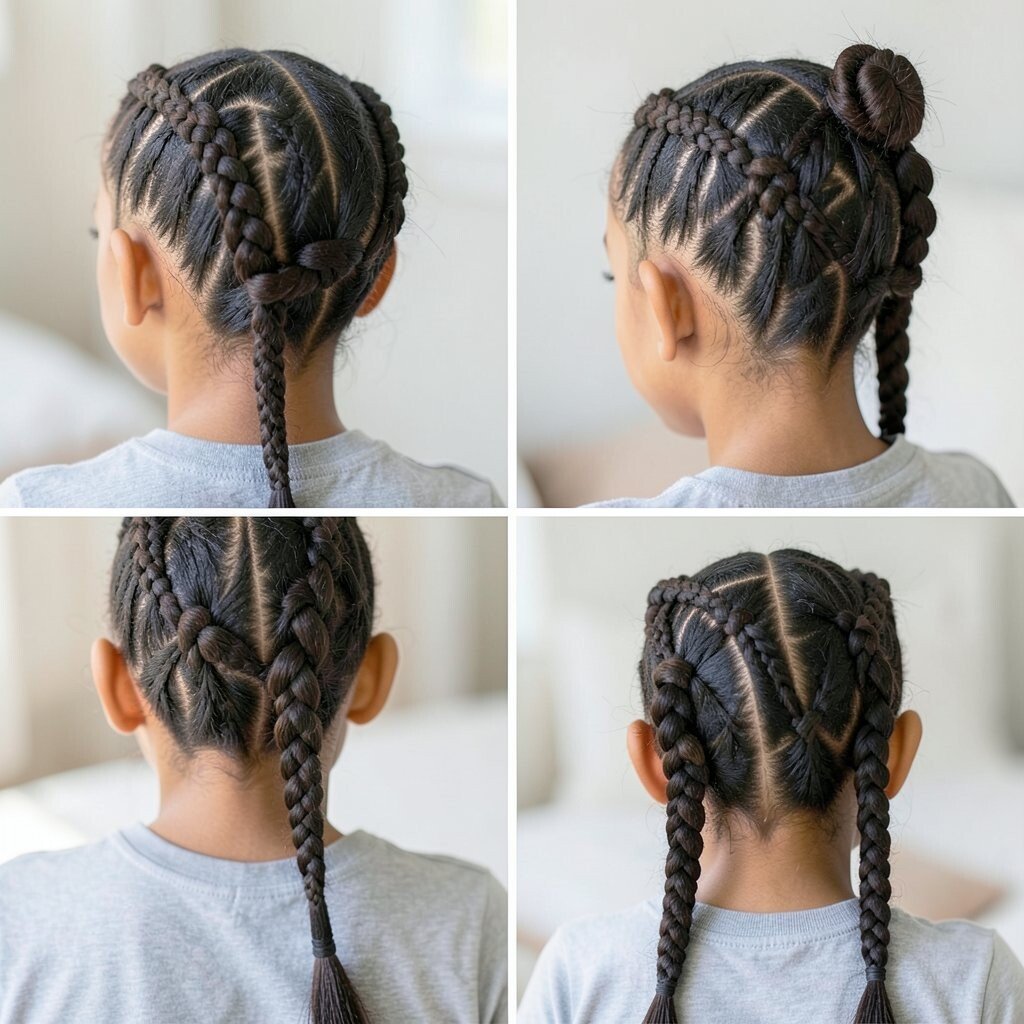
Twisted crown braids look like a delicate headband and instantly elevate your whole look. In photos, the crown shape draws attention upward, which makes the face area look extra polished.
Part your hair down the middle, then create two twisted sections on both sides. Twist each side toward the back and secure them around the crown with pins. Tuck the ends in so they don’t peek out, and lightly loosen the twist to avoid a too-flat look.
For personalization, add a small decorative clip near the back if you want a little sparkle. If you want it more subtle, keep the twists sleek and skip extra accessories. This hairstyle is usually affordable because it uses mostly pins and elastics, plus optional jewelry.
To keep it comfortable, avoid pulling too tight near the part line, especially if you’ll be wearing it for hours. A flexible hold spray helps the twists stay secure without making hair stiff.
8. Bubble Ponytail with Soft Texture
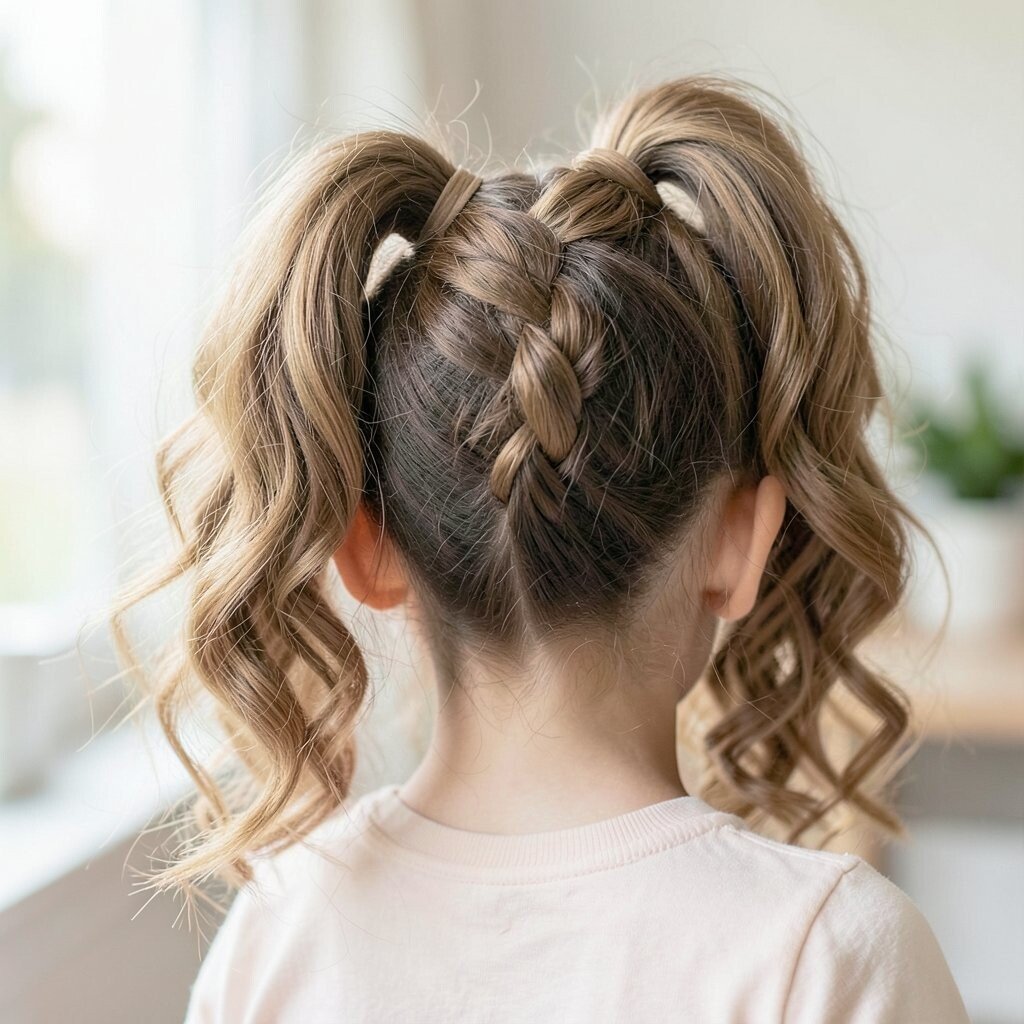
A bubble ponytail is playful and modern, and it looks fun even from a distance. The “bubbles” create a bouncy shape that stands out in pictures.
Secure your hair into a ponytail, then tie small elastics at even intervals down the length. Use your fingers to gently puff each bubble so it looks round and full. If your hair is slippery, add a tiny bit of texturizing spray first so the elastics grip better.
9. Polished Side-Swept French Clip
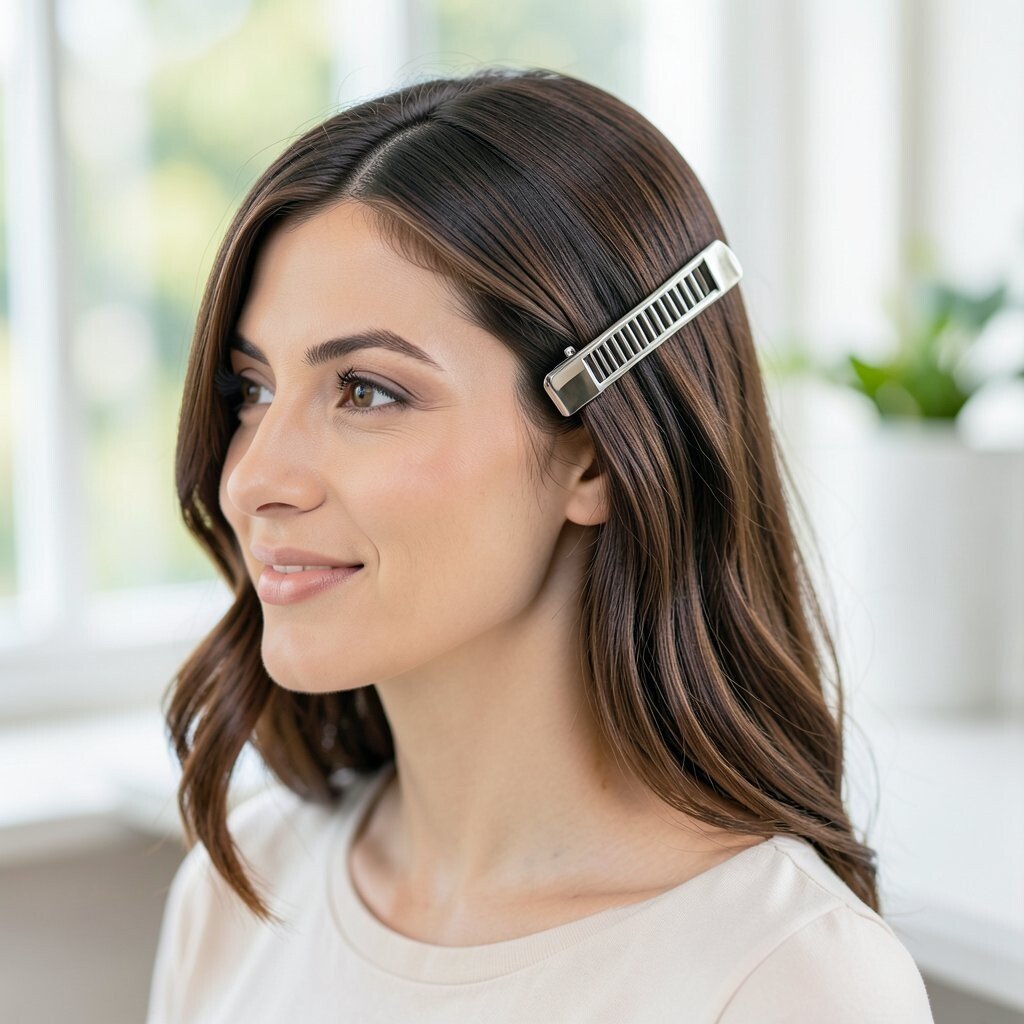
A side-swept style with a decorative clip makes your hair look styled in a snap. It’s one of those looks that feels fancy without requiring a full braiding session.
Gather the front section from one side and sweep it back, then pin it with bobby pins. Add a small decorative clip over the pins to hide them and make the style feel intentional. For extra sleekness, smooth the rest of your hair with a light shine serum or a quick brush-through.
If you want waves, curl only the bottom half and keep the pinned side smooth for contrast. This creates a camera-friendly balance between neatness and movement. Personalize with a clip color that matches your accessories, and choose a small size for a natural look or a larger one for extra sparkle.
10. Classic Bangs-Ready Curtain Layers
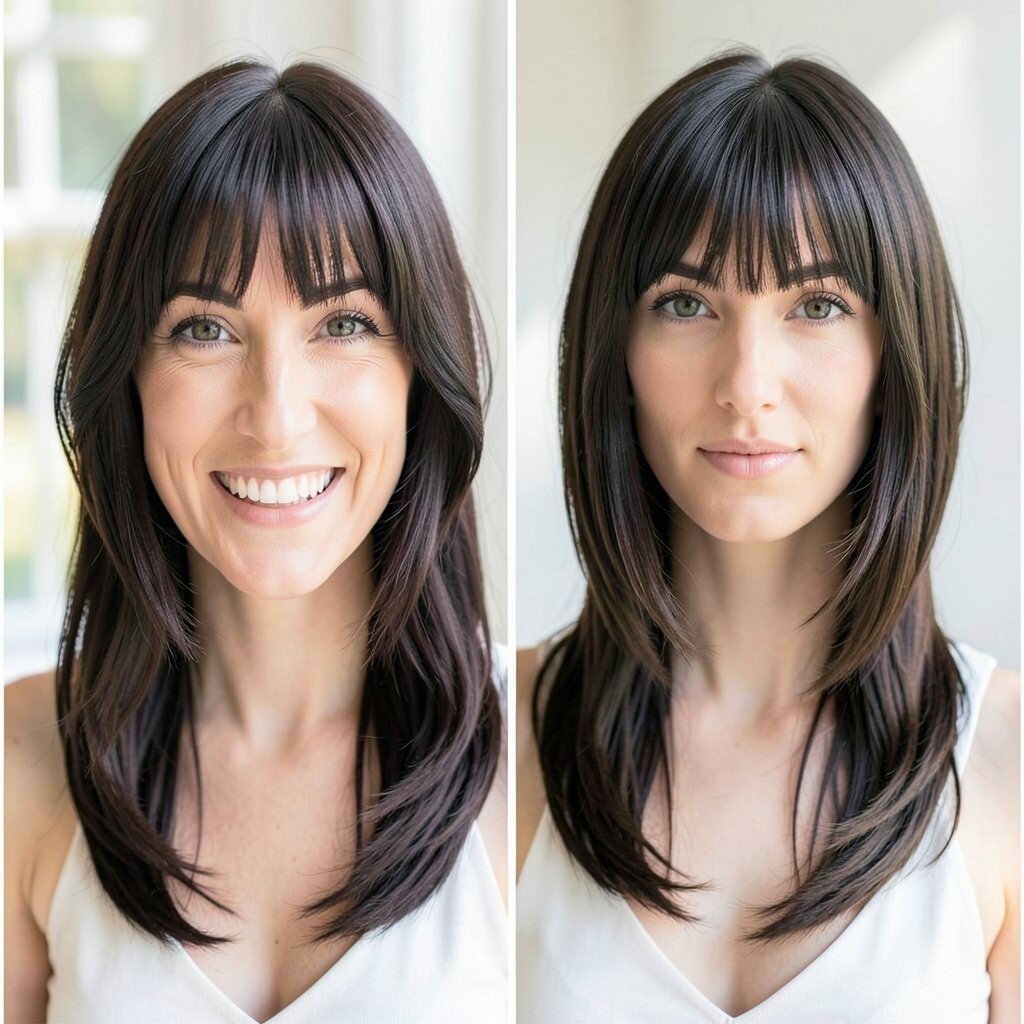
If you have curtain bangs or face-framing layers, this style lets them shine. Soft, parted layers create a friendly, open look that sits nicely in photos.
Use a blow-dryer to shape the bangs so they fall outward from the center part. Keep the middle slightly shorter so it frames the eyes, then let the sides fall toward the cheekbones. For personalization, choose a slight wave in the curtain pieces for a softer look or keep them straight for a sharper vibe.
This hairstyle is also a smart choice if you’re not sure what to do with flyaways. A dab of smoothing cream on the ends helps them look controlled without making hair heavy. It can be low-cost since most of the effect comes from styling technique rather than extra products.
11. Low Twisted Bun with a Hidden Pin Detail
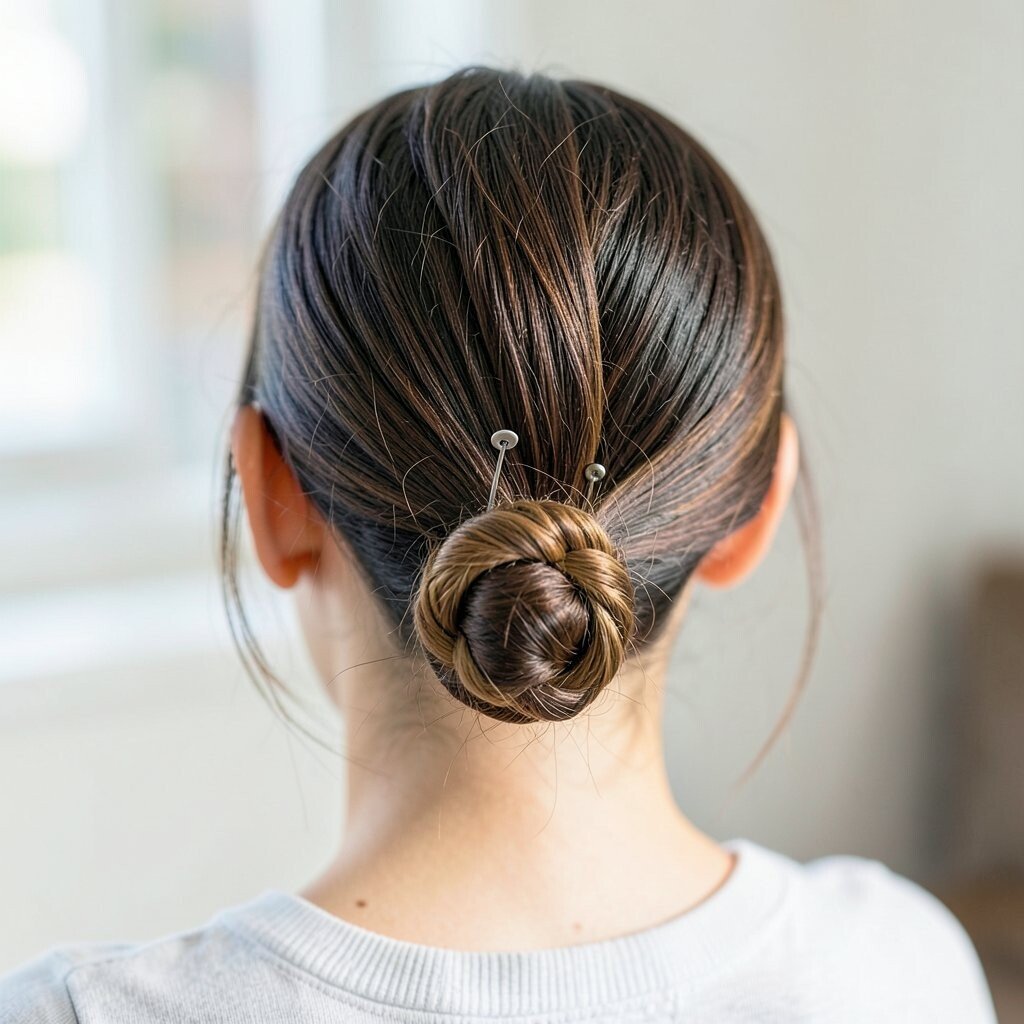
A low twisted bun feels romantic and polished, but it doesn’t need to take forever. The twist gives texture, so even if your bun isn’t perfect, it still looks stylish.
Gather hair into a low ponytail and twist it around itself. Wrap the twist into a bun and secure with bobby pins, making sure you place them where they hold best. For a unique touch, use one extra pin to tuck and lock a small inner section so the bun stays secure all day.
To keep it from looking too “done,” gently loosen the top and sides. This helps the bun look fuller and more natural in photos. If you have thin hair, backcomb very lightly at the crown before tying the ponytail for extra volume.
This is a great option for students who want elegance with comfort since it sits lower and feels less tight than higher styles. Usually, you’ll only need elastics, pins, and a light product for control.
12. Sleek Half-Up Top Knot
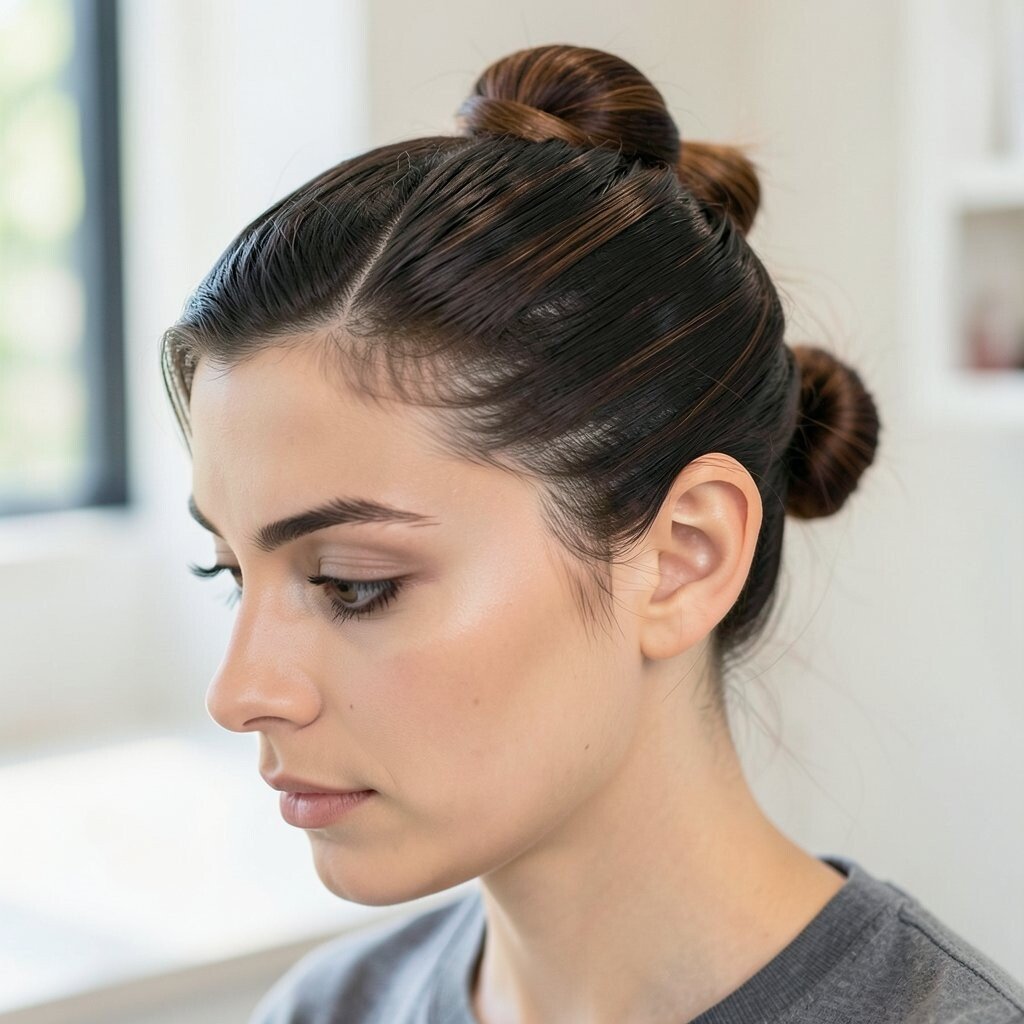
A half-up top knot gives a trendy silhouette that’s both cute and practical. It keeps the front up and out while the bottom stays soft and easy.
Pull the top half of your hair into a ponytail, then twist and wrap it into a small knot. Secure with pins and adjust the knot so it sits where you want it, either centered or slightly off. Smooth the remaining hair with a brush and finish with a light mist to hold the shape.
For personalization, match the knot size to your hair length. A smaller knot looks sweet for shorter hair, and a bigger knot can add bold style on longer hair. Current trends favor clean lines and minimal fuss, so this hairstyle fits right in.
13. Braided Headband with Loose Ends
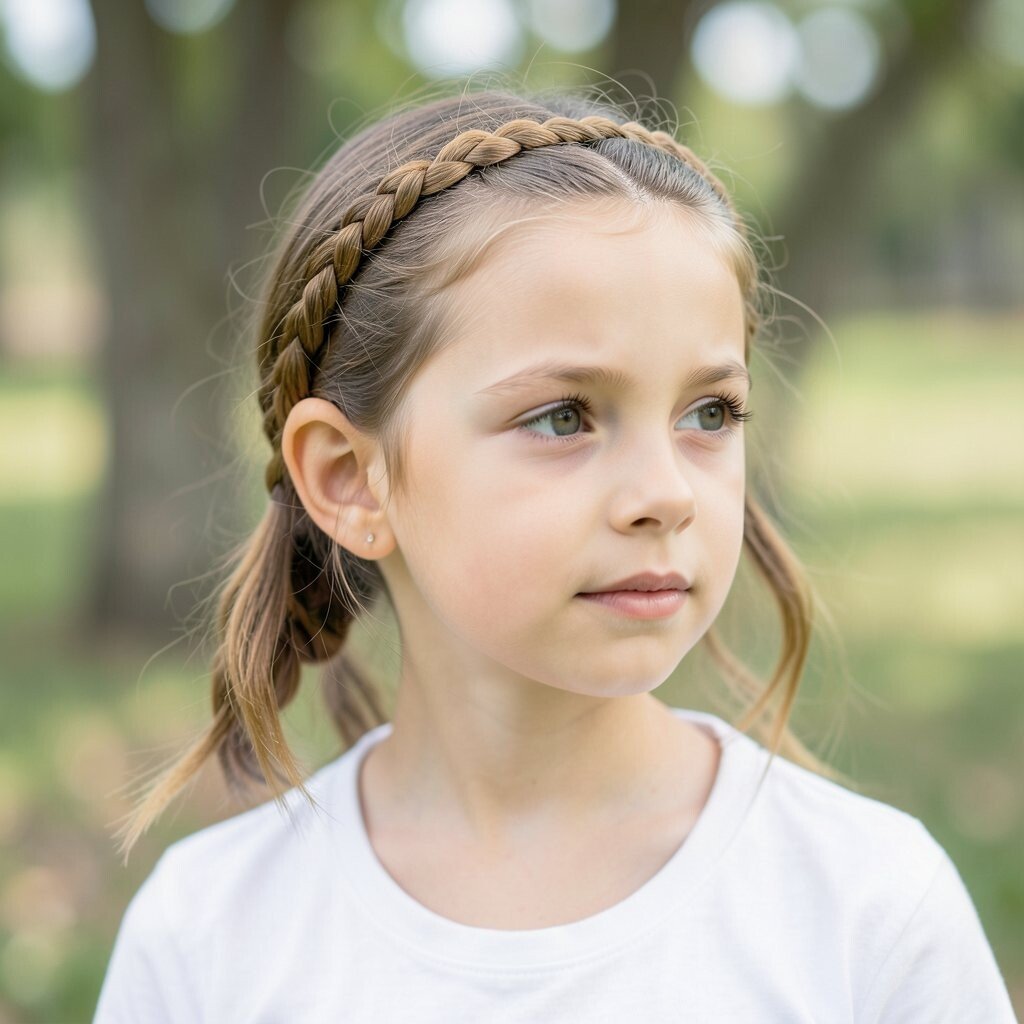
A braided headband looks like you’re wearing a crown, but it’s actually just a braid along the front. It’s especially flattering because it pulls attention to your eyes and highlights your face shape.
Create a thin braid across the top of your head from one side to the other. Pin the end on the opposite side, then let the rest of your hair fall naturally or add waves for extra softness. If you want more volume, gently tug the braid until it looks fuller, not messy.
This style works on many hair types, but it shines on wavy hair because the braid blends into texture. For straight hair, a quick wave at the ends helps the look feel intentional. It’s usually budget-friendly because you only need a few elastics and pins.
Personalize by choosing a regular braid for a classic vibe or a fishtail braid for something a little more unique. Either way, it’s a great choice when you want a styled look without heavy heat.
14. Three-Strand Rope Twist Ponytail
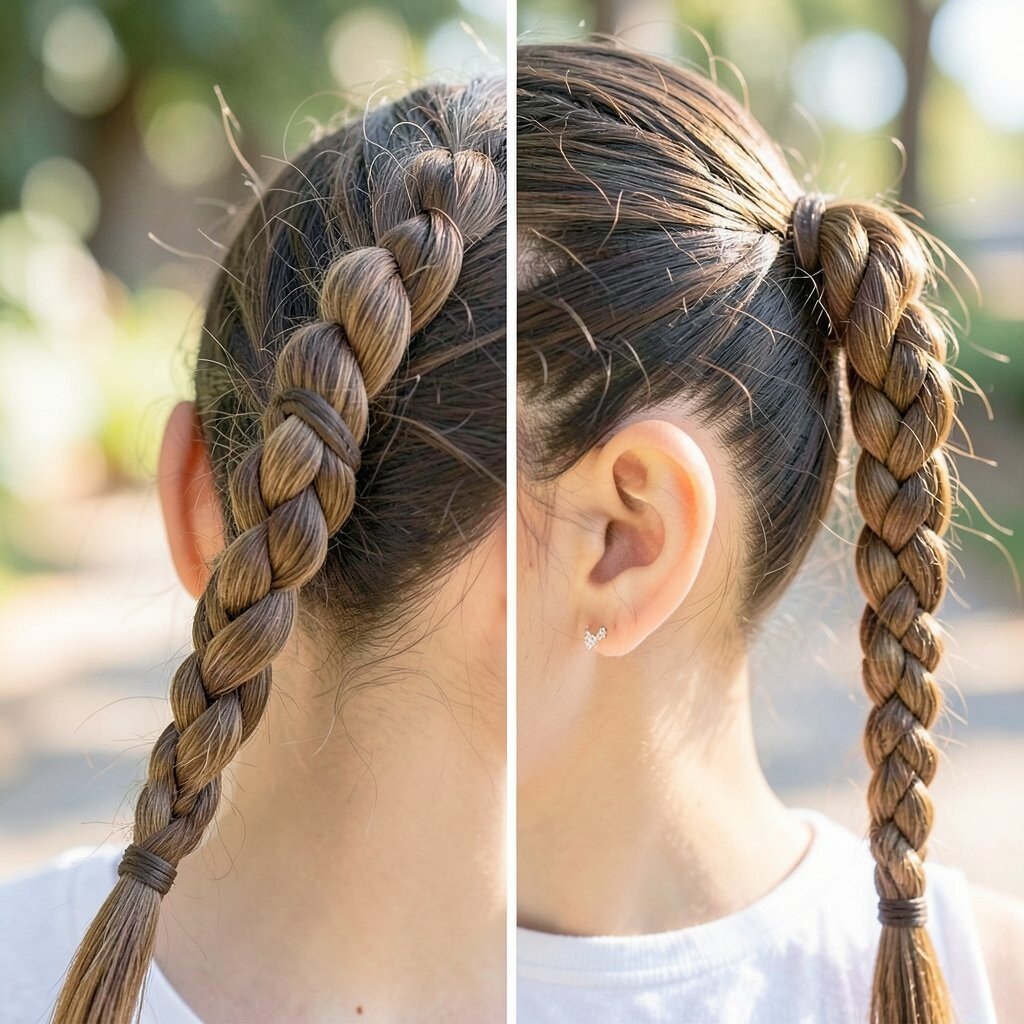
A rope twist ponytail looks sleek and modern, and it photographs with lots of texture. The twist pattern creates visual interest without needing complicated braids.
Start with a ponytail at your preferred height, then split it into two sections. Twist each section in the same direction, then twist both sections around each other in the opposite direction. Secure the ends and smooth any bumps with a small amount of styling cream.
For personalization, choose a lower height for a softer look or a higher ponytail for a more energetic vibe. If you have curly hair, you can loosen the twist slightly for a more relaxed finish. This style is relatively low-cost since it mainly relies on elastics and a small product for smoothing.
15. Half-Up Rope Braid with Messy-Polished Finish
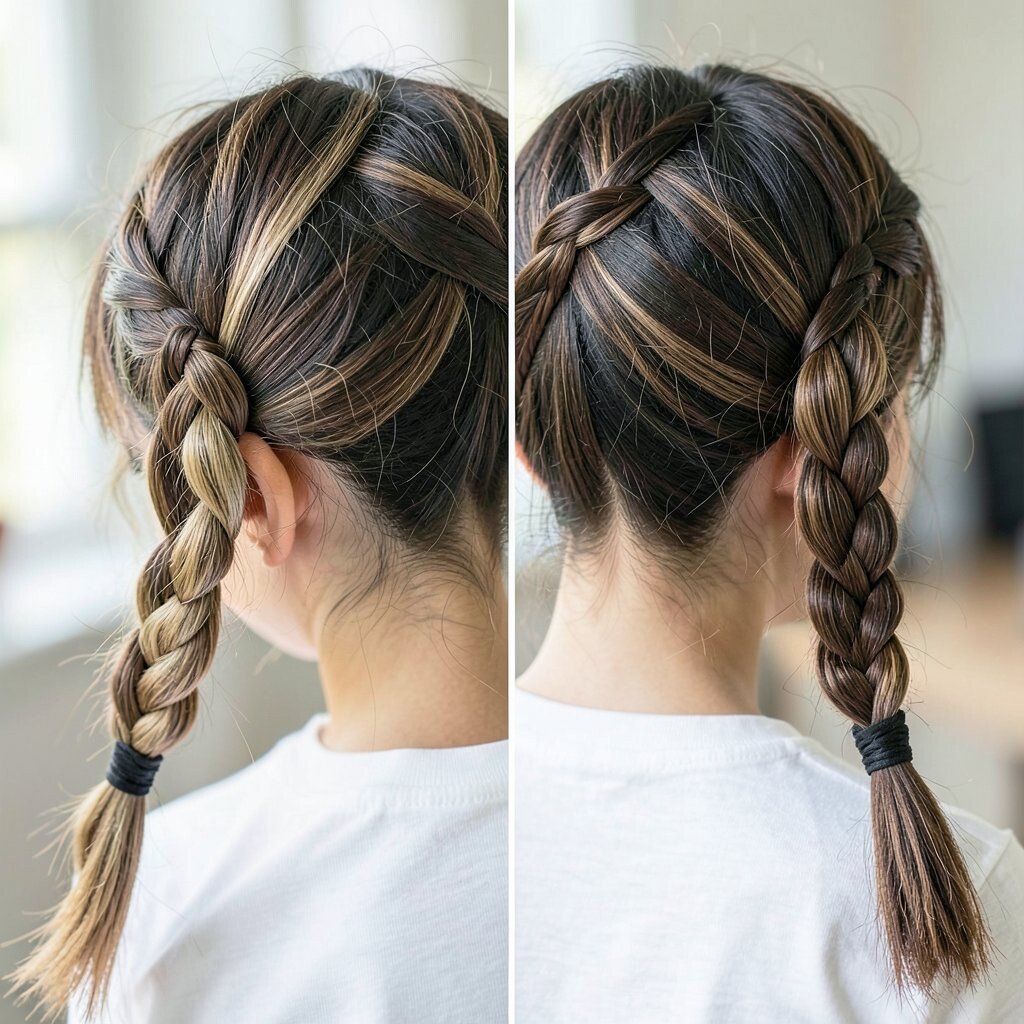
This style is all about mixing neatness with relaxed texture. The half-up rope braid holds the front back, while the rest of your hair looks effortless.
Section off the top half, then create a rope braid using the two sides of the section. Secure it at the back with a small elastic, then lightly tug the braid so it looks thicker. Finish the bottom with quick finger waves or a loose curl so the look feels lively in motion.
If your hair is very straight, adding a little dry texture helps the braid look defined. If it’s naturally wavy, a simple brush-through after styling keeps the texture looking natural. This hairstyle is unique because it’s not fully braided all over, yet it still looks “done” in photos.
Keep it comfortable by avoiding too much tension near the scalp. A flexible hold spray can help it last longer without making hair feel crunchy. Most of the cost comes from heat tools or your favorite styling product, so it’s easy to keep simple.
16. High Bun with a Claw Clip Twist
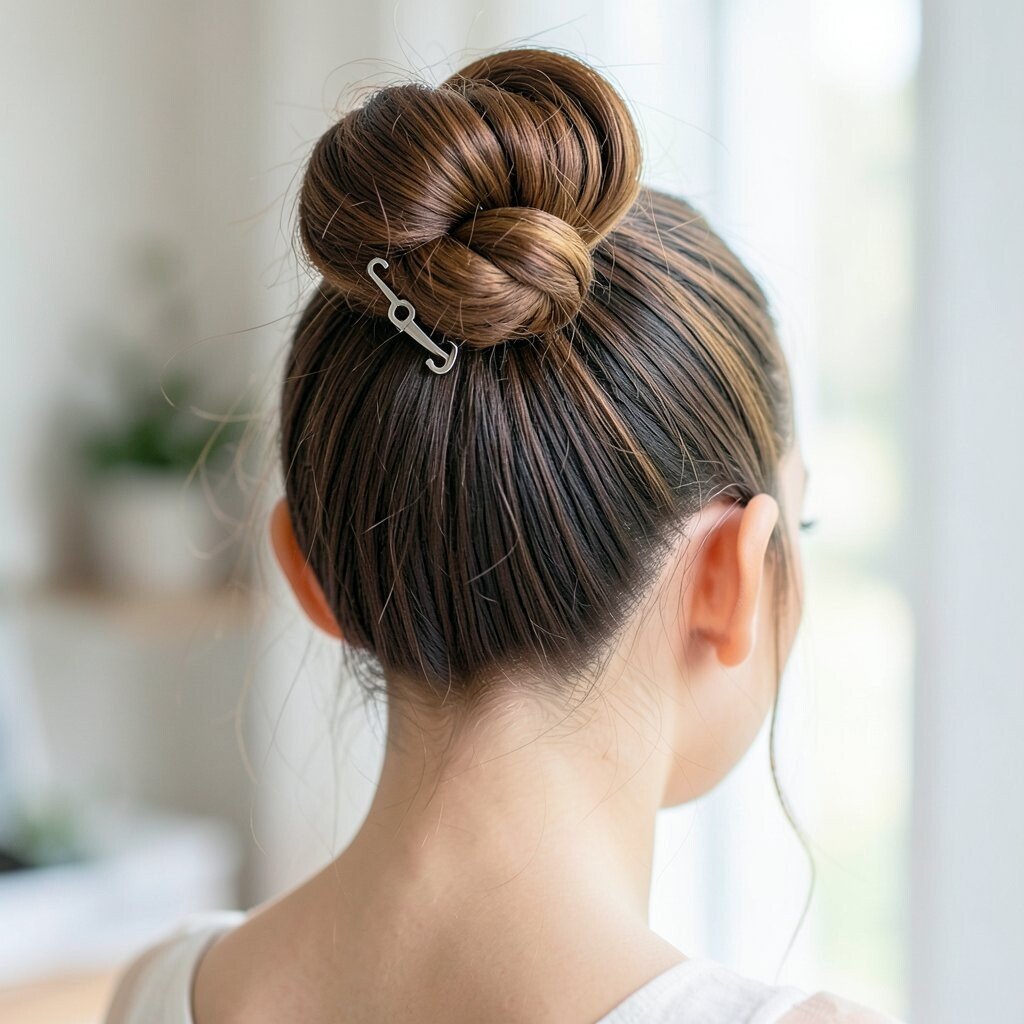
A high bun using a claw clip gives you instant polish with less time spent pinning. It’s a reliable option when you want your hair up but still want to adjust it as you go.
Gather hair into a high ponytail, twist it into a bun, and hold it with a large claw clip. Press and rotate the clip until it feels secure, then tuck any loose ends under the bun. For extra camera-readiness, smooth the top with a brush and add a light shine product on the surface.
Personalize by adding a braid or twist around the base of the bun before clipping it in place. A slightly messy-polished top can also look very trendy, since it gives a candid, fun energy. The main cost is the clip itself, and once you have it, you can reuse it for many hairstyles.
This style is especially helpful for busy mornings because it doesn’t require perfect symmetry. Your bun can look stylish even if it’s not totally uniform, which is great for real life.
17. Classic Curly Blowout with Side Sweep
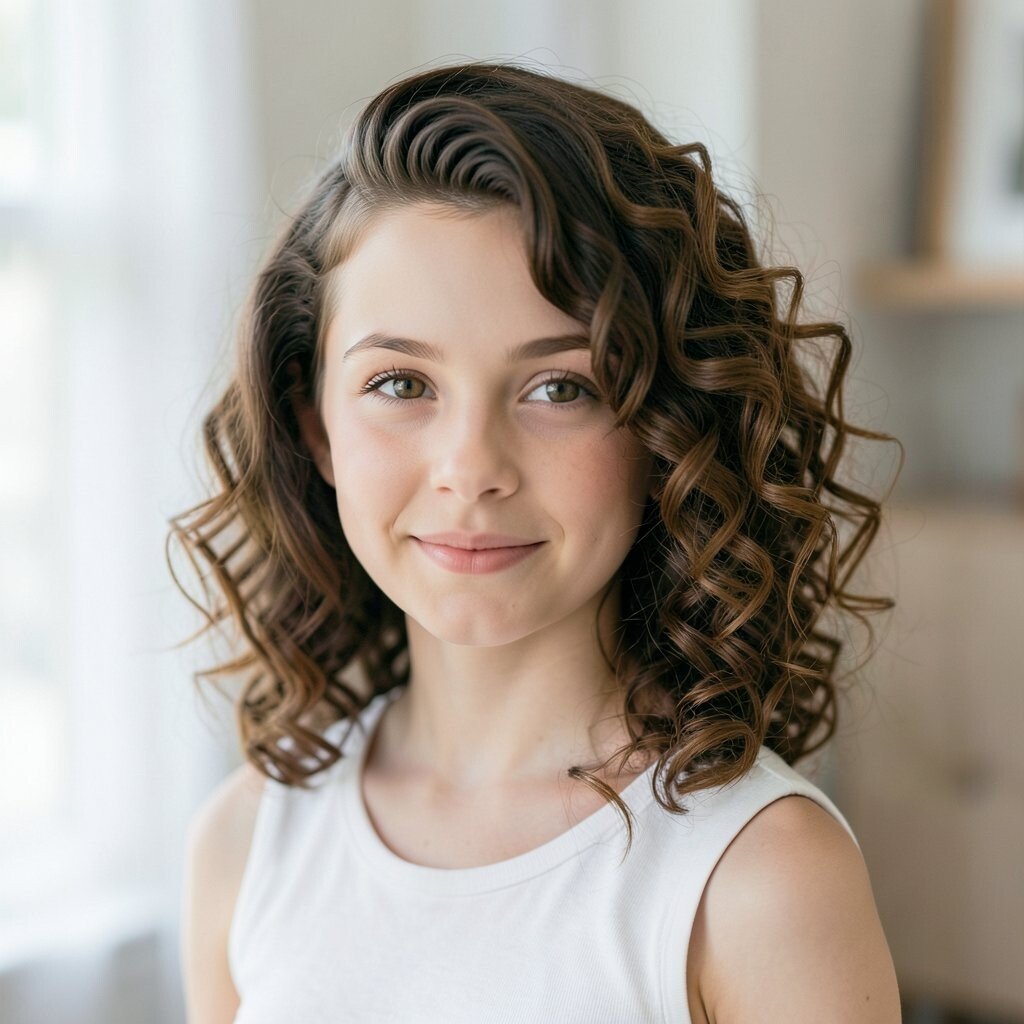
If your hair is naturally curly or can hold curls easily, a side-swept curly style is a gorgeous choice. The curls create volume and bounce, and the side sweep adds a flattering angle.
Start with damp hair and apply a curl cream, focusing on mid-lengths and ends. Either diffuse or air-dry while gently scrunching so the curls stay springy. Once dry, part your hair to the side and sweep the top so the curls fall over one shoulder for a photo-ready shape.
For personalization, adjust the volume by using more or less product and choosing bigger or smaller curl sections. If you want a more polished finish, lightly brush the top to remove frizz while keeping the curls intact. This hairstyle feels unique because it lets your natural texture take center stage.
Cost-wise, it can be friendly since you can use your existing curl products or swap in a budget-friendly cream and gel combo. Current trends emphasize natural-looking volume, and this style delivers it without looking stiff.