Want a shirt that feels like you. Simple changes can make it look playful, personal, and totally you.
These ideas are quick to start and fun to wear. Each one focuses on style you can see right away, plus practical ways to make it fit your life.
1. Tie-Dye With a Tiny Twist
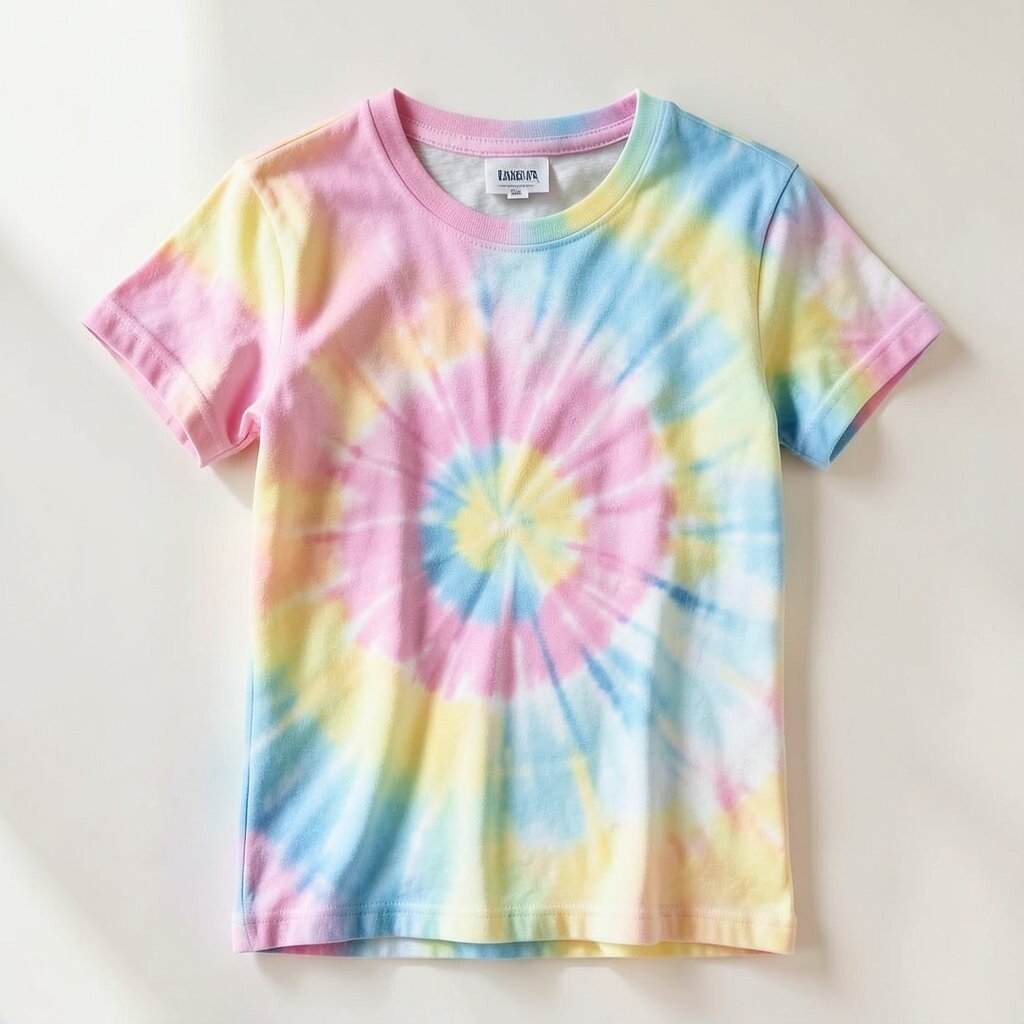
Pick a soft pastel base and then add a small “secret” shape like a heart, star, or mini spiral. When the dye swirls thinly, the pattern looks sweet and wearable, not loud or messy.
Start by wetting your shirt lightly and folding it into a simple shape, then wrap it tightly with string to guide the dye. Use different color strengths by placing stronger color at the center and lighter color around the edges, so the design has depth. Let it cure as the fabric label says, and rinse until the water runs clearer.
To personalize it, match the design to your mood, like sunrise yellows for a cheerful day or lavender tones for a calm vibe. For cost, you can use a small kit and still get a full look if you focus on one shirt and reuse any extra dye for small touch-ups.
2. Rhinestone Outline Hearts
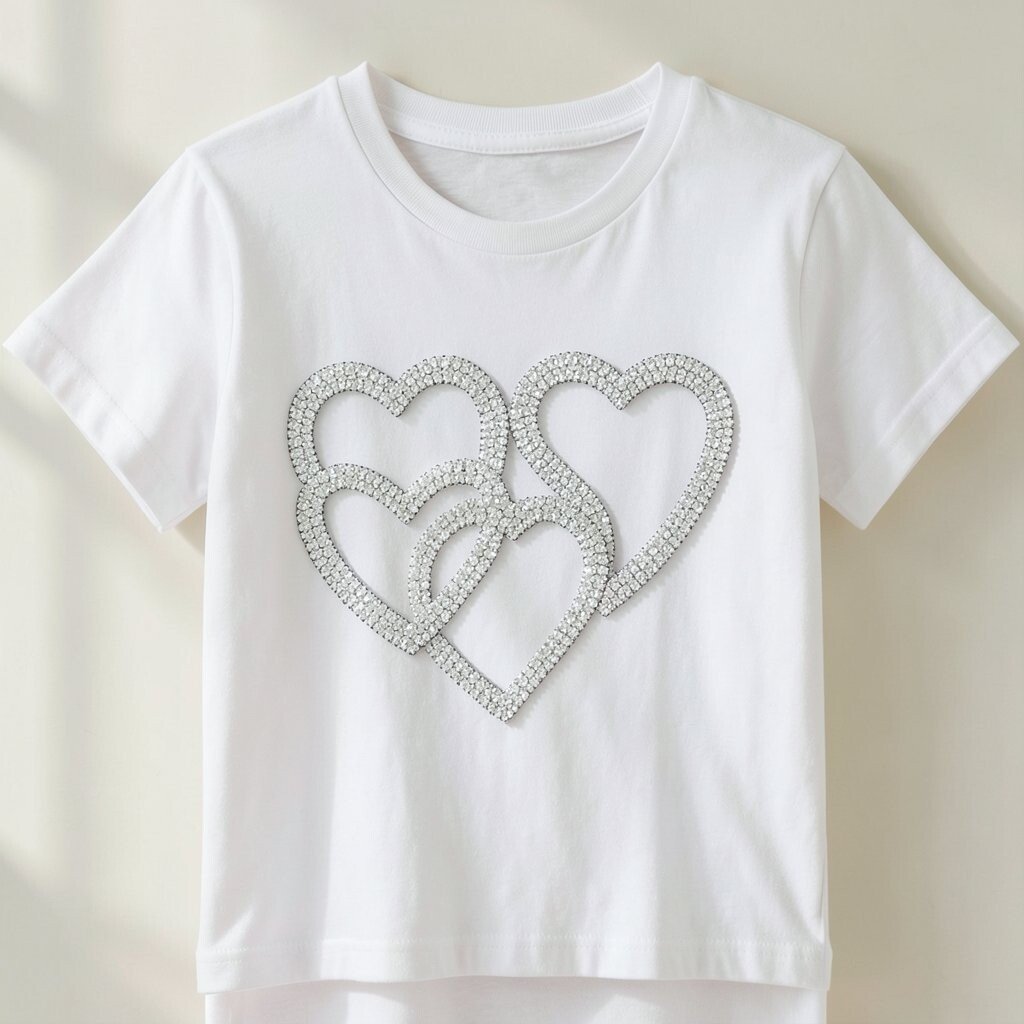
Choose a plain tee and pick one heart outline to place on the chest or near the sleeve. The little sparkle makes the whole shirt feel fancy while still staying cute and easy.
Use a fabric-safe marker to lightly sketch the heart, then apply rhinestones along the line using glue made for fabric or using heat-set stones if they work with your fabric. Space the stones evenly so the shape stays smooth, and press gently so they bond without gaps. Finish by adding a few tiny stones at the center for a “glow” effect.
For trends, minimal sparkle is popular right now because it looks clean with jeans, skirts, and even office-casual outfits. To keep it comfortable, avoid heavy clusters and stick to a small area, and check that the stones don’t rub against collars or underlayers.
3. Patchwork With Strawberry Squares
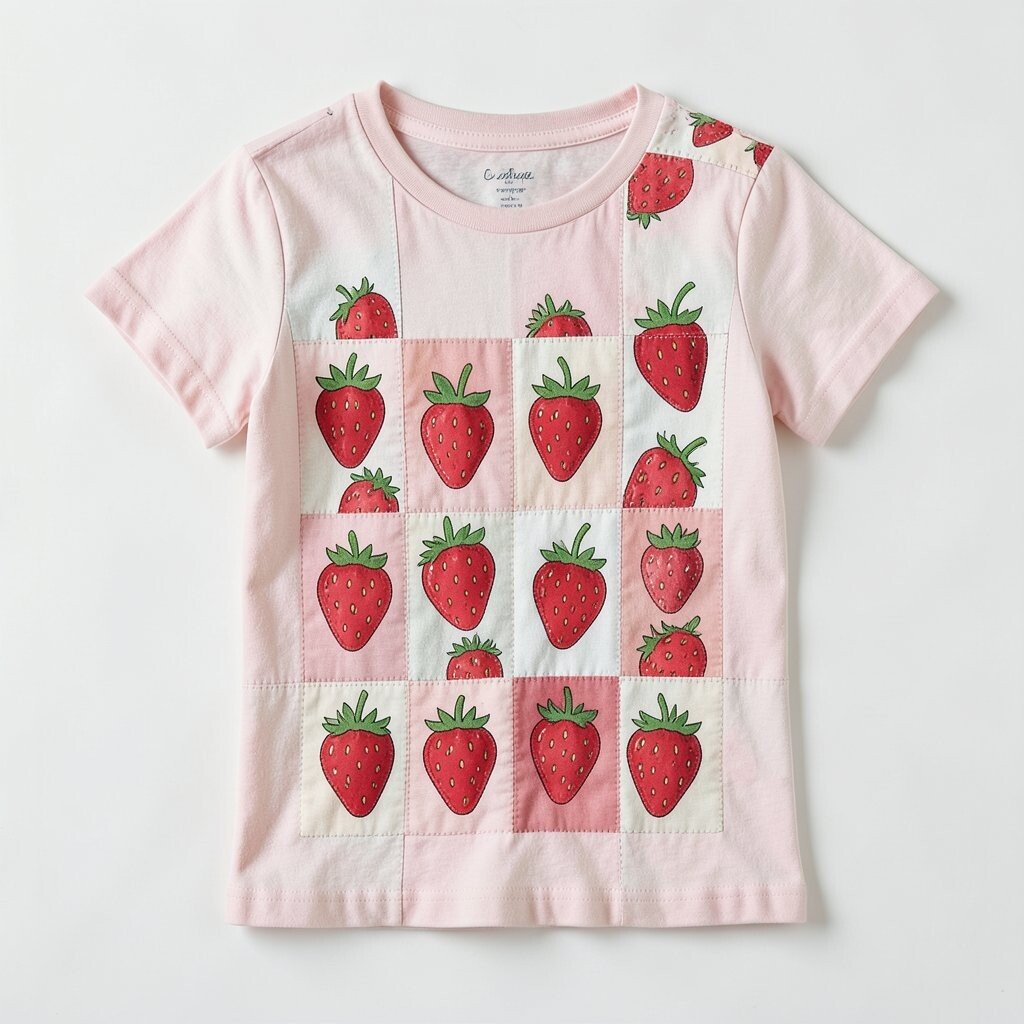
Look for iron-on or sew-on patches that feel sweet, like tiny strawberries, gingham, or little flowers. Even a few patches can turn a basic shirt into a story you can wear.
Pick a simple layout, such as one strawberry patch on the front and two smaller flower patches near the hem. If you sew, reinforce the fabric by stitching around the patch edges for extra durability. If you iron on, press firmly and let it cool fully before moving the shirt.
To personalize it, choose patches that match your favorite colors or a theme like “garden club” or “cozy bakery.” When thinking about cost, you can hunt for affordable patch packs and place just a handful for maximum impact. This idea also works great on thrifted shirts that need a new life.
Pair it with high-waist bottoms to make the patches stand out. The mix of textures makes the shirt feel unique, and people notice details even from far away.
4. Fabric Paint Doodles Around the Collar
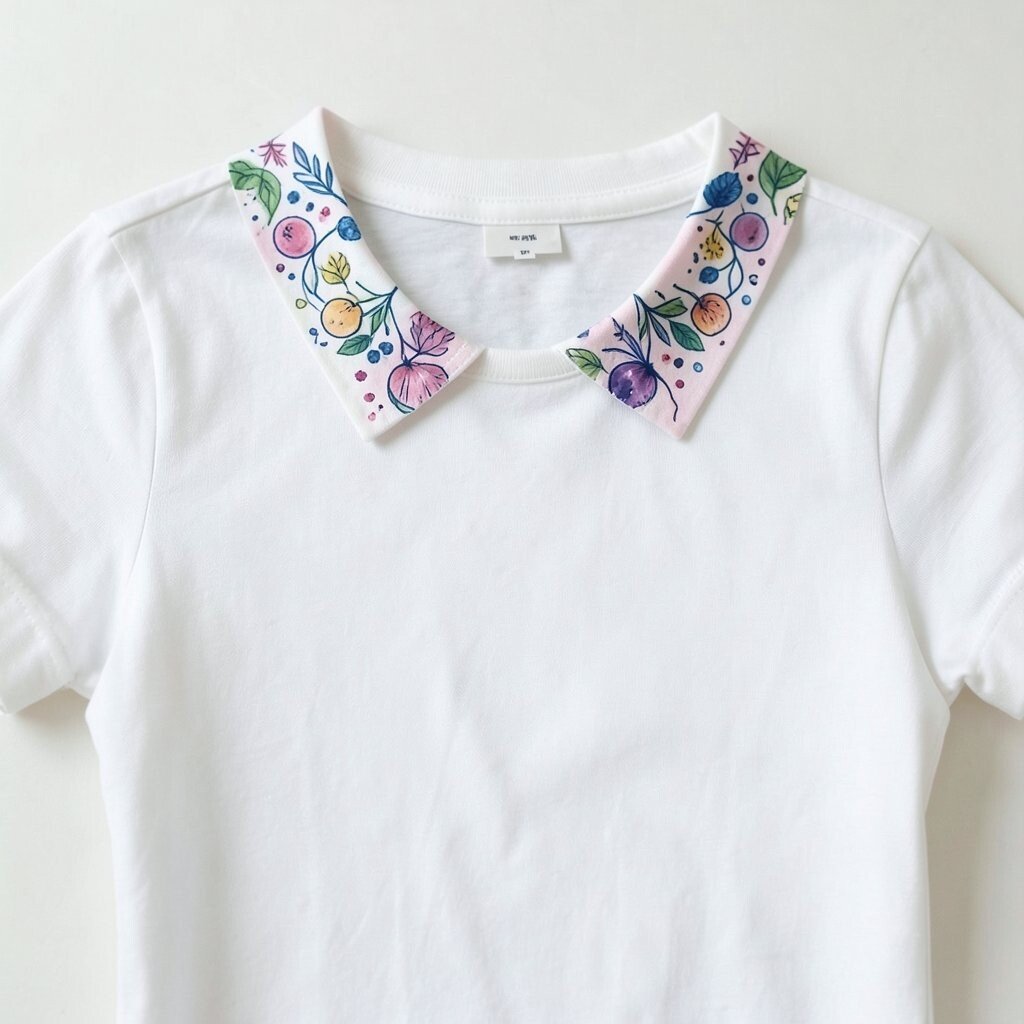
Draw tiny doodles like tiny clouds, swoosh lines, or cute animals near the collar area. The design frames your face and makes the shirt look like it belongs to a creative person.
Use fabric paint and a fine brush, then keep the lines light so they look playful. Add a few dots in contrasting colors and let the paint dry slowly to reduce smudges. If your shirt is dark, choose opaque paint, and if it’s light, you can use softer translucent shades.
Personalize it by matching the doodles to your everyday items, like a mini coffee cup if you love morning routines. For cost, a small set of paint colors goes a long way, especially for small details. Current styling favors small, intentional art rather than full-coverage prints, so this idea stays fresh.
To make it last, heat-set the paint if your product allows it, and wash inside out on gentle settings. This keeps the doodles sharp and sweet wash after wash.
5. Vintage Band Tee With Modern Cutouts
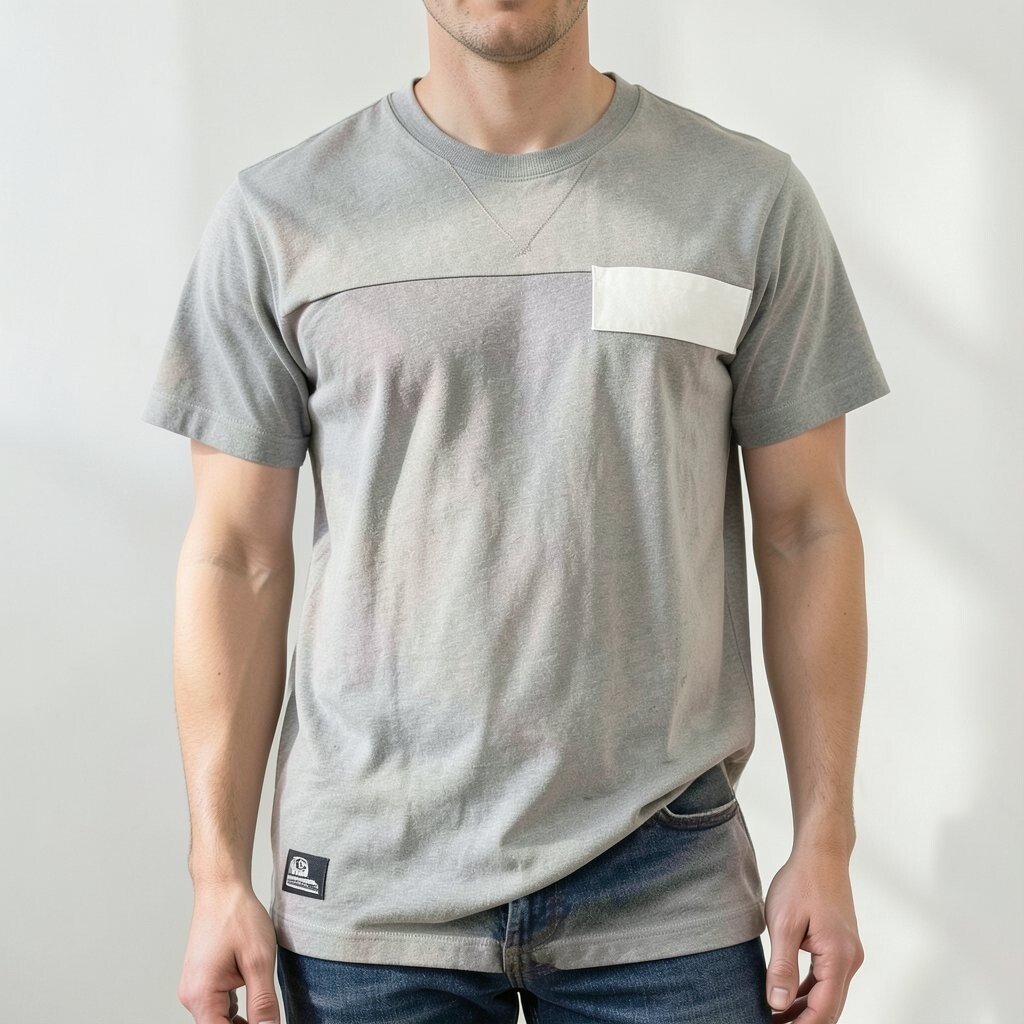
Take a band tee or graphic shirt you already love and add cute cutouts like a heart window on the sleeve or a small V-notch on the front. The vibe feels vintage, but the styling feels new and playful.
Use fabric chalk to mark where you want to cut, then cut carefully with sharp scissors. If you want clean edges, sew a tiny binding strip around the cutout or use a no-fray fabric adhesive tape where appropriate. Keep the cutout small so it looks intentional, not risky.
For personalization, place the cutout where your favorite design area is, so the shirt still looks like you. Cost-wise, this is mostly time-based since you’re reworking something you own. Many people are wearing revamped graphic tees right now because it gives “lived-in” style with a personal twist.
6. Screen-Printed Name With a Friendly Font
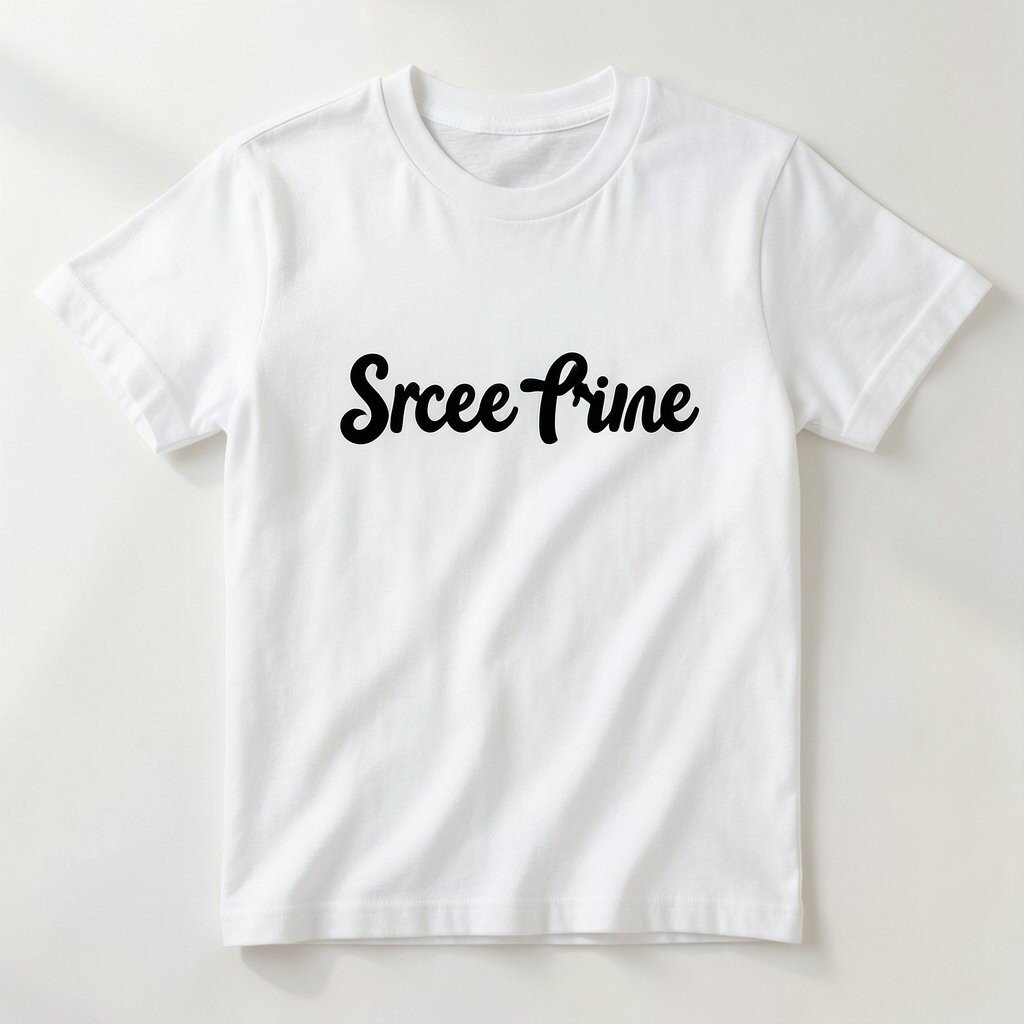
Write your name or nickname in a bold, friendly font style across the front. A simple text design looks cute because it’s personal, readable, and easy to style.
For the easiest approach, use fabric transfer paper to print your design or use stencil letters and fabric paint. Choose one color that pops against your shirt, like white on black or navy on light pink. Let it dry fully, then press or heat-set based on your method.
Personalize it by pairing your name with one tiny icon like a star, bunny ear, or tiny sparkle mark. For cost, letter stencils and paint are usually cheaper than full custom printing, and you can reuse them for future shirts. This style also fits current trends that favor clean typography and minimal graphics.
Wear it with anything from leggings to overalls, and it immediately looks like you planned the outfit.
7. Lace Trim Sleeve Edges
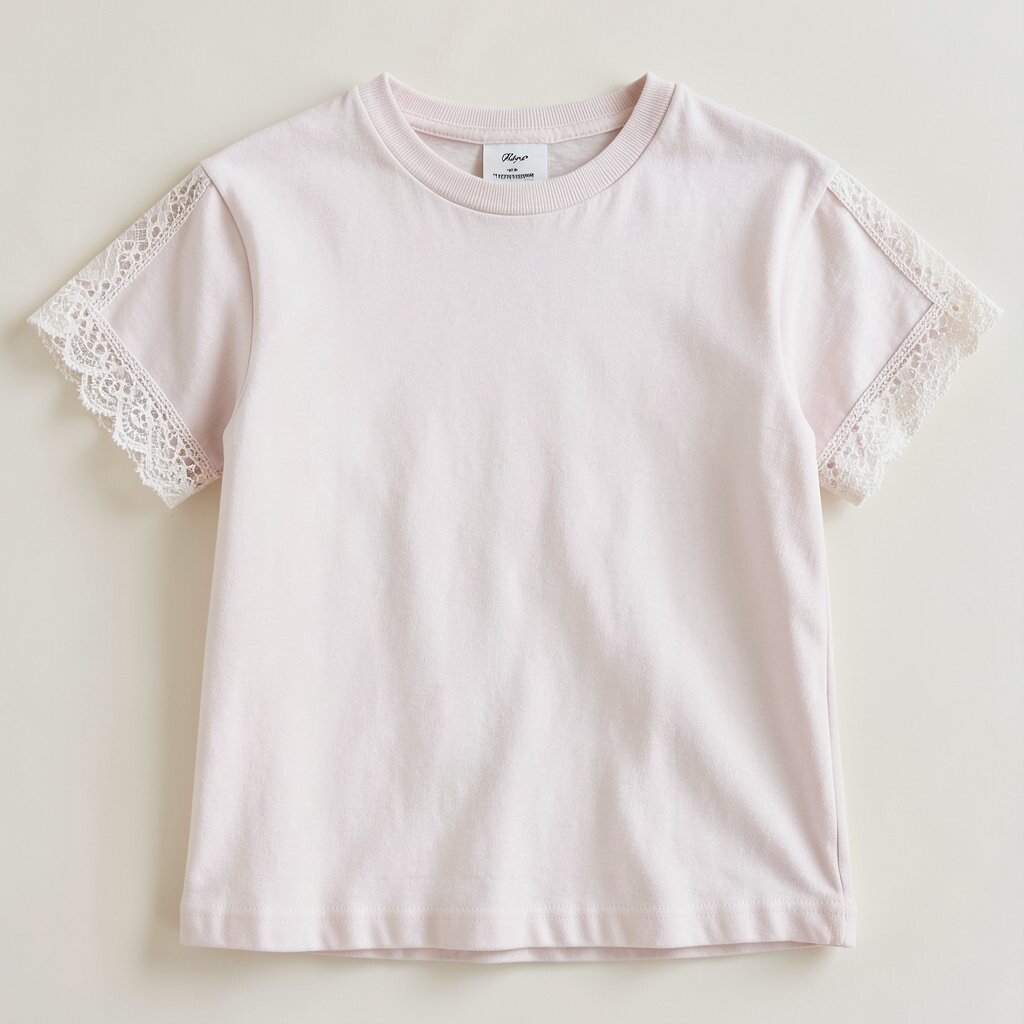
Add lace trim along your sleeve edges for a soft, sweet look that feels like a tiny upgrade. The lace frames your arms and makes even a plain tee look special.
Choose lace that matches your vibe, like scalloped lace for a vintage feel or simple skinny lace for a clean look. Measure your sleeve edge and cut the lace slightly longer, then stitch it down carefully or use fabric glue for a faster method. Trim extra lace so the edges sit smoothly.
To personalize it, pick lace colors like cream, blush, or light blue depending on your shirt shade. If you’re budget-minded, you can buy a small lace ribbon piece instead of a full lace yard. This idea fits current fashion because delicate details are showing up more in everyday outfits.
Once finished, you’ll get a shirt that feels romantic but still casual enough for errands and school.
8. Mini Photo Transfer Collage
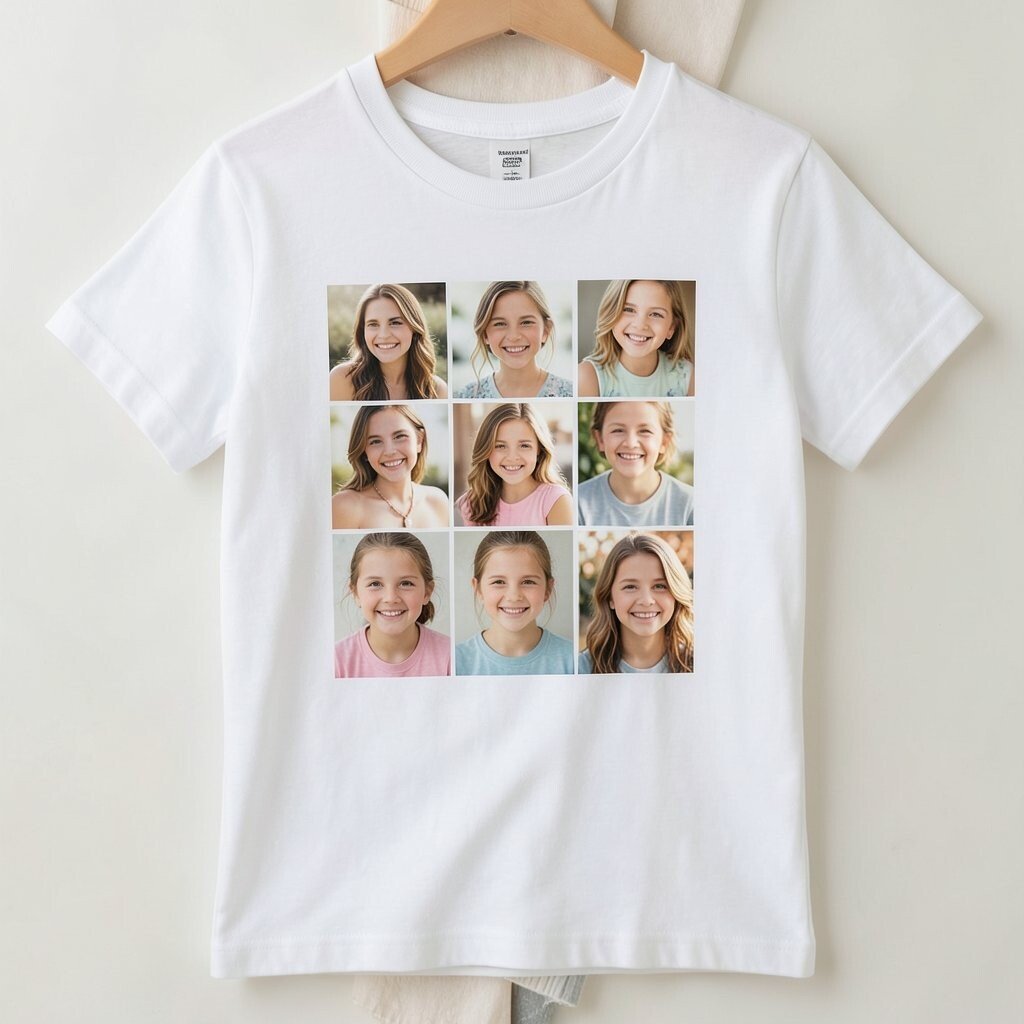
Create a tiny collage using photo transfers of moments you love. The effect looks like a memory you can wear, and it turns a basic tee into a wearable keepsake.
Pick one or two images, then shrink the size so they fit on the chest without looking cluttered. Use a photo transfer method that works for your fabric type, and seal the image so it stays smooth. Apply transfers carefully so there aren’t bubbles.
Personalize it by choosing images with matching colors, like sunny tones or a black-and-white theme. For cost, this is mostly about prints and transfer supplies, which can be affordable if you keep the design small. People love this kind of custom style right now because it looks thoughtful and not like a generic store graphic.
For best wear, wash gently and avoid hot drying so the image stays crisp.
9. Embroidered “You” Motto on the Back Neck
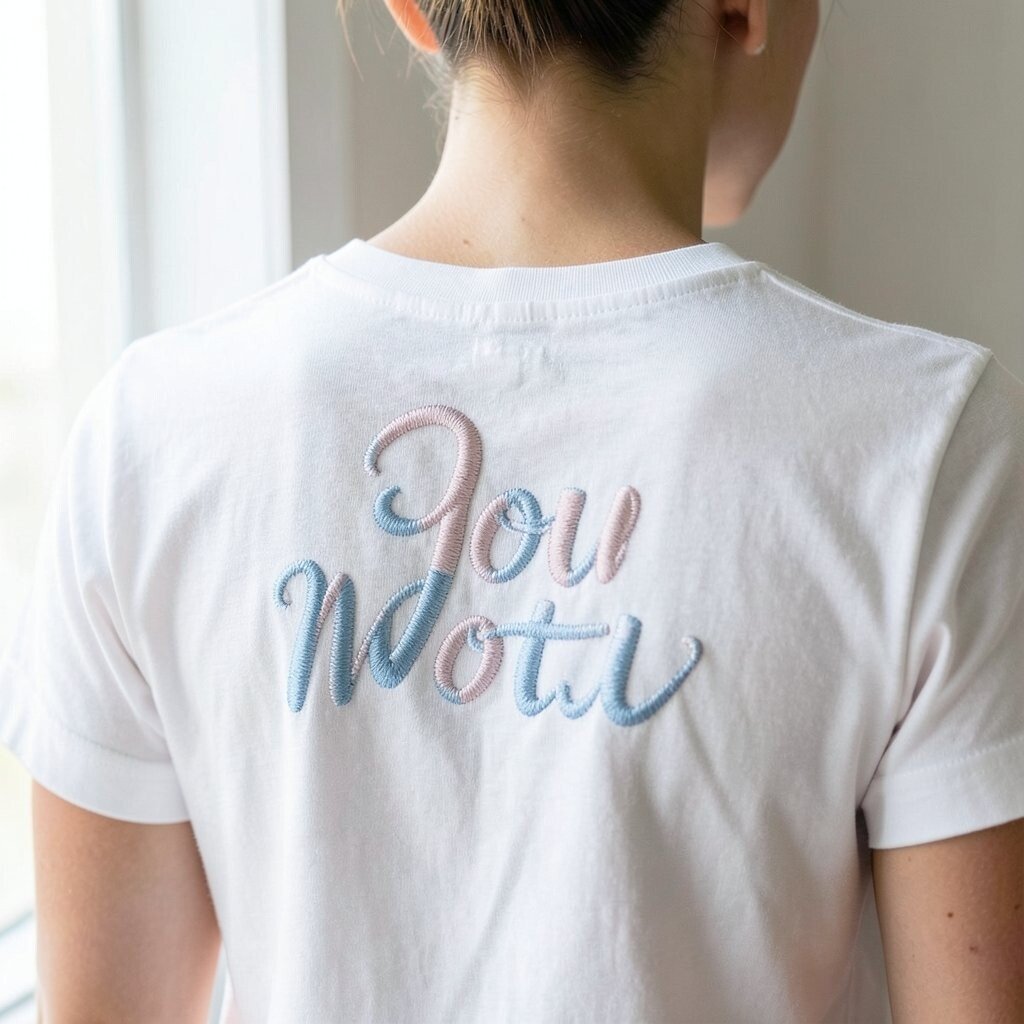
Put a small embroidered motto on the back neck area, like “Good vibes” or your own short phrase. It’s the kind of cute detail that surprises people when you turn around.
Use a simple hoop and basic stitches, then keep the wording small so it looks neat. You can also use pre-marked embroidery templates if you’re new, which makes the letters easier to shape. Choose thread colors that match your shirt and keep the contrast easy to read.
To personalize it, write something that fits your routine, like “Stay kind” or “Be brave.” For cost, embroidery can be budget-friendly because you’re using small amounts of thread and a few tools. This style matches current trends that favor tiny “secret” details and slow-made crafts.
When you finish, steam gently and test the shirt on your skin to make sure the stitches feel comfortable against your neck.
10. Puff Paint Dots for a Soft 3D Pattern
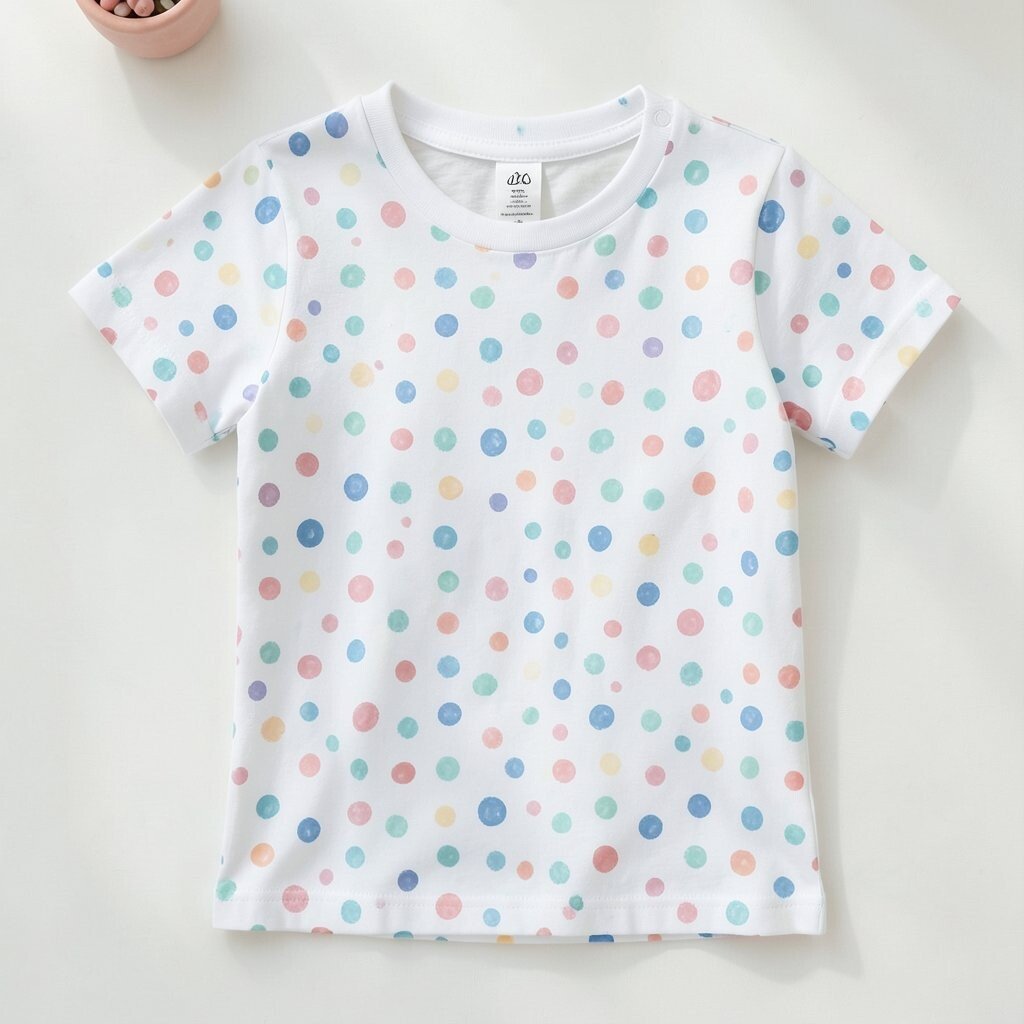
Use puff paint to make raised dots or tiny dots that swirl into a cute pattern. The texture feels cozy, and it stands out even when the shirt is otherwise plain.
Start by sketching a simple layout with fabric chalk, then squeeze puff paint onto the lines and fill in small circles. Keep the dots consistent in size so the pattern looks intentional. Let it dry and set fully, because puff paint needs time to rise and cure.
Personalize it by choosing a heart pattern made from dots, or by making your favorite color the “main dot” with lighter dots around it. For cost, puff paint usually costs more than basic paint, but you can stretch it by using only a small design area. This kind of texture is trending because it looks fun and handmade.
Wash inside out and avoid heavy scrubbing so the raised texture stays bold.
11. Crochet Flower Appliqué Cluster
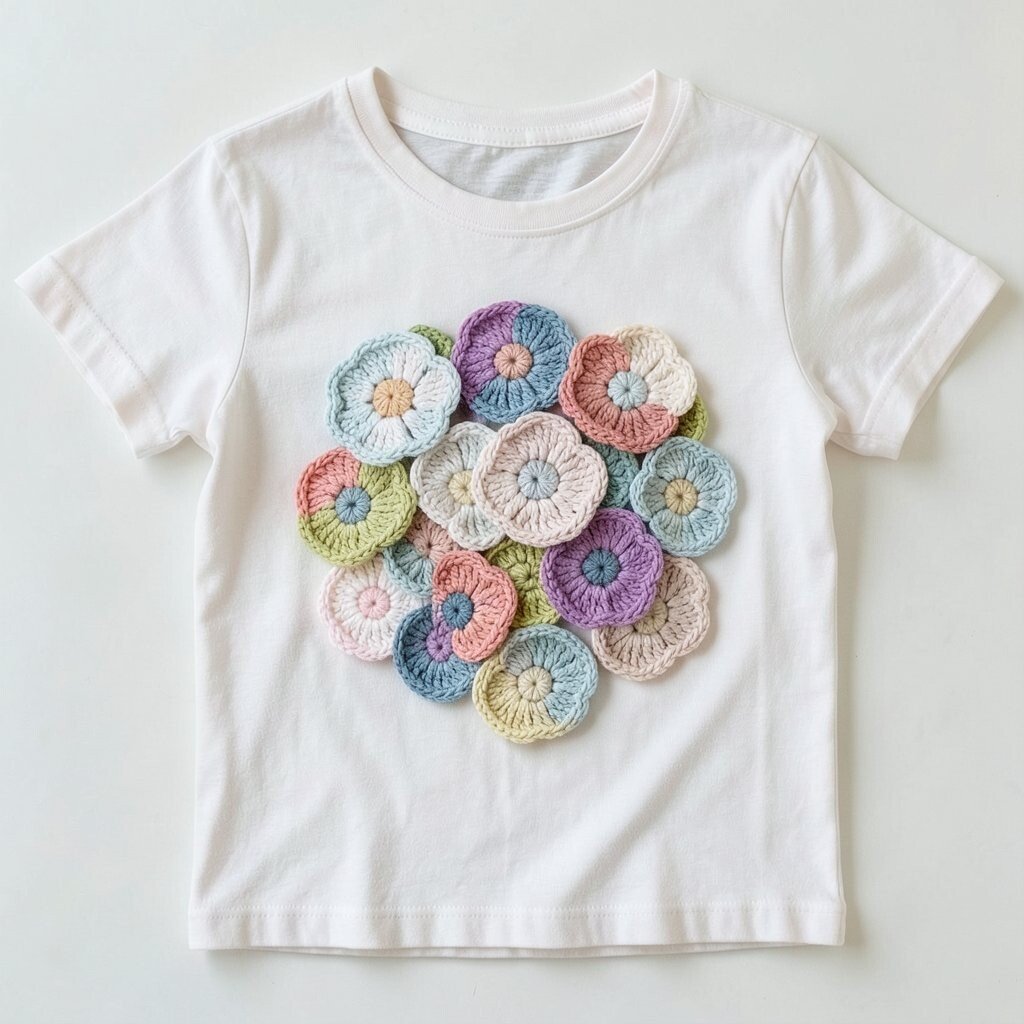
Attach crochet flowers on the front for a cute, handmade look that feels artsy and gentle. A small cluster of blooms can make your tee look like it came from a boutique.
Choose yarn colors that match your shirt and decide how many flowers you want, like three small flowers in a triangle shape. Sew or glue the back loops carefully so they sit flat and don’t scratch your skin. Add tiny leaves in green to connect the cluster and make it look natural.
To personalize it, match the flowers to a season, like daisies for spring or deeper maroon flowers for autumn. Cost-wise, crochet flowers can be low-cost if you use leftover yarn, but buying a small bundle is still usually cheaper than a full custom print. People are wearing more handmade textures lately, especially in everyday casual outfits.
Style it with denim and neutral skirts so the flowers stay the main focus.
12. Dye-Then-Whisker Sunburst With Bleach-Free Methods
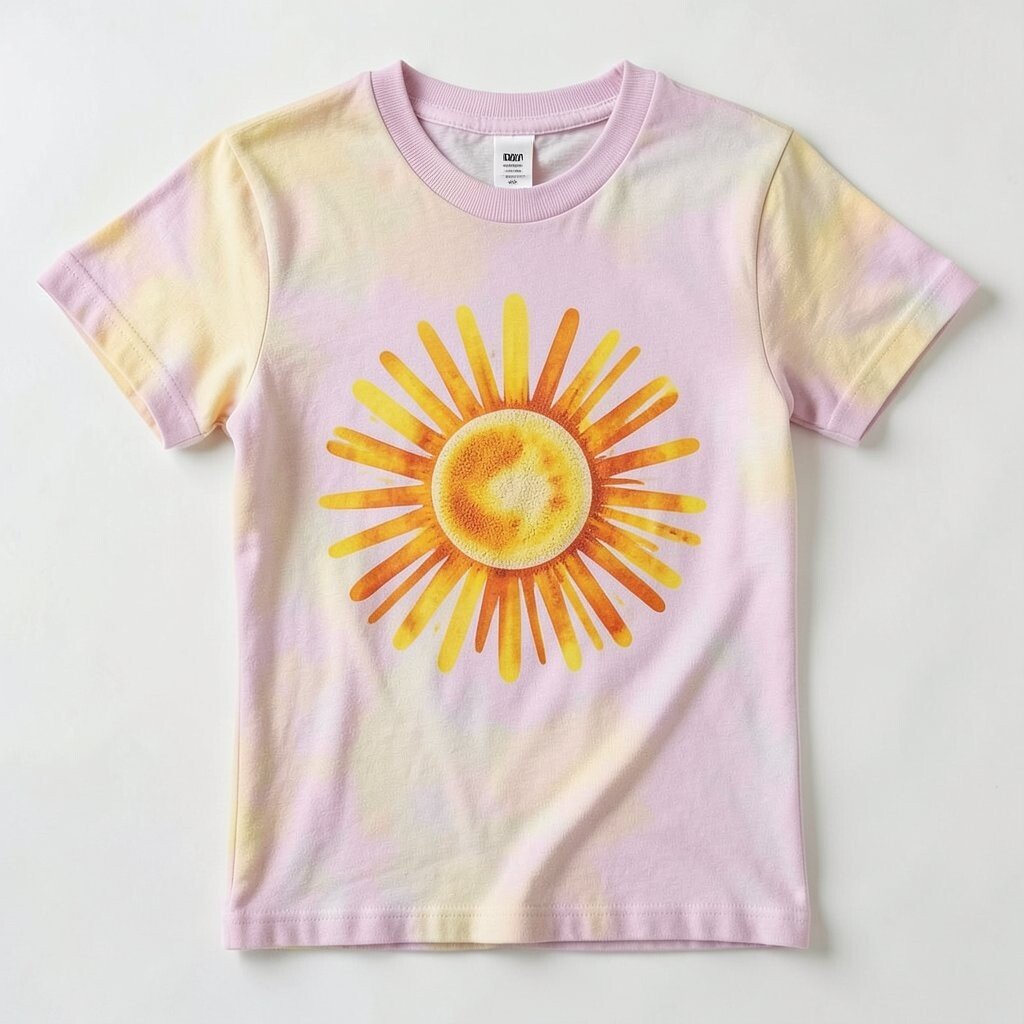
Create a sunburst effect using color techniques that don’t rely on harsh chemicals. The shirt looks artsy with soft rays that stretch from the center outward.
Fold your shirt so the center point is tight, then apply dye in thin radial lines like you’re painting slices of a pizza. Use gloved hands and make sure dye spreads evenly by squeezing gently to push color into folds. Rinse and wash separately until the color stops bleeding.
Personalize it with your favorite palette, like warm peaches and gold, or cool teal and soft navy. For cost considerations, you can start with a single dye kit and then build variety using one or two extra colors. Current wearable art trends lean toward color gradients and sunburst shapes because they look dynamic in photos.
To keep the look fresh, choose shirts made of cotton blends that accept dye well, and follow care instructions so the rays stay bright.
13. Custom Tie Belt From the Shirt Itself
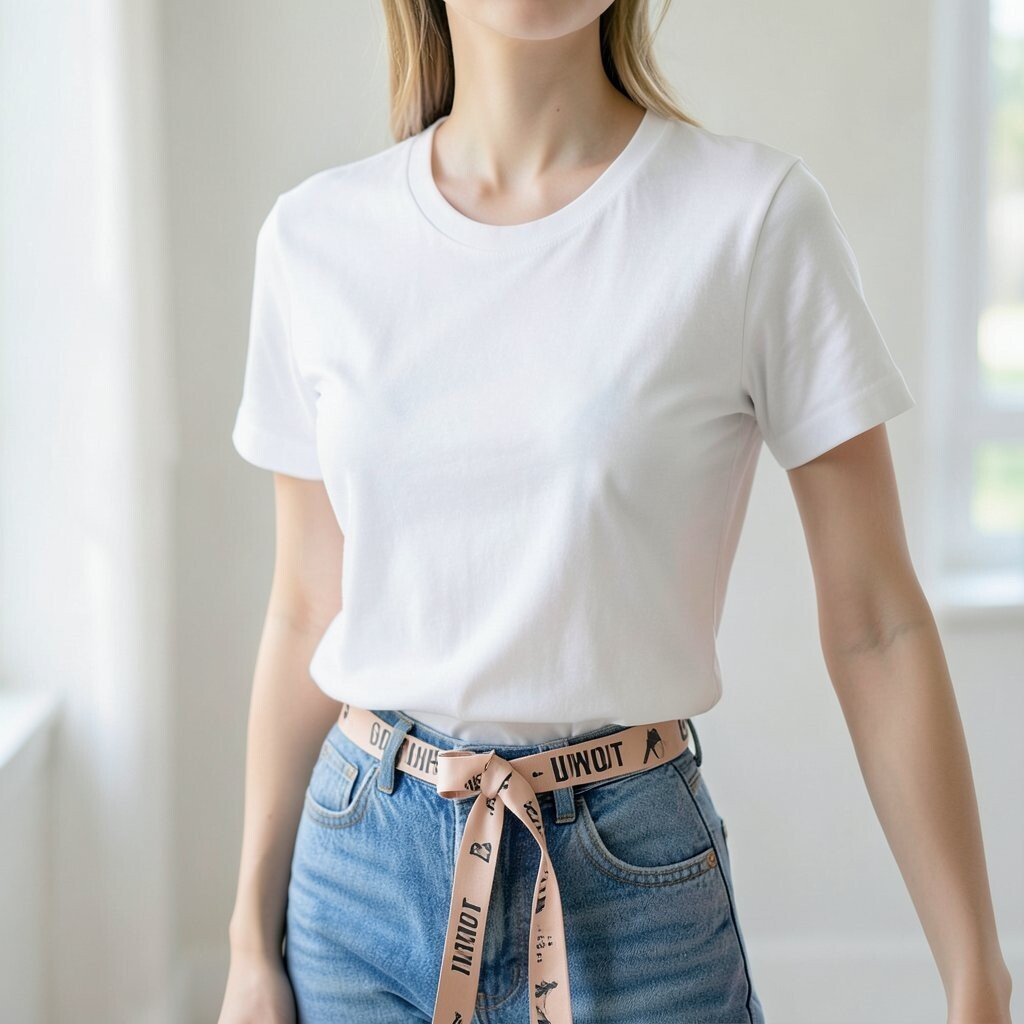
Turn a basic tee into a cute fitted look by adding a tie belt style. You can create it by cutting slits on the sides and threading fabric ties through for an adjustable waist.
Choose a shirt that you like for color and comfort, then mark where you want the waistline to sit. Cut carefully along the marked lines to create tie ends, then weave them through matching slits and knot at the side or front. If you want extra neat edges, fold and stitch the tie ends so they don’t fray quickly.
Personalize the tie by dyeing just the tie fabric for a contrast effect, or by adding a small charm at the knot for a playful detail. This idea can be nearly free since you’re using fabric you already have, and it saves money compared to buying specialty dresses or tops. Fashion right now favors flexible styling, and a DIY waist tie makes your shirt feel like a whole new outfit.
Pair it with shorts, a midi skirt, or leggings, and enjoy how the shirt shape changes with your mood.