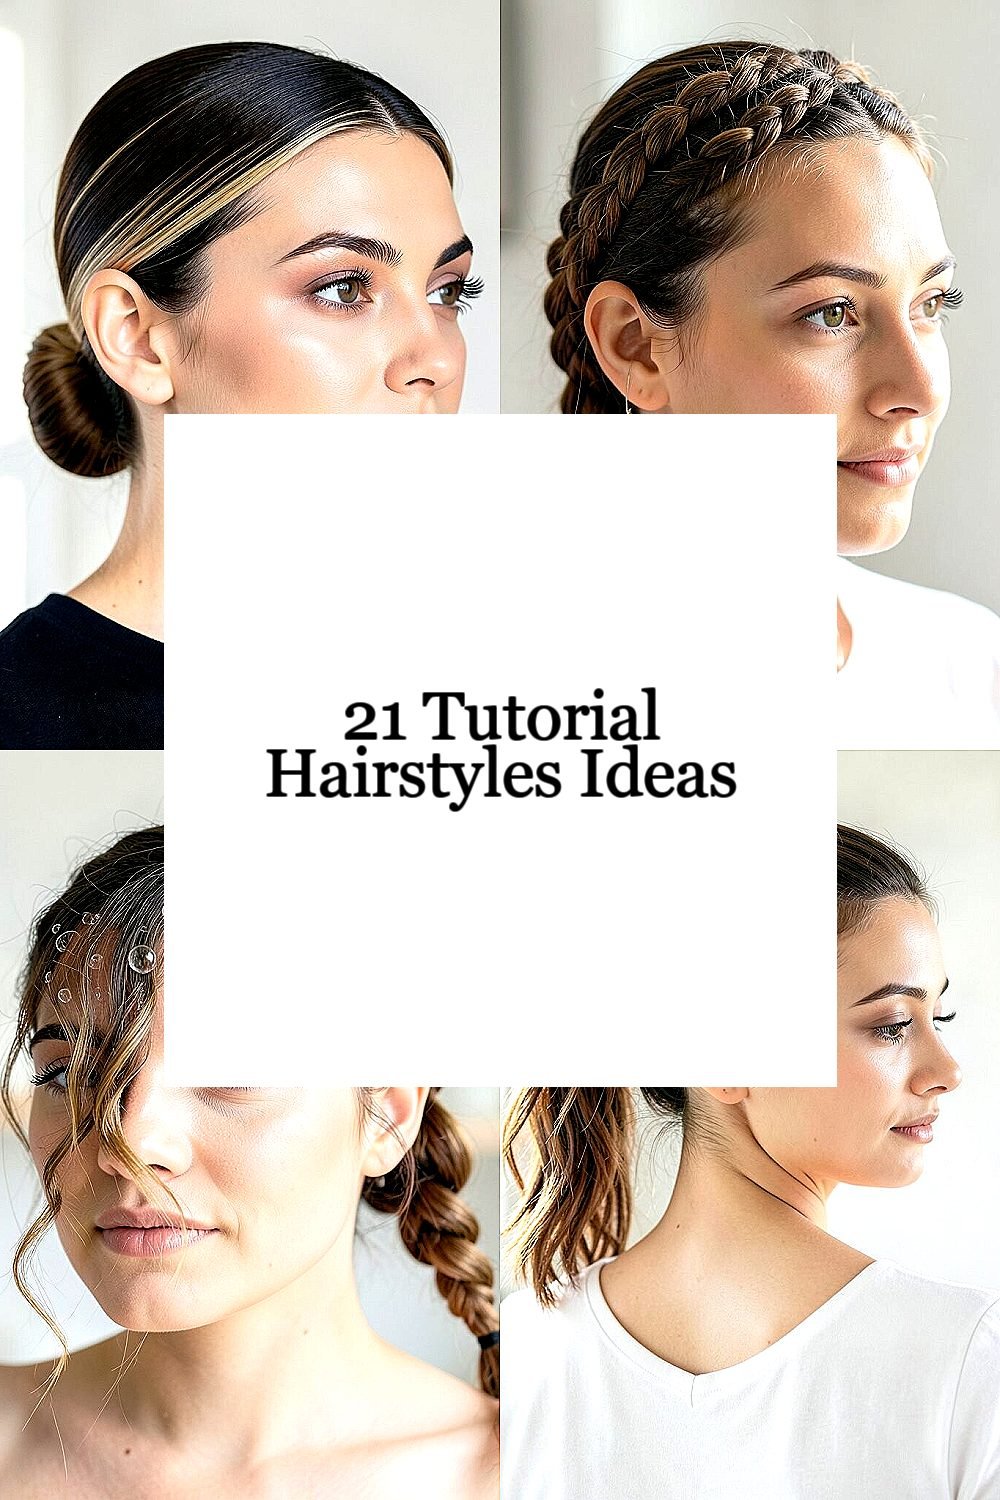
Your hair can look brand new with small, repeatable moves. These tutorial-friendly styles help you get a polished vibe without spending hours.
Grab your favorite brush, check the mirror, and pick the one that feels like you. You’ll be surprised how quickly practice turns into confidence.
1. Sleek Low Bun with a Soft Side Sweep
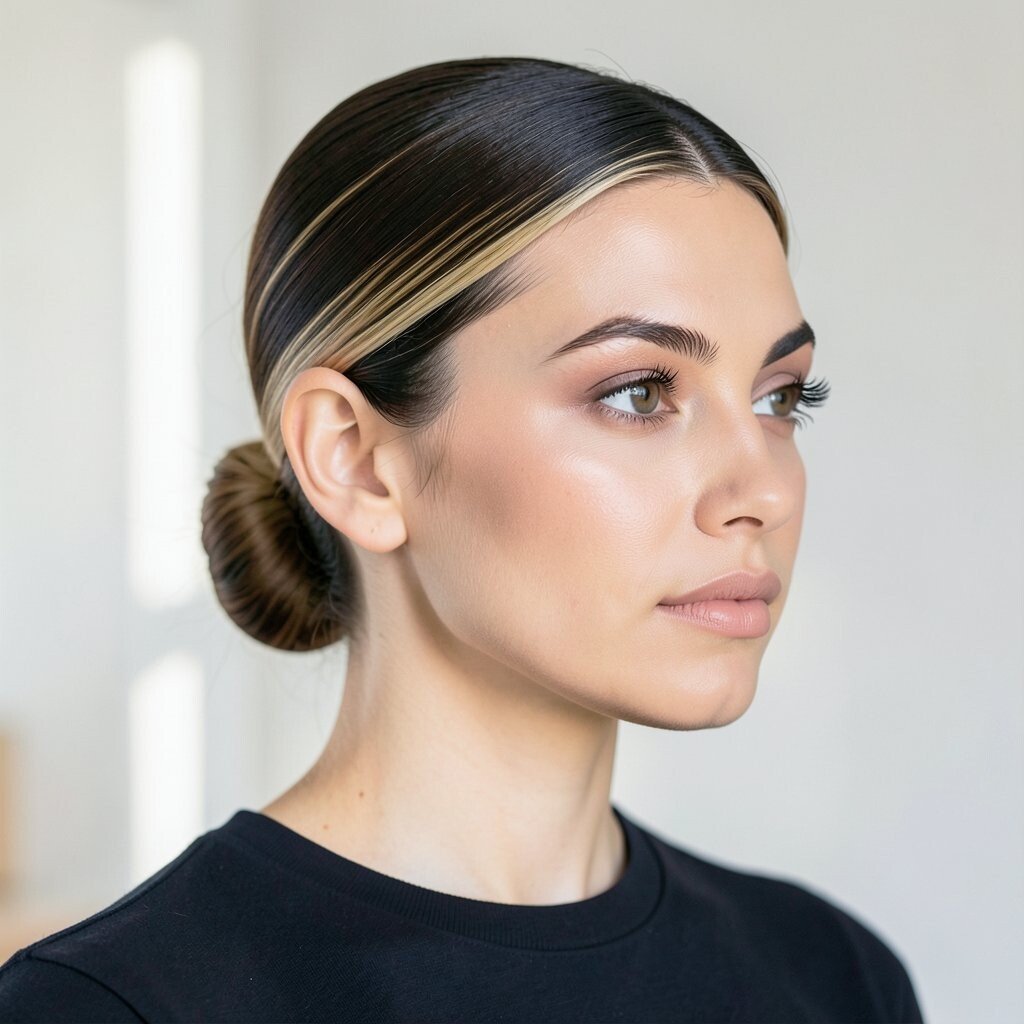
Start by brushing your hair smooth and gathering it low at the nape of your neck. Then pull a small section from one side and let it fall forward like a gentle curtain.
Secure the bun with pins, and wrap a thin elastic around the base for extra hold. For a clean finish, smooth the surface with a light gel or cream, focusing on the roots. Finish by tucking the side section behind one ear to frame your cheek.
2. Braided Crown for Everyday Shine
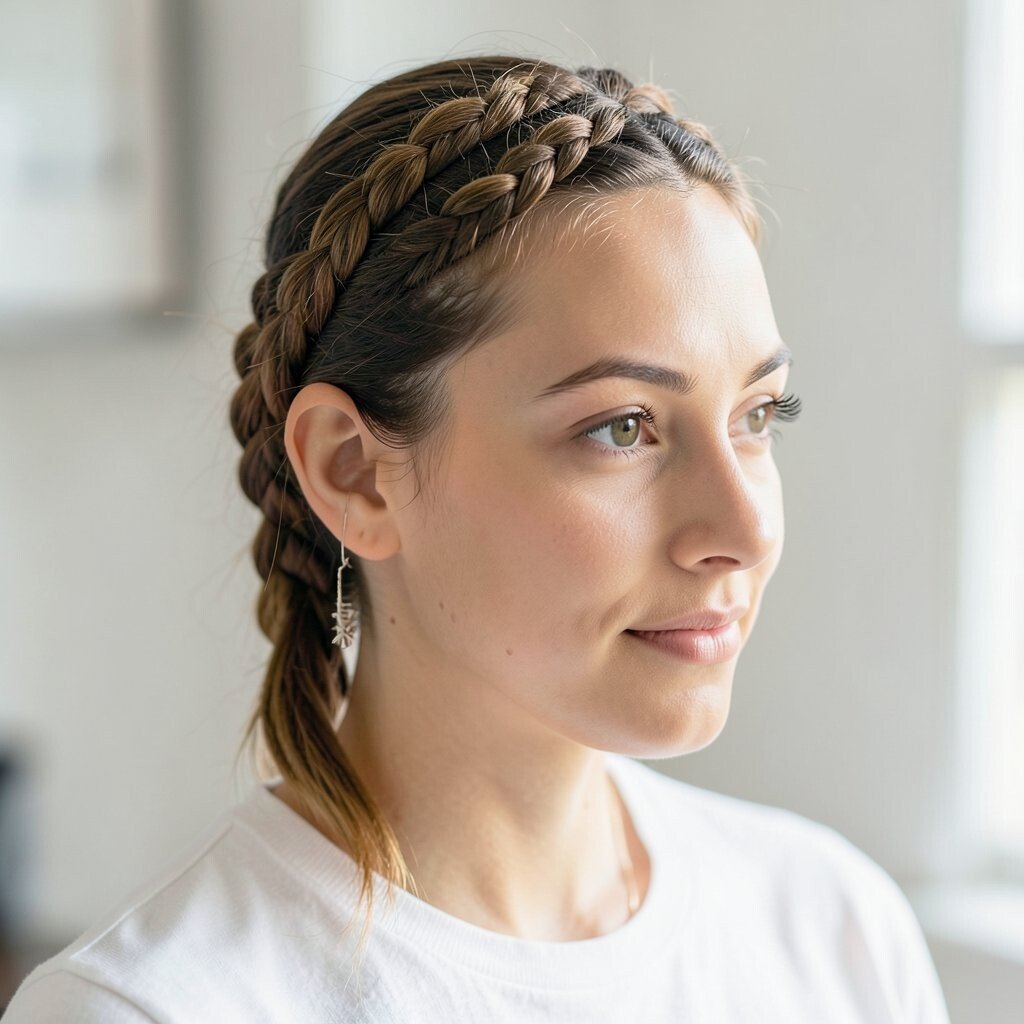
Part your hair down the middle and braid two medium sections near your temples. Lay each braid across the top of your head, then pin them so they look like a natural headband.
Use a slightly looser braid for a romantic look, and tug at the braid edges to add shape. This style helps keep hair off your face while still showing off your texture.
If you want it more modern, keep the braids tighter and leave the back smooth. A small spritz of shine spray will make the crown look fresh in photos.
3. Half-Up Twist with the Bubble Effect
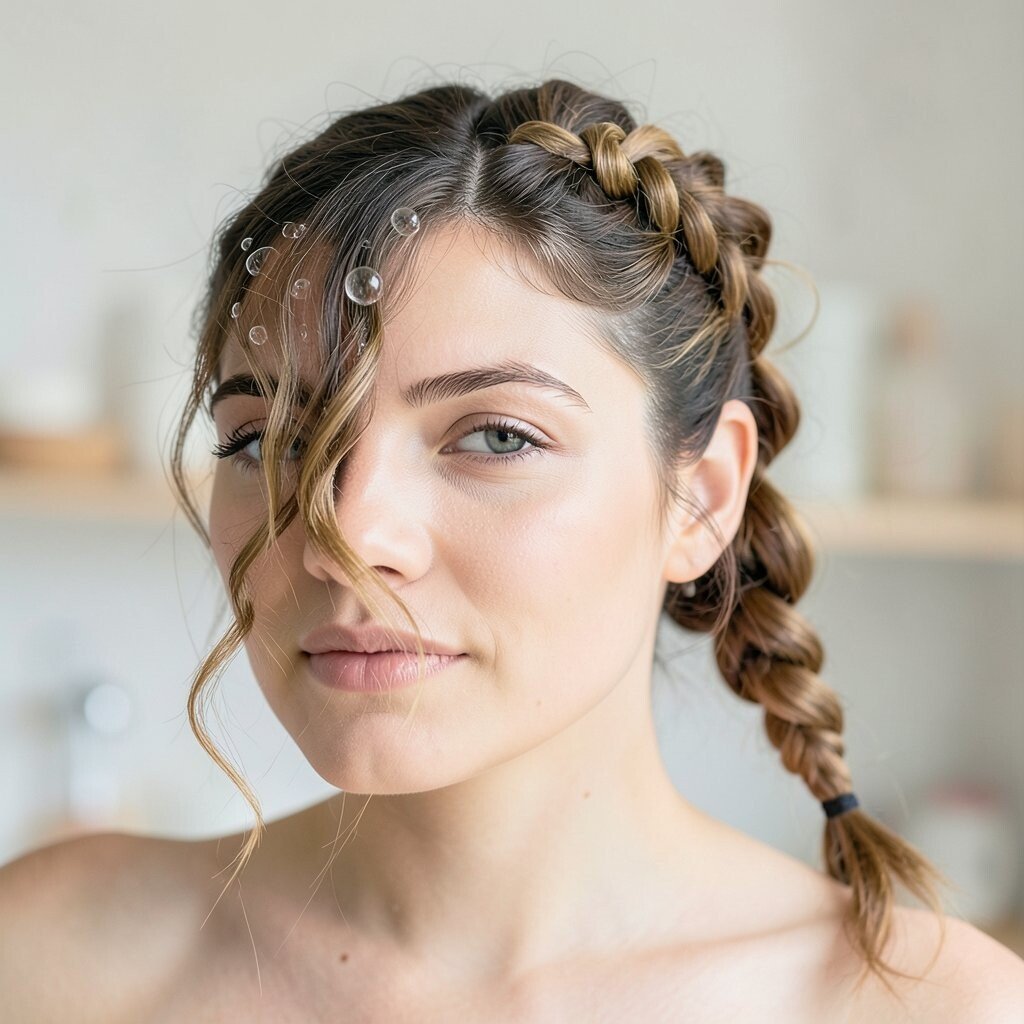
Take two small front sections and twist them toward the back. Secure them with elastic, then add another tiny elastic lower down to form a bubble look.
Repeat on the other side for balance, then blend the bubbles together so they feel intentional. This style is unique because it mixes a classic half-up shape with playful texture.
To make it last, use a light hairspray before you twist and pin the ends snugly. It’s also budget-friendly since you only need a few elastics and a couple of bobby pins.
You can personalize it by matching the elastic color to your hair or choosing a fun contrast shade. Pair it with hoop earrings for an instantly dressed-up feel.
4. High Ponytail with Ribbon-Wrapped Base
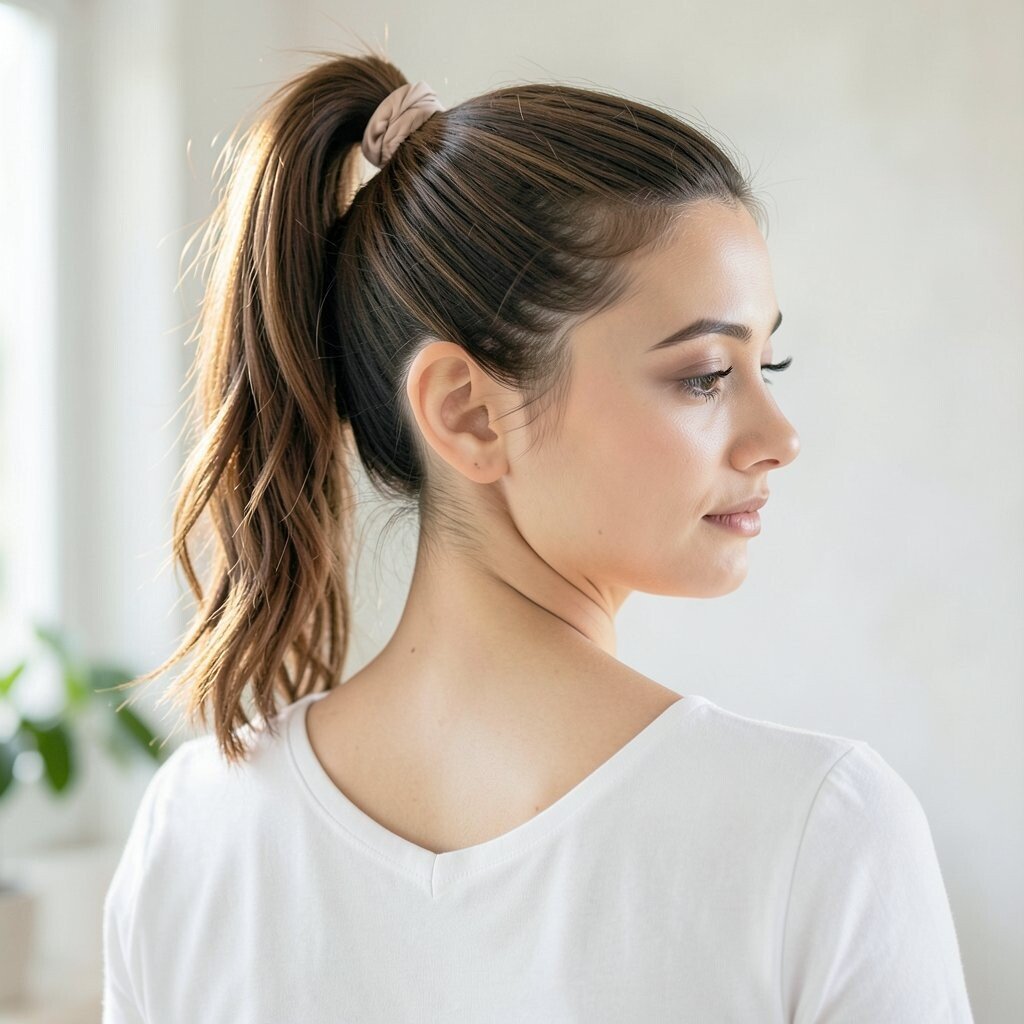
Brush your hair into a high ponytail, then smooth flyaways with a tiny amount of styling cream. Tie it with a clear elastic, then wrap a ribbon or thin scarf around the base and pin it underneath.
This tutorial works fast and looks expensive because the wrapped base adds detail. If your hair is fine, backcomb the crown lightly to create height before you tie the ponytail.
5. Waterfall Braid with Loose Ends
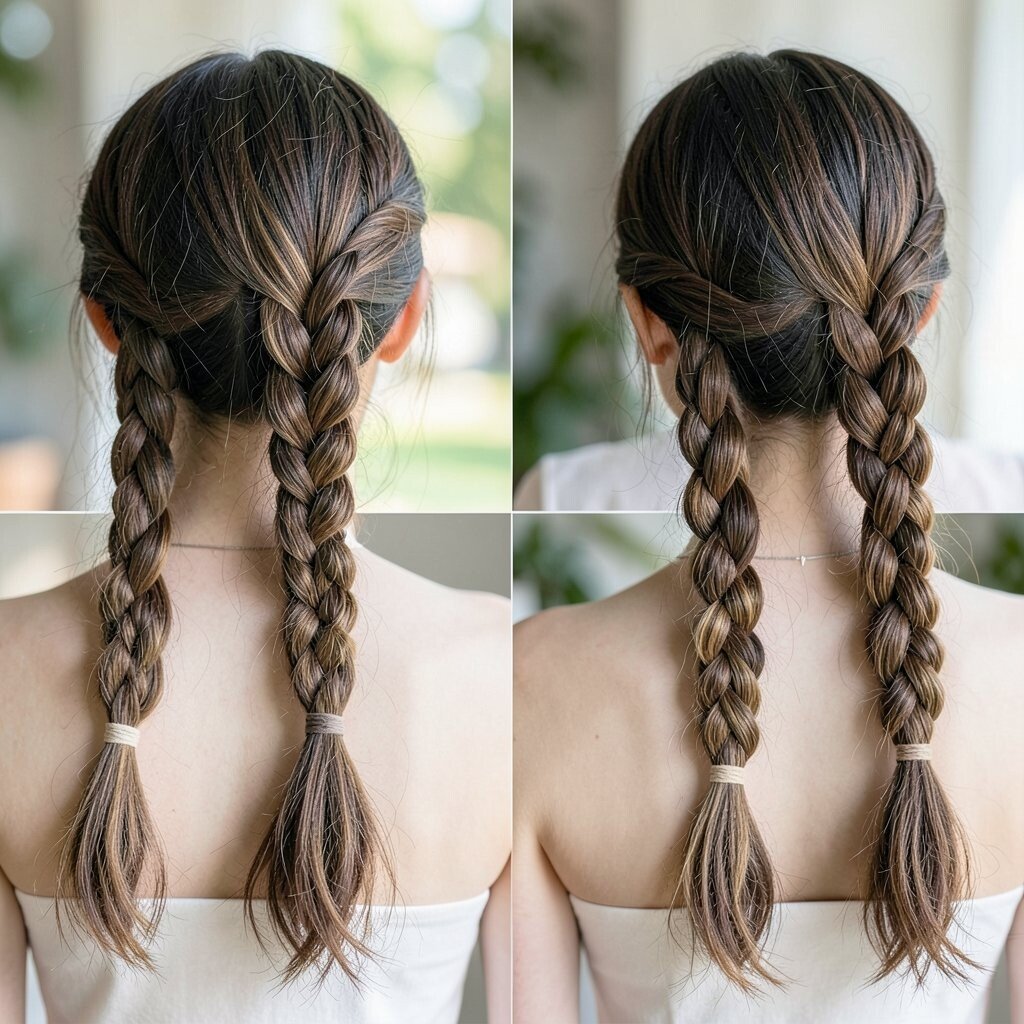
Create a side part and start a braid across the top, letting a strand drop every time you cross. Keep the braid loose for that airy, waterfall effect.
When you reach the back, secure the end with a small elastic and gently pull the braid sections apart. This style is great for showing length and looks especially pretty on wavy hair.
For personalization, try a deeper side part or add a small clip near the drop strands. You can also swap the elastic for a braided tie if you want a more natural finish.
6. Vintage Victory Rolls for Soft Volume
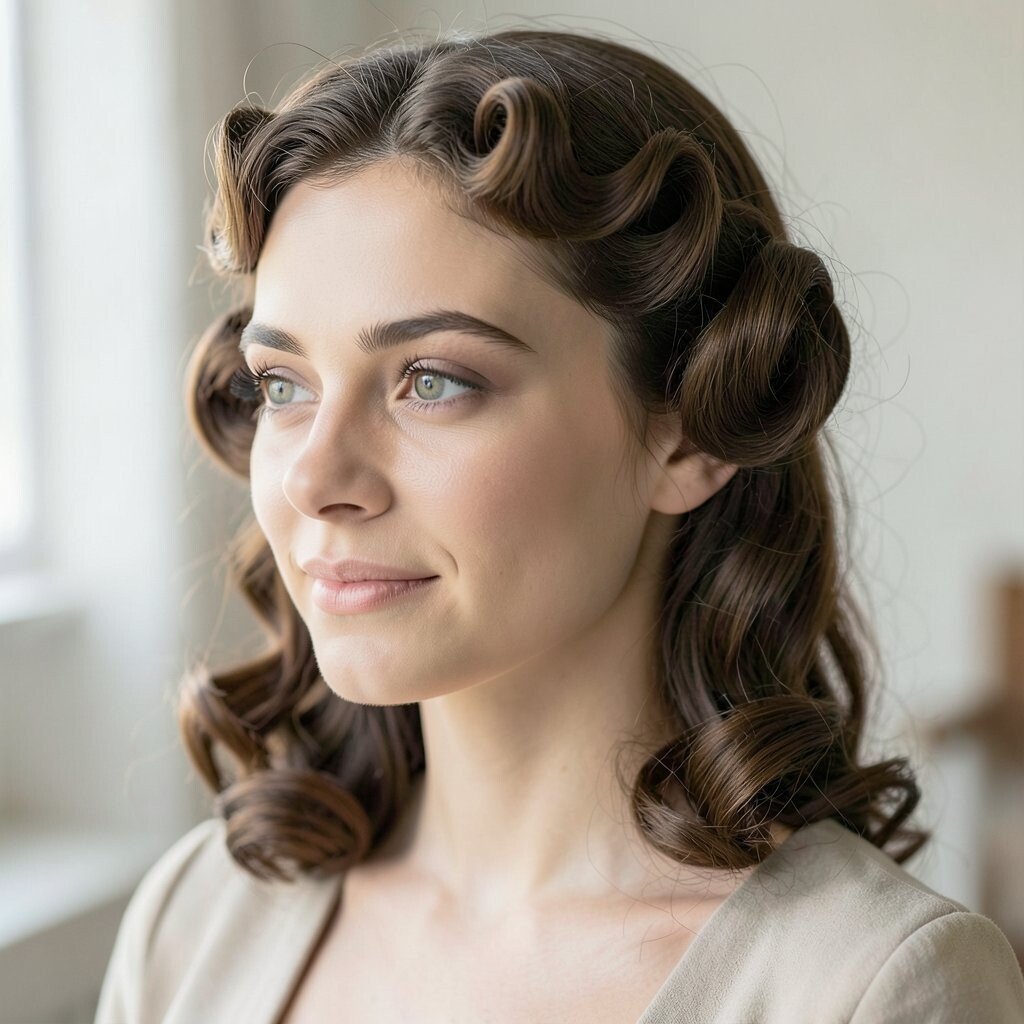
Start with damp hair and apply a light mousse to boost volume. Create two sections near the front, roll them toward the center, and pin tightly.
Let the rolls set until your hair is fully dry, then remove the pins carefully. This style is unique because it turns flat hair into bold curls without needing a full heat curl.
If you want a current twist, keep the rest of the hair softly waved instead of super stiff. Use a flexible hold hairspray so the rolls stay fluffy, not crunchy.
7. Two-Minute Side Braids with a Center Flip
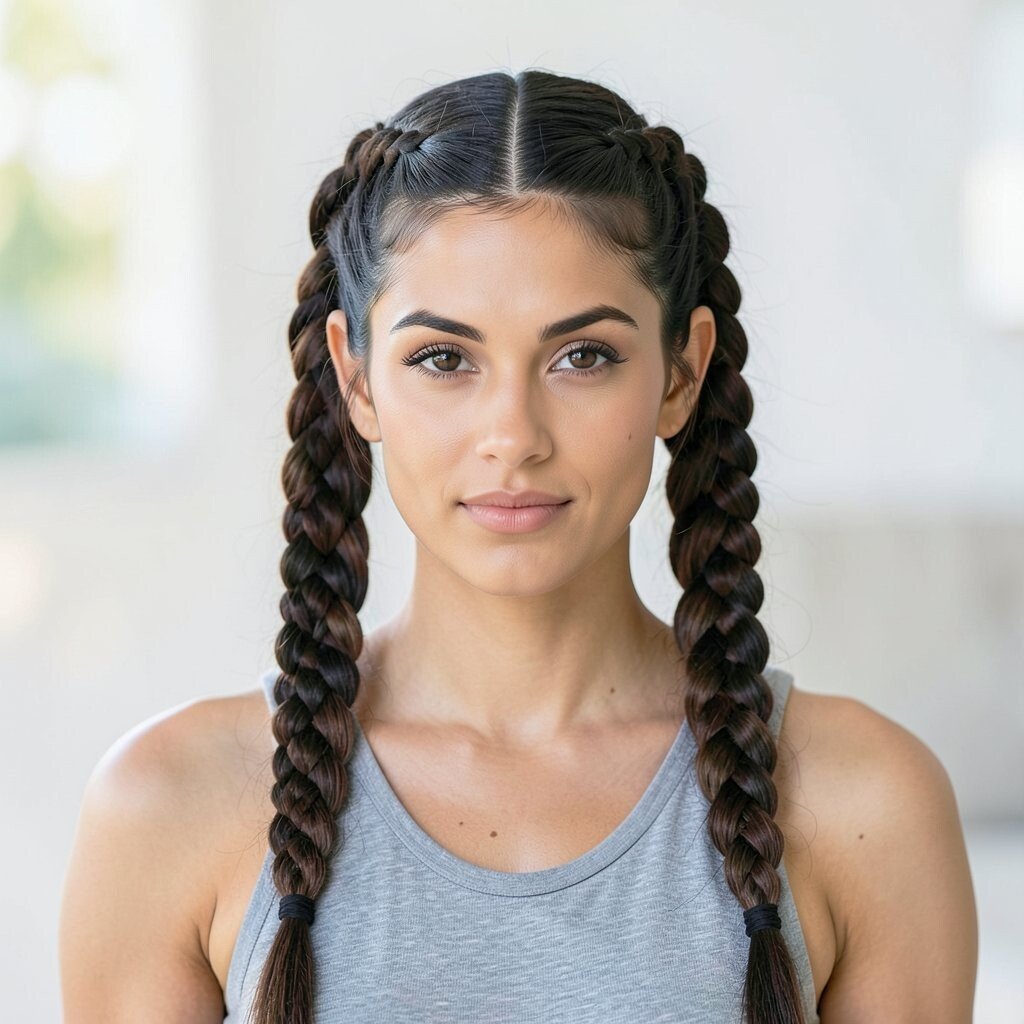
Part your hair slightly off-center and create two quick braids from the front sections. Pull them diagonally across the head and secure the ends near the opposite temple.
Then flip the remaining hair over one shoulder to create a playful swoop. The benefit is how fast it is, especially when you’re heading out for school or work.
For cost control, use what you already own like elastics and bobby pins, and skip expensive tools. Personalize by loosening the braids with your fingers so the shape looks soft and natural.
8. Messy Top Knot with Texture Sprinkles
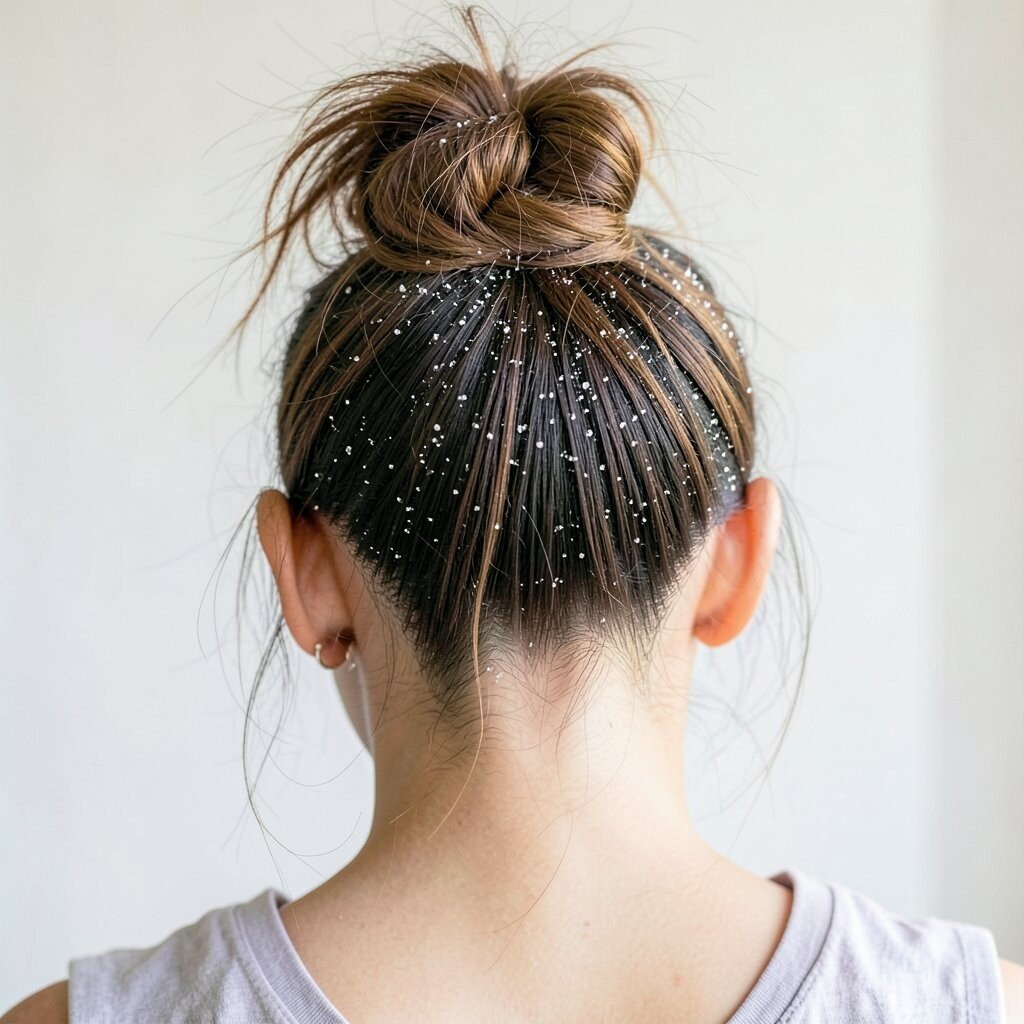
Rough-dry or air-dry your hair until it has a little grip, then gather it into a high knot. Twist the hair around the base and secure it with pins, leaving a few pieces out.
Sprinkle a small amount of texturizing powder at the roots to build volume. This trend-forward style looks effortless, but it helps hair stay styled for longer days.
9. Curled Crown Half-Up with Pin Placement
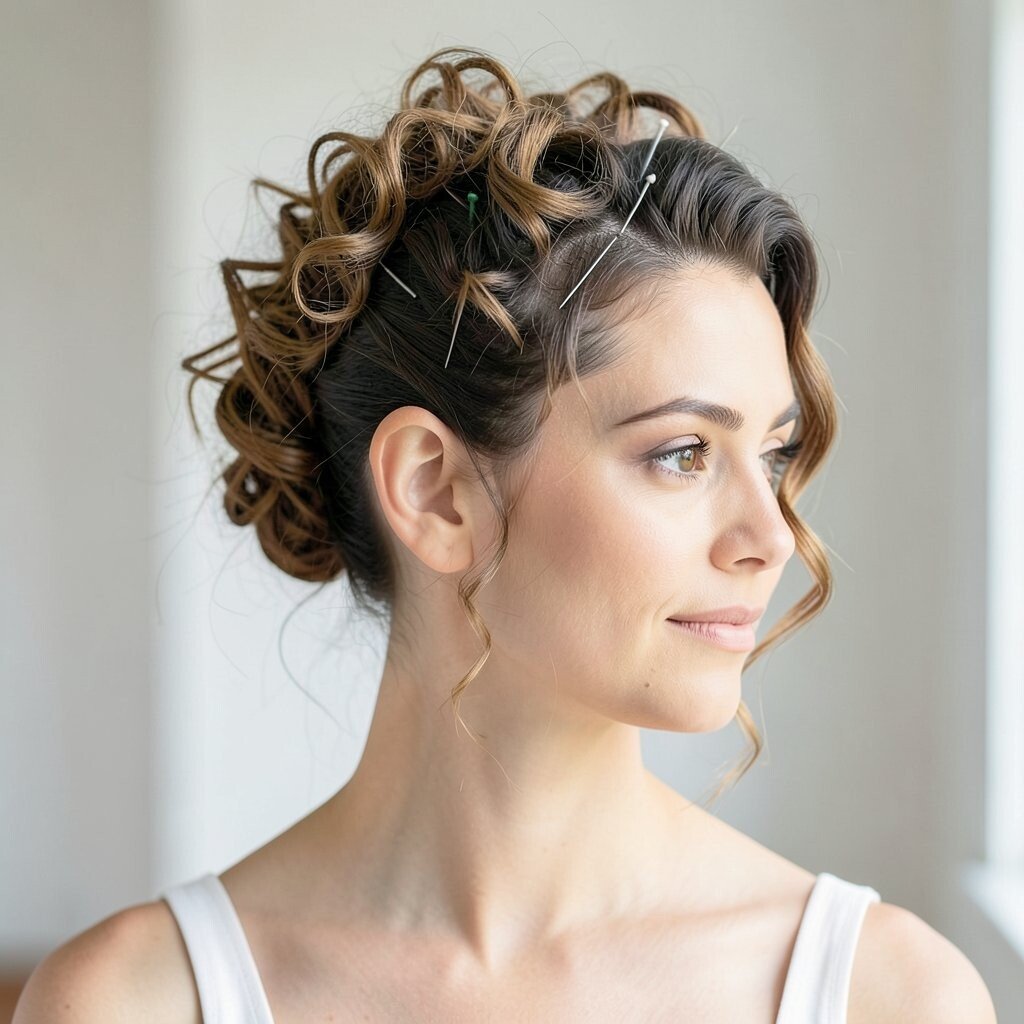
Take the top half of your hair and curl just the ends for a gentle arc. Gather that top section, then pin it in a slightly off-center spot.
Add one more pin near the crown to lift the look without flattening your curls. The benefit is that your face looks open while your hair still shows movement.
For personalization, use larger curls for a bold vibe or smaller curls for a delicate feel. If your hair is thick, use stronger pins and a touch of smoothing cream on the pinned area.
10. Classic French Twist with Modern Shine
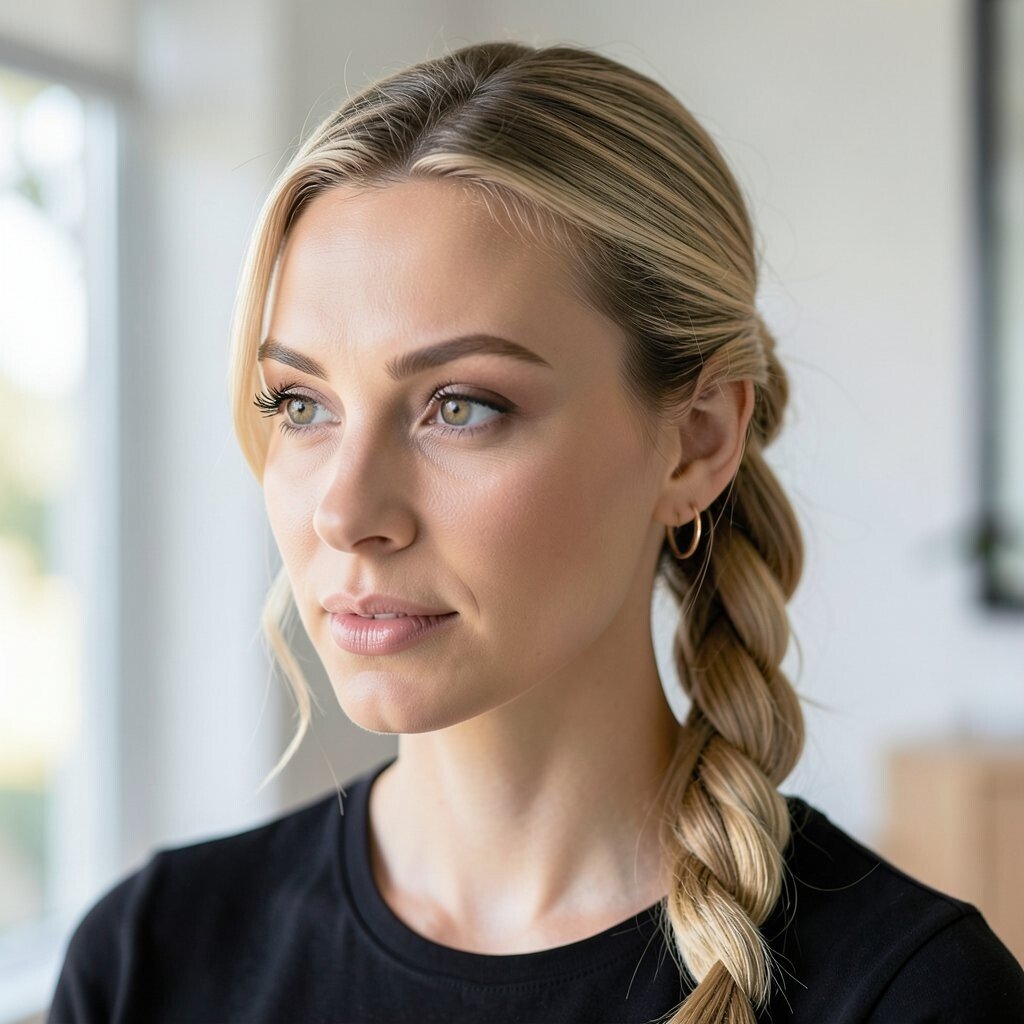
Brush hair back and gather it into a low twist at the back of your head. Use bobby pins to secure the twist, then adjust the shape so it sits neatly.
Finish with a shine spray or serum on the outside for a sleek, modern look. This style is practical for events, and it keeps hair from slipping around all day.
11. Fishtail Braid with Soft Face-Framing Pieces
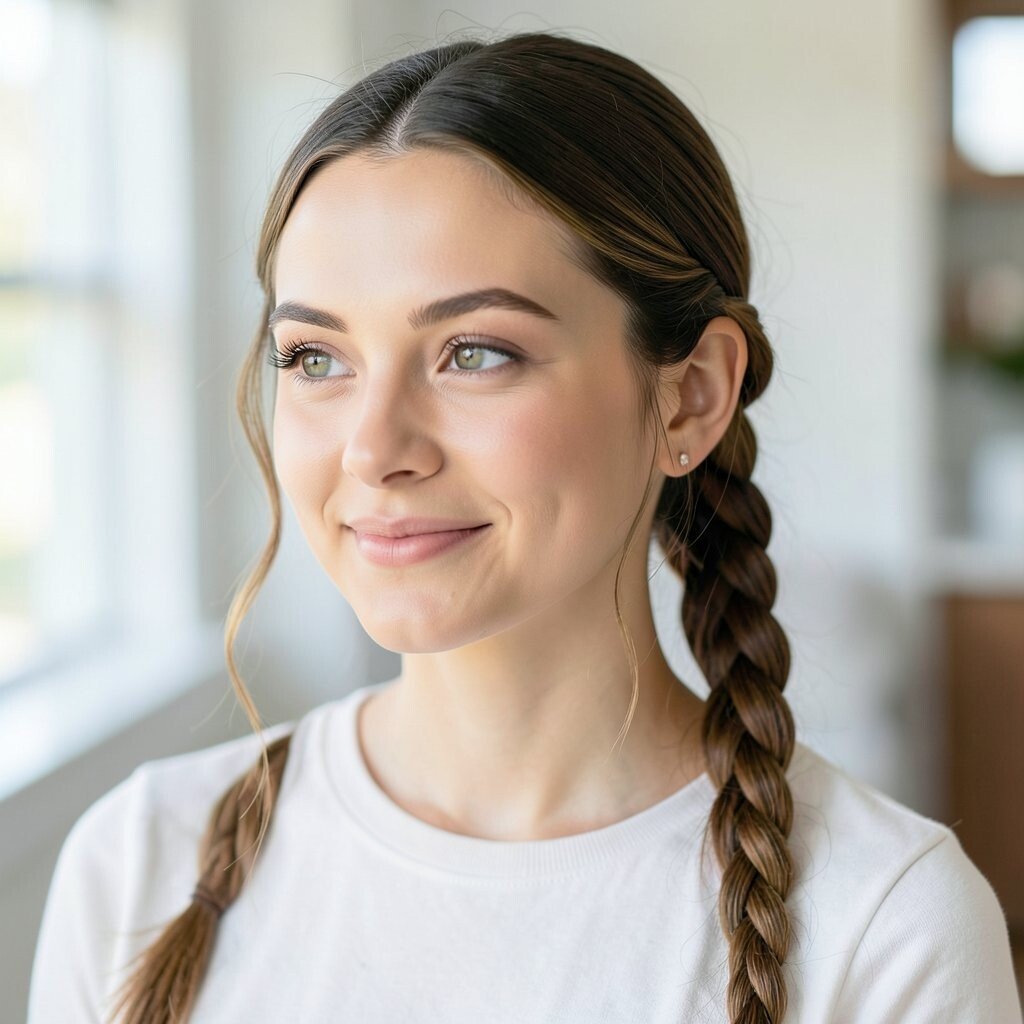
Split your hair into two sections and create fishtail braid pieces by crossing small strands. Keep the motion slow so the pattern shows clearly.
Once you reach the end, secure with an elastic and gently tug the sides for a fuller look. This hairstyle is unique because it feels detailed but still works for everyday outings.
For personalization, leave two thin strands near your face and curl them slightly. If you want less time, braid with the help of a mirror so you can check symmetry.
A light hair oil on the braid helps it look glossy without making it heavy. It’s also cost-friendly since braid practice beats buying more tools.
12. Space Buns with a Middle Part Twist
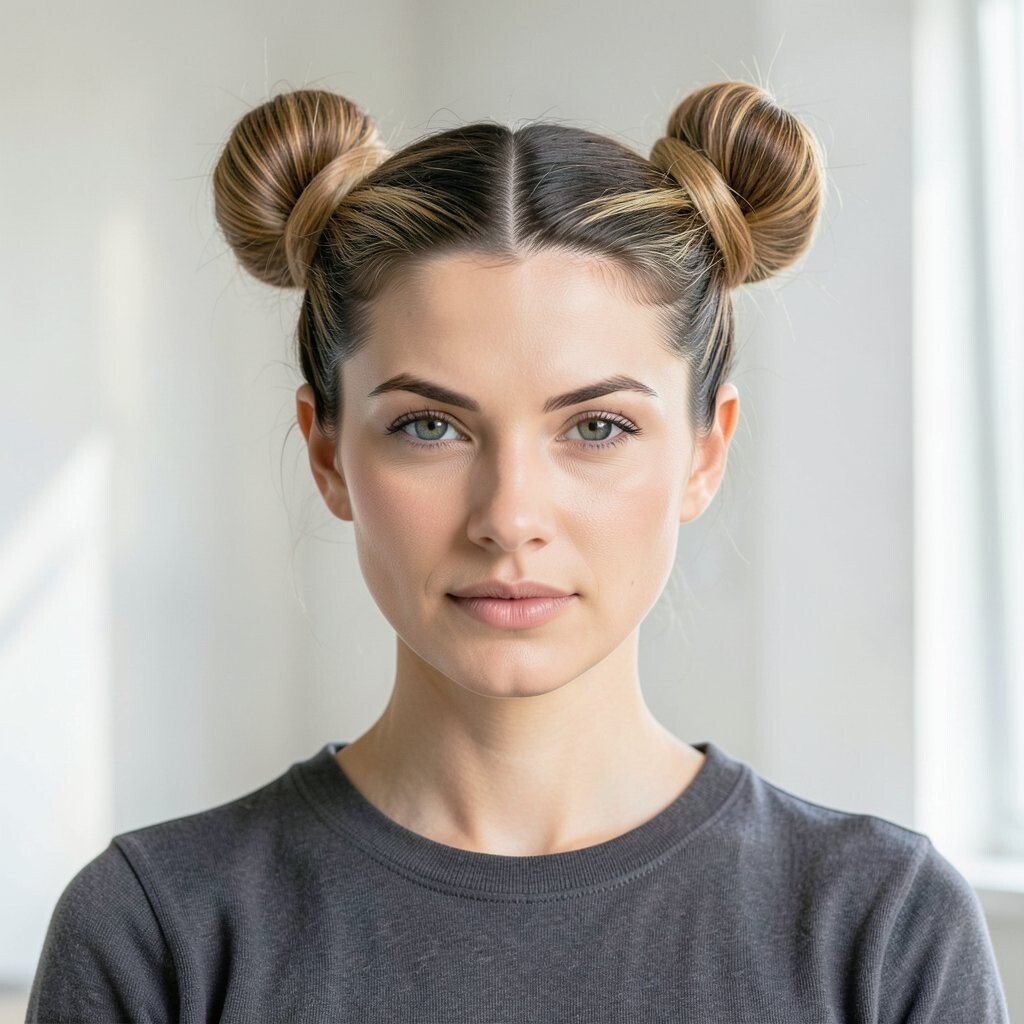
Part hair in the middle and divide it into two sections, then form two mini high buns. Twist each section around its base and pin securely, leaving a few wispy pieces if you like.
This playful style looks like a current trend while still being simple to tutorial. It helps control hair during hot days and keeps your neck comfortable.
13. Bubble Braid Rows for Fun Texture
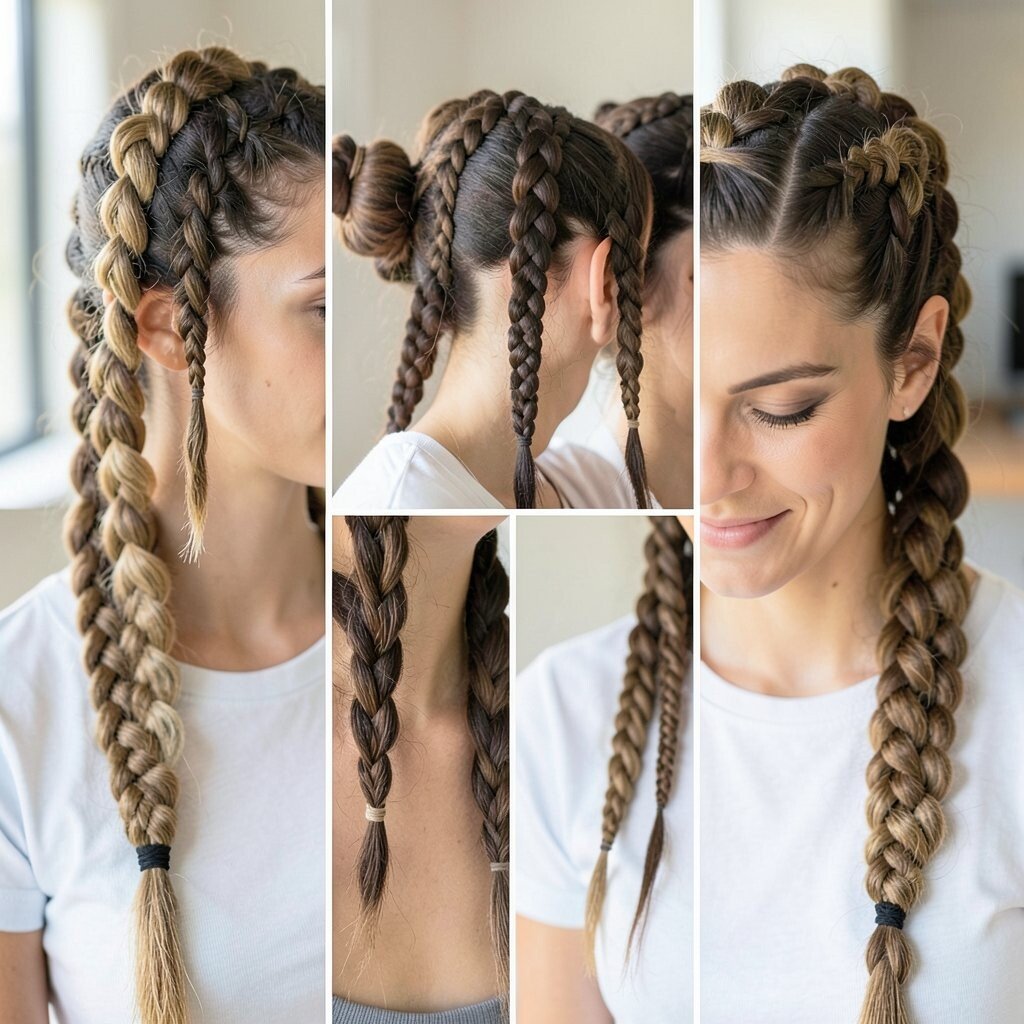
Create a braid base with small sections, then add elastics at intervals along the length. Gently fluff each bubble by pulling it outward with your fingers.
The benefit is that it looks like you spent much longer than you did. It also works well for medium to long hair and shows off highlights beautifully.
For personalization, try smaller bubbles for a delicate look or bigger bubbles for extra drama. Choose elastics that match your hair color so the bubbles look smooth and clean.
If your hair slips, add a tiny amount of styling cream to the first section before braiding. This helps the whole braid feel secure without needing heavy products.
14. Side-Parted Sleek Waves with Clip Set
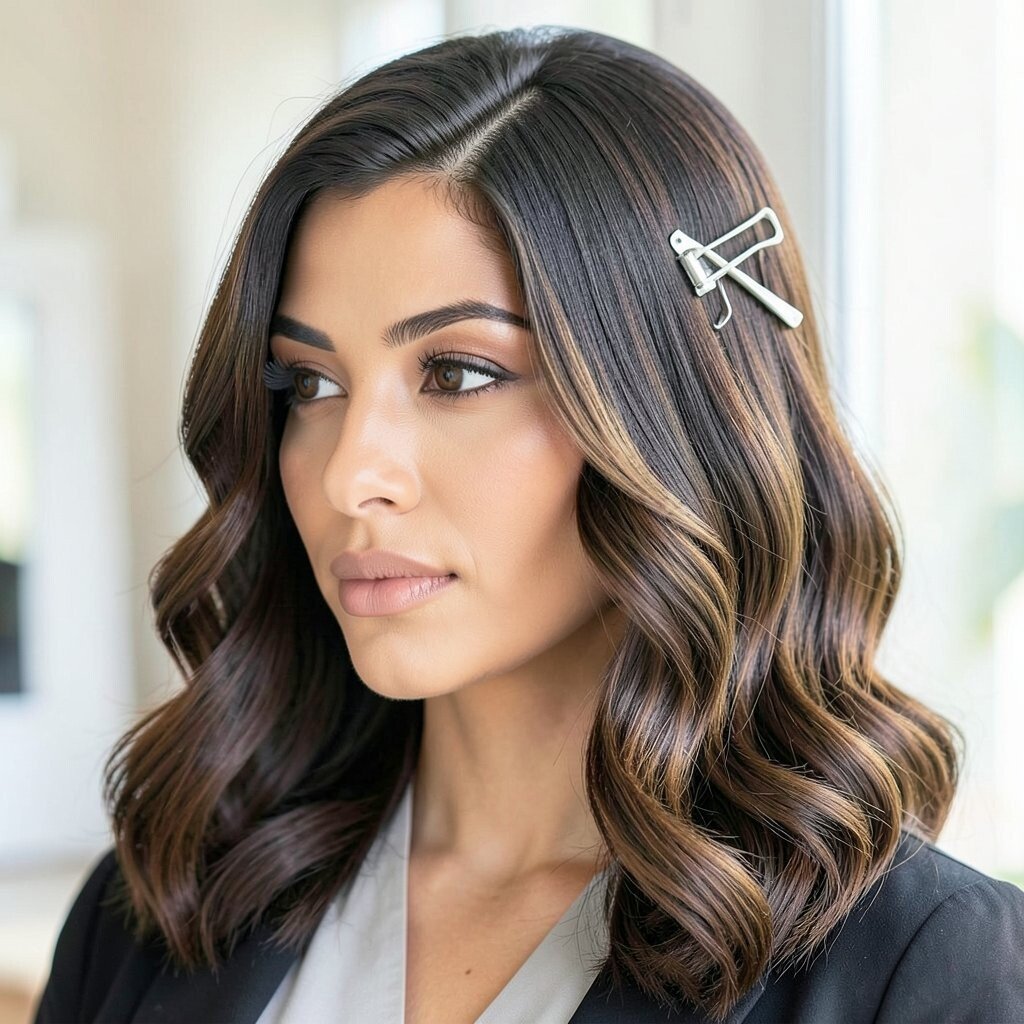
Use a curling iron or wand to make loose waves, then clip the wave pattern flat while it cools. After a few minutes, remove the clips and brush through lightly.
For a current style, keep the waves shiny and slightly side-swept so they frame your cheek. This method helps waves last longer than quick curls alone.
15. Low Crown Braid Around the Back
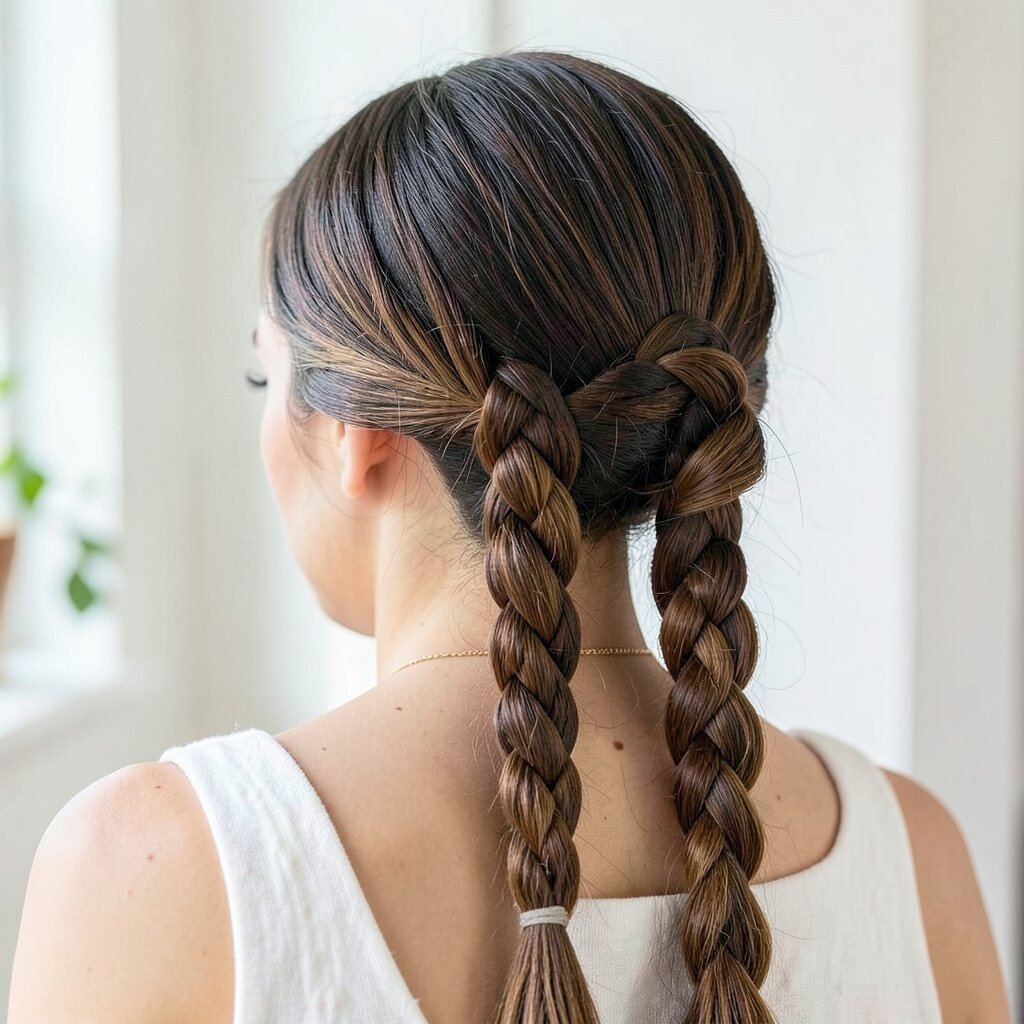
Gather hair into a low ponytail, then split it and braid it down. Wrap the braid around the base like a halo and pin it so it looks smooth.
This hairstyle is practical because it holds well for school, travel, and busy days. It also looks unique compared to a simple bun because the braid adds a visible shape.
For personalization, braid smaller sections for a delicate ring or keep the braid wider for a bold look. Add a hair accessory like a small pearl pin if you want a softer vibe.
16. Rope Twist Ponytail with a Hidden Pin
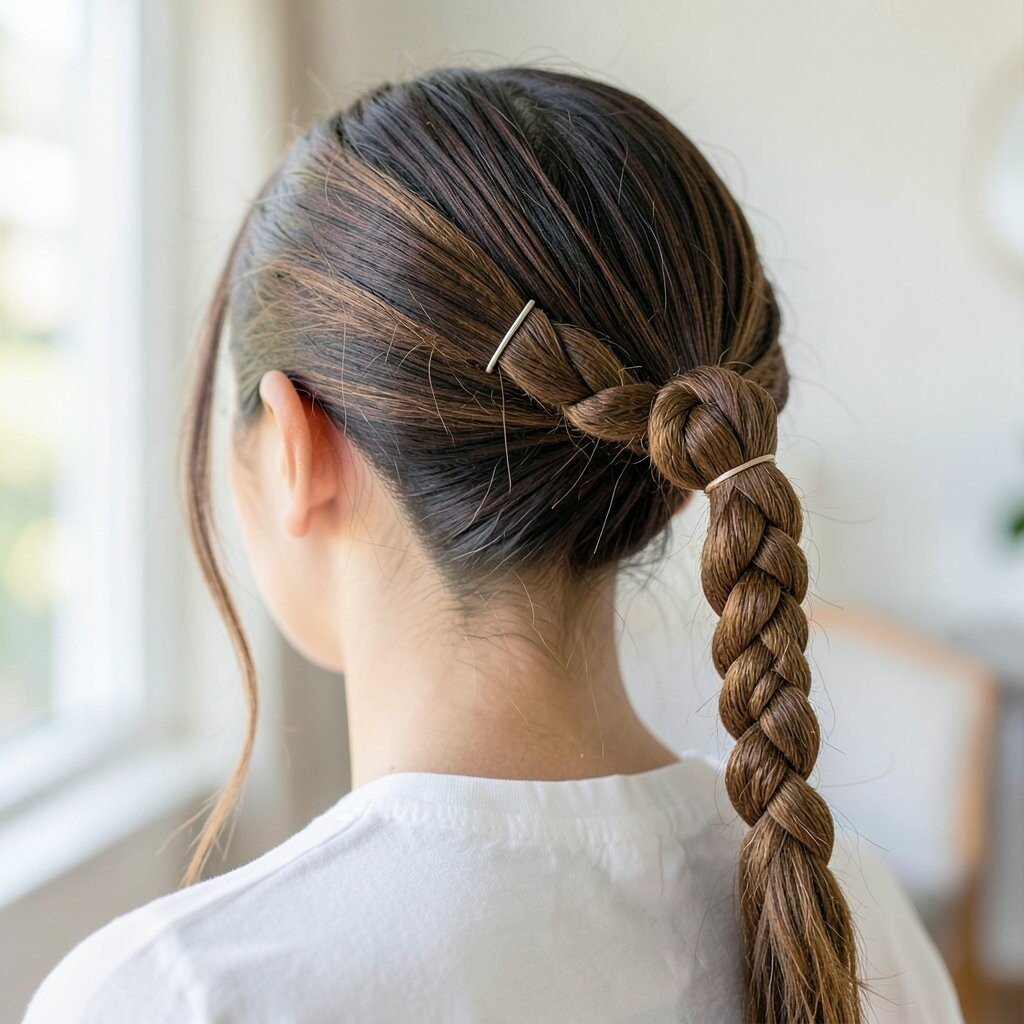
Divide hair into two sections and twist each one tightly, then twist them together like a rope. Secure with an elastic and wrap a small strand around the tie point.
To hide the end neatly, tuck it under the twist and pin it with one bobby pin. The benefit is a sleek, controlled ponytail that still looks airy because the rope twist creates movement.
Personalize by curling the ponytail ends or leaving them straight for a clean finish. If you have short layers, use extra pins near the crown to keep everything stable.
17. Crown Braided Bangs for Thin Hair Days
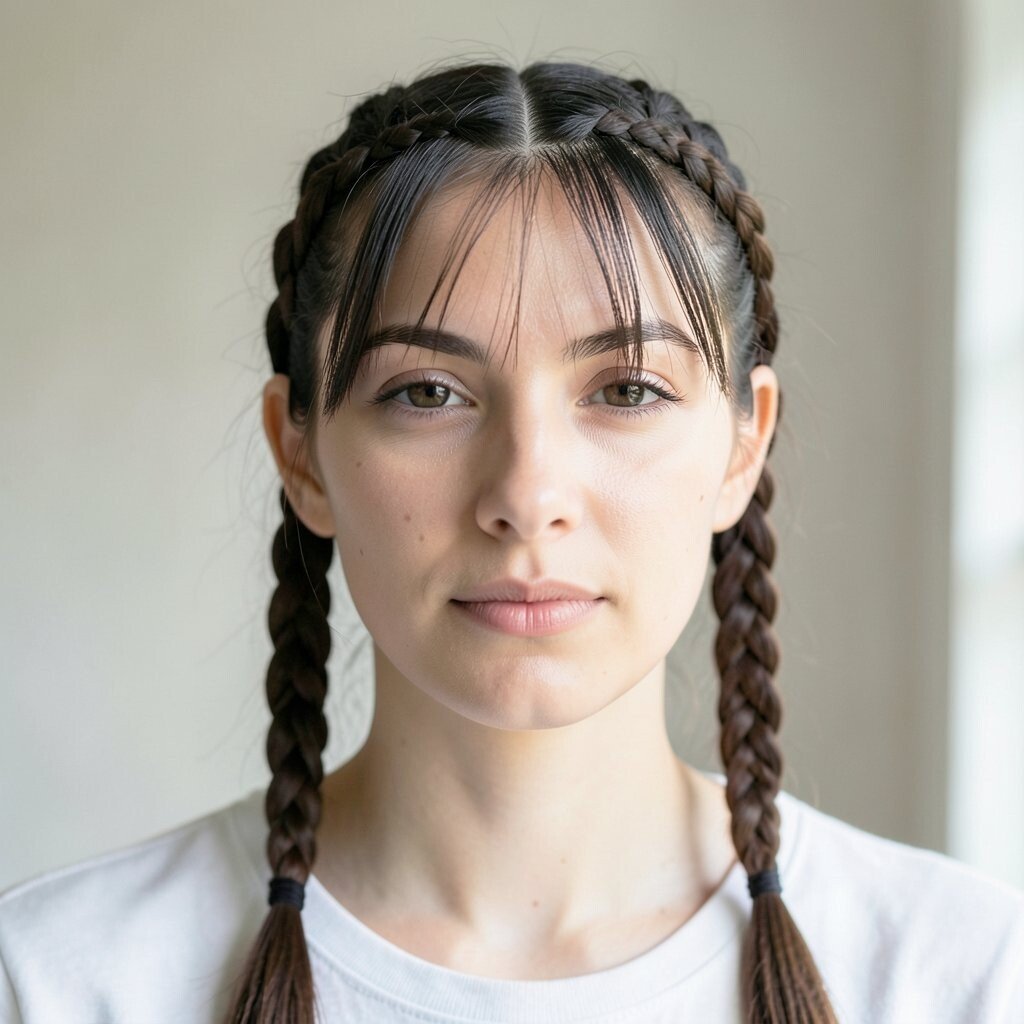
If you want volume without heavy styling, take a thin strip across your forehead and braid it lightly. Secure the braid above the brow line and blend it into the rest of your hair.
This trick makes thin hair look fuller because your eyes notice the texture on top. It also keeps bangs out of your face without making you commit to a permanent cut.
For personalization, use a slightly thicker braid for a bold frame or keep it super thin for a subtle detail. Add a soft wave underneath so the whole look stays light and modern.
Using a matte styling paste can help the braid grip better and last longer. It’s usually an affordable product, and it works across many styles.
18. Sleek Milkmaid Braid with a Center Part
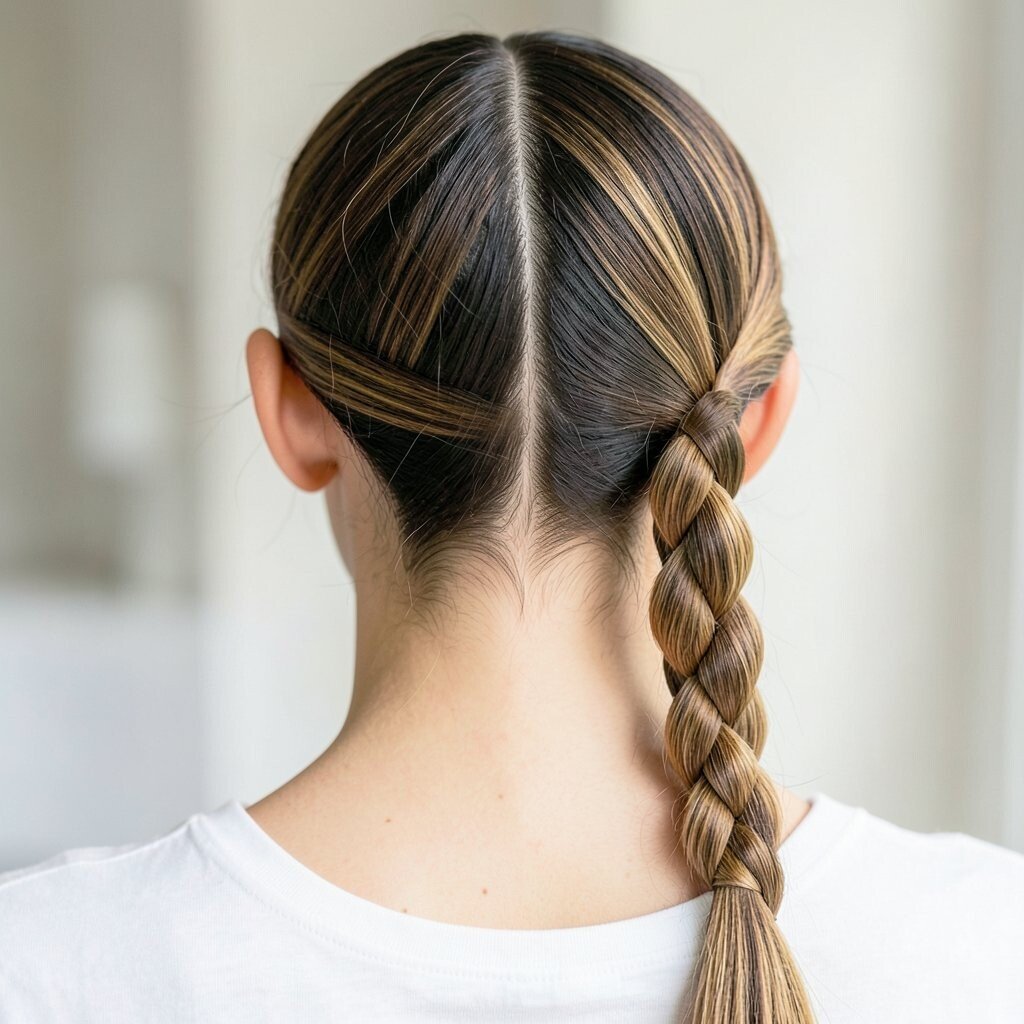
Part hair in the middle and braid one section at a time, starting near the temples. Lay each braid across the top like a milkmaid crown and secure with pins.
Keep the braid tension firm at the front for a polished look, then loosen the back for comfort. This style is unique because it feels traditional but can look very fresh with modern sleekness.
To personalize, add small hair rings or a thin satin ribbon where the braids meet. If your hair is frizzy, use a small amount of smoothing lotion before braiding for a neat finish.
19. Soft Curl Tutorial with a Twisted Headband
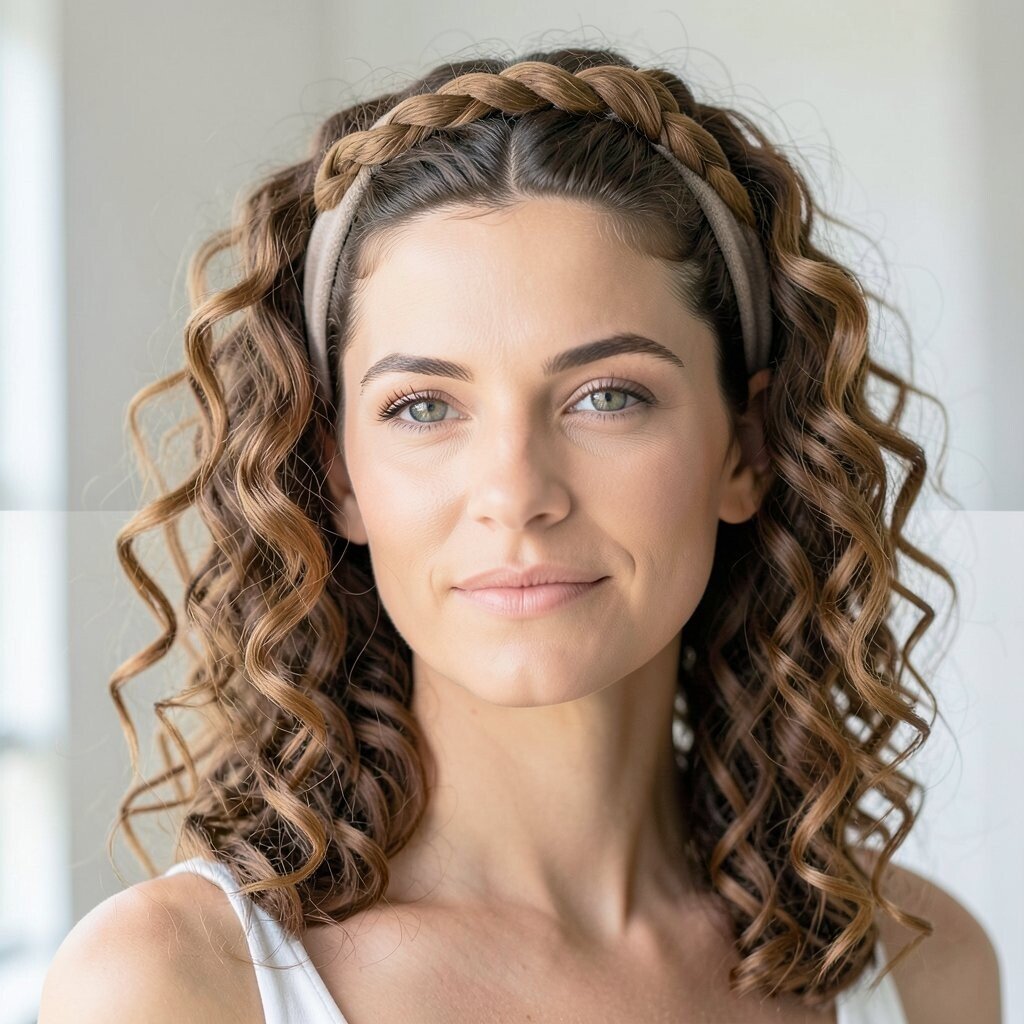
Curl your hair in loose sections, then sweep two front strands back and twist them into a headband shape. Pin the twists at the back so they hold without flattening your curls.
This hairstyle keeps the focus on your face while still showing off bouncy hair. It’s practical for weddings, dinners, and any day you want your hair to look styled.
20. Half-Up Dutch Braid for a Sports-Chic Look
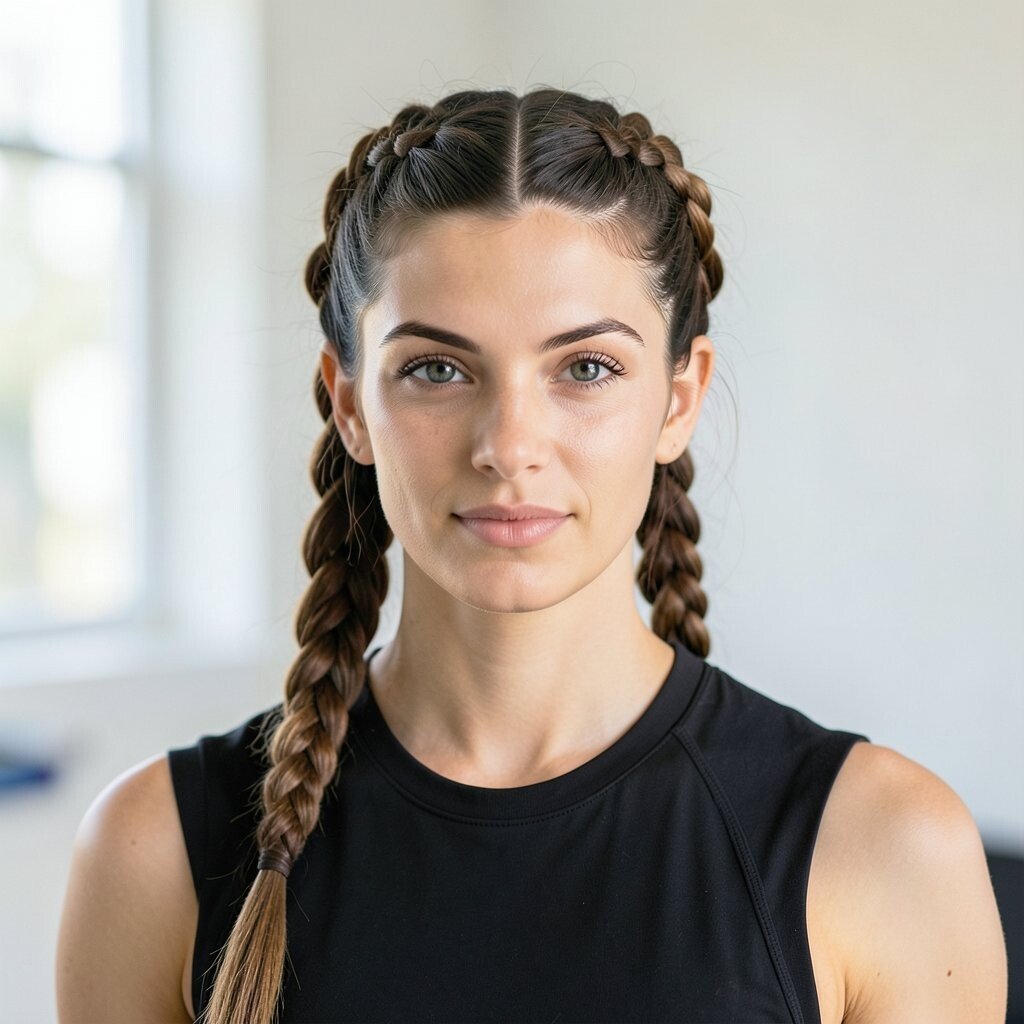
Create a Dutch braid along the crown by crossing strands under instead of over. Stop at the mid-head area, then secure with an elastic and let the rest of your hair fall.
The benefit is that the braid hugs the scalp and helps hair stay in place during movement. For personalization, keep the braid tight for a sporty vibe or loosen it for a softer, romantic feel.
If you want extra security, add a second elastic below the first so the half-up section doesn’t slip. A quick spritz of lightweight hairspray can help it hold longer, especially in humid weather.
21. Curtain Bang Blowout with a Feathered Bend
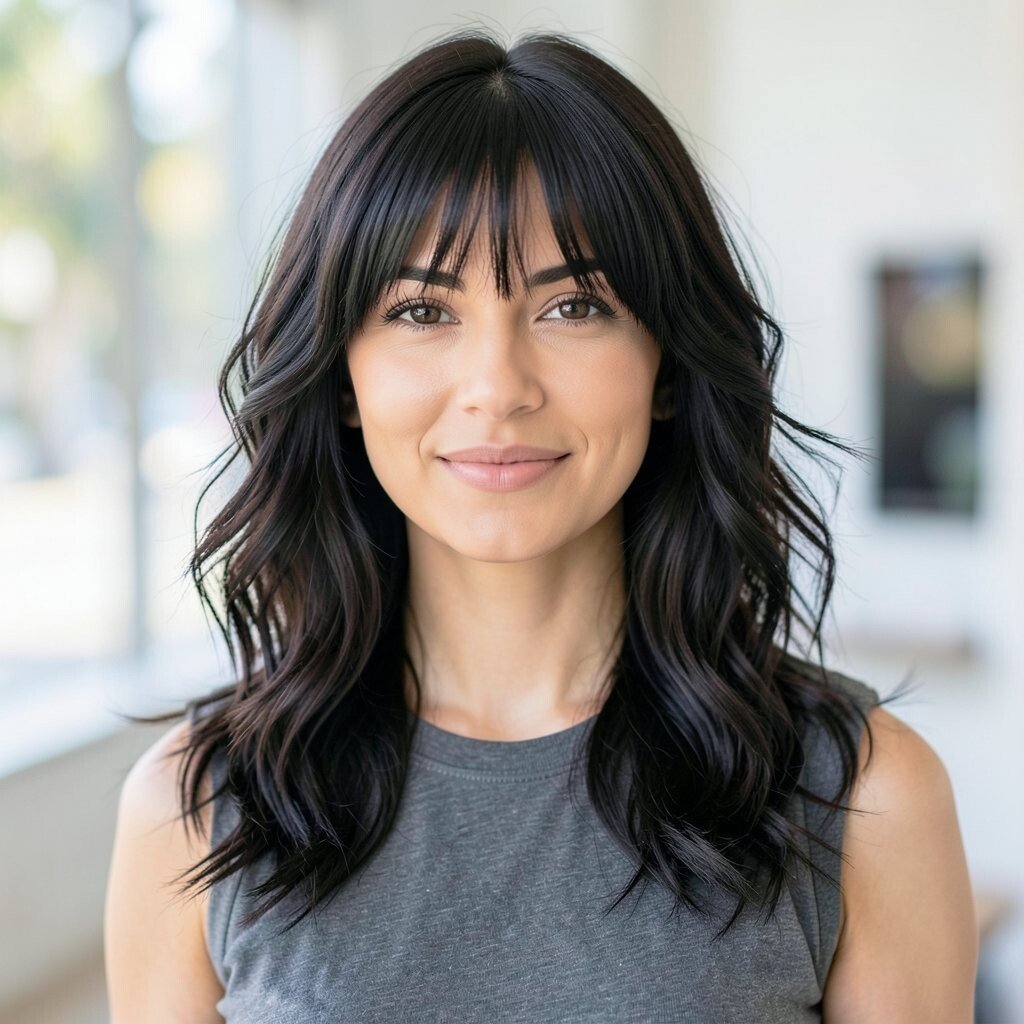
Start by parting your hair in the center and blow-drying the bangs outward, then back toward your face. Use a round brush to create that feathered bend at the ends.
This style frames your eyes beautifully and works for many face shapes. It’s also very practical because curtain bangs can be styled quickly with repeatable brushing.
Personalize by making the bend more subtle for a gentle look or stronger for a dramatic vibe. Keep costs low by using heat protectant and a brush you already have, since a good blowout technique does most of the work.
To stay on trend, pair the blowout with soft waves in the rest of your hair so everything looks connected and polished. Finish with a light serum on the ends to control frizz and add shine.