The ceremony moments feel small until you look back and realize they became memories. With simple DIY touches, you can make everything look like “you” without losing your calm.
You can keep things affordable, photogenic, and totally personal. The best part is that many of these projects use materials you can find quickly and put together at a steady pace.
1. Whisper-Soft Petal Aisle Toss Bags
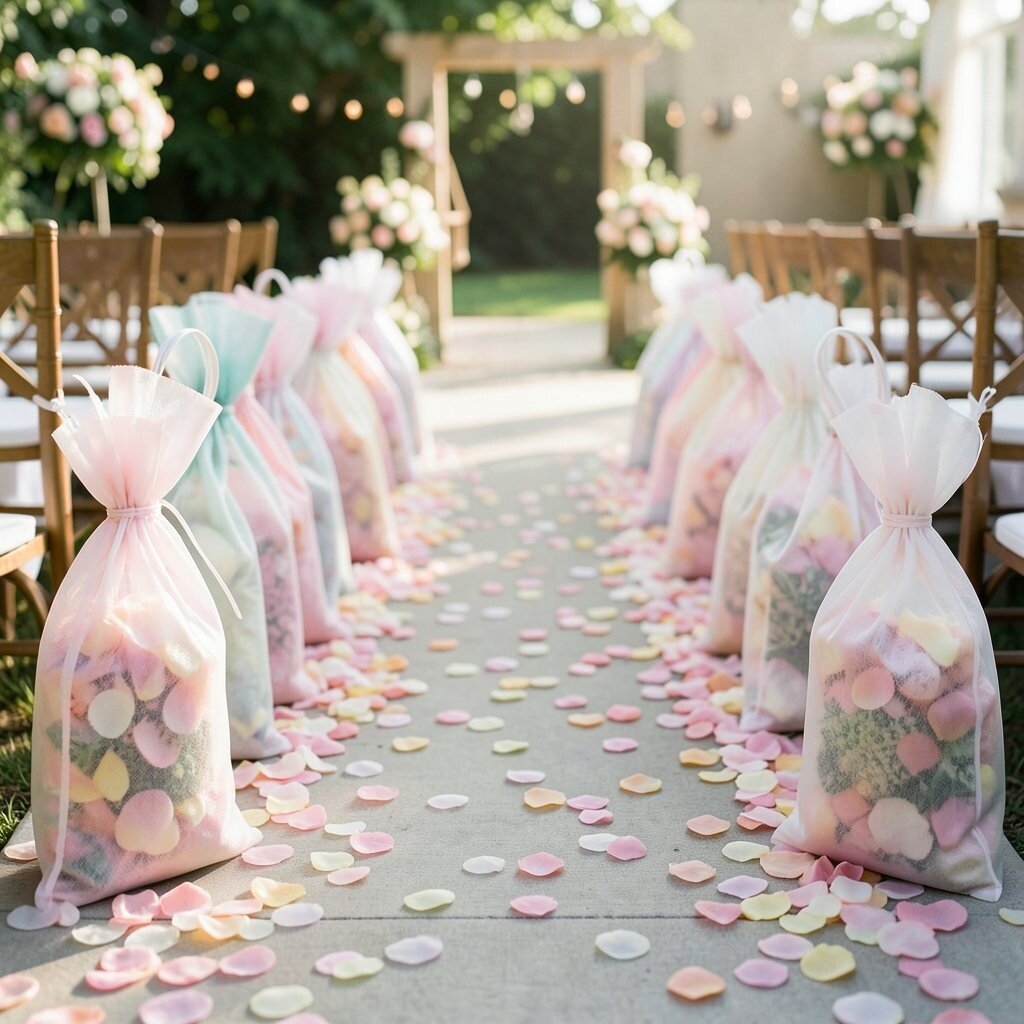
Make tiny fabric or paper bags filled with dried flower petals for an aisle moment that looks gentle and dreamy. Place the bags in a basket so guests can take one as they enter.
You’ll love how the color pops in photos, especially in shaded or golden-hour light. Keep them light enough for easy tossing and add a small ribbon so each bag feels intentional.
Choose petals that match your palette and season. For personalization, print a simple monogram stamp on the bag or tie a color-coordinated thread for a cohesive look.
2. Macramé-Style Program Holders
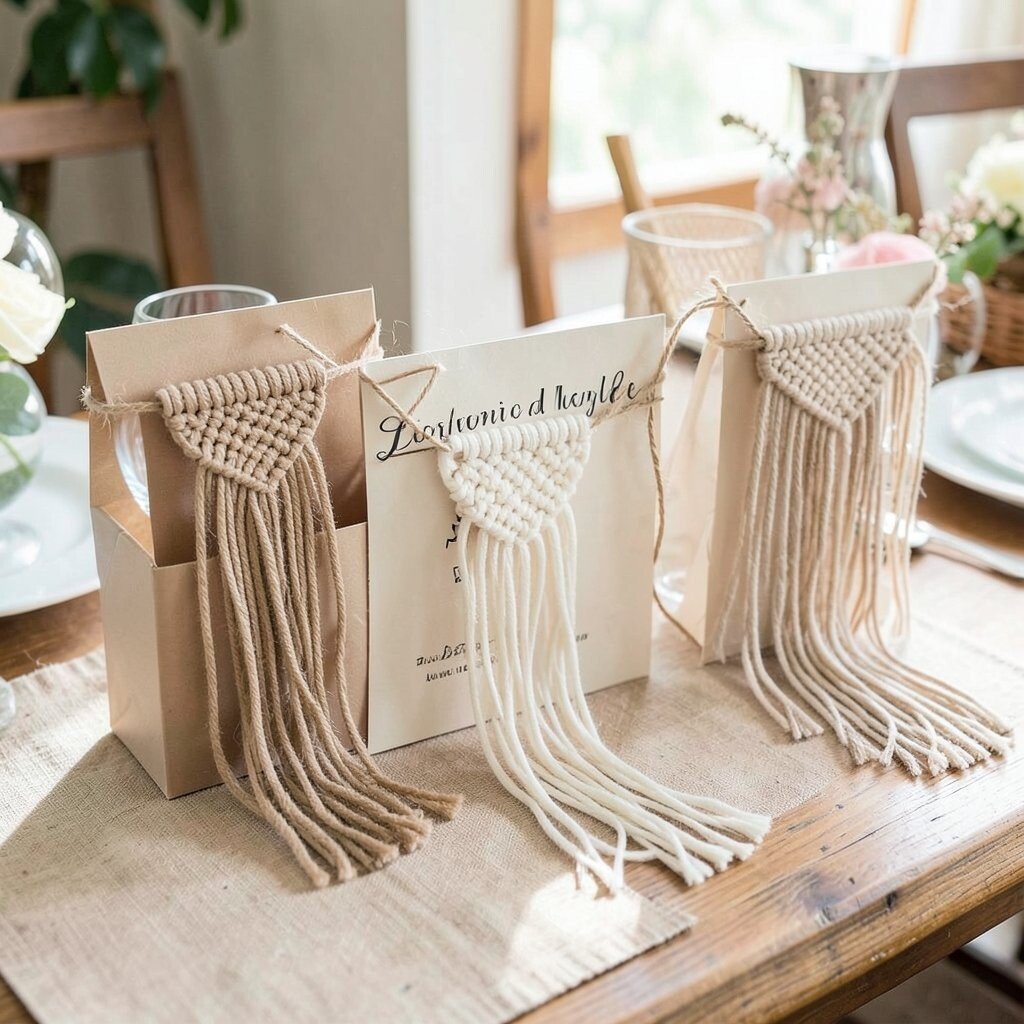
Create small holders using rope knots or woven cord, then use them for ceremony programs or welcome cards. Even if your knot work is basic, the texture still looks handcrafted.
Hang them near the front so the area feels curated instead of plain. If you’re using minimalist decor, stick to natural fibers in cream or tan for a clean look.
Use a sturdy dowel or wooden ring as the anchor so the holder stays upright. For budget planning, rope is usually cheaper than store decor, and you can reuse the holders for future gatherings.
This style fits current trends toward warm, handmade textures. Add a tiny charm, like a single pearl or small star, to make each holder feel unique to your wedding theme.
3. Hand-Painted Ceremony Welcome Sign
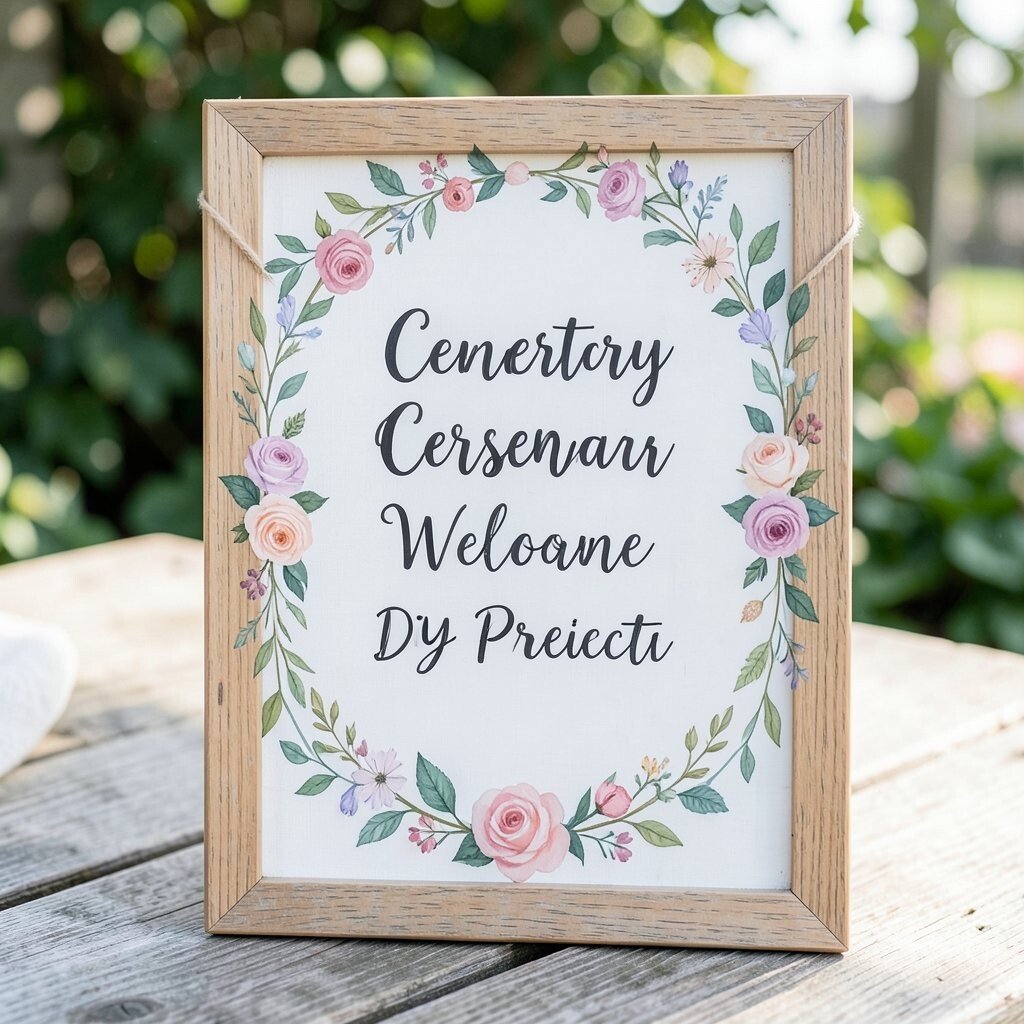
Paint a welcome sign that sets the tone at your ceremony entrance. A large wooden board, a smooth canvas, or even a thrifted frame all work well.
The sign becomes a focal point for photos, and it helps guests find their seats. Use thick strokes and simple lettering so it reads clearly from a distance.
Pick colors that echo your bouquets or bridesmaid dresses. For personalization, paint a small border pattern you can repeat on programs, menus, or place cards.
To keep costs low, use craft paint and a basic stencil for neat letters. This project also feels modern when you choose bold, airy fonts and a limited color palette.
4. Candle Labels With Mismatched Charm
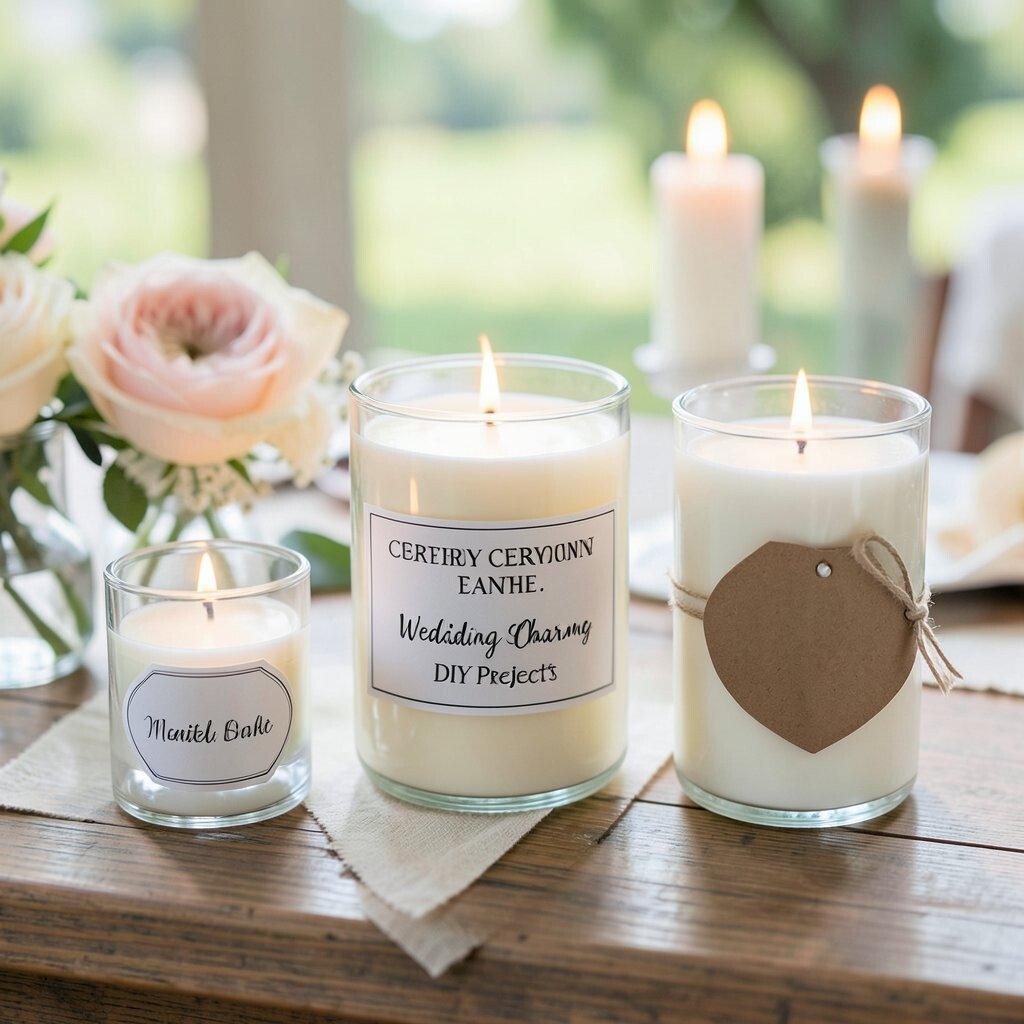
Use small labels to dress up your ceremony candles and make them look styled, not spare. Write names, dates, or short phrases on white paper, then wrap the label lightly around each jar.
This creates a cohesive look while still allowing a little playful variety. Choose a font that matches your wedding vibe, from elegant script to clean block letters.
If you have many candles, try repeating one design element like tiny hearts or dots. For cost planning, labels and ink are affordable, and you can reuse the jars later.
Current decor trends favor layered details, so labels add that extra “finished” feel. Tie the labels with twine or ribbon to blend with your overall color scheme.
5. Personalized Seating Cards With Floating Planter Clips
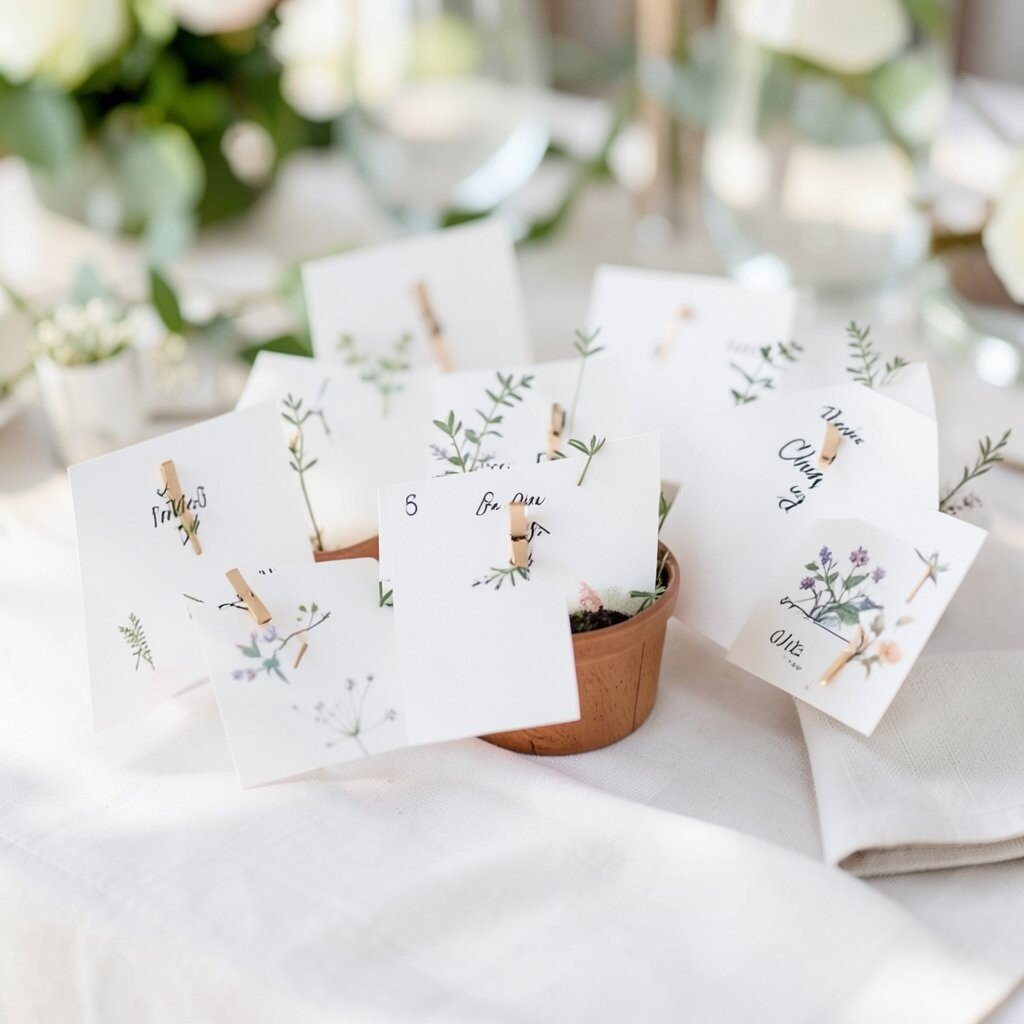
Turn seating cards into mini keepsakes by attaching each card to a small clip that holds a sprig or leaf. Guests can place them on chair backs, and it adds a fresh, living look.
The visual benefit is big because every row looks intentional and coordinated. You’ll also make it easy for guests to find their seats without bulky signage.
For practical setup, use lightweight cards and clips so they don’t fall or scratch dresses. Consider using preserved greenery or faux leaves if your climate is hot or windy.
This project stands out because it blends stationery with decor that feels fresh. Keep personalization simple by using names in your font style and matching clip colors to your palette.
6. DIY Petal Confetti Cones With Printed Stickers
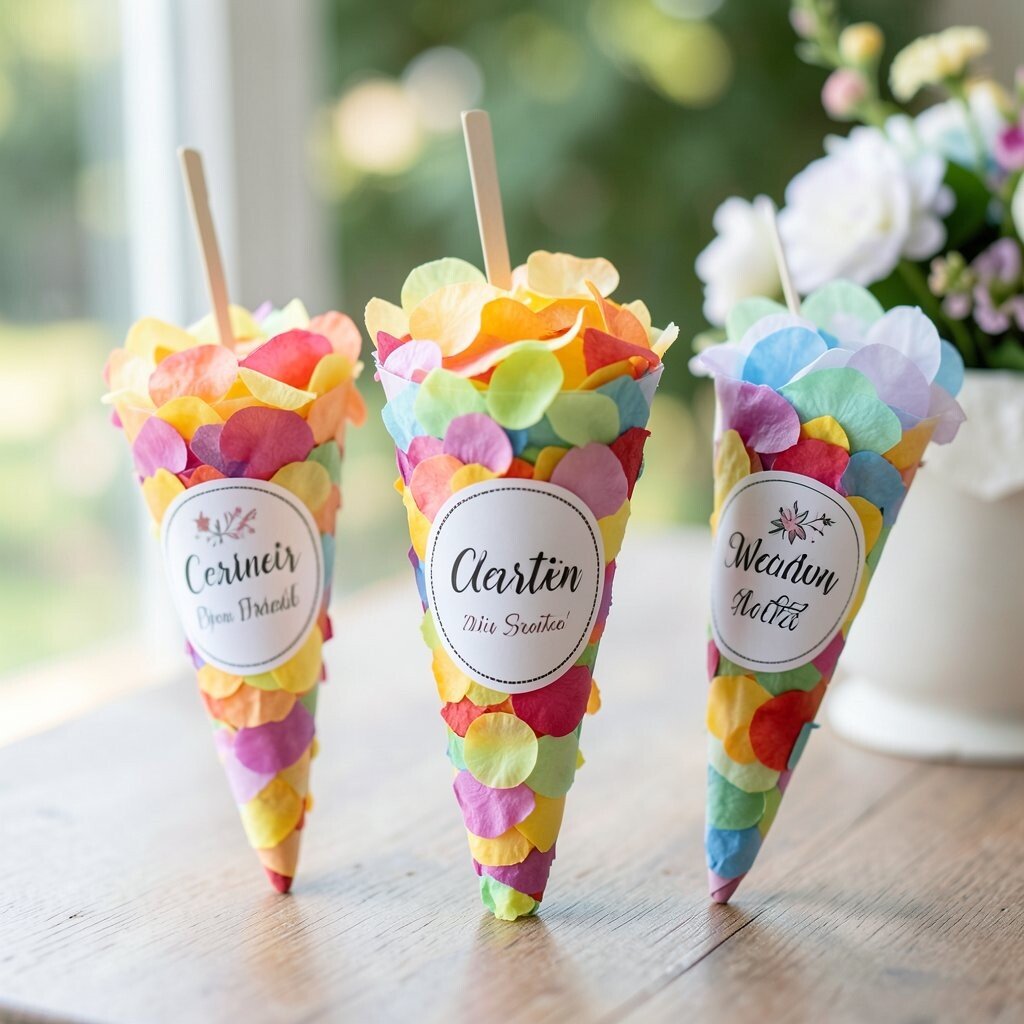
Make confetti cones or bags for an exit or entrance moment that feels fun and light. You can fill cones with real petal confetti or even punch-out paper shapes.
Printed stickers help the cones look polished without extra effort. Choose a design that matches your save-the-date or ceremony programs so everything feels like one story.
Use narrow cones so they fit easily in a basket for quick grab-and-go. For cost considerations, paper confetti and sticker sheets are usually much cheaper than premade products.
7. Simple Floral Monogram on a Frame
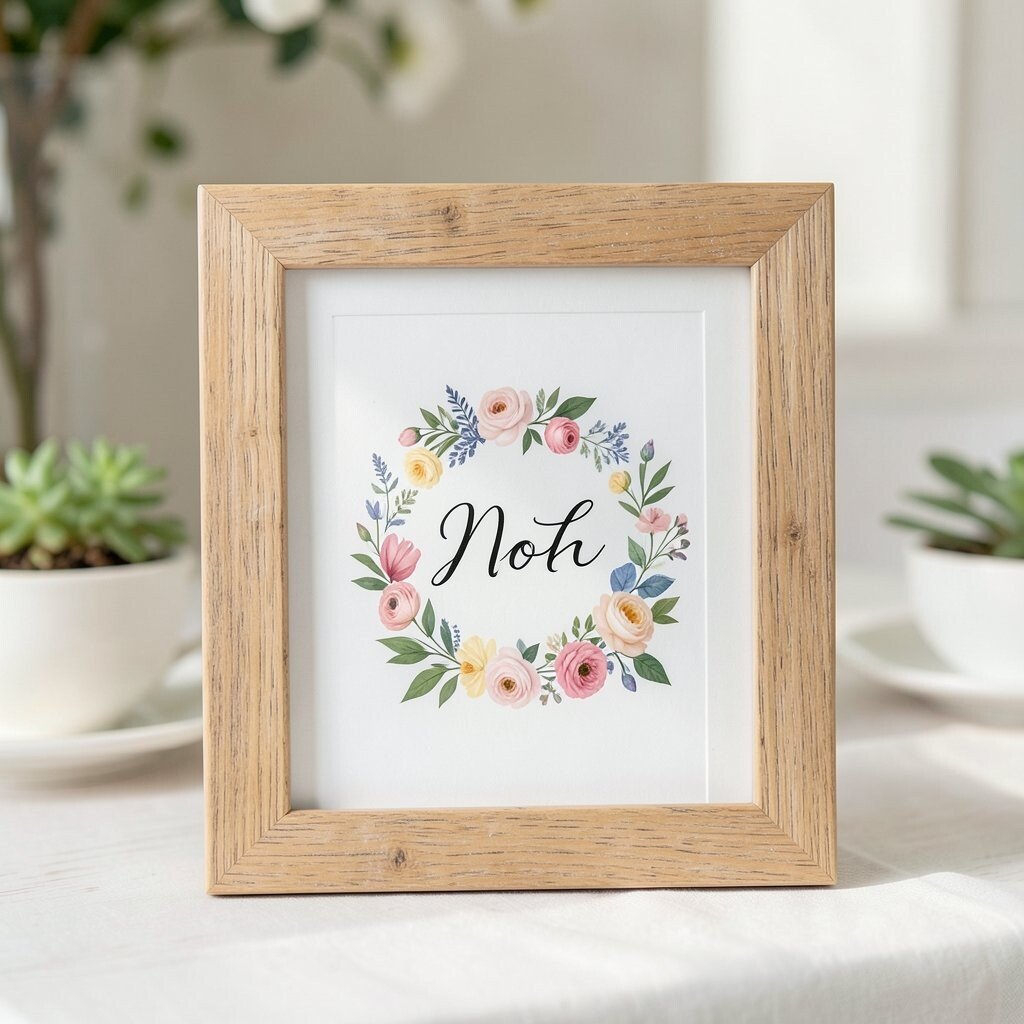
Create a monogram display for your ceremony backdrop using a frame and faux or dried flowers. You can also use fresh flowers if you have a florist assist with the final touches.
The monogram adds a bold, photo-ready focal point that looks custom. It’s unique because the shape can mirror your wedding initials or a meaningful symbol.
For practical tips, secure the flowers with floral wire or hot glue on small sections so nothing falls. Keep weight in mind, and avoid making it too heavy for a lightweight easel.
8. Fabric Banner for Aisle Corners
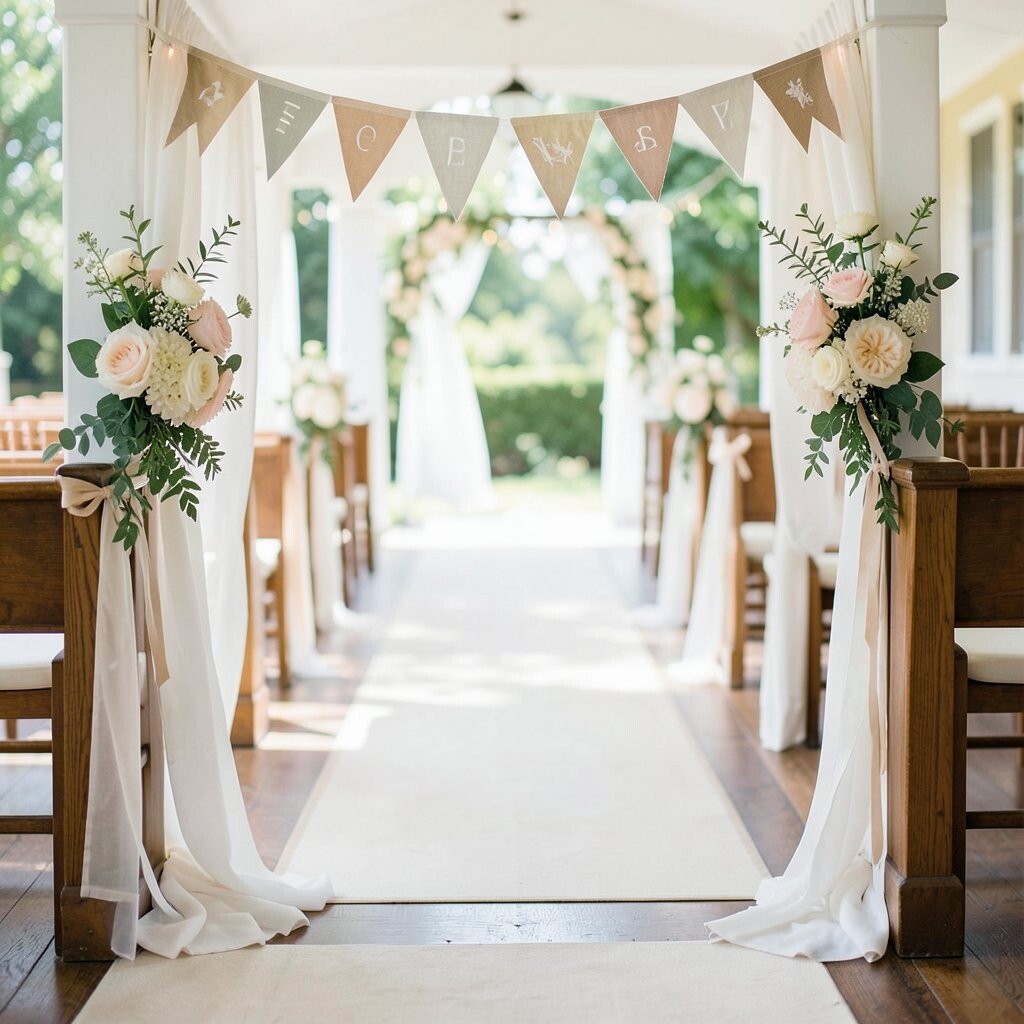
Hang a fabric banner near ceremony corners to frame the aisle and soften the space. Use lightweight cloth panels, then tie them to a simple line or dowel.
Fabric adds movement, and it looks lovely in both close-up and wide-angle photos. This also helps your ceremony feel like it has “walls” even in open outdoor spaces.
Choose fabric in two or three colors so it stays cohesive instead of busy. For personalization, add tiny hand-sewn accents like stitched dots or small appliqués.
Cost considerations are friendly since you can repurpose old linens or buy small yardage. Current trends favor soft, airy textures, so letting the fabric flutter is a win.
9. Chalkboard Seating Map With Decorative Tape Borders
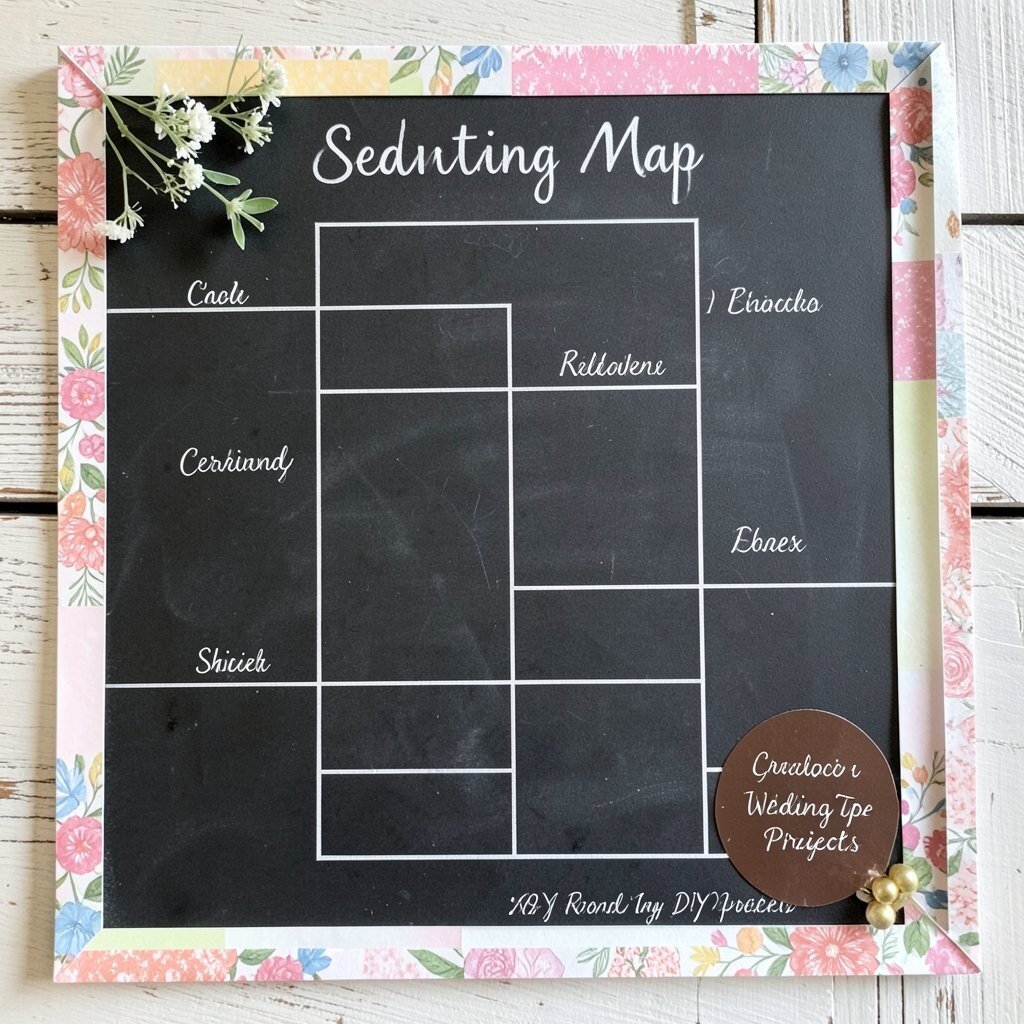
Design a chalkboard map that guides guests without clutter. Use clear chalk or chalk markers, then frame the writing with decorative tape.
This gives you a clean way to show where everyone sits while still looking stylish. It’s especially helpful for venues with multiple entrances or unclear aisle spacing.
For practical tips, draw simple icons instead of long lines of text to keep it easy to scan. Personalize it by matching tape colors to your table linens or invitation suite.
If you don’t want to buy a new board, borrow one or use a thrifted frame with chalkboard paint. For trends, chalk signage with neat tape borders looks modern and not overly rustic.
10. DIY Photo Table Place Name Display
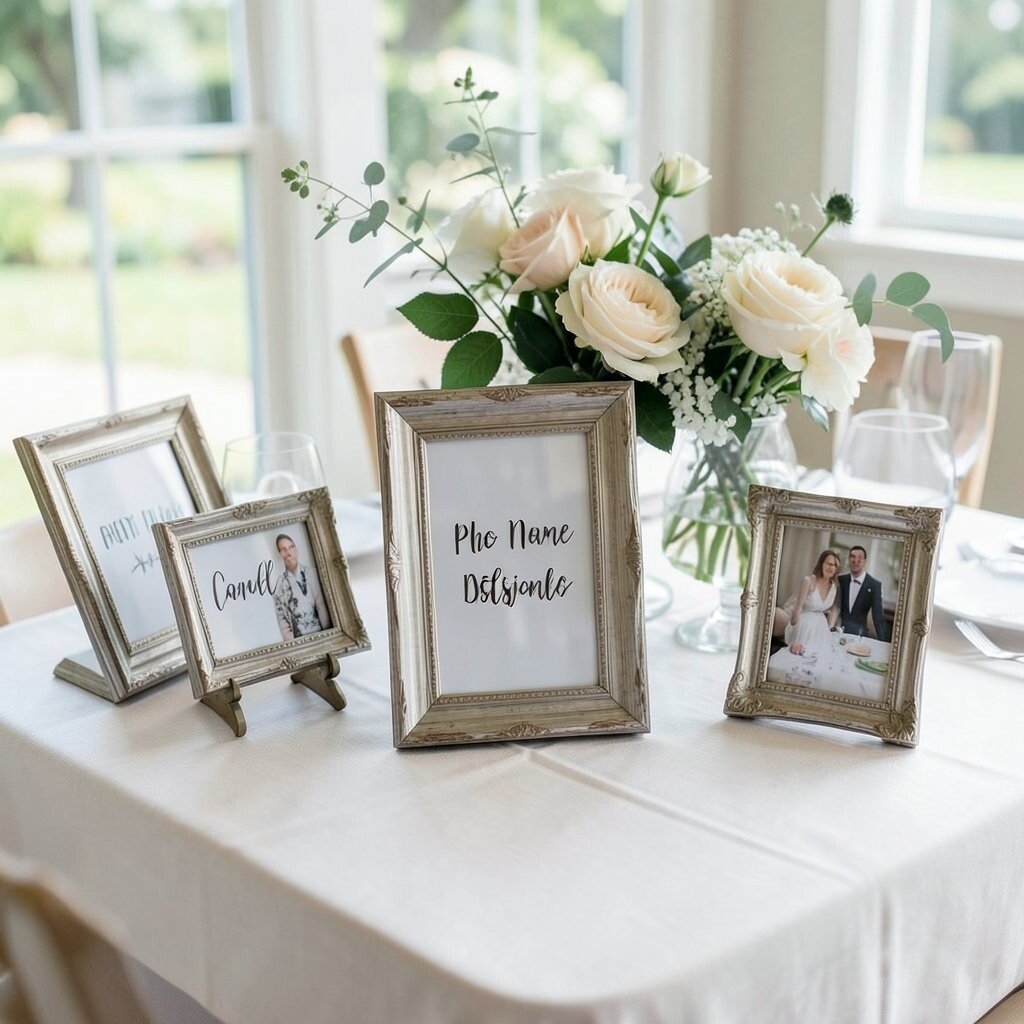
Make a small display for place names by using a mini stand with a photo clip or clear holder. Guests will feel welcomed when they see their name paired with a tiny photo or icon.
The benefit is that it keeps the waiting area looking polished and less chaotic. It also gives you a chance to share your story in a small way.
Use printed photos trimmed into circles or squares, then attach them behind the name card. Personalization comes from selecting pictures that match your theme, like travel, nature, or childhood snapshots.
For cost considerations, craft stands and photo clips are often cheaper than formal signage. This idea matches the current trend of mixing stationery with personal photo touches.
11. Handcrafted Ribbon Ring Toss Cards
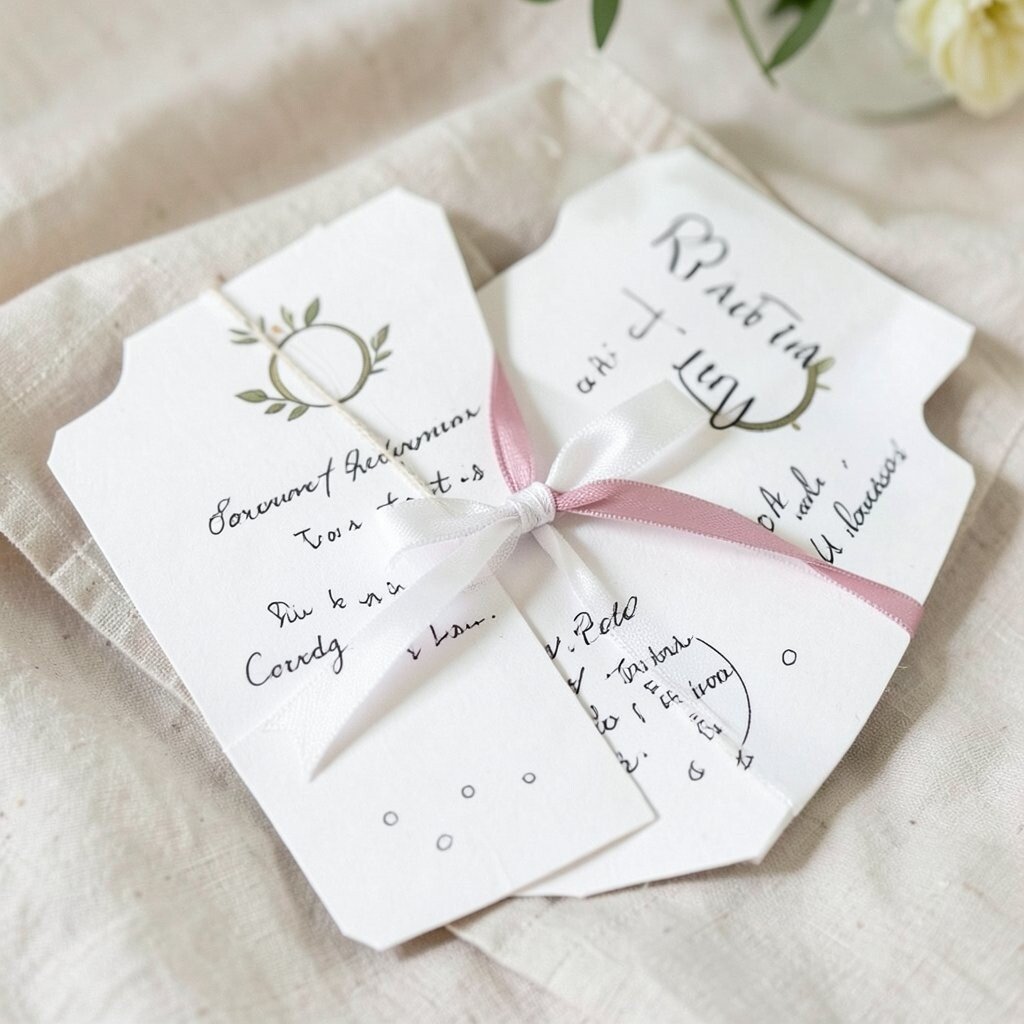
Set up a ring toss or simple toss corner with cards that guide guests. Use cardstock and ribbon ties so the instruction cards look elegant and match your ceremony branding.
This adds an interactive vibe without requiring complicated planning. It also creates a clear moment for guests who want something to do while waiting.
Keep the design easy to read, especially at a distance, by using larger text or symbols. Personalize the cards with your colors and a small illustration that fits your theme.
For practicality, use thick paper so it stands up on windy days. The cost is usually low, and the satisfaction is high when it looks like it belongs with your wedding style.
12. Floating Candle Row on Glass Clusters
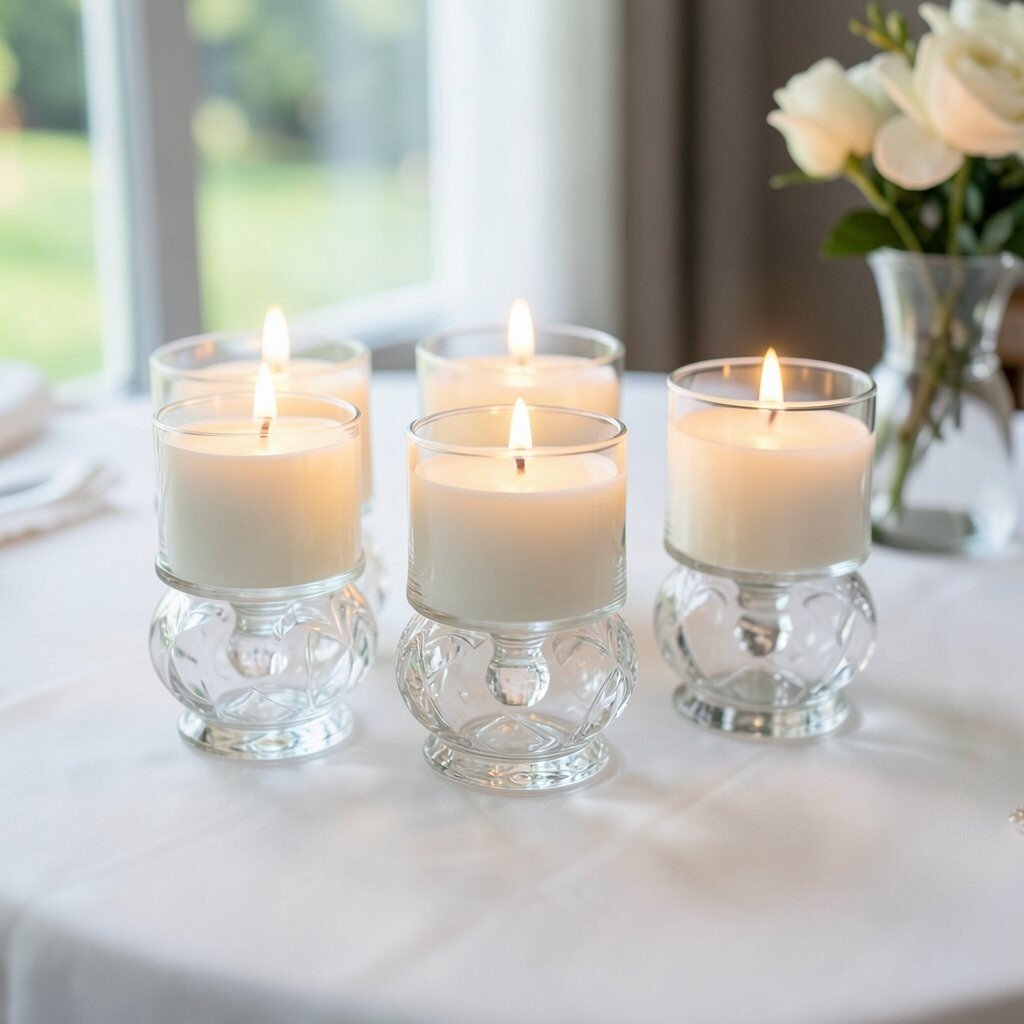
Make a gorgeous candle row using glass votives grouped on trays and tied together with a ribbon. You can add small faux leaves or greenery around the glass for extra softness.
The visual effect is elegant, and it looks extra special in low light. Guests will notice because the candles create a warm glow along the front area.
For safety, use flameless candles if your venue allows only certain setups, or place real candles in stable holders. Personalization can be as simple as adding a color-coordinated ribbon knot to each cluster.
Keep costs reasonable by using bulk votives and reusing trays from home. This project feels on-trend because “layered glow” is popular right now for ceremony decor.
13. DIY Floral Hairpin for the Officiant or Attendants
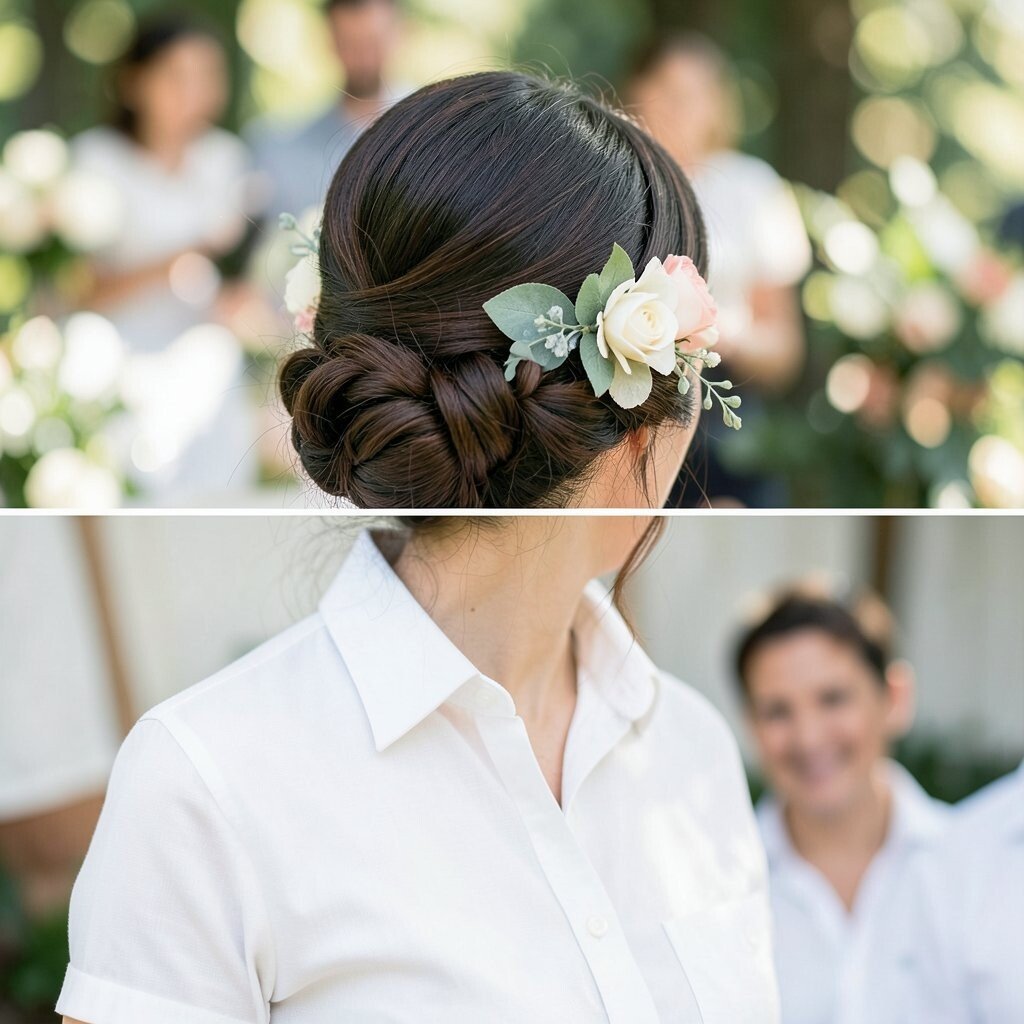
Create a small floral accent hairpin using faux blooms or silk petals. Pin it to a hair comb or directly onto a ribbon-tied clip for easy use.
The benefit is that it photographs beautifully and helps your attendants’ styling look intentional. It also adds uniqueness if the pin matches your bouquet colors.
For practical tips, secure everything tightly with hot glue and add an extra wire tie so it holds through photos. Personalization can include tiny bead centers or a small charm that matches your ceremony theme.
Cost considerations are good because you can buy a few flower stems and break them down. This fits current trends toward small, wearable details instead of big separate decor items.
14. Seating Aisle Markers With Painted Stones
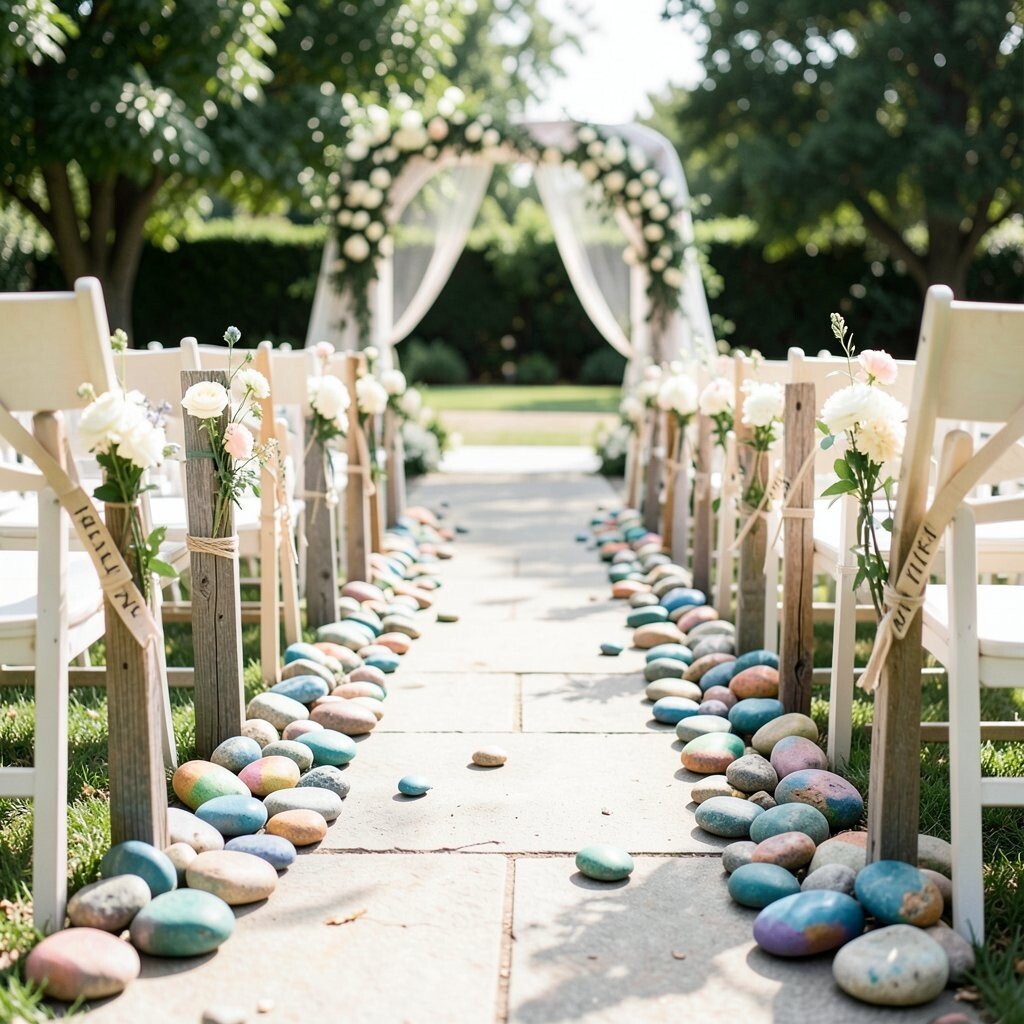
Paint smooth stones with your wedding colors and use them as aisle corner markers or queue markers. Place them in small clusters to lead guests toward the front.
It looks unique, especially outdoors where natural textures blend with the setting. Guests will also appreciate the gentle guidance without a large sign blocking sightlines.
Seal your paint with clear varnish so it lasts through handling. Personalize stones by adding dates, initials, or tiny dot patterns that echo your invitation design.
For cost considerations, stones can be cheap, and acrylic paint is easy to find. This DIY feels fresh because it mixes nature and design in a simple way.
15. Candlelit Votive Spoons for Ring Bearers
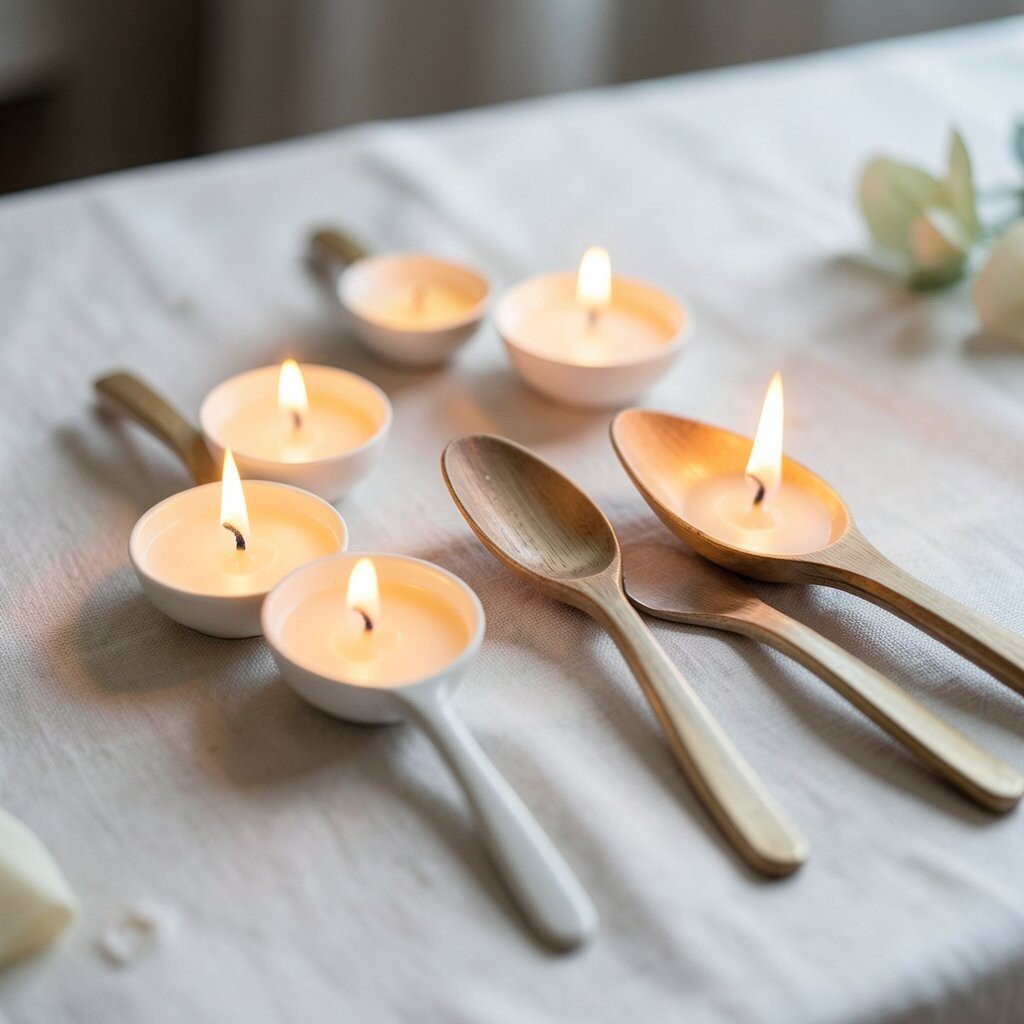
Give ring bearers or flower kids a small glowing accessory made from votive holders or mini spoons tied with ribbon. It can be a fun prop for walking down the aisle and makes their role feel special.
The benefit is that it creates a memorable “moment of motion” while still matching ceremony decor. Visuals look charming because the glow catches in the background.
For practical tips, use only lightweight items and consider flameless candles for safer handling. Personalization can be as simple as matching ribbon colors to the outfit accents.
Cost considerations are manageable since mini holders and ribbon are usually inexpensive. Trends are leaning toward playful but tasteful props, and this keeps it classy.
16. Custom Ceremony Timer Sign for Smooth Timing
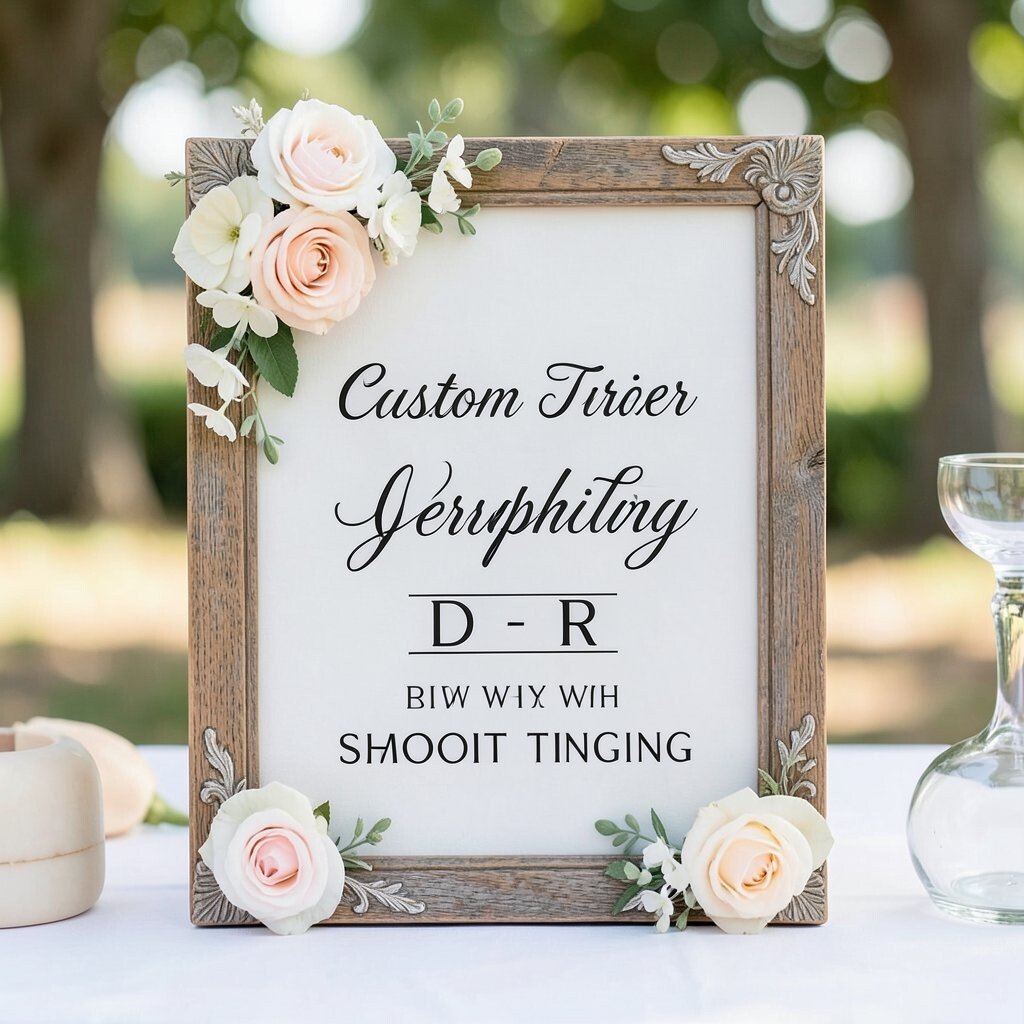
Make a small timer sign that indicates when to prepare for vows, readings, or the processional. Use a chalkboard or printed board and keep it in view of the wedding party.
This helps everything run smoothly because people aren’t guessing. It also reduces stress for whoever is managing the flow.
For practical setup, place the sign near the dressing area or hand it to the coordinator to hold. Personalize with your wedding colors and simple icons so it looks coordinated, not like a random reminder.
Cost considerations stay low because a board and markers are usually all you need. This fits modern planning trends where you create thoughtful cues instead of complicated schedules.
17. DIY Photo Booth Backdrop Using Fabric Layers
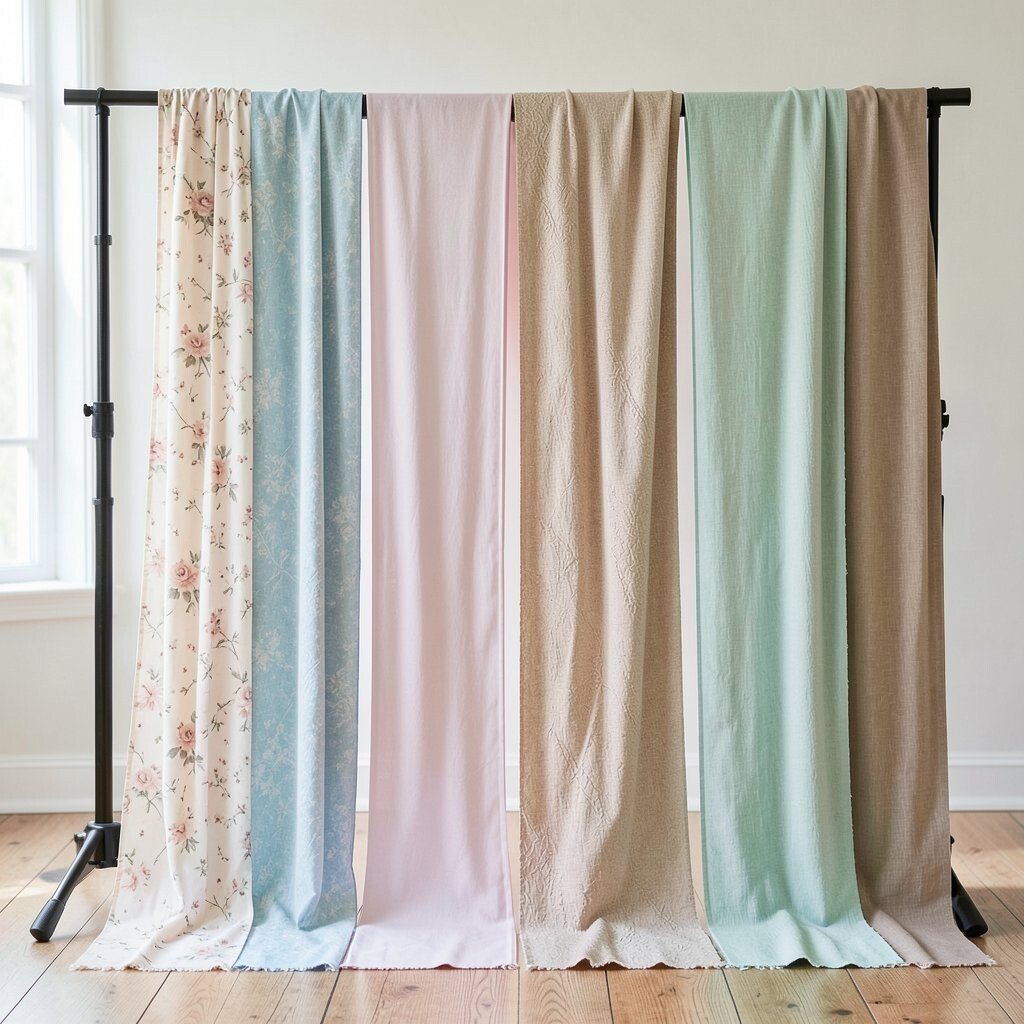
Build an easy ceremony photo backdrop by layering fabric strips and securing them to a frame or stand. Choose one neutral base and add a thin accent layer for depth.
The visual benefit is a soft, flattering background that works for portraits and group photos. It also makes your ceremony area feel bigger and more styled.
For practical tips, keep fabric pieces the same length for a tidy look. Personalize it by tying small ribbons at regular intervals or using a hidden monogram patch.
If you want a trend-forward feel, choose sheer fabric and let light shine through. Costs can be controlled by using thrifted scarves, old curtains, or leftover yardage.
18. Personalized Unity Candle Sleeve With Wax Seal Look
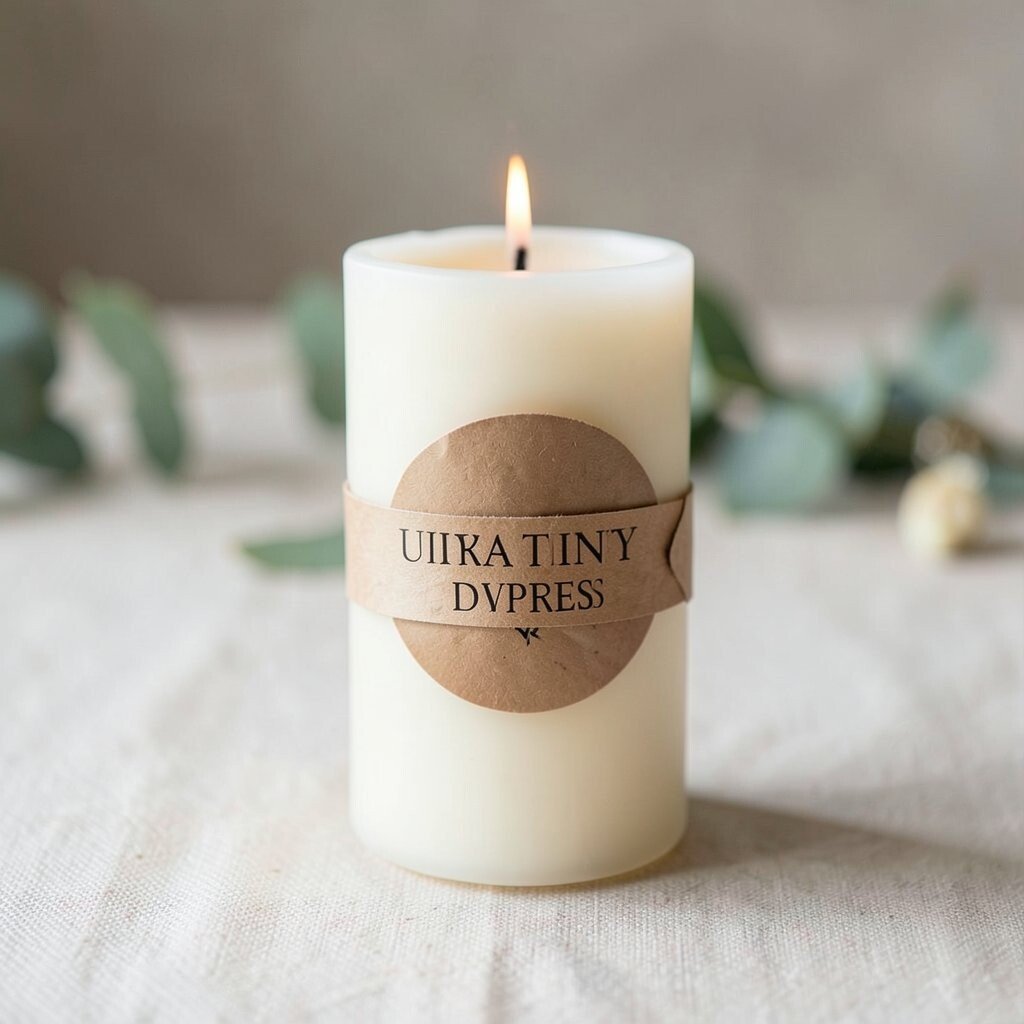
Create a sleeve for your unity candle so it matches your invitation design. Use sturdy paper or cardstock, then print or stamp a pattern and finish it with a faux wax seal sticker.
This makes the unity moment feel more intentional and adds a clear visual centerpiece. Guests will notice because it looks like a coordinated part of your ceremony styling.
For practical tips, measure the candle carefully so the sleeve fits snugly and doesn’t slide. Personalization can include your names and date in a color that matches the wedding palette.
Cost considerations are great because you’re using small materials. This kind of “paper + seal” detail is popular right now and feels classic at the same time.
19. Hand-Stamped Wedding Program Fans for Hot Venues
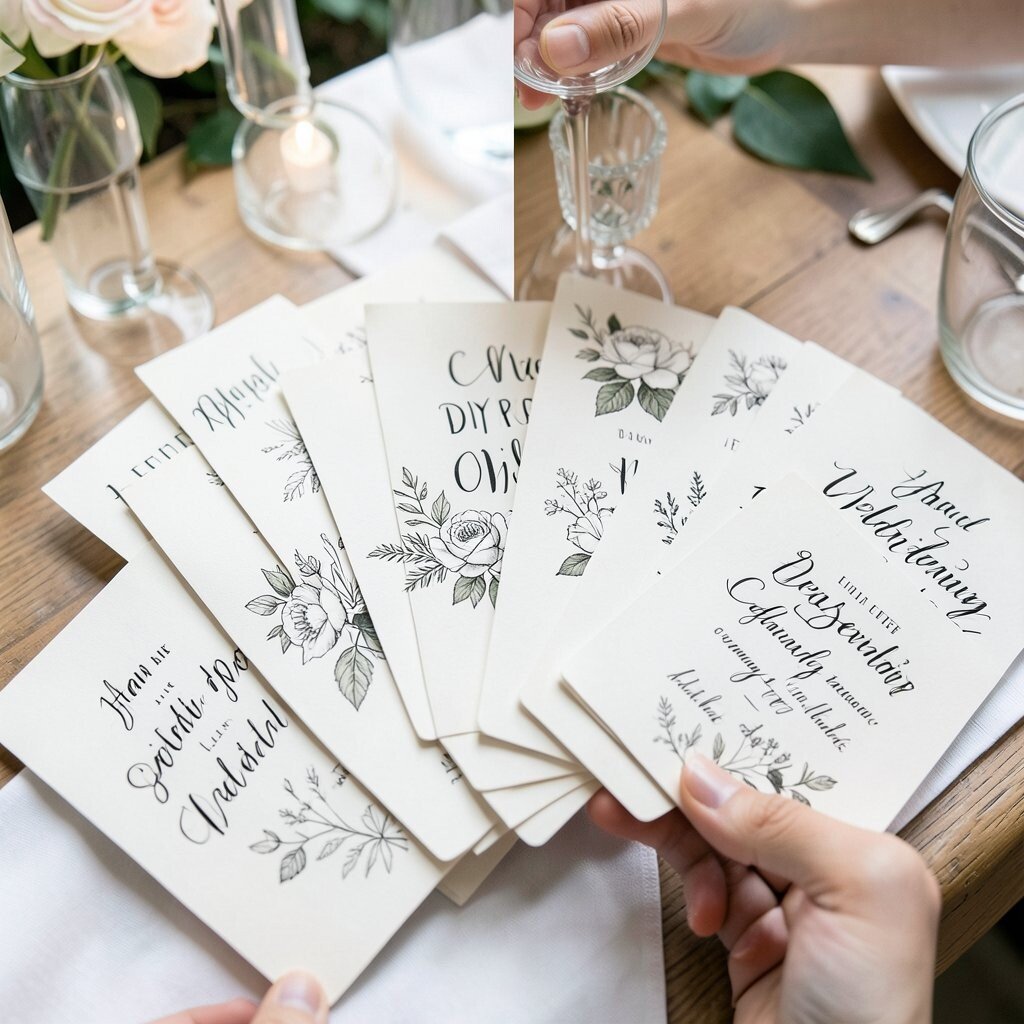
Assemble fan-style programs for guests in warm weather or long ceremonies. Use sturdy cardstock, accordion-fold it, and stamp or print a design on the outer panels.
The benefit is twofold since guests get useful shade and a pretty program. It also photographs nicely because fans create soft shapes and layers.
For practical tips, include the key ceremony order on the panels so it’s readable while unfolded. Personalization ideas include a tiny illustration on the cover and matching color accents inside.
Cost considerations are friendly because you can print at a small run and use simple cardstock. This fits current trends where wedding stationery doubles as functional decor.
20. Ceremony Welcome Basket With Curated Comfort Items
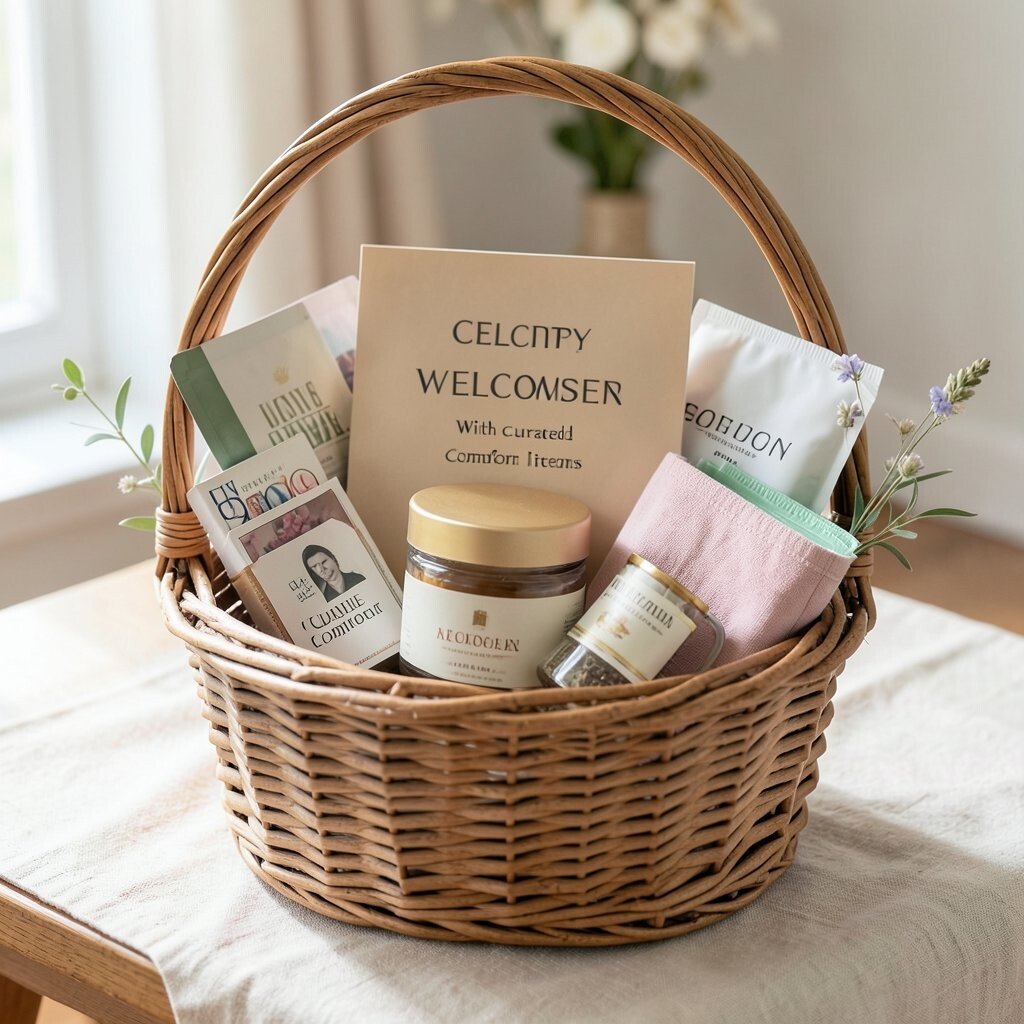
Put together a welcome basket that includes comfort items like tissues, mini hand sanitizers, and small fans. Arrange them in a woven basket with matching labels so it looks neat.
The visual effect is caring and warm, and it signals that your guests are considered. It also saves your day if someone needs a quick fix during the ceremony.
For practical tips, choose travel-size items and group them by type so guests can grab without rummaging. Personalization can come from adding your wedding date on each label or using a simple icon set tied to your theme.
Cost considerations are manageable because you can buy a few items in bulk and split them across the basket. This project feels unique because it blends decor with genuine usefulness, which is a strong modern vibe.