The glow of a lantern can make any room feel softer and friendlier. But the best results come from small choices you would never guess.
If you want DIY lantern decor that looks custom and feels personal, keep reading and try these practical lessons.
1. Start with the light source, not the lantern
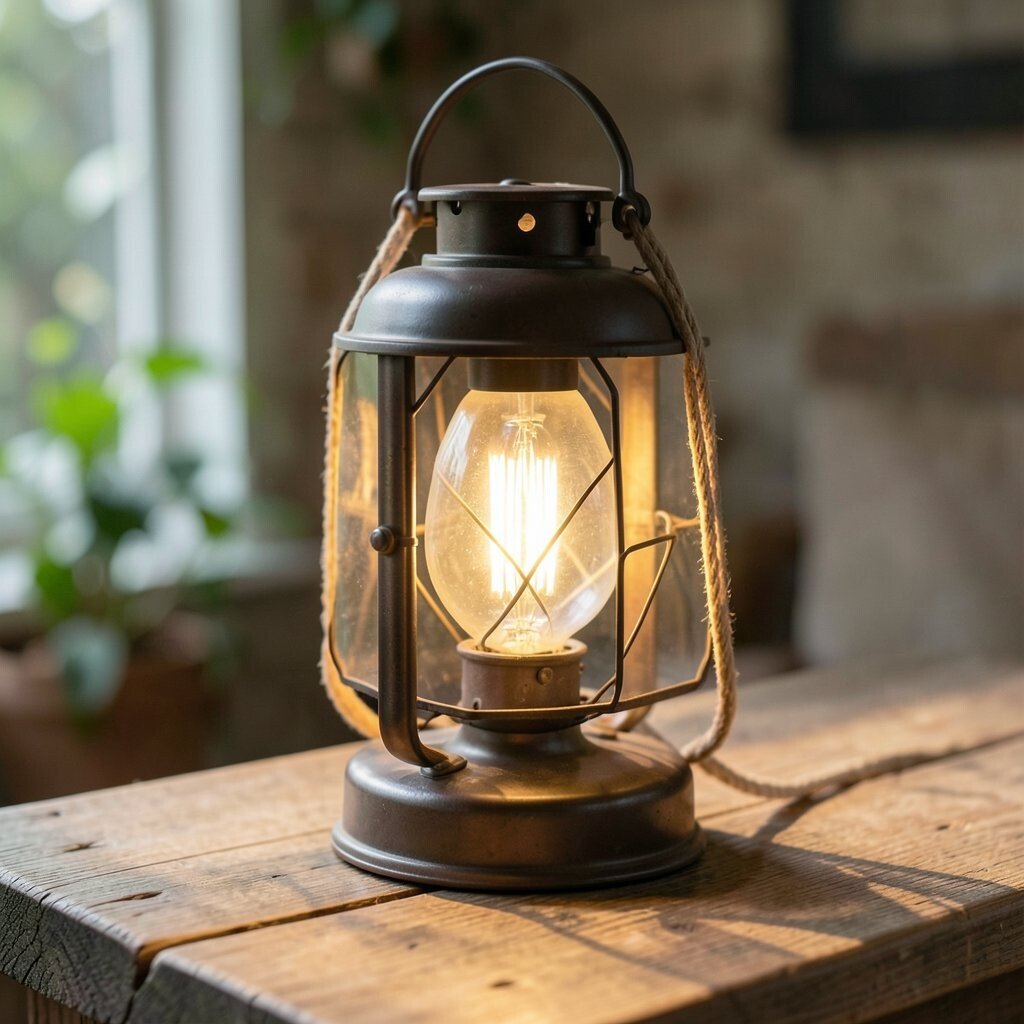
Many people pick a lantern first, then struggle with how it looks once the bulb is on. When you choose the light source early, you can control the mood from the beginning.
Warm bulbs make glass look richer and fabric look cozy. If you use a smaller wattage, the edges stay gentle instead of harsh.
2. Plan your color palette around warm shadows
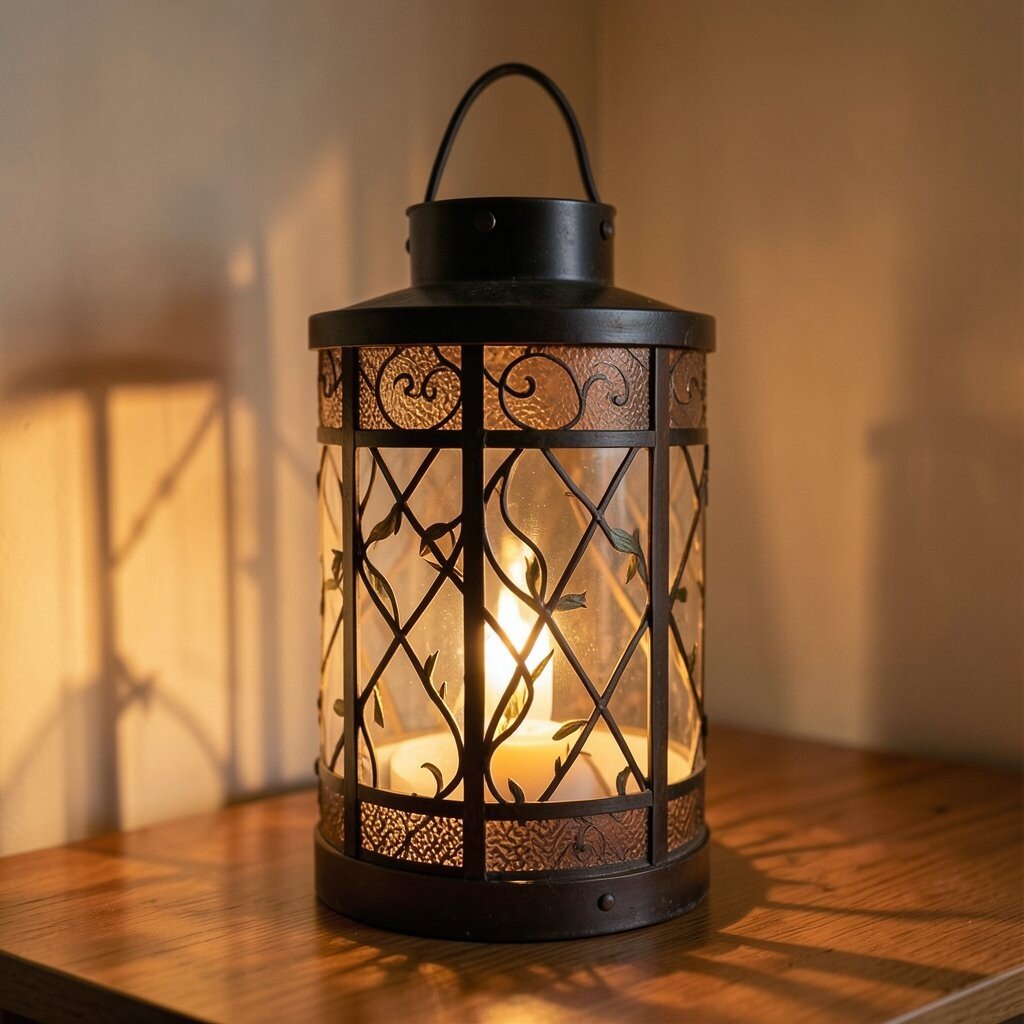
Even when you match colors perfectly, lantern decor can still look flat. That is usually because the shadows are ignored.
Pick two or three tones and let the rest support them. Think about how the light will tint walls and tablecloths at night, not just how the lantern looks in daytime.
Soft gold, terracotta, and muted greens often feel natural together. Try test photos near a wall before you commit to a final finish.
3. Mix materials for depth, even if you keep it simple
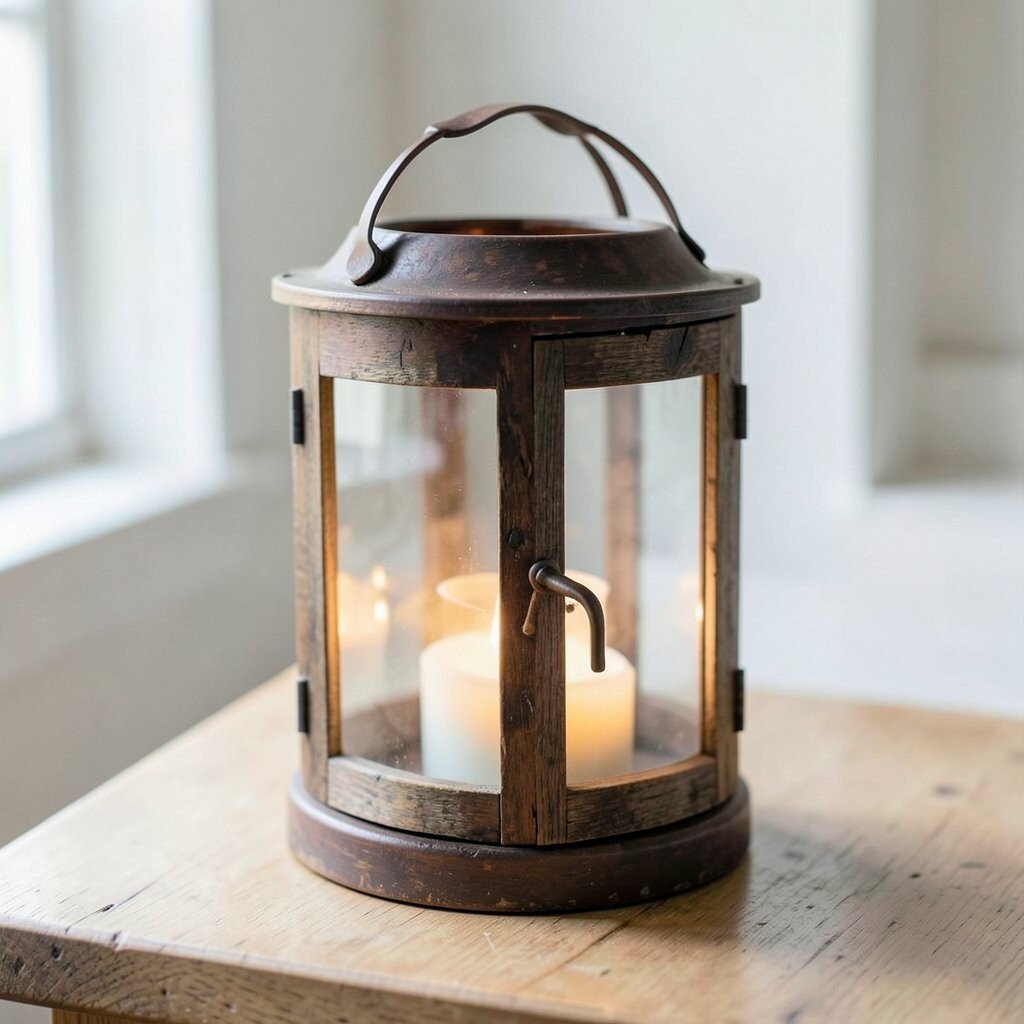
A plain lantern can look surprisingly expensive when you add texture. You can do that without complicated crafting.
Wrap a jute ribbon around the handle area, then add a few thin strips of wood or dried plant stems. The mix of rough and smooth surfaces catches light in different ways.
Keep the shapes consistent so it still feels neat. For a clean look, use one main material and one accent material, then repeat them.
4. Use paper cutouts for patterns that change as you move
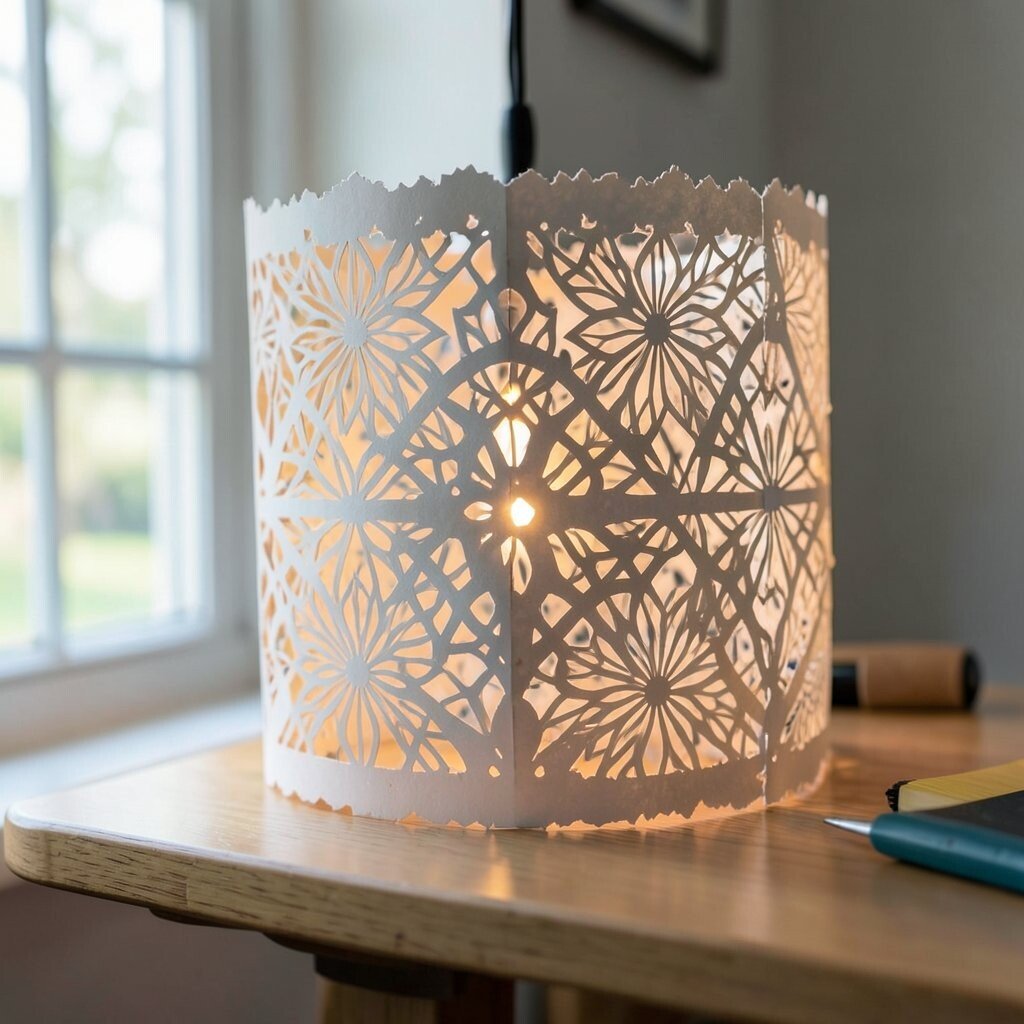
Flat decorations can look boring once the lantern is lit. Paper cutouts create changing patterns that feel lively.
You can make simple leaf silhouettes, star shapes, or geometric circles. Slide them behind the glass or place them inside a sleeve near the light so the pattern shifts when you walk by.
5. Seal outdoor lantern decor to handle misty weather
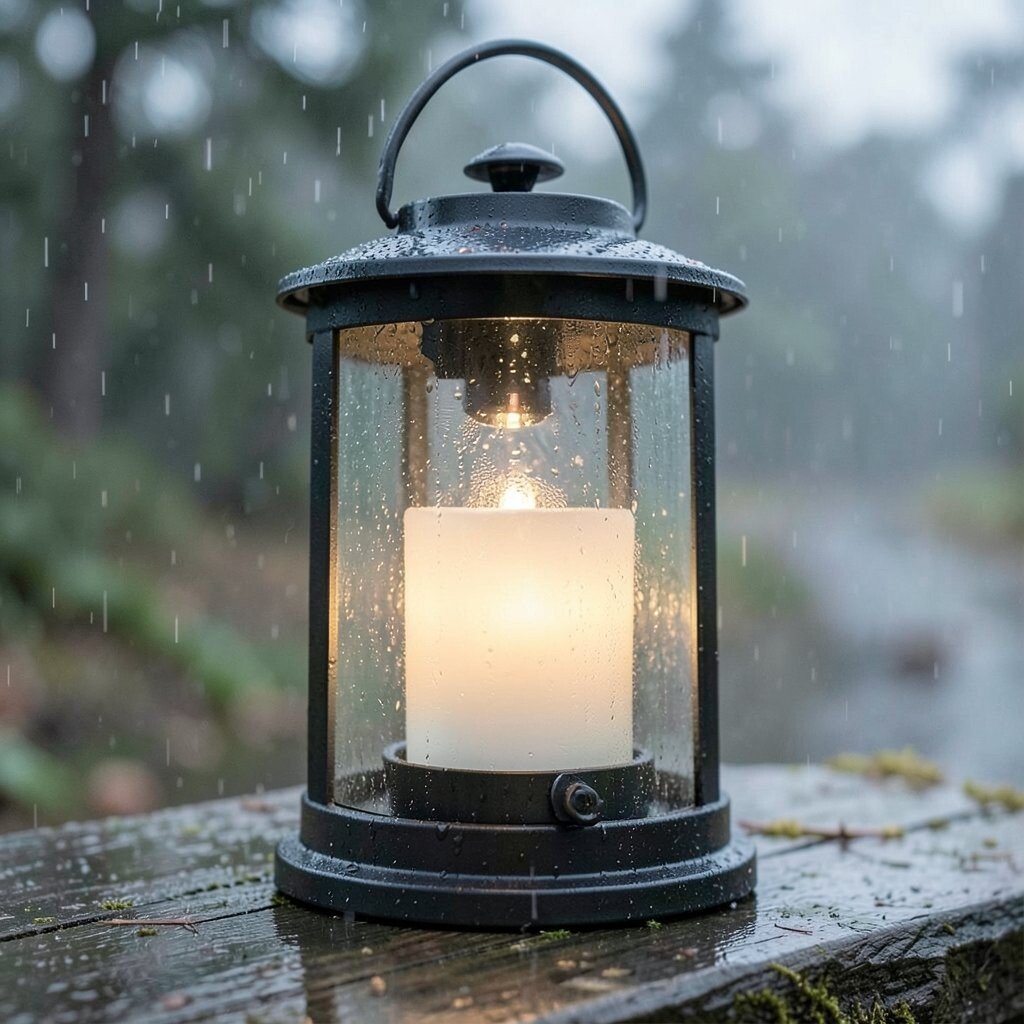
DIY lanterns love to look magical, but outdoors they face rain and dew. If you plan to use them outside, protect the materials before you hang them.
Use a clear outdoor sealant on painted parts and craft glue that says it is weather resistant. For fabric accents, keep them lighter and avoid fully soaking them with sealant.
Even with protection, bring them in during heavy storms. This small habit keeps your decor looking fresh for longer.
6. Keep cords and batteries hidden like a design choice
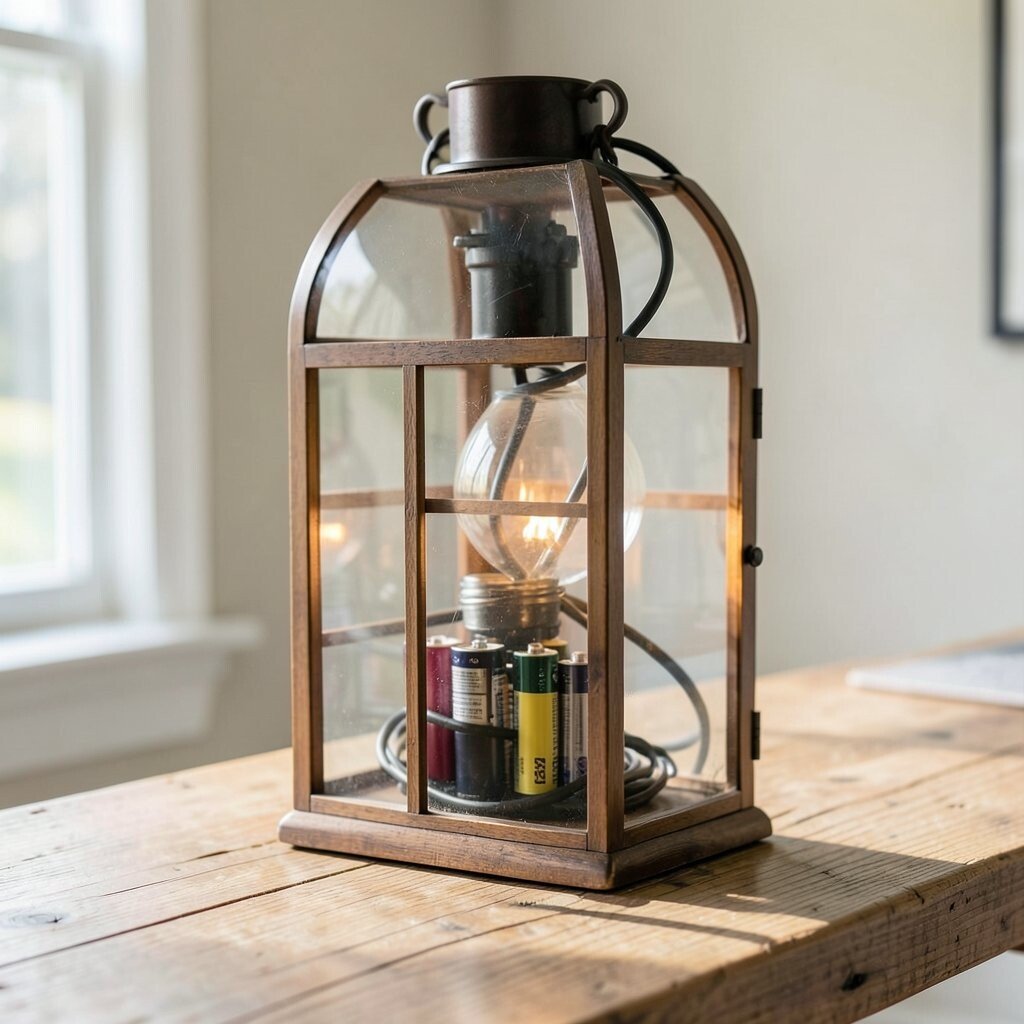
Nothing ruins the cozy vibe faster than visible wires. Luckily, you can hide them and make the lantern look more intentional.
Route cords along decorative ribbon, inside a braided sleeve, or behind a wall hook that blends in. For battery lanterns, place the pack inside a small inner pocket made from fabric and Velcro.
When you hide the power source, the lantern feels cleaner and more “finished.” It also makes future changes easier because you can access the batteries without disassembling everything.
7. Try peel-and-stick vinyl for quick personalization

Not everyone wants to paint or stencil. Peel-and-stick vinyl gives you a fast way to add names, dates, or tiny icons.
Use it on clear glass, metal frames, or the sides of paper lantern shades. The best part is you can remove it later and replace it for new seasons.
Choose matte vinyl for a gentle look, or go glossy if you want light to bounce more. Test one corner first to make sure it sits smoothly.
8. Make a lantern “memory” for celebrations, not just decoration

Lanterns look best when they mean something. You can turn DIY lantern decor into a keepsake that people talk about.
Write short messages on tags, add small fabric patches from meaningful outfits, or tuck tiny dried flowers into a sealed pocket. Keep it light enough that you do not block airflow around the light source.
9. Use uneven spacing to look more natural than perfectly lined-up
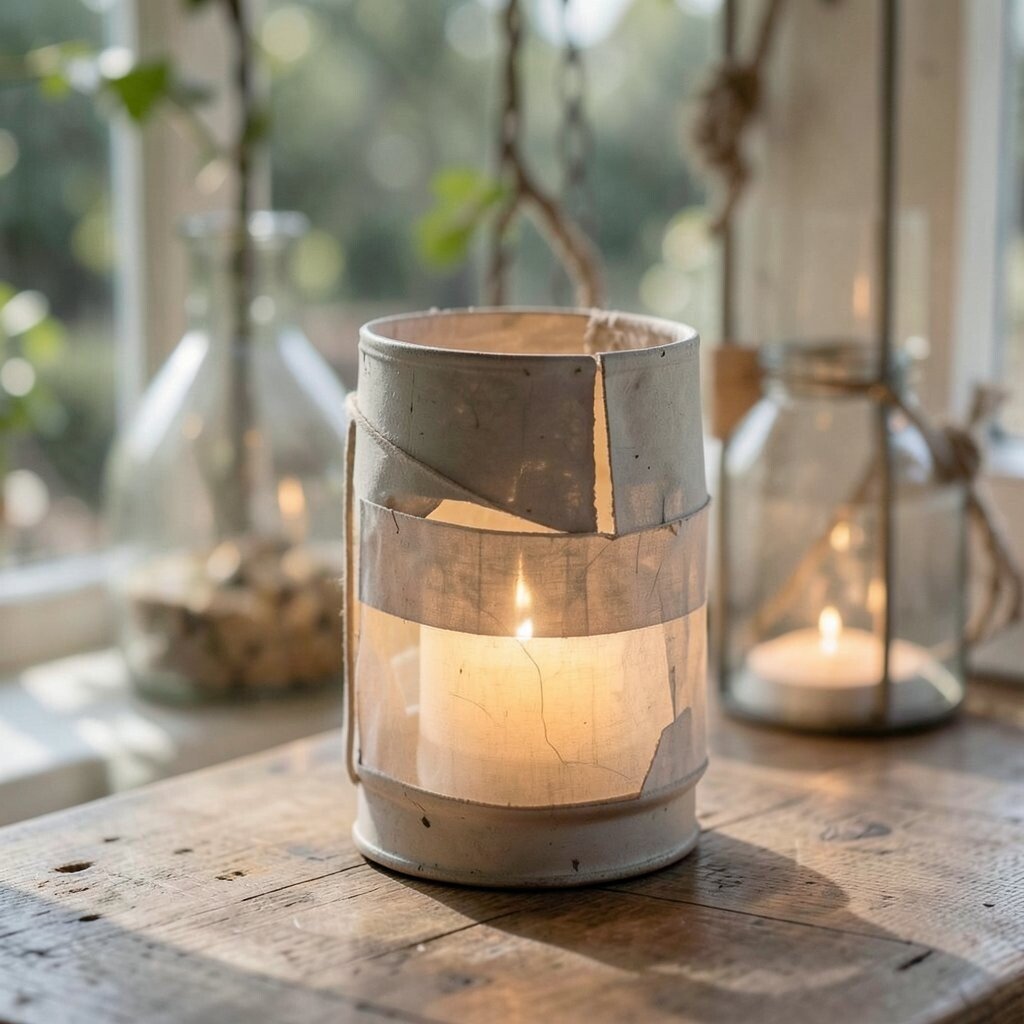
Symmetry feels modern, but lantern decor often looks too stiff when it is perfectly repeated. Small irregular spacing makes the glow feel organic.
Instead of centering every detail, shift cutouts slightly, angle ribbons a little, and vary the height of accents. Your eyes interpret the unevenness as “handmade,” even if you used a template.
That same trick helps with bead strands, dried flower clusters, and even the placement of tiny lights. Leave small gaps so the warm glow can breathe.
10. Choose adhesives that match the surface and the heat
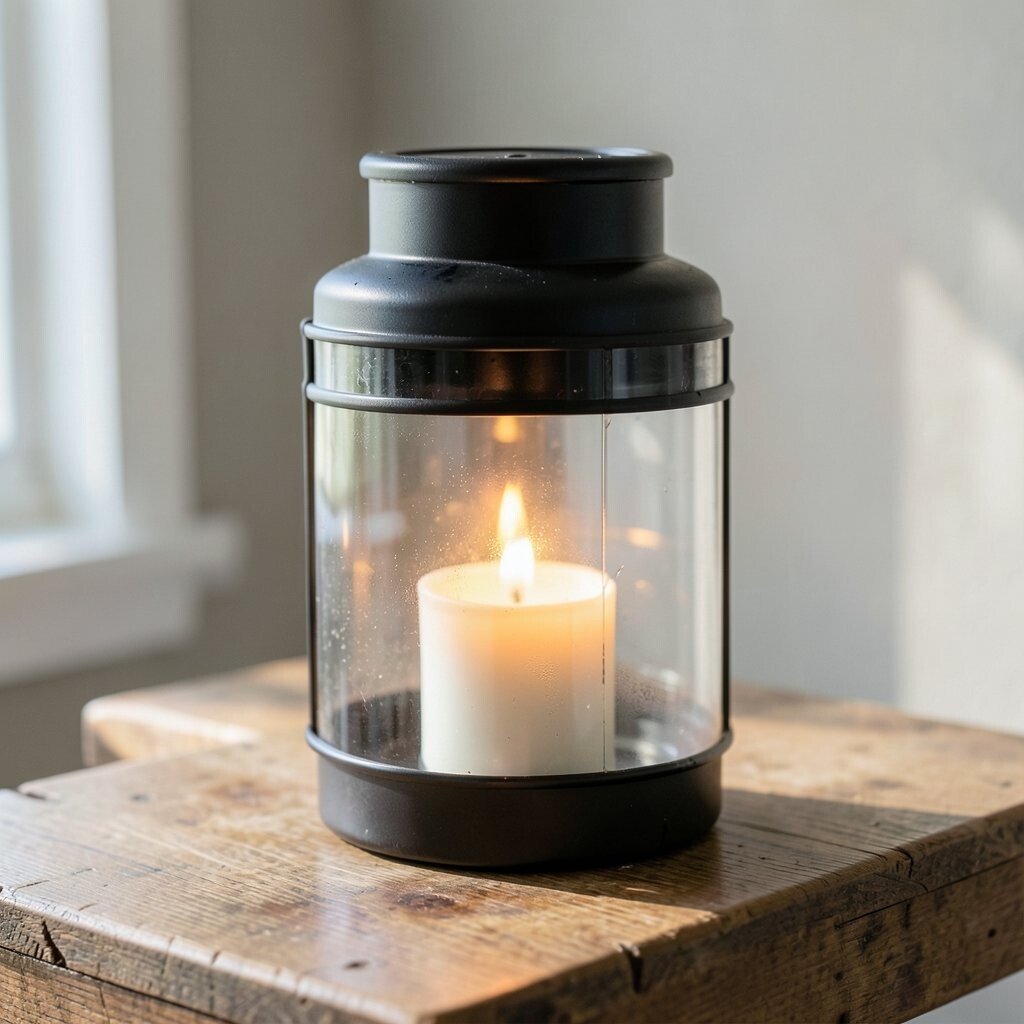
Craft glue does not behave the same on every material. It also reacts differently when it sits near a light source.
Check your glue type for bonding strength and heat resistance. If you are using anything close to a bulb, consider hot glue for small accents and keep it away from the hottest area.
11. Avoid heavy embellishments that block the light

It is tempting to decorate every inch, but lanterns need a clear path for light. If you crowd the glass or shade, the design can disappear at night.
Keep most embellishments in bands or clusters, leaving open areas for glow. A few bold elements look better than many tiny ones that all compete.
If you use cutouts, allow a little spacing between shapes so light can spread and make the pattern readable.
12. Build a removable inner liner so you can switch styles later
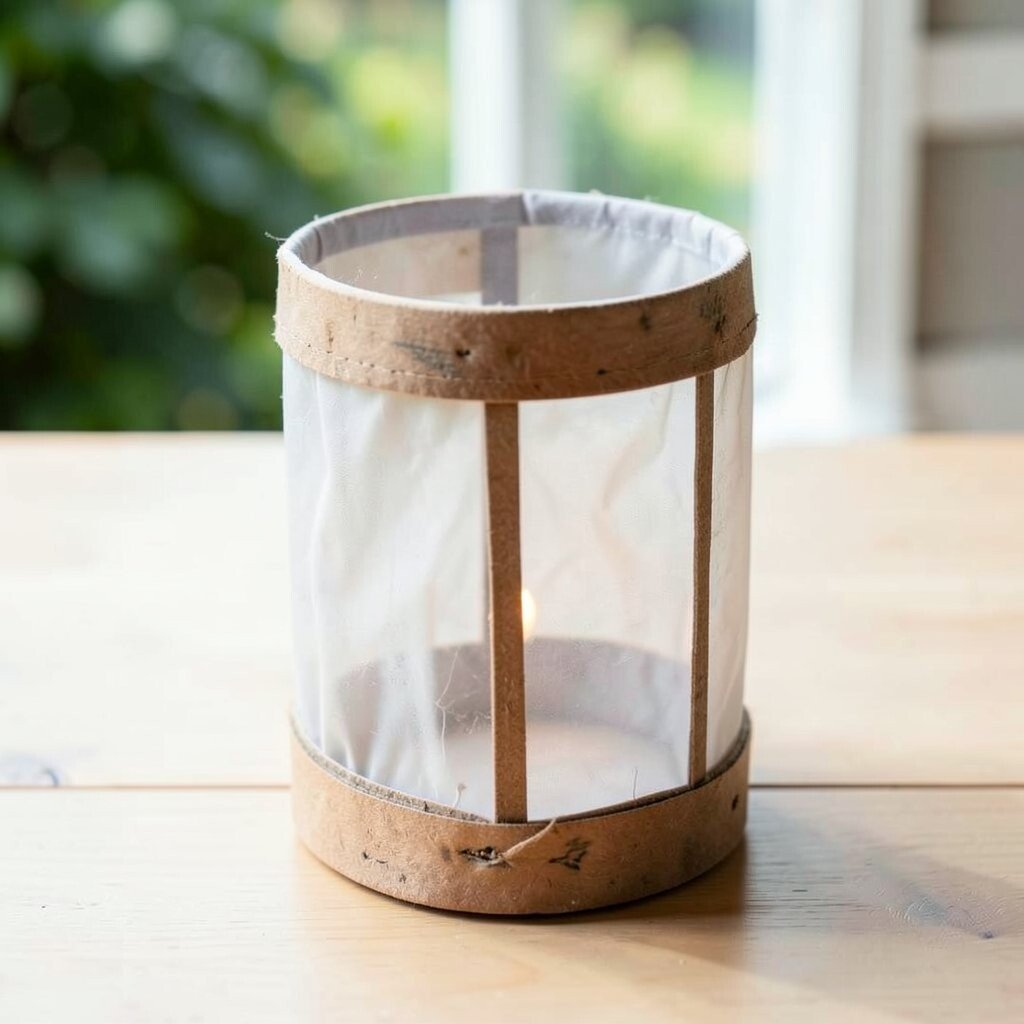
You can save time and money by making the lantern changeable. Instead of gluing everything permanently, create a removable liner that holds your decor.
A thin cardboard ring, a fabric sleeve, or even a plastic sheet insert can hold cutouts and fabric scraps. Then, when the season changes, swap the liner and reuse the lantern body.
13. Create a tiered look using different lantern sizes or heights
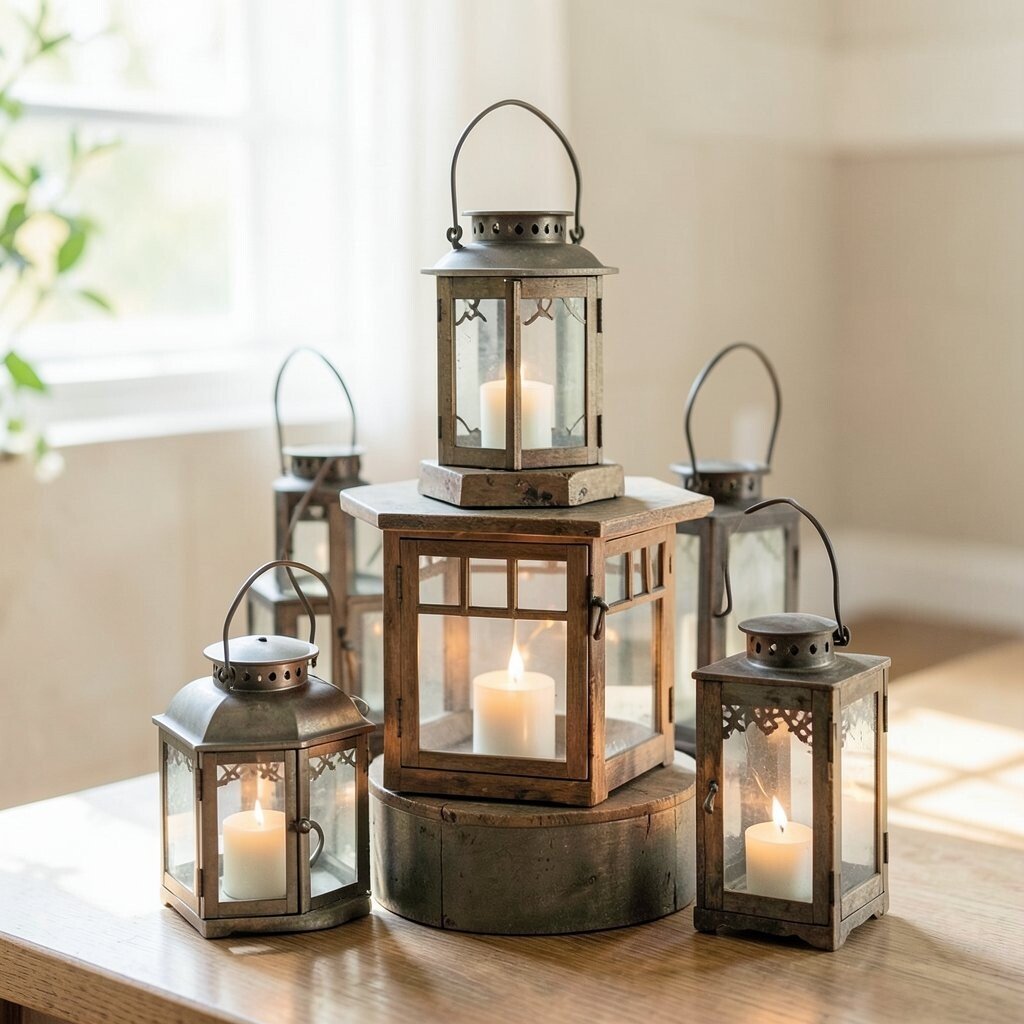
Flat decor often feels like “one thing in one spot.” A layered setup feels richer and more like a styled photo.
Use different lantern heights on a table, shelf, or outdoor railing. You can tie them together with one common color ribbon so they still feel like a set.
If you do not want multiple lanterns, you can stack paper shades or place one lantern slightly forward and one behind it. The depth helps the warm light look fuller.
14. Use metallic accents carefully so they do not look too shiny

Metallic paint and foil can look stunning, but too much shine can feel flashy instead of cozy. The trick is to use metallic accents like seasoning.
Try metallic touches on small borders, handles, or a thin stripe rather than covering everything. Warm gold often reads softer under lantern light than icy silver.
If you want a smoother look, choose metallic craft paint with a satin finish. It blends better with paper, wood, and fabric than high-gloss coatings.
15. Turn jar lanterns into floating-centerpieces with safe placement
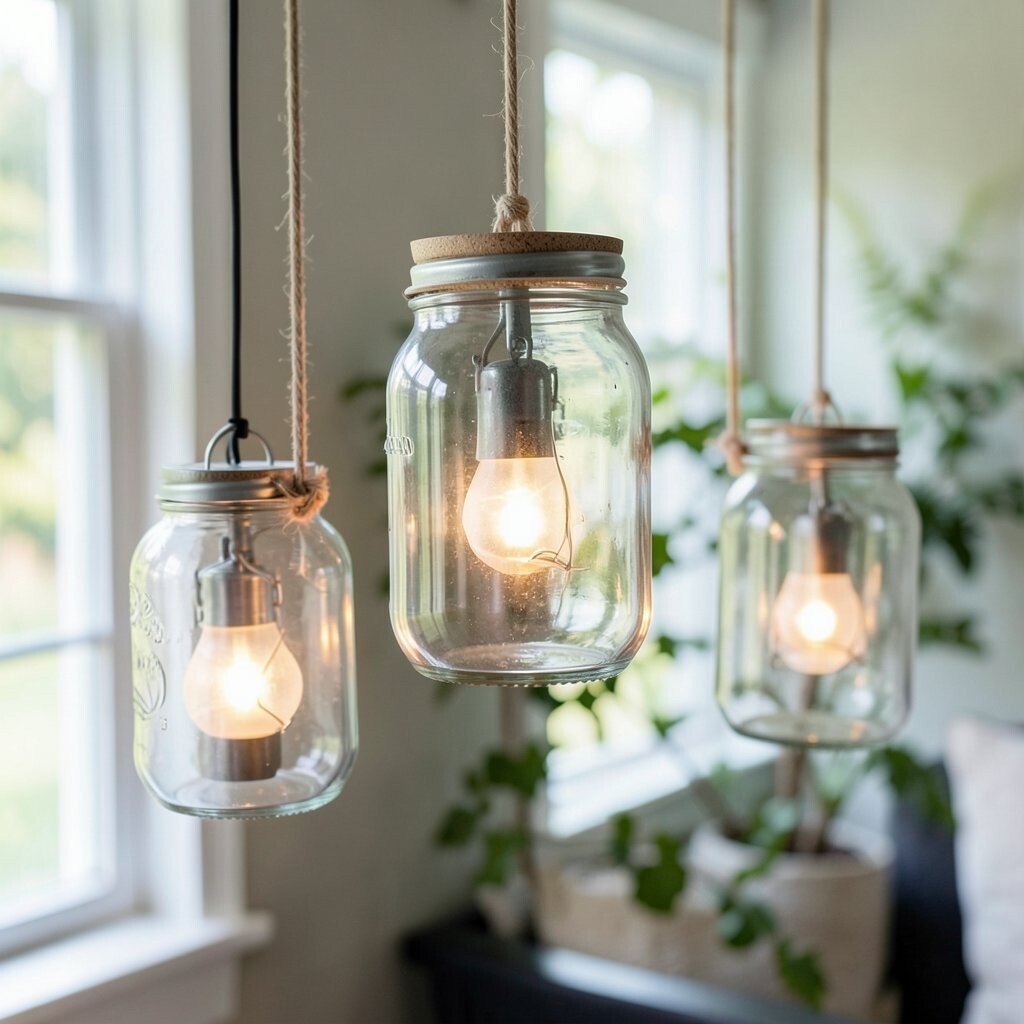
Jars are affordable, easy to paint, and already shaped to hold light. They also create a strong visual focus for tables and entryways.
To make a jar lantern feel airy, place it on a candle-safe stand or a small tray with pebbles around the base. You can add twine, dried citrus slices, or layered paper around the jar for a “floaty” look.
Keep the light source stable and follow safety guidance for any real flame. Battery candles help most people sleep better when guests are around.
16. Match your decor to the season using textures, not only colors
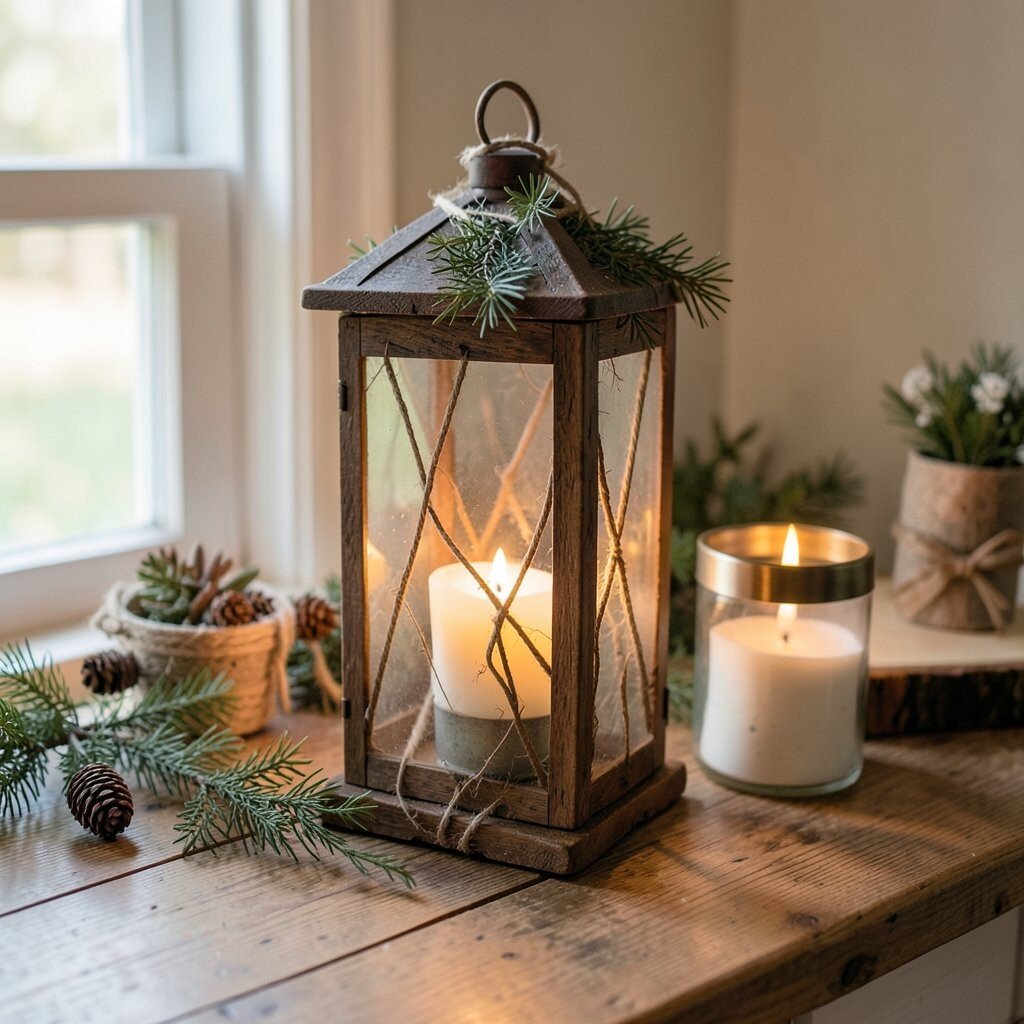
Seasonal decor does not have to mean switching colors every time. Textures carry seasonal cues just as strongly.
In fall, try burlap, cinnamon sticks, and warm browns. In winter, use faux pine, cottony whites, and soft metallic accents to mimic frost.
17. Add movement with fans, ribbons, or hanging clusters
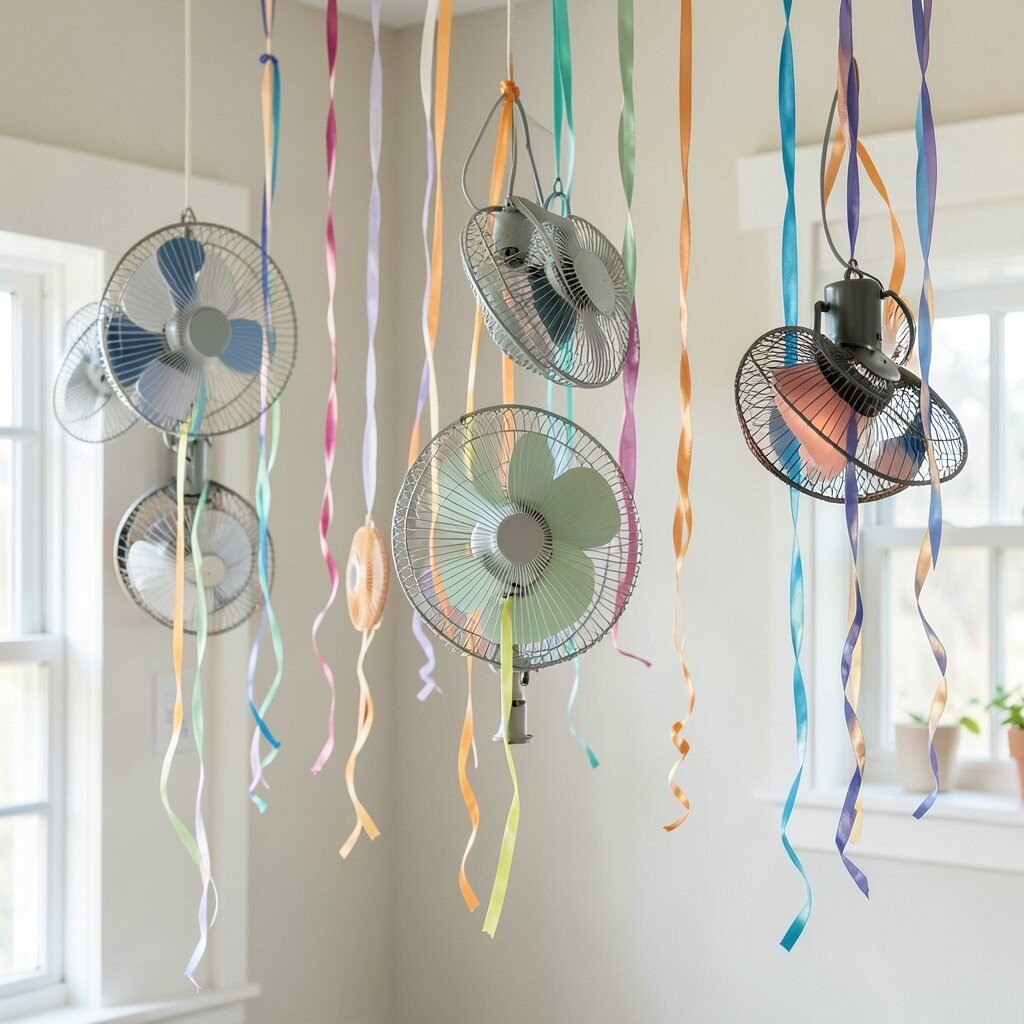
Static lanterns can be pretty, but movement makes them feel alive. If you have a porch breeze or even a small fan, you can build motion into the design.
Hang thin ribbons from the lantern frame so they flutter when air moves. You can also attach lightweight charms or beads that sway gently without being heavy.
When you add motion, keep the parts light and balanced. This prevents sagging and keeps the lantern looking tidy from different angles.
18. Keep cost low by shopping your own supplies first

DIY lantern decor feels expensive only when you start from scratch. Most people already own tools and materials that can become perfect accents.
Check your ribbon box, old picture frames, jar lids, scrap paper, and leftover paint. A thrift store visit can add unique glass pieces without a big budget.
For cost control, make a list of “must buy” items and let everything else come from what you have. You will be surprised how quickly the lantern begins to look designed rather than improvised.
19. Follow current trends, then simplify them to your style

Lantern decor trends shift, and not every style works in every home. The smart move is to use trends as a starting point, then simplify.
Right now, many people love nature-inspired looks, soft neutrals, and layered textures that look handmade. You can copy the vibe by using dried plants, warm wood tones, and matte finishes instead of loud patterns.
Take one trend element and make it yours with a personal message, a favorite color, or a family craft tradition. That way, it feels current but still truly familiar.
20. Photograph your finished lantern before the lighting goes wrong
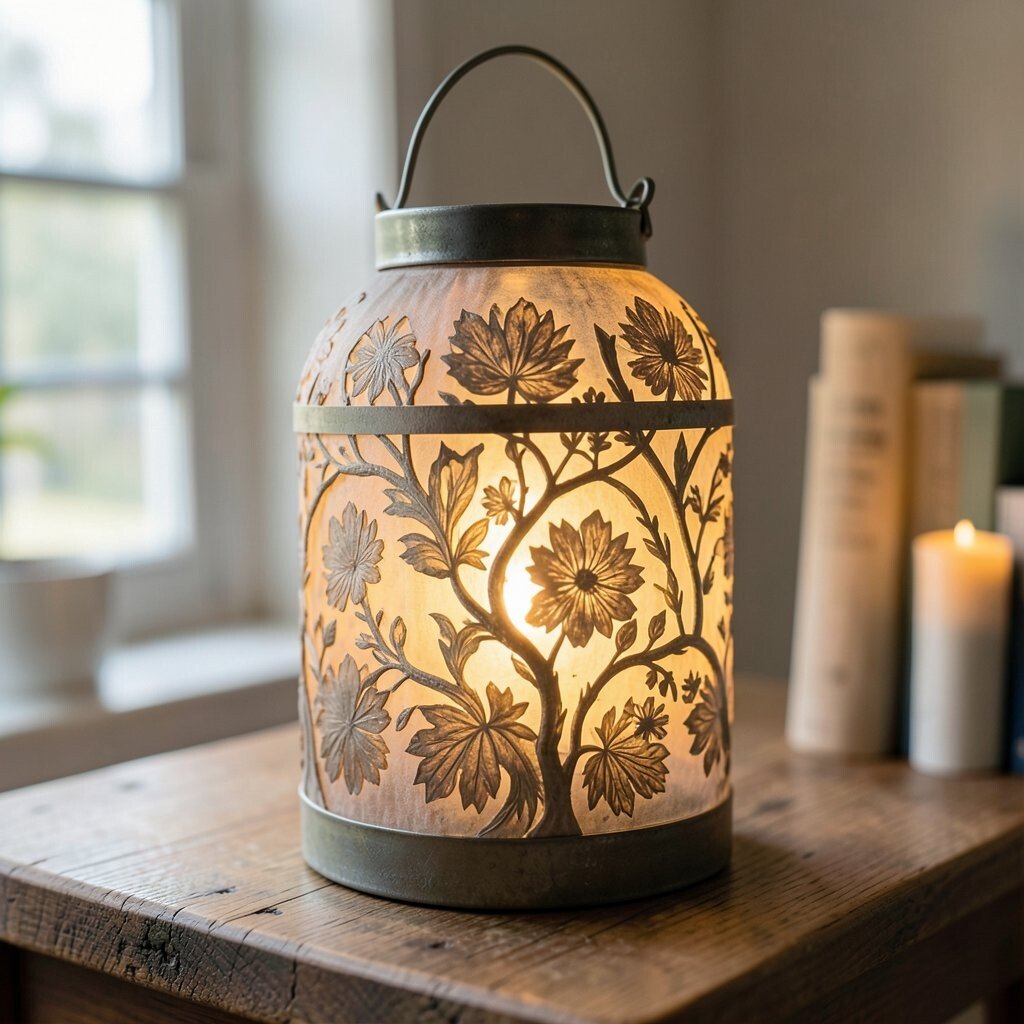
Lantern lighting can change how colors look from night to night, so recording the moment helps. If you love a specific glow, take a photo soon after finishing.
Use indirect lighting while you set up, then switch on the lantern and capture a few angles. If you plan to recreate the decor, these photos help you remember what worked.
It also makes sharing easier and helps you troubleshoot next time without guessing. Your future self will thank you when you want to build a new set quickly.