Small beads can make big magic. When light hits them just right, the whole piece starts to feel alive.
Below are practical ways to shape, combine, and finish glass beads so your jewelry, ornaments, or art projects look polished and personal.
1. Faceted Lightcatcher Weaving
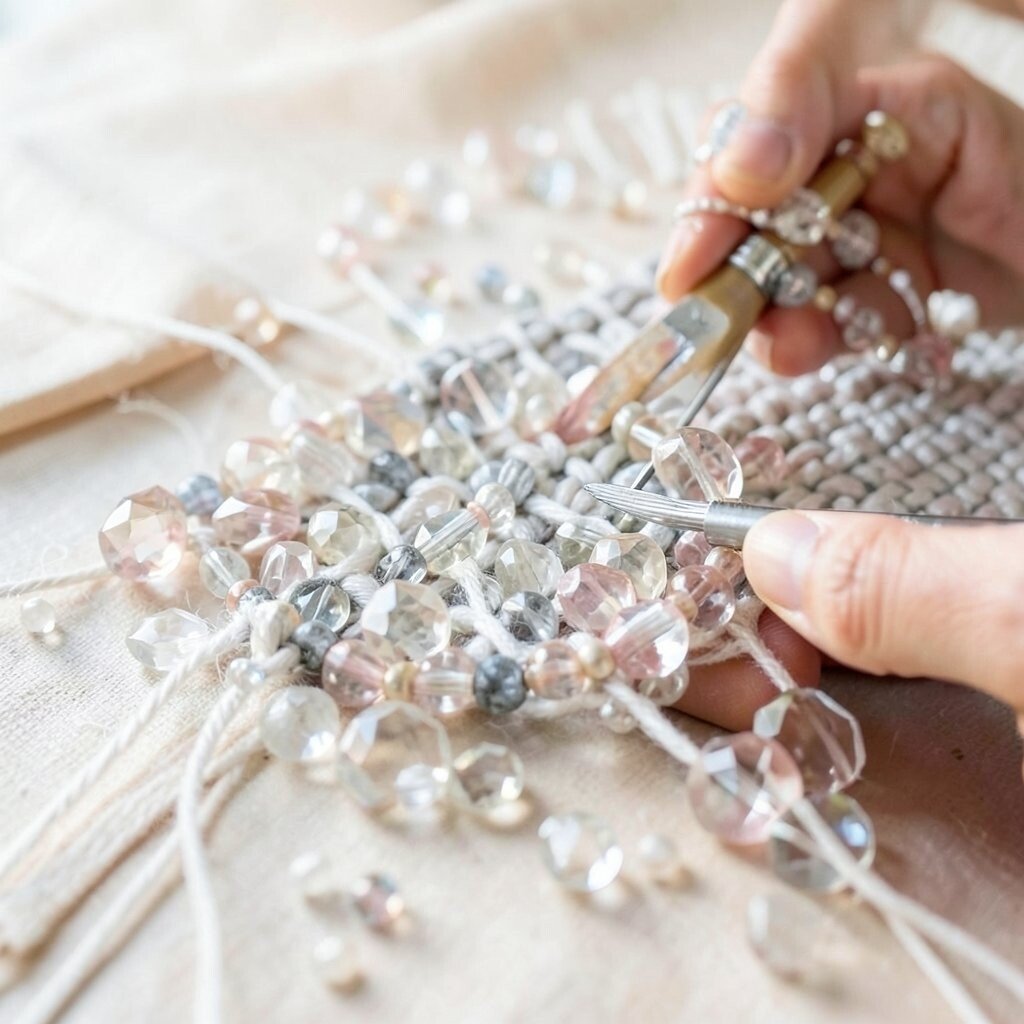
Start by choosing faceted glass beads that sparkle from different angles. Thread them so the facets face outward as much as you can, and the result looks like tiny windows.
Use a simple stitch pattern with even spacing so each bead gets room to shine. A clean, tight tension helps the bead edges line up, which makes the whole strand look crisp and intentional.
2. Wire-Loop Glass Bead Clusters
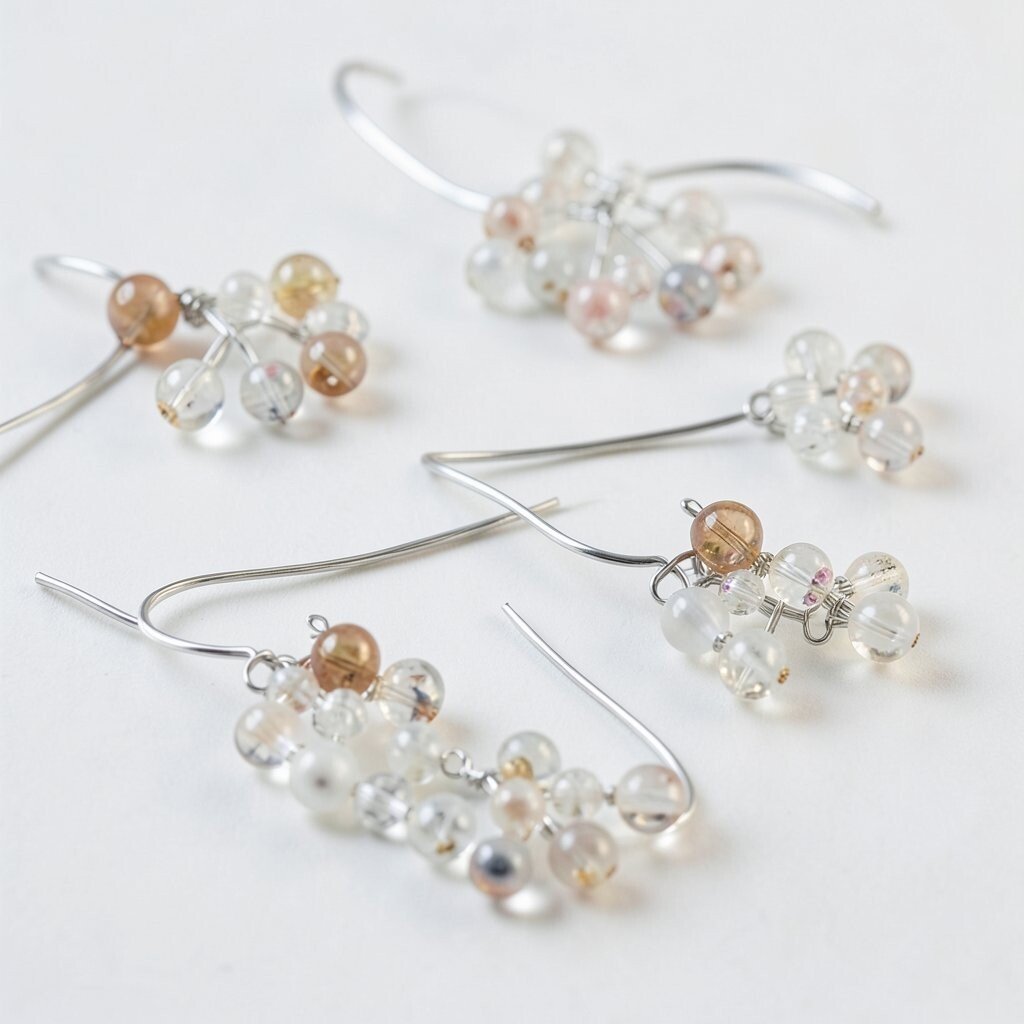
Pick a mix of matte and shiny glass beads, then group them into little bunches. Form wire loops around each bead so they sit slightly separated, like a bouquet of colorful droplets.
To keep the cluster sturdy, twist the wire ends firmly and hide them under a neat wrap. If you like movement, leave a small gap so the beads wiggle without flipping out.
For personalization, use birthstone colors or match your room’s accent tones. This technique stays budget-friendly because a few beads can fill a small focal area, especially when you choose larger statement beads.
3. Lampwork Teardrop Drops
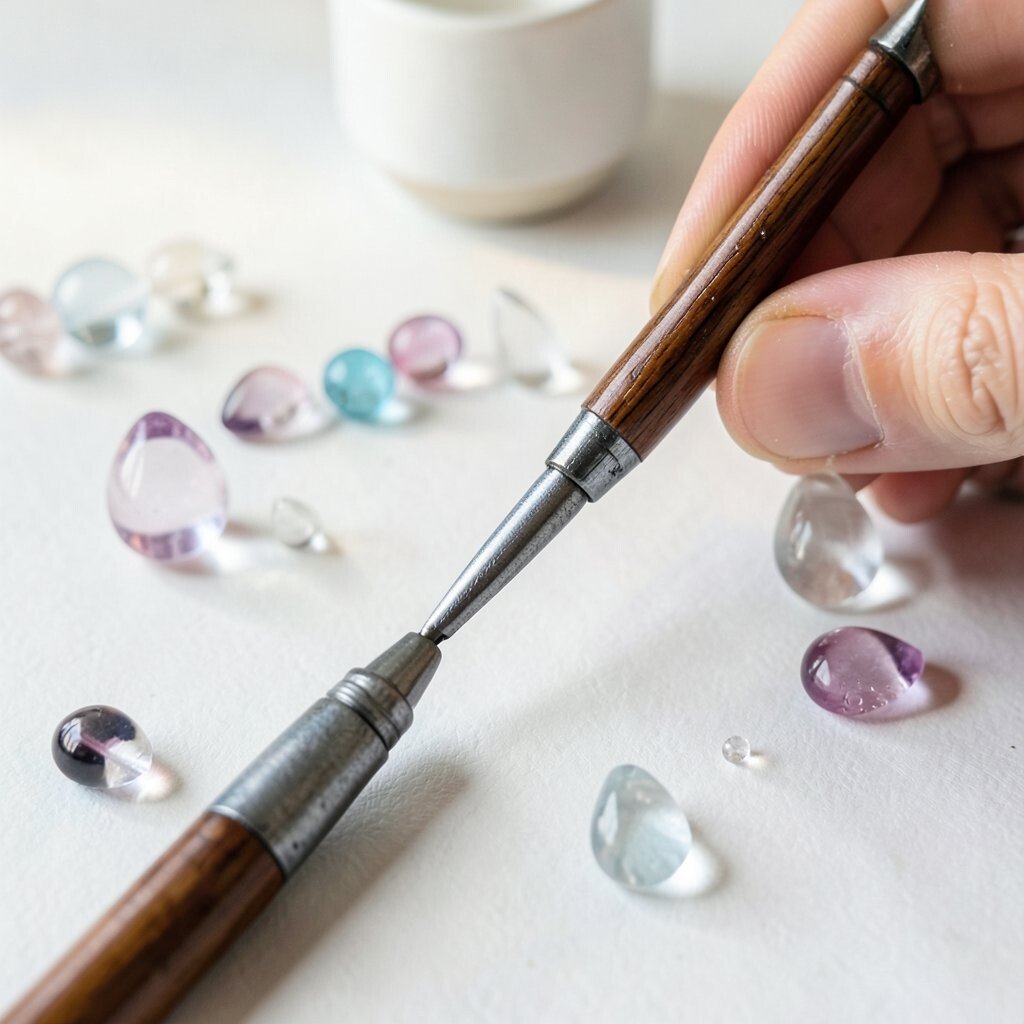
Shape glass into teardrop beads by combining your basic lampwork skills with careful rolling. When the drop is warm, keep your wrist steady so the bead narrows smoothly toward the end.
For a beautiful finish, cool the bead slowly and check the surface for even shine. You’ll notice the uniqueness right away because each teardrop holds its own subtle color flow.
Try adding one thin accent stripe, then keep the rest clean for a modern look. Even with a limited setup, you can get professional results by focusing on shape accuracy and consistent cooling.
Current trends often lean toward organic forms rather than perfect symmetry, so this shape fits right in. Pair the drops with smooth seed beads so the silhouette stays elegant.
4. Stringing With Floating Spacers
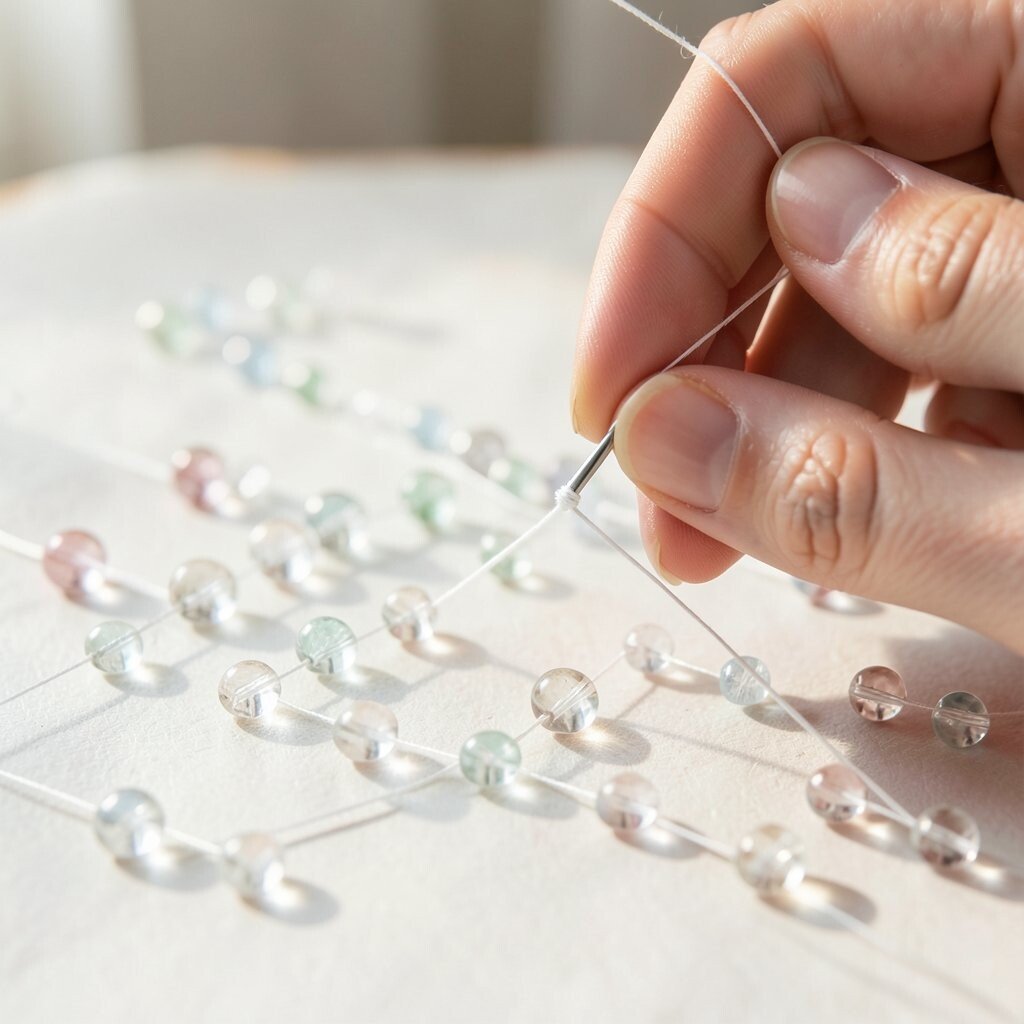
Use glass beads and add tiny spacer beads between them, so they look like they’re hovering. Choose spacers that match your style, such as clear glass for a glassy, airy feel.
Keep your knots or crimp covers hidden to maintain that floating look. A little variation in spacer size makes the design feel richer without getting messy, and you can repeat the rhythm for a neat finish.
To personalize, plan a color fade from one end to the other. This method also stays cost-friendly because you can stretch your main beads by using inexpensive spacers.
5. Loom Stitch With Color-Shift Rows
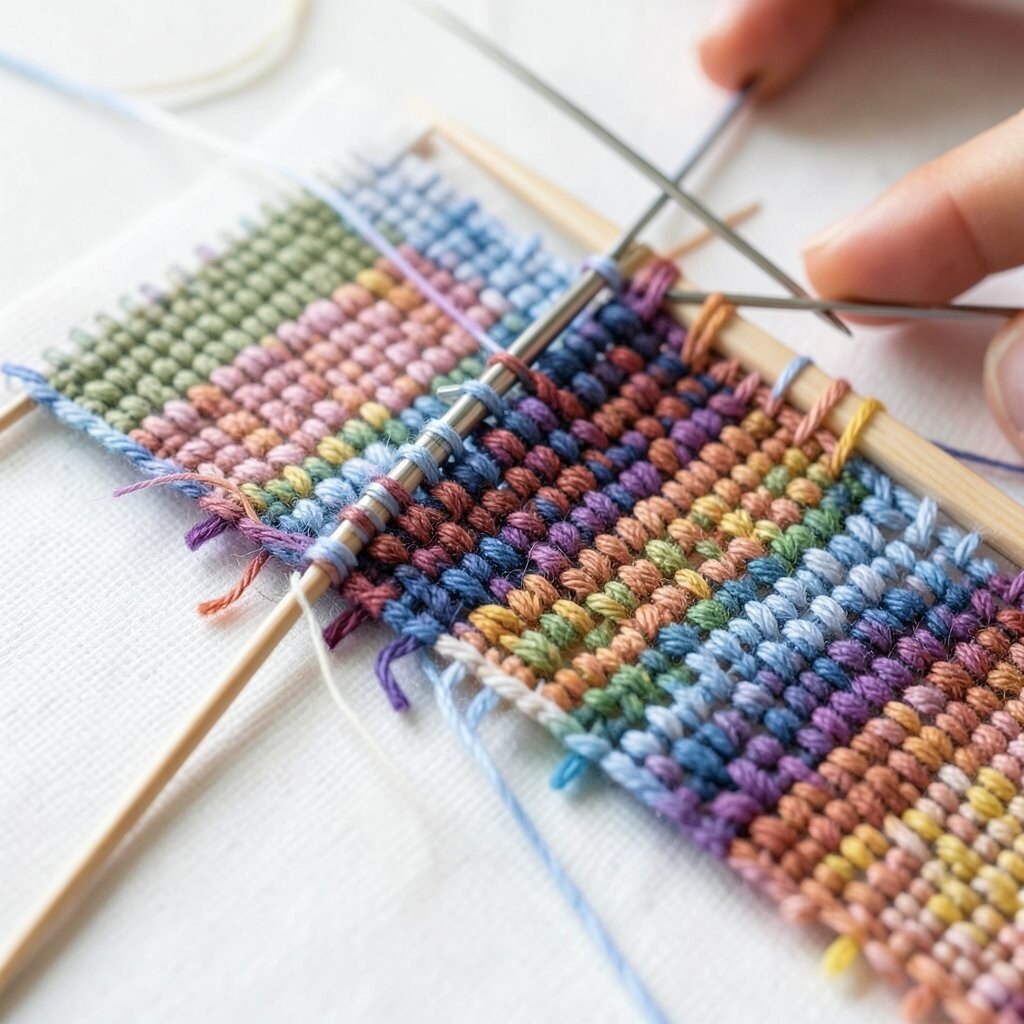
Work a loom or flat peyote style stitch using glass beads that change color in different light. Put the strongest colors in the center rows, and let the outer rows gradually soften.
Maintain equal tension as you add beads, because uneven tension can cause ripples. When it looks smooth on the loom, it will look smooth when finished, and that polish is a big part of the charm.
Uniqueness comes from how the light catches the color-shift beads, especially if you pick hues like teal-to-gold or violet-to-rose. Keep a close eye on bead size, since mixing sizes can throw off the row alignment.
6. Perler-Style Melting for Texture Panels
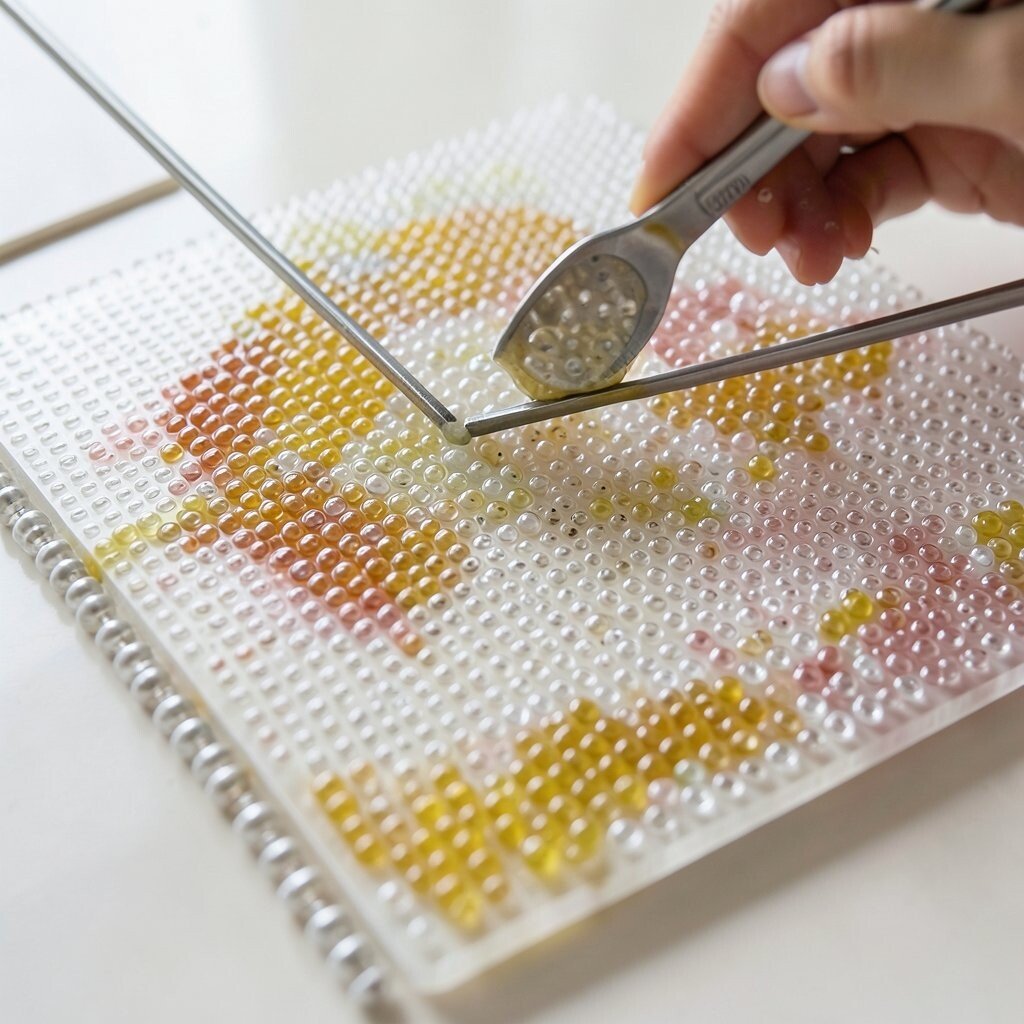
Lay out glass bead patterns on a heat-safe surface, then use careful heat to fuse them into a textured panel. The visual payoff is loud in the best way, because the surface becomes bumpy and full of sparkle.
Use small beads for tight detail, and larger beads for bold shapes. Let the piece cool fully before you try to peel or trim, since rushing can lead to cracks.
This technique is unique because it turns beadwork into a mini mosaic sculpture. If you want wearable jewelry, glue the panel to a backing with a strong adhesive, then add a frame for strength.
7. Heat-Set Sealing With Clear Topcoat
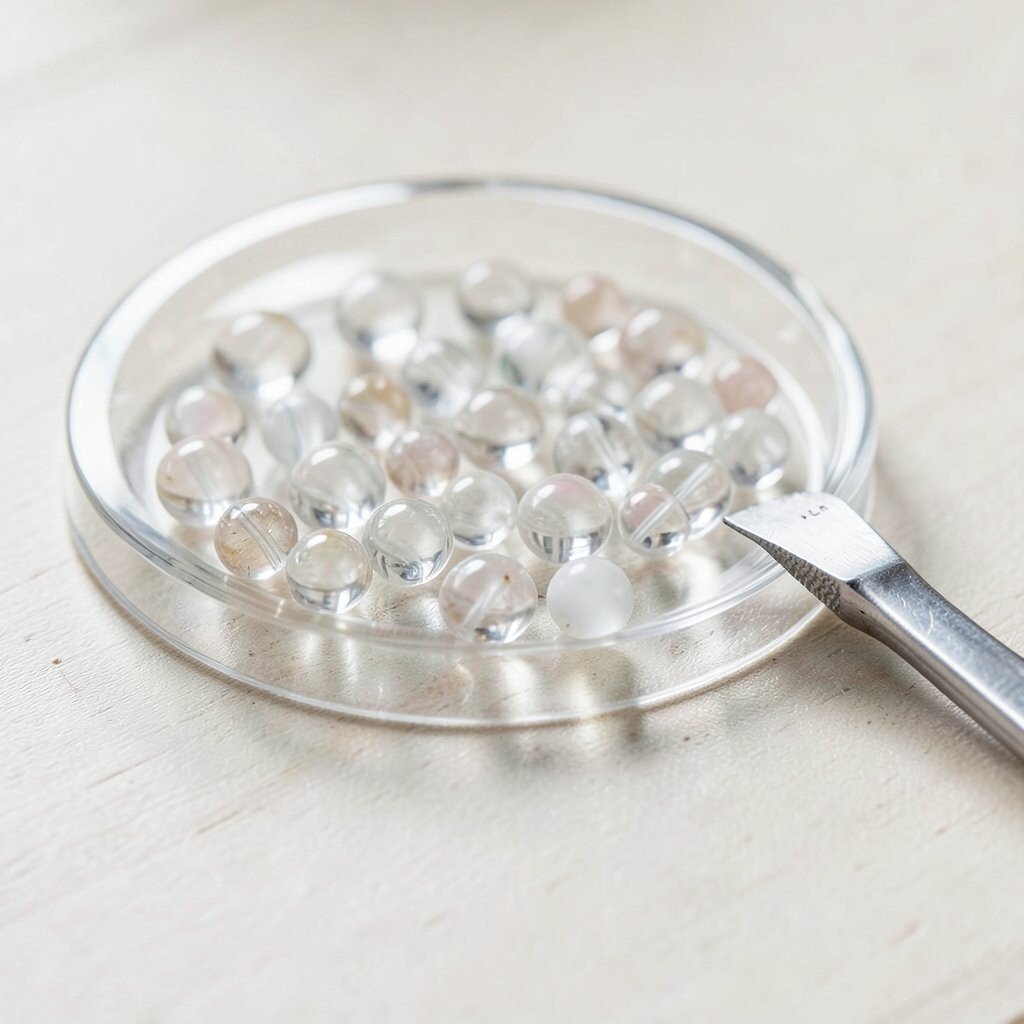
After you string or stitch your beadwork, seal the knots and thread ends with a clear heat-set product. A thin coat keeps everything secure and makes the glass look extra shiny.
Work in bright light and apply carefully so you don’t accidentally fog the beads. When the finish is neat, the piece looks professionally finished, and it also lasts longer with everyday wear.
For personalization, choose a finish that matches your vibe, such as more gloss for glam or more matte for a soft look. This can be a low-cost upgrade because you usually use only a small amount, and it prevents future repairs.
8. Seed Bead Ombre Halo Rings
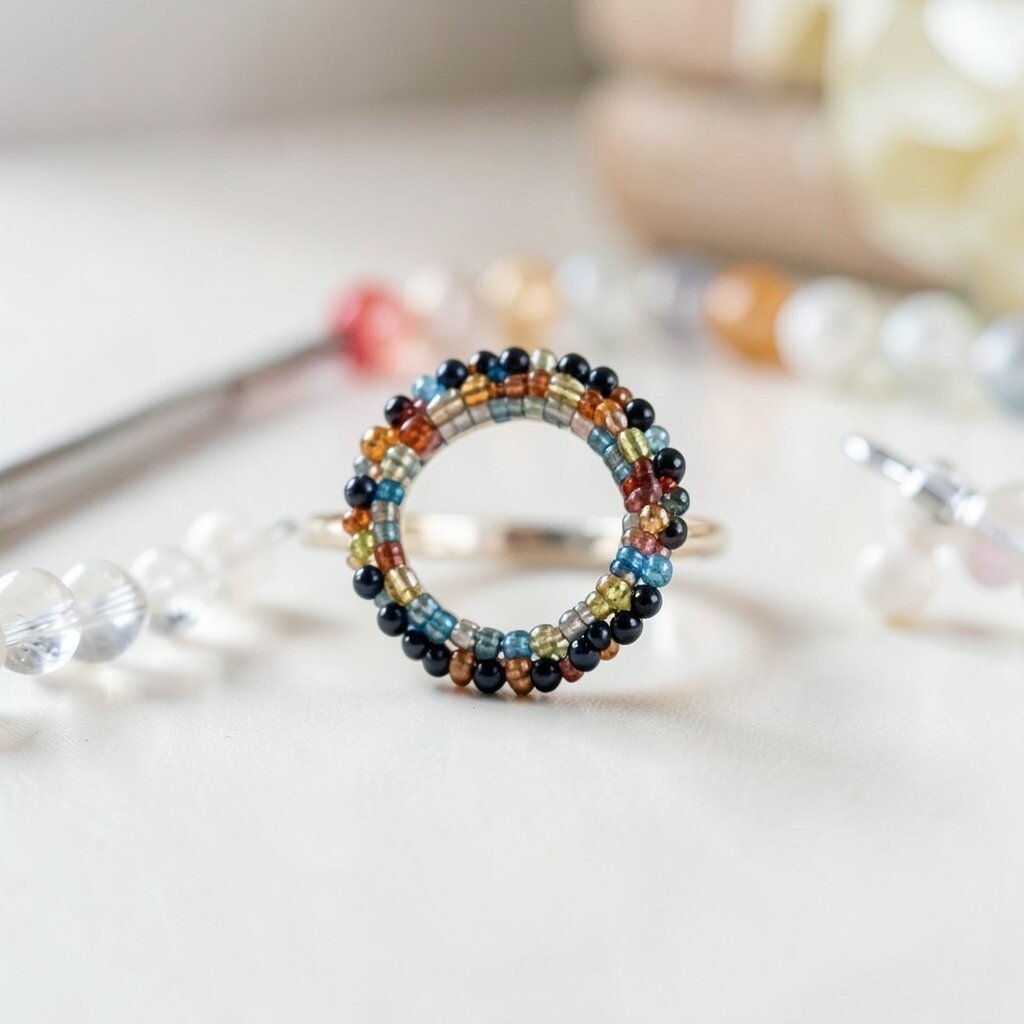
Create a ring by building a circular base with seed beads and then adding an ombre halo of color. The center can stay darker while the edge fades lighter, which makes the ring glow visually.
Use consistent bead size for smooth curves, and check the circle often so it doesn’t drift. If you want comfort, size the ring carefully and consider adding a backing that won’t scratch.
This technique feels unique because glass catches light differently at the ring edge. A current trend is delicate color gradients, and this style fits right into that look.
To keep cost in mind, focus your investment on a few ombre beads and fill in the rest with simpler seed beads. You can also reuse off-cuts from previous projects, which makes it easier to start.
9. Twisted Wire Tassels With Bead Stops
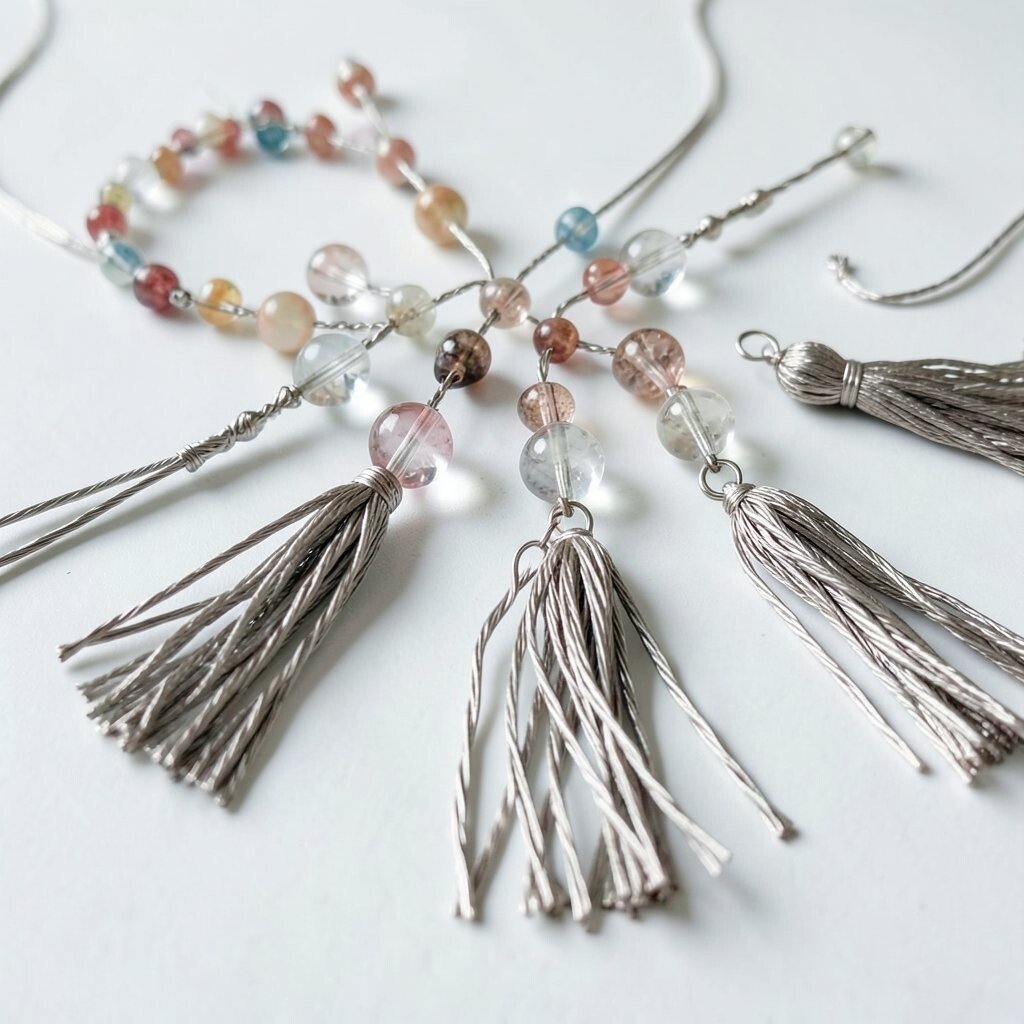
Pick two or three strands of wire, then twist them together to create a smooth tassel stem. Add beads in a sequence that creates movement, and use bead stops to keep the pattern from sliding.
Secure each segment by crimping or using tiny wire wraps so the tassel doesn’t loosen after wear. When the tassel sways, the glass beads flash like tiny reflections.
Uniqueness comes from your bead order, because even the same colors look different when arranged differently. Try mixing translucent glass with a single opaque accent bead for a focal pop.
10. Bead-Edge Surface Beading on Fabric
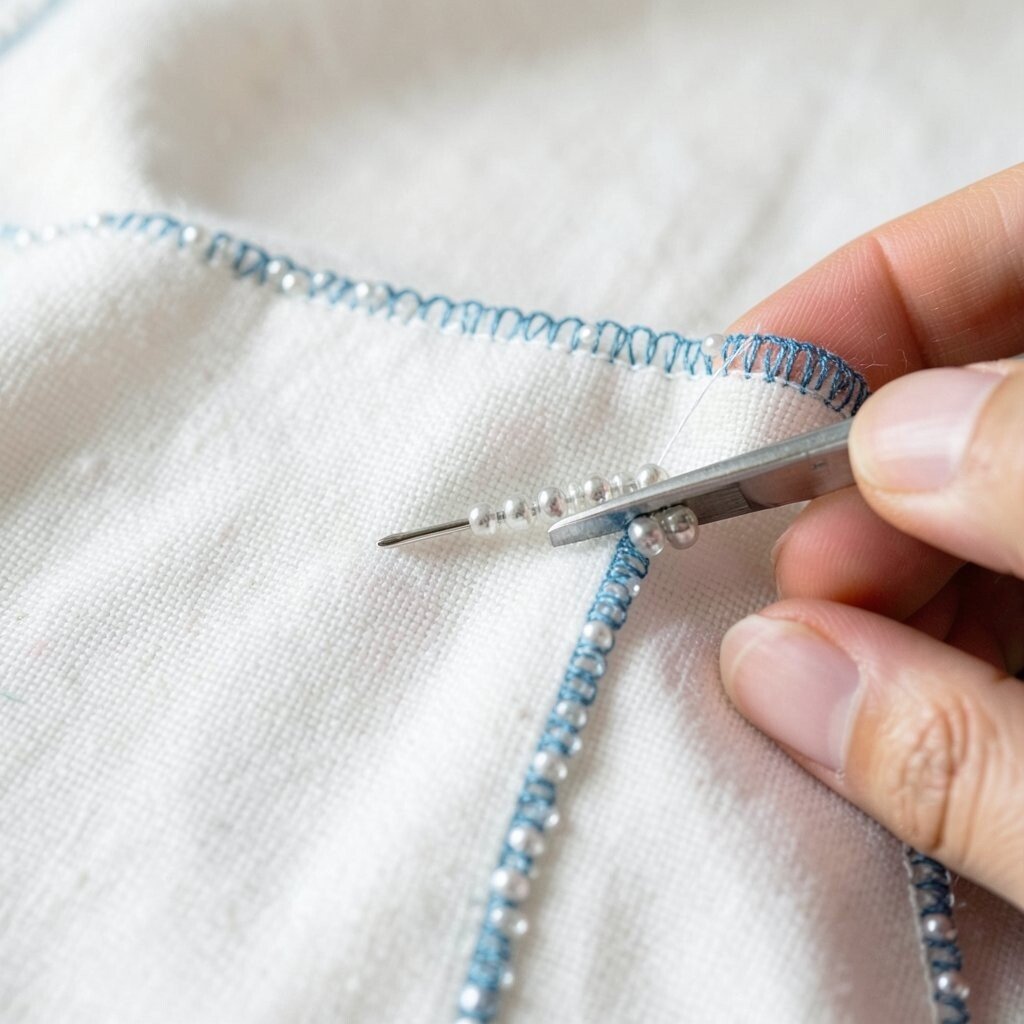
Glue or stitch beads along fabric edges so your scarf, bag, or pouch gets a sparkling border. Choose glass beads that match the fabric weight, since very heavy beads can pull the material.
Use a tight, controlled line so the edge looks straight, and secure the thread behind the fabric for clean hiding. This approach gives a handmade look that feels cozy and durable.
For personalization, add small bead clusters at corners or near pockets so the design feels intentional. This can be budget-friendly because you only need beads along the edges rather than across the whole surface.
11. Mosaic Tile Bead Layout With Grout Look
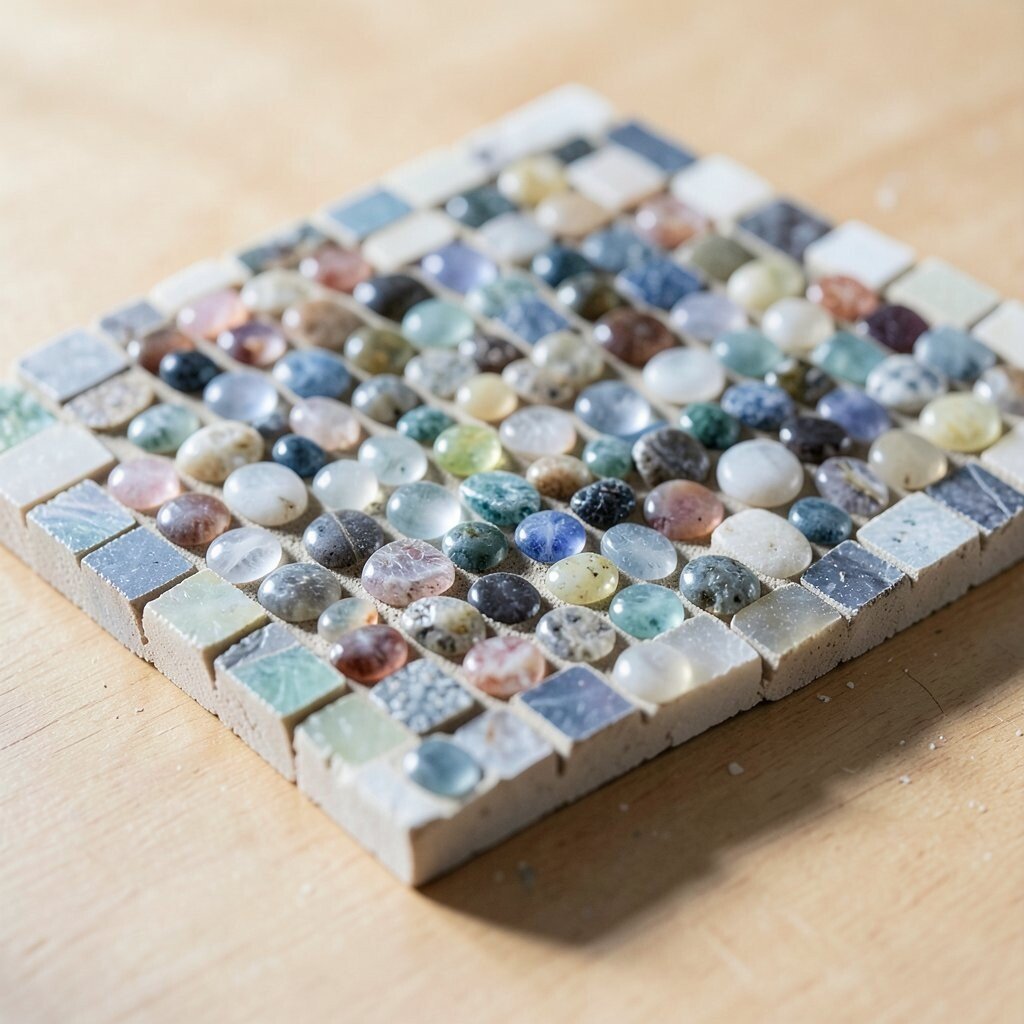
Arrange glass beads on a flat surface using a grout-like binder to hold them in place. The visuals come out like a tiny mosaic tile, especially if you leave thin lines between beads.
Use a fine spreading tool so the binder lines look even, and wipe the bead faces gently so they stay bright. After curing, the surface looks strong and decorative, and it’s great for coasters or wall art.
Uniqueness is built into your layout rules, since random spacing can look playful while strict grid spacing looks modern. For cost considerations, consider a small tile size so you don’t need a huge bead quantity.
If you want a current trend feel, try limited palettes like black and clear or warm amber tones. Pair the tile with simple framing or a clean backing to keep the focus on the bead sparkle.
12. Reverse-Draw Bead Dangles
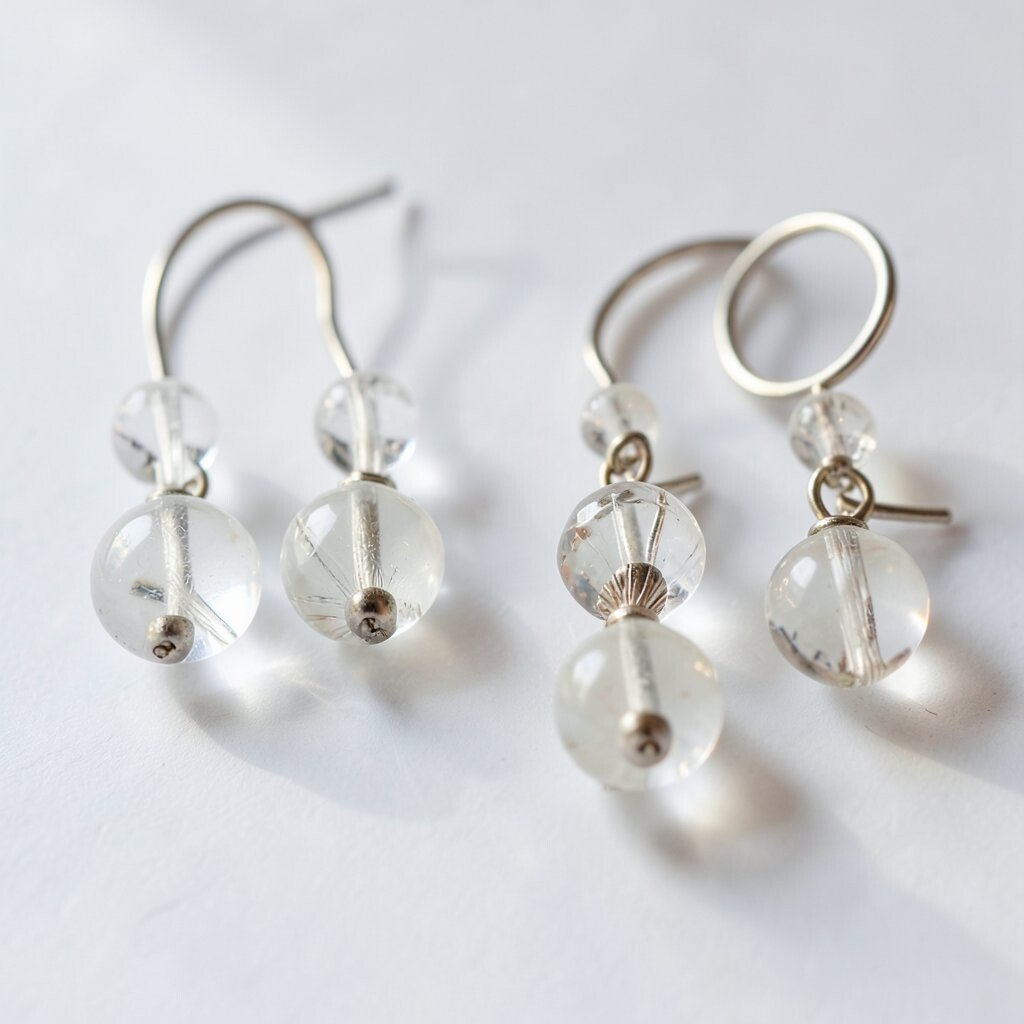
Thread beads in a way that pulls them inward, making a dangle that clusters near the top. This gives a reverse-draw look where the bottom parts spread slightly as they hang.
Keep your knot placement tight so the beads settle evenly after you finish. When done well, the movement looks natural and the glass catches light with every turn.
Personalization is easy here because you can choose one “hero” bead to sit near the top and echo it with smaller beads below. It’s also an economical option because the pattern can be built with a short strand that still feels lush.
13. Stringing With Staggered Center Drops
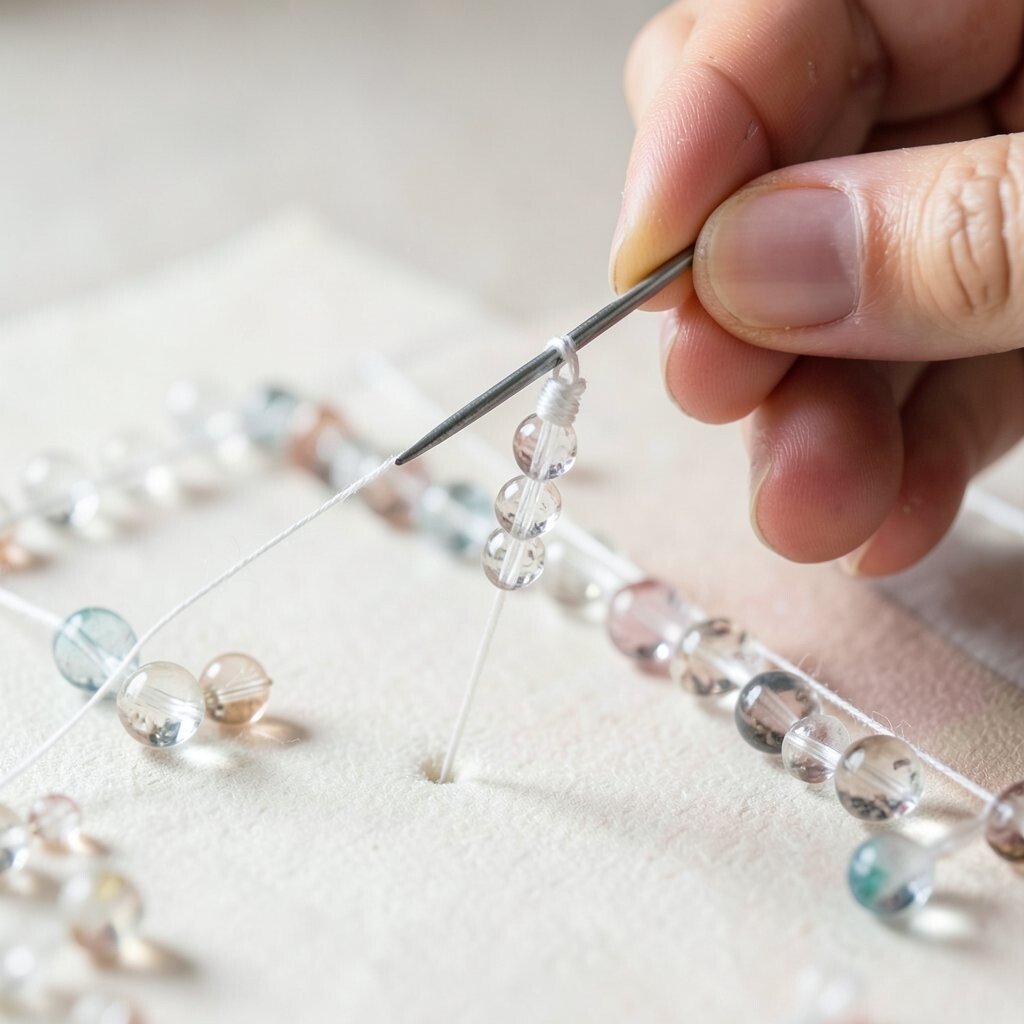
Plan a necklace or bracelet where the center bead drops slightly lower than the side beads. That staggered center creates a gentle V-shape silhouette that looks flattering and lively.
Use equal intervals on both sides so the symmetry looks intentional. If you want a softer look, switch to uneven spacing, but keep the color order balanced so it still feels neat.
Uniqueness comes from your choice of drop shape, like teardrops, rounds, or long beads. For trends, layered-looking spacing with a single center focal bead is popular because it feels modern without being complicated.
14. Bead-Stepped Braid Using Tubes and Rounds
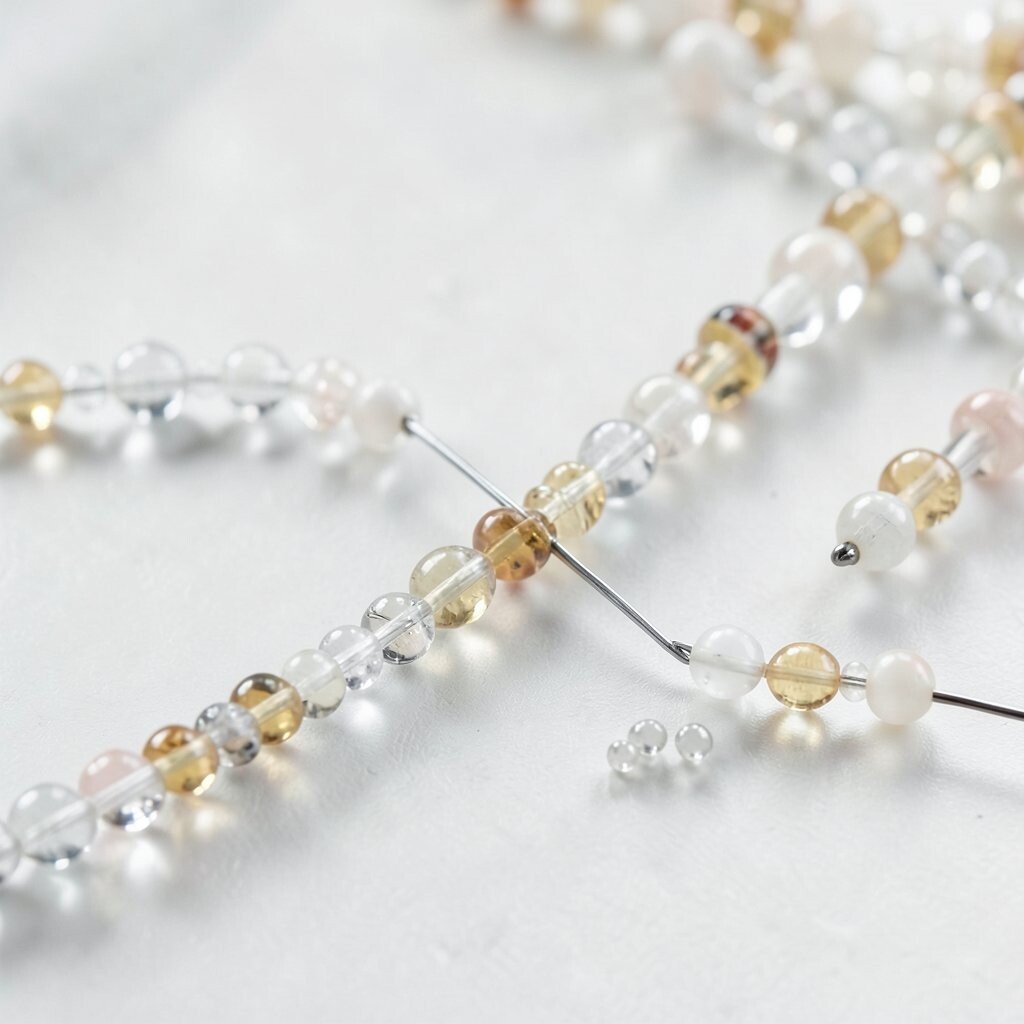
Combine round glass beads with tube beads in a braid pattern that steps up visually. The tube beads act like tiny rails, while the rounds pop at each step so the braid looks textured.
Use a consistent counting rhythm so each step stays even across the braid. If you pull too tight, the braid can kink, so adjust tension as you work.
For personalization, match the braid colors to your outfit season, like bright summer brights or cozy winter neutrals. Cost stays reasonable since tube beads and rounds can be bought in mixed packs, and you can use fewer expensive beads by placing them at the peaks of the pattern.
15. Clear Bead Overcasting for Domed Shine
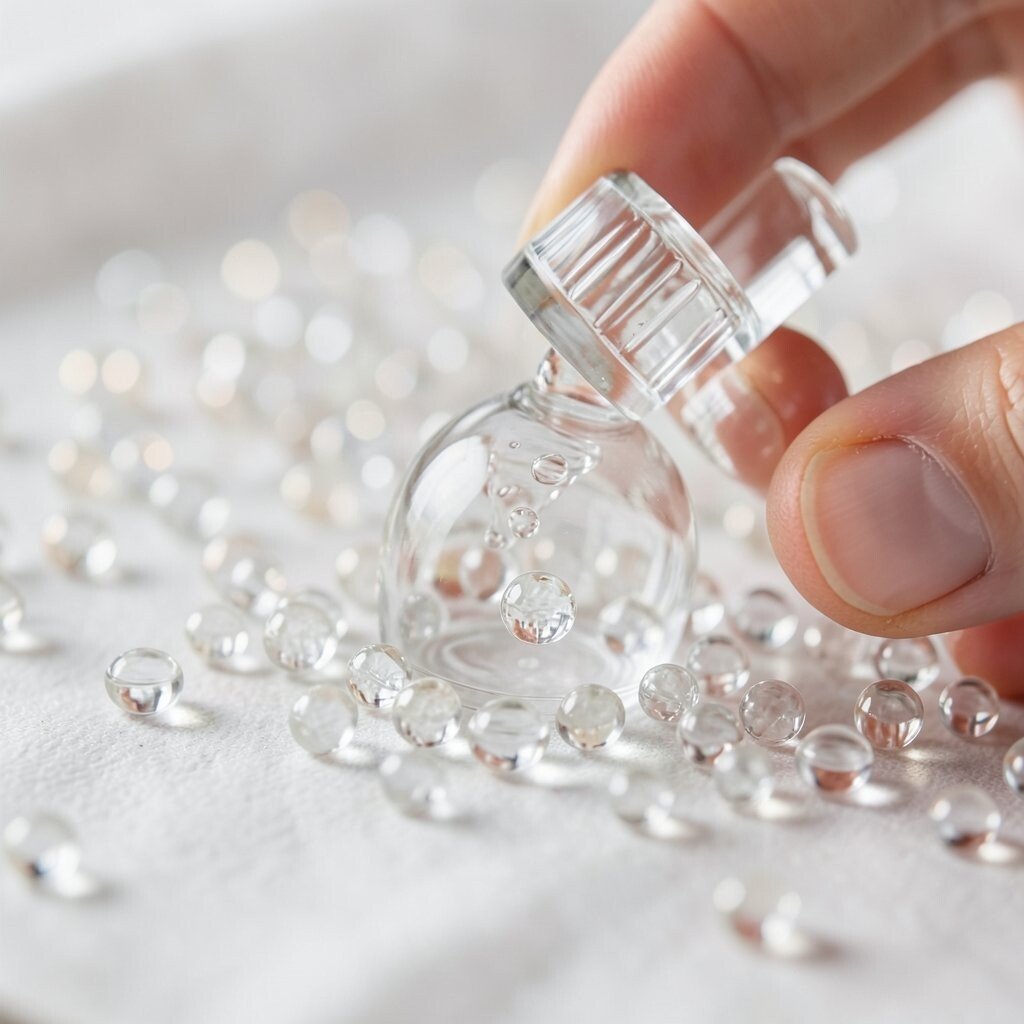
Wrap clear glass beads over a base strand so the top layer forms a domed gleam. You’ll see a mirror-like effect, especially when you use smooth clear beads and keep the coverage even.
Overcasting needs patience, but the payoff is worth it because the surface looks glassy and refined. If you keep each pass aligned, the dome effect stays smooth rather than lumpy.
Uniqueness shows up through layering thickness, since thicker coverage feels more luxurious while lighter coverage looks airy. This style pairs beautifully with gold or silver findings, and it fits current trends toward clean, luminous jewelry.
Consider cost by using fewer expensive special beads and filling coverage with simple clear rounds. You get the shine without burning through your supply too fast.
16. Mixed-Media Wire Frames With Glass Inlay
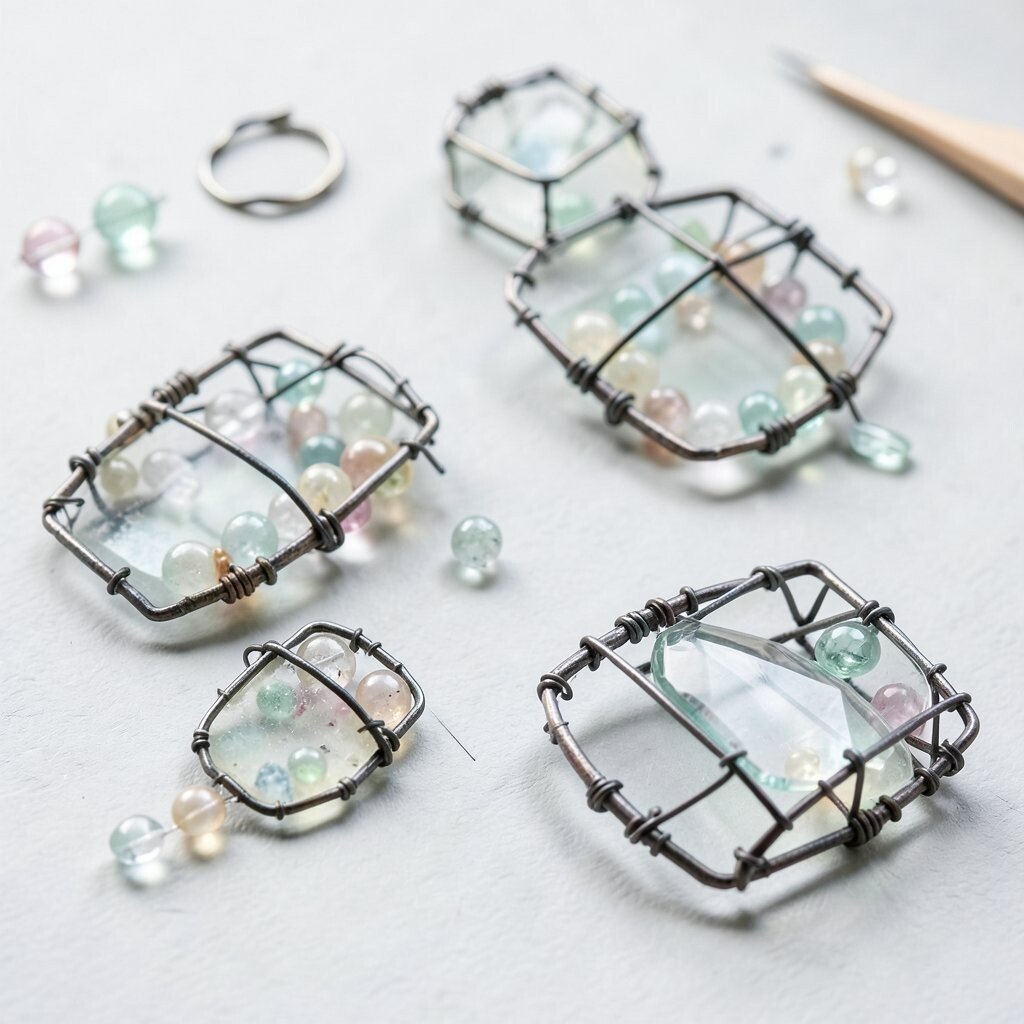
Build a small wire frame and fill it with glass beads like inlay work. The frame gives structure, while the glass pieces add glow and color depth inside the shape.
Use flat-nose pliers to shape corners cleanly, and secure beads with tiny wire wraps so everything stays in its place. When you view the piece from different angles, the glass looks layered and dimensional, which is a big part of its charm.
For personalization, choose a frame shape that matches your mood, like a star for fun or an oval for calm. You can also combine bead sizes so some areas feel dense and others feel breathable.
Cost can be managed by reusing scrap beads, since the frame only needs enough glass to fill the interior. A current trend is mixed textures in small forms, and this technique makes it easy to create a wearable charm, pendant, or keychain that feels truly yours.