
You can make a beaded anklet that looks like it came from a boutique. It takes simple supplies and a little patience.
Each step can feel fun, not stressful, and the result will be yours alone.
1. Pick a Style That Matches Your Footwear
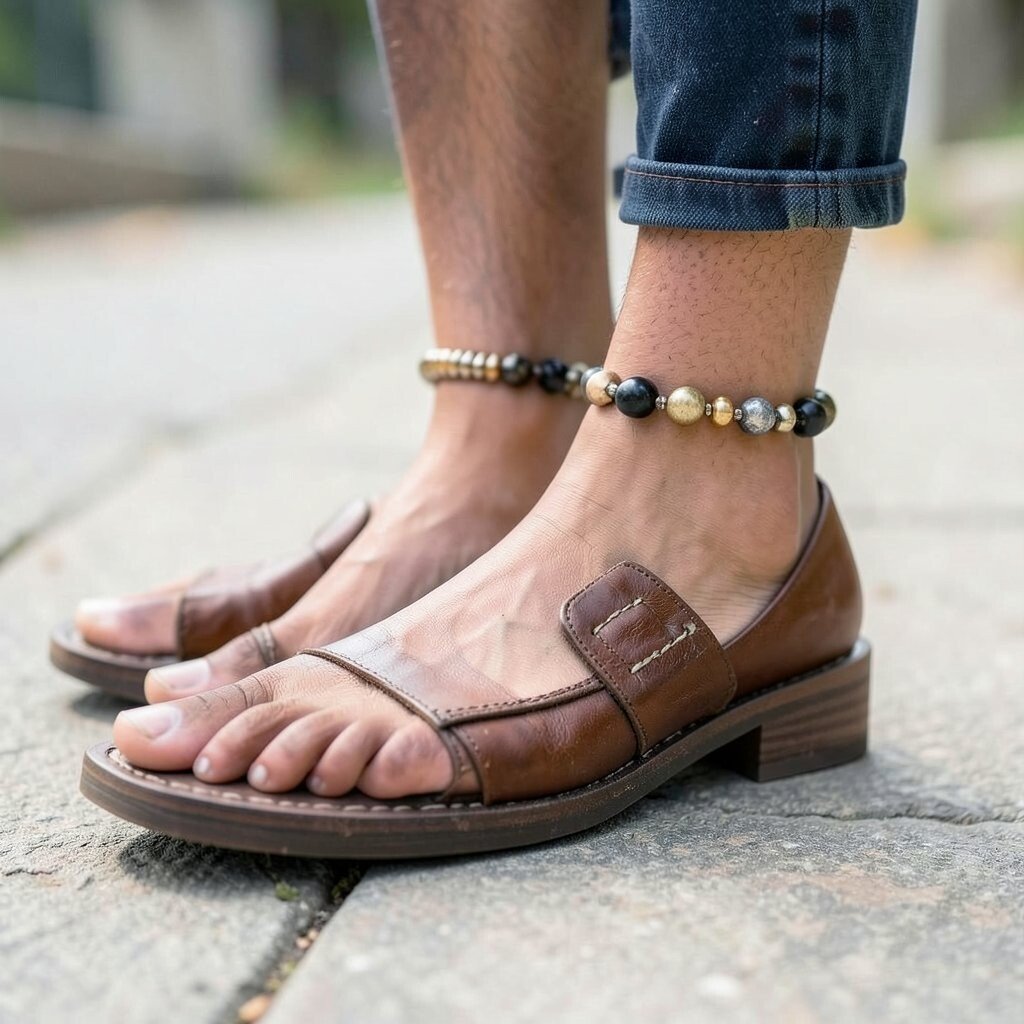
Start by looking at the shoes and sandals you wear most. Notice the colors that show up again and again, like warm browns, cool blues, or classic black and white. Then choose an anklet vibe that fits your day, from playful for weekends to neat for work.
For a visual cue, imagine tiny beads like little dots of light around your ankle. You will love how the right style makes your outfit feel finished. A simple strand can look clean, while mixed shapes can add a fun personality. Keep it practical by choosing colors that won’t clash when you wear different tops.
2. Gather the Right Supplies Without Overbuying
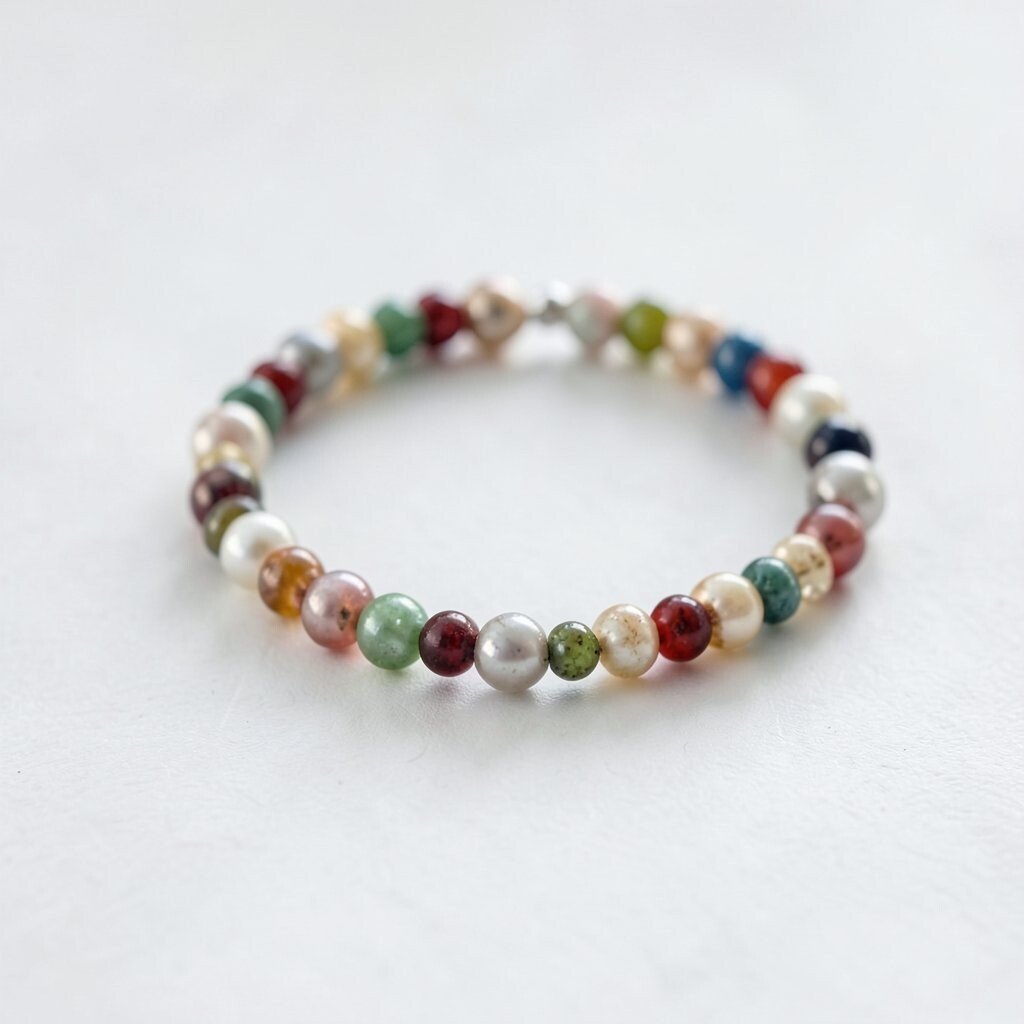
Choose beads that feel comfortable to wear and easy to string. Round glass beads, small seed beads, and smooth acrylic beads are popular because they glide on the string. If you want less fuss, pick beads with larger holes so threading is quick.
Look for strong cord or stretchy elastic that matches your anklet size. Clear nylon fishing line works for crisp designs, while elastic works for a pull-on anklet. You can also use a thin beading thread if you want a secure hold. Plan for a clasp only if you enjoy small metal pieces and want easy on and off.
When you shop, compare prices by counting how many beads you get per pack. Smaller packs are often enough for one anklet, especially with simple patterns. Current trends favor earthy tones, tiny letter beads, and mixed metallic accents, which are usually affordable in starter sizes. Buying one extra spool of cord is smart, because broken string happens more than you think.
3. Measure Your Anklet so It Sits Just Right

Wrap a soft measuring tape around your ankle where you want the anklet to rest. Leave a little wiggle space so it doesn’t feel tight when you walk. If you don’t have a measuring tape, use string, then measure that length against a ruler.
Be aware that anklets usually look best with a slight gap at the sides. For a visual, picture how it should rest above the ankle bone, not on top of it. If you plan to wear it over socks occasionally, add a bit more length. This tiny step helps the final piece look neat and makes you want to wear it again.
4. Choose a Simple Stringing Method You’ll Enjoy

Threading is easiest when you choose one method and stick with it. For beginners, a single-strand look is great, with beads spaced evenly. You can also try a braided base using cord, then add beads at intervals for a textured feel.
If you use elastic, cut it a little longer than your measured length, then finish with a knot that stays firm. If you use wire or fishing line, tie a secure knot and add a dab of clear glue for extra strength. Keep the knots small so they don’t snag on shoes. This approach gives a clean finish and reduces the stress of complicated steps.
5. Create a Pattern with Repeating Color Blocks
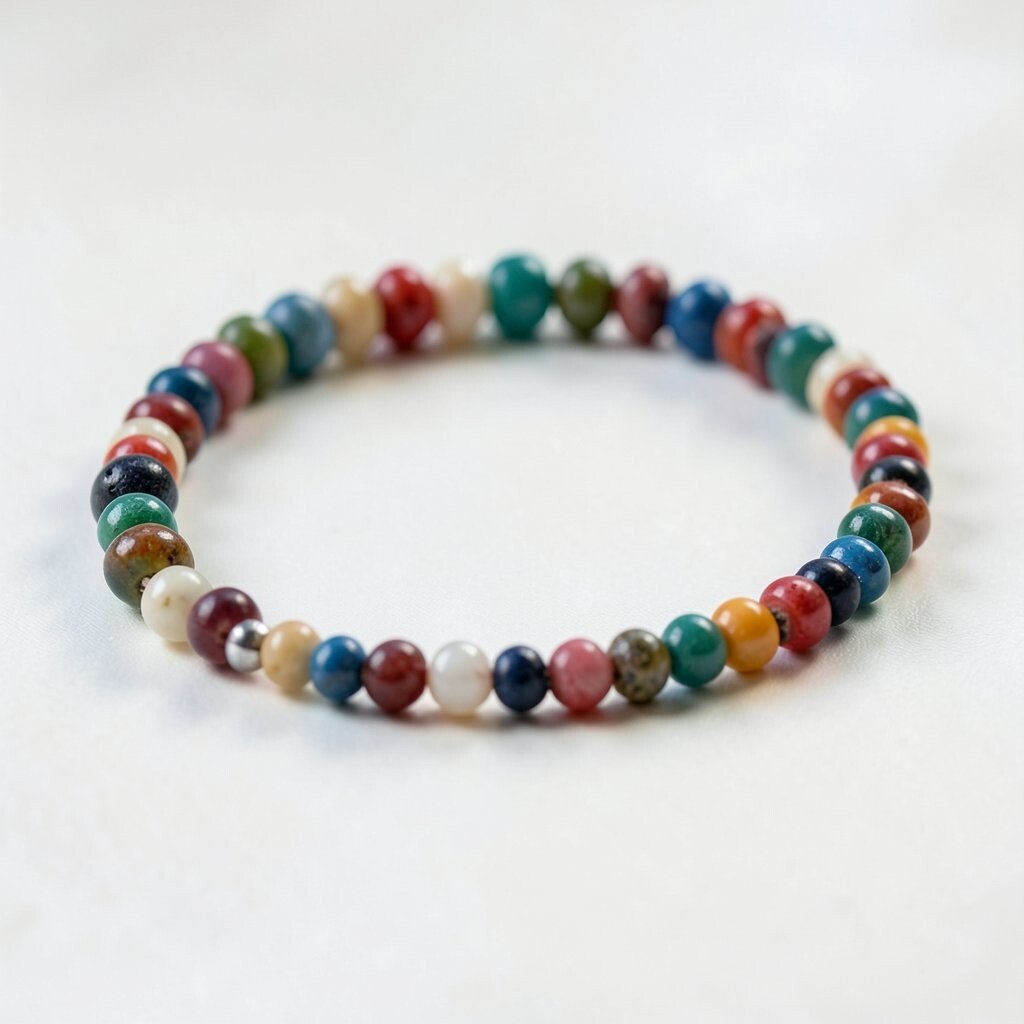
Pick a pattern that repeats so your brain stays calm while you work. Try two or three colors in a loop, like peach, cream, and gold, repeating across the strand. As you string, you will see the design forming, almost like a gentle rhythm around your ankle.
Use larger beads as anchors and smaller beads as fillers to make the pattern feel balanced. A visual trick is to place a metallic bead every few inches so the anklet catches light. Personalizing is easy here, because you can match your pattern to a favorite outfit color. It also helps your cost stay reasonable since you’ll use beads efficiently instead of scattering them randomly.
Current styles often include mixed textures, like matte beads next to shiny ones. If you like that look, mix two finishes but keep the number of colors small. That balance keeps the anklet unique without making it busy. You will enjoy how it stands out while still looking wearable.
6. Add a Charm or Two for a Personal Touch
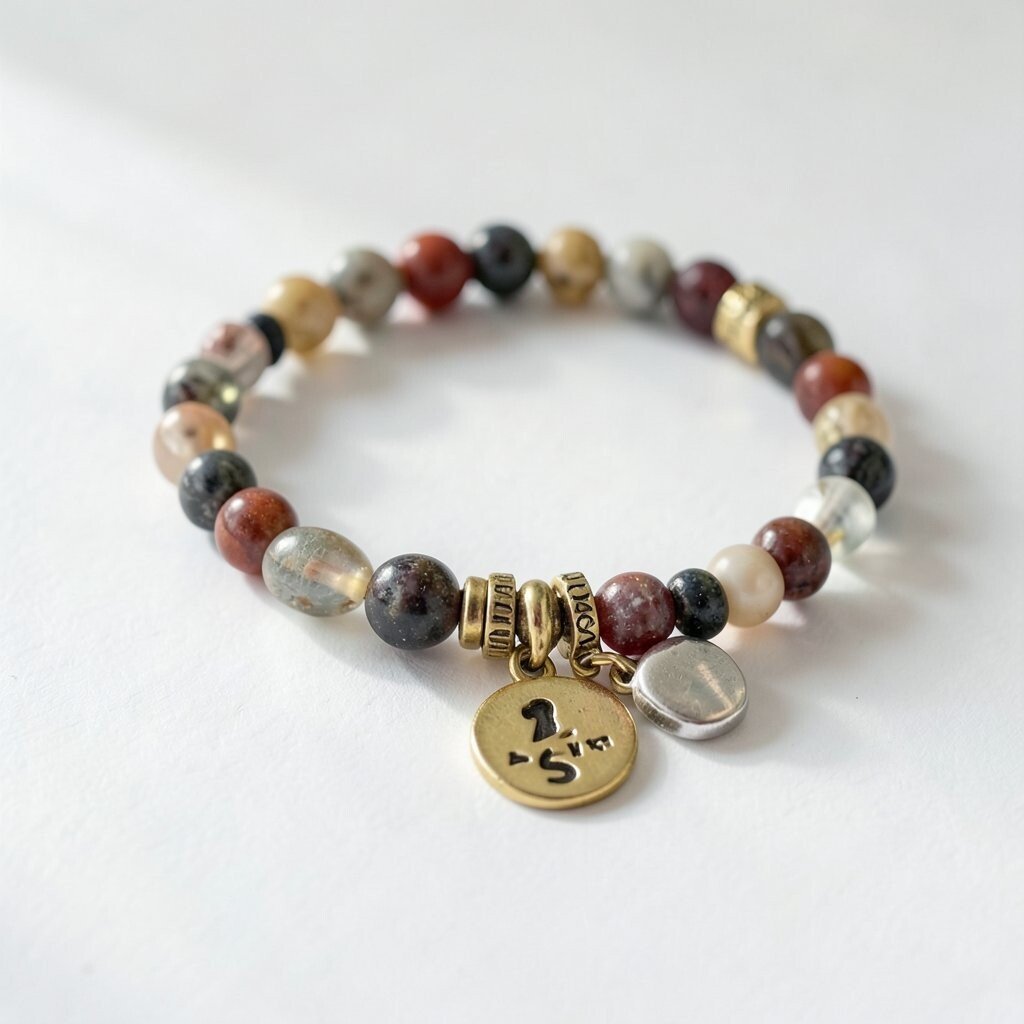
Charms make an anklet feel special in a way plain strings can’t. Choose a tiny heart, star, moon, flower, or even a mini initial charm that fits your style. Seeing it in place gives you instant pride, because it looks like a meaningful accessory, not just craft beads.
Keep charm placement simple by adding them near the front of your ankle where they will be seen. If you wear sneakers more than sandals, place the charm slightly toward the outer side so it still shows. You can also add a single bead shaped like a tiny coin for a trendy metallic vibe. This kind of personalization can be done on a budget by picking one charm at a time.
7. Make a Sliding Bead Section That Adjusts
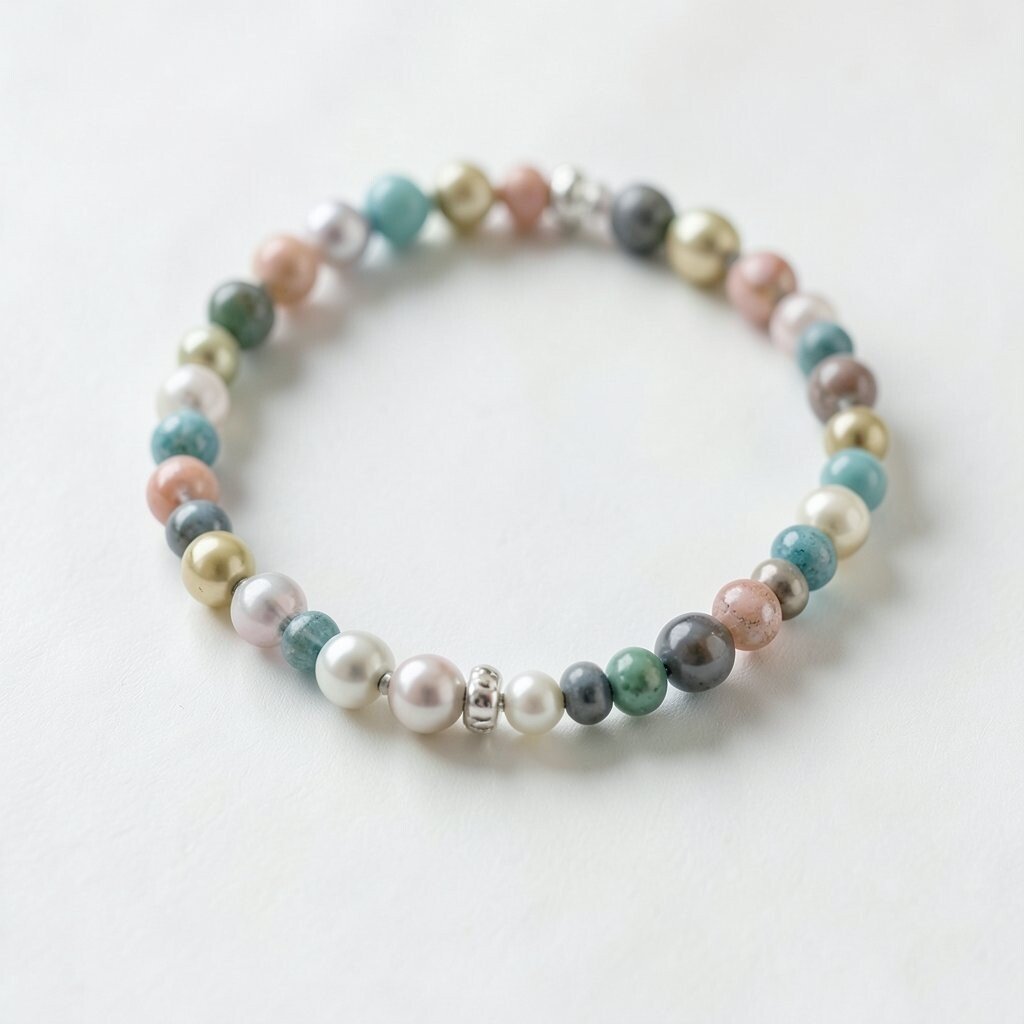
If you want comfort and an easy fit, try a sliding section with a small toggle bead. One end can hold beads while the other end uses a knot that can shift slightly. This is helpful if your ankle feels different in summer and winter.
Picture two tiny anchor knots on the cord, then a bead cluster that sits in between. When you slide it, the anklet adjusts without needing new sizing. This method can feel fun because you can change the look by nudging the position. It also saves money over time because one anklet can fit you as your body changes slightly.
8. Use Macramé or Knotting for a Braided Look
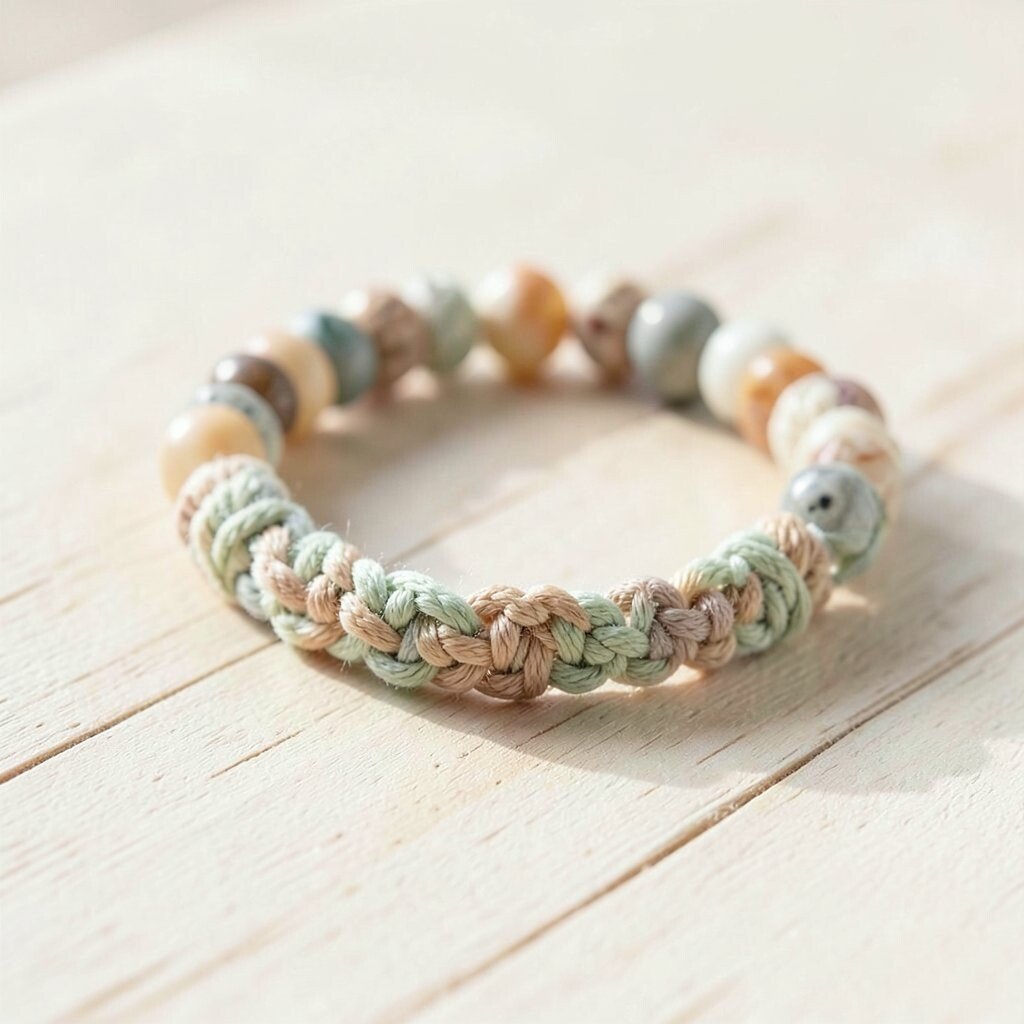
A braided anklet can look complex, but it can be surprisingly easy. Start with several cords and braid them loosely, then string beads into the braid at regular spots. This makes a textured surface that feels comfortable and stylish.
Choose cord in a color that matches your wardrobe, like black, tan, or deep green. As you add beads, visualize them like tiny pebbles tucked into a rope. You get uniqueness because knot patterns create natural variation in the braid. The cost is usually low because cord is often cheaper than lots of beads, and you still get a sparkly outcome.
9. Finish with Secure Knots and Clean End Caps
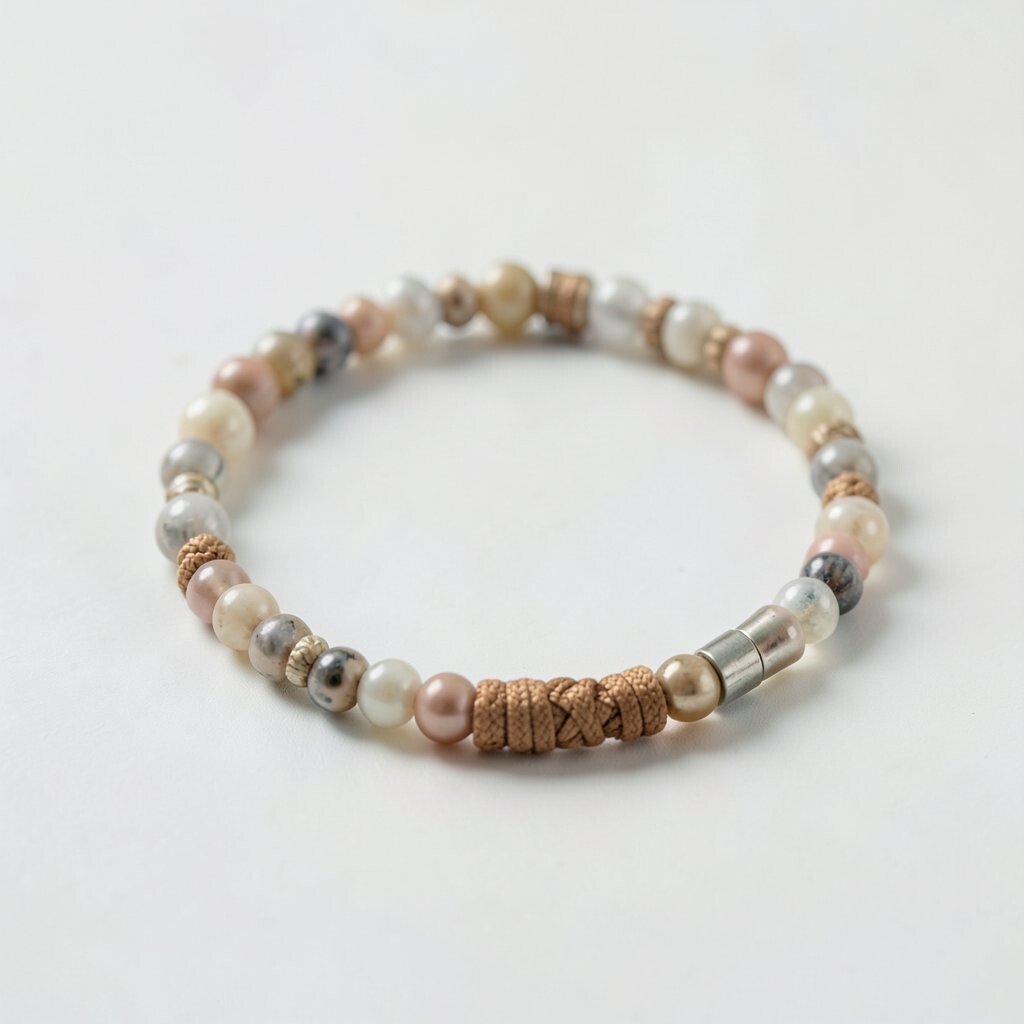
Finishing is where a handmade anklet starts looking truly polished. After you thread all the beads, tie a knot that holds firmly, then trim loose ends carefully. For extra stability, tuck the knot slightly back into the cord path so it sits flat.
You can add end caps if you’re using beading wire or cord ends that need a tidy closure. If you’re using elastic, double-knotting and smoothing the knot helps keep it from twisting. A tiny dab of clear glue can help when you’re worried about knots slipping. Clean finishes also make it more comfortable to wear because rough edges won’t poke you.
10. Match Your Beads to Today’s Color Trends

Right now, many people love warm neutrals, soft pastels, and subtle metallics. Think of sand tones, seafoam greens, blush pinks, and champagne gold accents. When you pick beads in these ranges, your anklet will look current without needing a brand-new style every season.
To make it feel unique, mix one trend color with a personal favorite shade. For example, pair a trendy seafoam bead with a single charm in your birthstone color. You will get a visual pop that still feels classy. Practical spending helps too, since trend beads are easy to find in small packs, letting you test colors before committing.
If you want a fresh look, choose beads with slight speckling or marbled patterns. They catch light beautifully and can make a simple design look more detailed. The result feels modern, not plain, and it gives your anklet a one-of-a-kind charm.
11. Personalize with Letters, Birthstones, or Lucky Symbols
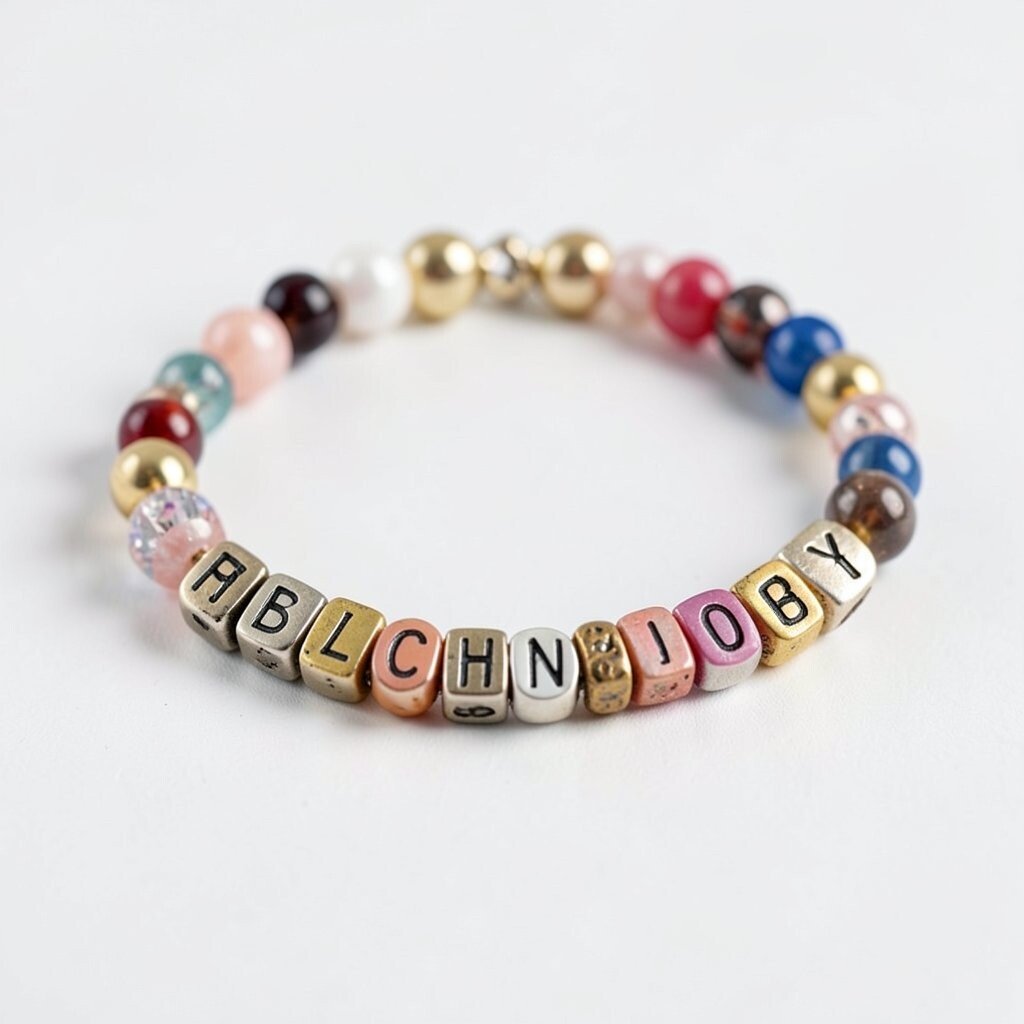
Personalization is one of the best parts of making an anklet. Add a few letter beads to spell a short word or initial, or choose birthstone beads for a meaningful color story. Even one symbol bead can turn the anklet into a gift that feels thoughtful.
Plan where the meaningful beads will sit so they’re easy to see. A common approach is to place the center bead cluster near the top of your ankle. You can also scatter tiny symbol beads evenly if you like a playful look. This kind of detail makes the anklet feel special, and it can be budget-friendly since you usually only need a handful of unique beads.
If you’re making gifts, use birth months and favorite colors to tailor each anklet. Friends often remember the moment you chose a bead that matched them. When you design with care, the piece becomes a wearable memory.
12. Style It with Stacking and Layering for Maximum Impact

Beaded anklets look amazing when you stack them, but it’s important to keep the mix balanced. Try one beaded anklet with a smoother chain anklet, or pair two beaded strands with different bead sizes. This makes your ankle area look layered and stylish without feeling cluttered.
Choose combinations that share at least one color so they look like a set. For a visual, imagine a warm base tone, then tiny sparkles layered on top. If you love a trendy look, mix matte beads with one shiny strand for a contrast effect. Practical comfort matters too, so keep knots smooth and avoid too many bulky charms at once.
Budget-friendly stacking is easy because you can reuse your cord techniques for several simple anklets. Instead of spending on one complicated piece, you can make a couple of easy designs that all match your wardrobe. Over time, you’ll build a small collection that fits different outfits and moods.