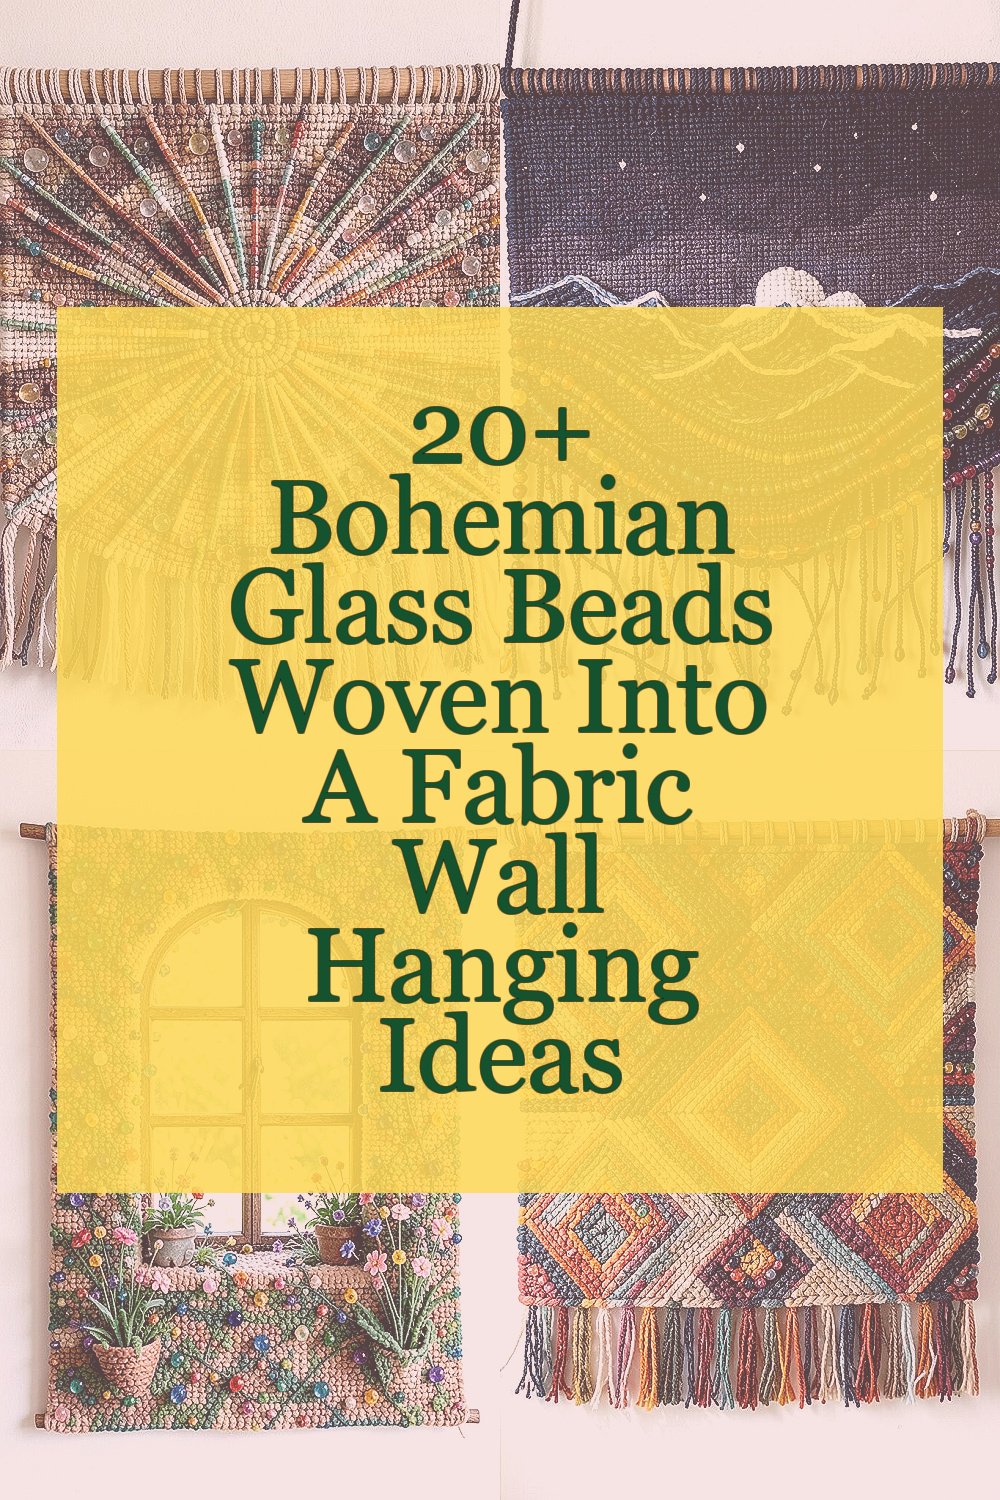
A wall hanging can feel like a story you can touch. With bohemian glass beads, that story sparkles every time the light changes.
These ideas focus on practical weaving choices, personal style, and budget-friendly ways to make your design look intentional and alive.
1. Sunburst Threads With Glass Dots
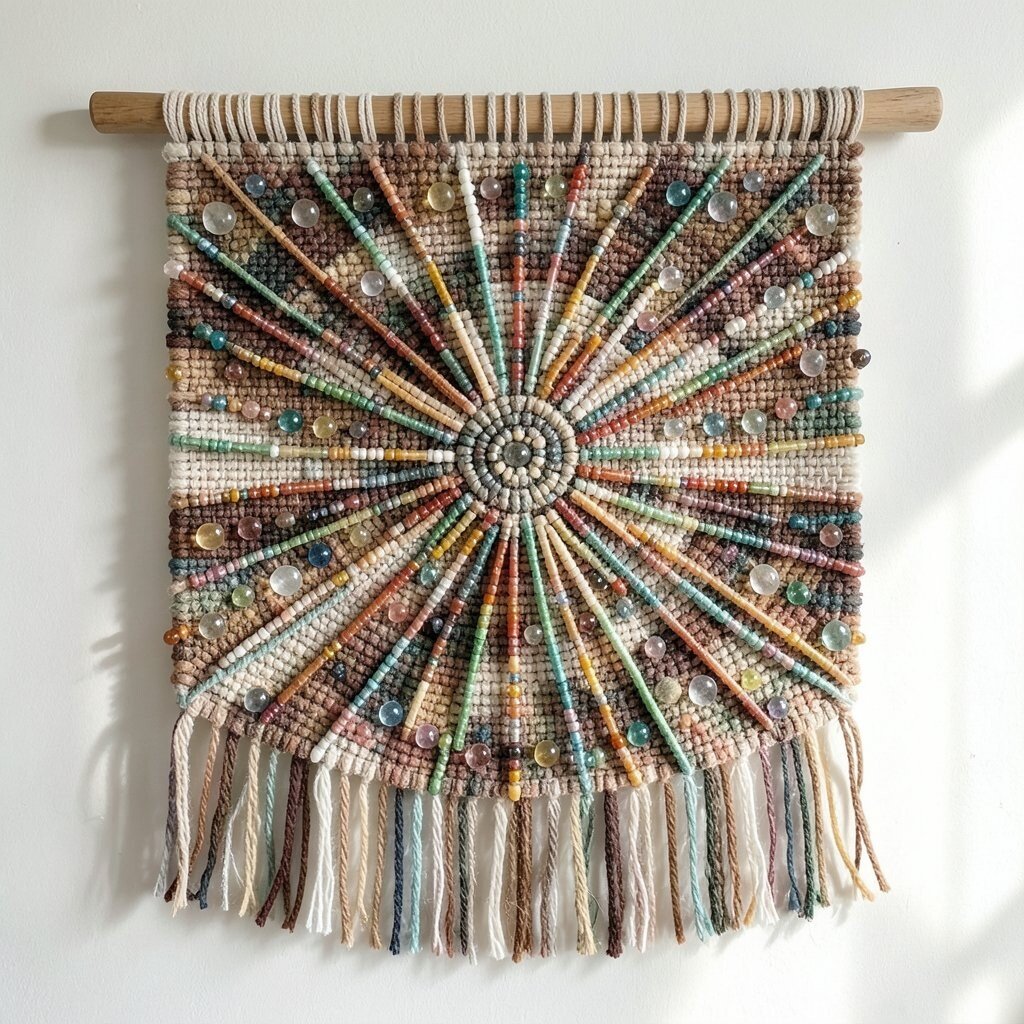
Start with a simple fabric base and plan a sunburst shape that grows from the center outward. Add small clusters of bohemian glass beads where the rays meet, so the piece looks like light is being caught and held.
Use a sturdy thread and keep your bead spacing consistent so the weave feels neat. This style looks bright even in dim rooms, and the glass adds a gentle shimmer when you walk by.
2. Midnight Waves and Threaded Bead Trails
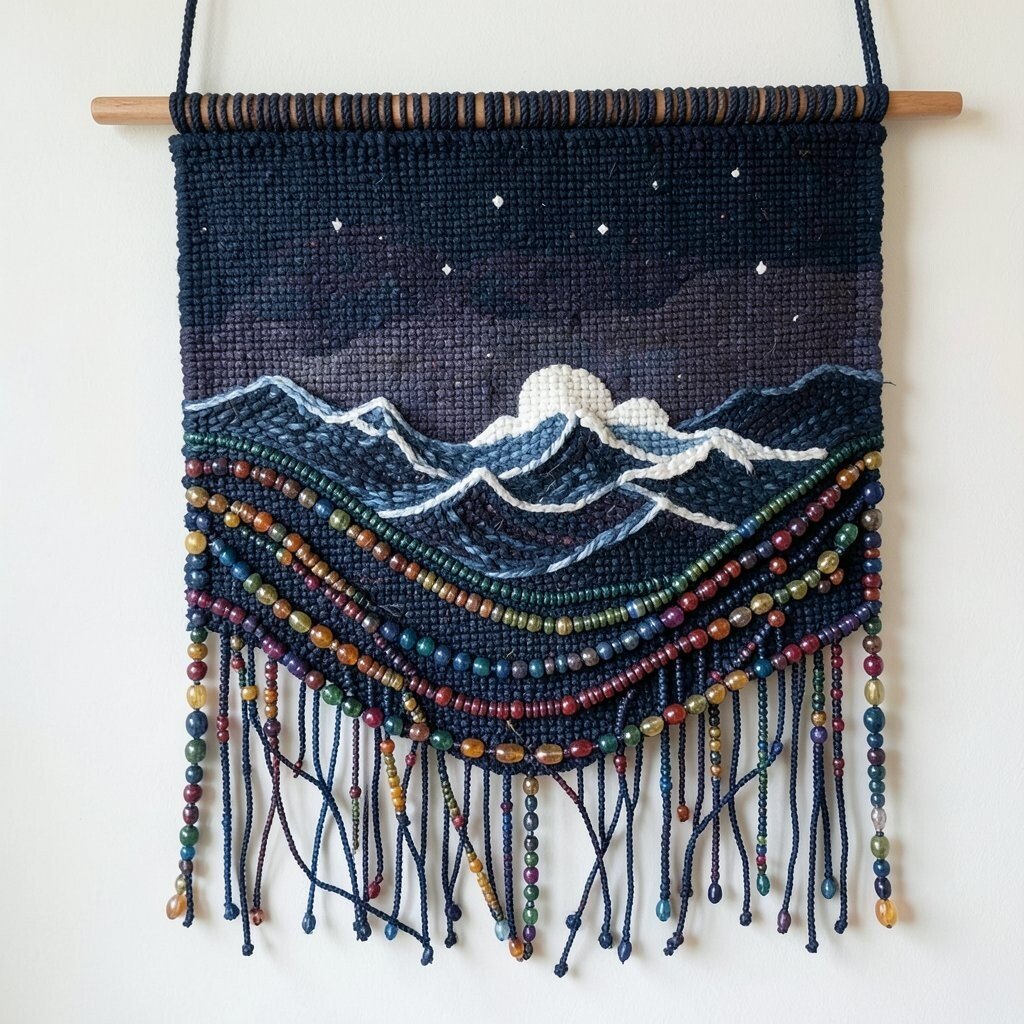
Choose a deep blue or black fabric and sketch a wave pattern that repeats across the width. Weave thin lines and attach beads like moving highlights along each crest.
Try mixing small transparent beads with darker ones so your waves look layered. This makes a calm, cozy wall piece, and the texture gives it depth without needing complicated shapes.
For a practical approach, attach beads along the lines first, then fill around them with plain stitching. If you want to manage cost, reserve the most expensive beads for the brightest points where the waves “catch” the light.
3. Garden Window Motif With Tiny Bloom Accents
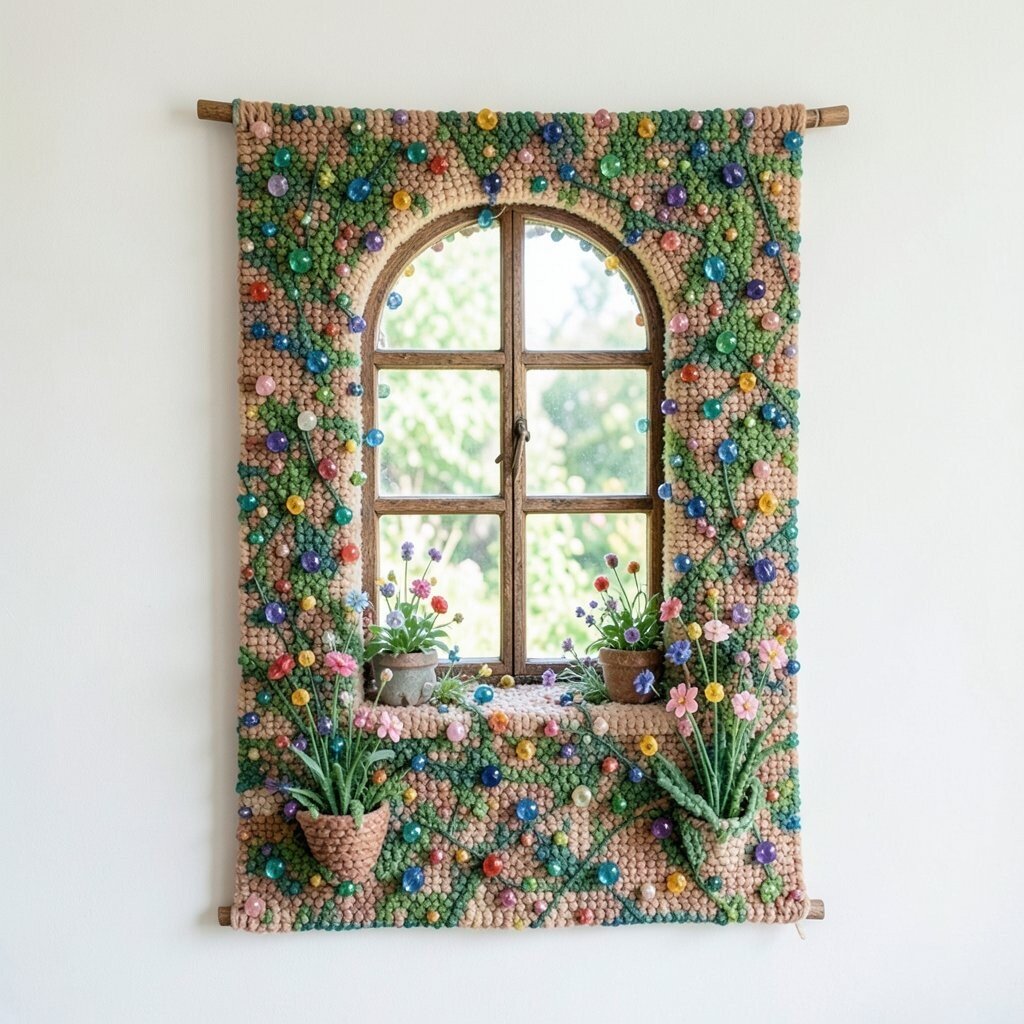
Pick a neutral fabric and outline a simple window frame using embroidery thread. Inside the frame, add bead clusters for flowers and use a few beads as “dew” drops.
Choose a mix of pink, amber, and clear beads for a playful garden look. When the light hits, each tiny cluster looks like a different flower stage, which makes the wall hanging feel lively.
If you are using limited bead quantities, place beads only at the centers of blooms and let the thread do the rest. Personalize it by matching bead colors to your room art or seasonal decor, like warm tones in autumn and cool tones in summer.
To keep it comfortable to make, use a consistent bead size for your main flowers and save odd sizes for small leaf accents. This keeps the pattern tidy and makes the finished piece easier to hang.
4. Geometric Ember Squares for a Bold Look
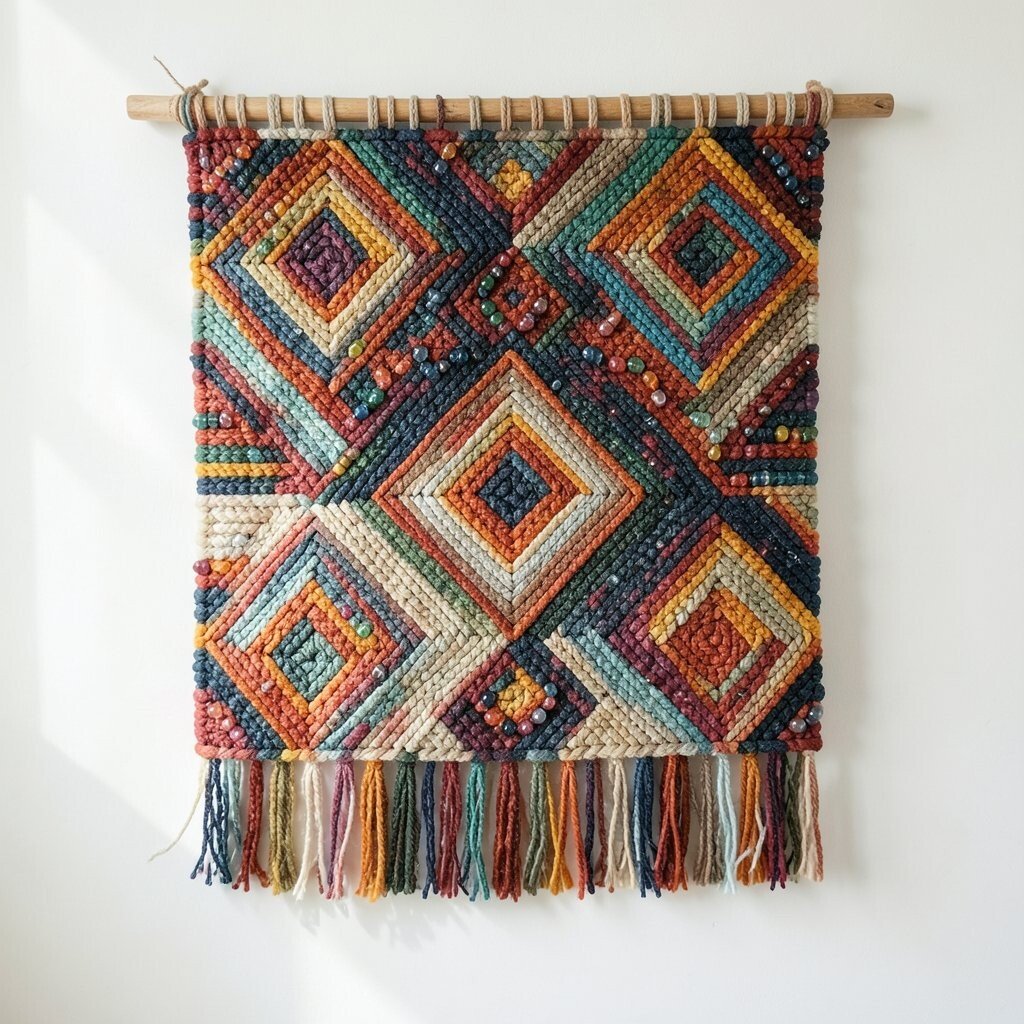
Go for a pattern of repeating squares, triangles, or diamonds across the fabric. Thread bohemian glass beads into the lines so the geometric edges sparkle like tiny embers.
Stick to high-contrast colors, such as rust and cream or teal and charcoal, so the shape stays crisp. This design feels modern, and it works well in hallways where you want your decor to feel energetic.
5. Boho Feather Bands With Layered Fringe Edges
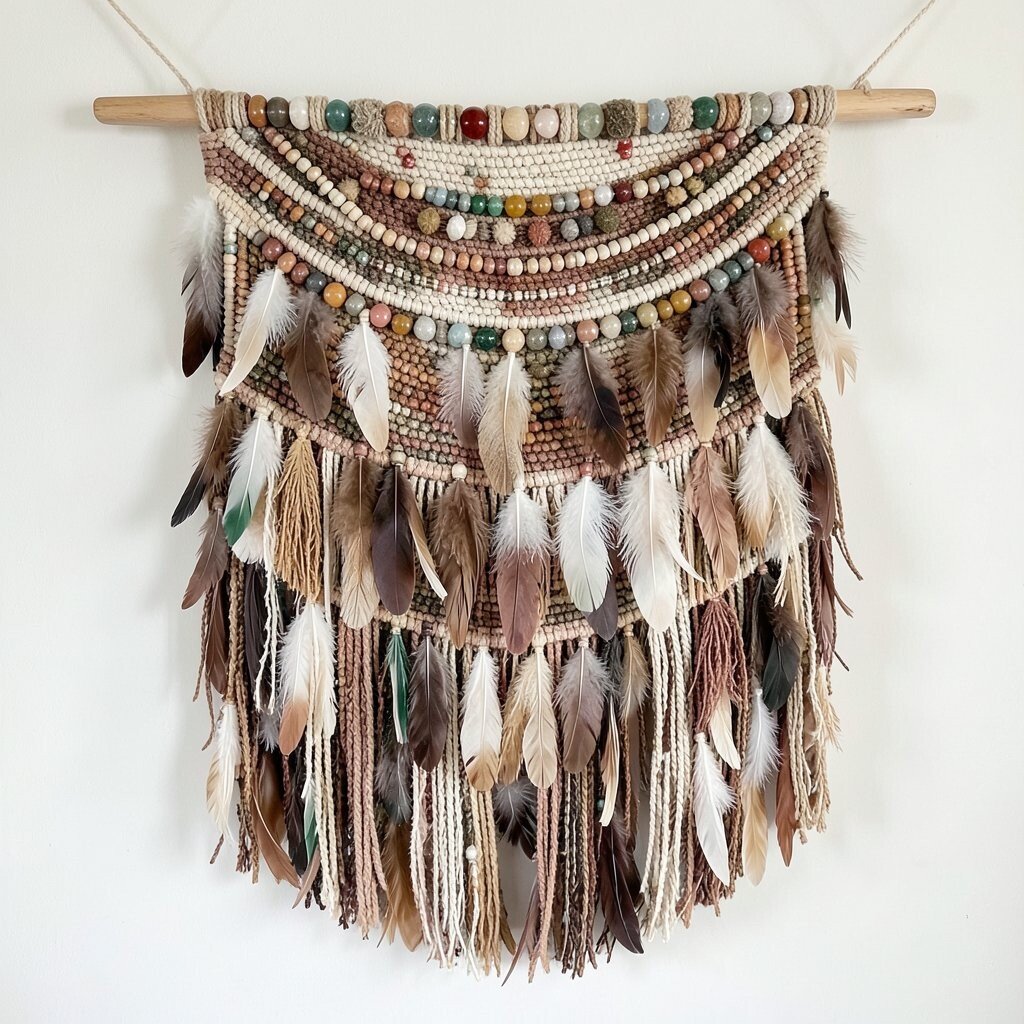
Draw a feather shape that tapers toward the bottom, then create bands across it with parallel stitching. Weave beads along the bands and let a small fringe of thread and beads hang at the edges.
Mix matte and glossy glass beads so the feather looks soft but still full of shine. The fringe adds motion, and that movement makes even a simple room feel more artistic.
To keep your cost under control, use fewer beads in the outer fringe and more beads at the center where it shows most. Personalize by adding one standout color bead band that matches a favorite scarf, cushion, or mug set you already own.
6. Crescent Moon and Starry Night Scatter
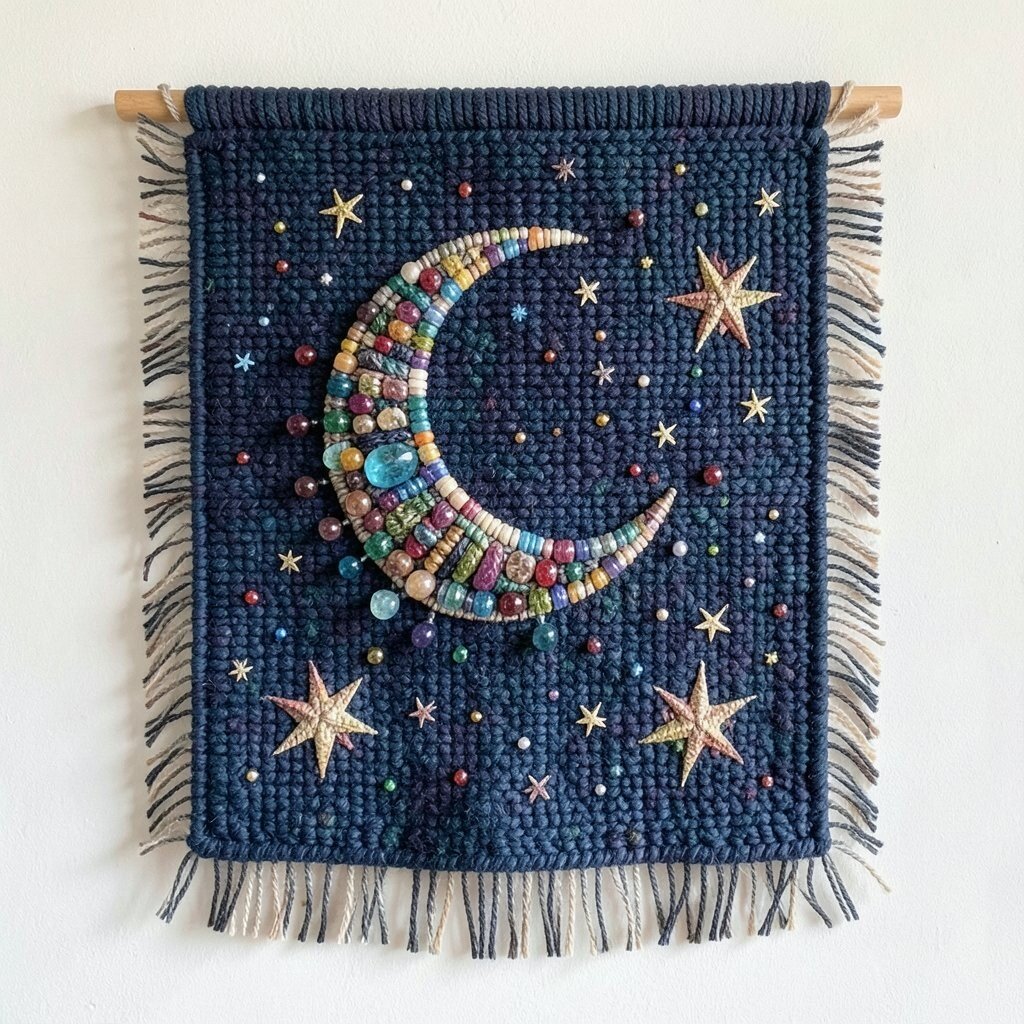
Use a light fabric background and stitch a crescent moon near the top. Fill the night area with random star dots made from small glass beads in silver, clear, and deep blue tones.
Keep the star sizes varied, but limit the color palette so it feels cohesive. This idea is unique because it relies on bead placement rather than heavy pattern lines, which saves time while still looking magical.
If you want a simple method, pre-plan star locations with chalk, then stitch beads directly into those spots. Budget-wise, clear or lightly tinted beads can mimic extra star sparkle without needing a huge variety of expensive colors.
7. Sunlit Orchard Rows With Beaded Pathways
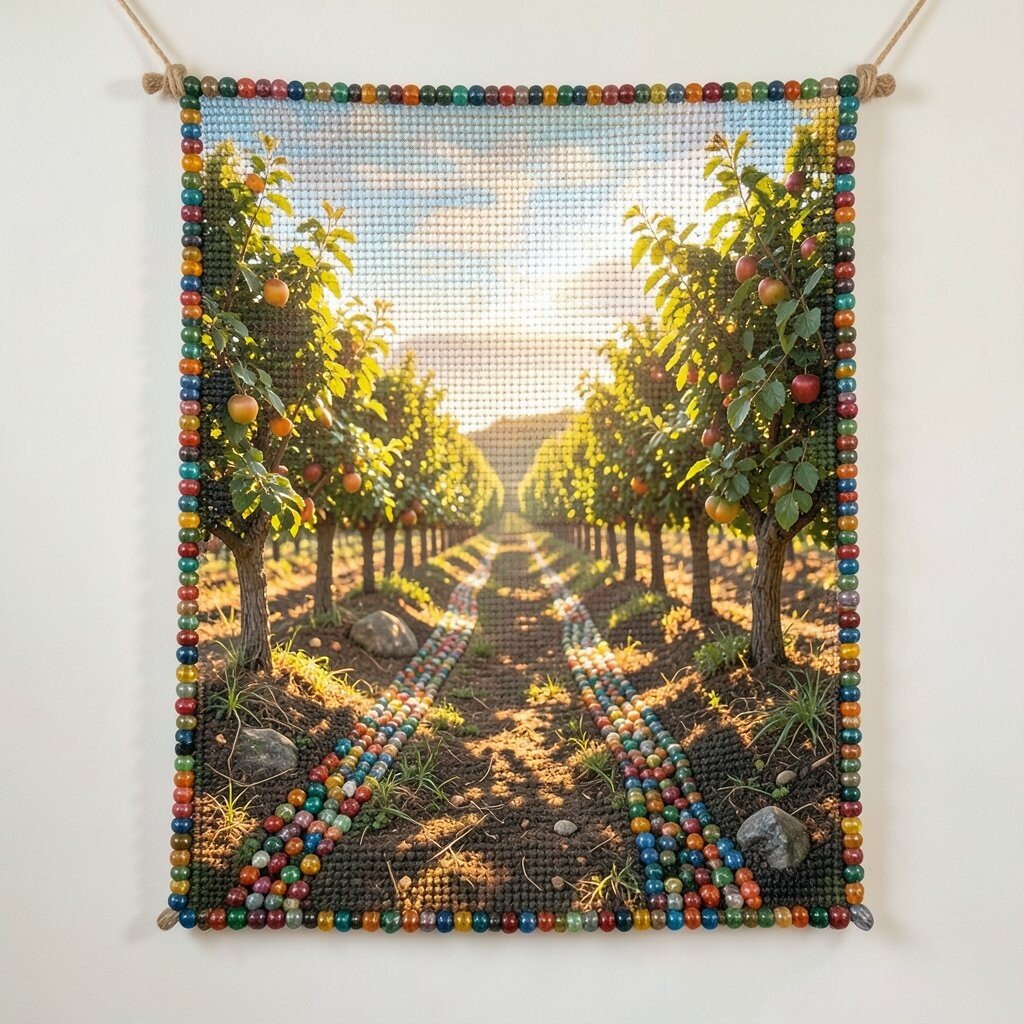
Sketch orchard rows across the fabric, then stitch two or three main “paths” using thicker thread. Add beads like fruit clusters along the top edges of each row for a cheerful, playful feel.
Choose warm greens and golden yellows so the beads look like sunlight on leaves and ripe fruit. This piece works great in kitchens or dining areas because it brings a light, inviting mood.
For practical making, outline the rows first and keep them evenly spaced so the orchard looks tidy. Personalize by changing fruit colors based on what you like, such as jewel-red for apples or honey-orange for pears.
If you have leftover beads from other projects, this is a good way to use them. Even a handful of beads per cluster can make the design look intentional when you repeat the same cluster placement across the fabric.
8. Woven Rainbow Ribbon Across the Center
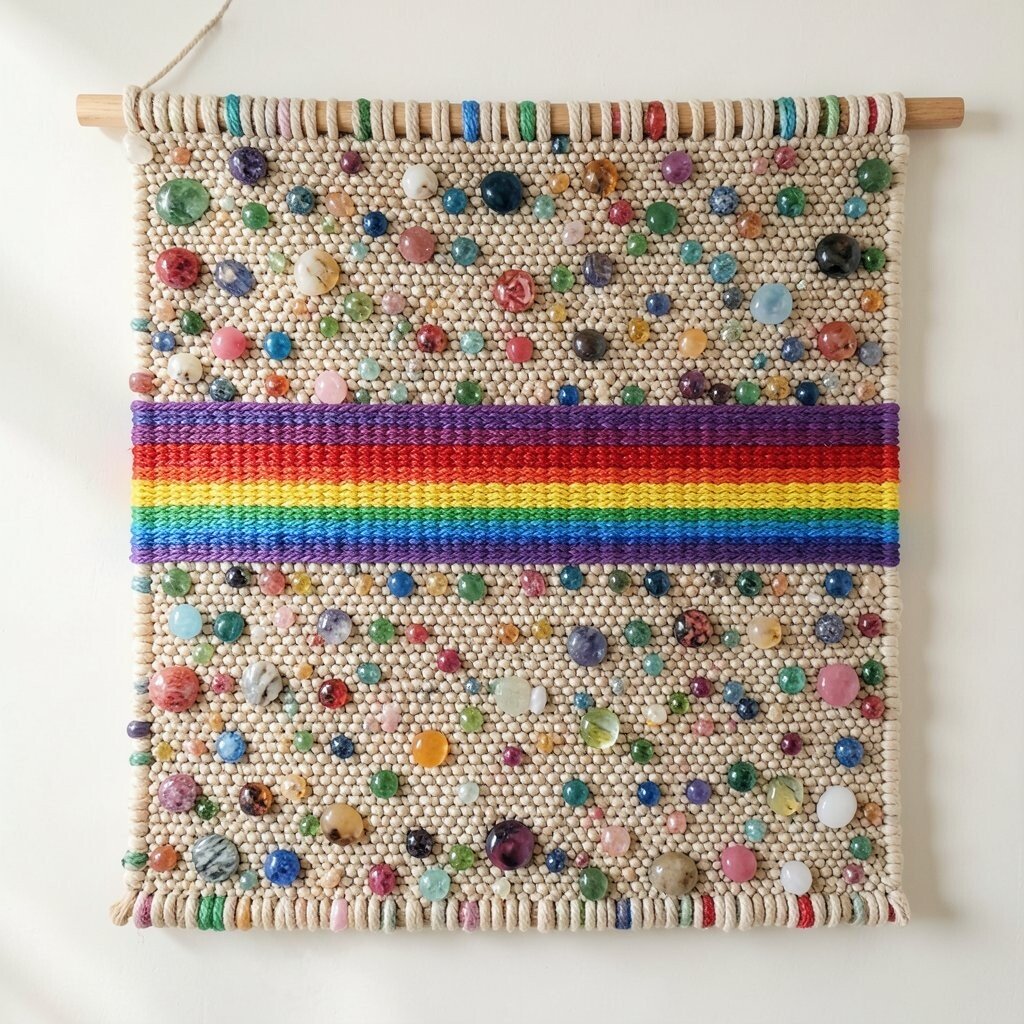
Create a bold band across the center of the wall hanging, then split it into rainbow sections. Stitch beads along the ribbon edges so the band looks like it’s outlined in light.
Use a smooth fabric so the rainbow ribbon stands out clearly. This approach is unique because it turns a simple strip into the main character, which makes the rest of the design easier to keep balanced.
9. Mountain Ridge With Frosty Bead Highlights
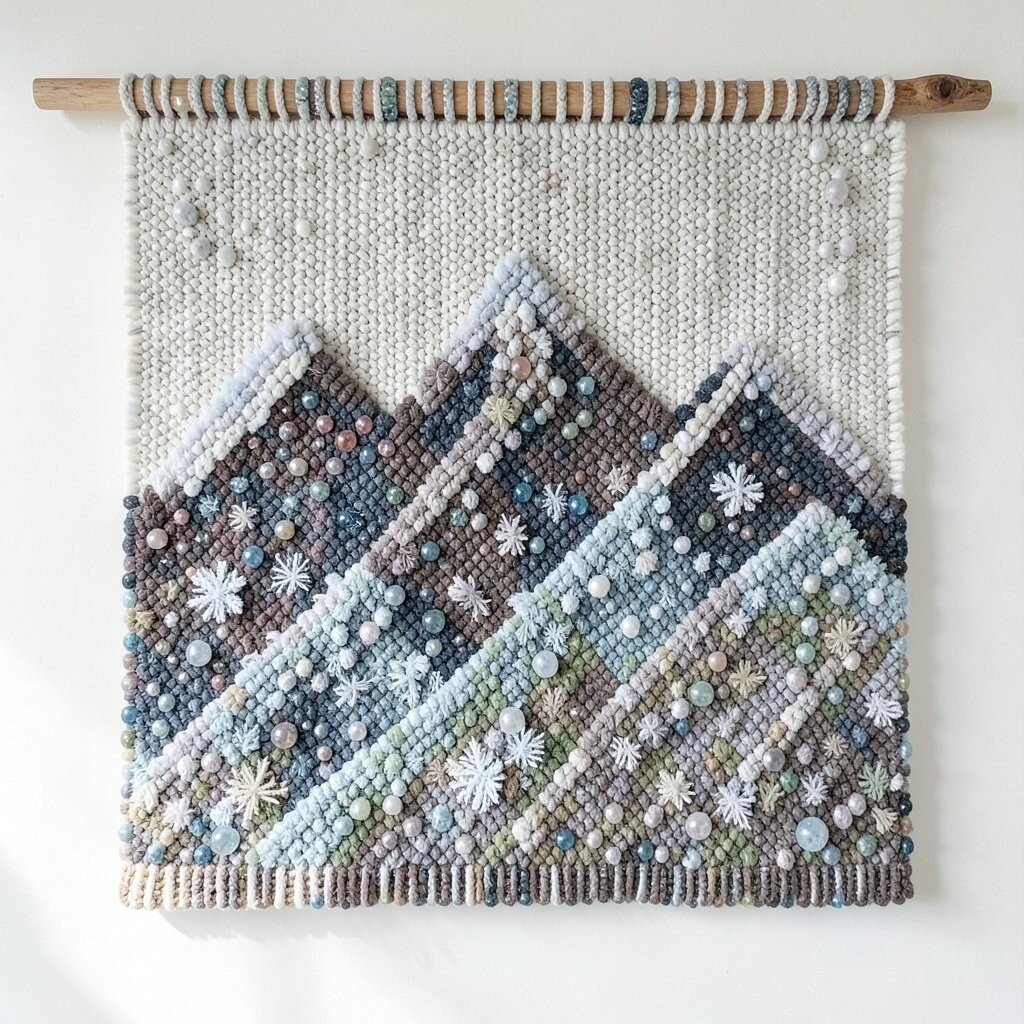
Choose cool gray, navy, and off-white fabric tones for a mountain scene. Stitch ridge lines in a layered way, then add clear or pale blue beads as “frost” along the highest peaks.
Keep bead placement only on the top edges so the scene feels airy rather than heavy. The glass highlights add a cold glow that looks beautiful in window light.
If you want a practical shortcut, focus on one main ridge and add smaller bead accents on the lower ridges. This keeps your time and materials focused while still giving a realistic, textured mountain look.
For personalization, add one warm-colored bead trail that suggests a sunrise path in the distance. Cost considerations are easier here because you can use just a small amount of special beads to create the most visible sparkle points.
10. Mandala Rings With Bead Orbit Patterns
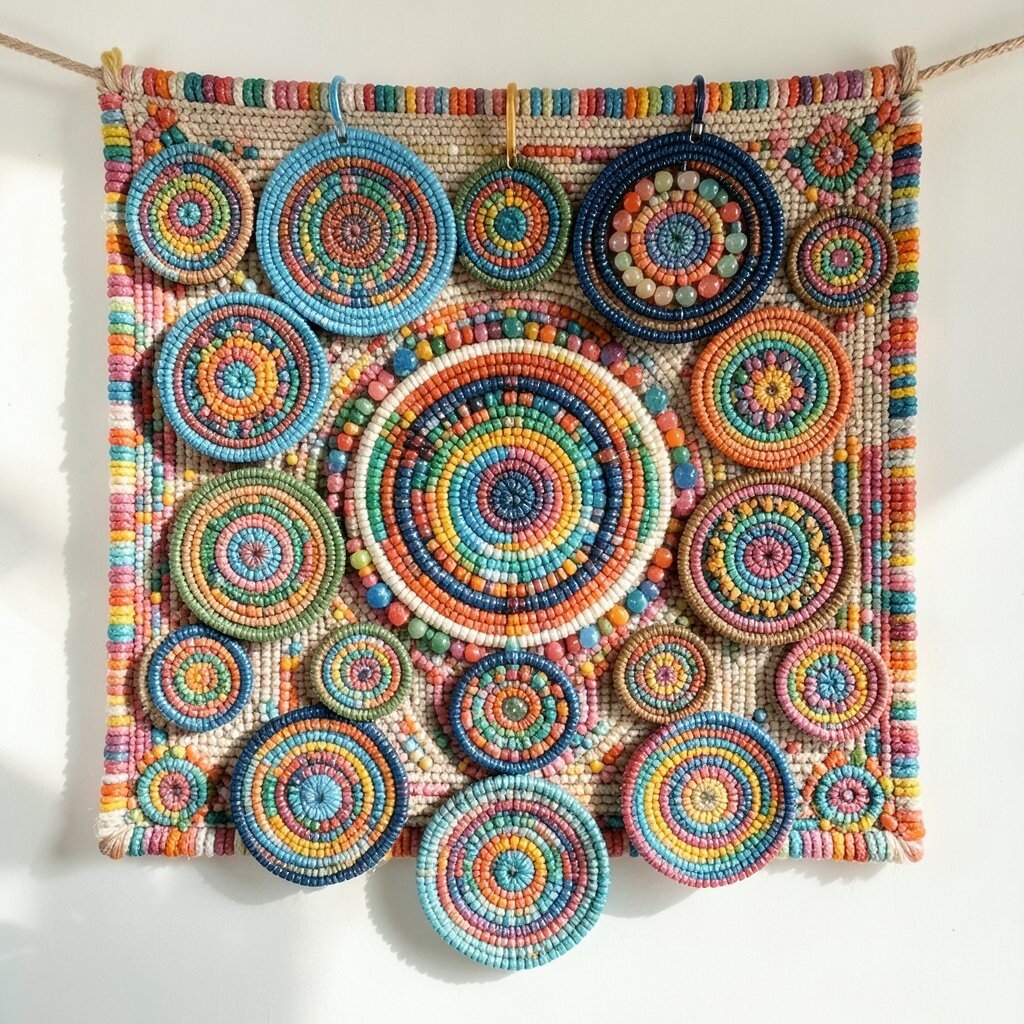
Plan a central circle and build outward with ring shapes made from thread. Weave beads into each ring so it feels like orbit paths around a small bright core.
Try alternating bead sizes for visual rhythm, like tiny beads on one ring and slightly larger ones on the next. This design feels unique because the eye keeps circling, and the glass creates a slow twinkle effect as you move.
For practical tips, mark the circle guides on the fabric so your rings stay even. Personalize by choosing bead colors that match your room, like earthy terracotta or modern monochrome, and keep your center color consistent so it anchors the whole piece.
11. Coastal Rope Border With Glass Knots
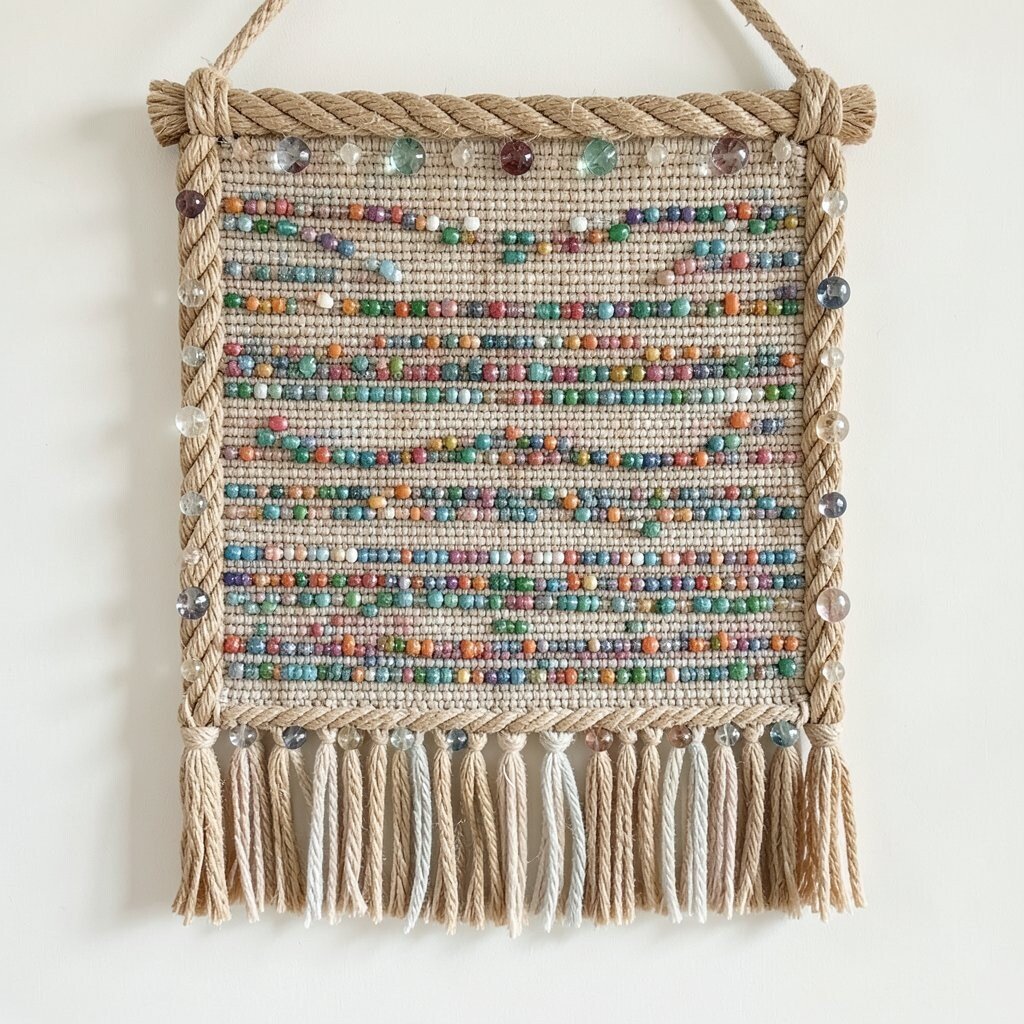
Make a border along the edges that looks like rope, then place small bead “knots” at intervals. Use textured stitching to shape the rope, and add beads where the rope curves and overlaps.
This border idea is great because it frames your wall hanging and makes the center look more finished. The uniqueness comes from using beads as the rope details rather than as full background coverage.
If you want cost control, place beads only at knot points and keep the border mostly thread-based. You can also use leftover beads, since small repeated knots create a steady visual pattern even when colors vary slightly.
Personalize by changing border style, like thicker rope for a chunky beach vibe or finer rope for a delicate look. It is an easy way to make the piece feel custom without reworking the entire design.
12. Folk Starburst With Charm-Like Bead Clusters
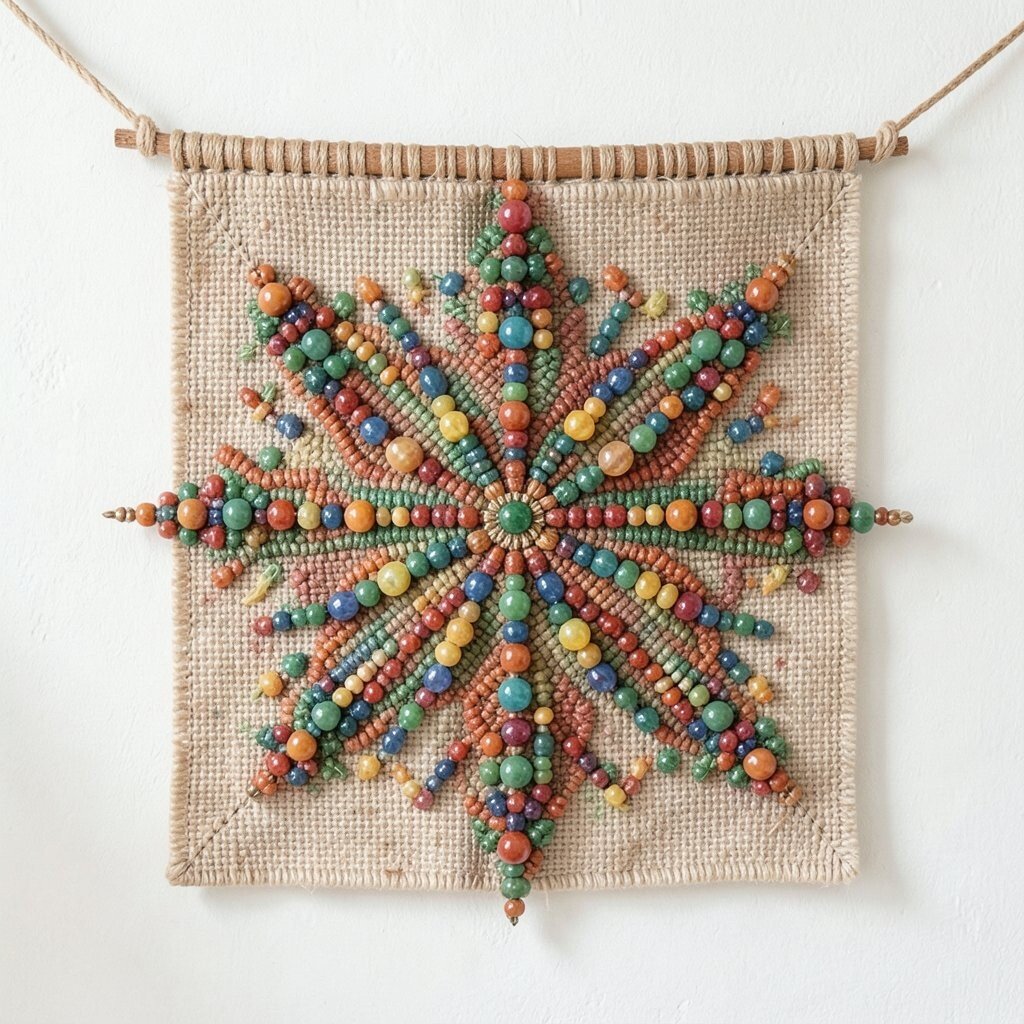
Choose a fabric color and stitch starbursts that point outward from a central shape. Instead of uniform dots, add bead clusters like tiny charms so some points look fuller than others.
Mix jewel tones such as emerald, magenta, and gold to give a traditional folk feel. This makes your wall hanging look lively and celebratory, especially when it catches light from lamps or windows.
For practical making, use a small hoop or firm backing so the fabric stays smooth while you work. Cost considerations are manageable because you can use fewer beads per cluster and rely on color contrast to create impact.
13. Abstract Wavy Lines With Confetti Sparkle
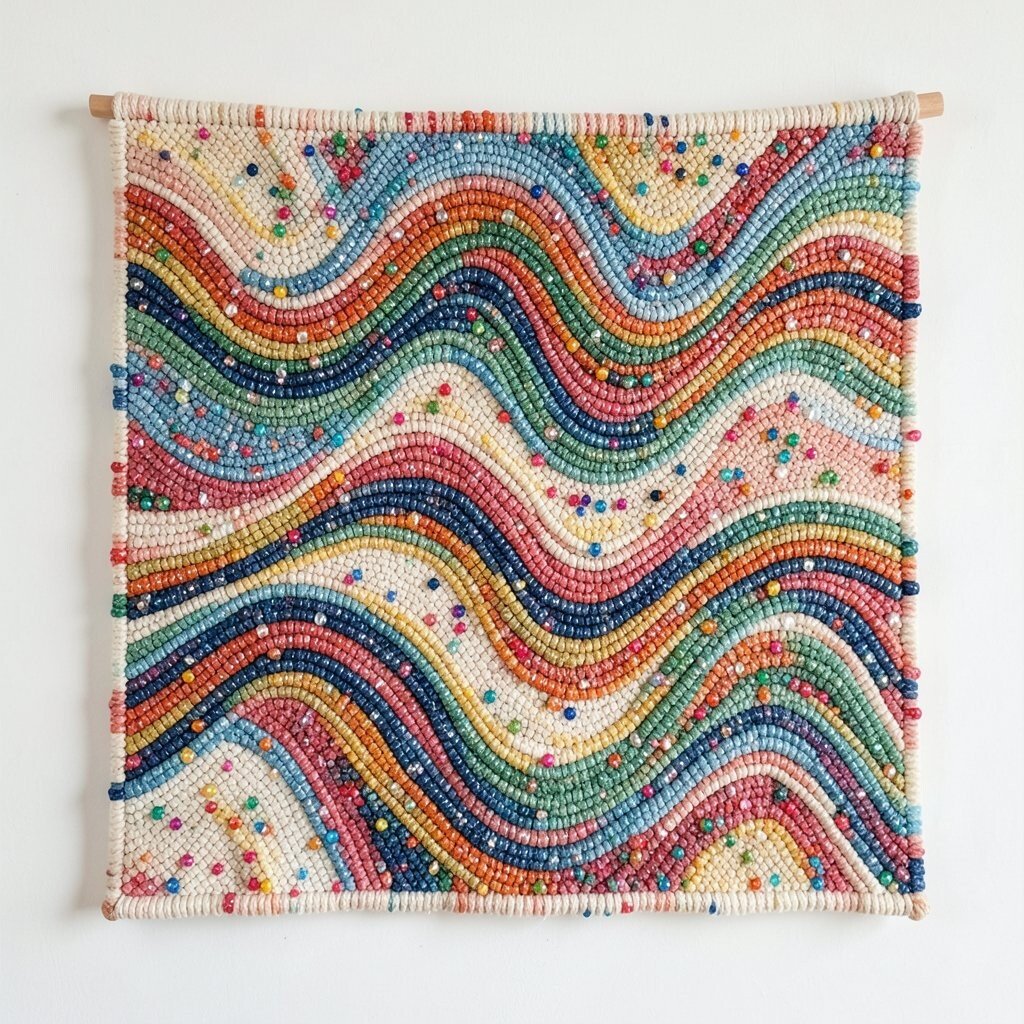
Skip strict shapes and stitch a set of flowing lines across the fabric like ribbons in the air. Then add “confetti” beads in the spaces between lines for a scattered sparkle effect.
This concept feels modern and relaxed, and it is a great fit if you want a piece that does not require perfect symmetry. The glass beads act like punctuation, making the movement of your lines easy to see.
To keep the work practical, select two main thread colors and one bead color family so it looks intentional. Personalize by adding a few beads that match a favorite accessory, like the color of a tote bag or a small lamp.
14. Cat-Inspired Whisker Frame With Beaded Eyes
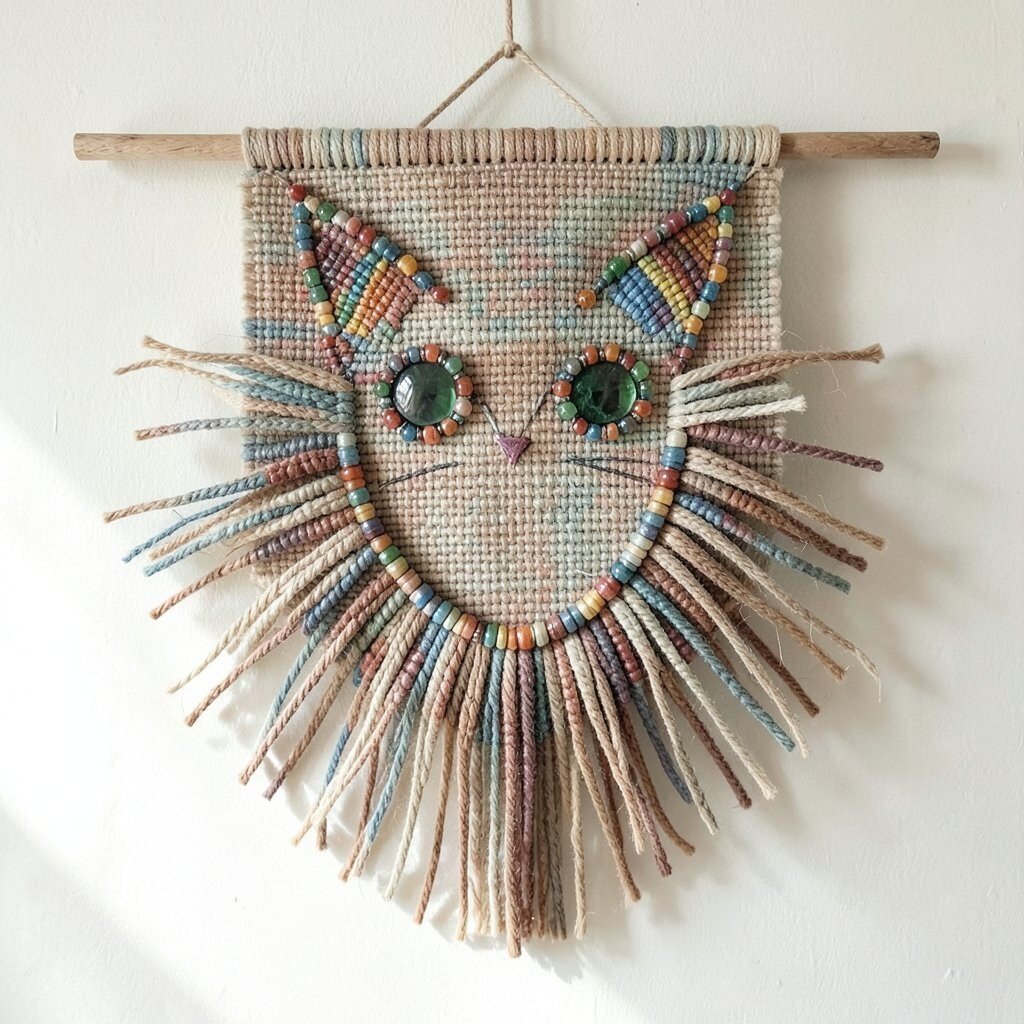
Sketch a simple cat face or cat-like mask shape and stitch an outline in contrasting thread. Add beads for eyes and maybe a few beads along the whisker line to make the face glow.
This design is unique because it focuses on a few bead “stars” instead of covering everything. That approach keeps the piece cute and readable, even from a distance.
If you are worried about making the shape too hard, keep it minimal with just an outline and two bead eyes. Cost wise, you can spend your beads where they matter most and use plain thread for the rest.
Personalize by choosing bead colors that match your pet’s personality, like amber eyes or soft green tones. It is also a sweet gift idea because it turns simple stitching into something personal and memorable.
15. Patchwork Squares With Uneven Bead Texture
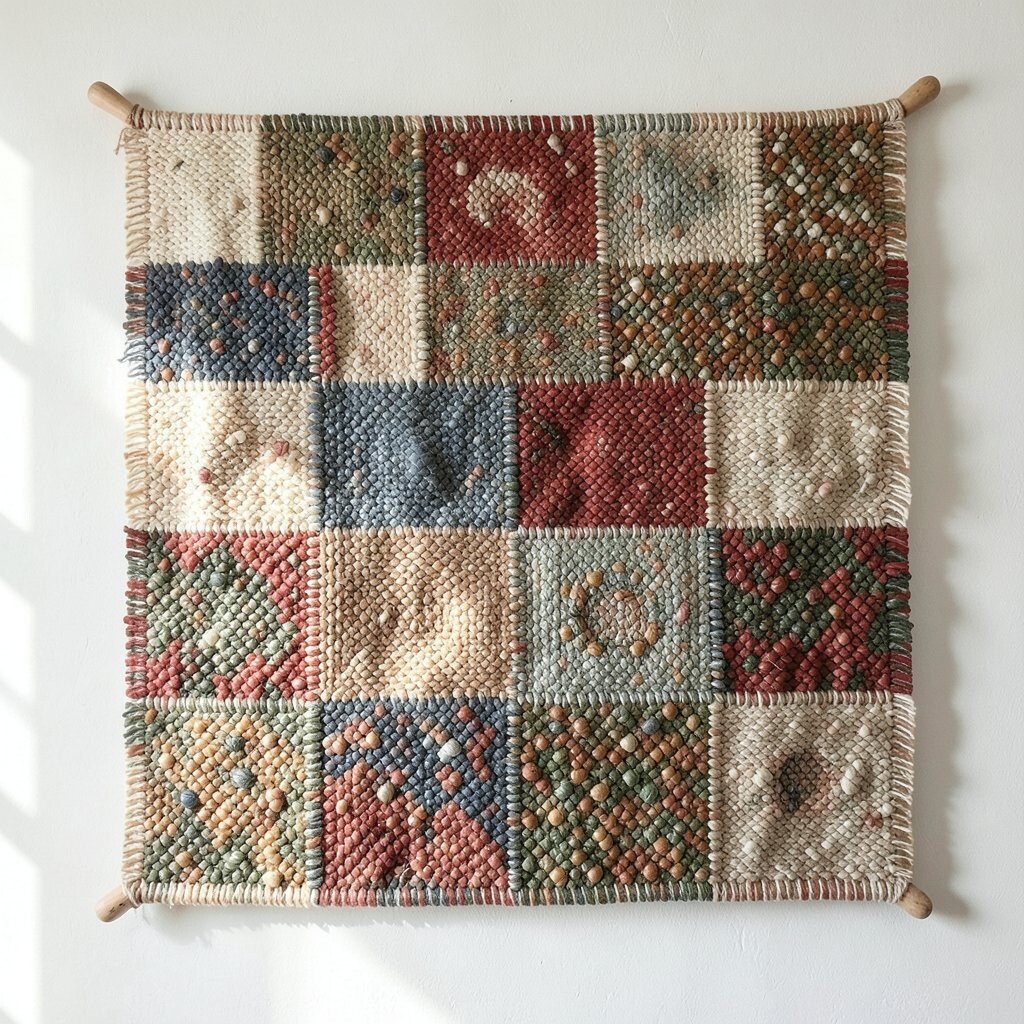
Create a patchwork look by combining fabric sections or stitched panels with different colors. Add glass beads into only certain squares so each section has its own texture personality.
This is a practical way to use scraps and turn them into a cohesive wall hanging. The uniqueness comes from letting some areas breathe, which prevents the piece from feeling too busy.
For personalization, assign each color family to a mood, like calm blues for one patch and warm reds for another. Cost considerations are friendly here because bead amounts can vary by square, so you use what you have without needing a perfect bead count.
If you want the patchwork to look neat, keep seam lines straight and plan bead placement with a simple sketch. Even a rough sketch helps you avoid accidentally over-beading one area.
16. Butterfly Landing Strip With Wing Bead Gradients
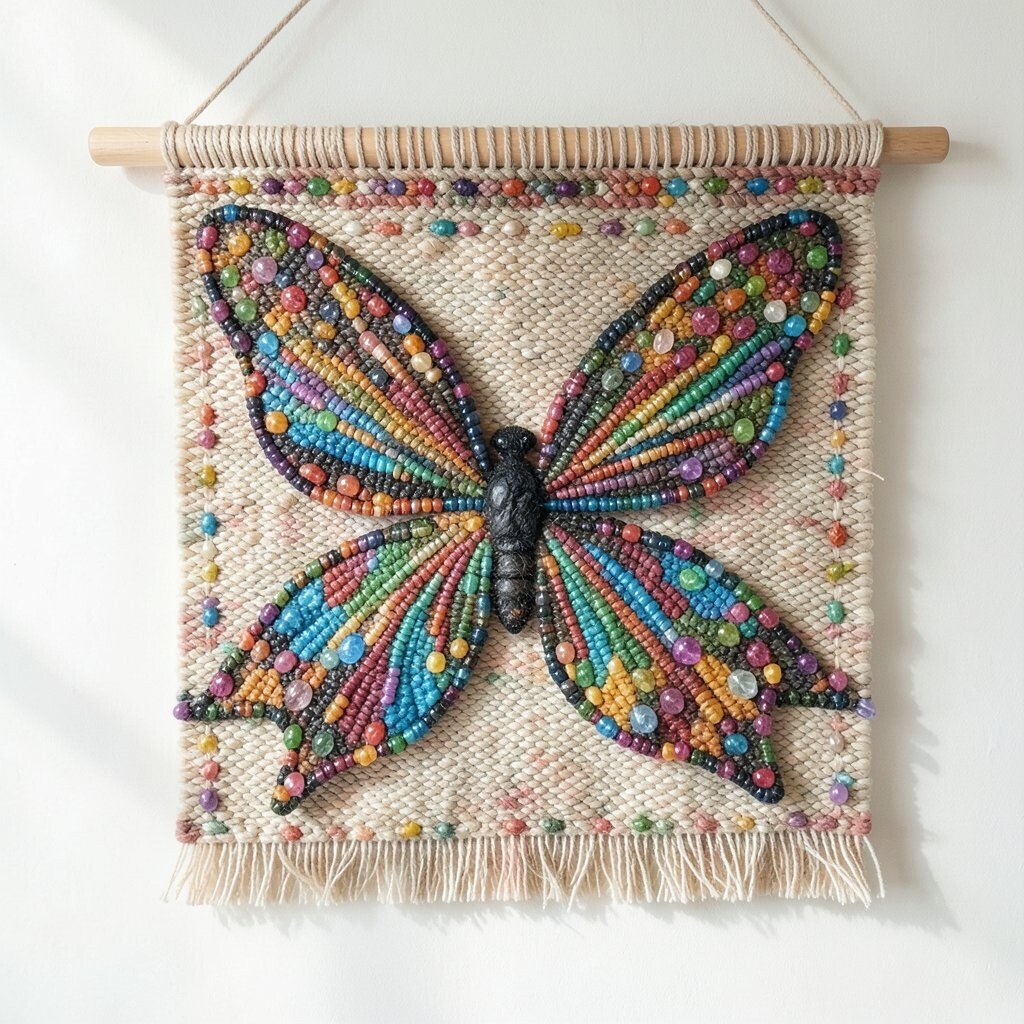
Sketch butterfly wings on the fabric and stitch the outline with strong thread. Add bohemian glass beads in a gradient across the wings, using darker beads near the center and lighter beads toward the edges.
Gradient beading is especially eye-catching because the glass catches light differently across the wing. This makes the wall hanging feel more detailed without needing tiny, complicated shapes.
For practical tips, test your bead gradient on a small scrap first so you know the color flow works. Personalize by using your favorite butterfly colors, or even color combinations that match your favorite outfit.
If budget is tight, focus the gradient on only one wing and keep the other wing more simplified. The overall look can still feel balanced as long as the main sparkle area stays near the center.
17. Autumn Leaf Veins With Bead “Water Drops”
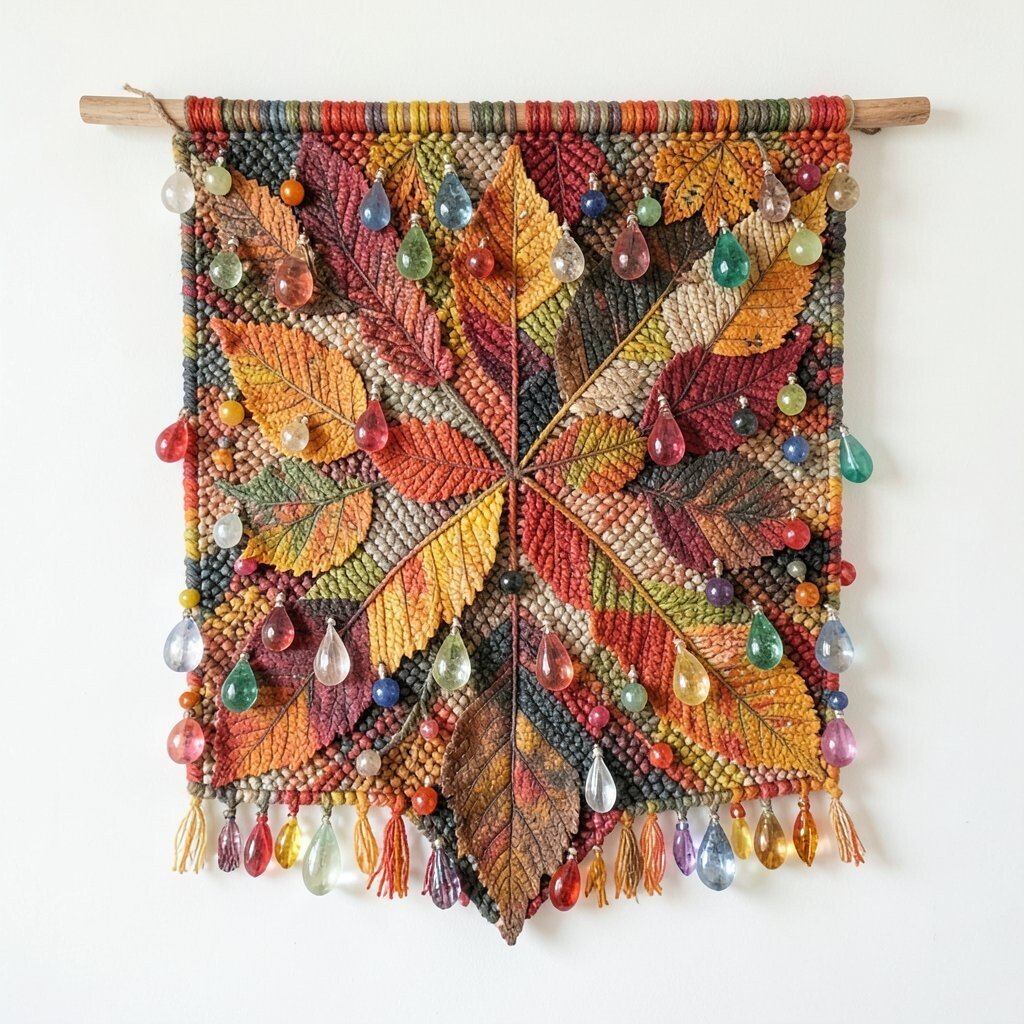
Pick a leaf shape, then stitch leaf veins using contrasting thread. Add small glass beads along the vein intersections like tiny water drops after a rain.
This approach looks realistic because the beads mimic highlights on glossy leaves. It also feels seasonal in a warm, cozy way, especially with amber, rust, and olive beads.
For practical making, keep the leaf pattern simple and focus on neat vein lines. Personalize by adding one special bead color to represent a leaf highlight, such as a honey-yellow accent that makes the whole piece feel brighter.
Cost considerations are easy here because you only need beads at key points rather than across the entire leaf. You can even reuse beads from other projects, since the drop placement still looks deliberate when you repeat the same style across multiple leaves.
18. Mandolin-Style Sound Waves for Music Lovers
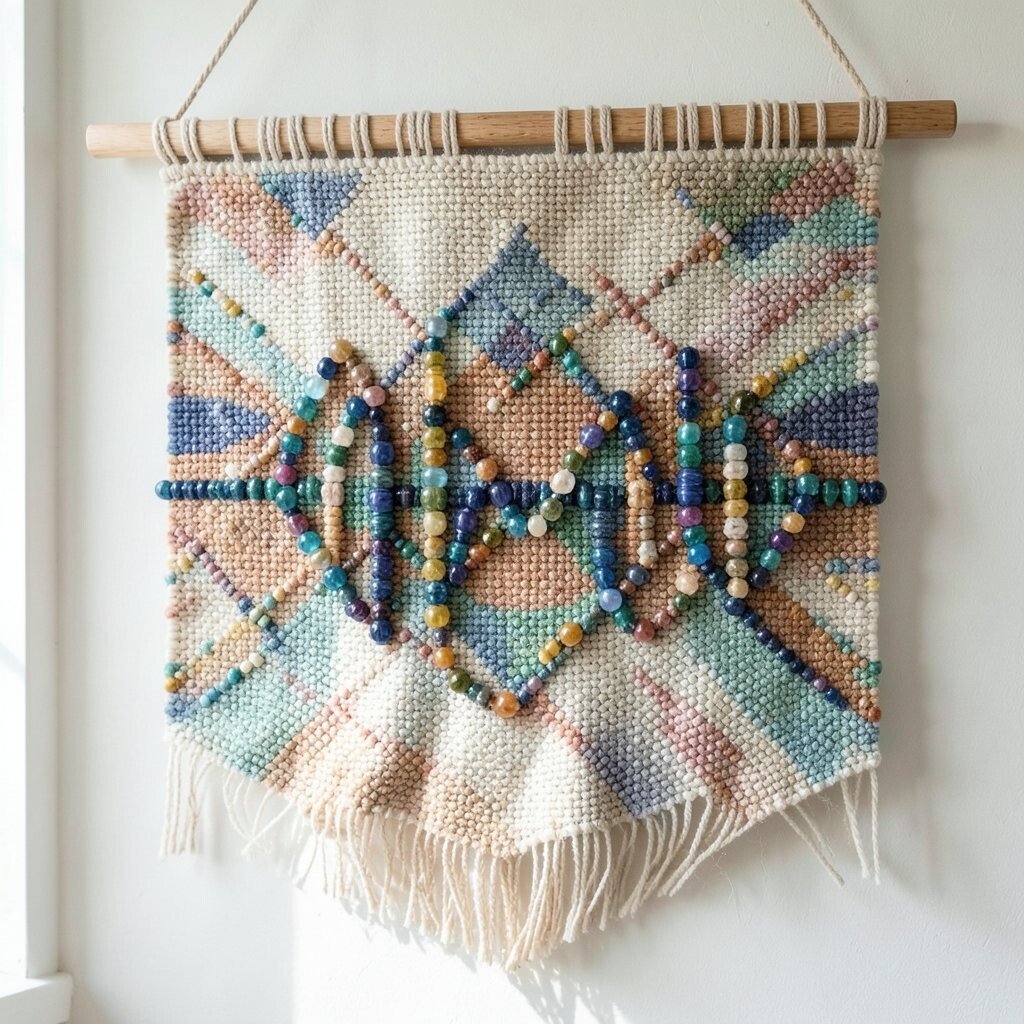
Make a wall hanging that shows sound waves by stitching repeating curves across the fabric. Add beads along the curves so each wave line looks like it hums with light.
Choose thread colors that match your instrument theme, like warm browns or cool blues, and add metallic beads for extra shine. This idea feels unique because it turns music into texture you can see from any angle.
If you want to keep the work organized, mark a center line first and build symmetrical waves around it. Personalize by placing a few beads thicker in the middle to imply a beat drop or a chorus peak.
When planning cost, consider using fewer beads on wider wave lines and more beads on tighter, higher-energy waves. That way, the sparkle feels intentional while keeping materials manageable.
19. Minimal Lines With One Center Spark
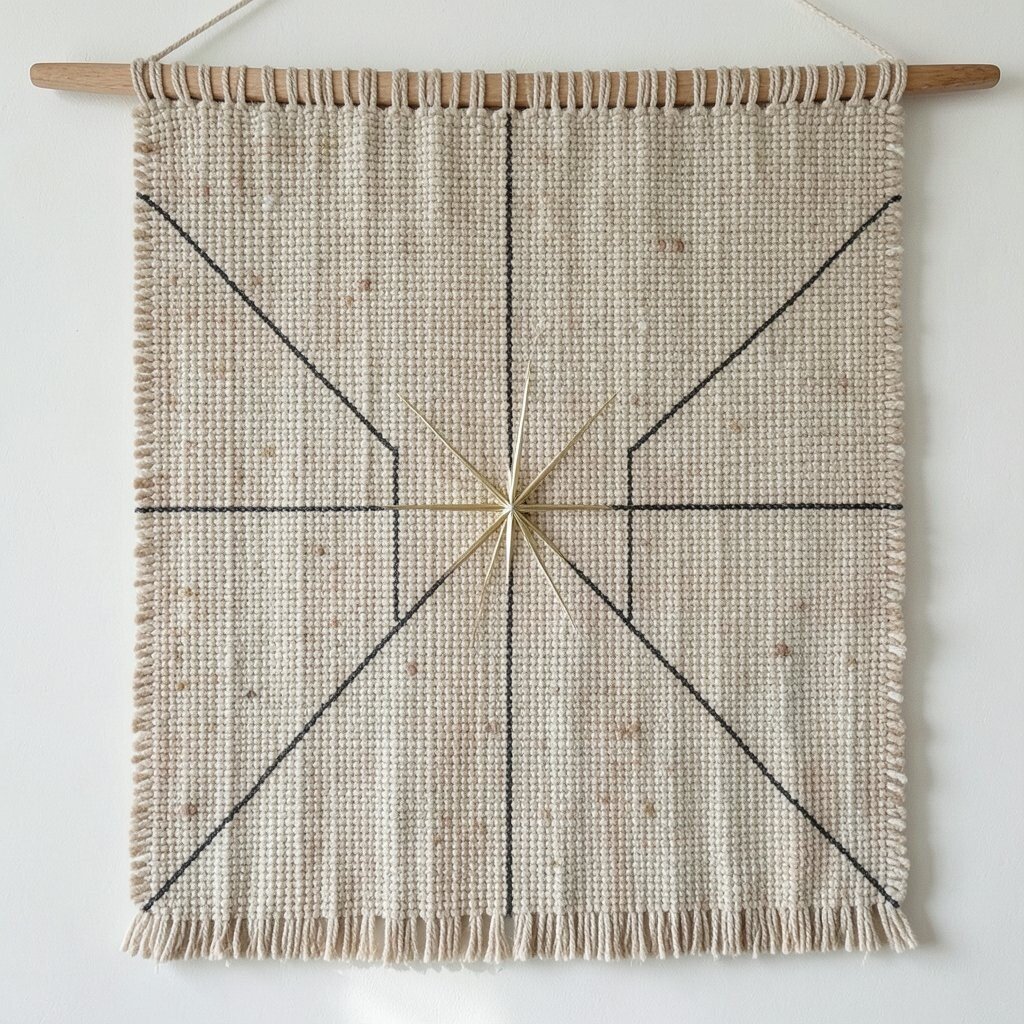
Use a simple fabric layout with a few thin stitched lines and leave most of the background open. Put a concentrated cluster of bohemian glass beads in the center like a single bright star.
This minimal approach is unique because it shows off the beads as artwork rather than as filling. The open space makes the sparkle stand out more, and it also makes the project quicker to finish.
For practical tips, choose one bead size for the center cluster so it looks even and tidy. Personalize by selecting a center bead color that matches your room’s focal element, like a cushion or artwork frame.
Cost considerations are straightforward because you need a small number of beads for the main cluster. Even a small bag of mixed glass beads can work beautifully if you pick one dominant color for the center.
20. Boho Tribal Arrows With Alternating Bead Stripes
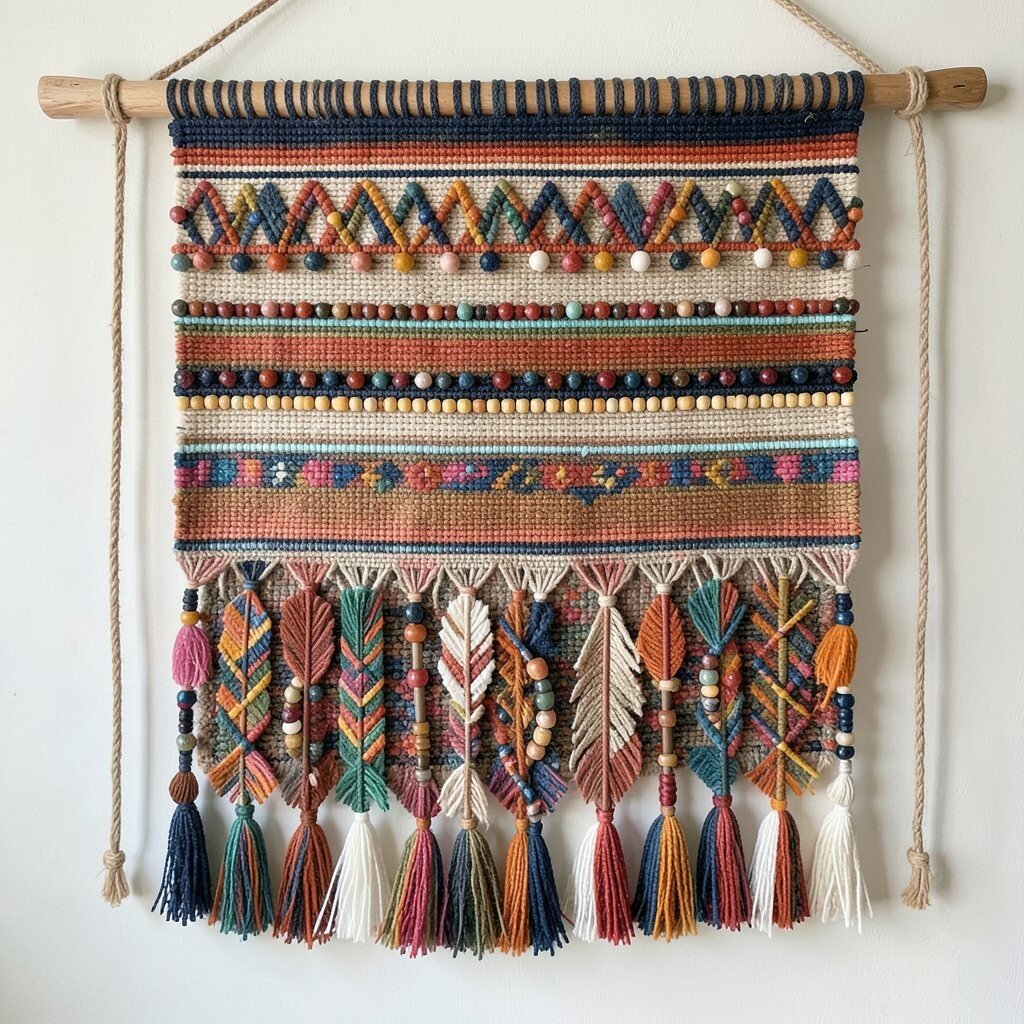
Create arrow shapes using stitched triangles and stack them in rows so they point in the same direction. Add bohemian glass beads to alternate stripes, leaving other stripes mostly thread-only for rhythm.
This tribal style looks strong and structured, and the bead stripes help your pattern feel dimensional. The uniqueness comes from mixing strong geometry with light-catching glass accents instead of covering everything evenly.
For practical making, keep your arrows aligned by using a straight edge to draw the triangle guides. Personalize by changing stripe color pairs to match your home, like black and gold for a glam vibe or cream and teal for a calmer feel.
If you are budgeting, use your best beads for the stripes that will sit in the brightest areas of your wall. Place simpler beads where they will be less noticeable, such as near the edges or under shadow.
21. Winter Crystal Halo With Layered Bead Stacks
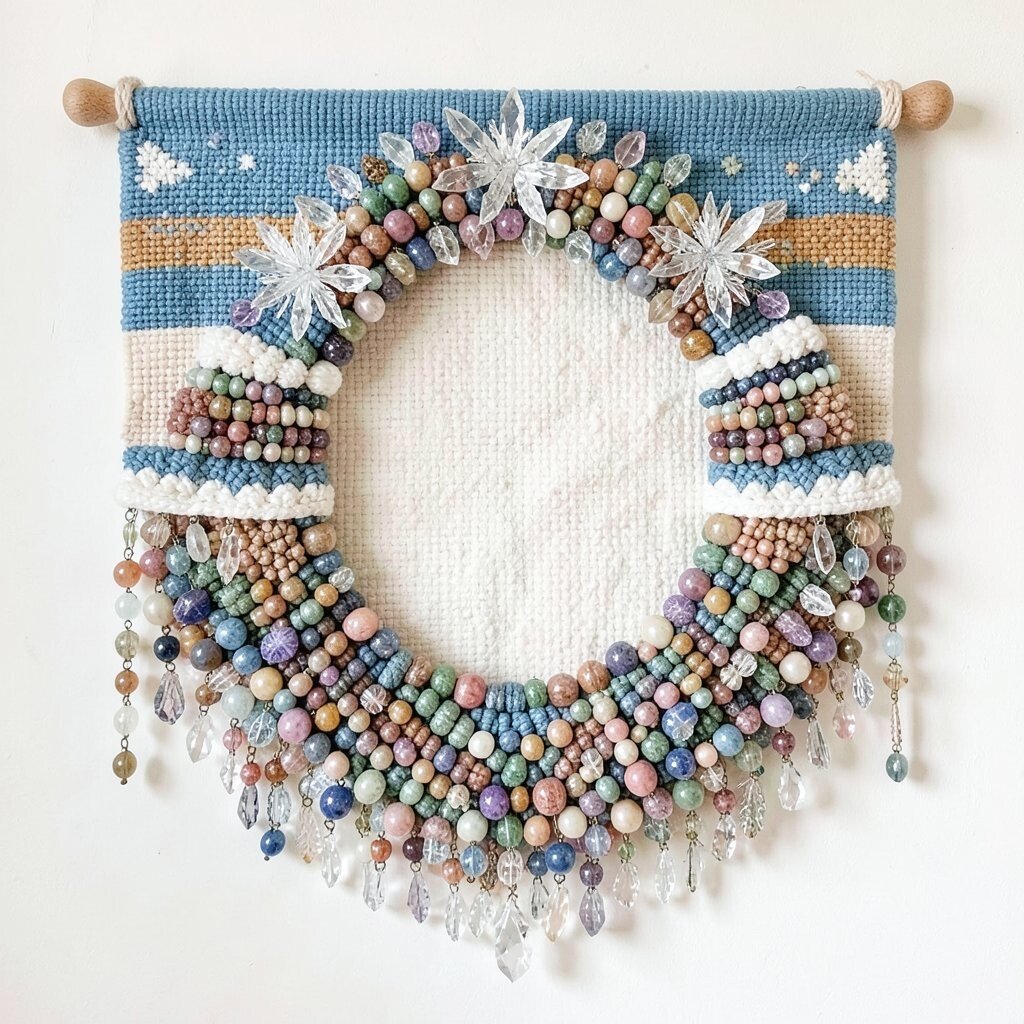
Stitch a circular or oval halo shape near the top of your fabric. Layer beads in arcs so they look like stacked crystals, using clear beads and a few pale blues for depth.
This design feels dreamy and unique because the bead layers create a glass-like shine rather than just a flat pattern. It also works beautifully for seasonal decor, especially when you want something elegant but not too heavy.
To keep it practical, work from the outer arc inward so each layer has a stable starting point. Personalize by adding one tiny metallic bead accent where the halo “glints,” making the piece feel like it has a focal moment.
Cost considerations can be managed by using mostly clear beads for volume and reserving any specialty colored beads for the most visible arc. When you hang it in good light, the layered sparkle will do the rest.