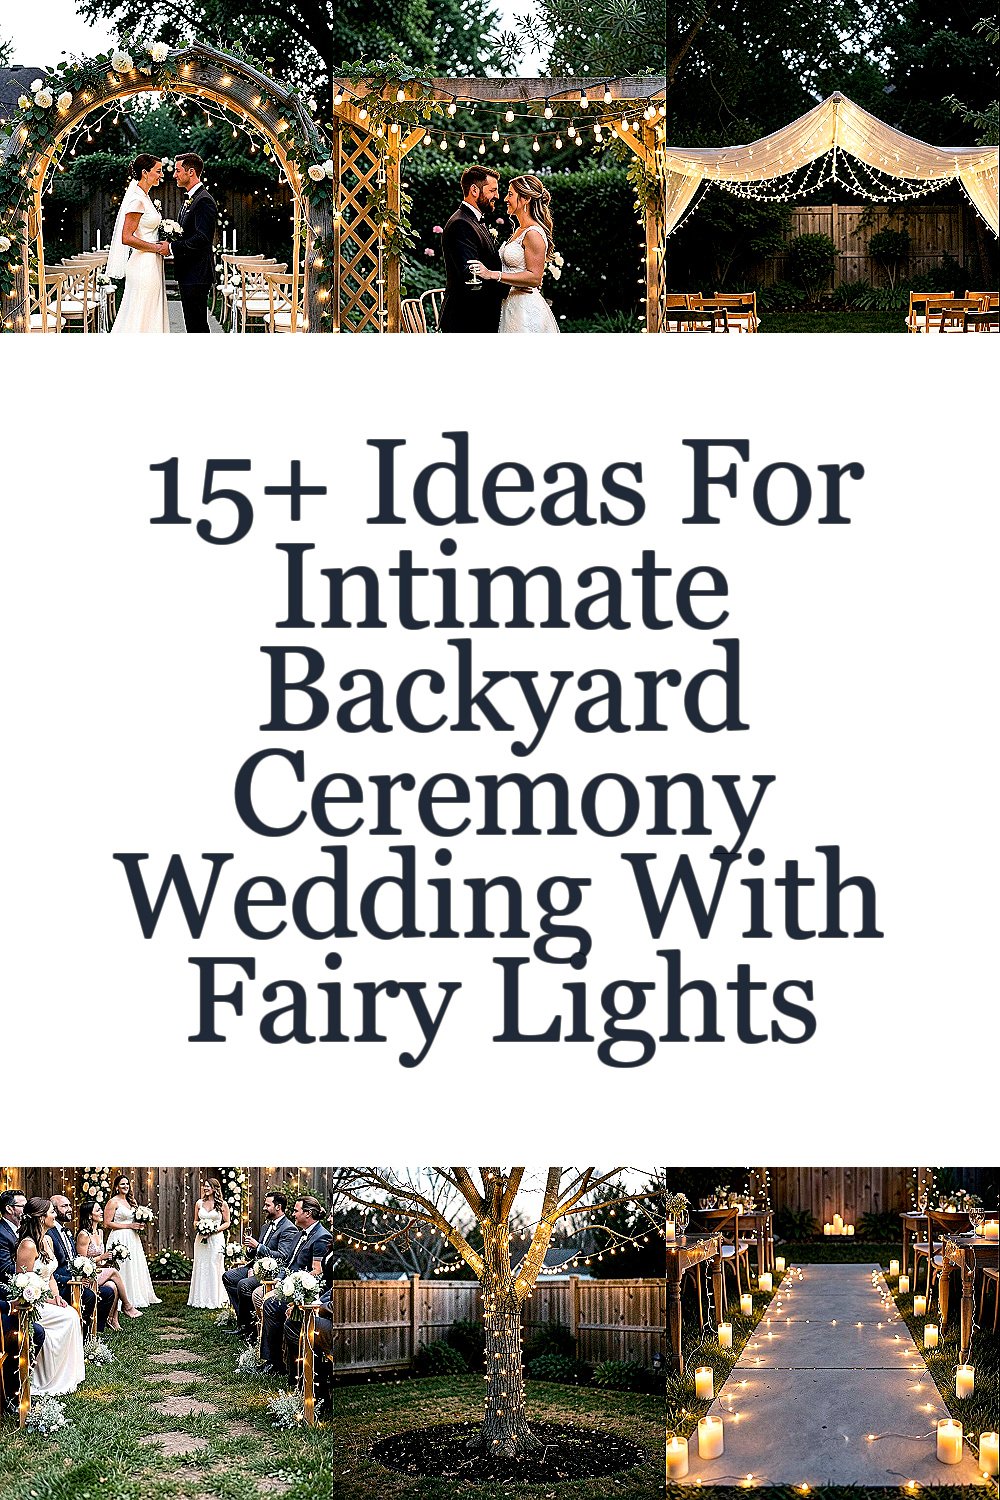
The backyard has a magic way of making everyone feel close. Fairy lights add a soft glow that turns simple moments into lasting memories.
From cozy lighting to thoughtful layout choices, you can shape a ceremony that feels personal and easy to enjoy. Keep reading for ideas that feel warm, doable, and full of charm.
1. Whimsical Entry Path With Soft Fairy Light Arches
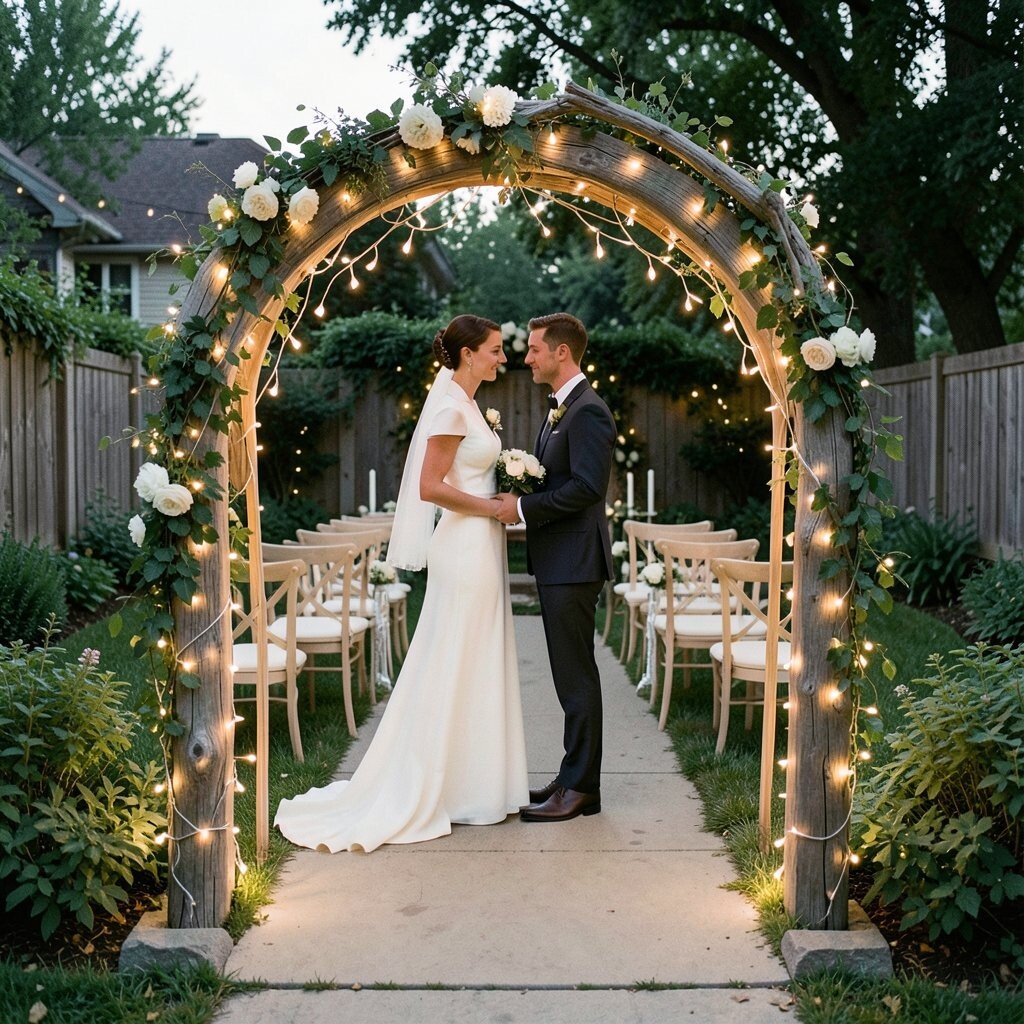
Line a walkway through your yard with gentle fairy lights that create little glowing arches as guests approach. The visual effect is dreamy, like stepping into a story, and it also helps people find the way after sunset.
Choose battery-powered lights if you want fewer cords and less worry about outlets. Add a few low potted plants or lanterns along the path so the glow looks intentional, not scattered, and consider using zip ties or hooks rated for outdoor use to keep strands straight.
2. Candle-Like String Lights on Garden Lattice
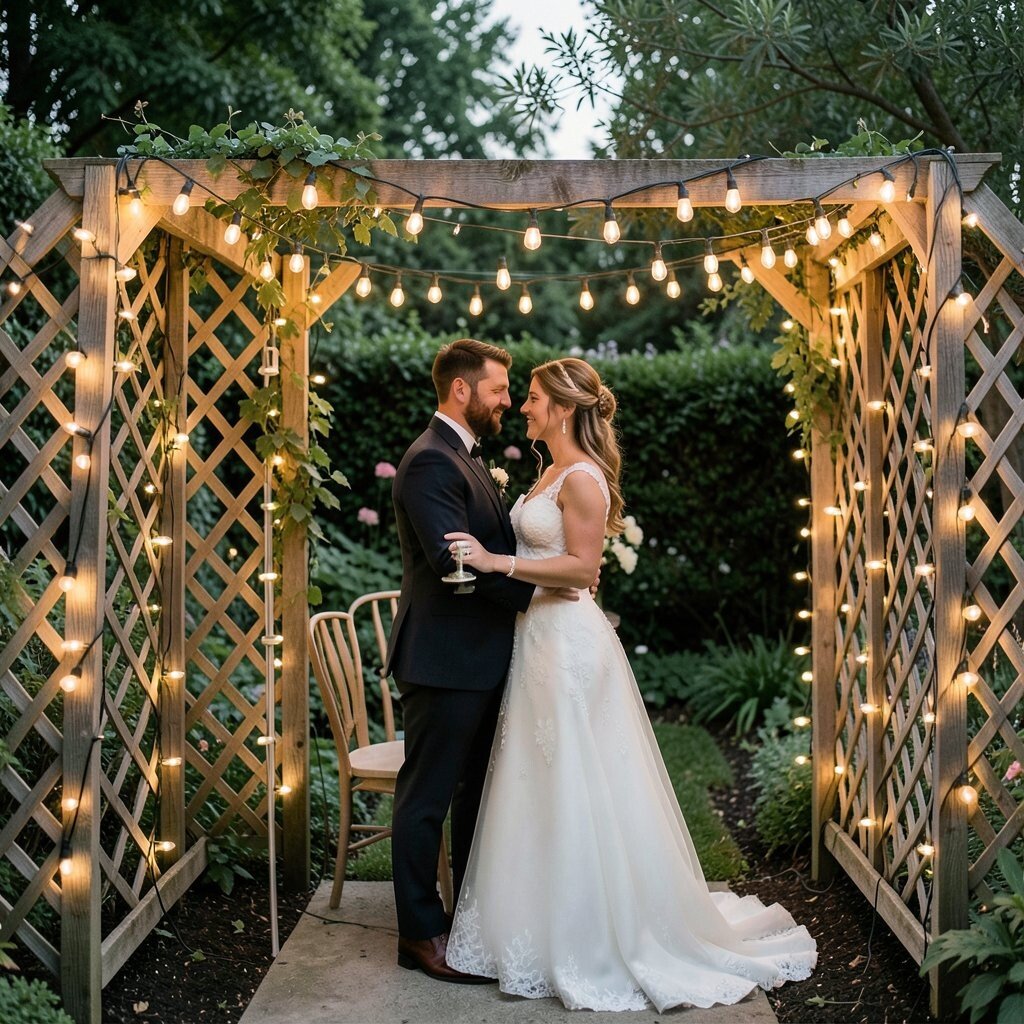
Hang fairy lights on a garden lattice, arbor, or sturdy fence panel for a backdrop that looks like flickering candlelight. This setup frames the ceremony space nicely and gives photos a warm, cozy background.
Use warm white or amber bulbs to make skin tones look flattering, and drape the strands with a little slack so they look soft instead of rigid. For practical comfort, keep the lights away from fabric that can move in the breeze and test the reach so the power source is easy to manage.
If you rent or borrow lattice pieces, you can move them in place and reuse them later for parties. A simple color theme like sage, blush, and ivory will look extra elegant against the glow, and you can keep costs lower by using what you already have in your yard.
3. A Fairy-Light Canopy Over the Seating Area
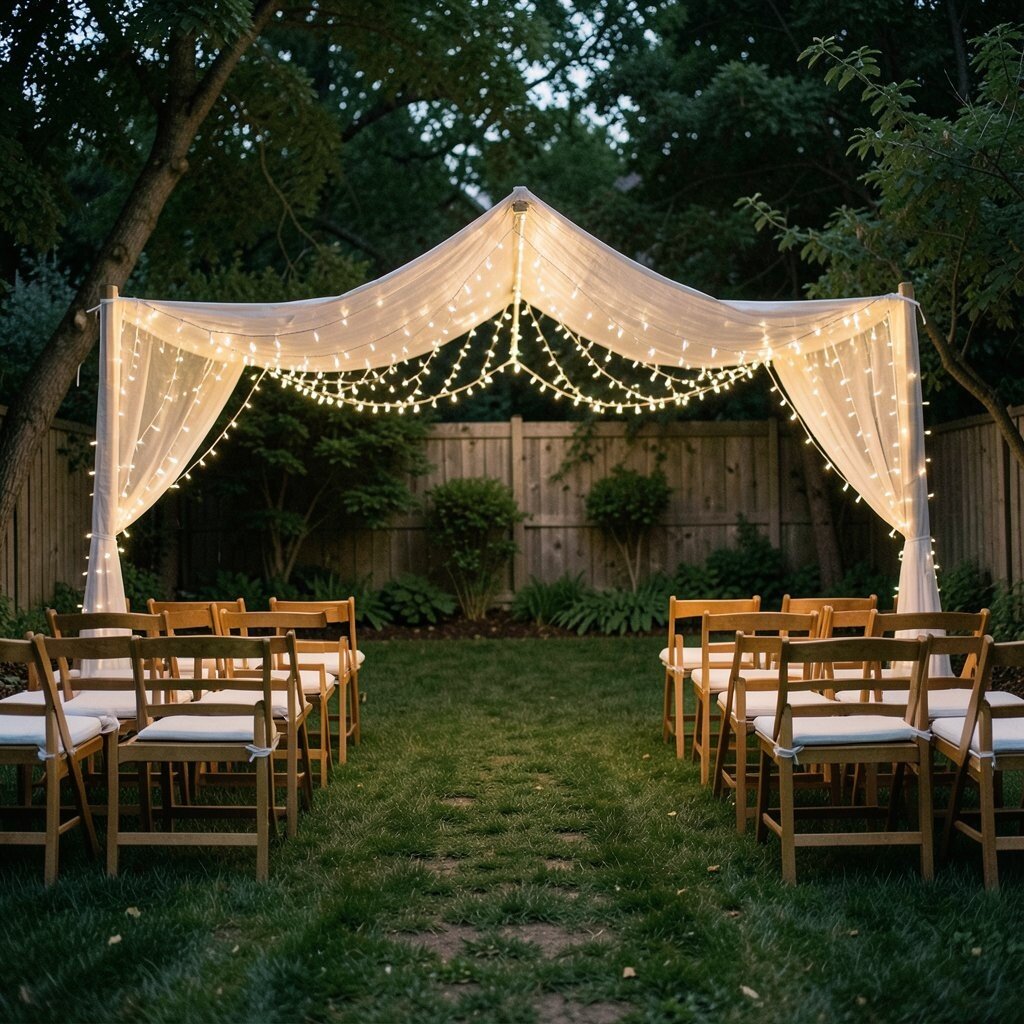
Create a canopy effect by suspending fairy lights above the chairs, letting them drape in gentle curves. Guests will feel like they’re sitting under a soft sky, and it also hides overhead imperfections like bare beams or uneven branches.
String lights between two secure points such as posts, strong tree limbs, or a freestanding frame with sandbags. To personalize the look, weave in a few greenery garlands or small cloth ribbons that match your wedding colors, and keep the wire spacing consistent so it photographs cleanly.
For budget planning, compare bulb types and lengths, because longer strands can sometimes be cheaper per foot than multiple short sets. If you want the most control, use a light set with multiple modes so you can choose steady glow for ceremony and brighter sparkle for after.
Just be sure to use outdoor-rated lights and keep connections elevated and protected from damp ground.
4. Simple Flower Runner With a Glow Along the Edges
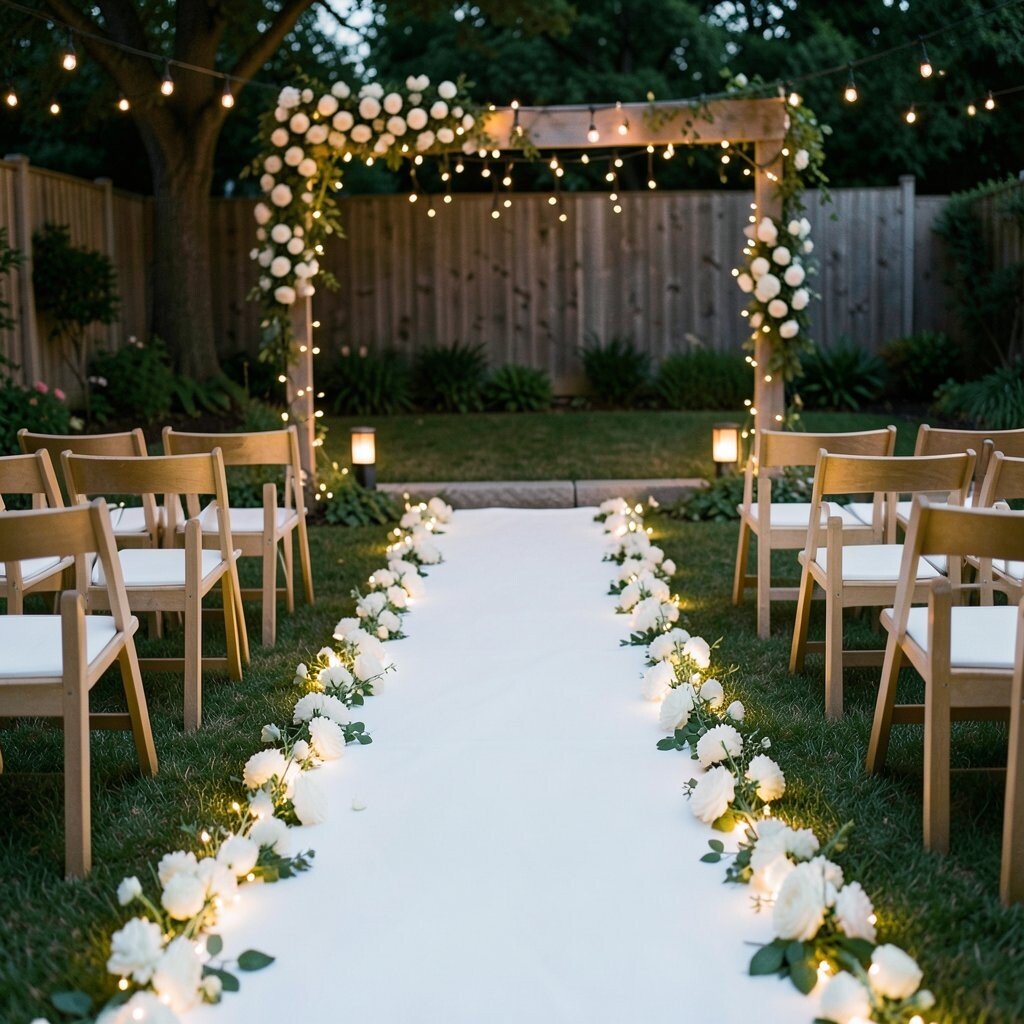
Instead of a big aisle, place a narrow runner made from greenery or fabric down the center and add fairy lights along its sides. The look feels intimate and romantic, and it gives structure to your ceremony without needing a full stage build.
Choose blooms that fit your backyard seasons, like wildflower blends, garden roses, or seasonal greenery, and place them in small clusters so it looks relaxed. Keep costs in check by mixing fresh flowers with inexpensive filler like baby’s breath or faux greenery, then swap out only the most visible pieces for the most impact.
5. Photo-Ready Ceremony Corner With a Lighted Backdrop
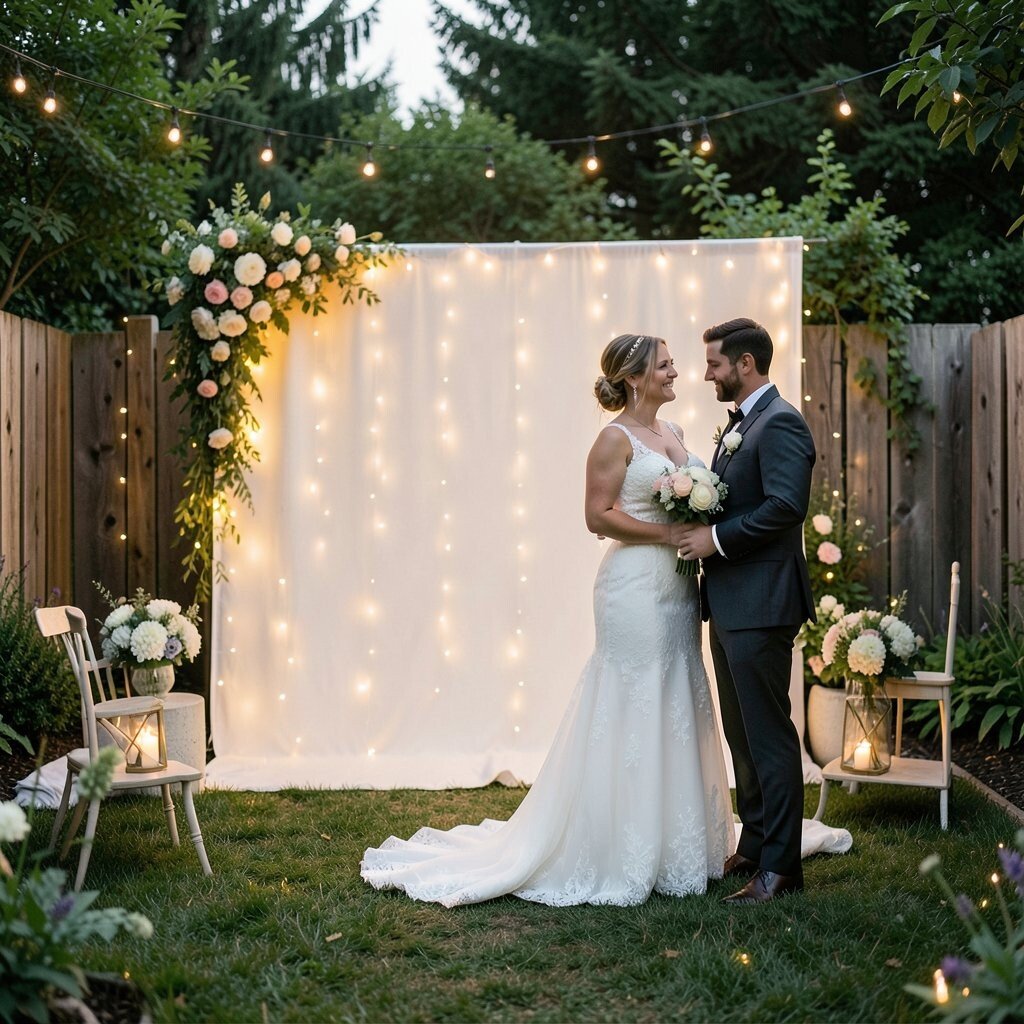
Designate one cozy corner behind the officiant and the couple with fairy lights forming a soft halo shape. This becomes the main photo spot, and the gentle glow makes every picture feel like a memory.
Hang lights in a loose “V” or arch pattern and add a few elements that feel like you, like a vintage window frame, a neat curtain panel, or a small sign with your names. For practical setup, position the backdrop where guests won’t block it, and place an extra lamp or spotlight for when the evening gets darker.
If you’re keeping things simple, use one strong backdrop feature and skip extra decorations around it. That one feature can do the work of several expensive purchases, especially when you add candles or lanterns that reflect the light.
6. Lantern Grouping on the Ground With Fairy Light Sparkle
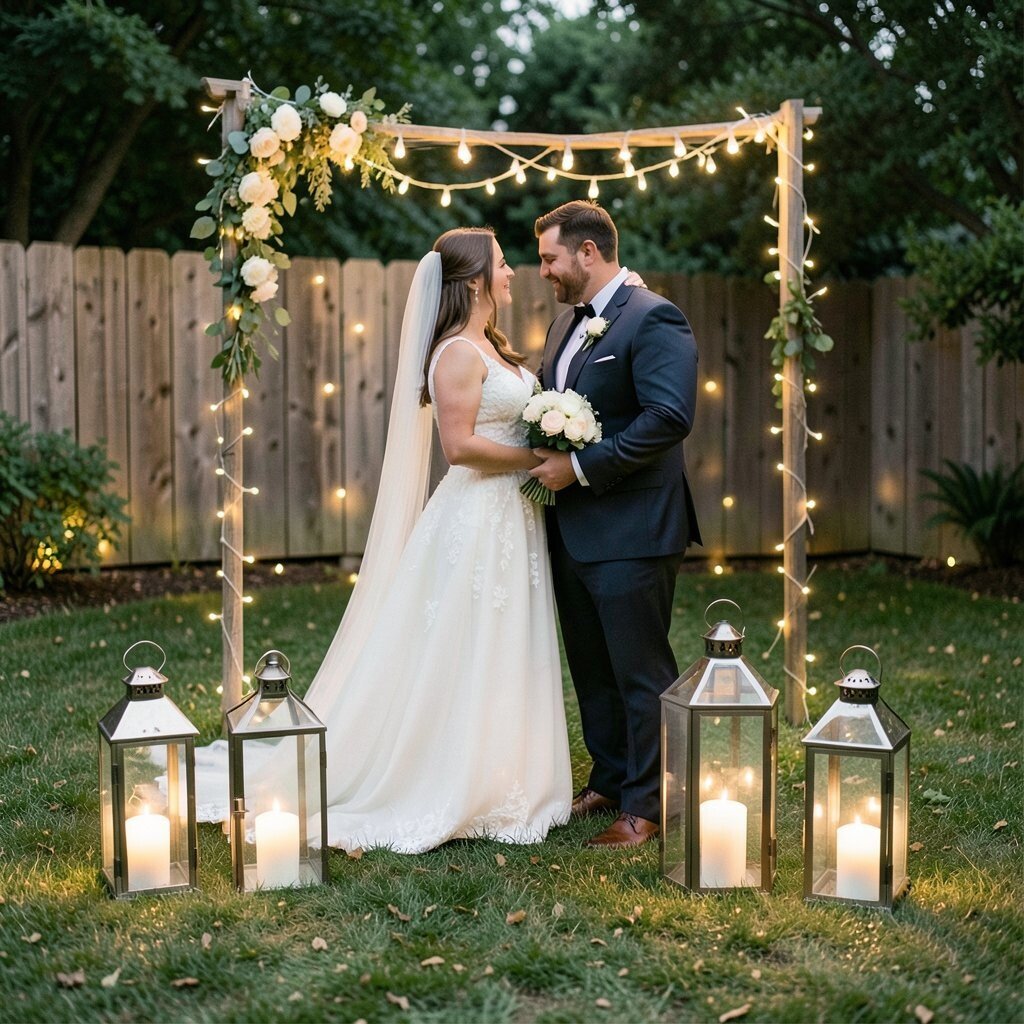
Cluster lanterns along the perimeter of the ceremony area and let fairy lights echo their warmth. It creates a layered look that feels special, and it guides guests’ eyes toward the center.
Pick a mix of sizes so it looks collected, not identical, and fill lanterns with battery candles for a safer glow. If you want a personal touch, add small tags with handwritten dates or place a few family photos near the entrance after the ceremony.
For cost, consider thrift stores and yard sales for lanterns, then refresh them with spray paint or simple ribbon. The fairy lights become the “sparkle” while lanterns add height, and together they make the space feel full without heavy spending.
Keep the lantern bases on stable surfaces to prevent wobble when guests move around.
7. Fairy Lights Woven Into a Bridal Party Seating Banner
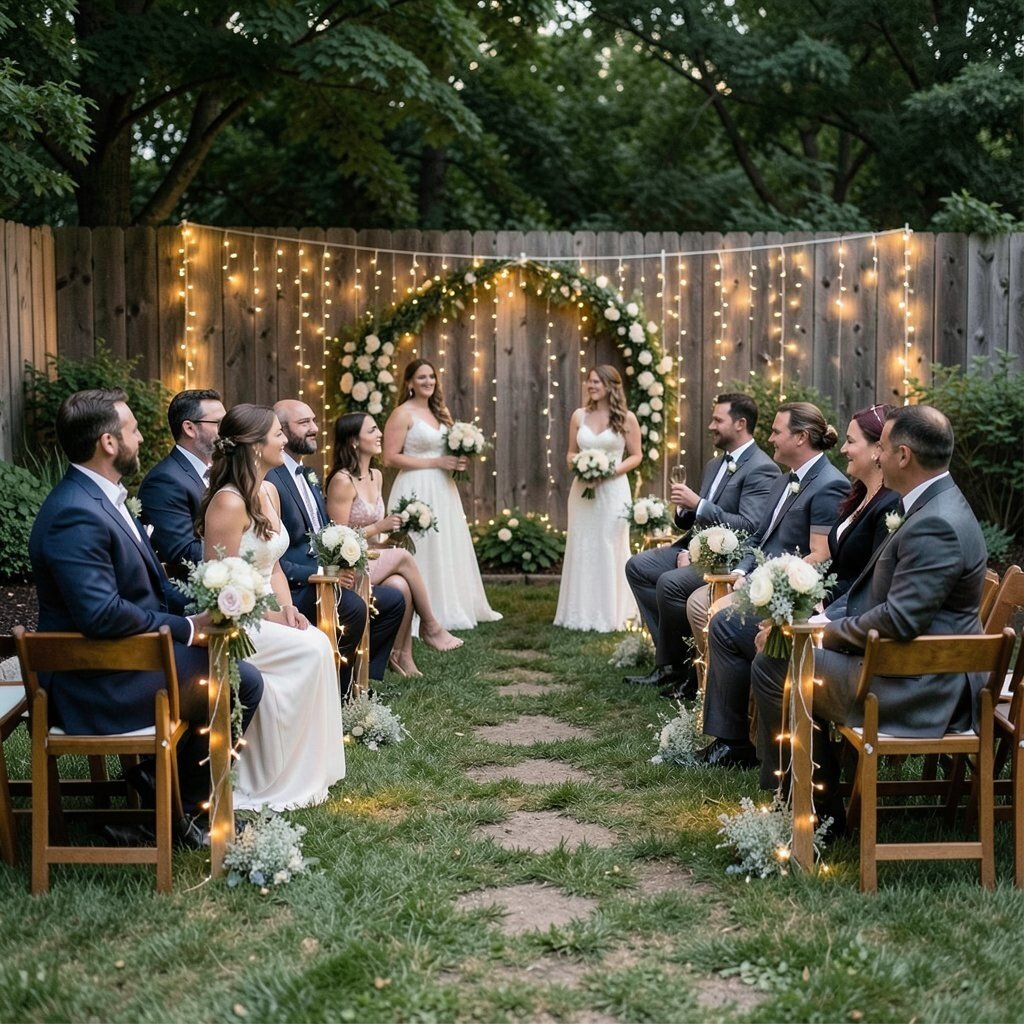
Make your seating area feel like part of the design by weaving fairy lights into a fabric banner or backdrop strip behind the seats. This gives the bridal party a cozy focal point and makes the ceremony feel styled even with minimal florals.
Use a neutral fabric like linen or soft tulle, then string lights through small loops so the banner stays light. Try adding a few embroidered or printed details that match your theme, such as simple heart shapes or tiny sprigs, to keep it personal without extra bulk.
To avoid last-minute stress, measure the seating span beforehand and test the battery life if you’re using portable lights. If you’re cost-conscious, focus the lights where people sit closest to the camera and keep other areas more natural.
8. Twinkle Lights Around a Bare Tree for a Natural Look
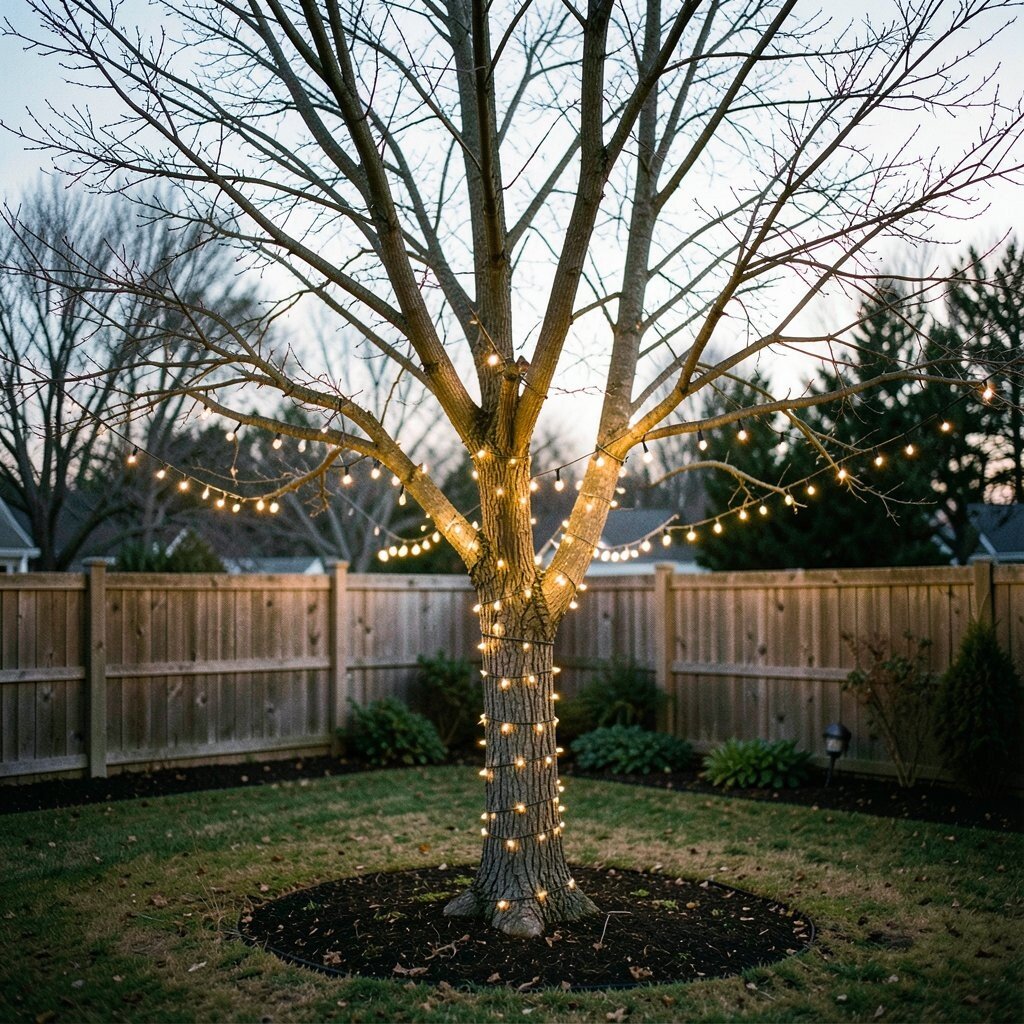
Let a tree be your centerpiece by wrapping fairy lights around the trunk and key branches. This keeps the backyard vibe authentic and makes the lighting feel grown into the space rather than added on top.
Use warm white lights and keep the wrap gentle so branches still look like branches. If you have birds, keep an eye on where lights sit so nothing tangles, and secure carefully so the strands don’t slide as the wind moves.
This idea is budget-friendly because you may not need many extra decorations. Personalize with a few dangling photo frames or small fabric bows that carry your color palette, and you can reuse the same tree setup at future gatherings.
9. Floating-Glow Pathway Using Tabletop Candles and Fairy Light Trim
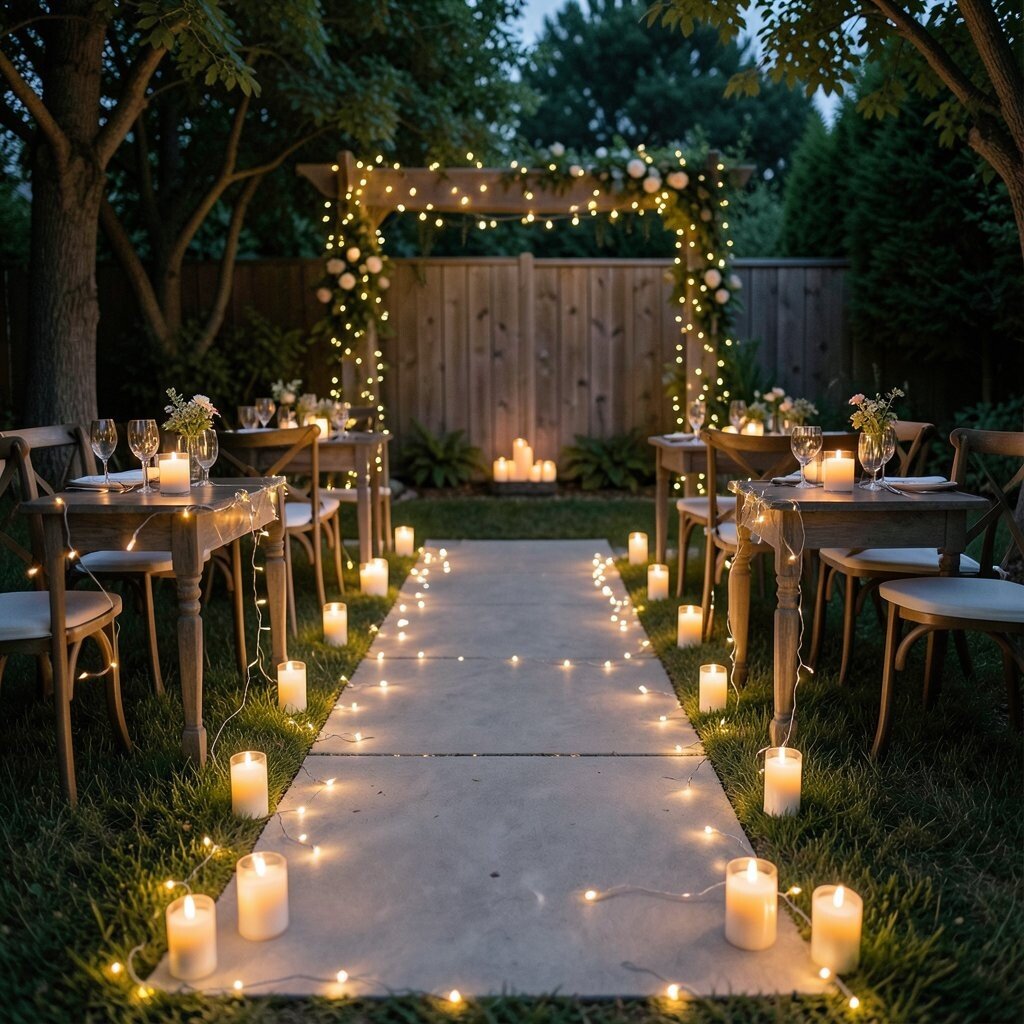
For a subtle, modern feel, create a pathway using low tabletop candles set along the ground with fairy lights trimmed around them. The visual effect is “floating glow,” and guests love how it looks in motion as people walk toward the seats.
Use shallow trays or small planters to keep candles stable and keep wires out of foot traffic. Add a few small stones or wood slices around each candle base to keep everything neat and to help prevent sinking into soft soil.
To control costs, buy candles in bulk only if you already know you’ll reuse them. Otherwise, rent or borrow candle holders from friends, and use fairy lights as your main sparkle so the rest stays simple.
Make your personalization easy by choosing candle colors that fit your theme, like cream, champagne, or soft blush tones.
10. Seating Area “Constellation” Lights With Stars and Dots
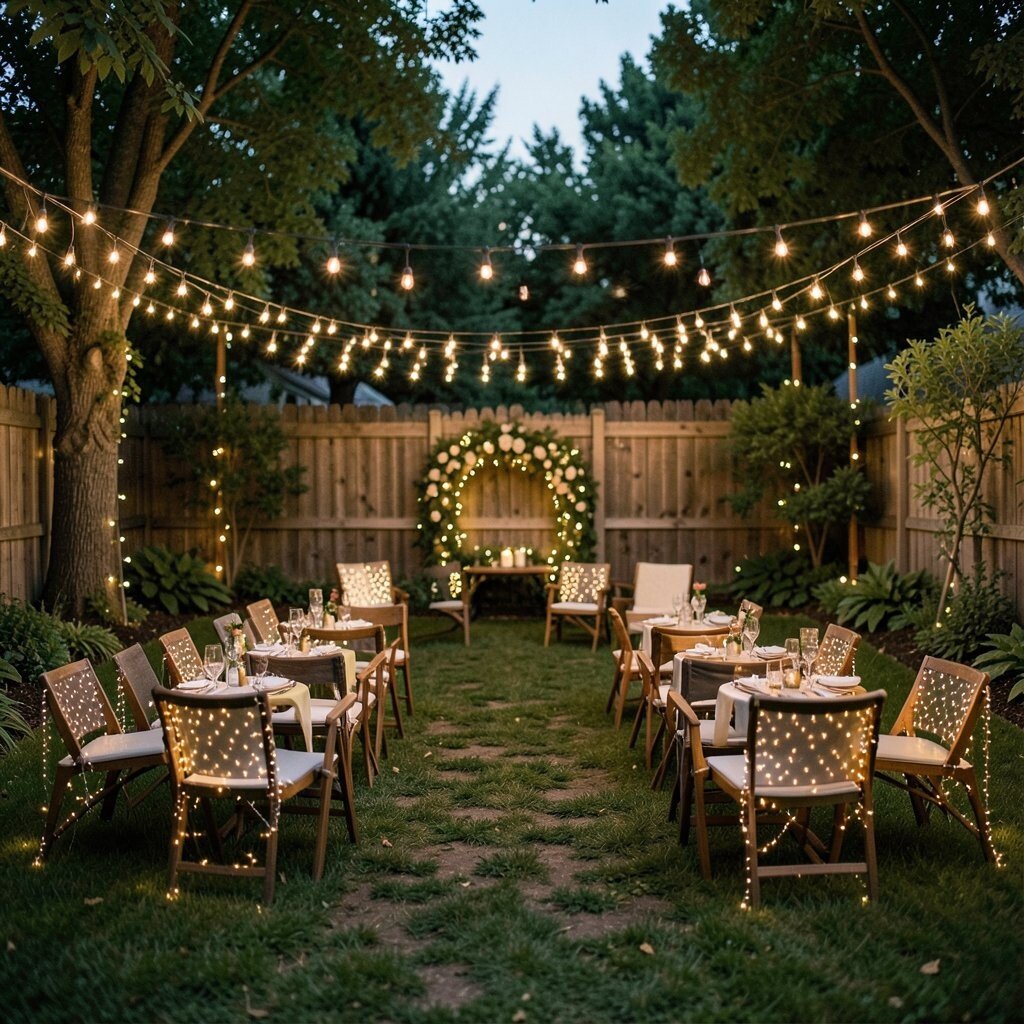
Turn fairy lights into a constellation by hanging small clusters above chair backs and letting them fall in scattered dots. It looks playful and magical, and it also helps define space without a big structure.
Choose fairy lights with different sizes of bulbs or add star-shaped warm lights to create that night-sky effect. If you want a clean look in photos, keep the clusters mostly concentrated in one zone so the background doesn’t get too busy.
For a practical touch, secure the hanging points with removable hooks so nothing damages trees or fences. The uniqueness is in the “pattern,” so plan where the brightest bulbs will land relative to your ceremony spot.
11. Fairy Light Curtain Behind the Officiant for a Soft Frame
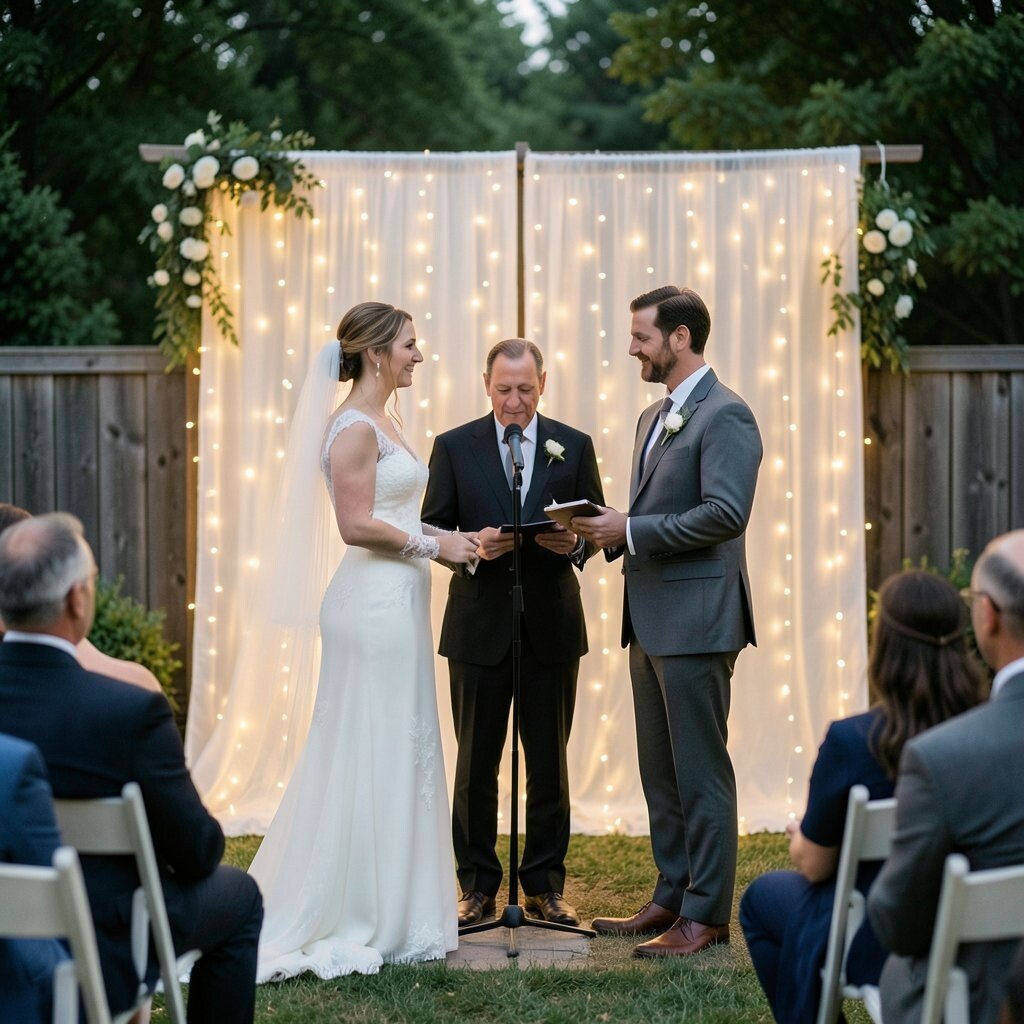
Create a curtain effect by letting fairy lights hang like shimmering strands behind the officiant. This gives you an instant frame that makes the couple look centered, even in casual backyard lighting.
Use a lightweight mesh or tension rod to hold the strands, then let them drape naturally so it doesn’t look stiff. Add one greenery loop or a minimal floral ring so the light has a “home” and doesn’t look like it’s floating alone.
Cost considerations are easy here because a single curtain backdrop can replace several decorative props. For personalization, tie tiny pieces of fabric ribbon to the bottom edges so it feels tailored to your wedding colors.
Keep everything away from open flames if you also use candles, and test brightness ahead of time so it isn’t too strong for the ceremony.
12. Low-Keel Candle Tables With Fairy Lights Under the Table Edge
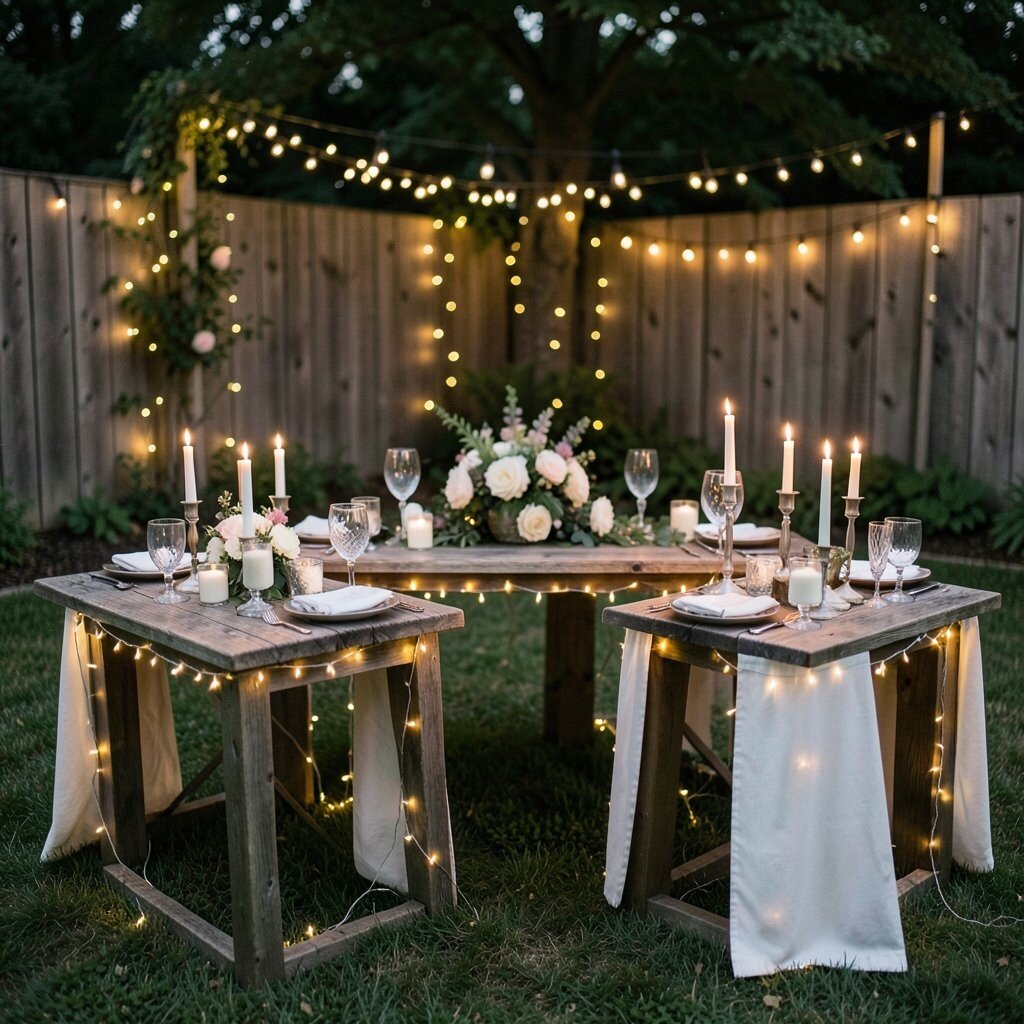
Make your ceremony area feel lush by using small tables and placing fairy lights underneath the table edge. The glow reflects off table surfaces and creates a gentle, upscale feel without building a stage.
Use battery fairy lights with a warm setting and place them so guests can’t see the wires directly. Add a few meaningful items on top, like family heirloom bud vases, handwritten place cards, or a simple monogram plate.
This idea helps with benefits beyond looks because the lighting makes it easier for guests to read programs or follow the flow of the ceremony. If you’re on a tight budget, borrow tables and focus spending on the few visible table details that show up best in photos.
13. Glow at the Altar With Fairy Lights in a Simple Floral Arrangement
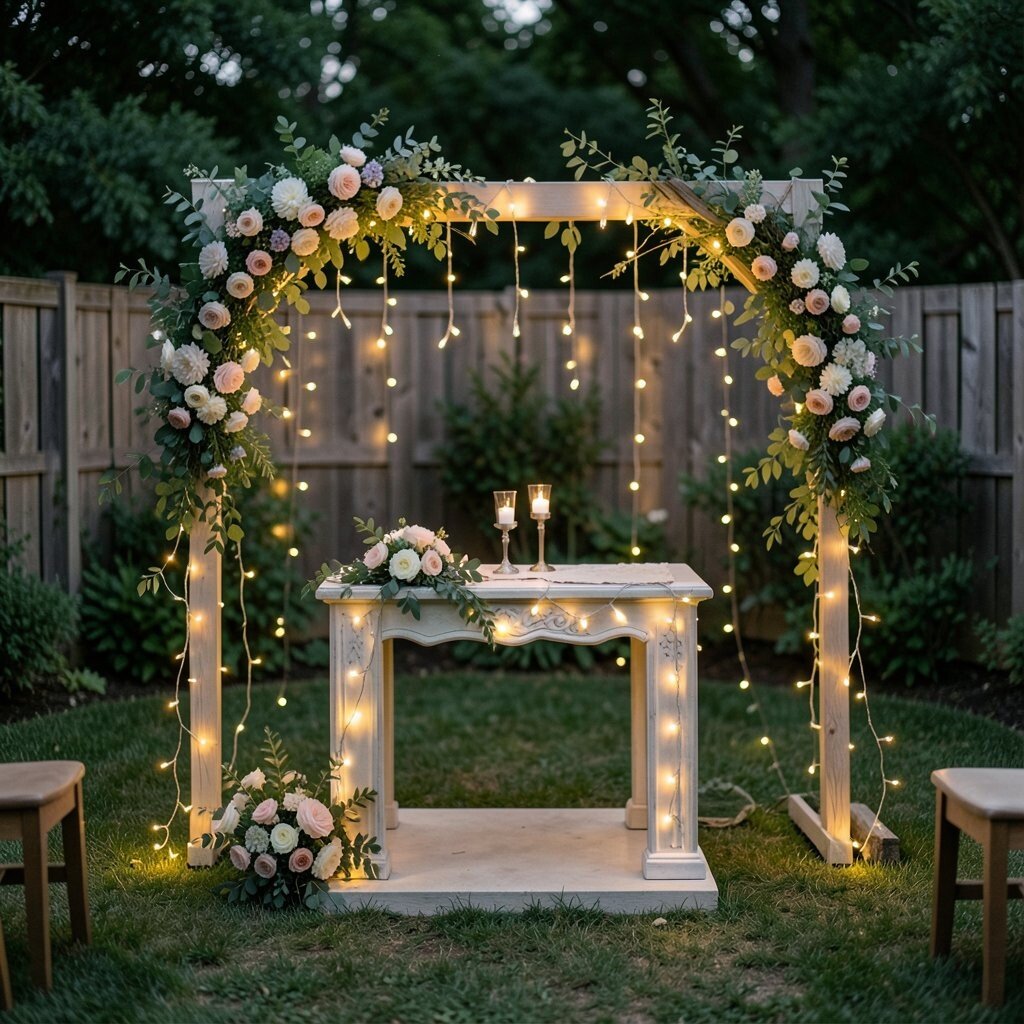
Put fairy lights inside a low floral arrangement or around a planter used as your altar base. This makes the centerpiece of the ceremony feel alive and adds sparkle that looks magical without being overwhelming.
Choose a safe LED set and keep the battery pack hidden in a basket, tray, or planter so the setup stays neat. For a personal touch, tuck in small keepsakes like a charm, a tiny ribbon tied to a vow book, or a seed packet with a special date.
The uniqueness comes from how the lights blend with the flowers, so pick blooms and greenery that can handle warm lighting, like eucalyptus, ivy, or silk leaves. Cost can stay reasonable by using one major arrangement instead of many small ones throughout the yard.
Secure the arrangement so it doesn’t shift when someone walks near it.
14. Fairy Lights on Chairs and Aisle Ends With Matching Ribbon Ties
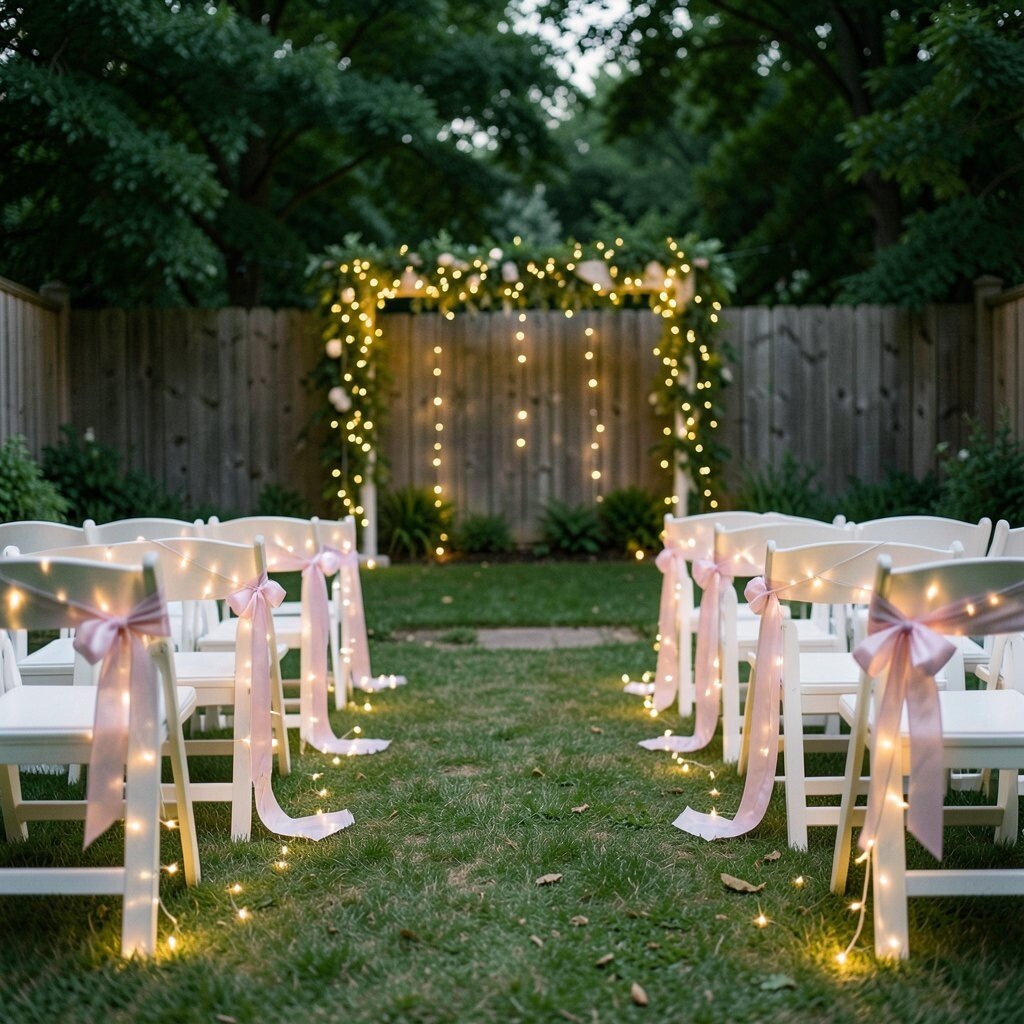
Dress up the ceremony seating by wrapping fairy lights lightly around chair backs or at the aisle ends. It makes the space feel styled from every angle, not just from the front, and it keeps the look consistent across the photos.
Use thin ribbon ties in your color palette to hold lights in place, then fluff nearby greenery for a soft effect. If you want an easy rule, keep the lights at chair height so the visuals look balanced and not tangled at head level.
For personalization, include small ribbon messages, like “Together” or a meaningful date, written on tags that guests can take home later. Cost considerations are simpler when you already have chairs because you can build the look mainly with ribbon, lights, and a little greenery.
Check that battery packs are hidden and that no cords cross pathways.
15. Outdoor Sound-and-Light Moment With a Focused “Twinkle” Zone
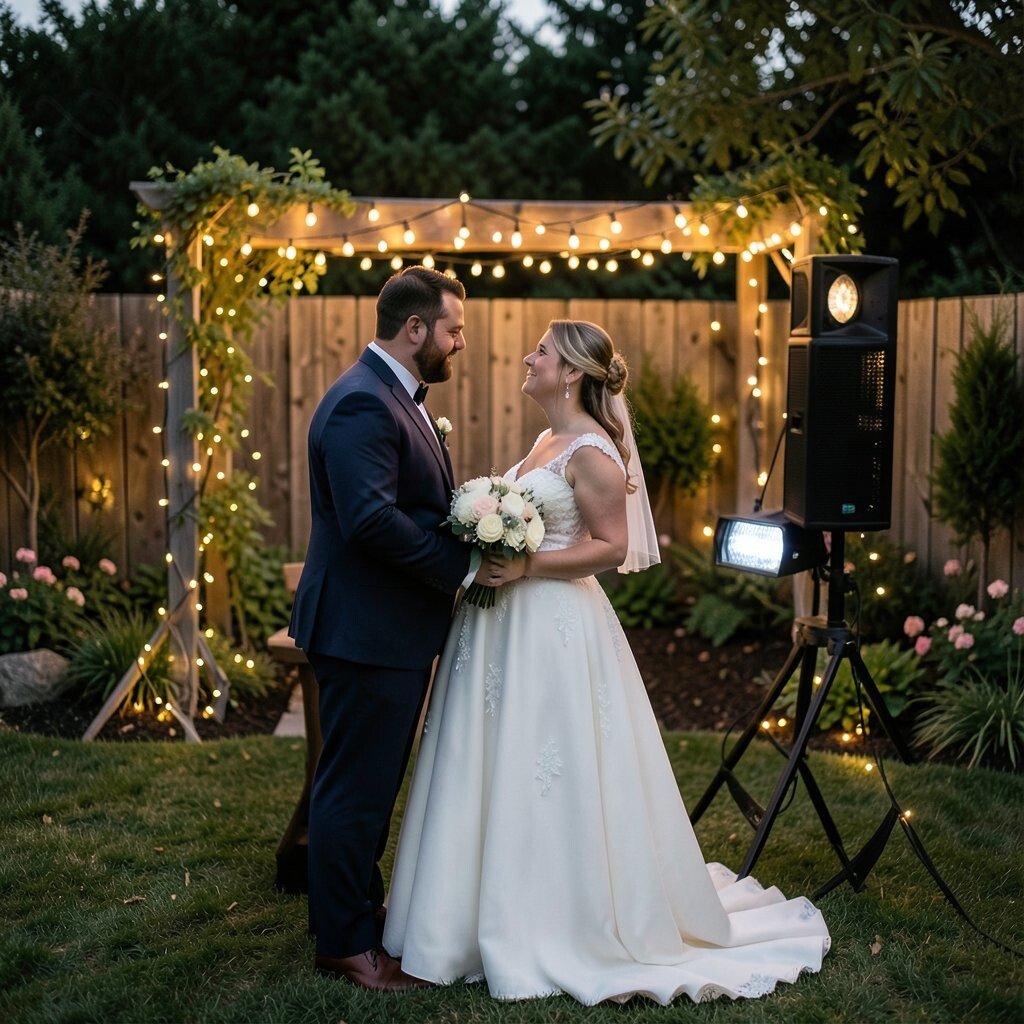
Plan a short ceremony moment where lights become the highlight, like when you walk in or when vows begin. By concentrating fairy lights in a single “twinkle zone,” you make the moment feel more special and help guests notice what matters most.
Use lights with steady mode for the main part, then switch to a gentle sparkle for the emotional scenes. If your backyard is open, aim the sparkle toward the ceremony spot so neighbors don’t get dazzled and guests still feel comfortable.
Personalize this timing with your music cues, like syncing light changes to the first line of your song. This can save money compared to adding extra specialty decor, because the lighting does the storytelling for you.
Consider asking a trusted friend to run the light switch so you can stay focused on the day.
16. Cozy Reception Glow Extension With Fairy Lights Kept in Place
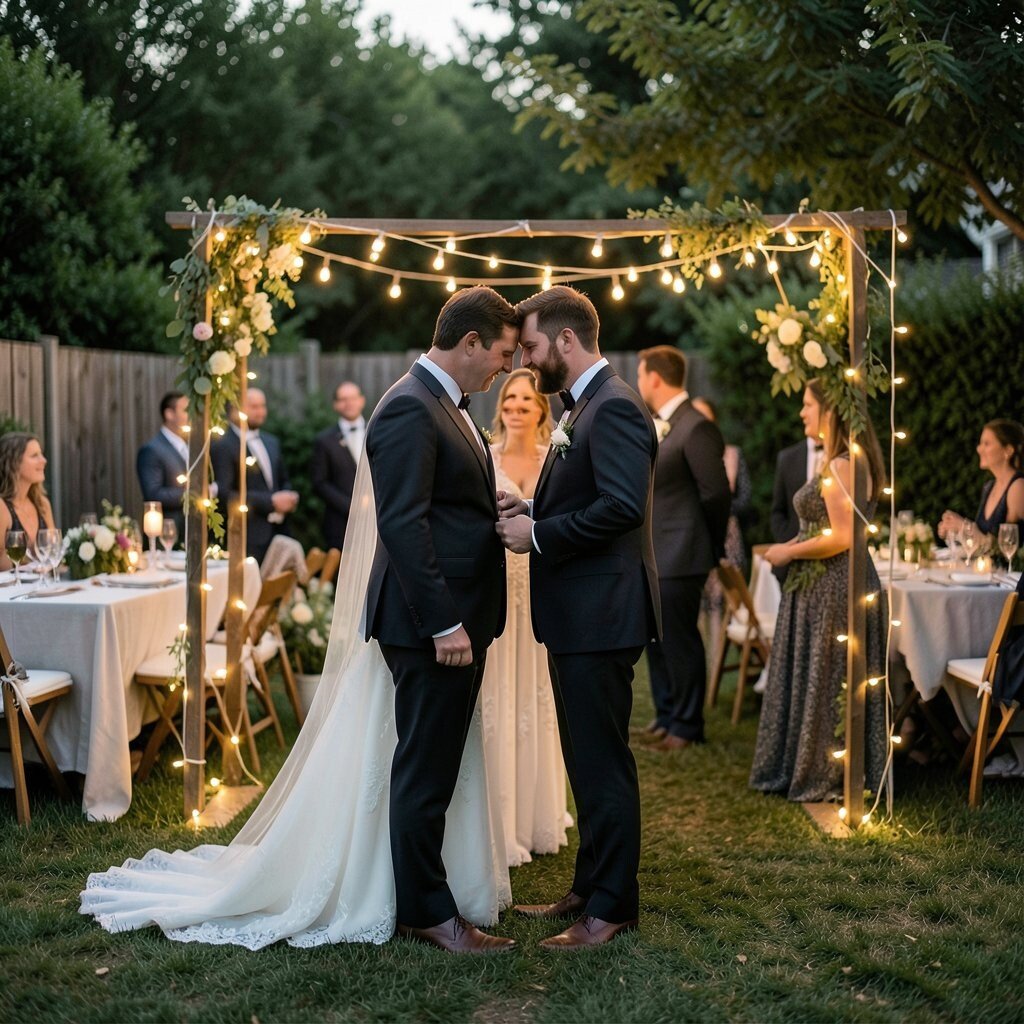
Keep fairy lights up and repurpose the same glow for the reception area, so the night flows smoothly from ceremony to celebration. Guests will love not having to reorient, and you avoid the stress of taking everything down right after the vows.
Shift the lighting emphasis by moving candles, placing bistro lights near food tables, or using lanterns as centerpieces while the same fairy strands stay overhead. For practical tips, keep cords bundled and labeled so you can adjust layout without untangling everything.
This idea is unique because it treats lighting as a living part of your plan, not a one-time decoration. It can also be budget-friendly since you’re using one lighting setup for multiple moments, from warm ceremony photos to lively dinner conversations.
Personalize with a few family-style touches like framed seating charts near the glow or a small dessert station that matches your fairy light warmth.