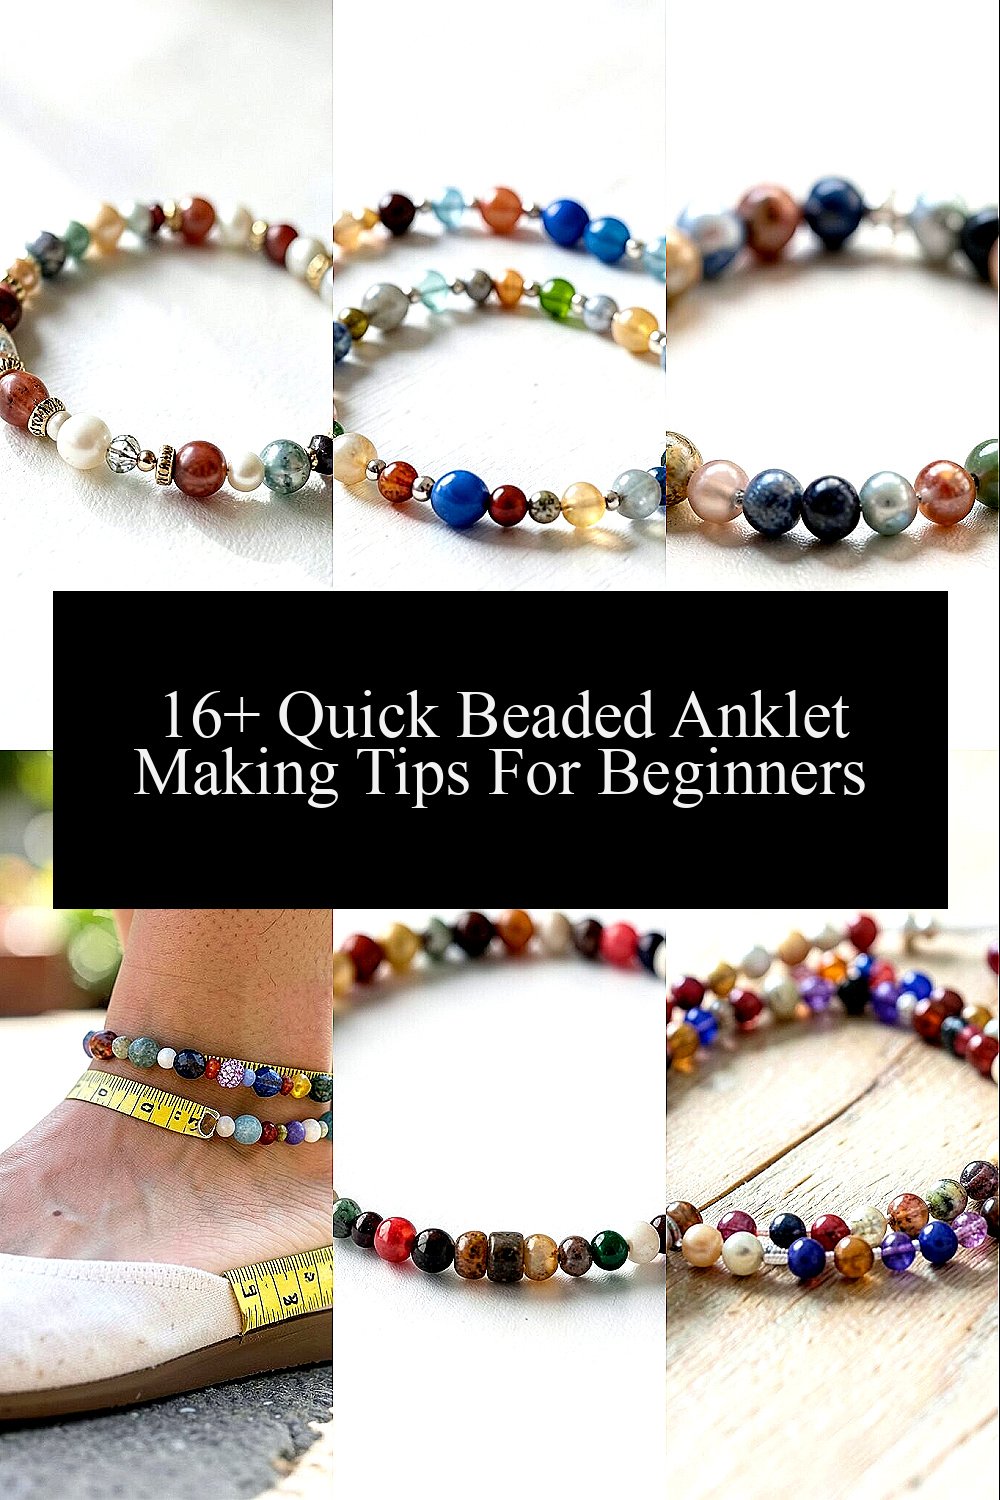
Your next favorite accessory is closer than you think. Tiny beads, simple stringing, and a little patience can turn into something you’ll want to wear every day.
1. Pick a Style That Fits Your Day

Start by picturing where you’ll wear your anklet most. A casual look pairs well with small beads and soft colors, while a dressier vibe can use shiny finishes and tighter spacing.
When you choose a style early, every later decision feels easier. You’ll also avoid wasting materials on designs that don’t match your outfits.
2. Gather the Right Supplies Before You Start

Lay everything out on a clean surface so you don’t keep stopping mid-project. Common basics include seed beads, an anklet clasp or tie method, stringing material, and a pair of small scissors.
Pick tools that feel comfortable in your hands, like needle-nose pliers if you’re using a clasp. With the right setup, your work stays tidy and your beads line up better.
Even small comfort upgrades matter, like good lighting and a bead tray or shallow bowl. If you’re watching cost, buy bead varieties in small amounts first, then expand once you know what you love.
3. Choose Beads That Handle Beginner Mistakes

For an easy start, look for beads with consistent sizes. Seed beads and smooth glass beads often behave well during stringing, and their shapes help your pattern stay even.
As you string, you’ll notice that uniform beads reduce frustrating gaps and wonky spacing. That means your anklet looks polished faster.
To make your piece feel special, mix in a few focal beads like tiny stars, hearts, or small metallic accents. These add personality without turning the project into a complicated design.
If you want something trendy, think about natural tones like sandy beige, ocean blue, and warm terracotta. They pair nicely with summer sandals and also look great with neutral outfits.
4. Measure Your Anklet Like a Pro

Wrap a soft measuring tape around your ankle where you want the anklet to sit. Add a little extra length for comfort and movement so it doesn’t feel tight after you walk.
If you don’t have a tape, use string, mark it, then measure against a ruler. This simple trick helps you avoid making it too short.
Remember that some beads and knots add bulk, especially if you add charms. A slightly longer fit is usually better because you can adjust later with a clasp or extender.
5. Start with a Simple Pattern Rhythm

Begin with a basic repeating sequence so your brain doesn’t have to work too hard. For example, alternate two bead colors or repeat one main bead followed by two small beads.
That steady rhythm helps your strand look neat and balanced. It also makes it easier to fix a mistake because you can see the pattern clearly.
Try a pattern that matches what’s in your closet, like a color combo found in your favorite shirt. Personal choices like that make your anklet feel like it belongs to you, not a random craft store find.
6. Use the Right Stringing Material for Durability

Choose stringing based on how you want your anklet to wear. Stretch cord is quick and comfy, while beading thread can create a sleeker, more controlled look with knots at the right spots.
If you plan to wear your anklet often, durability matters more than you might think. A sturdy cord helps it survive everyday movement, little snags, and repeated handling.
For cost reasons, you can test with a small amount of material first. Once you see how it performs, you can buy a matching supply for future projects.
7. Practice Your Knotting and Finishing

Plan how you’ll end your anklet before you run out of beads. If you’re using thread, a strong knot plus a small amount of glue can keep everything secure when it dries.
For cord designs, you may prefer a double-knot style that holds tension well. Smooth finishing prevents frayed ends and helps the anklet lie flat.
Finishing is where “almost done” becomes “looks store-bought.” Take a little extra time so your final loops or clasp placement feels tidy and confident.
8. Add a Charms or Focal Bead for Instant Personality

One standout charm can make a simple anklet feel like a signature piece. A tiny pendant, a small coin charm, or a single bead in a special shape draws the eye.
Place your focal bead near the center of the ankle so it’s easy to see when you wear sandals. This small location choice can make the whole design feel intentional and balanced.
If you want uniqueness without much effort, use a charm that matches a hobby or mood. Think about music notes for a playlist lover, tiny leaves for a nature fan, or a mini star for someone who likes a little sparkle.
9. Keep Beads from Sliding and Tangling

When you’re between steps, keep your beads from scattering by working in small batches. A shallow tray helps, and a gentle shake can keep them grouped without rolling away.
If your string starts to tangle, stop and fix it right away. Tangles build up fast and they can cause uneven spacing that’s harder to correct later.
Stringing feels calmer when you slow down and use a consistent motion. Even a beginner gets smoother results when beads move one by one instead of in a rush.
10. Try a Color Story Inspired by the Seasons

Seasonal color stories make your anklet feel fresh and current. Bright beachy blues and sunlit yellows suit warm weather, while earthy browns and deep greens feel cozy and grounded.
Pick a main color you love, then add two supporting shades for contrast. This approach keeps your design from looking random while still feeling playful.
If you want a trending vibe, look for “coastal charm” palettes, micro gold accents, and mixed matte textures. Small changes like adding a matte bead among shiny ones can create that modern look.
Personalization is easy here too, because you can echo your favorite nail polish color or the tones of a scarf you already own.
11. Make a Matching Set with Earrings or a Bracelet

When your anklet matches something else you wear, it instantly looks more put together. Use the same bead colors or a similar charm style to link your accessories together.
A quick matching set also helps you spend wisely since you’ll already have a color plan. You’ll feel proud when your jewelry looks coordinated without needing a big shopping trip.
For uniqueness, swap one element while keeping the rest the same. For example, keep the color palette but choose a different focal charm for each piece so the set feels special rather than identical.
12. Choose Between Tie-On and Clasp Styles

Tie-on anklets are great for beginners because they’re forgiving and simple. You can tie a secure knot and adjust the fit as you go.
Clasp styles can feel more polished and easier to fasten. If you like the look of finished hardware, claps and extenders also help with comfort length.
Think about how you’ll store the anklet too, since a clasp can prevent knots from loosening in your jewelry box. Either way, choose what makes you more likely to actually wear it.
13. Add Spacing for a Clean, Professional Look

Beads look best when spacing stays even across the strand. If your spacing changes, the anklet may look lumpy or stretched in certain spots.
Use consistent tension as you string, and pause to check the line every few beads. Quick checks stop small issues from turning into bigger problems.
Spacing can also change the feel of the anklet, making it airy and light or snug and compact. That’s a fun way to personalize without changing your bead list.
14. Use Stretch Smartly for Comfort
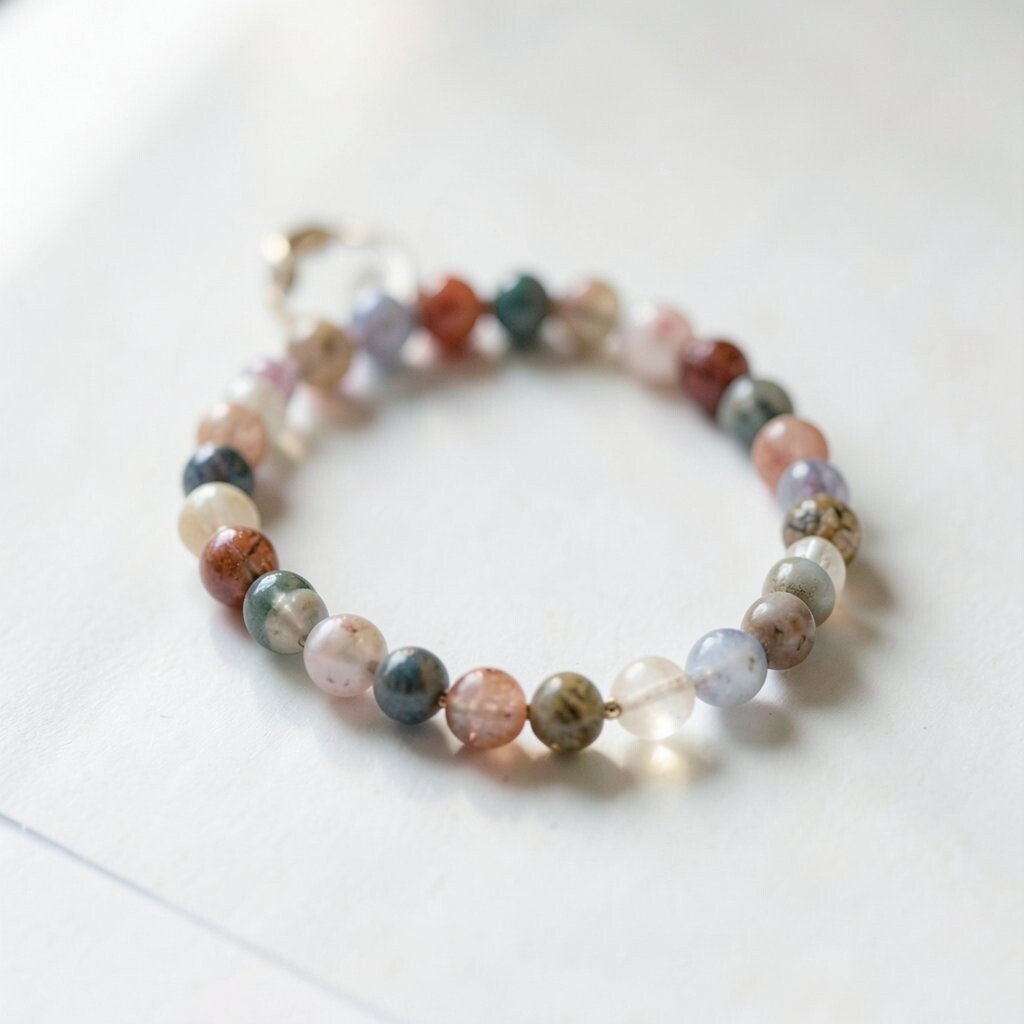
Stretch cord can be super quick because it often avoids extra knots or hardware. Pull it snug enough to hold shape, but not so tight that it restricts movement.
If your anklet feels too tight when you test it, you can redo the cord length. A short fitting test on your ankle saves you from wearing something uncomfortable later.
For cost considerations, stretch cord is usually easy to find and works well for many projects. It’s also great for experimenting with patterns because you can remake quickly if you want a change.
15. Clean and Seal Your Anklet When Needed

If your anklet uses thread with knots or glue, let it fully dry before wearing. Proper drying keeps knots stable and prevents slipping when you move.
To keep beads looking bright, wipe them gently with a soft cloth. Avoid soaking, especially if your anklet includes glue or metal findings that can react to water.
This simple care step helps your work last longer, which makes the craft feel more worth it. You’ll enjoy it longer without replacing beads or stringing too soon.
16. Take Photos as You Build for Easy Fixes

It sounds small, but snapping a quick photo every so often helps you remember your exact setup. When you need to stop or restart, you can copy what you already made.
Photos also help you track how the pattern looks from the outside. Sometimes a design becomes prettier when you see it in an image rather than only in your hands.
If you’re aiming for personalization, you can compare photos of different color combos. That makes it easier to choose a final look without guessing.
It’s also a fun way to document your progress as your skills grow. Each new anklet becomes proof that you can create something beautiful step by step.
17. Wear It, Then Improve the Next One

Your first anklet doesn’t have to be perfect to be worth making. Wear it proudly, learn what feels good, and notice what you want to change next time.
Maybe you want more charms, a tighter pattern, or a longer comfort fit. Beginners often improve fastest by making one small upgrade in each new project.
Try a new trend element next, like mixing matte and shiny beads or adding a tiny theme bead that matches your favorite accessories. Unique details are often the ones that make people ask where you found it.
And since you’ll reuse your favorite supplies, cost stays reasonable as you make more. Each finished anklet becomes a wearable practice piece that keeps your style growing.