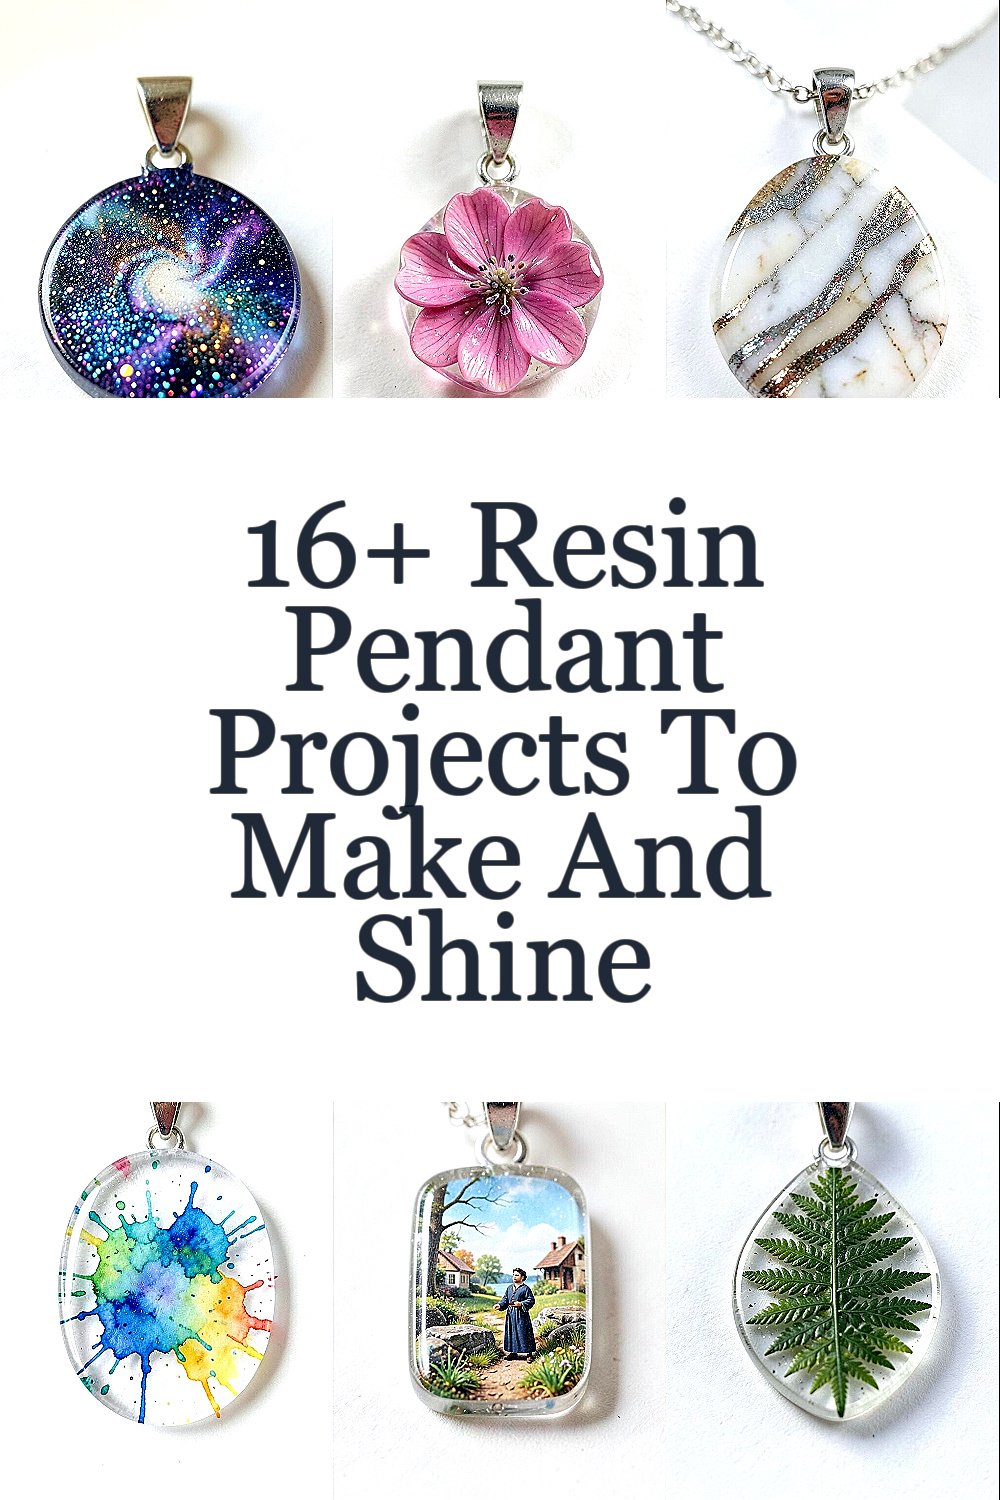
A tiny pendant can carry a whole mood. When resin meets your imagination, small details start glowing.
1. Glitter Galaxy Resin Pendant
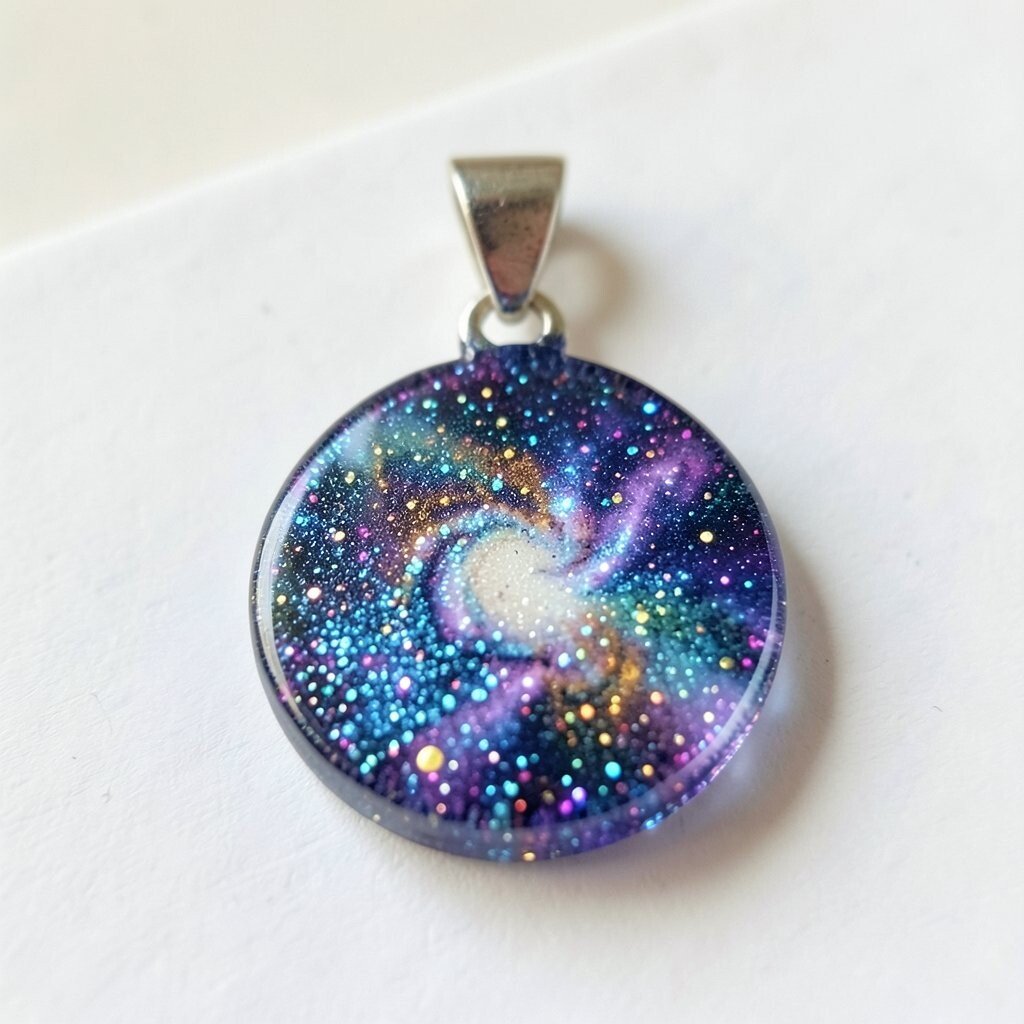
Imagine a deep, inky sky inside a clear dome, with glitter specks that look like distant stars. You can swirl dark blue and black resin, then add a gentle dusting of holographic glitter for an instant night-sky effect.
Use a mold with a flat backing so the pendant sits comfortably against your skin. For a smoother look, stir resin slowly to reduce bubbles, and let the pendant cure fully before popping it out. Personalize it by adding a single silver “comet” streak using a thin layer of metallic resin or mica.
2. Pressed Flower Float Pendant
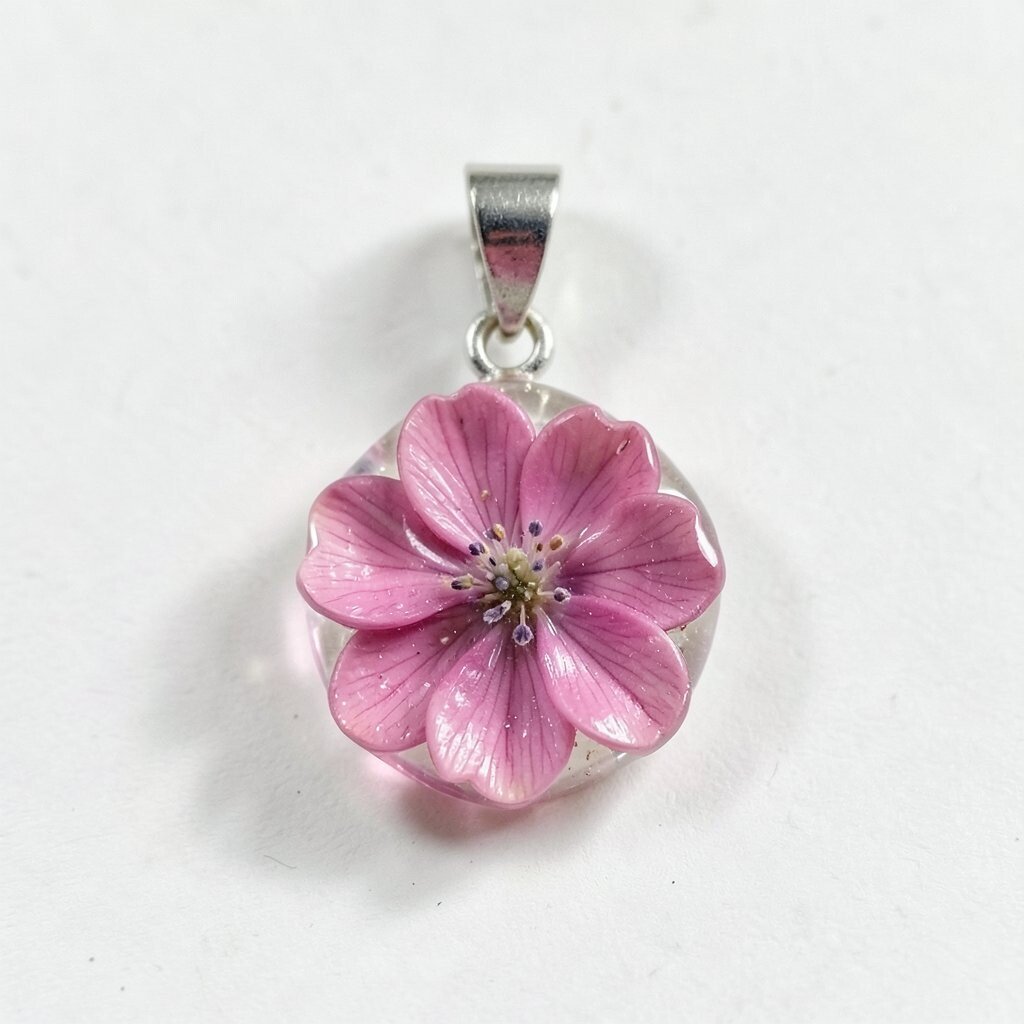
Lay a real flower flat under clear resin and watch it look like it’s floating in air. Soft petals, tiny leaves, and even pressed grasses create a gentle, romantic glow.
Choose flowers that are fully dried so they won’t shrink or turn cloudy. A light coating of resin first, then place the flower, then pour more resin helps keep edges from shifting. This style is timeless and perfect for gifts, since each flower arrangement feels one-of-a-kind.
If you want extra clarity, use a slow-cure clear resin and pour in thin layers. Add personalization with a tiny initial charm in a corner, or tint the background with a pale pastel wash. Budget-wise, dried flowers are usually affordable, and you can keep them from your own garden or craft store packs.
3. Marble Swirl Resin Pendant With Metallic Veins
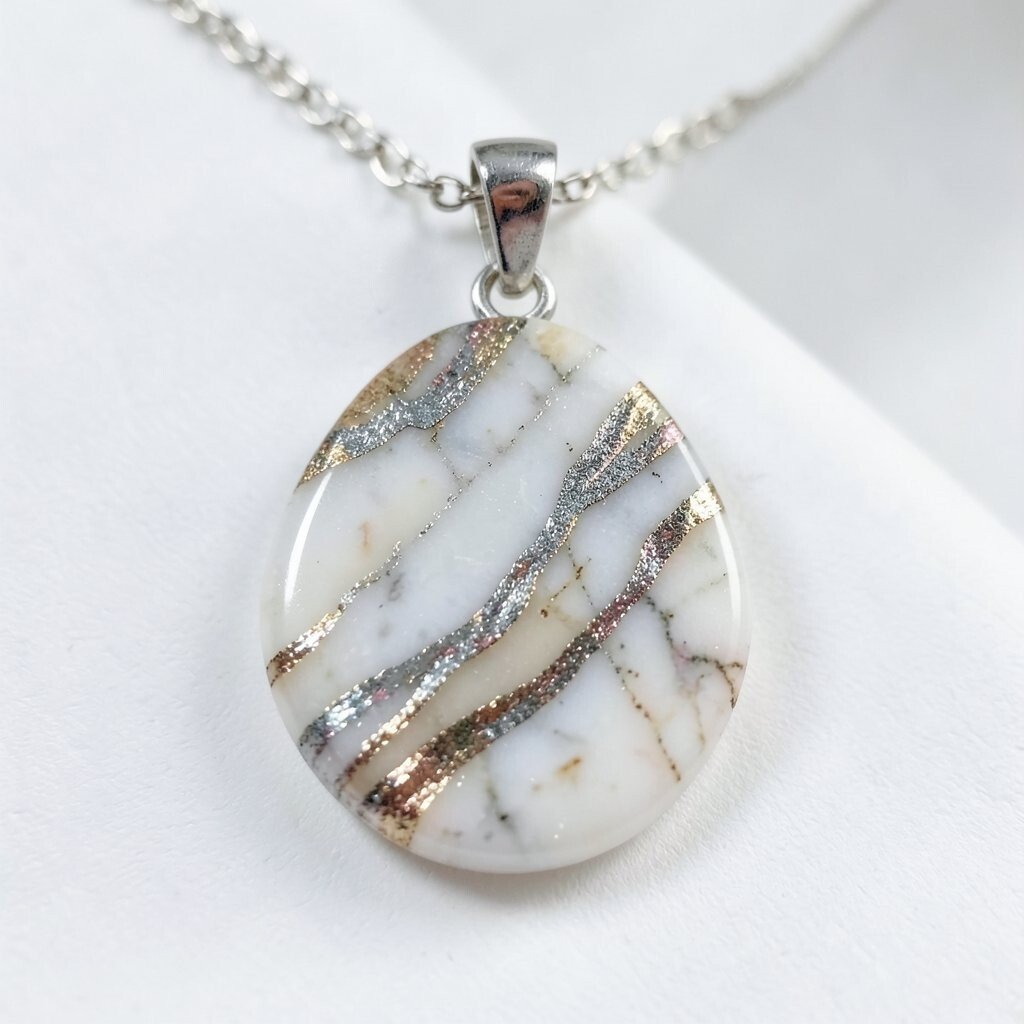
Think of polished stone, like a countertop you could wear. Marble swirls look bold and classy when you combine white resin with gray and then add metallic veins that catch the light.
To get clean swirls, pour small puddles of different colors into the mold and drag a toothpick through them gently. Avoid overmixing, because the best marble patterns come from leaving some streaks untouched. This project is unique because every swirl turns out different, even when you use the same colors twice.
For a practical finishing touch, sand the back only if needed and apply a thin top coat for shine. Personalize the palette by swapping white for blush pink, or use emerald green and gold for a richer look. Metallic pigments can cost a bit more, but a little goes a long way, so one jar lasts through many pendants.
If you’re following current trends, marble and “statement shine” styles keep showing up in jewelry collections. Pair your pendant with a simple chain so the swirls remain the main character.
4. Layered Color Block Resin Pendant
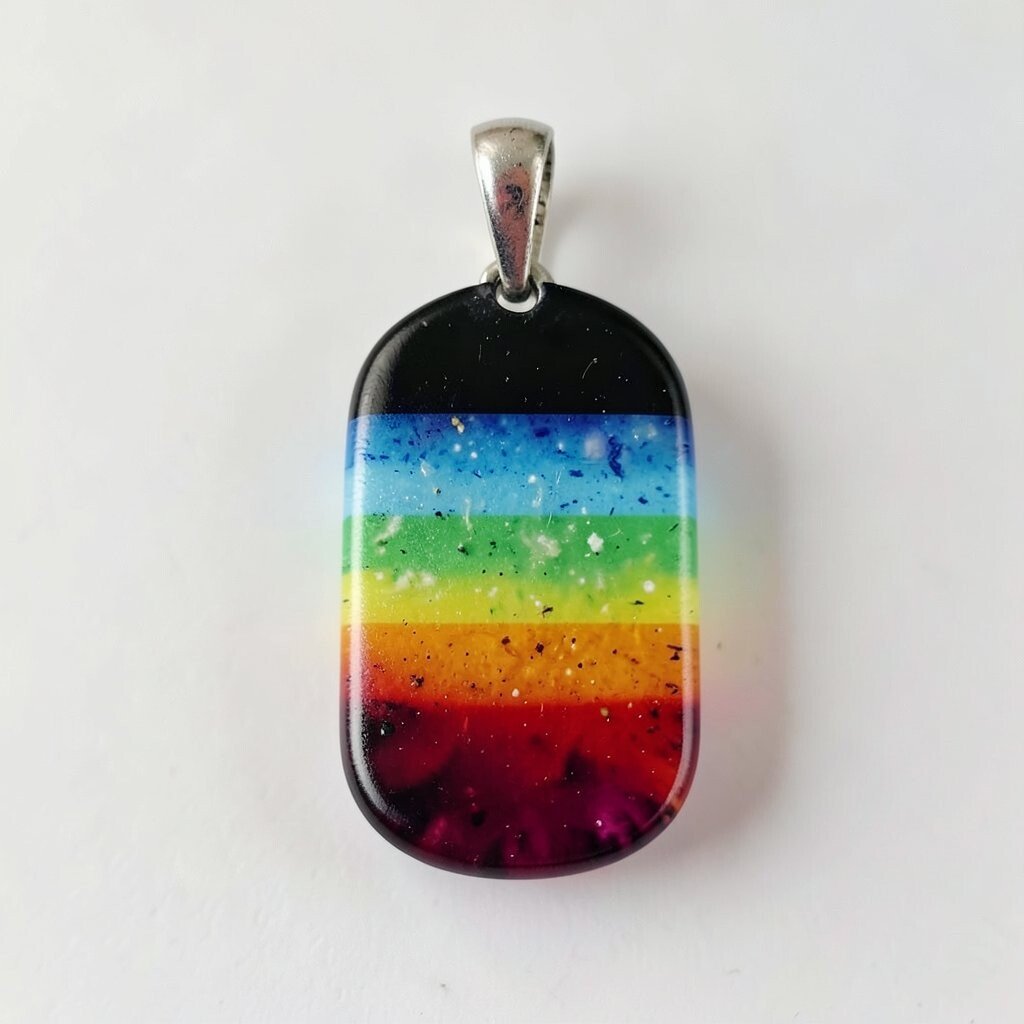
Layered color blocks are like wearable candy, bright and graphic. You can stack bold shapes and let each layer peek through like a stained-glass effect.
Pour one color layer, let it gel slightly, then add the next layer so they bond without floating. Use painter’s tape to outline shapes on the mold surface when you want sharp edges. This design stays easy even if you’re new, and the clean structure helps you control cost by using small amounts of pigment.
5. Faux Agate Resin Pendant With Heat-Look Bands
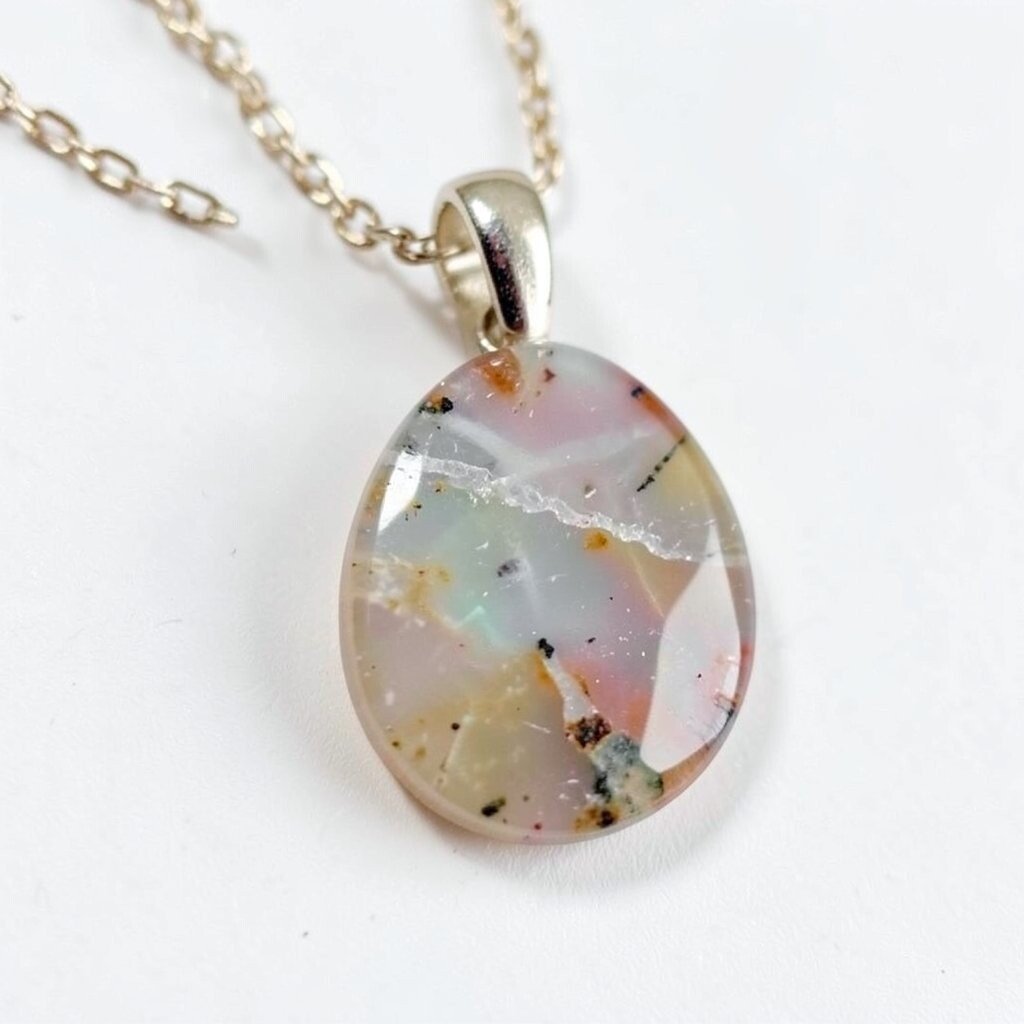
Agate-inspired bands look fancy, like they came from nature. With tinted resin, you can mimic those layered stripes and create a smooth stone effect.
Mix resin with translucent colorants, then pour in thin bands that resemble curved rings. To keep bands neat, work slowly and use a needle tool to drag edges for gentle transitions. Add uniqueness by using gradients, such as amber to gold, or sea green to teal.
For personalization, tuck a micro-layer of clear resin in the center so it looks deeper, like a real stone. Keep practical expectations in mind, since pigments vary in opacity, and you might need a couple of test pours. If you want cost control, use small sample bottles of color and reserve expensive mica for the final highlight.
6. Transparent Resin With Embedded Coins and Charm Bits
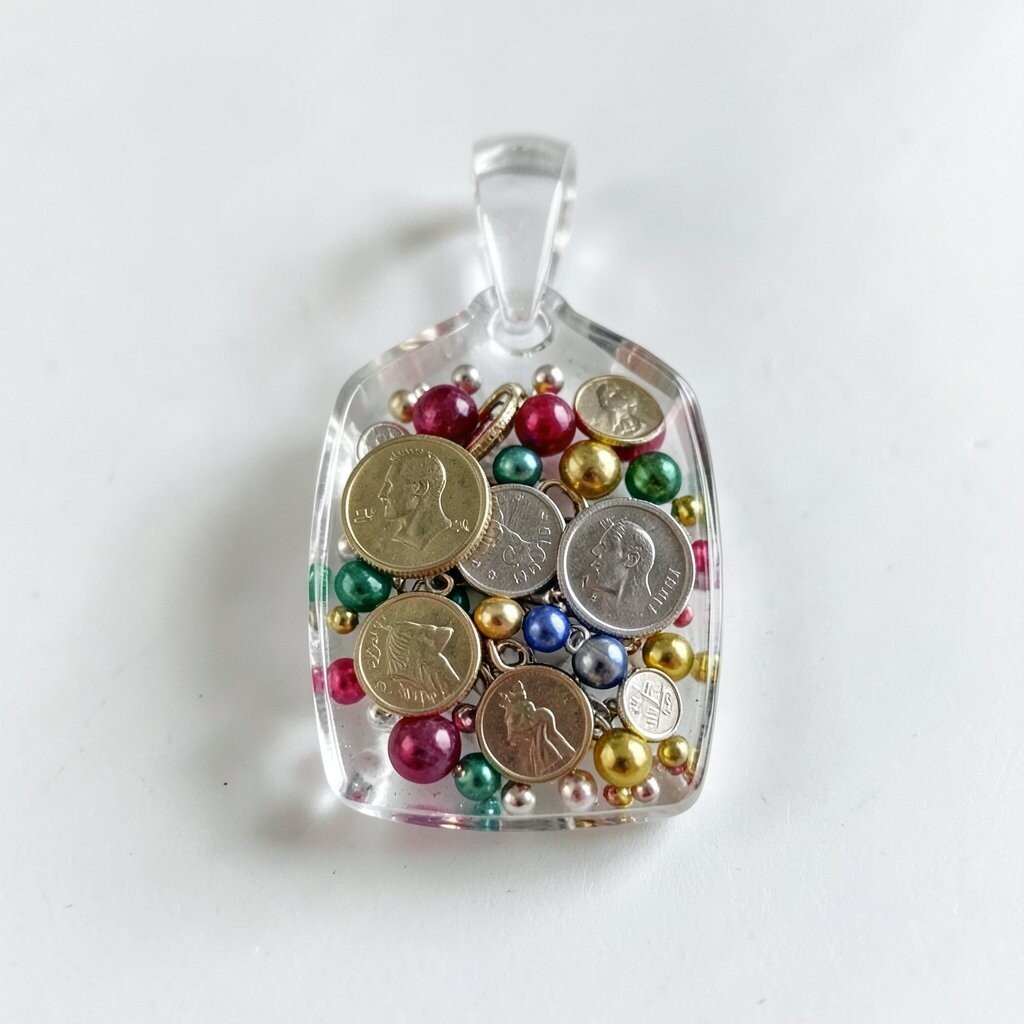
Some pendants feel like tiny treasures you found at the bottom of a drawer. Clear resin with embedded coin-like pieces, small charms, or metallic flakes gives that “collected” vibe.
To place items neatly, arrange them on a flat mold insert, then pour clear resin slowly to avoid splashing. Let the pendant cure without moving it, because embedded pieces can drift if resin is still liquid. You’ll love the visual depth, since transparent layers make the items look preserved.
For a practical tip, choose lightweight pieces so your pendant stays comfortable on the chain. Personalize it by embedding birthstone-like glitter, small star charms, or even tiny paper cutouts sealed under clear resin. This style can fit different budgets because many charm bits are inexpensive compared to full metal findings.
Right now, “memory jewelry” and personal keepsakes are popular, and this pendant matches that feeling perfectly.
7. Watercolor Splash Resin Pendant
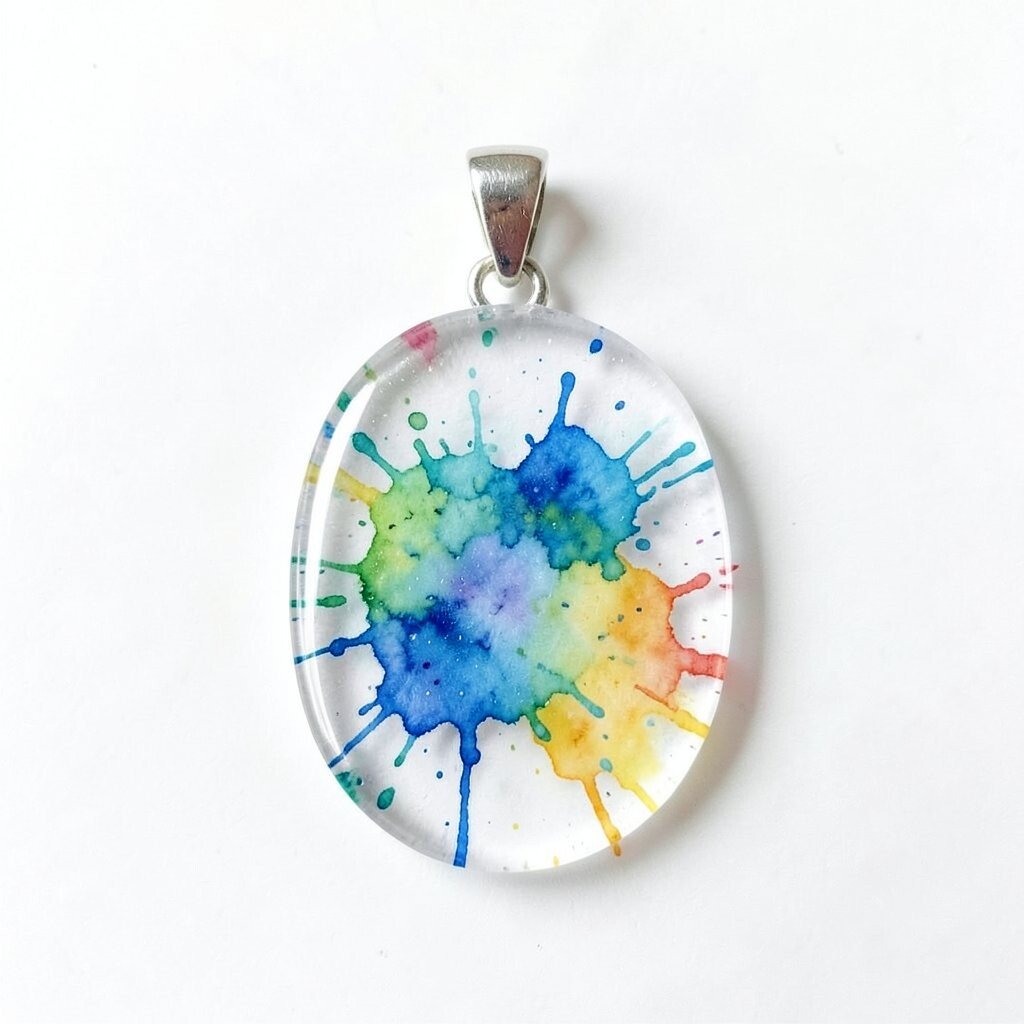
Watercolor splash pendants look soft and artistic, with color that seems to bloom in place. You can achieve this by mixing diluted pigments and swirling them like a paint puddle.
Use dropper application to place color spots, then blow gently with a straw or heat tool from a distance to create feathered edges. Keep a steady hand and stop before the colors fully disappear into each other. This project stands out because every splash spreads differently, giving your pendant a handmade signature.
8. Photo-Layer Resin Pendant With Tiny Background Scene
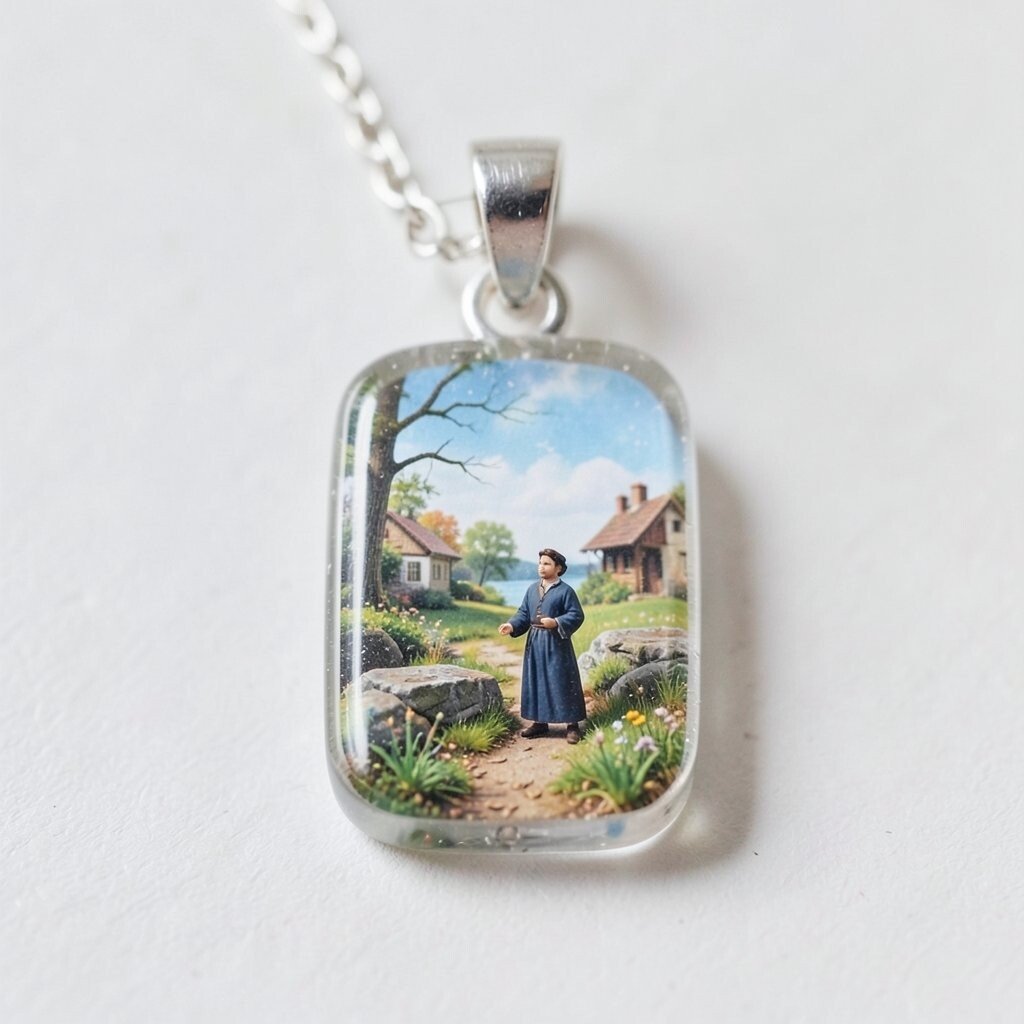
Wearing a photo in resin feels like carrying a moment close. Even a small picture, like a smiling face or a little landscape, can become a wearable memory.
Print or use a small photo trimmed to fit your mold, then seal it with a thin clear coat before pouring thicker resin. This helps prevent color bleed and keeps the image looking crisp. Practical success comes from testing thickness, because too much resin can blur details while too little may not protect the photo.
Personalize the background with colored paper behind the photo, such as soft gradients or subtle patterns. Budget-wise, you can use free phone photos and print small copies, which is often cheaper than custom art. If you want a current-style touch, choose muted tones and matte finishes for a modern look.
9. Botanical Leaf Vein Pendant With Real Fern Texture
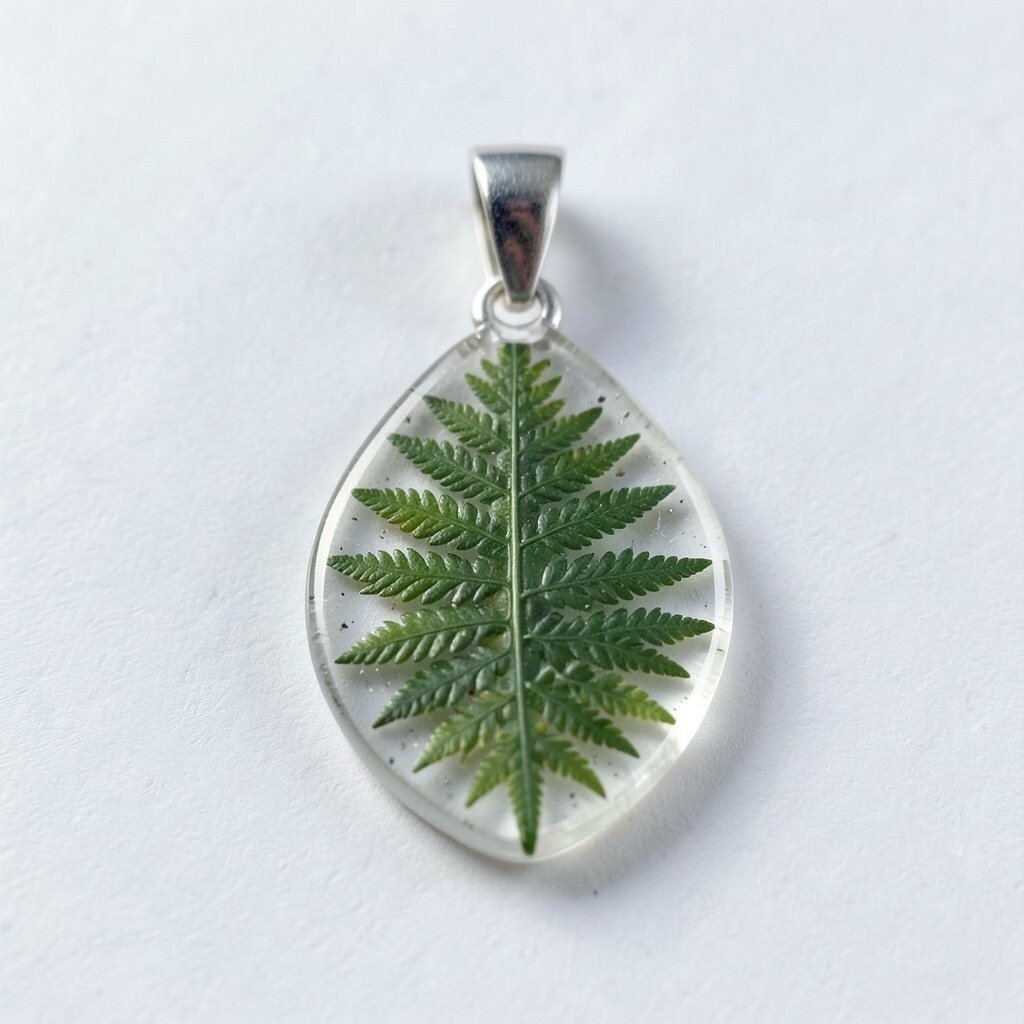
Real leaf textures look delicate, almost like lace when captured in resin. A fern frond or thin leaf can show fine veins, creating a naturally detailed pendant.
Dry the leaf well and press it flat, then place it carefully so it doesn’t curl. Pour a thin layer first to anchor the leaf, then add more resin until it’s fully covered. This gives you a clear, protective layer that keeps the pendant looking fresh for daily wear.
10. Sanded “Candle Wax” Textured Resin Pendant
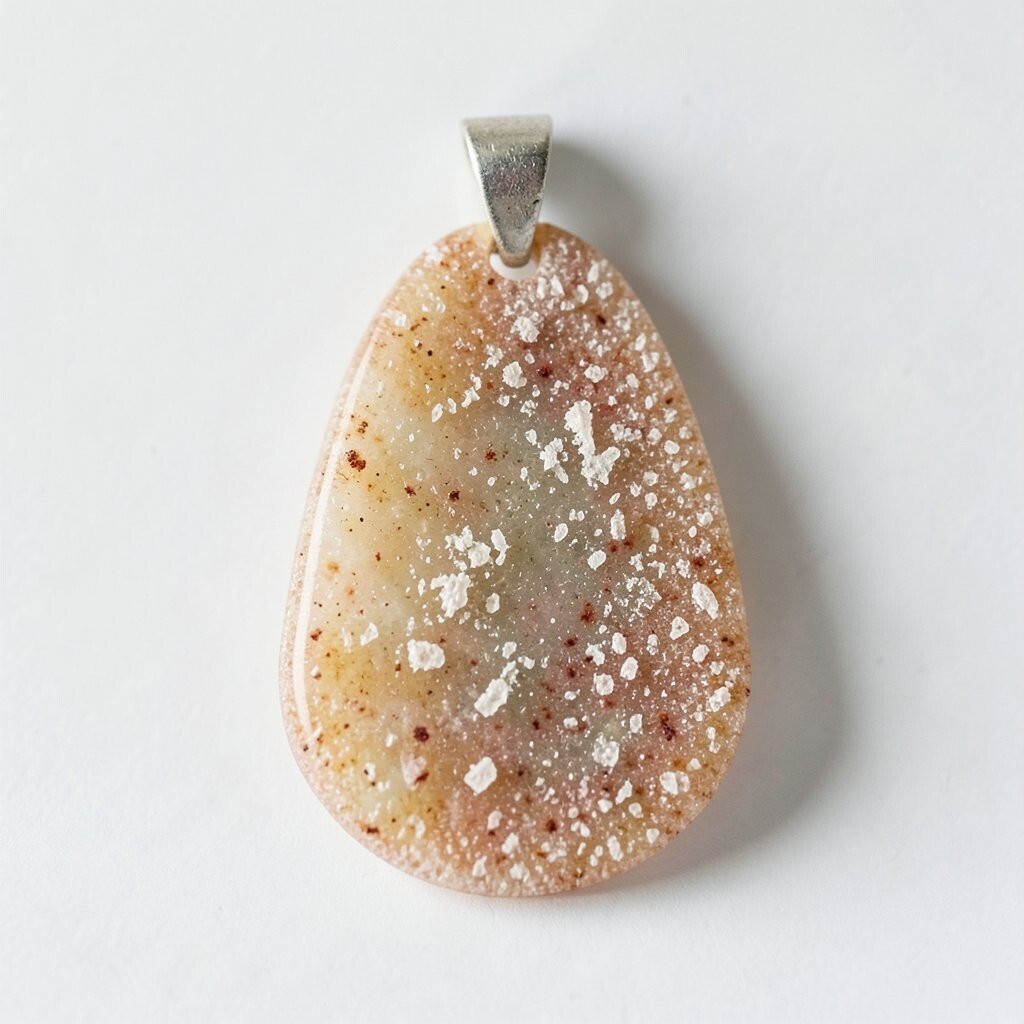
This pendant gives a cozy, matte, candle-wax feel without needing real wax. A textured surface can catch light softly, making your jewelry look warm and unique.
Mix resin with a small amount of texture additive or fine glitter, then pour and cure flat. After curing, lightly sand the top to mute the shine and create a velvety finish. Personalize by blending neutral tones like cream and warm gray, or add a subtle shimmer line across the surface.
For practical tips, wear gloves and use a mask when sanding resin dust. Cost considerations are friendly here since sandpaper and simple texture additives are usually affordable compared to premium pigments. This style is trending because people enjoy tactile jewelry that looks interesting even in daylight.
11. Chromatic Mica Rainbow Pendant
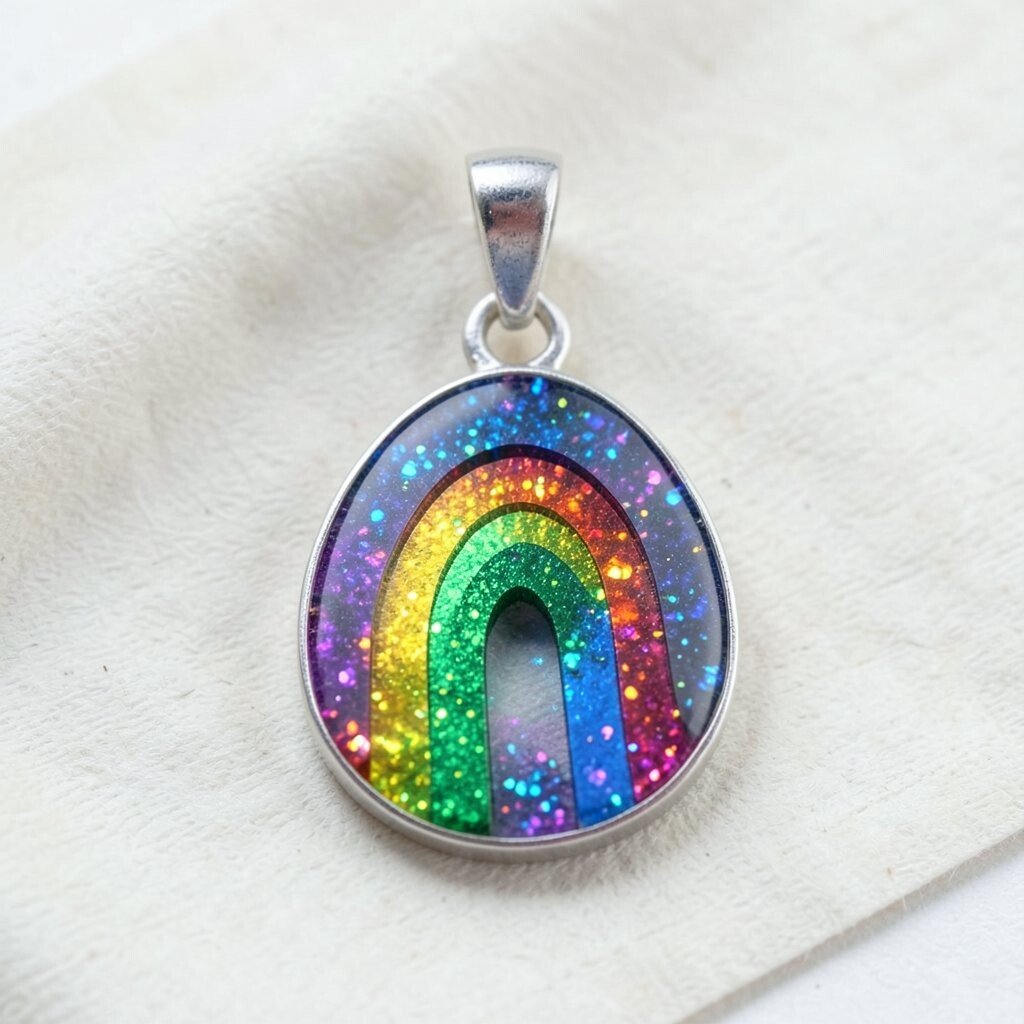
Rainbow chromatic mica looks like it’s changing color as you move. The effect feels magical, especially when resin acts like a smooth lens.
Mix mica with clear resin, pour into the mold, and rotate the mold slightly so mica forms flowing layers. Don’t add too much mica at once, because it can make curing uneven. This pendant is uniquely bright and works great for parties, festivals, or everyday sparkle.
Personalize your palette by choosing different mica shades, like peacock green, rose gold, and violet. If you’re managing costs, buy a small sampler of mica colors first so you can find your favorites without overspending. Keep bubbles away by mixing slowly and warming resin slightly if your room is cool.
12. Initial Letter Resin Pendant With Confetti Edges
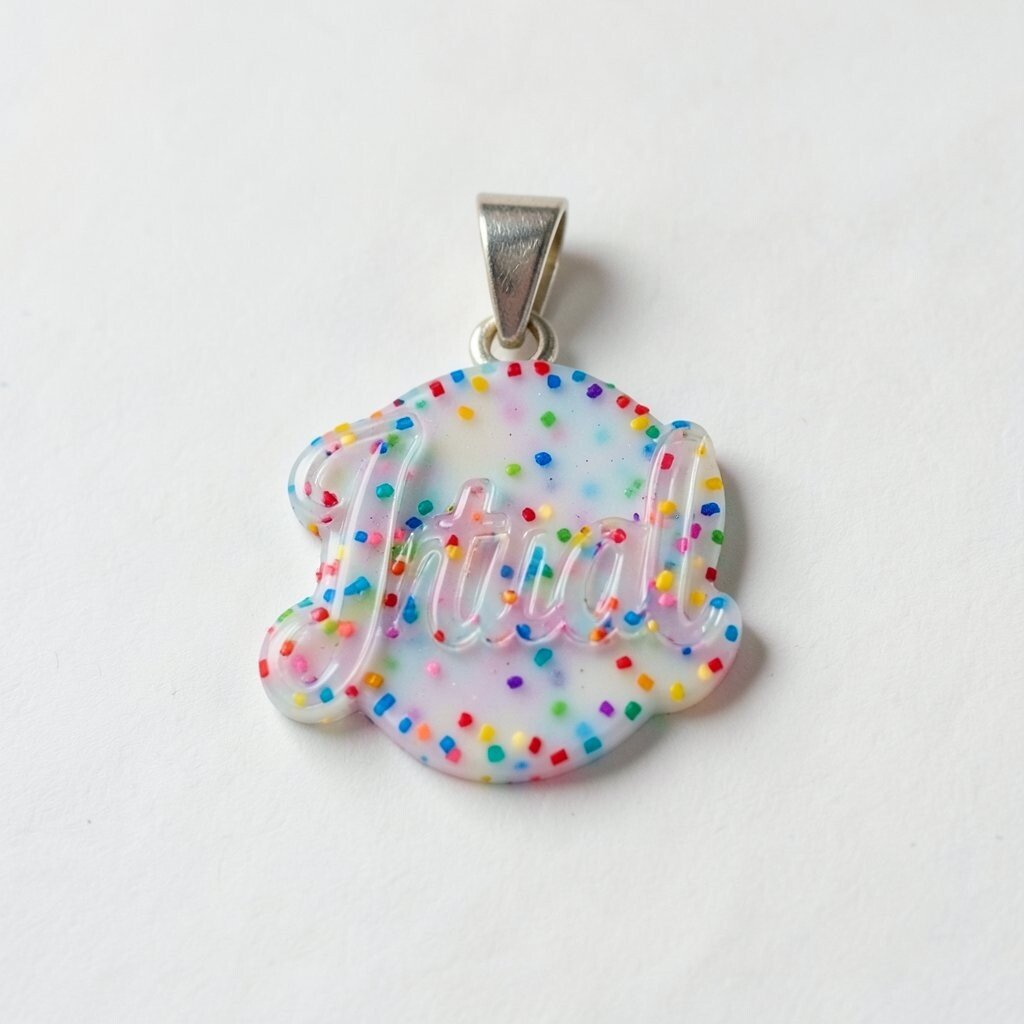
Turning a simple initial into a shiny pendant feels personal and stylish. You can frame the letter with confetti flecks so the design looks lively.
Use letter molds or make a letter stencil and pour resin behind it for a smooth, layered look. Add tiny confetti bits or glitter around the letter so the pendant feels festive without being too busy. For a practical finish, ensure the letter edges are fully cured before removing, so they don’t chip.
Personalize by picking colors that match your wardrobe or your mood, like school colors, holiday tones, or classic black and gold. This project also helps with cost, because confetti mix is usually inexpensive and you can use small amounts per pendant. Current trends lean toward simple shapes with high shine, and initials fit that perfectly.
Wear it on a thin chain for a clean look, or choose a chunky chain if you want extra statement energy.
13. Seashell “Underwater Light” Pendant
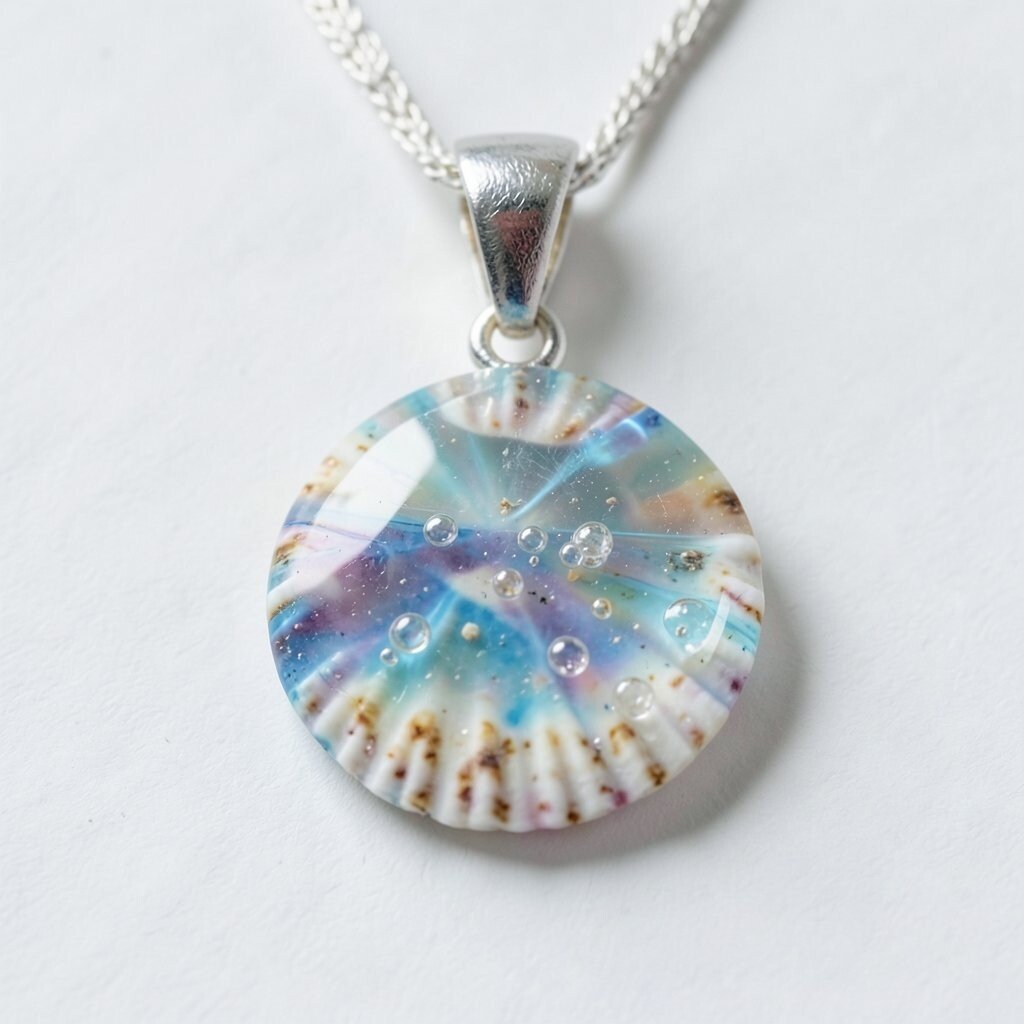
Seashell pendants bring beach memories and soft ocean vibes. Shells look like tiny treasures when you tint resin blue and add clear waves around them.
Choose small shells that are clean and fully dry, then arrange them in the mold like they’re resting on a floor. Tint the base with ocean blue or aqua, then pour clear resin over the top for an underwater lens effect. The benefit is that shells keep the design feeling natural, even if you use the same colors as someone else.
Personalize it by adding mini glitter “bubbles” or a thin wave pattern with white resin. For practical tips, seal the shell with a thin clear layer so dust doesn’t float into the resin. Cost can stay low if you collect shells yourself, but always check local rules and avoid taking protected shells.
14. Geometric Stained-Glass Resin Pendant
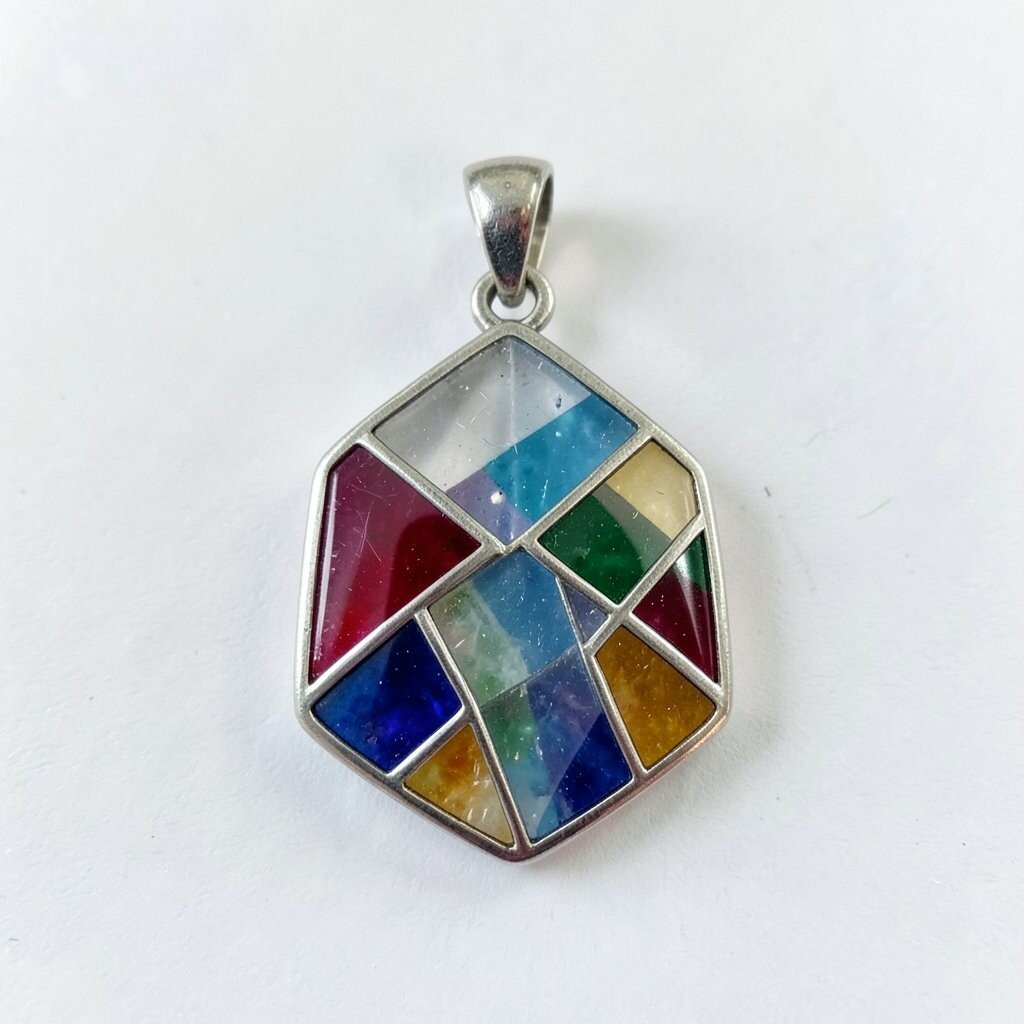
Geometric stained-glass pendants look sharp and modern, like window art. Clean lines and translucent color blocks create a bold visual without needing complicated tools.
Create sections in the mold using silicone dividers, tape barriers, or pre-made geometric inserts. Pour each color separately and wait for it to gel before adding the next section so colors stay separated. This gives you crisp edges and a tidy look, which is a big benefit for beginners.
Personalize by choosing your favorite theme, such as autumn shades, winter blues, or a monochrome palette with silver accents. You can manage cost by using small cups of pigment rather than large amounts of colorant. This style remains popular because it matches modern outfits and layers well with other jewelry.
15. Clear Resin With Embossed Fabric Pattern Pendant
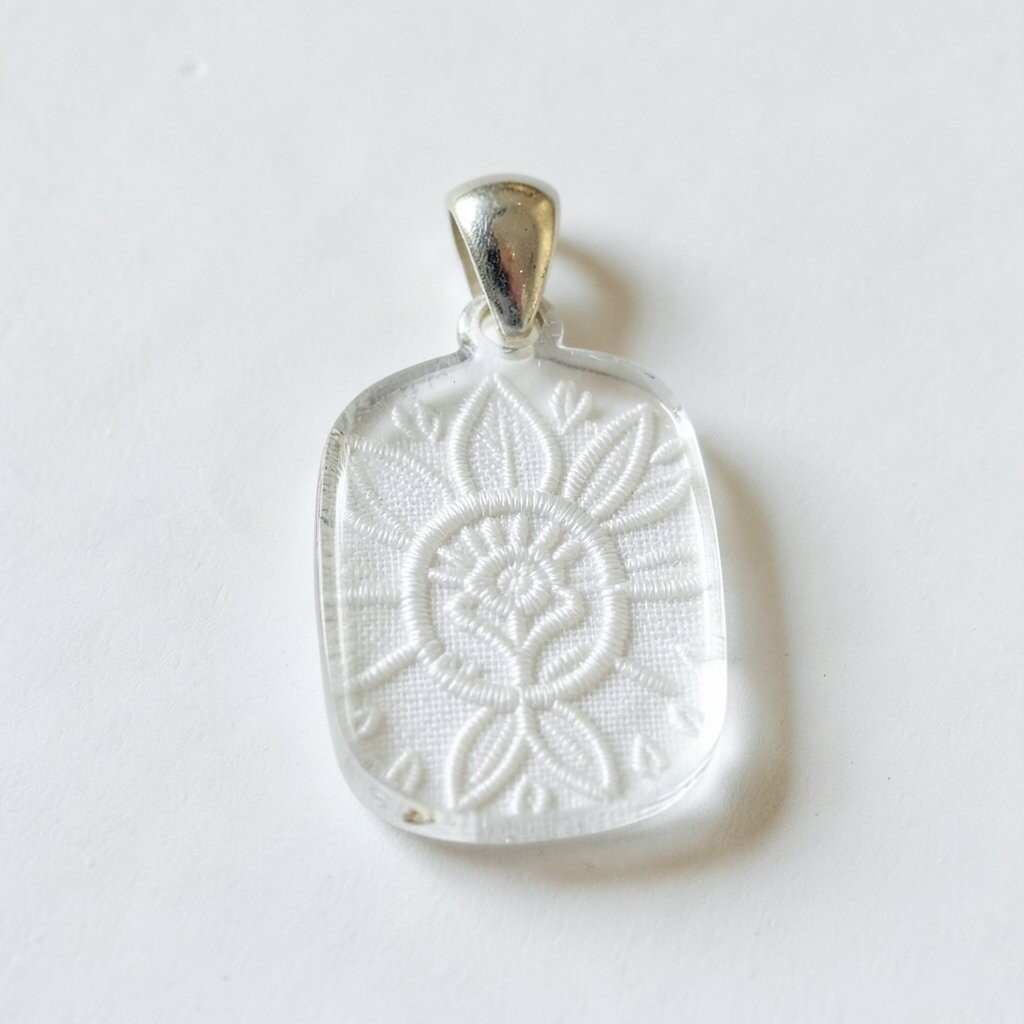
Fabric-pattern resin pendants feel cozy and artistic, like wearable textiles trapped in crystal. You can seal a lace piece, a patterned cloth, or even a textured scrap under clear resin.
Trim fabric to fit and press it flat before pouring a thin layer to anchor it. After it’s coated, add more resin until fully covered, then cure without disturbing the fabric. The result is a pendant with a gentle dimensional look, and it’s uniquely you because fabric choices are personal.
For practical tips, use fabrics that won’t shed threads easily, or trim edges very close to prevent loose fibers from floating. Personalize with lace in birth-month colors, or use a fabric scrap from a memorable shirt or gift wrapping. Cost is usually low since fabric scraps are often free, and you can experiment without buying more than a small amount.
16. Dried Herb and Spice Still-Life Pendant
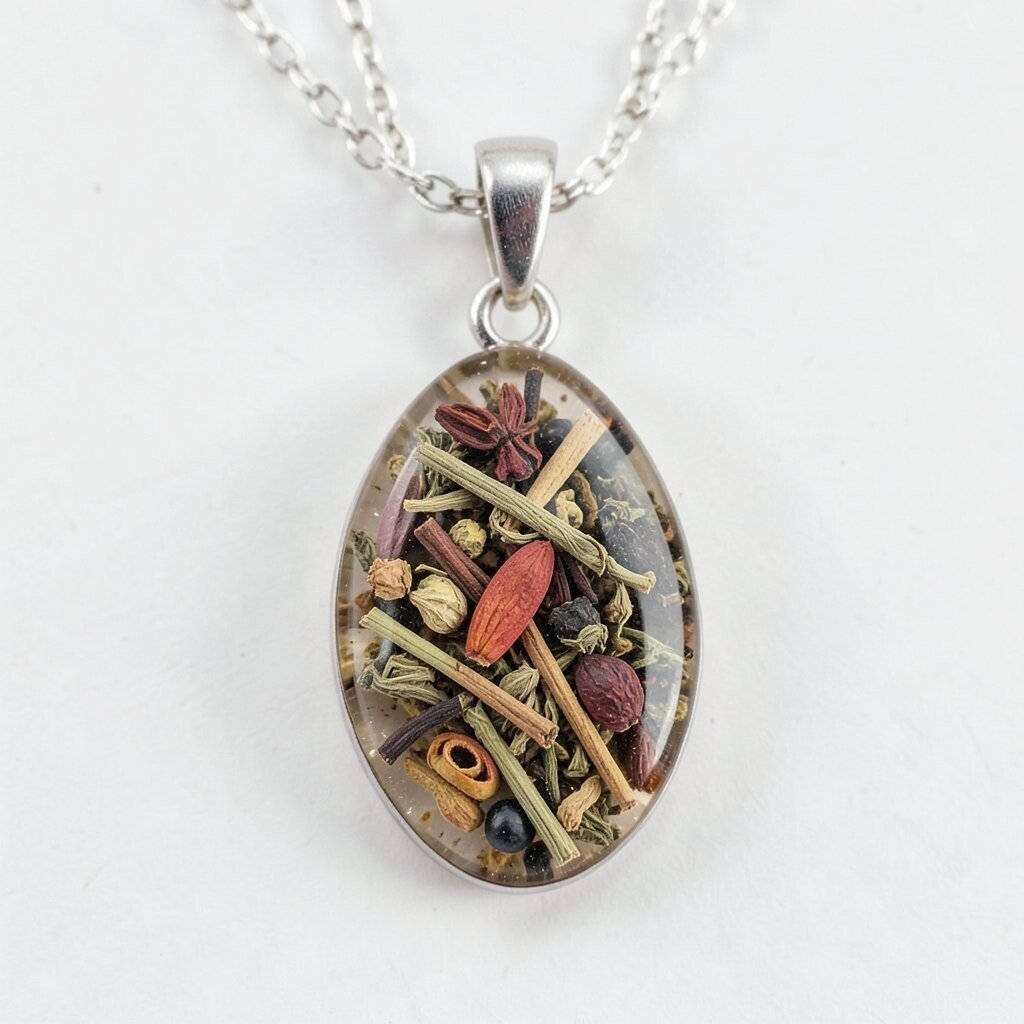
Dried herb pendants look earthy and charming, like tiny still-life artworks. Think dried rosemary, tiny thyme leaves, or delicate flowers that capture a natural scent mood in visual form.
Arrange herbs in a mold and cover them with clear resin in thin layers to prevent trapping air. Let the pendant cure fully, then seal the top with a clear coat for extra durability. This gives a unique look that no one else can exactly copy, because herbs vary in color and shape.
Personalize by tinting the background with warm amber resin or adding a subtle gold mica glow. For practical considerations, expect a slightly organic, uneven look, which is part of the charm, and handle the pendant gently at first until fully hardened. Cost-wise, dried herbs can be inexpensive, but keep in mind that very aromatic spices may lose scent after curing.
17. Night-Glow Resin Pendant With Phosphorescent Accent
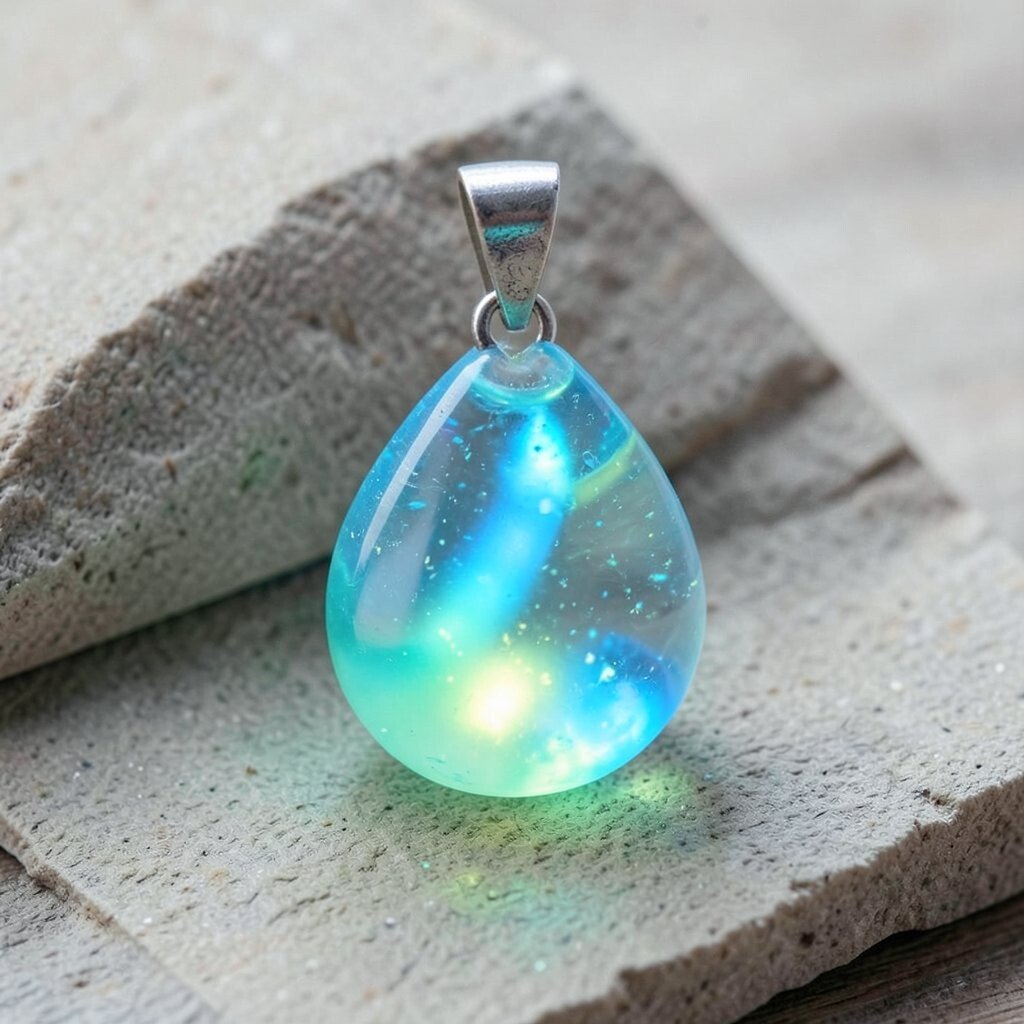
Glow accents make resin pendants feel alive, especially in low light. You can create a design that looks dark and elegant up close, then brightens when the lights go down.
Use phosphorescent powder or glow-in-the-dark pigment mixed lightly into clear resin, then pour where you want the glow to appear. For a striking effect, place glow pigment as an outline, star clusters, or swirls, while keeping the rest of the pendant deep and clear. This pendant’s benefit is the fun surprise factor, and it’s uniquely yours because you choose the glow pattern.
Personalize by using constellation-style dots to match a date, a favorite memory, or a special anniversary. If cost is a concern, buy glow powder once and use only small amounts per pendant, since the effect can be strong even in tiny quantities. Current trends favor interactive jewelry, and glow details are an easy way to stand out without going overboard.
After curing, store your pendant away from bright light until you want to show off the glow, and avoid scratching the surface so it keeps shining.