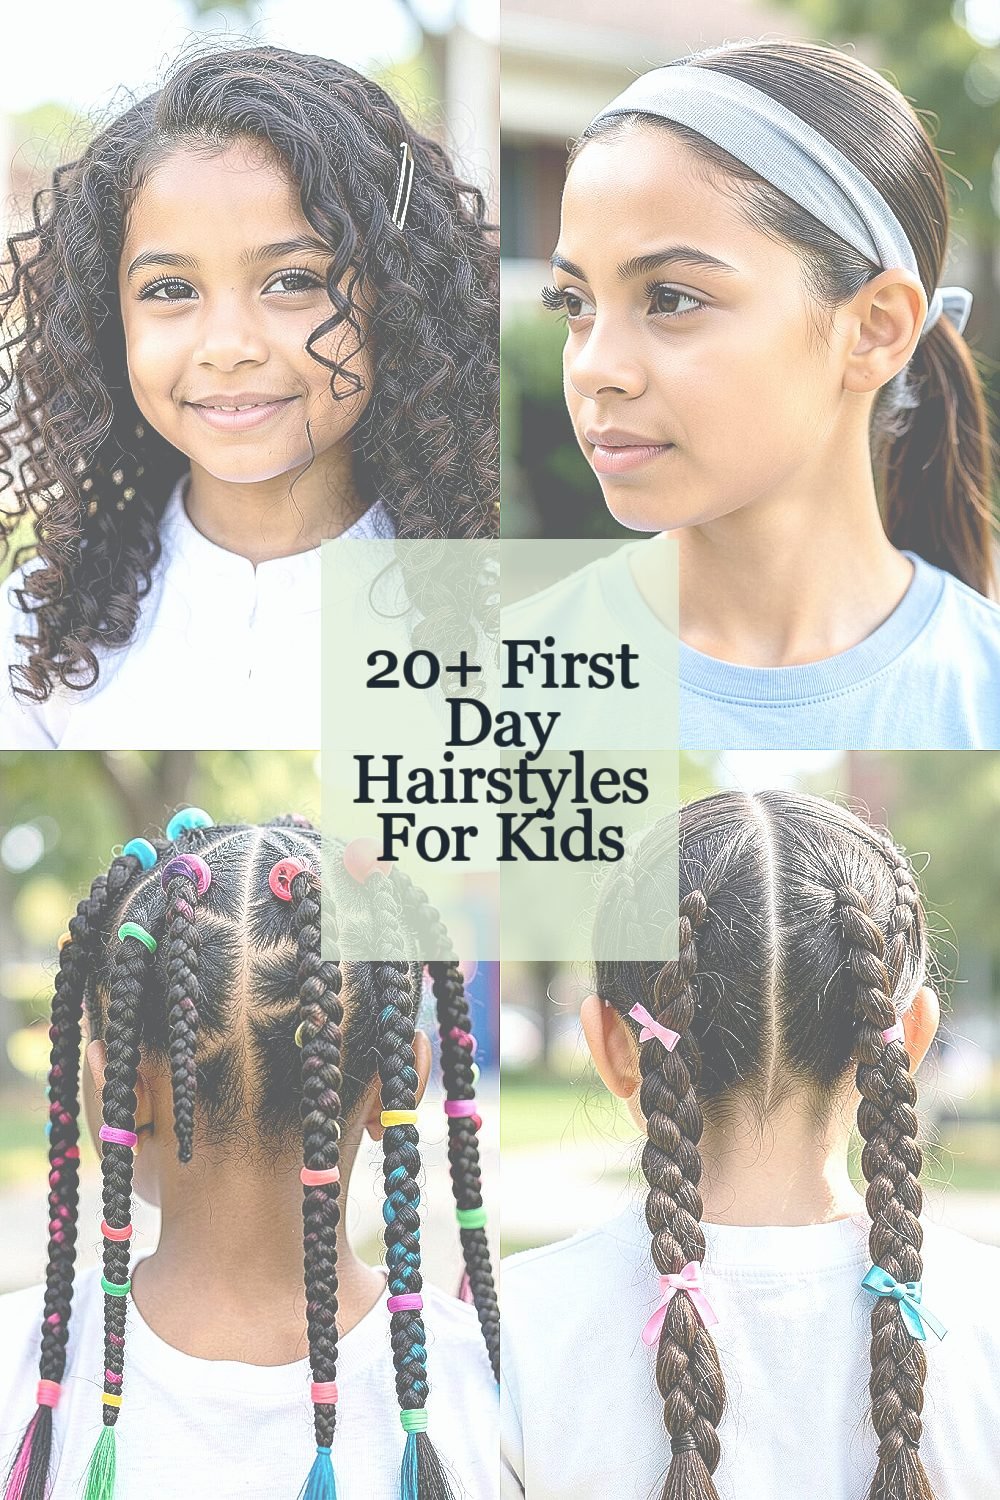
The mirror moment before school can feel like a tiny celebration. A great hairstyle helps kids feel confident before the first bell.
Here are hairstyle ideas that look fun, fit busy mornings, and can be adjusted to match each child’s hair and personality.
1. Messy Curls With a Side Clip
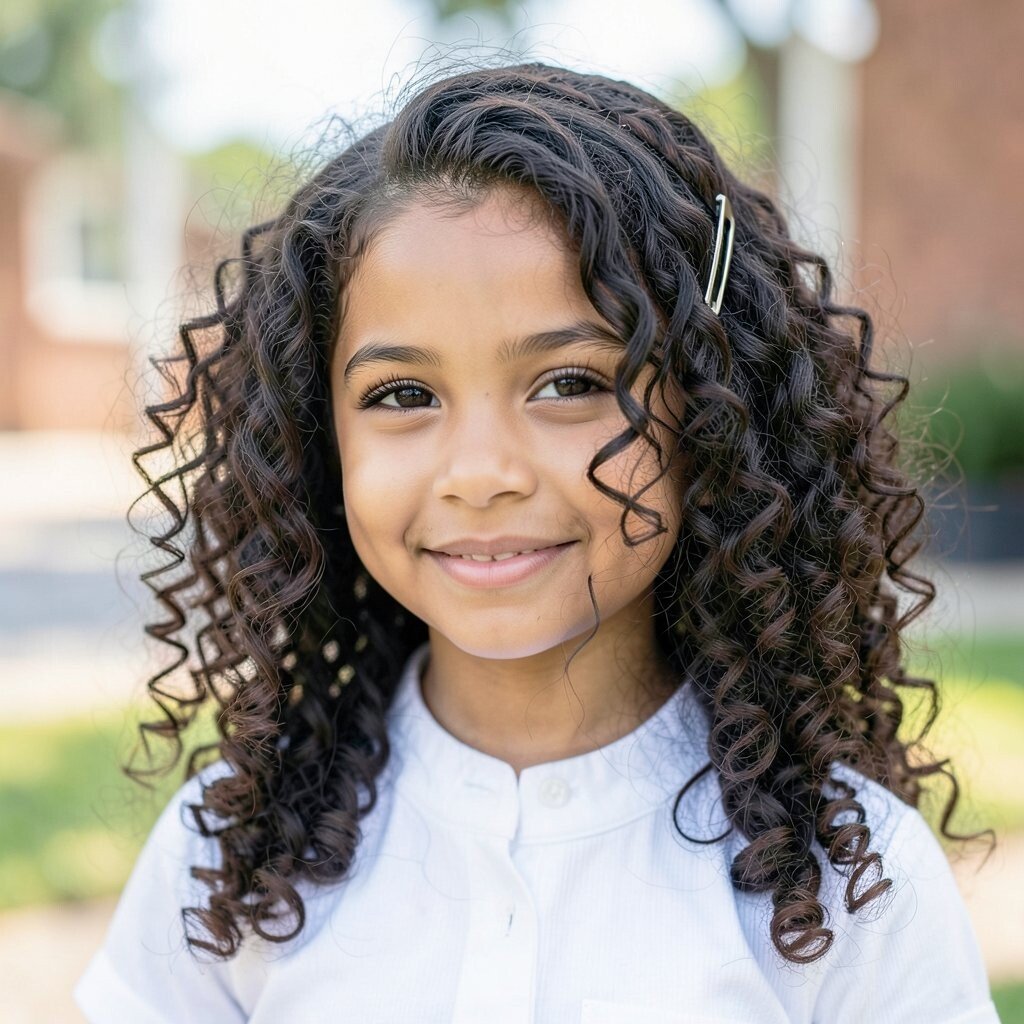
Start with slightly damp hair and scrunch it with a little curl cream. Let the curls air-dry or use a low heat setting, then add a small side clip near the temple to keep hair from falling in the eyes.
The look feels carefree, but the clip adds a neat finish. This hairstyle is unique because it mixes natural texture with a simple accessory that kids can choose. Use a lightweight styling product so the hair stays bouncy, not heavy.
2. Sleek Half-Up Headband Style
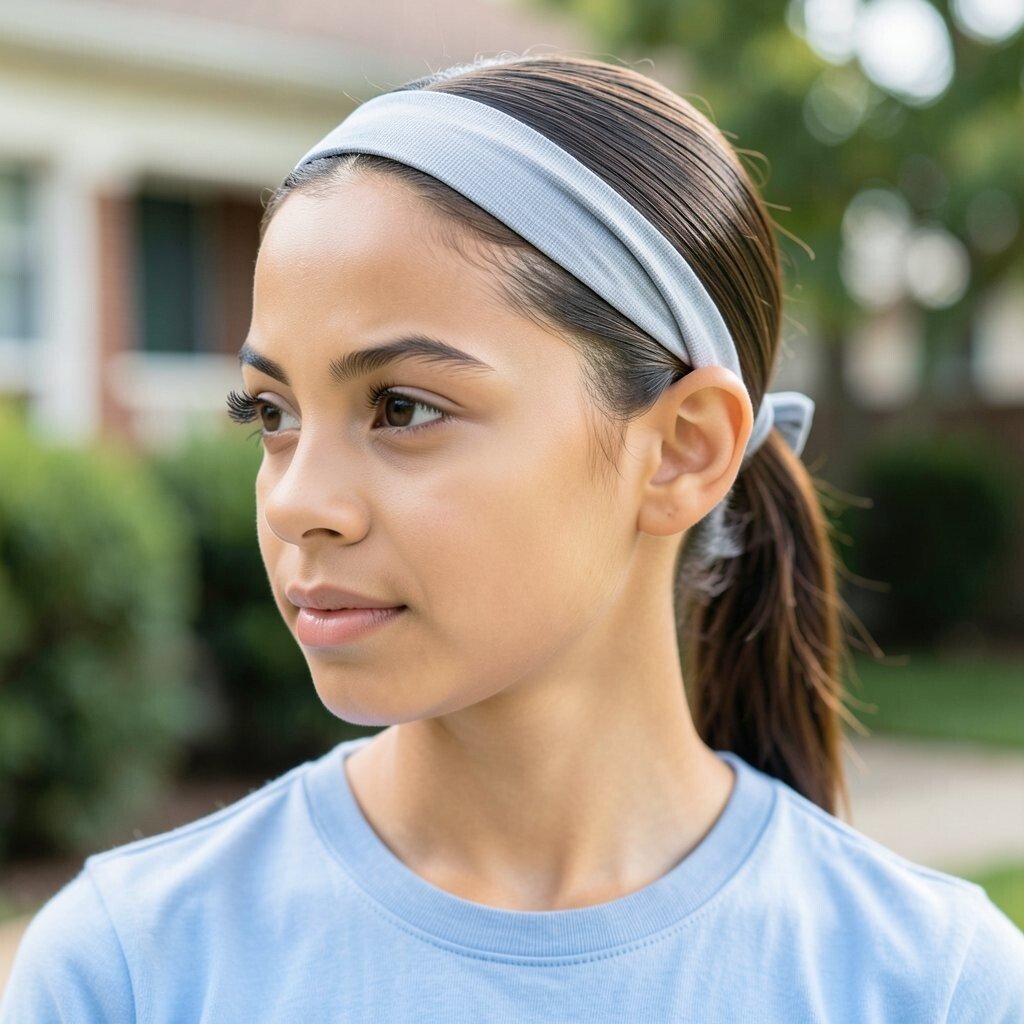
Part the hair horizontally from ear to ear and pull the top half back. Smooth it with a soft brush, then secure it with a headband or a matching elastic for a clean, tidy look.
Kids love how it feels like a comfy crown, and parents love how it stays in place during play. For personalization, choose a headband in school colors or one with a tiny pattern like stars.
If hair is thick, use two small elastics instead of one larger band. For cost, headbands are usually the easiest option, and you can reuse them all week. Pair it with small studs or a simple hair pin for a cute, current feel.
3. Bubble Braids With Colorful Elastics
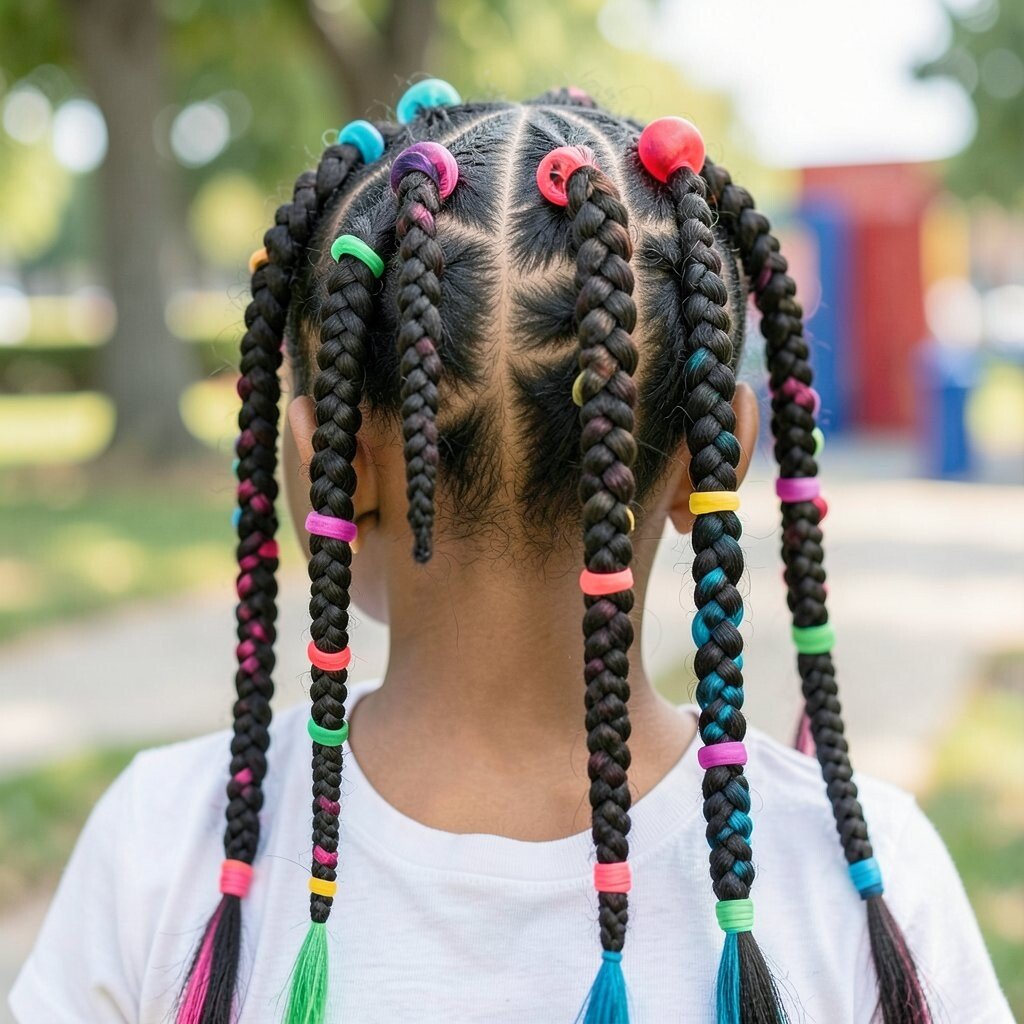
Create two or three mini sections down the head and braid each section loosely. Then place small elastics at even intervals, pushing the braid outward to form “bubbles.”
The result looks playful and bouncy, like a hairstyle made for recess. It’s helpful for kids with fine hair too, because the added shapes give more volume without needing complicated tools. Choose elastics in bright shades, but keep them close to the natural hair color if your child prefers a calmer style.
To make it last, braid while hair is slightly damp and lightly mist with water afterward. A good quality elastic set costs a little more, but it reduces breakage. This style is trending in a big way because it photographs well and looks adorable in every angle.
4. Two French Braids With a Ribbon Tie
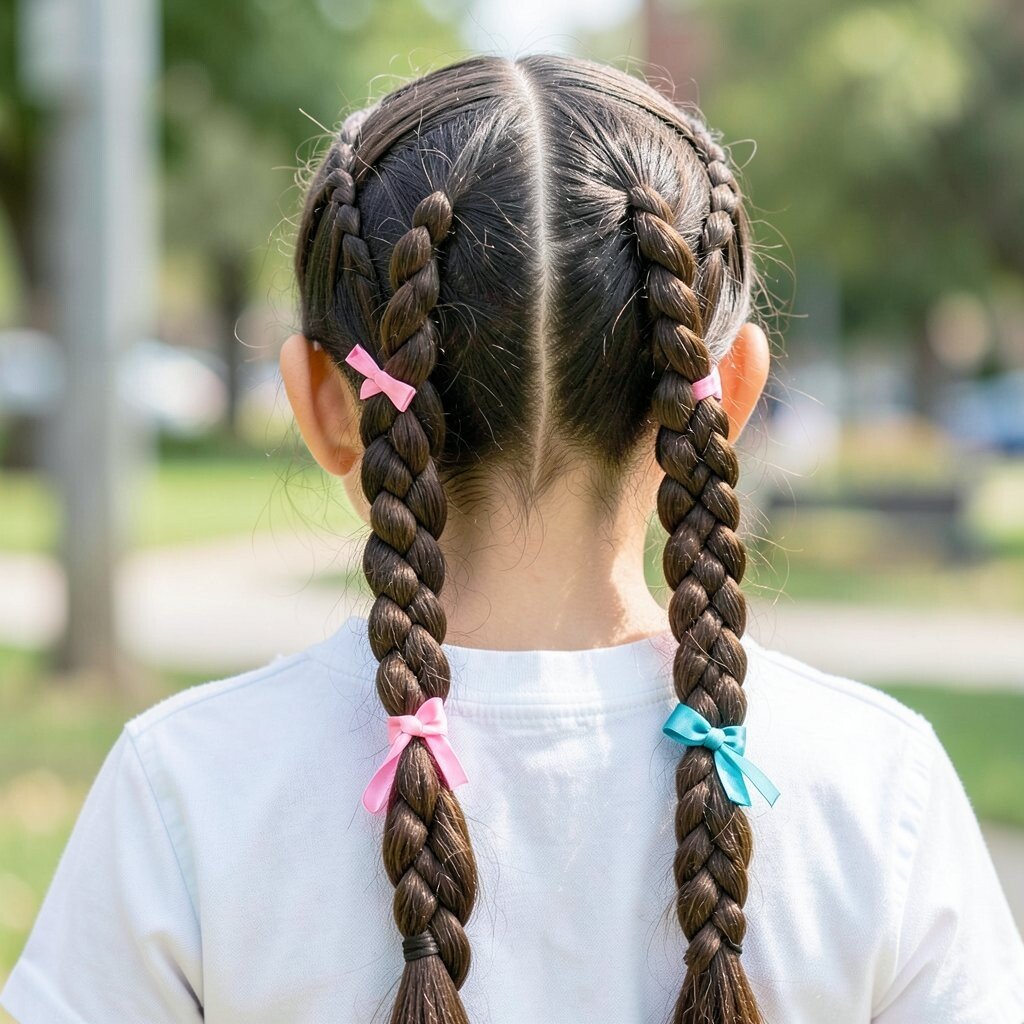
Start at the front and make two French braids that follow the curve of the scalp. When you reach the end, tie each braid with a ribbon and then gently tug the braid edges for a fuller look.
French braids look classic, but adding ribbon makes them feel special and personal. This is a great choice for school because it keeps hair secure while kids run, jump, and move their heads a lot.
Use a thin satin ribbon if your child has fine hair, and use a slightly thicker ribbon if hair is thicker. If ribbons slip, wrap the end elastic first, then tie the ribbon over it. For cost, ribbon can be reused for photos and events, so it’s a small purchase with lots of wear.
5. High Ponytail With a Twisted Crown
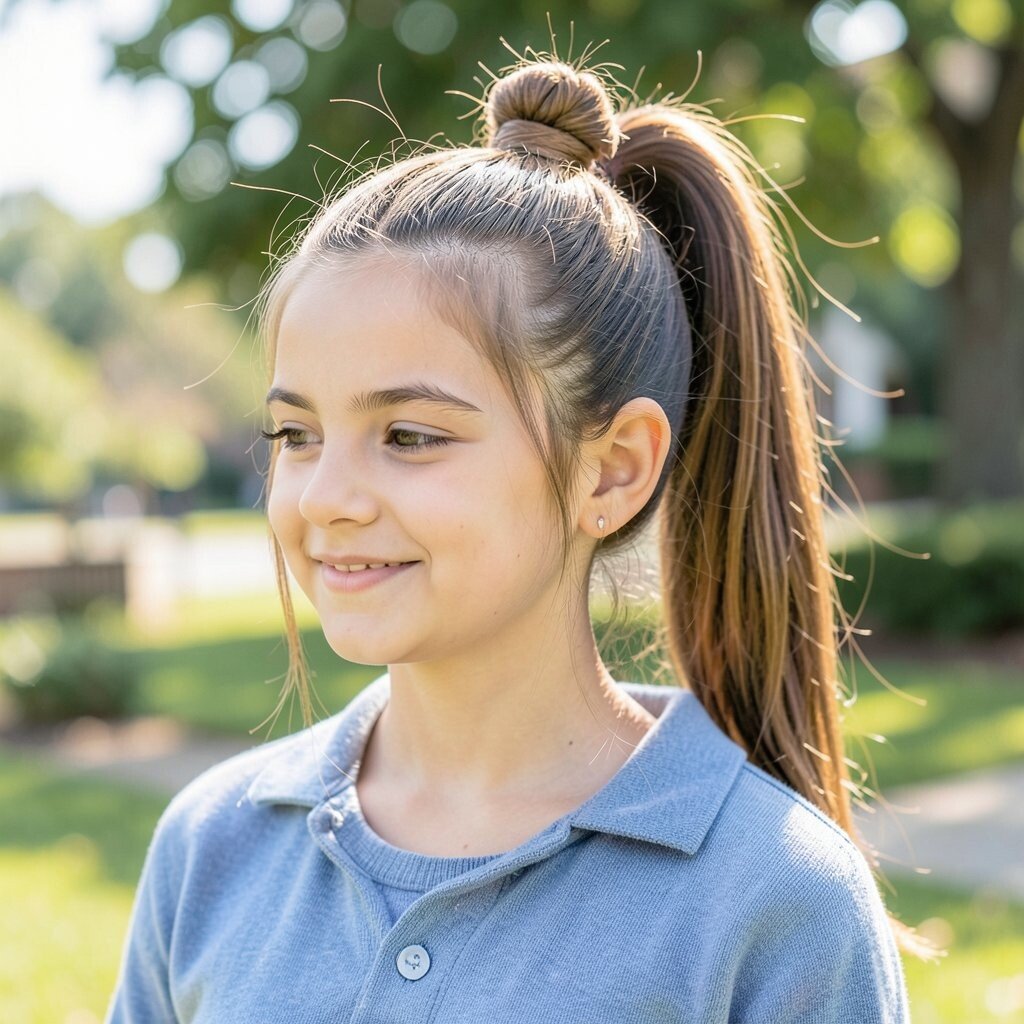
Gather hair into a high ponytail and smooth it with a brush. Then take a small strand from the ponytail and wrap it around the elastic, twisting it until it hides the band.
The twisted crown detail looks neat and grown-up while still being easy to do. It’s great for days when hair needs to stay up and out of the way during lunch and gym.
For a softer vibe, pull one tiny face-framing strand on each side. If you want more uniqueness, add a small bow charm or a hair clip near the twist. A basic elastic and one clip are usually all you need, which keeps the cost low and the results high.
6. Waterfall Braid With Tiny Clips
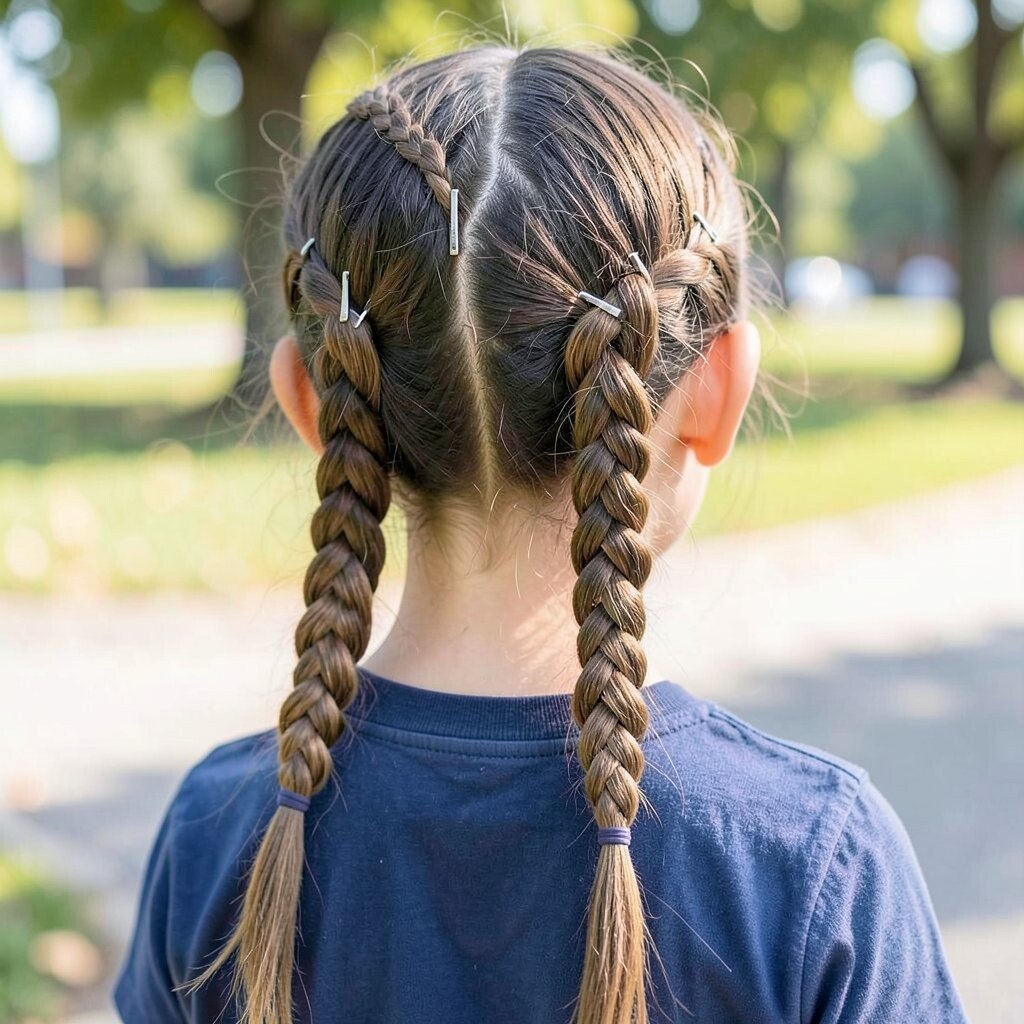
Make a side part and braid across the top, dropping a few strands like a flowing waterfall. Secure the end with a small elastic and then use tiny clips to hold the dropped sections in place.
This style looks delicate and pretty, like you carefully styled each strand for the occasion. It’s unique because it combines an elegant braid pattern with practical clips that help it stay put.
Use light hold gel so the braid doesn’t loosen too fast, especially in humid weather. For personalization, choose clips shaped like hearts or simple flower designs. This is a current favorite because it looks “fancy” without being too tight or uncomfortable.
7. Half-Up Twist With Side Part
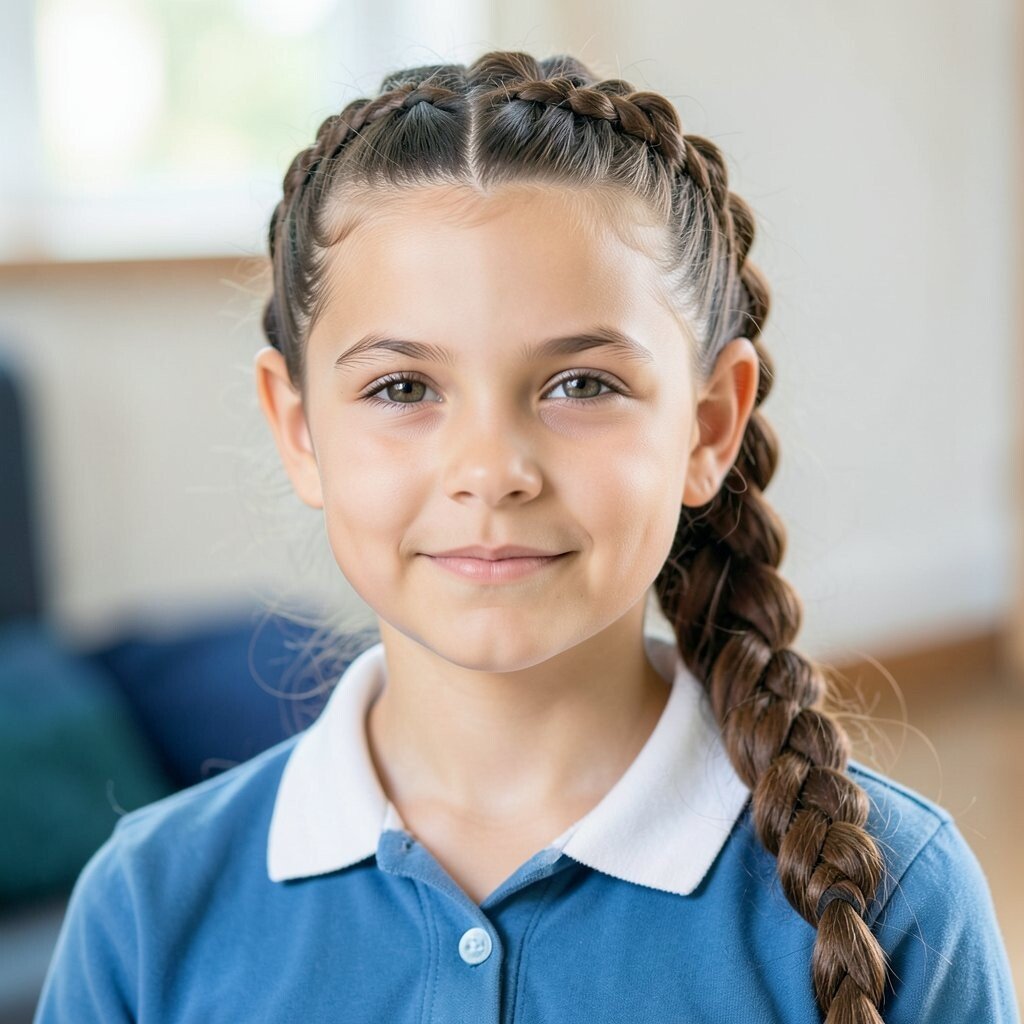
Make a deep side part, then take the front section on each side and twist it back. Secure the twists together with a small elastic, leaving the rest of the hair loose.
This hairstyle looks stylish in a natural way, like a gentle update to everyday hair. Kids benefit because the face stays clear, and the loose hair still feels free.
Try adding a small pin over the elastic if your child’s hair is slippery. For personalization, match the elastic color to a favorite hoodie or backpack strap. It’s a low-cost style that feels special because the twisting detail looks like effort.
Keep the twists snug but not tight so your child stays comfortable through the day.
8. Classic Low Bun With a Scrunchie
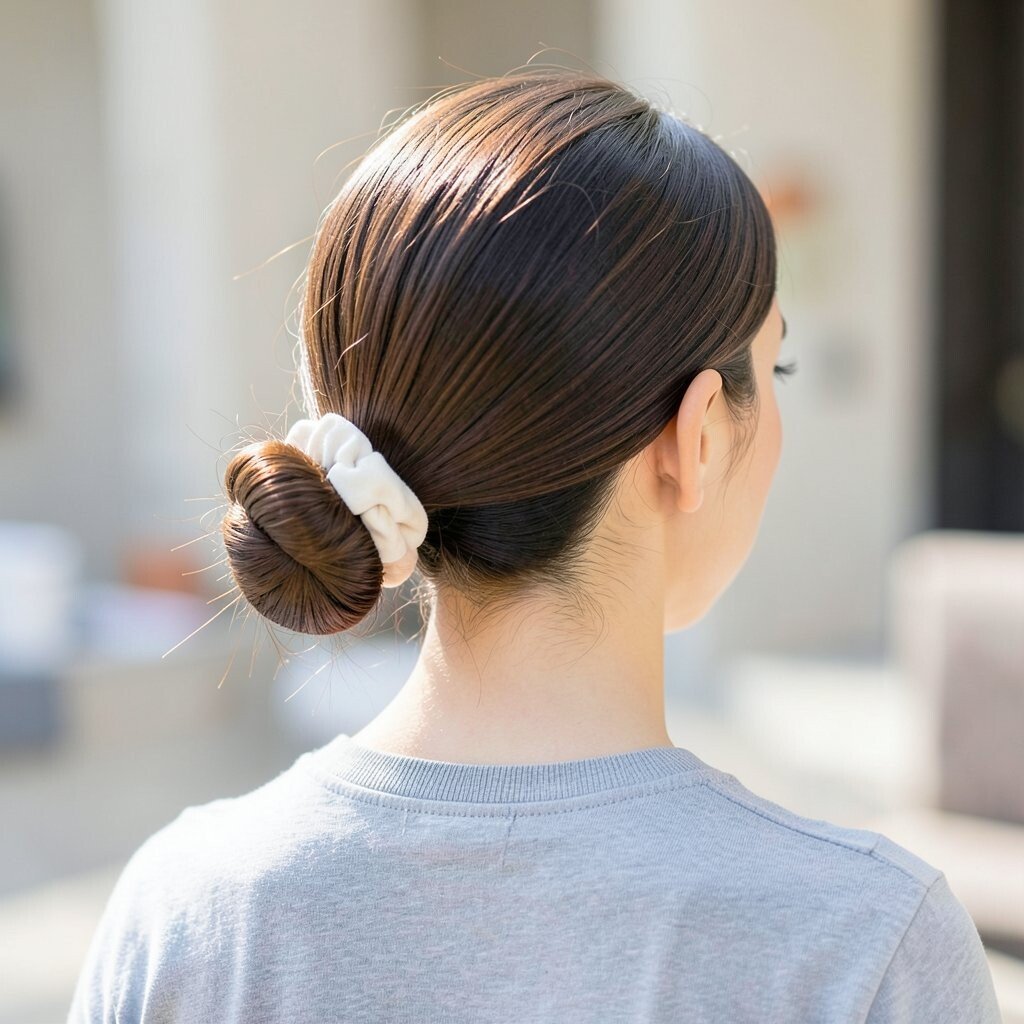
Gather hair into a low ponytail, then wrap it into a bun. Use a scrunchie or soft elastic to hold it, and tuck the ends under for a clean finish.
A low bun is a school-friendly classic because it stays neat without pulling at the scalp too much. You can make it unique by placing the bun slightly off-center for a playful look.
For practical mornings, use a soft hair donut only if needed for volume. If your child has fine hair, keep the bun smaller and add a few wisps around the edges for texture. This style can cost very little since most families already have elastics and a simple bun helper.
9. Four-Strand Braided Crown
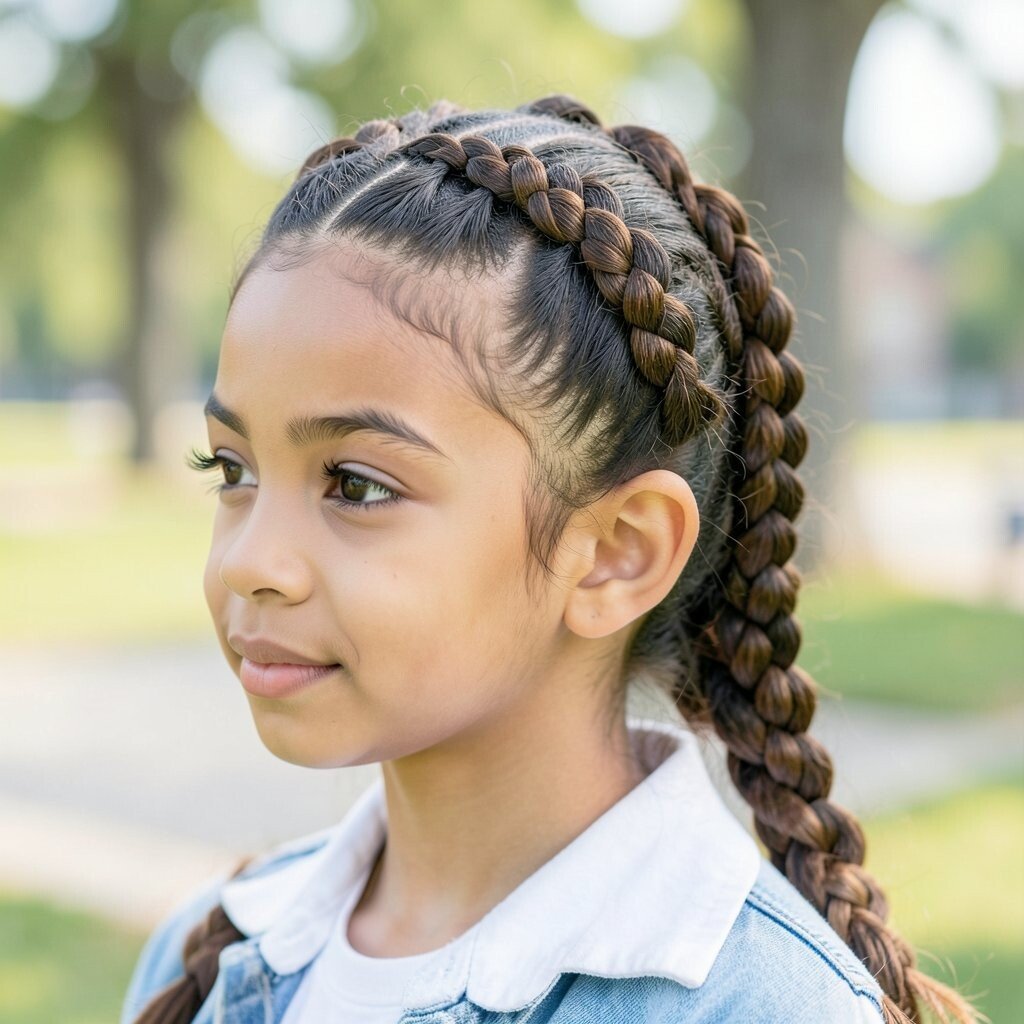
Separate hair into a top section and braid it using a simple four-strand pattern. Wrap the braid across the head like a crown and secure it at the back with bobby pins or a small elastic.
The crown shape looks magical, like a hero hairstyle for the first week. It’s especially helpful for thick hair because the braid holds everything together while still looking airy.
To make it easier, practice the braid once on a weekend and then repeat the pattern on school morning. For personalization, add one tiny star-shaped clip to the side. The uniqueness is real because four-strand braids are less common and photograph beautifully in bright school hallways.
Use gentle tension so the crown feels secure but not sore.
10. Bubble Ponytail With Three Elastics
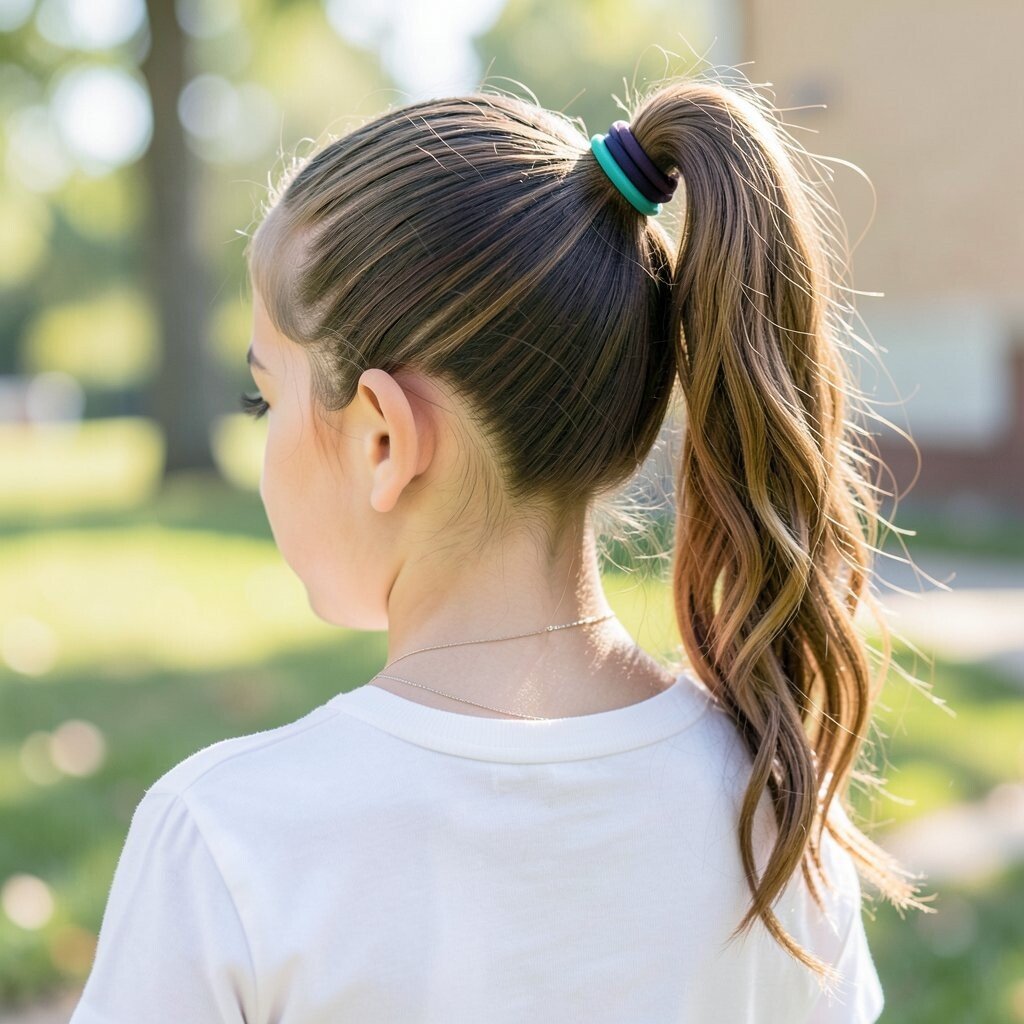
Pull hair into a ponytail, then add elastics down the ponytail at equal spacing. Gently push the hair between elastics outward to create bubble shapes.
This is a playful alternative to a plain ponytail that still feels practical. Kids benefit because it helps keep hair from tangling while they move around at school.
Personalize it by choosing elastics in fun colors or using one elastic that matches a favorite outfit. For a cost-friendly option, a small set of colorful elastics is usually inexpensive and lasts a long time.
For current trends, bubble styles are everywhere because they look cute and stay comfortable. A light mist of water before starting helps the bubbles look smooth instead of frizzy.
11. Side-Swept Dutch Braid
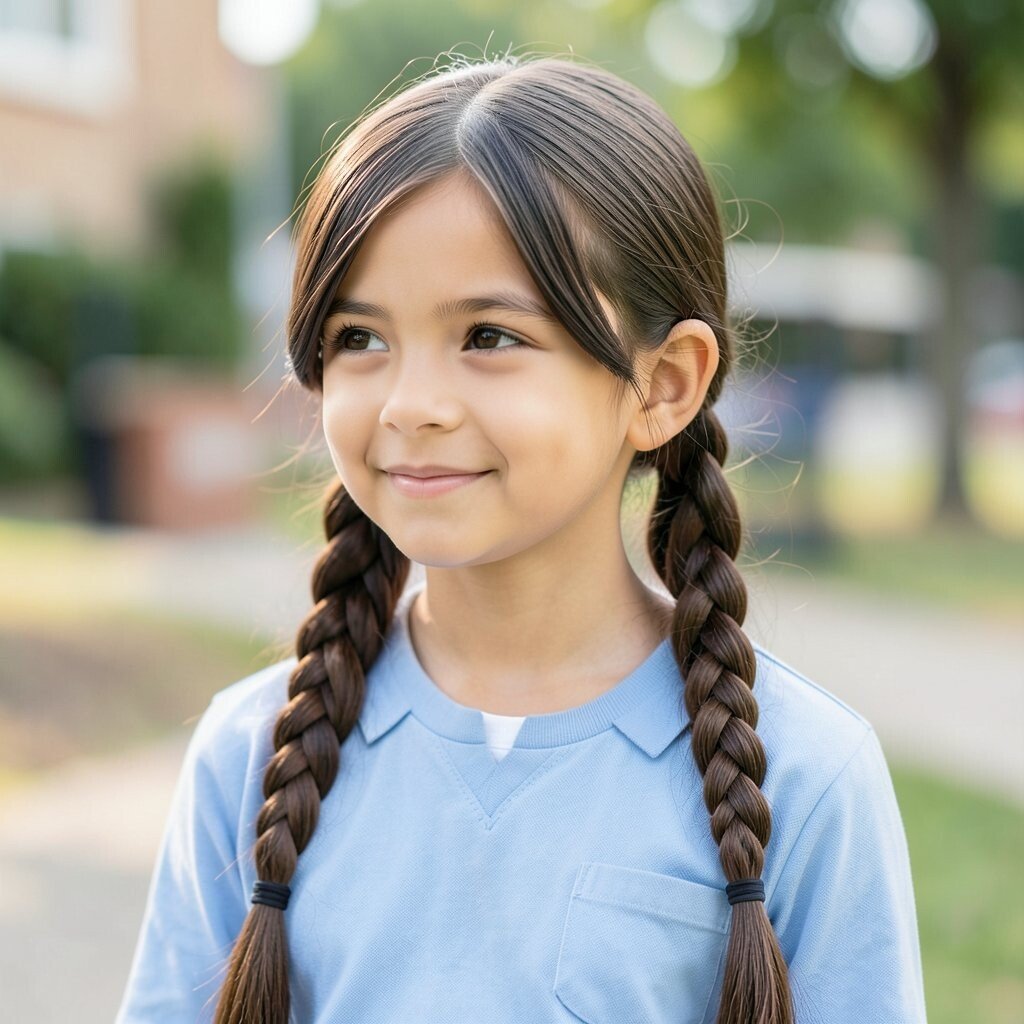
Part hair to one side and begin a Dutch braid, crossing strands under instead of over. Continue the braid down the side and secure with an elastic when you reach the end.
The braid stands out and looks bold, like a sporty hairstyle ready for gym day. It’s unique because the side sweep makes it feel different from a regular braid.
Use a small amount of smoothing cream to reduce flyaways around the hairline. For personalization, add a small ribbon tie at the bottom for a sweet touch. This style often costs only the price of an elastic and maybe one clip, which makes it easy for busy families.
If your child has bangs, you can braid around them so everything blends nicely.
12. Double Claw Clip Half-Up
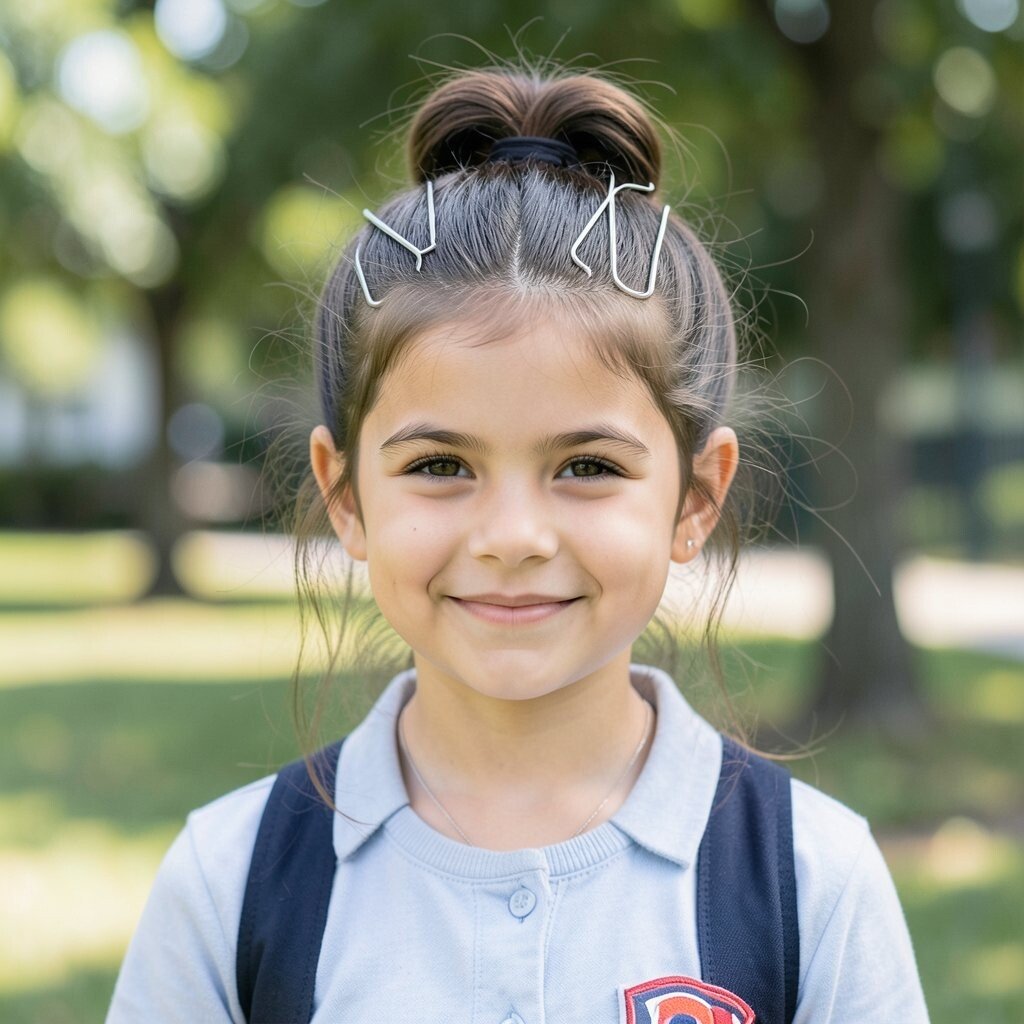
Separate the top half of hair and twist it slightly upward. Clip it with two claw clips placed side by side, then adjust to cover any loose strands.
Claw clips create instant volume and they’re quick, which helps on school mornings. This is a fun way to add personality because kids can pick clip colors like teal, pink, or classic black.
To keep it comfortable, make sure the clips sit on top of the hair rather than pressing into the scalp. For cost considerations, claw clips can be reused for many days, and you can start with one good set. The current vibe is “easy and shiny,” so a smooth finish helps this style look trendy.
13. Braided Pom-Pom Ends

Create one simple braid from the top of the hair down to the ends. Then twist the last section into a small pom-pom bun and secure it with bobby pins.
This hairstyle feels creative because it turns the braid end into a cute little “ball.” It’s also helpful for kids with long hair because it reduces the amount of loose hair that can tangle.
Personalize it by adding a tiny elastic around the braid before the pom-pom step. If your child likes a softer look, leave a few short pieces out around the face. Most families can do this with just elastics and pins, so the cost stays low.
For a stronger hold, spritz a tiny bit of hairspray on the pom-pom before pinning.
14. Sleek Ponytail With a Middle Part
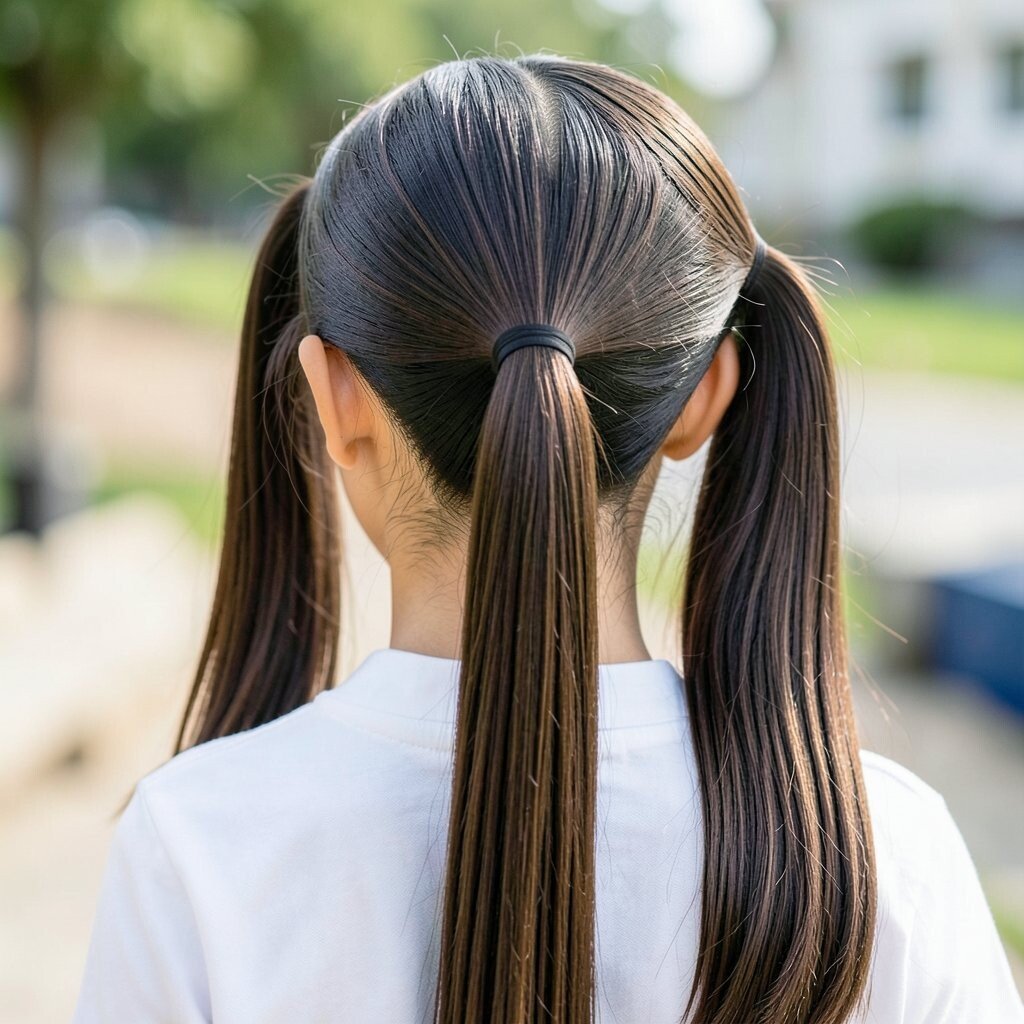
Brush hair straight, then make a neat middle part. Gather hair into a ponytail and smooth the top with a little gel or cream for a sleek finish.
This style looks clean and tidy, which can be comforting for kids who don’t like flyaways. It’s unique because the middle part gives a balanced, modern look.
For practical tips, use a soft brush and light water on the hair near the part. Personalize by choosing a ponytail holder with a glossy finish or a fun color. The cost is usually minimal since you only need a good elastic and a small styling product.
15. Ribbon-Filled Side Braid
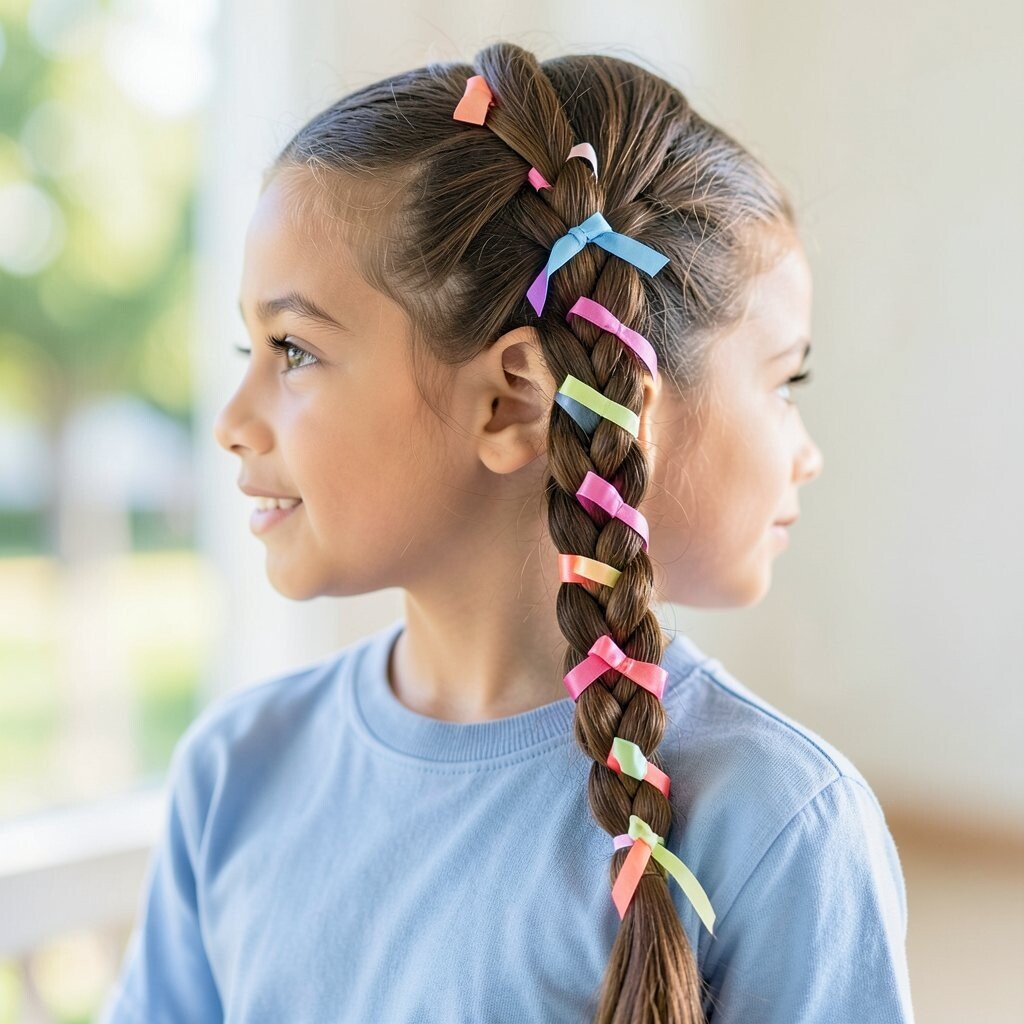
Make a side braid and weave a ribbon through as you braid. Leave the ribbon ends hanging, or tie them off at the bottom for a tidy finish.
This looks extra cute because the ribbon adds movement with every step. Kids benefit because it’s secure and keeps hair from falling into their eyes during class and play.
Choose a ribbon that matches the child’s personality, like bright and bold or soft and pastel. For personalization, try different ribbon widths so the style looks different each time. This can be a low-cost upgrade since ribbon is often inexpensive and you can reuse it for other outfits.
If your child is sensitive to scratchy fabric, pick satin or smooth ribbon for comfort.
16. Low Waterfall Braid With Loose Ends
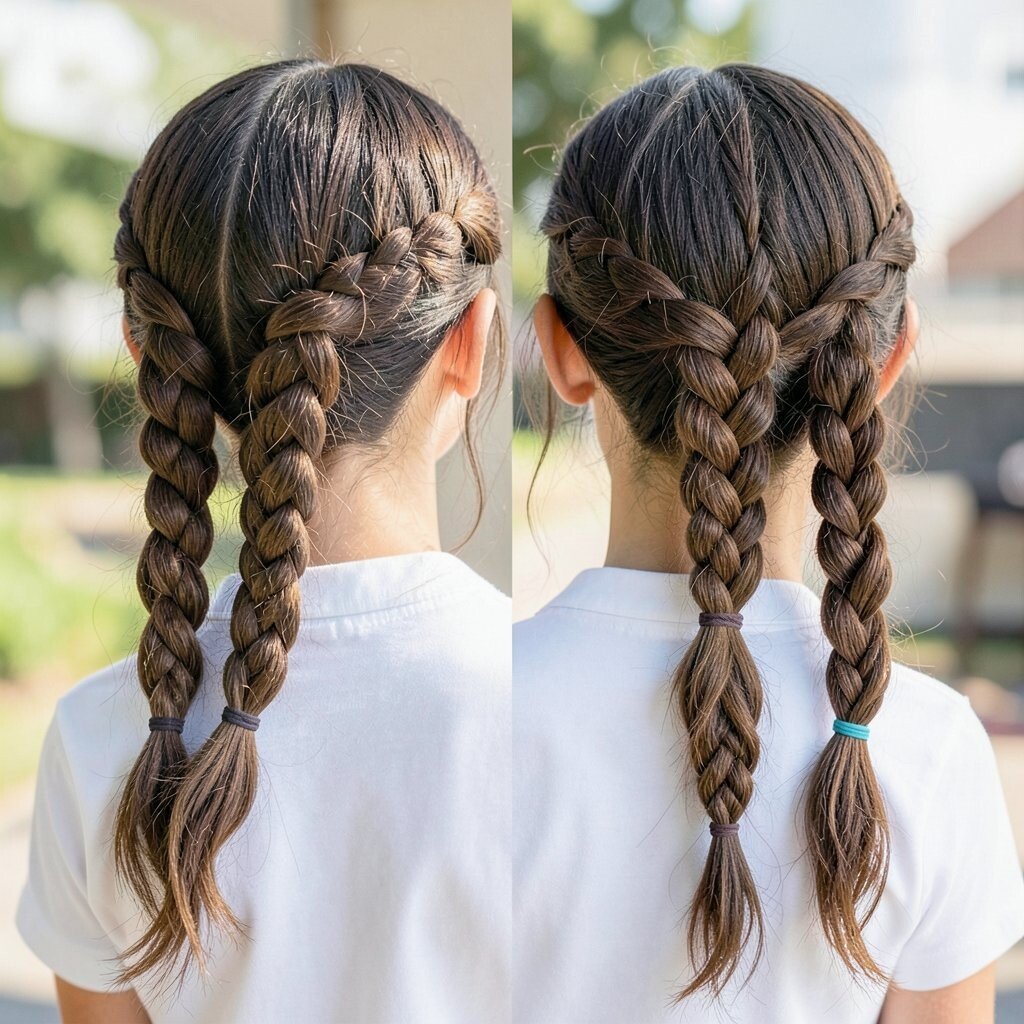
Part hair slightly and create a waterfall braid near the bottom half of the hair. Secure the braid with a small elastic, then let the rest of the hair fall naturally.
This hairstyle gives a gentle, pretty look without needing a full updo. It’s unique because the waterfall effect starts lower, which feels calm and not too busy.
To help it last all day, gently tug the braid strands so they sit flat and secure. Personalize by adding a small hair clip that matches a backpack or lunch box color theme. The cost is usually just elastics and a clip, making it easy on the budget.
Keep the braid tension light so loose ends feel soft and comfortable.
17. Top Knots With Two Mini Elastics
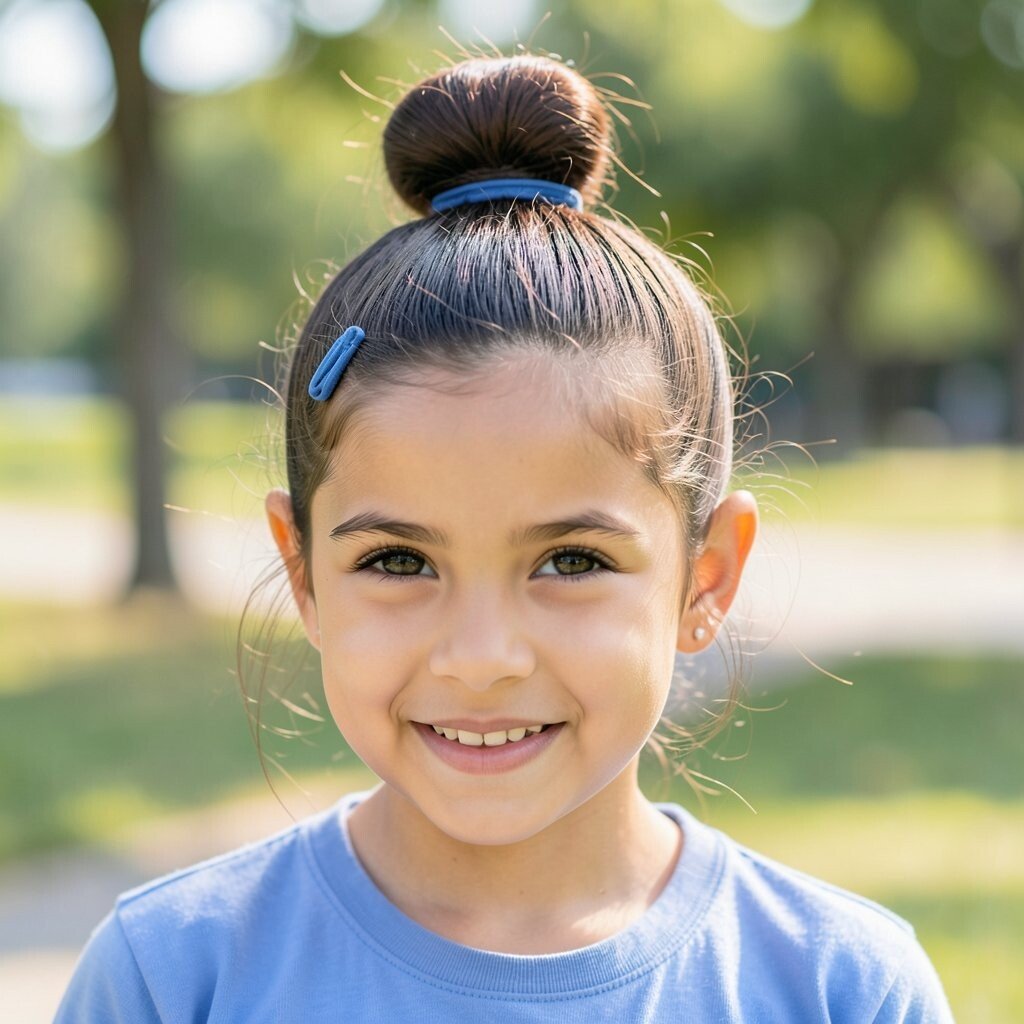
Gather hair into two small top knots, one on each side, using small elastics. Twist each section lightly before pinning into a mini bun so it feels secure.
Top knots can look playful and confident, especially for kids who love sporty styles. They’re practical because hair stays off the neck during warm mornings and active days.
Personalize by using elastics that match favorite characters or seasonal colors. For uniqueness, leave a few curls loose at the front for a sweet frame. Costs are typically low since you only need elastics and bobby pins, plus maybe one cute clip.
18. Braided Bangs With the Rest Down
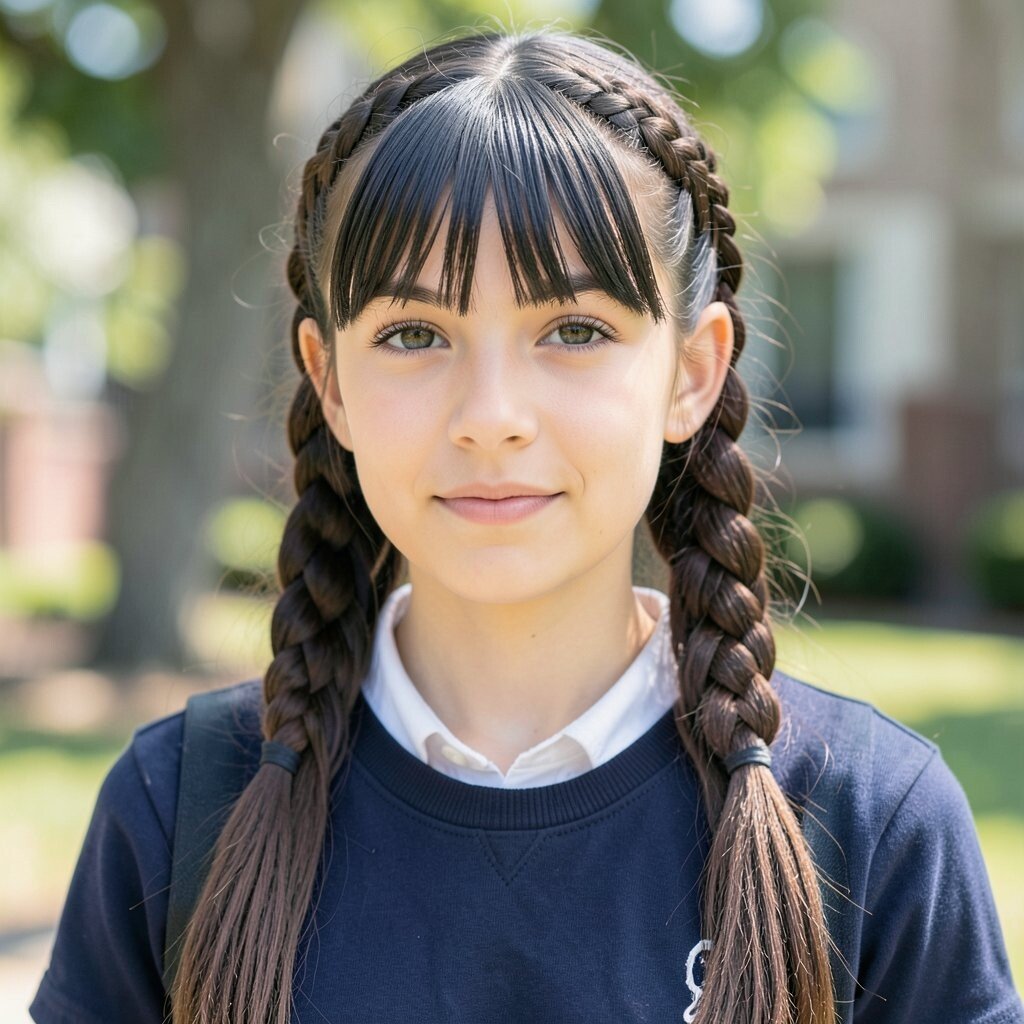
Take the front fringe area and braid it into a small three-strand braid. Pin it to the side or back, and keep the rest of the hair down and natural.
This is a smart choice for kids with bangs because it controls hair without hiding their face. It feels unique because it’s a small detail hairstyle rather than a full updo.
For practical tips, use a tiny elastic to secure the braid neatly. Personalize by adding a small decorative pin where the braid meets the rest of the hair. The cost stays low, since bobby pins are easy to find and usually already in your kit.
It also works well with curly or straight hair, depending on how you style the main length.
19. Twisted Ponytail Tail Wrap
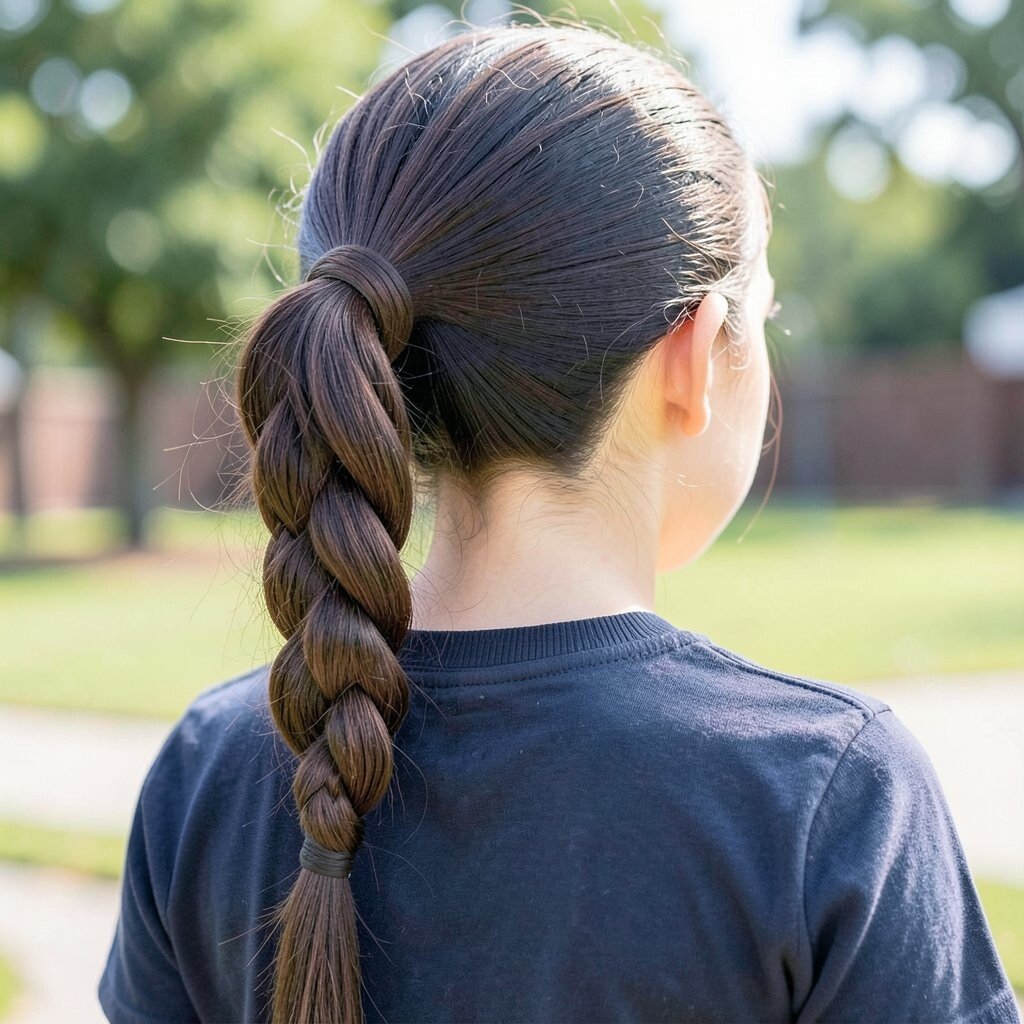
Brush hair into a ponytail and secure it with an elastic. Then twist a small section around the base and continue twisting lightly down the ponytail before wrapping it back into place.
The tail wrap adds a finishing detail that looks fancy but doesn’t take long. Kids benefit because it reduces flyaways around the ponytail base, which is where hair usually loosens first.
For personalization, choose a ribbon or patterned elastic for the base. If hair is slippery, use a tiny amount of styling cream before twisting. Cost considerations are simple since you use basic supplies, and the look feels like a special styling moment.
This kind of twist detail is popular right now because it looks smooth and modern in photos.
20. Curly Puff With Scarf Tie
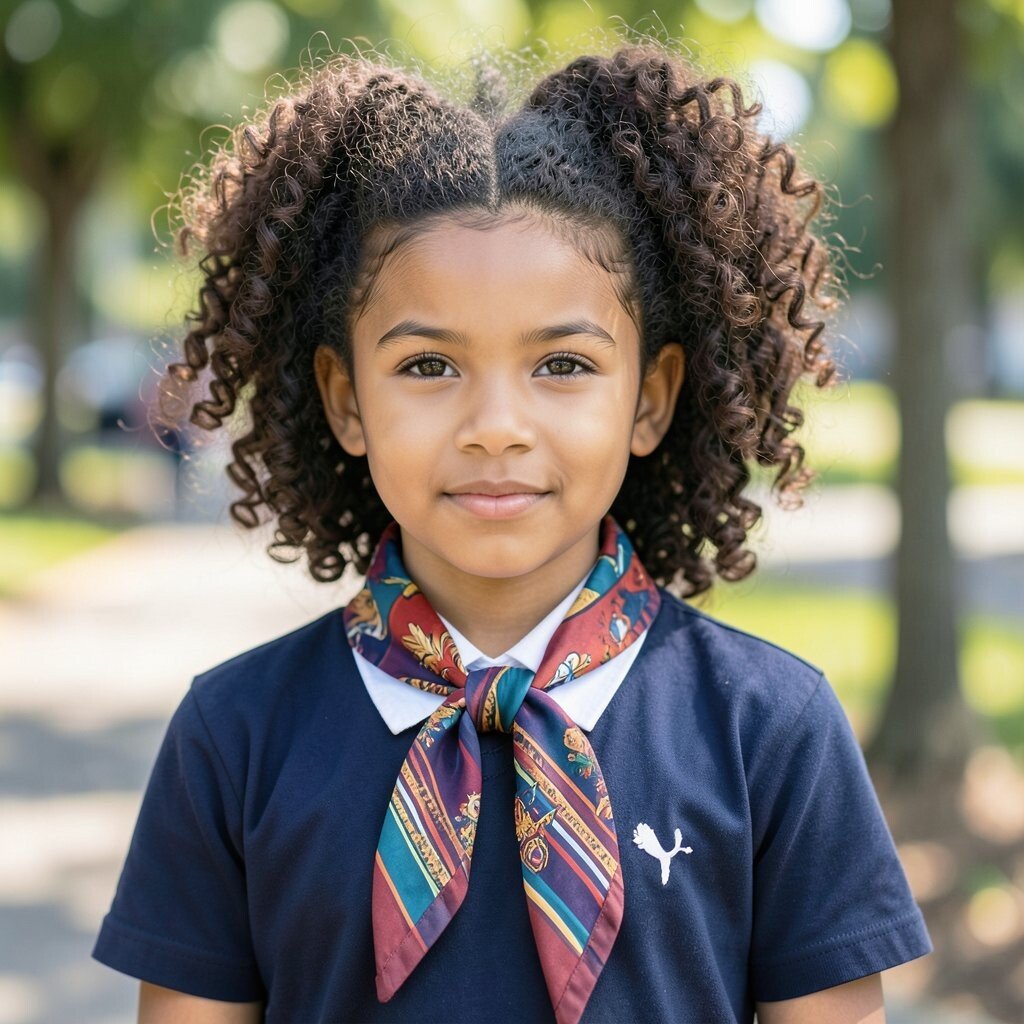
Gather curls into a puff at the top or back of the head and secure with an elastic. Tie a small scarf around the puff, leaving the ends to flutter slightly or tucked neatly depending on comfort.
The scarf adds color and confidence, turning everyday curls into a bold statement. It’s unique because it celebrates texture and uses fabric as a playful accessory.
To keep it practical, use a soft scarf that won’t scratch and tie it snug but not tight. Personalize by selecting a scarf that matches the child’s favorite outfit or a school spirit color. This can be a mid-range cost depending on scarf quality, but it offers lots of rewear for other days too.
For best results, use a light curl gel so the puff holds shape through the morning hustle.
21. Classic Side Part With Tucked Ends and Clips
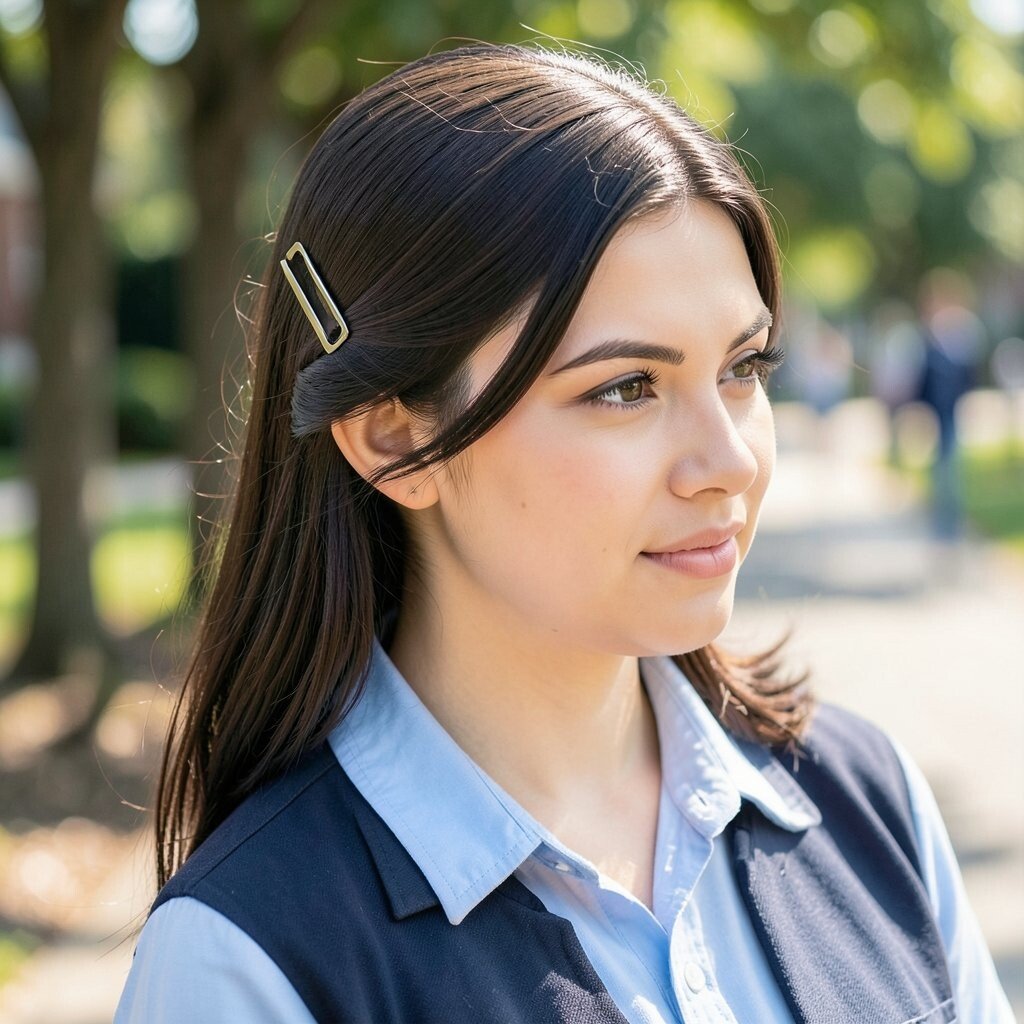
Make a side part and sweep one side behind the ear. Tuck the ends along the back using bobby pins, then add two small clips near the top for extra hold.
This hairstyle is calm and neat, great for kids who want their hair off their face but still want it to look natural. It’s unique because it uses small pin placement to shape the look instead of relying on a full braid or bun.
For practical tips, keep the pin ends hidden by sliding them under the top layer of hair. Personalize by using clips with cute shapes, like bows or tiny stars, that match the child’s style. The cost is usually low because bobby pins and clips are affordable and you can mix and match them.
It also works on most hair types, so it’s an easy go-to for many school mornings.