Getting ready for school can feel rushed, but your hair doesn’t have to look rushed too. With a few smart styles, you can feel cute, comfortable, and confident all day.
These ideas are quick, beginner-friendly, and perfect for busy mornings. Each one comes with practical ways to make it fit your hair and your personality.
1. Two-Sided Half-Up Twist
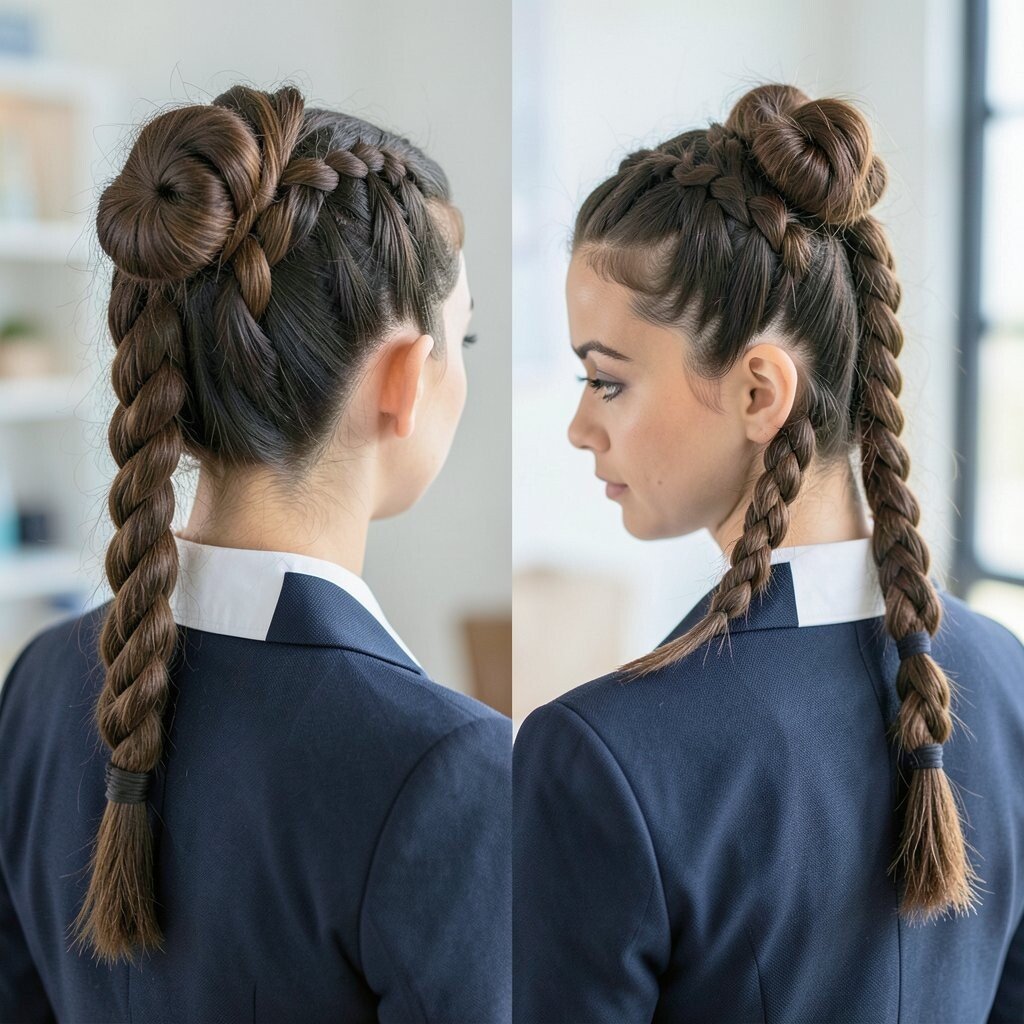
Part your hair into two sides and grab a small section near each temple. Twist each side back and meet it at the top with a bobby pin so it looks neat from the front.
You’ll get a pretty “pulled together” look without needing a lot of product. This style keeps hair out of your face during class and still shows off your natural texture. Try using a sparkly clip instead of plain pins to match your outfit and your mood.
2. Messy Bun With a Ribbon Wrap
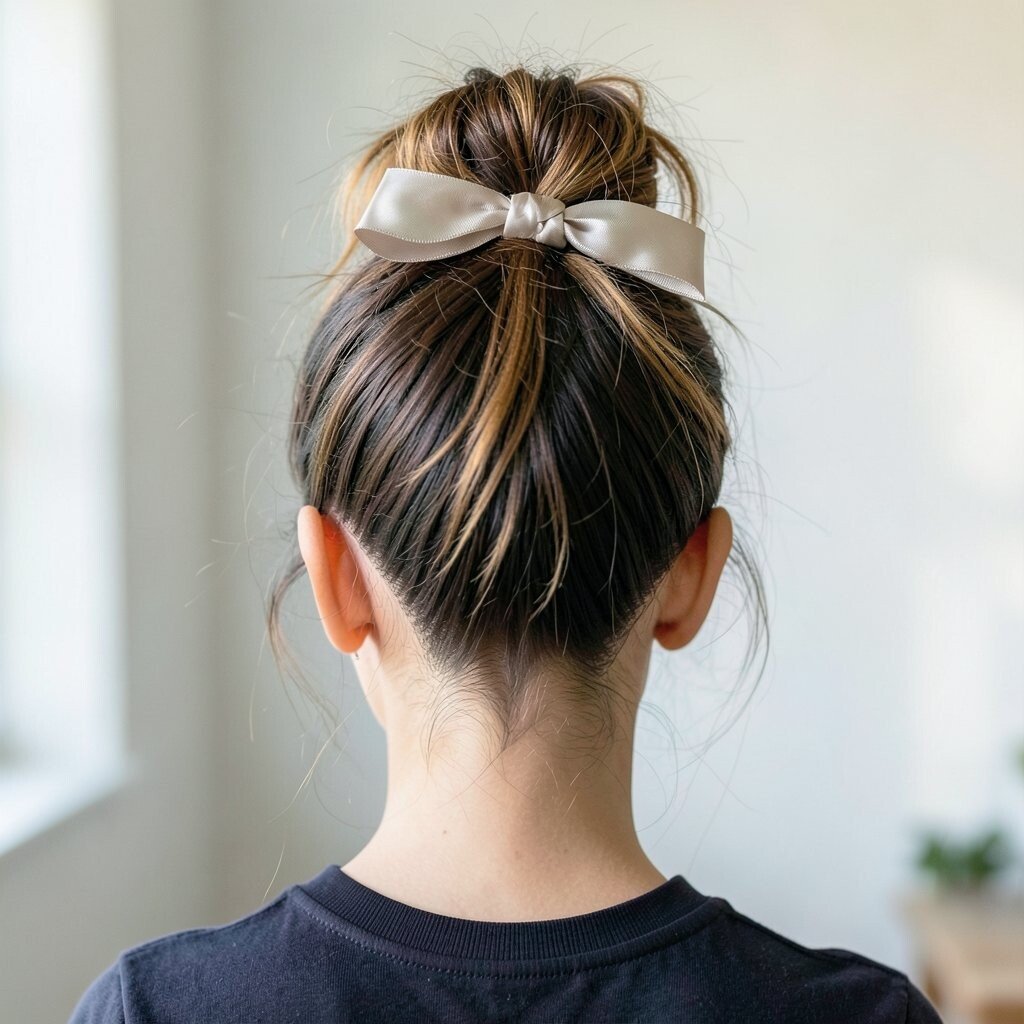
Gather your hair into a loose bun at the back of your head and let a few pieces fall around your face. Wrap a ribbon, scrunchie, or thin scarf around the base, then tie it in a simple bow.
The look is playful and intentionally soft, so it forgives flyaways and uneven hair days. It’s great for thick or fine hair because the base stays secure while the ribbon adds color. If your bun slips, use one extra bobby pin and lightly tighten the ribbon at the center.
For personalization, choose a ribbon color that matches your backpack or favorite hoodie. This is also a budget-friendly option because you can reuse a scarf from your closet. Right now, cute accessories like ribbons and patterned scrunchies are trending in everyday school styles.
3. Bubble Ponytail With Mini Elastics
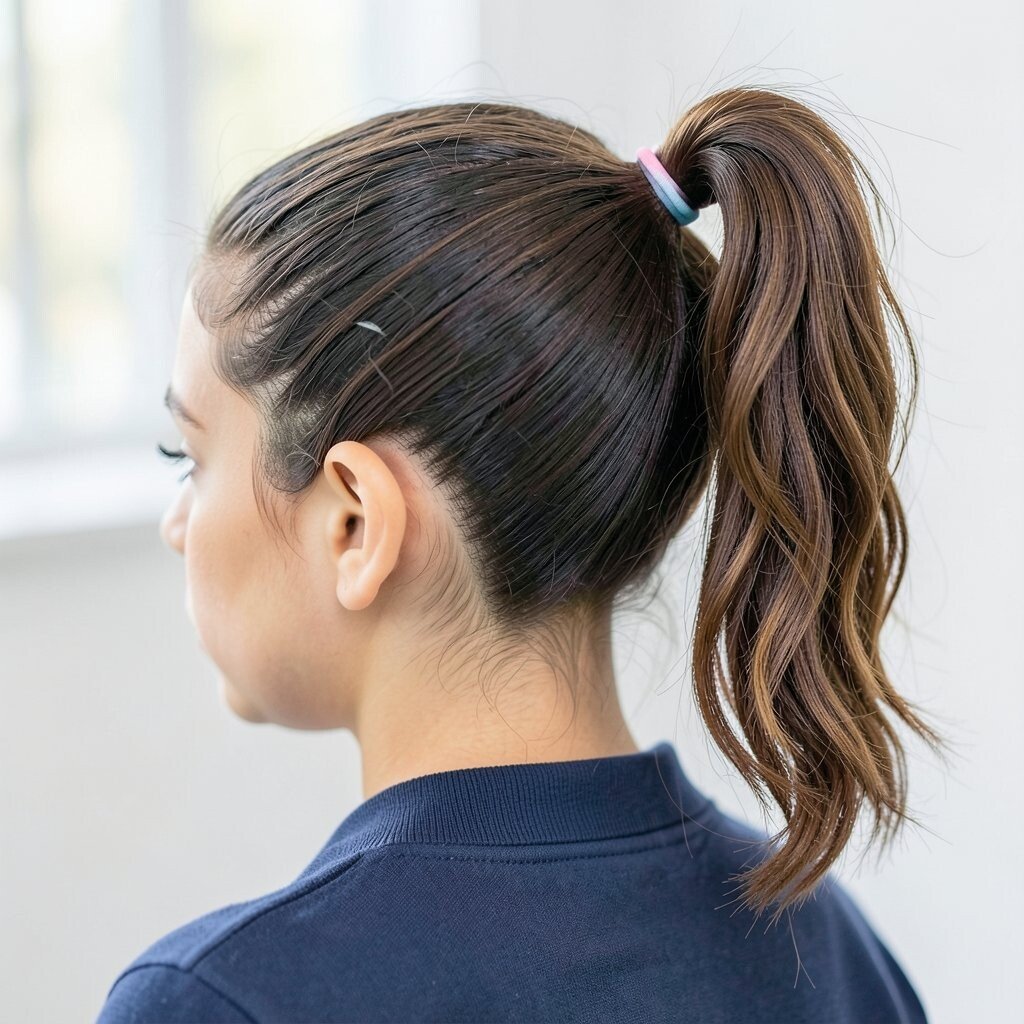
Brush your hair smooth into a mid or high ponytail. Slide small elastics down the length of the ponytail to create “bubbles,” spacing them evenly.
To finish, tug gently at each bubble so it looks full and round. This gives your hair a fun, bouncy shape that looks adorable in photos. If you have shorter hair, try it as a low ponytail and keep the bubbles closer together.
The technique works for many hair types, and it can look sleek or messy depending on how you style the top. For extra comfort, use soft elastics that won’t pinch your scalp. You can also personalize it with hair extensions or a thin braid woven into the ponytail for a sweet detail.
4. Side Braid Crown
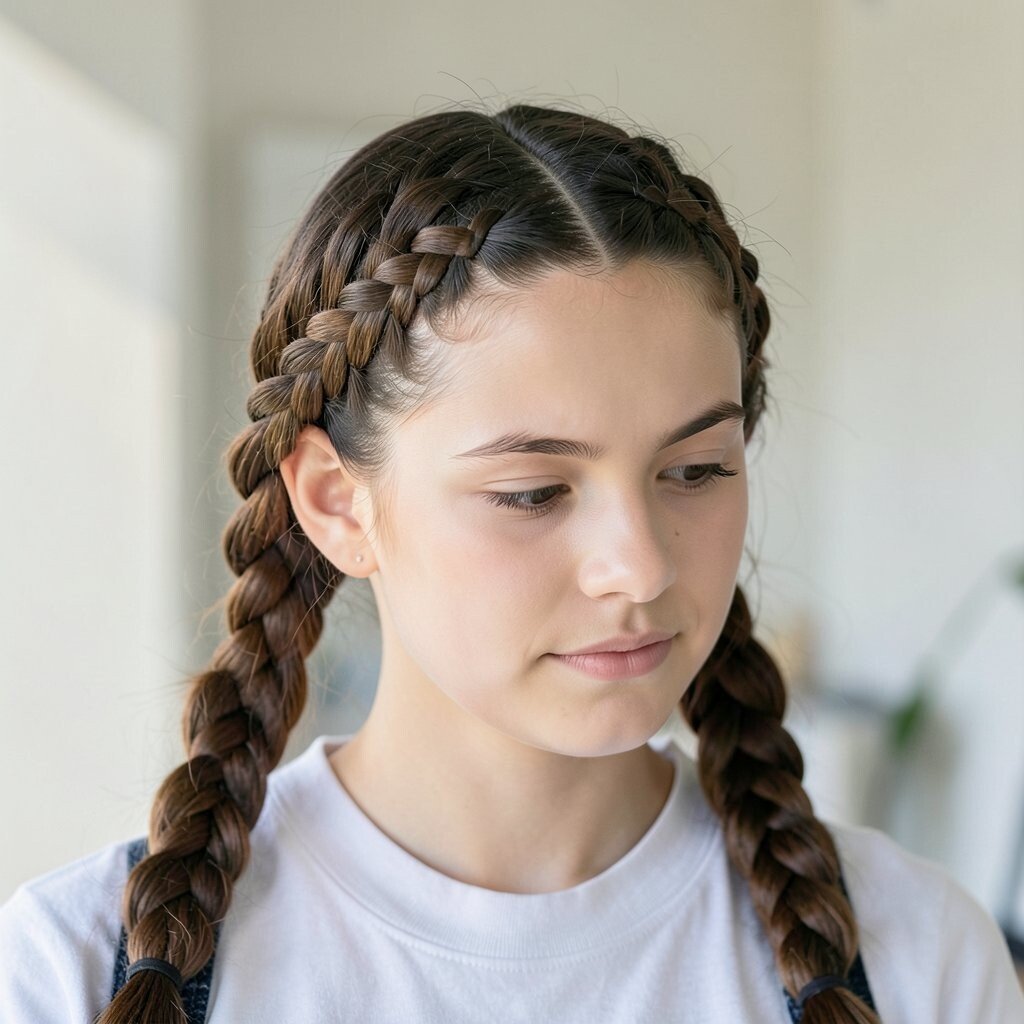
Take a section of hair from one side of your head and braid it loosely along the hairline. Bring the braid across your forehead like a crown, then secure it with bobby pins on the opposite side.
This style looks fancy but is actually simple once you practice the rhythm. It helps keep bangs and face-framing pieces in place, which is helpful during windy days at school. For a unique touch, add a tiny charm clip near the pins to make it feel special without being distracting.
If your hair is slippery, spritz a tiny bit of lightweight leave-in conditioner before braiding. Cost stays low because you only need pins, and braids are easy to repeat with different partings. A crown braid is also a current favorite for school because it pairs well with sporty uniforms and casual outfits.
5. Sleek Low Pony With Scarf Tie

Brush your hair back and gather it into a low ponytail at the nape of your neck. Tie the ponytail with an elastic, then wrap a scarf around the tie area and knot it under the pony.
The scarf makes the pony look polished and intentional, even if you’re short on time. It keeps hair off your shoulders so you can focus during classes and activities. Choose a scarf that matches your favorite color and your style will feel instantly upgraded.
If you want it extra smooth, use a pea-size amount of gel or mousse on the outer layer only. This look works well for thick hair because the low position still feels comfortable. For fine hair, you can tease the crown slightly before tying to add volume.
6. Half-Up Clip and Tuck
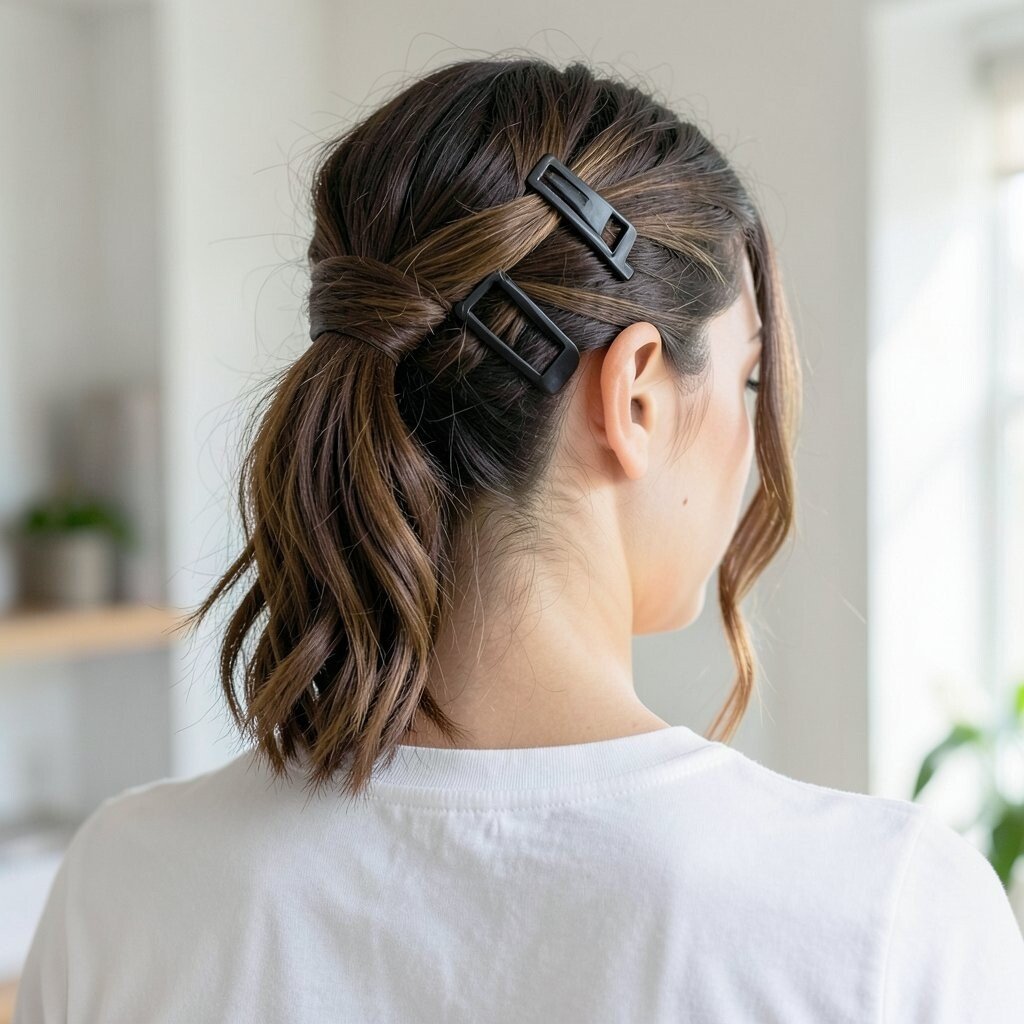
Part your hair where you like, then take the top half from behind your ears. Twist it gently and tuck the ends under, using a claw clip or two bobby pins to hold it.
You’ll love how fast this is, because it doesn’t require sectioning or complicated steps. The top stays secure, while the rest of your hair falls naturally for an easy, cute vibe. If you have layers, this style highlights them beautifully instead of fighting them.
Try using a clip with teeth if your hair is thick, and use smaller pins if your hair is finer. For personalization, add a ribbon to the clip or pick a clip color that matches your everyday accessories. It’s a great low-cost style since most people already own a claw clip or can find one cheaply.
7. High Pony With Loop-Through Detail
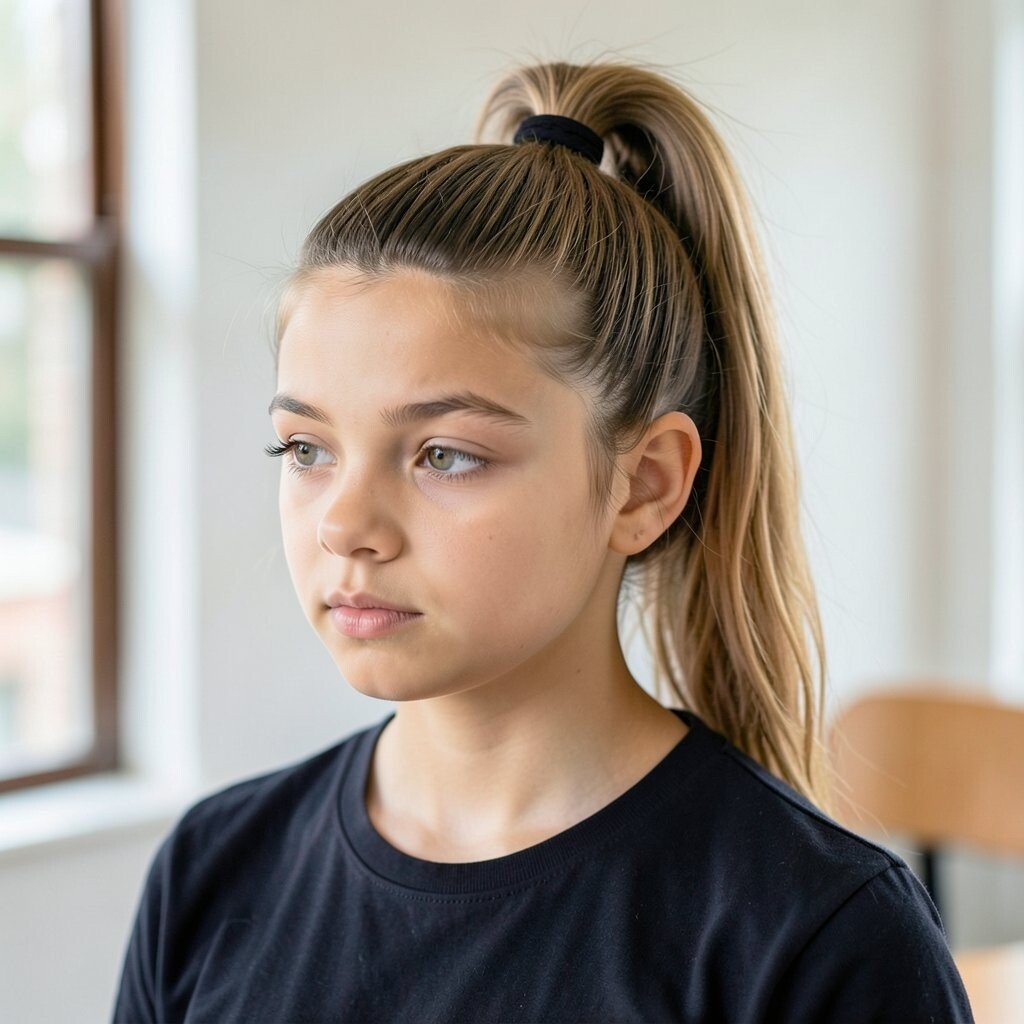
Tie your hair into a high ponytail and secure it with an elastic. Take a small section above the tie, split it, then pull the ponytail through the opening once to create a loop effect.
This creates a “designed” look while still taking only minutes. It also helps the pony sit tighter, which is great for sports, marching bands, or after-school clubs. If you want a softer look, tug the loop slightly loose so it looks romantic instead of tight.
To personalize, wrap a thin strand around the elastic base so it blends in, or add a ribbon around the loop. For cost, you can use one decorative hair tie and a couple pins, so it stays budget-friendly. Recently, loop and twist details have been popping up in school-friendly hairstyles because they look unique without being hard.
8. Two Braids, One Side
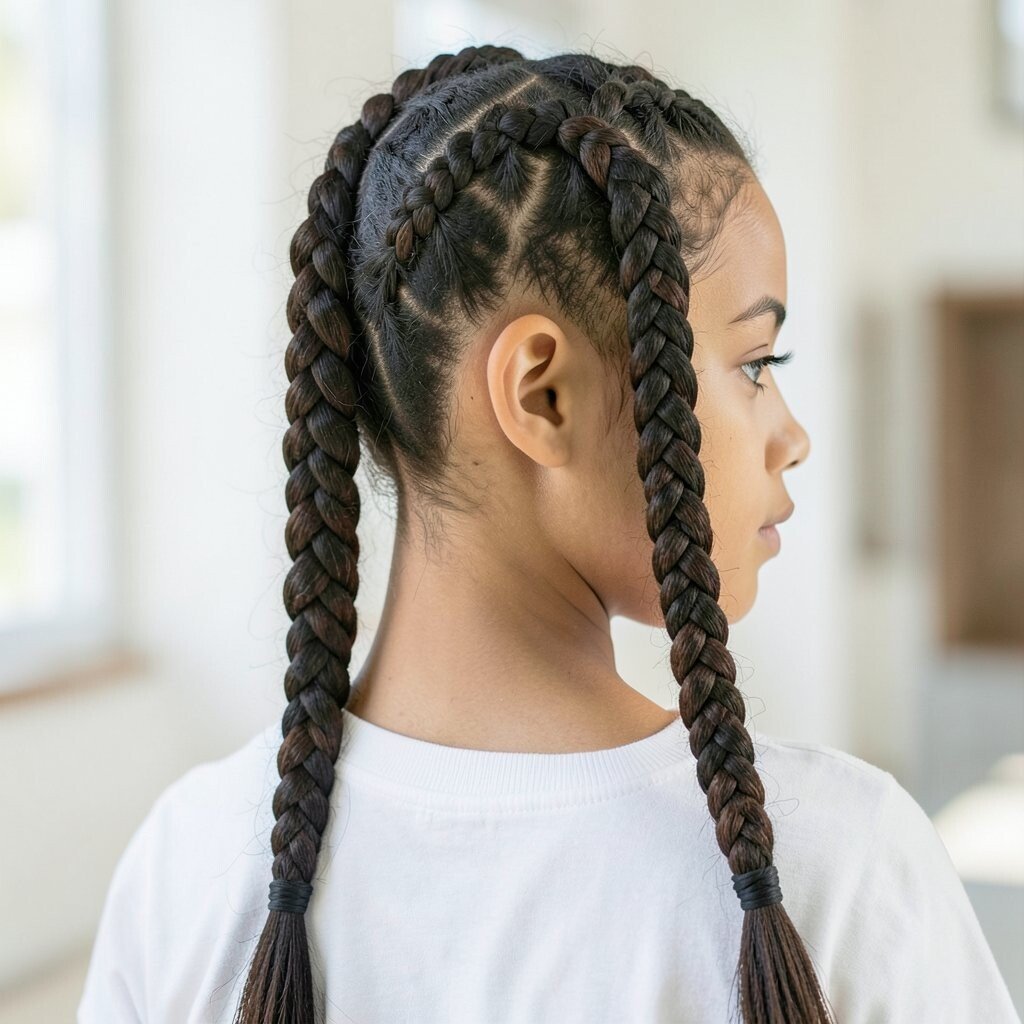
Part your hair down the middle, then braid each side in the usual way. Instead of keeping them separate, bring both braids toward one side and secure them with a small elastic or pins.
This gives a sporty, stylish look that stays out of your face. You get a strong shape that looks great even when your hair isn’t perfectly smooth. If you have curly hair, braid with a bit of styling cream so the braid holds and looks defined.
For personalization, keep the braids thick and chunky for a bold look or make them thinner for a delicate vibe. It’s also easy to redo throughout the day if one braid loosens. The whole style requires almost no extra supplies, so it’s an affordable choice for school mornings.
9. Faux-French Roll (Pinwheel Roll)
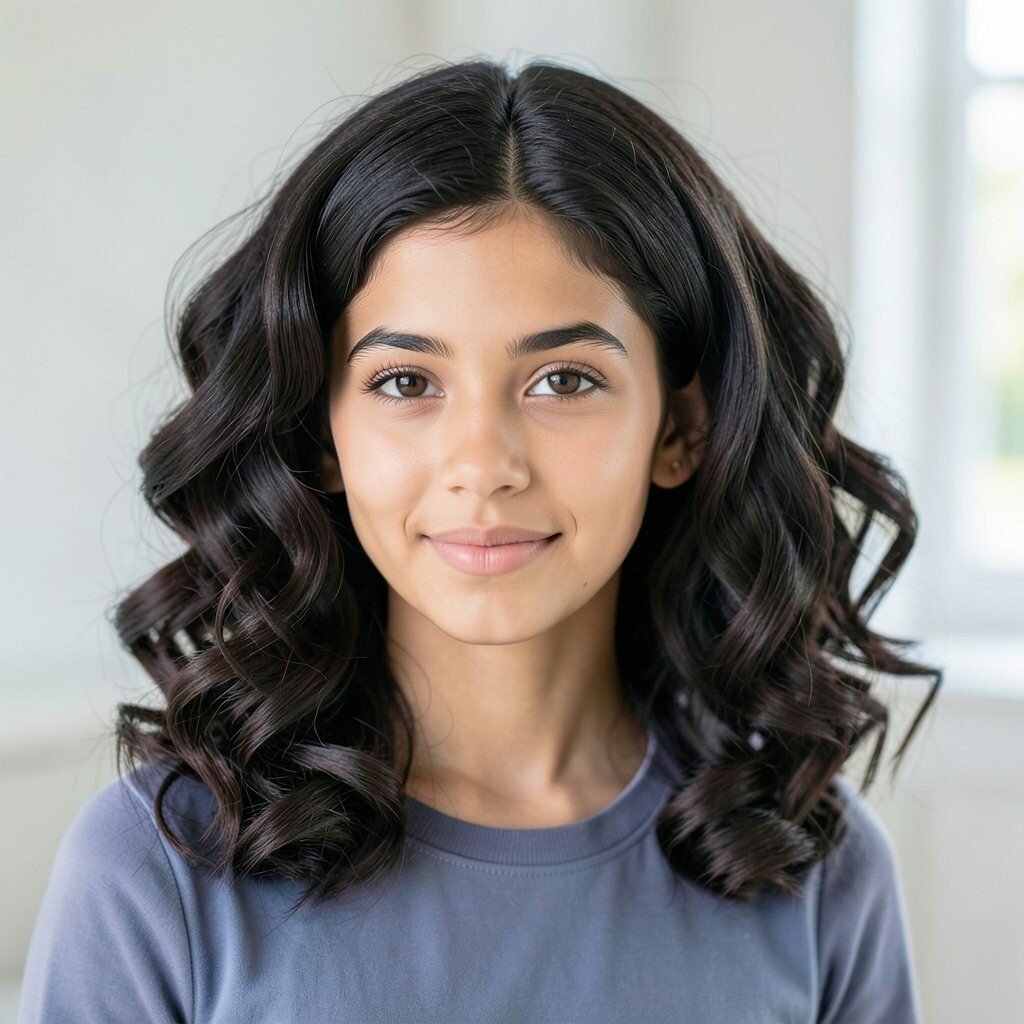
Starting at the front, take a small section of hair and twist it backward tightly. Roll it up toward the top of your head like a tiny bun, then secure with bobby pins.
This creates a classy shape that looks like you worked harder than you did. It’s helpful for days when your hair feels puffy because the roll gives it direction. For uniqueness, try two small rolls on each side instead of one big roll and let your bangs blend naturally.
To keep it comfortable, avoid pushing pins too close to your scalp, and place them slightly outward. Cost is minimal because you only need pins and maybe a tiny touch of hairspray. This “faux” roll style is popular because it looks elegant but fits everyday school life.
10. Top Knot With Face-Framing Pieces

Gather the top part of your hair into a high bun, leaving a few strands loose around your face. Twist the bun tightly if you want it neat, or loosen it slightly for a casual look.
The face-framing pieces soften the style and make it look cute instead of too strict. Top knots are also great when you need your hair off your neck for warm classrooms. If your hair is thick, use a donut bun tool to make it easier, and pin down any extra bulk.
11. Low Twisted Braid Pony
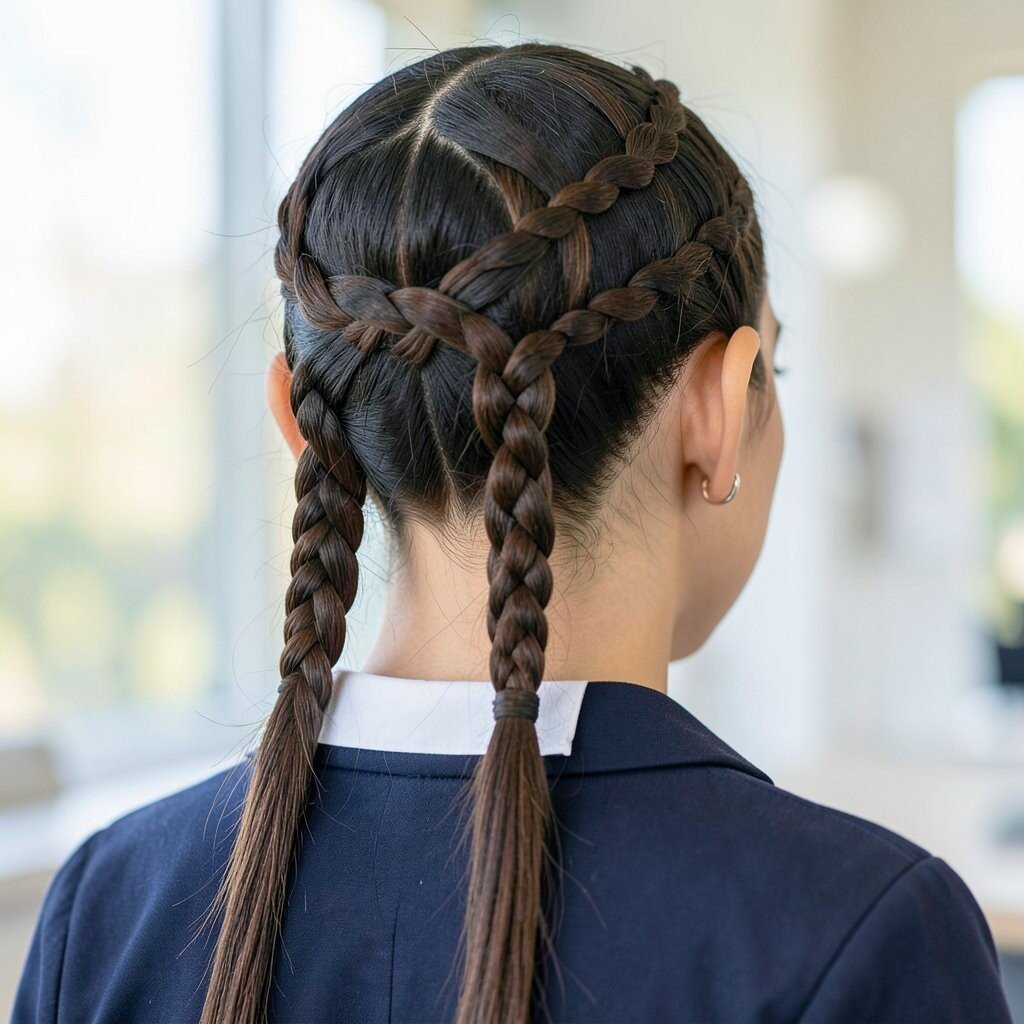
Make a low ponytail and split it into two sections. Twist each section once, then twist them together like a braid, securing the end with an elastic.
This style looks more detailed than a regular pony, but it still takes just a few minutes. The twisted braid adds texture and helps hold your hair in place all day. For personalization, wrap a thin ribbon around the base and keep the end section slightly messy for a trendy finish.
If you have wavy hair, this method helps define your natural shape. For cost, you can rely on elastics and pins, which are inexpensive and easy to replace. Twisted braid looks are trending because they sit between “sporty” and “pretty” in the best way.
To prevent frizz, smooth a tiny amount of anti-frizz serum over the outer layer before twisting. That small step makes a big difference in how neat your ponytail stays.
12. Braided Bangs Into a Side Clip
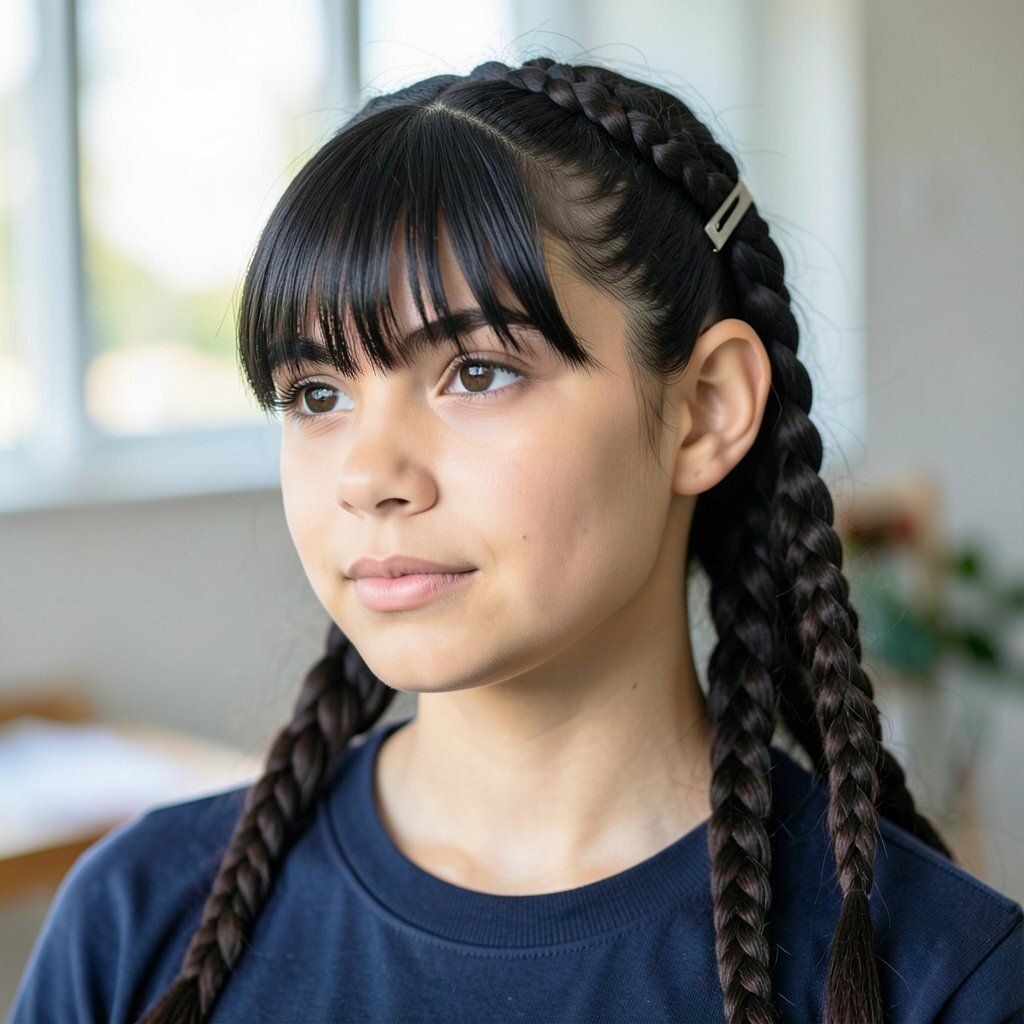
Take a small braid from the front near your bangs and braid across toward the side. Secure it with a cute clip, then let the rest of your hair flow.
This is perfect for days when you want your bangs controlled but don’t want to pin everything down. The mini braid looks adorable and adds a little detail to plain hair. If your bangs are longer, weave the braid slightly into your main hair so it feels secure.
13. Crown Braid With a Center Part
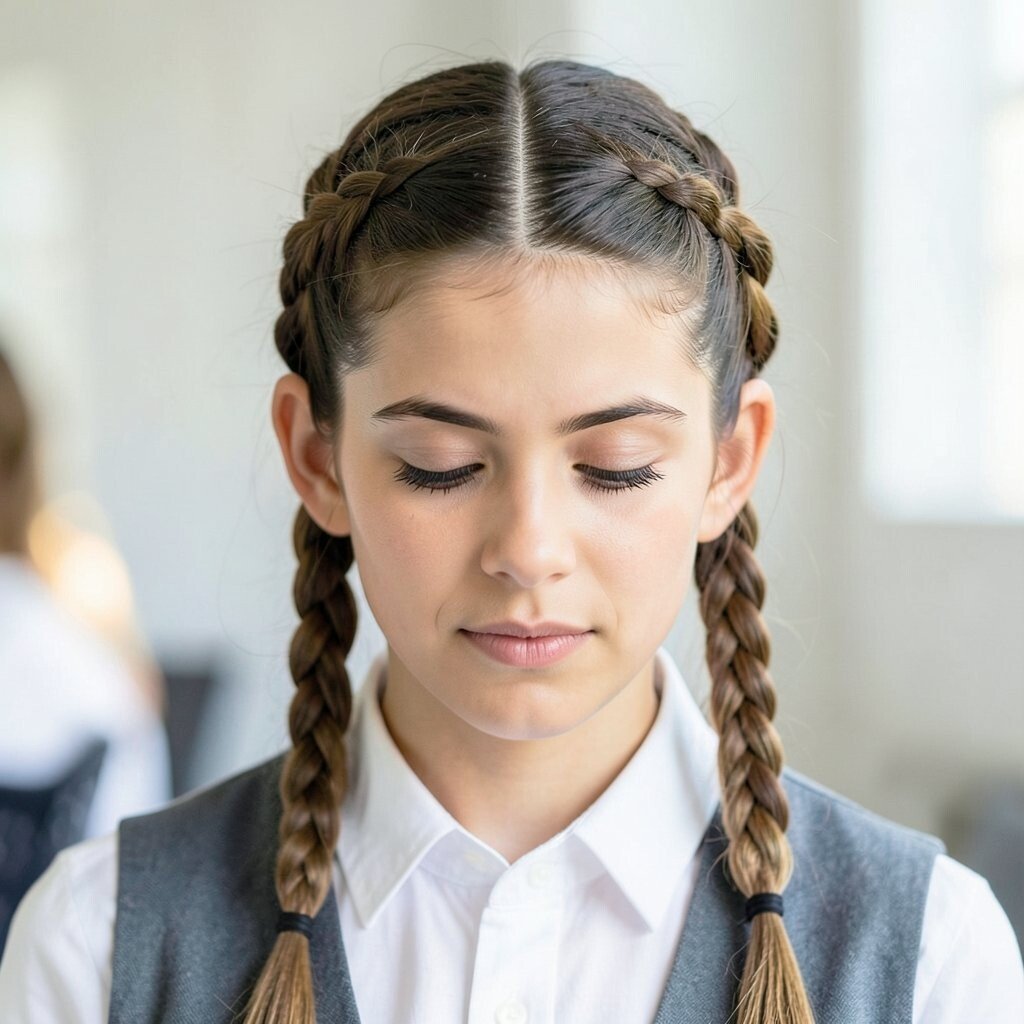
Part your hair in the middle and start braiding small sections along both sides. As you braid, add hair from each side so it forms a crown shape around the head.
This style looks symmetrical and “put together,” which feels great for school photos and presentations. It also keeps hair tucked back during the day, especially if you have longer hair. For uniqueness, use a slightly looser braid so the crown looks airy instead of tight.
To personalize, place the braid a little higher for a youthful look or keep it lower for a softer vibe. Cost stays low since you need only elastics and pins. Crown braids are a current favorite because they match lots of outfits and look polished without being overly formal.
If your hair is fine, spritz a tiny bit of texturizing spray before braiding to create grip and volume. Then tug the braid gently after securing it for a fuller finish.
14. Curly Hair Coil Clips (For Any Length)
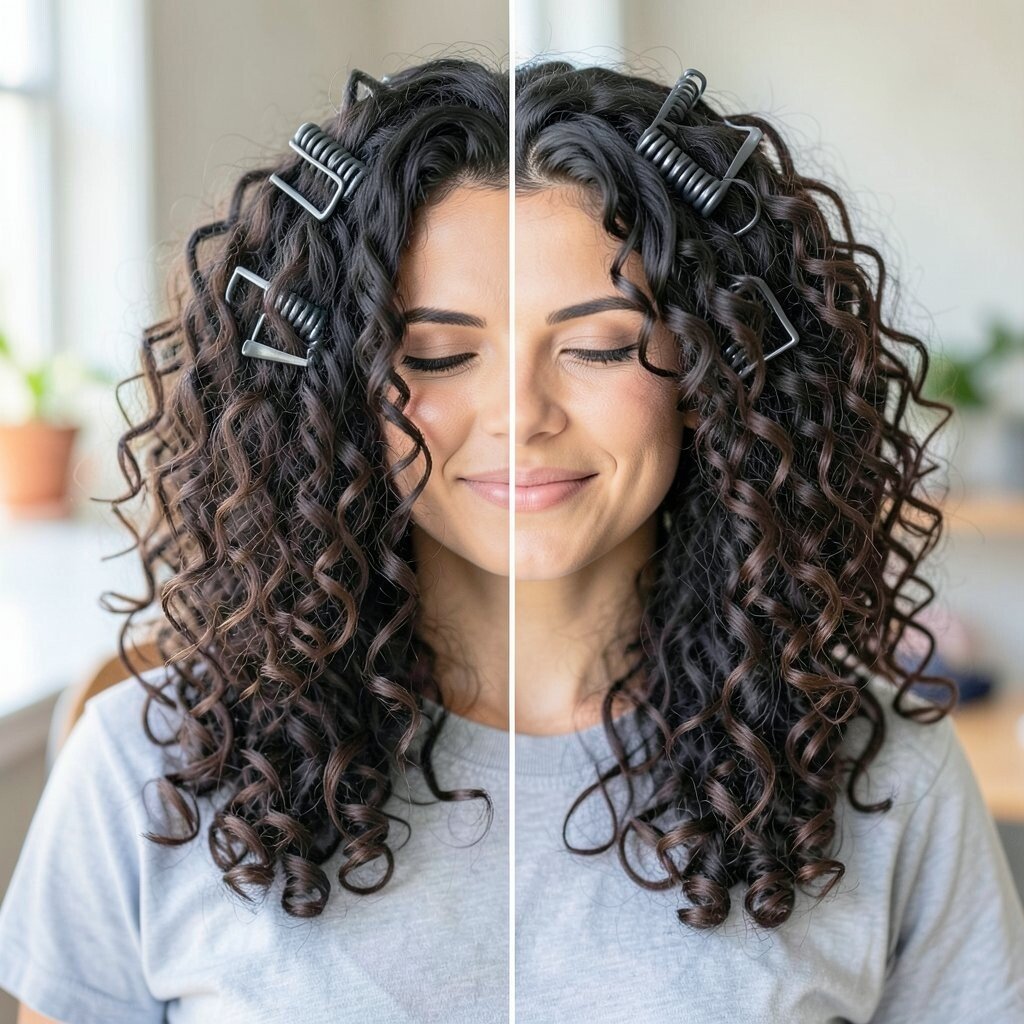
If you have natural curls, separate your hair into small sections and twist each section into a loose coil. Pin each coil near the root with a bobby pin or small clip so the curls look intentionally placed.
This makes your curls the star, instead of fighting frizz or flatness. It’s comfortable, and it helps your hair hold shape during the day. Try mixing sizes of coils for a playful look, with bigger coils on top and smaller ones near the sides.
You can personalize it with a headband over the coils if you want extra security. For cost, you only need pins and maybe a lightweight curl refresher. This style feels unique because it looks like you styled your curls specifically for your school routine.
Before pinning, scrunch with a little leave-in conditioner or curl gel so the coils spring back nicely. After that, let your hair do what it already loves, and you’ll get a cute, effortless result.