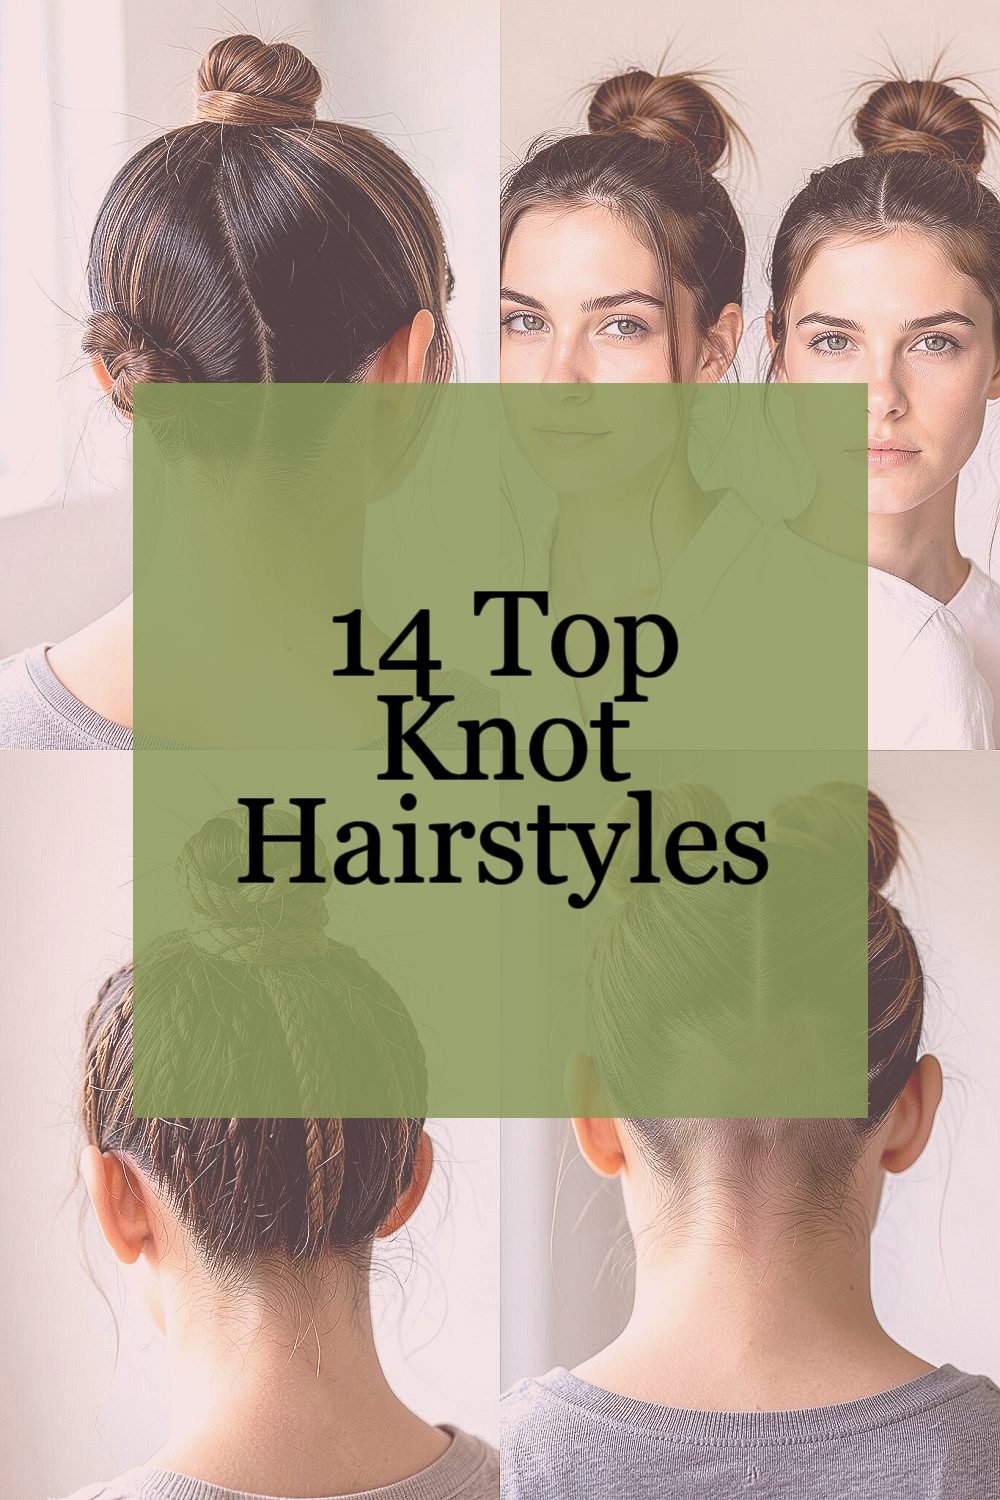
A top knot can make your whole look feel polished in minutes. It’s easy, stylish, and surprisingly versatile.
1. The Classic High Top Knot With Sleek Finish
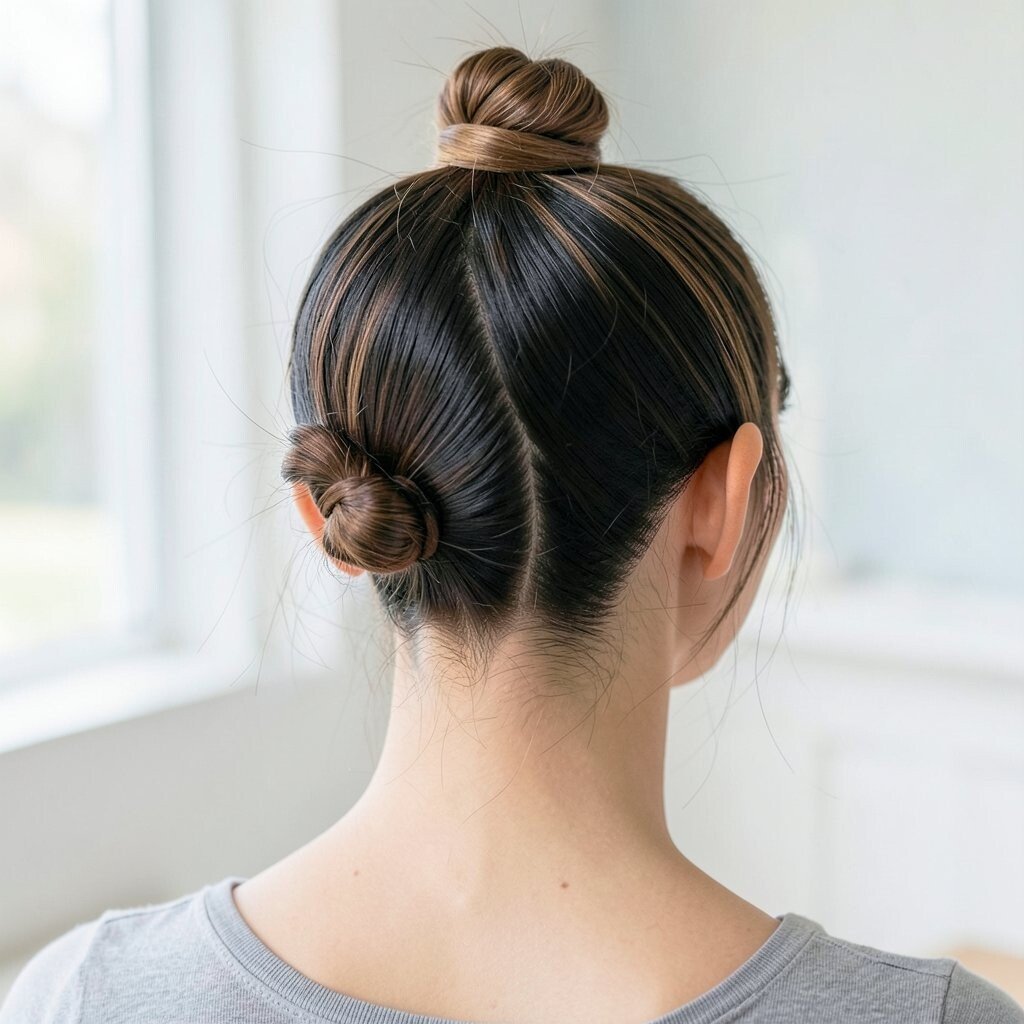
The classic high top knot sits right at the crown, smooth and confident. When your hair is gathered tight and wrapped neatly, it frames your face like a friendly spotlight.
You can use a brush to flatten flyaways, then secure with an elastic and a second pin for extra hold. This style works well for school days, work meetings, and nights out because it keeps hair off your neck and shoulders. Try adding a light shine spray so the bun looks fresh instead of dry.
2. Loose Top Knot With Soft Face-Framing Strands
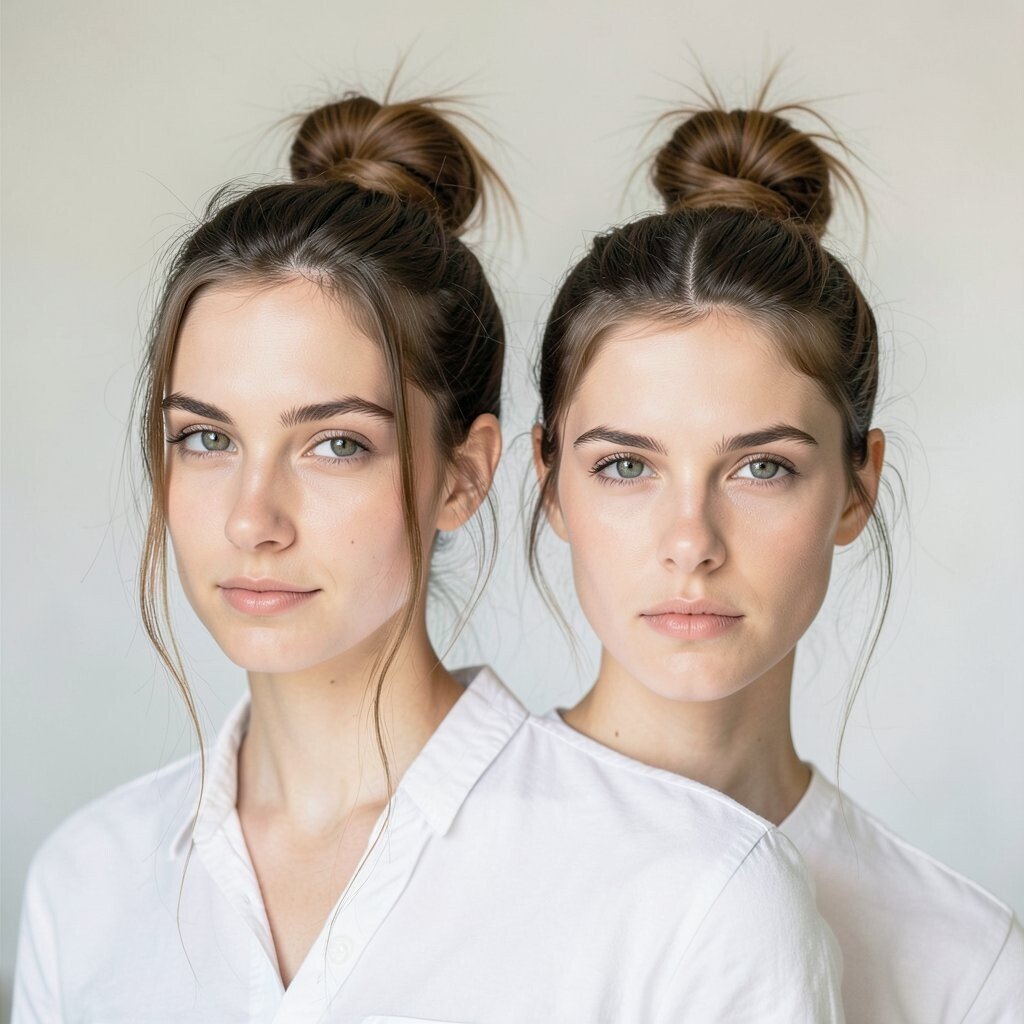
Instead of pulling everything back, keep a few strands loose near your cheeks. The bun still feels put together, but it looks effortless and airy.
Loosen the base slightly after you pin it, then tug at the crown for a relaxed shape. This makes your hair look fuller and adds movement, especially if you have fine hair. It’s a great choice if you want a casual vibe without feeling messy.
For personalization, part your hair in the middle or on the side to change the whole mood. If you want it to last longer, use a texturizing spray on the loose pieces before you gather. This look usually costs little since you only need basics like hair ties, pins, and a small styling spray.
3. The Twisted Top Knot With Rope Texture
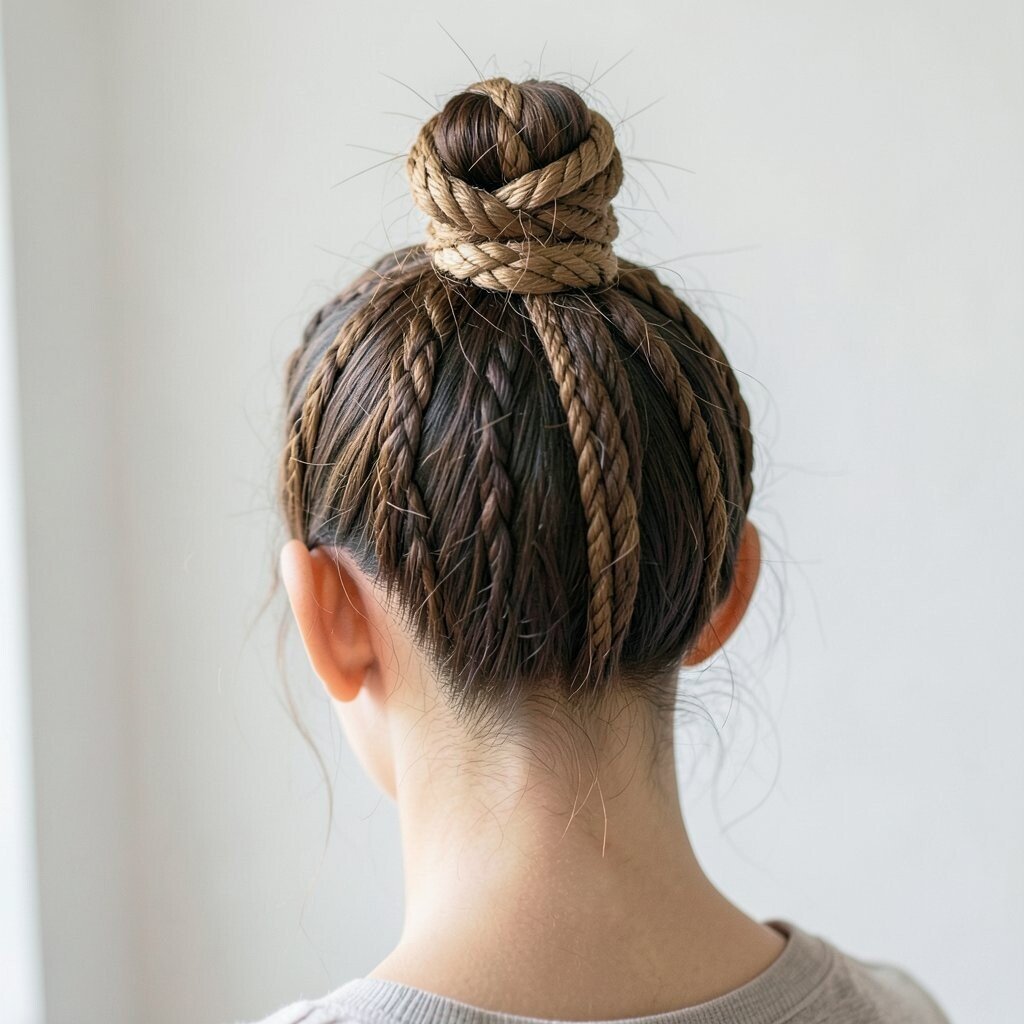
A rope-textured top knot looks like you braided your hair, even if you didn’t. You twist sections together, then wrap them into a bun that shows off beautiful detail.
Start by dividing hair into two even parts, then twist each side. Twist the two sections together, wrap at the crown, and pin along the twist so it holds without slipping. You’ll love how the pattern catches light and makes the style feel more special than a basic bun.
This option is unique because the texture stays visible from every angle, including from behind. For practical results, add a tiny amount of hair gel or cream to help the twists grip. If your hair is slippery, consider using a stronger elastic and setting spray, but you don’t need expensive products to get the effect.
4. Low Top Knot With a Center Part
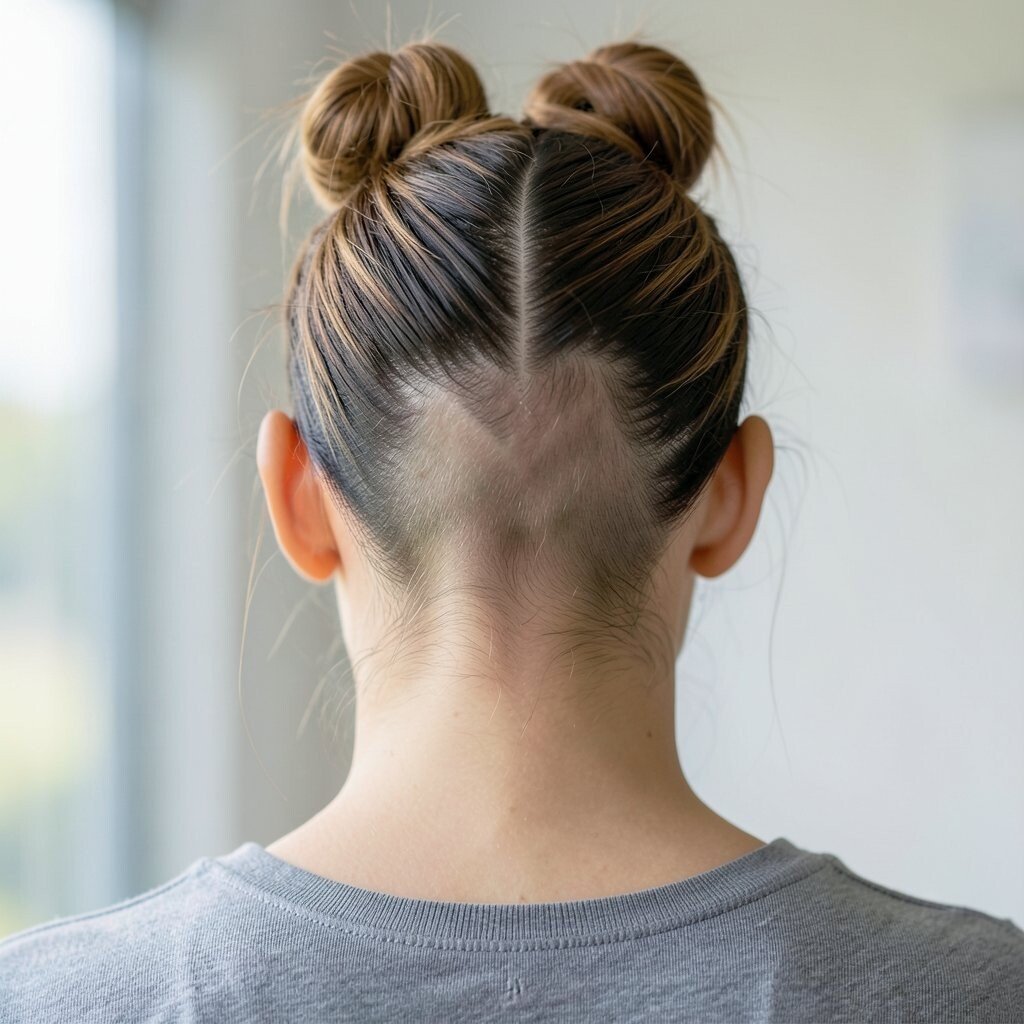
A low top knot sits closer to the back of your head, giving a calmer, elegant feel. With a clean center part, your hair looks balanced and sleek.
Gather hair at the nape of your neck, then twist or wrap into a compact bun. Tuck the ends in and secure with pins so it doesn’t shift throughout the day. This style benefits anyone who likes less height, since it makes the neck look longer and keeps your silhouette soft.
5. Messy Top Knot With Volume at the Crown
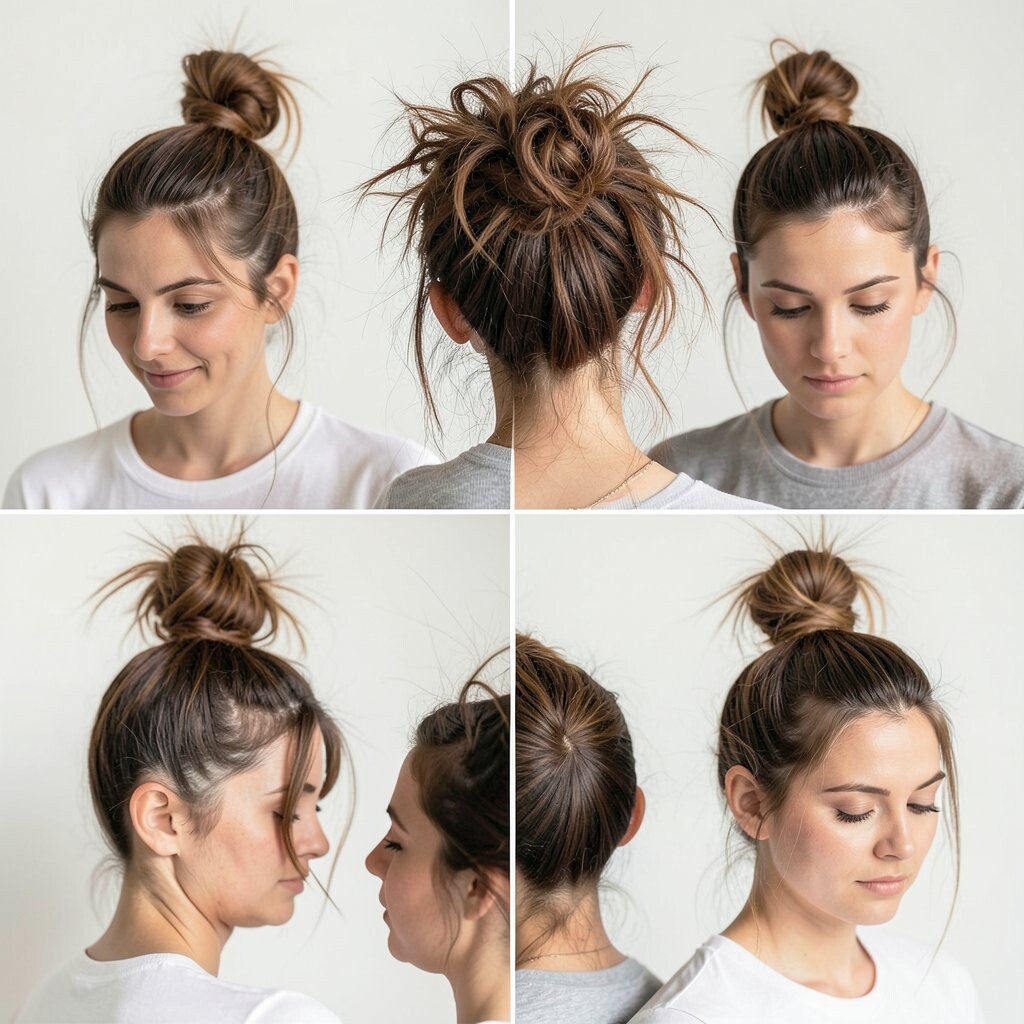
A messy top knot is the friendliest kind of bun. It looks like you woke up stylish, even if you were running a little late.
Backcomb gently at the crown, gather your hair loosely, and twist it into a bun. Leave some pieces out around your hairline, then secure with pins and a light mist of hairspray. The extra height makes your hair look thicker and helps the style stay flattering even on days when hair feels flat.
To make it feel intentional, choose one area to be extra messy, like the front or the top, instead of everywhere. This is a current favorite because it matches the relaxed, everyday street style people wear all the time. You can keep costs low by skipping fancy tools and using what you already own.
6. Top Knot With Bangs and a Soft Fringe
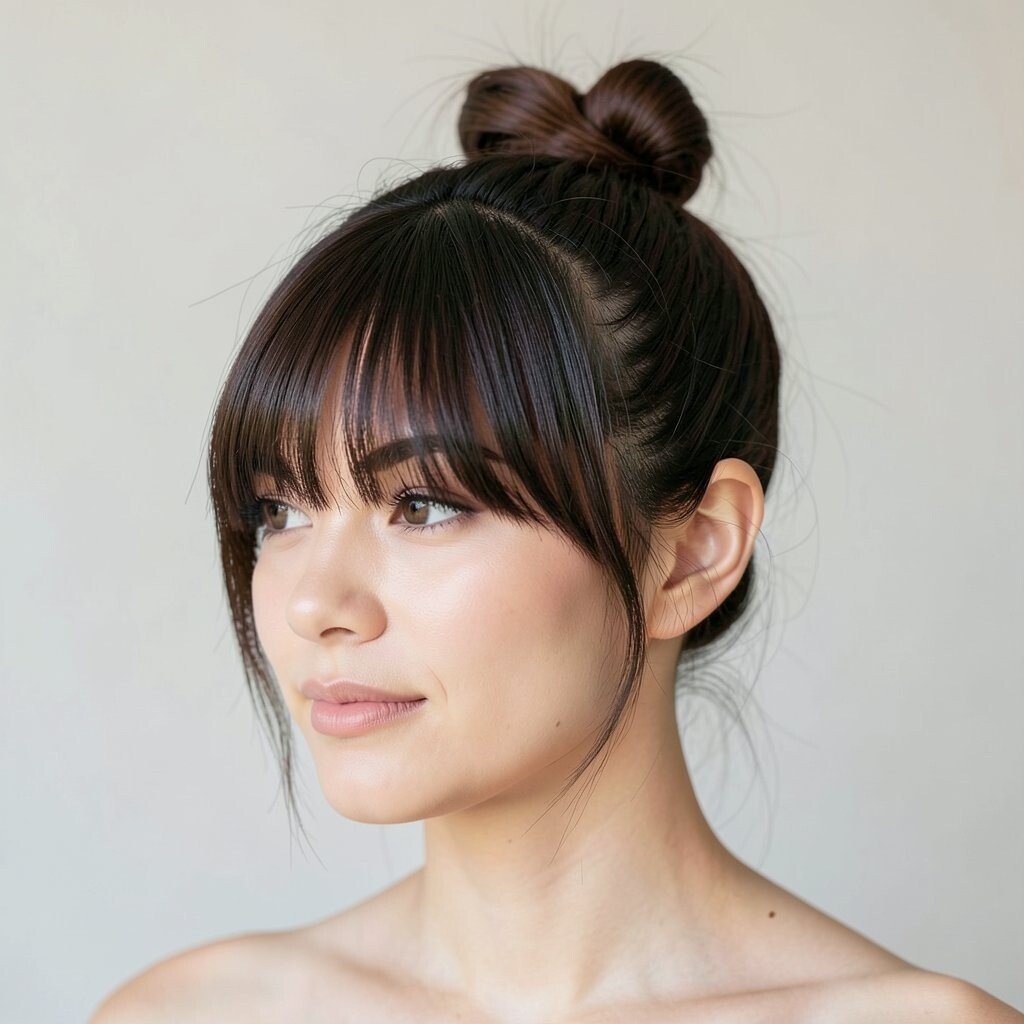
A top knot looks extra cute when paired with bangs or a soft fringe. The bun pulls focus upward, while the fringe adds sweetness and personality.
If you have straight bangs, style the bun smooth and let the fringe sit naturally. If your fringe is curly or wavy, scrunch it lightly so it keeps its shape. This combo benefits your look by adding contrast, since the bun is neat while the bangs bring texture.
7. Braided Crown Top Knot for a Regal Vibe
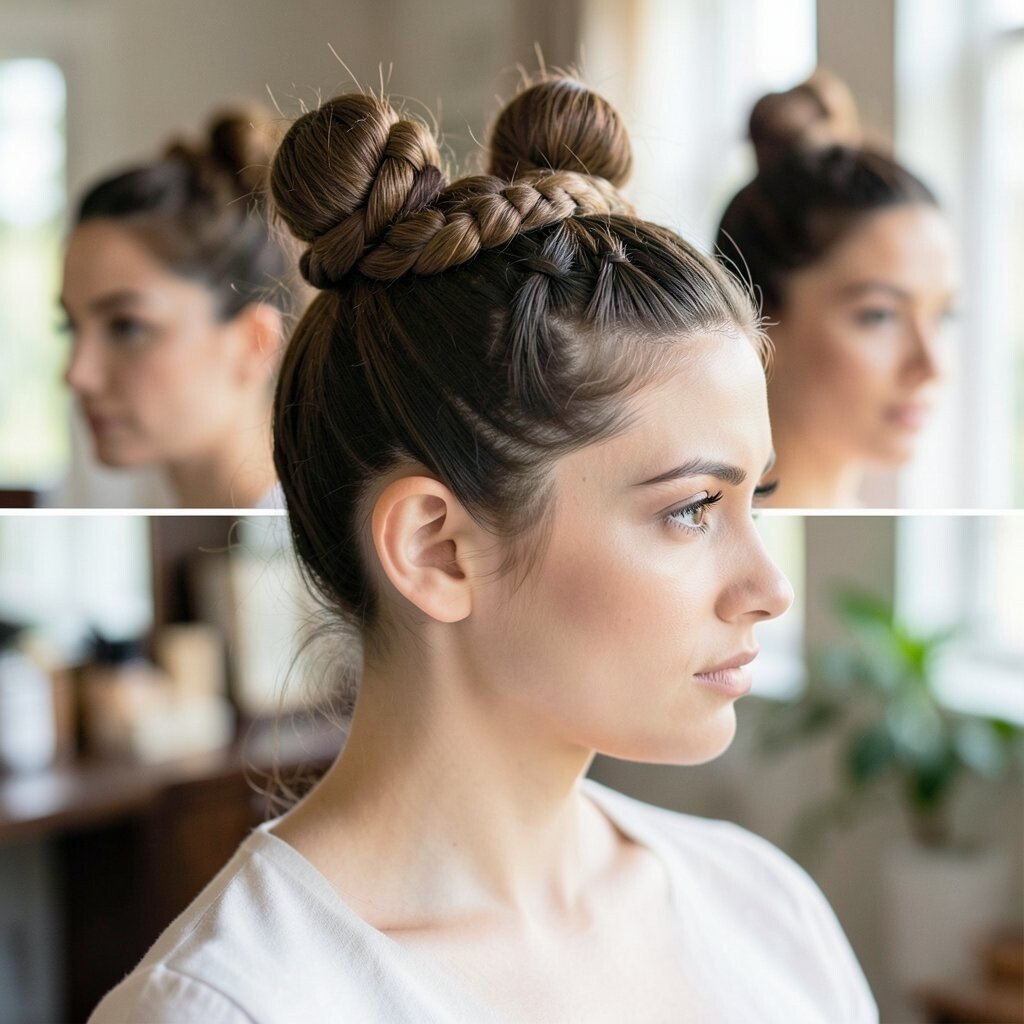
A braided crown top knot makes you feel like you’re wearing a fancy accessory without needing one. The braid hugs the head and blends into a bun that looks royal and detailed.
Section a small band of hair around the top, braid it, then wrap it into the bun or pin it across the crown. Add a few pins for stability, especially if your hair is long or slips easily. This style is unique because it creates a frame that makes your bun look more intricate than it really is.
For personalization, choose a simple three-strand braid, a fishtail, or a micro braid pattern. You’ll get better hold if you braid on slightly damp hair, then let it dry before finishing with spray. In terms of cost, you may only need an extra elastic and a handful of pins.
8. Half-Up Top Knot With a Flowing Back Section
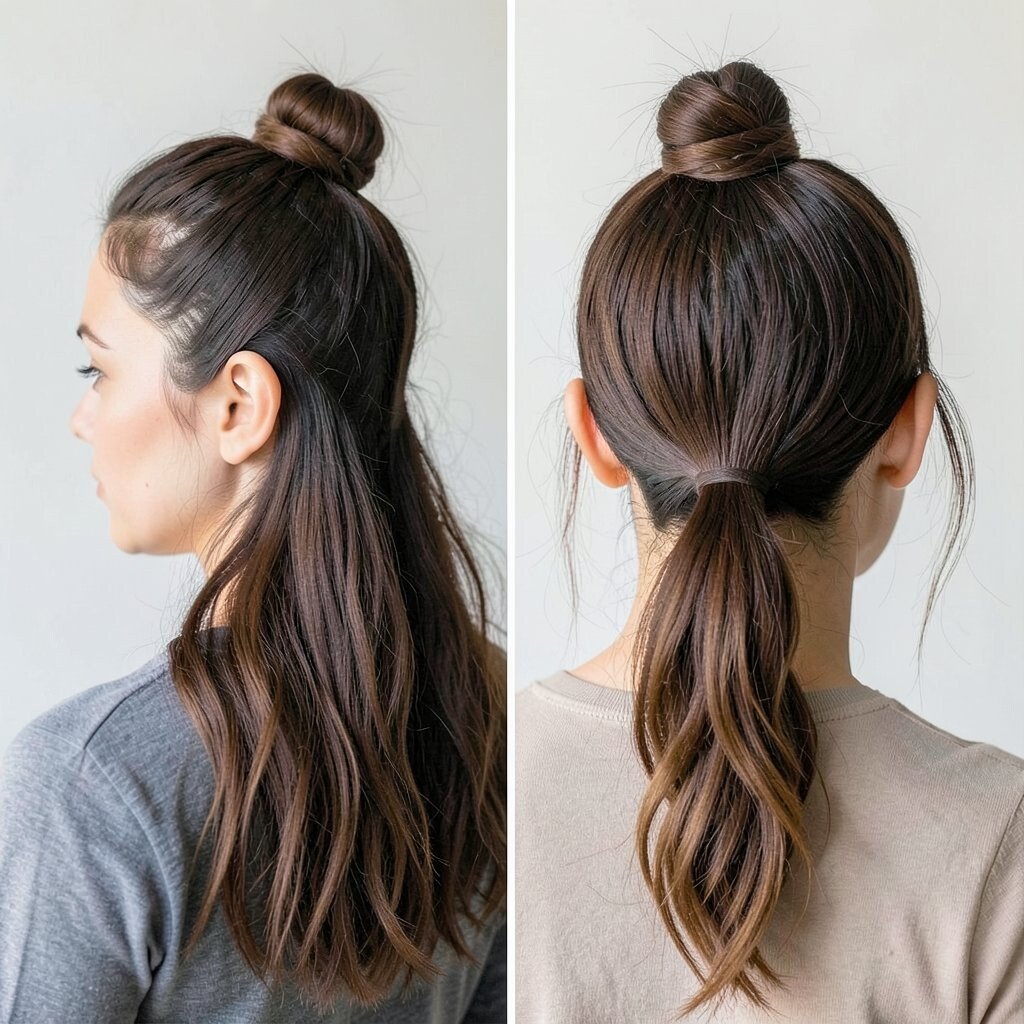
A half-up top knot keeps your hair up, but it still lets you show length. The result is playful and balanced, like you’re wearing both a bun and a hairstyle you can wear down.
Gather the top section into a bun, leaving the rest of your hair to fall behind. Smooth the base so it looks clean, then curl the loose hair for a bouncy effect. This benefits your overall look because it’s lighter on your scalp than a full updo, and it helps you control heat-styled hair.
9. Top Knot With a Skinny Scarf Wrap
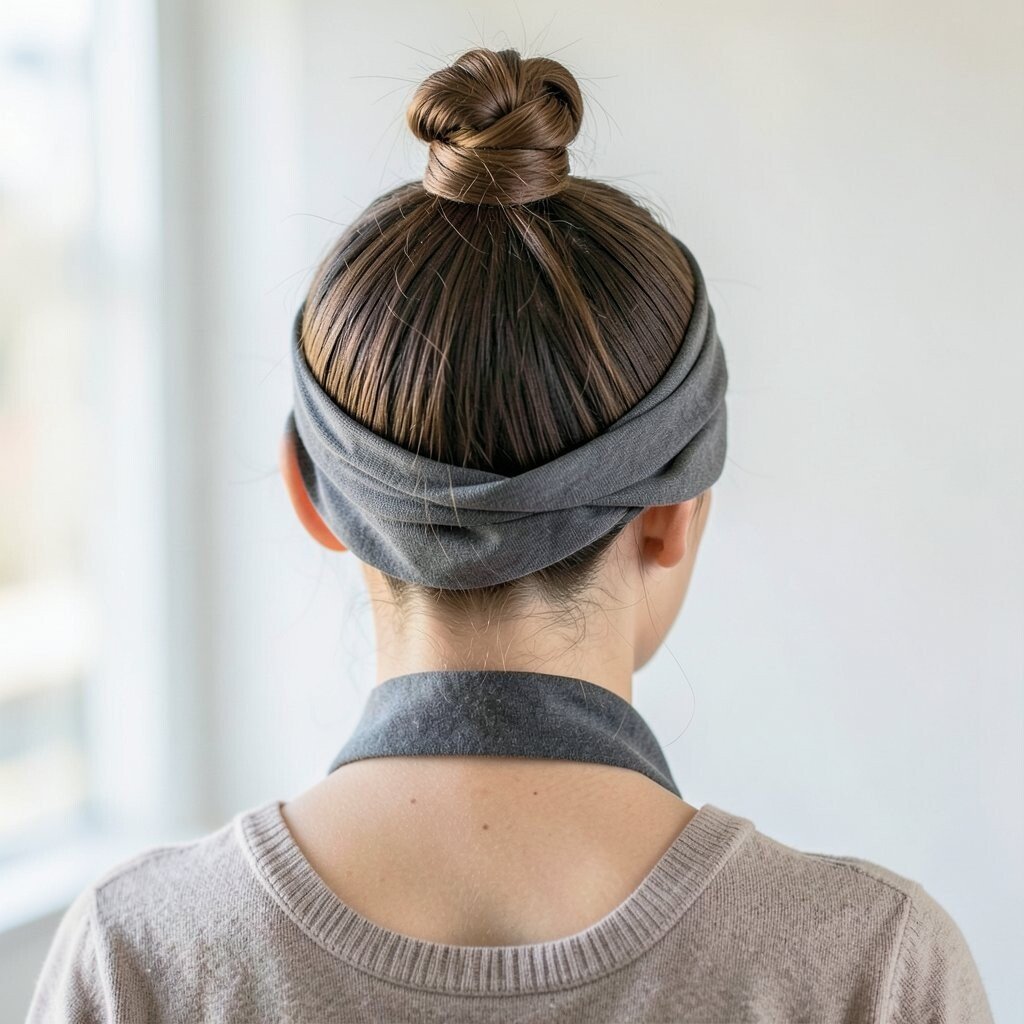
Adding a scarf to a top knot makes it look instantly styled. A small wrap at the base can add color, pattern, and a soft touch against your hair.
Place the scarf around the bun area, then tie it snugly without pulling too hard. Choose a scarf shade that matches your outfit, or pick a bold print when you want a fun pop. This style is practical because scarves can hide the elastic and make messy buns look neat.
For uniqueness, try a satin scarf for shine or a cotton scarf for a casual texture. If your scalp gets tender, use pins sparingly and let the scarf do some of the holding. Costs stay friendly since a scarf is often cheaper than new hair extensions or specialty hairpieces.
10. Top Knot Bun With Faux Underlayer Shaping
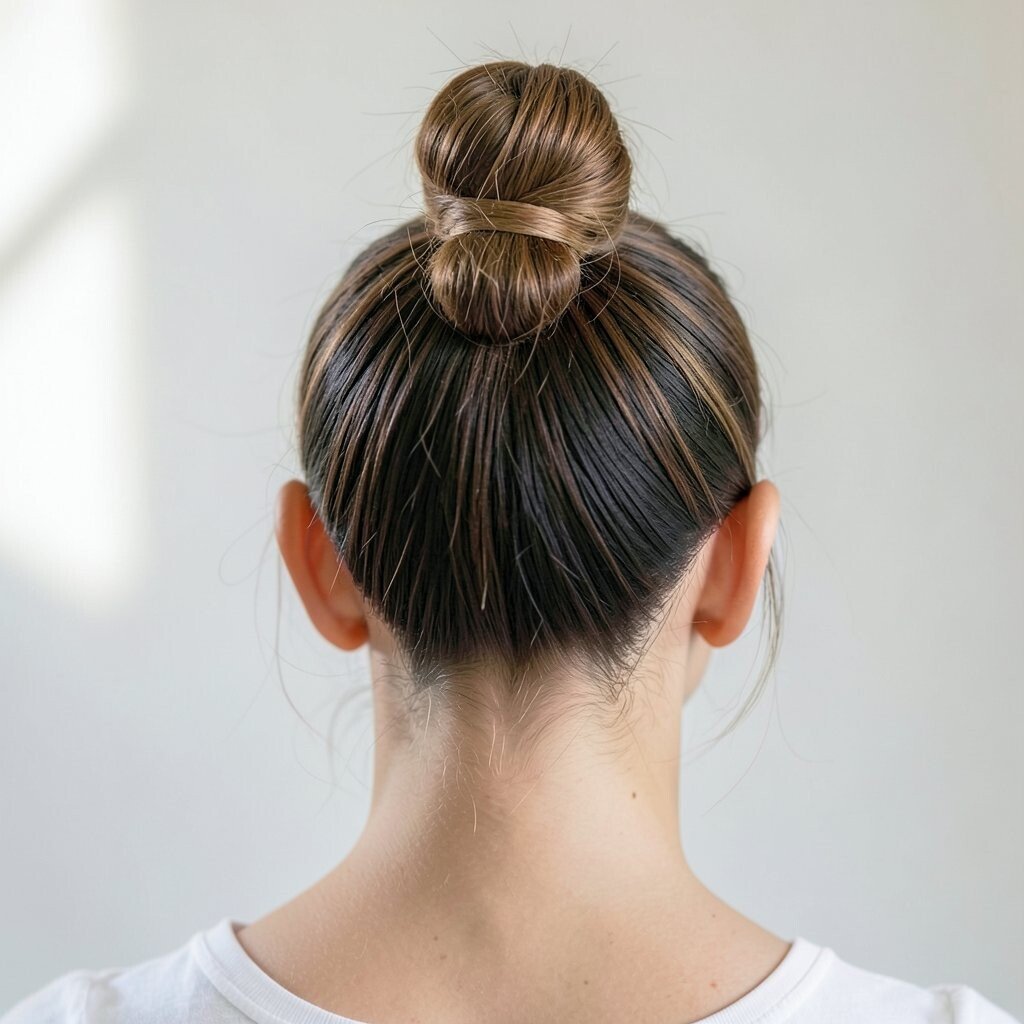
This idea creates a sleek silhouette even if your hair isn’t naturally thick. You add shape underneath so the top knot looks structured and tidy.
Before you gather, smooth hair at the sides and back using a light styling cream. If you want extra fullness, use a small bun insert or roll at the center, then wrap hair over it and pin firmly. The benefit here is a polished, “done” look that lasts longer and looks great in photos.
11. Curly Hair Top Knot With Finger-Coiled Pieces
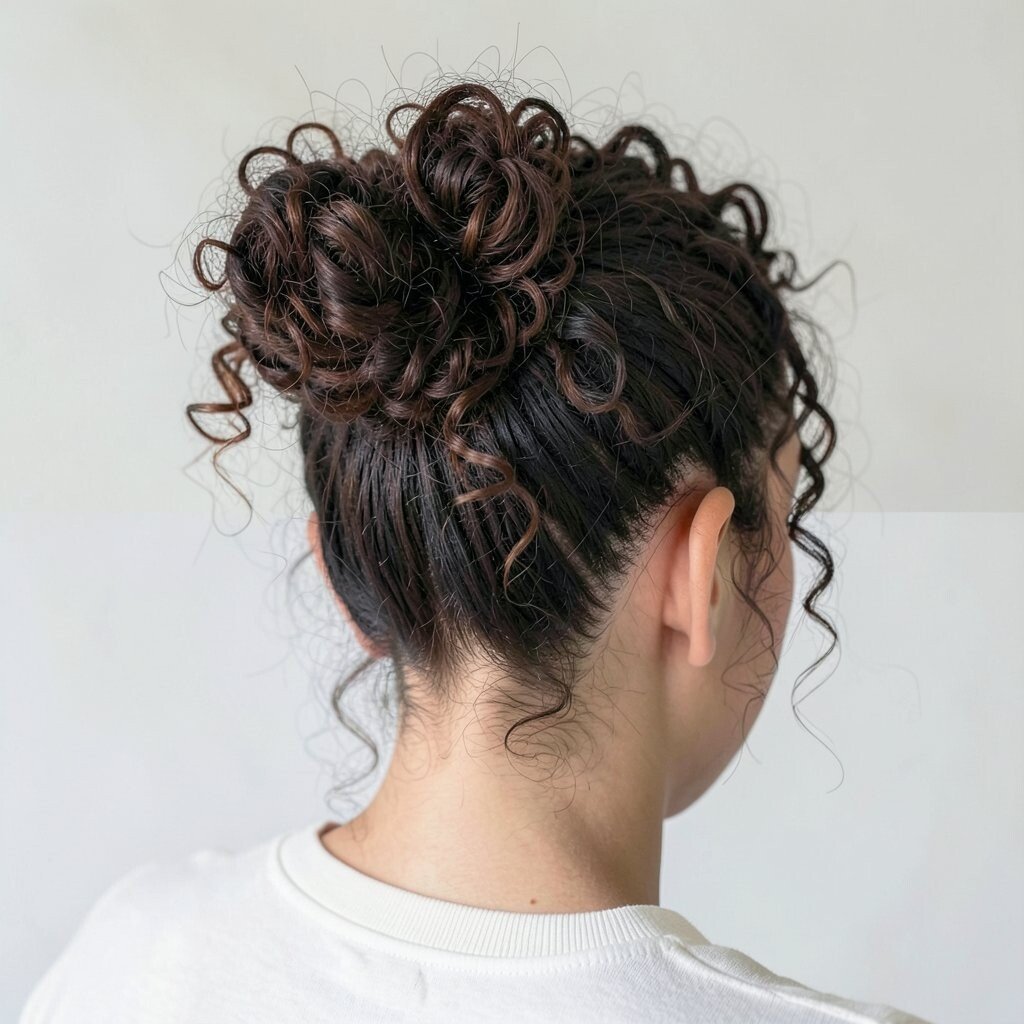
If you have curls, your top knot can look extra gorgeous and bouncy. Finger-coiling a few sections gives a defined, bouncy texture that looks intentional.
Gather hair gently at the crown, keeping curls soft rather than pulled tight. Twist in small sections, pin with care, and let a few coils peek out for charm. This style benefits curly hair because it reduces tangles while still showing off your natural shape.
To personalize, leave curls loose around the face or tuck them fully for a cleaner look. Use a curl-friendly gel or mousse so pins don’t cause frizz, and refresh with a bit of water if needed. It can cost very little since many curly styles rely on products you already use.
12. Top Knot With a Sleek Side Sweep
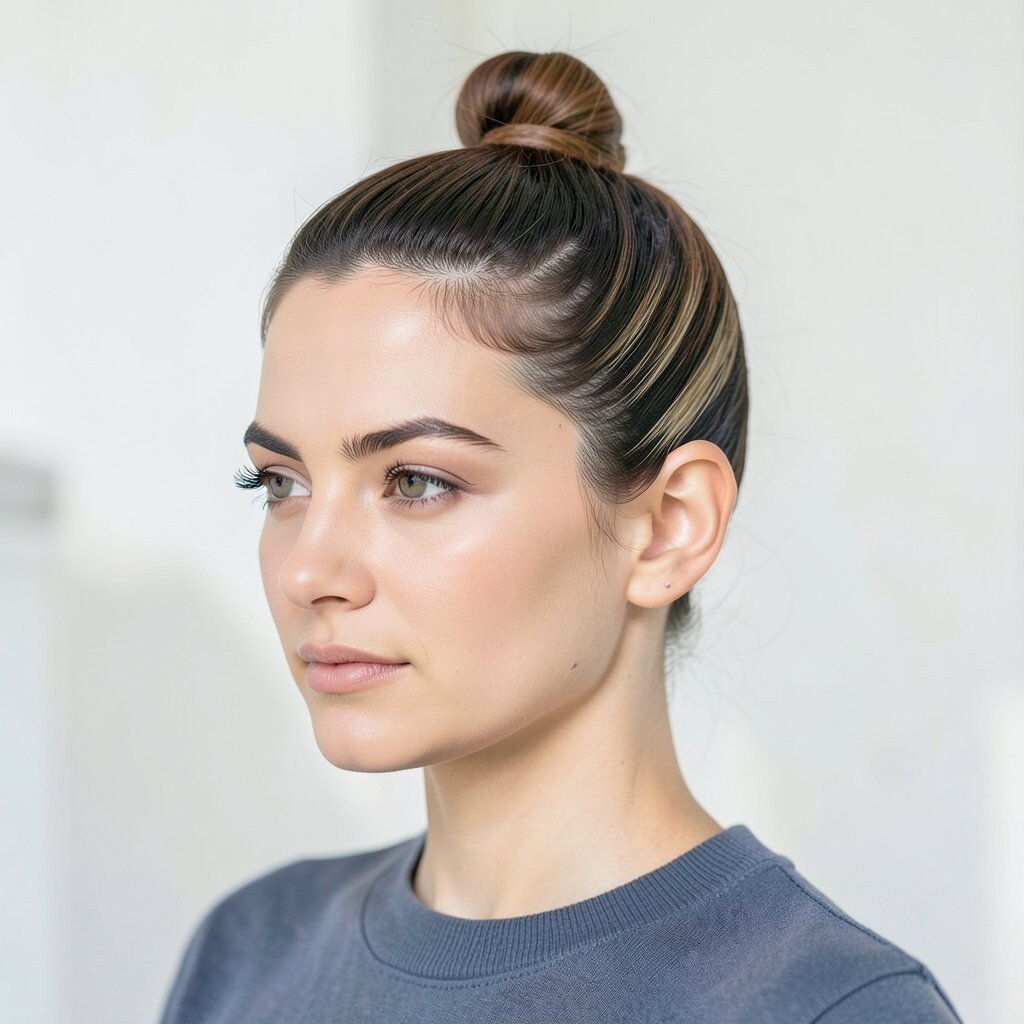
A side sweep top knot adds drama while keeping things tidy. By sweeping hair to one side before gathering, you create a flattering arc across your forehead.
Brush hair to the chosen side, then secure the bun near the crown slightly off-center. Smooth the hairline, then wrap the bun and pin so it feels secure. This benefits your look by adding an eye-catching angle, especially if you wear earrings or glasses.
13. Top Knot With Mini U-Shaped Hair Pins for Hold
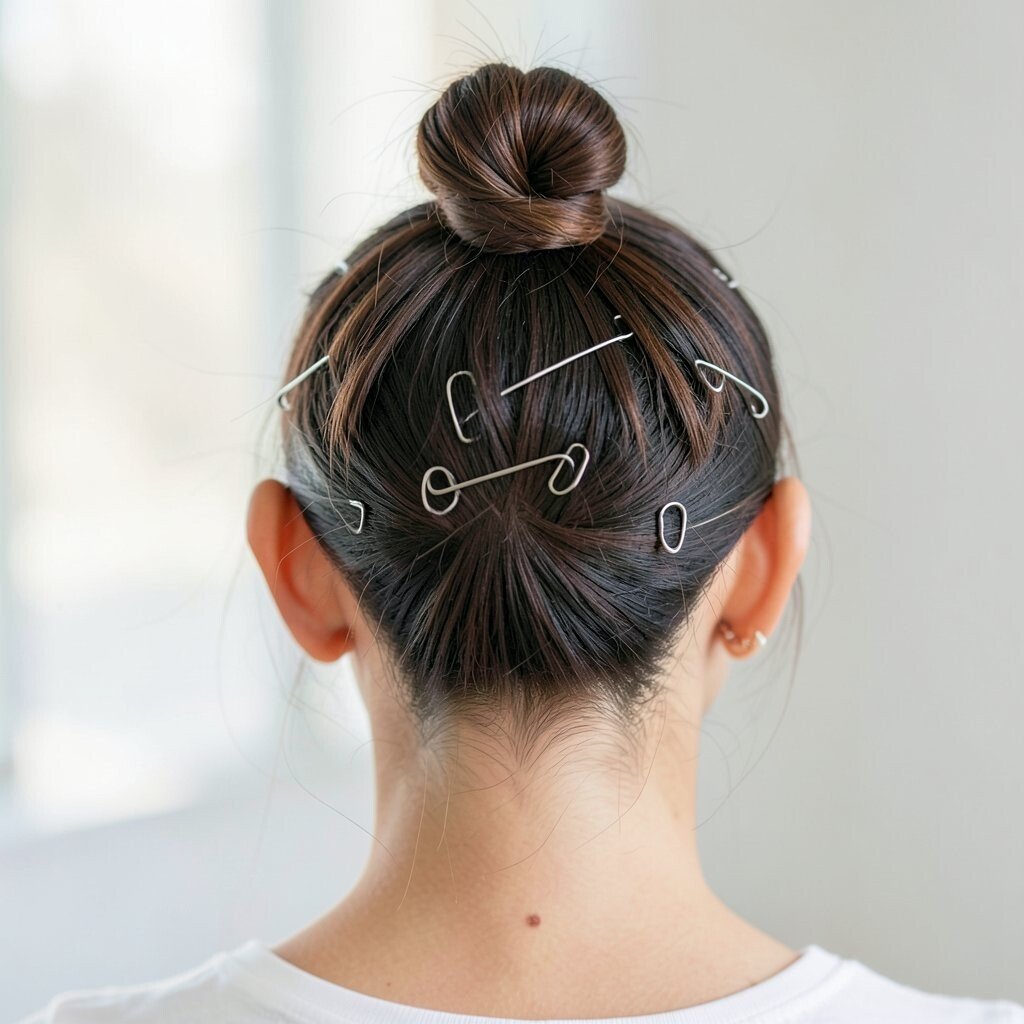
Sometimes the biggest difference is how the bun stays put. Using mini U-shaped pins can help your top knot feel stable without needing a lot of extra tension.
After you create the bun, slide U-shaped pins in different directions so they grip the base and tuck loose ends. Finish with a light spray, then check the bun from the front and back to make sure it sits where you want. This style is practical and unique because it gives a neat shape that holds through busy days.
For personalization, pair it with a clean middle part or a textured top for contrast. If pins are new to you, practice once when you have time at home so you feel confident. The cost is usually low since pins are affordable and last a long time.
14. Top Knot With a High Ponytail Base for Extra Lift
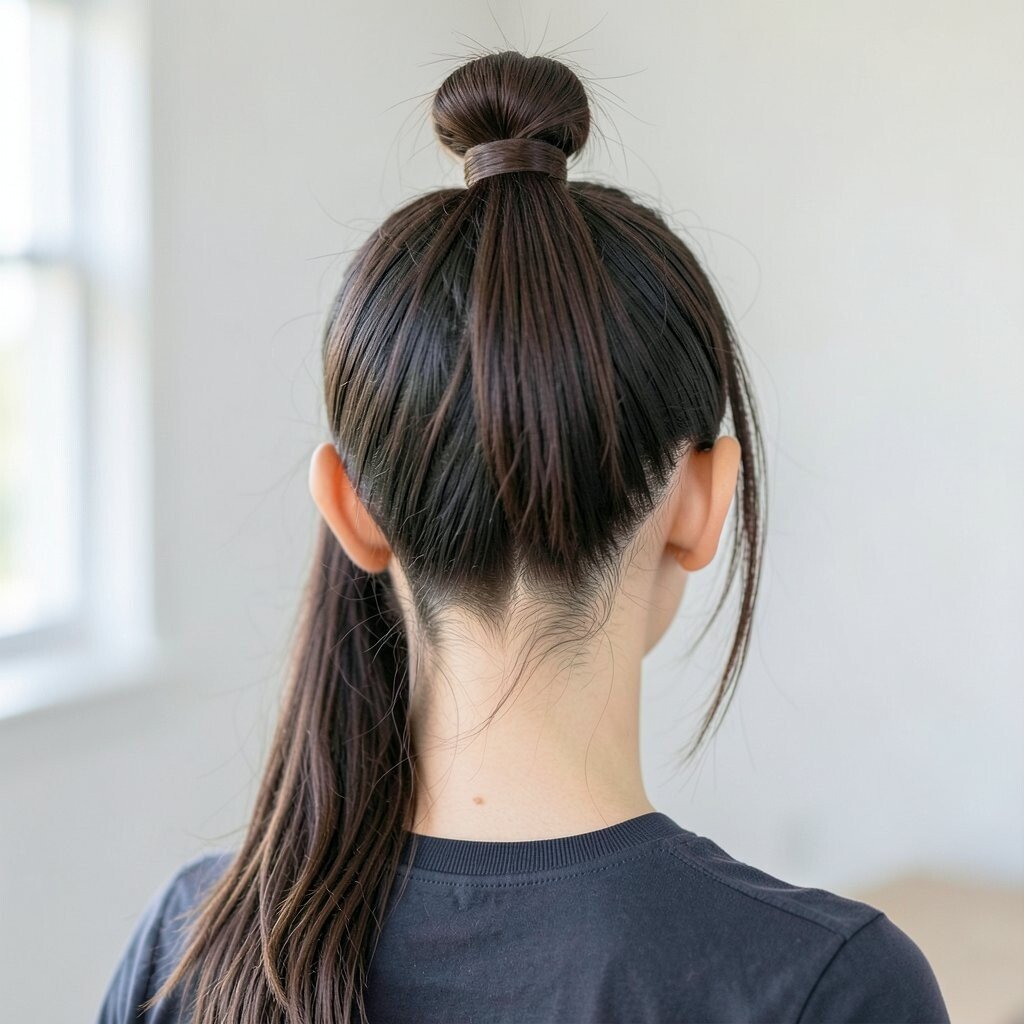
Starting with a high ponytail before making the bun gives you instant lift. The bun looks bigger at the top and can help your hair look more voluminous.
Secure a high ponytail, then wrap it into a bun, pinning as you go. Smooth the outside for a polished finish, or leave it slightly textured for a modern look. This benefits fine or flat hair because the ponytail adds height and makes the bun look fuller.
To personalize, add a decorative clip at the base or keep it minimal for a sleek vibe. For current trends, a high placement with clean lines is popular in everyday styling, especially with casual outfits. You can keep costs reasonable by using your usual elastic and pins, then adding only one small finishing accessory if you want.